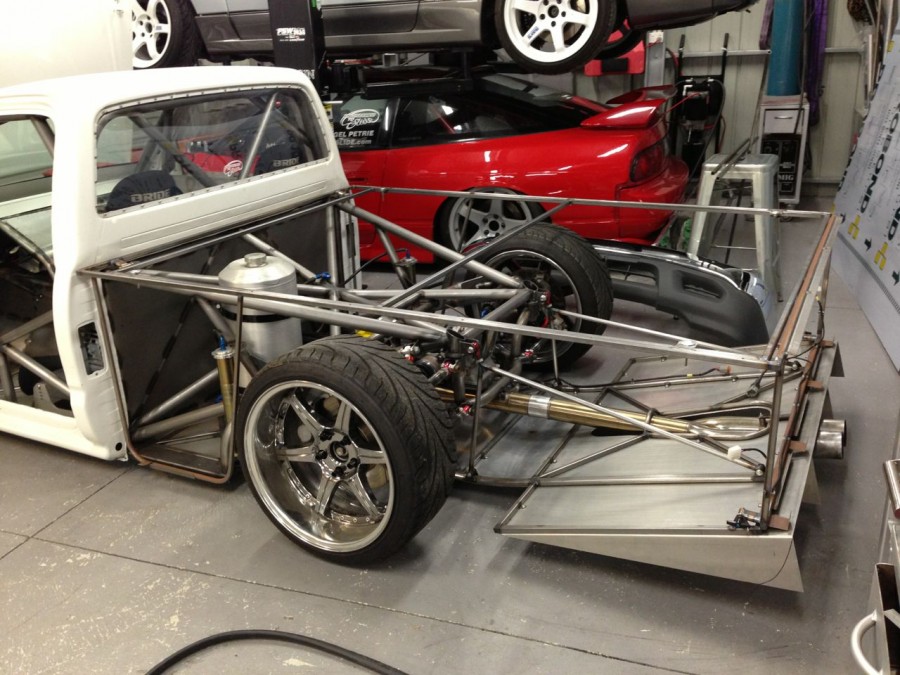
In the last post I explained the reasoning behind wanting to run a hardlid, once I sat the Probond sheet over the rear end it became apparent that it needed to be there, the light that would expel from the inside of the wheelarches would give me that unfinished feeling when looking at the car as a whole from the outside.
So when it came to deciding how to affix it took a little thought, ill admit I didnt get it 100% right.

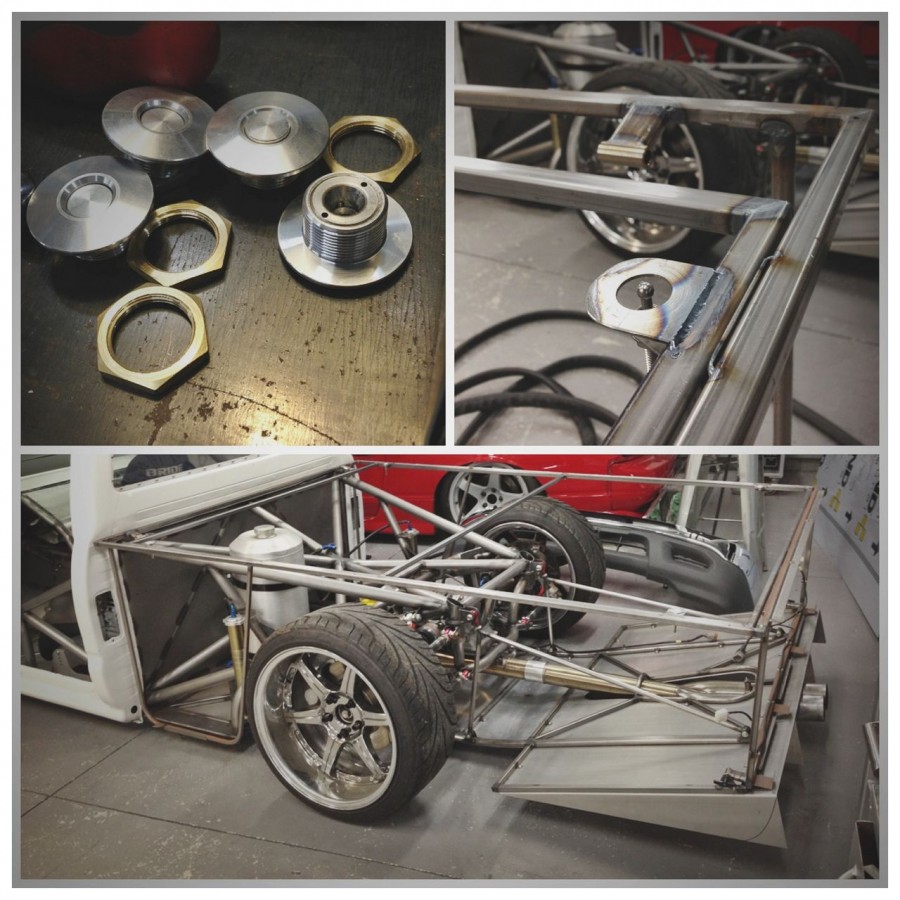
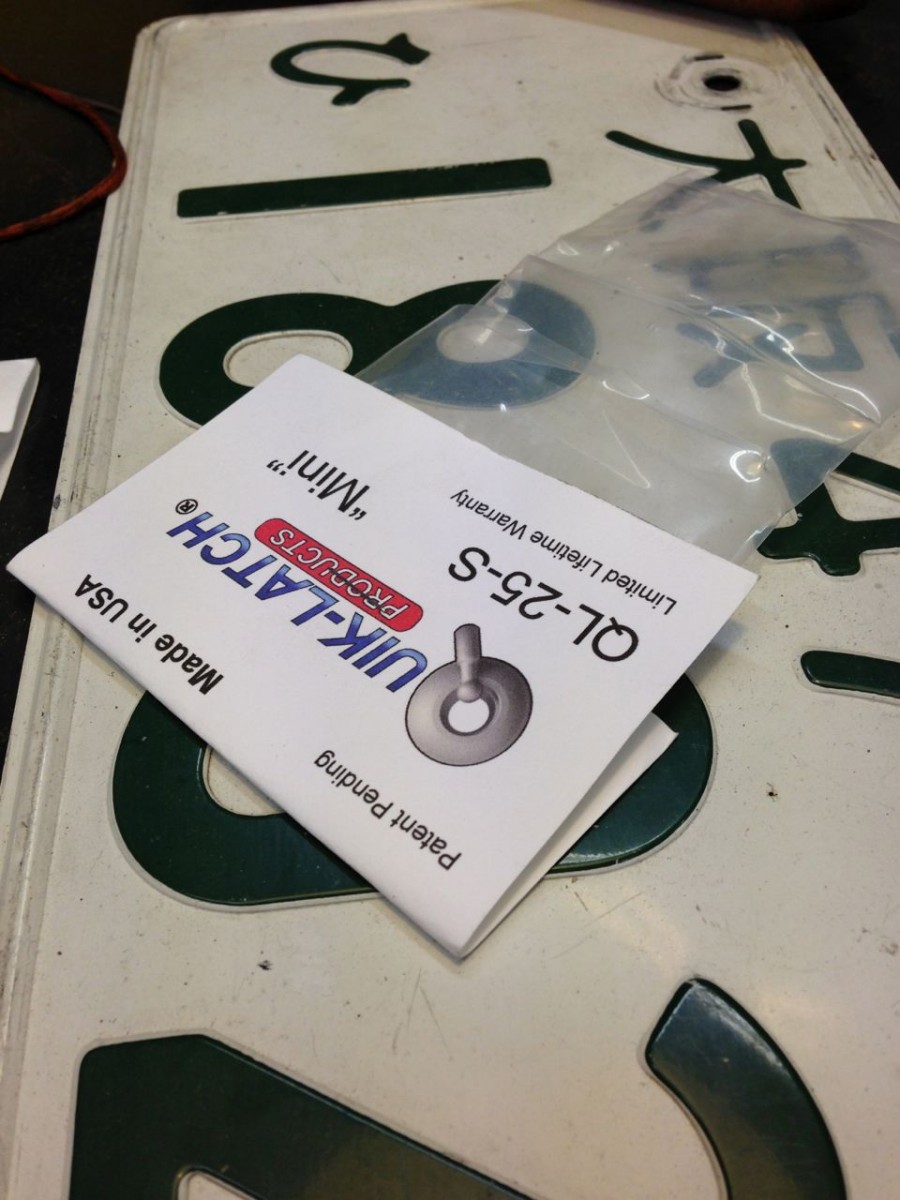
These mini quick latches are nice but i will get to the reason why I didn’t need 4 of them in a minute.

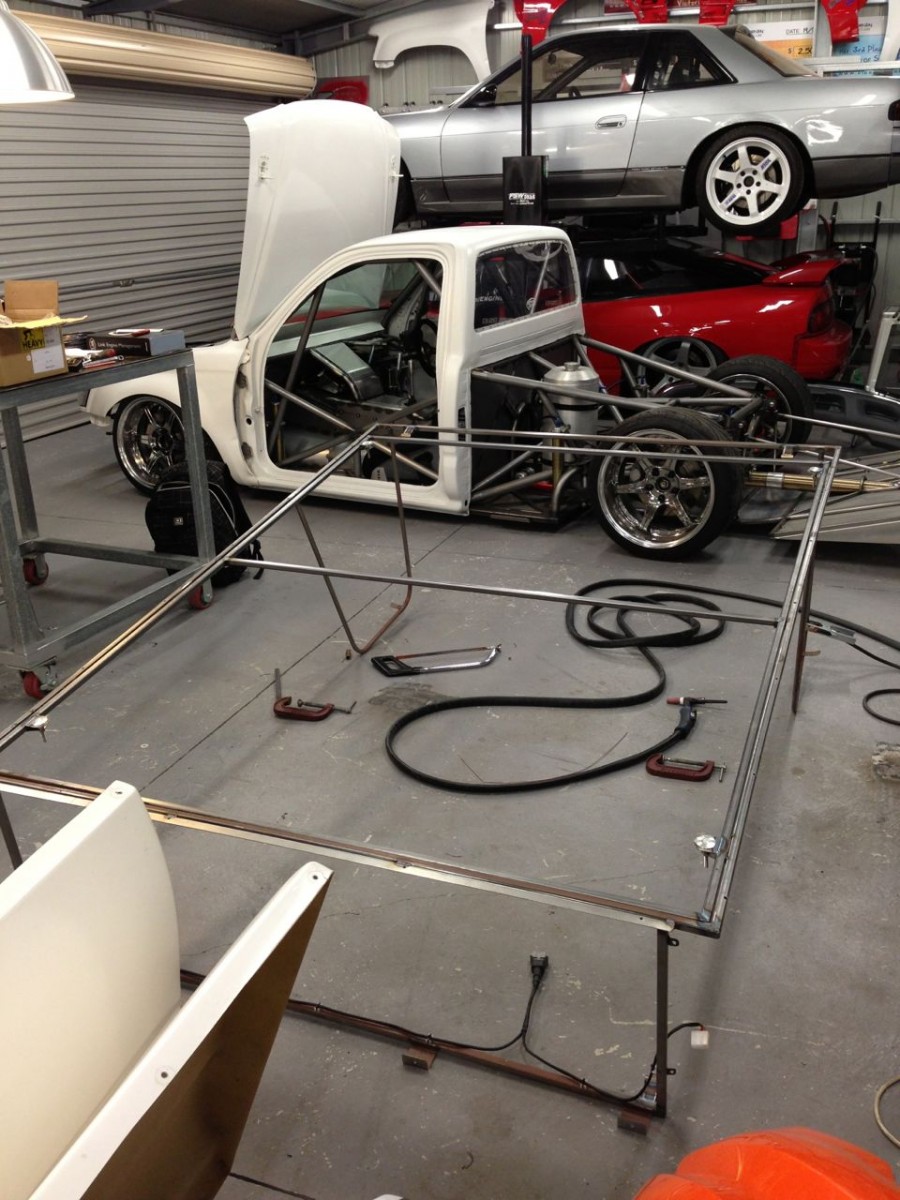
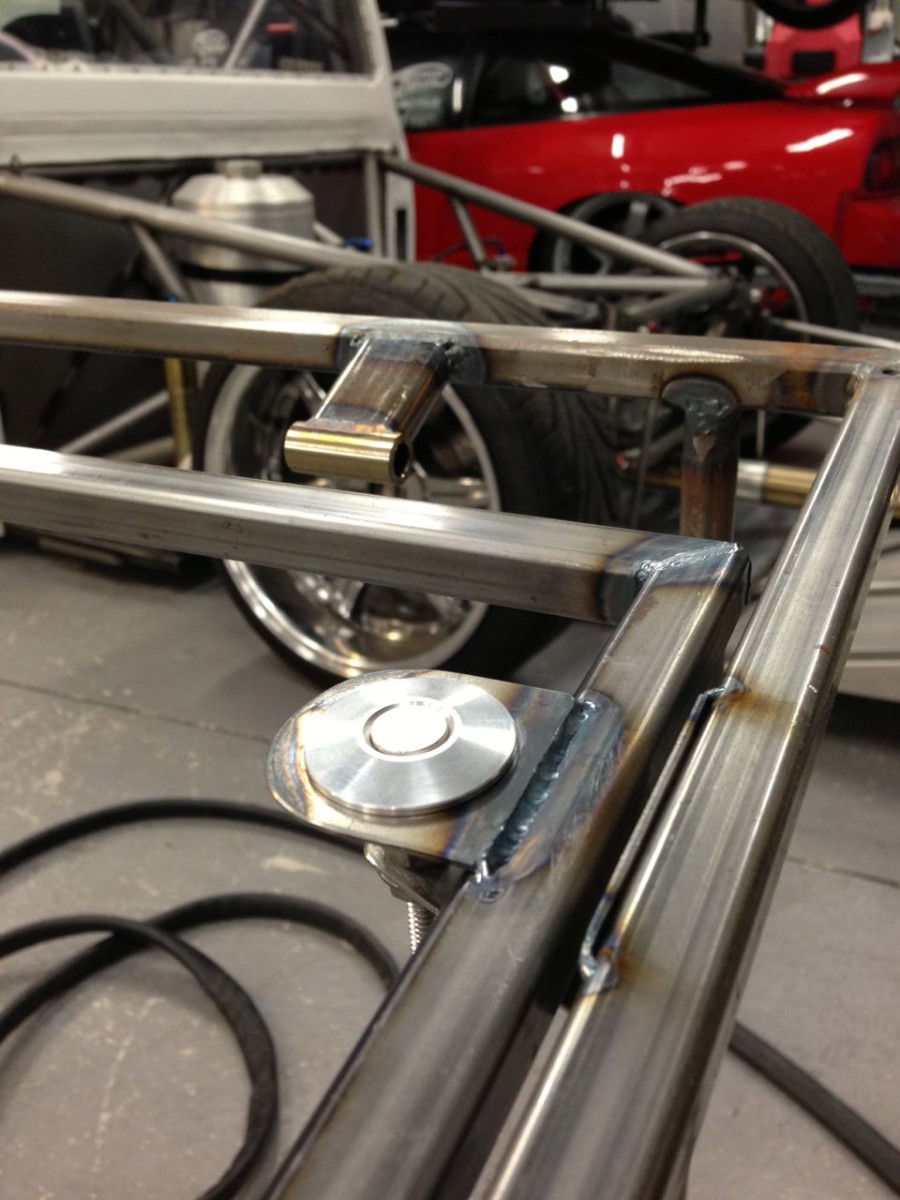
I made a 16mm x 1.6mm RHS internal frame with 1.2mm sheetmetal mounts for the studs and the push housings.
The pro bond sheet will have 4 19mm holes in it and will be sandwiched onto the frame holding it tight and secure while being light and removable.
Its a neat setup that wasn’t a great deal of work to complete.
The only issue I found was once everything was fitted up it became apparent that you have to hold the button down and lift at the same time, because if you press the four buttons down it just relocks, my arms arnt long enough to do all 4 at once so I should have just used an underhook to position the front and then ran two of these fittings in the rear. But I think I have a solution, some springs that are just long enough to push the lid up enough to unlock it and lift it off.
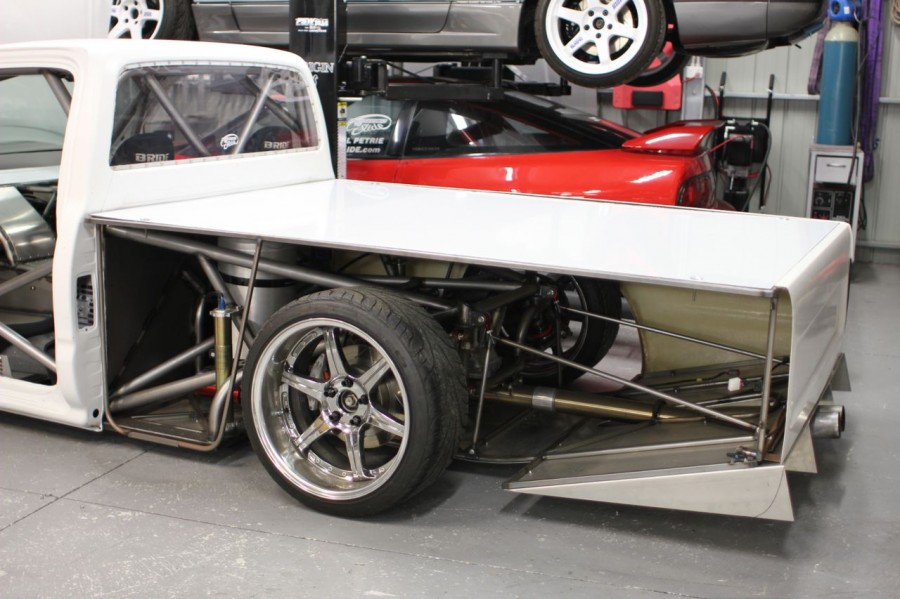
A quick pic before the panels went back on.

The finished product.
Edafe Omosowofa
Love those latches and use them through out my build as well.. They sell springs for them that might help you out.
http://www.quik-latch.com/mini-latch-assist-spring.html