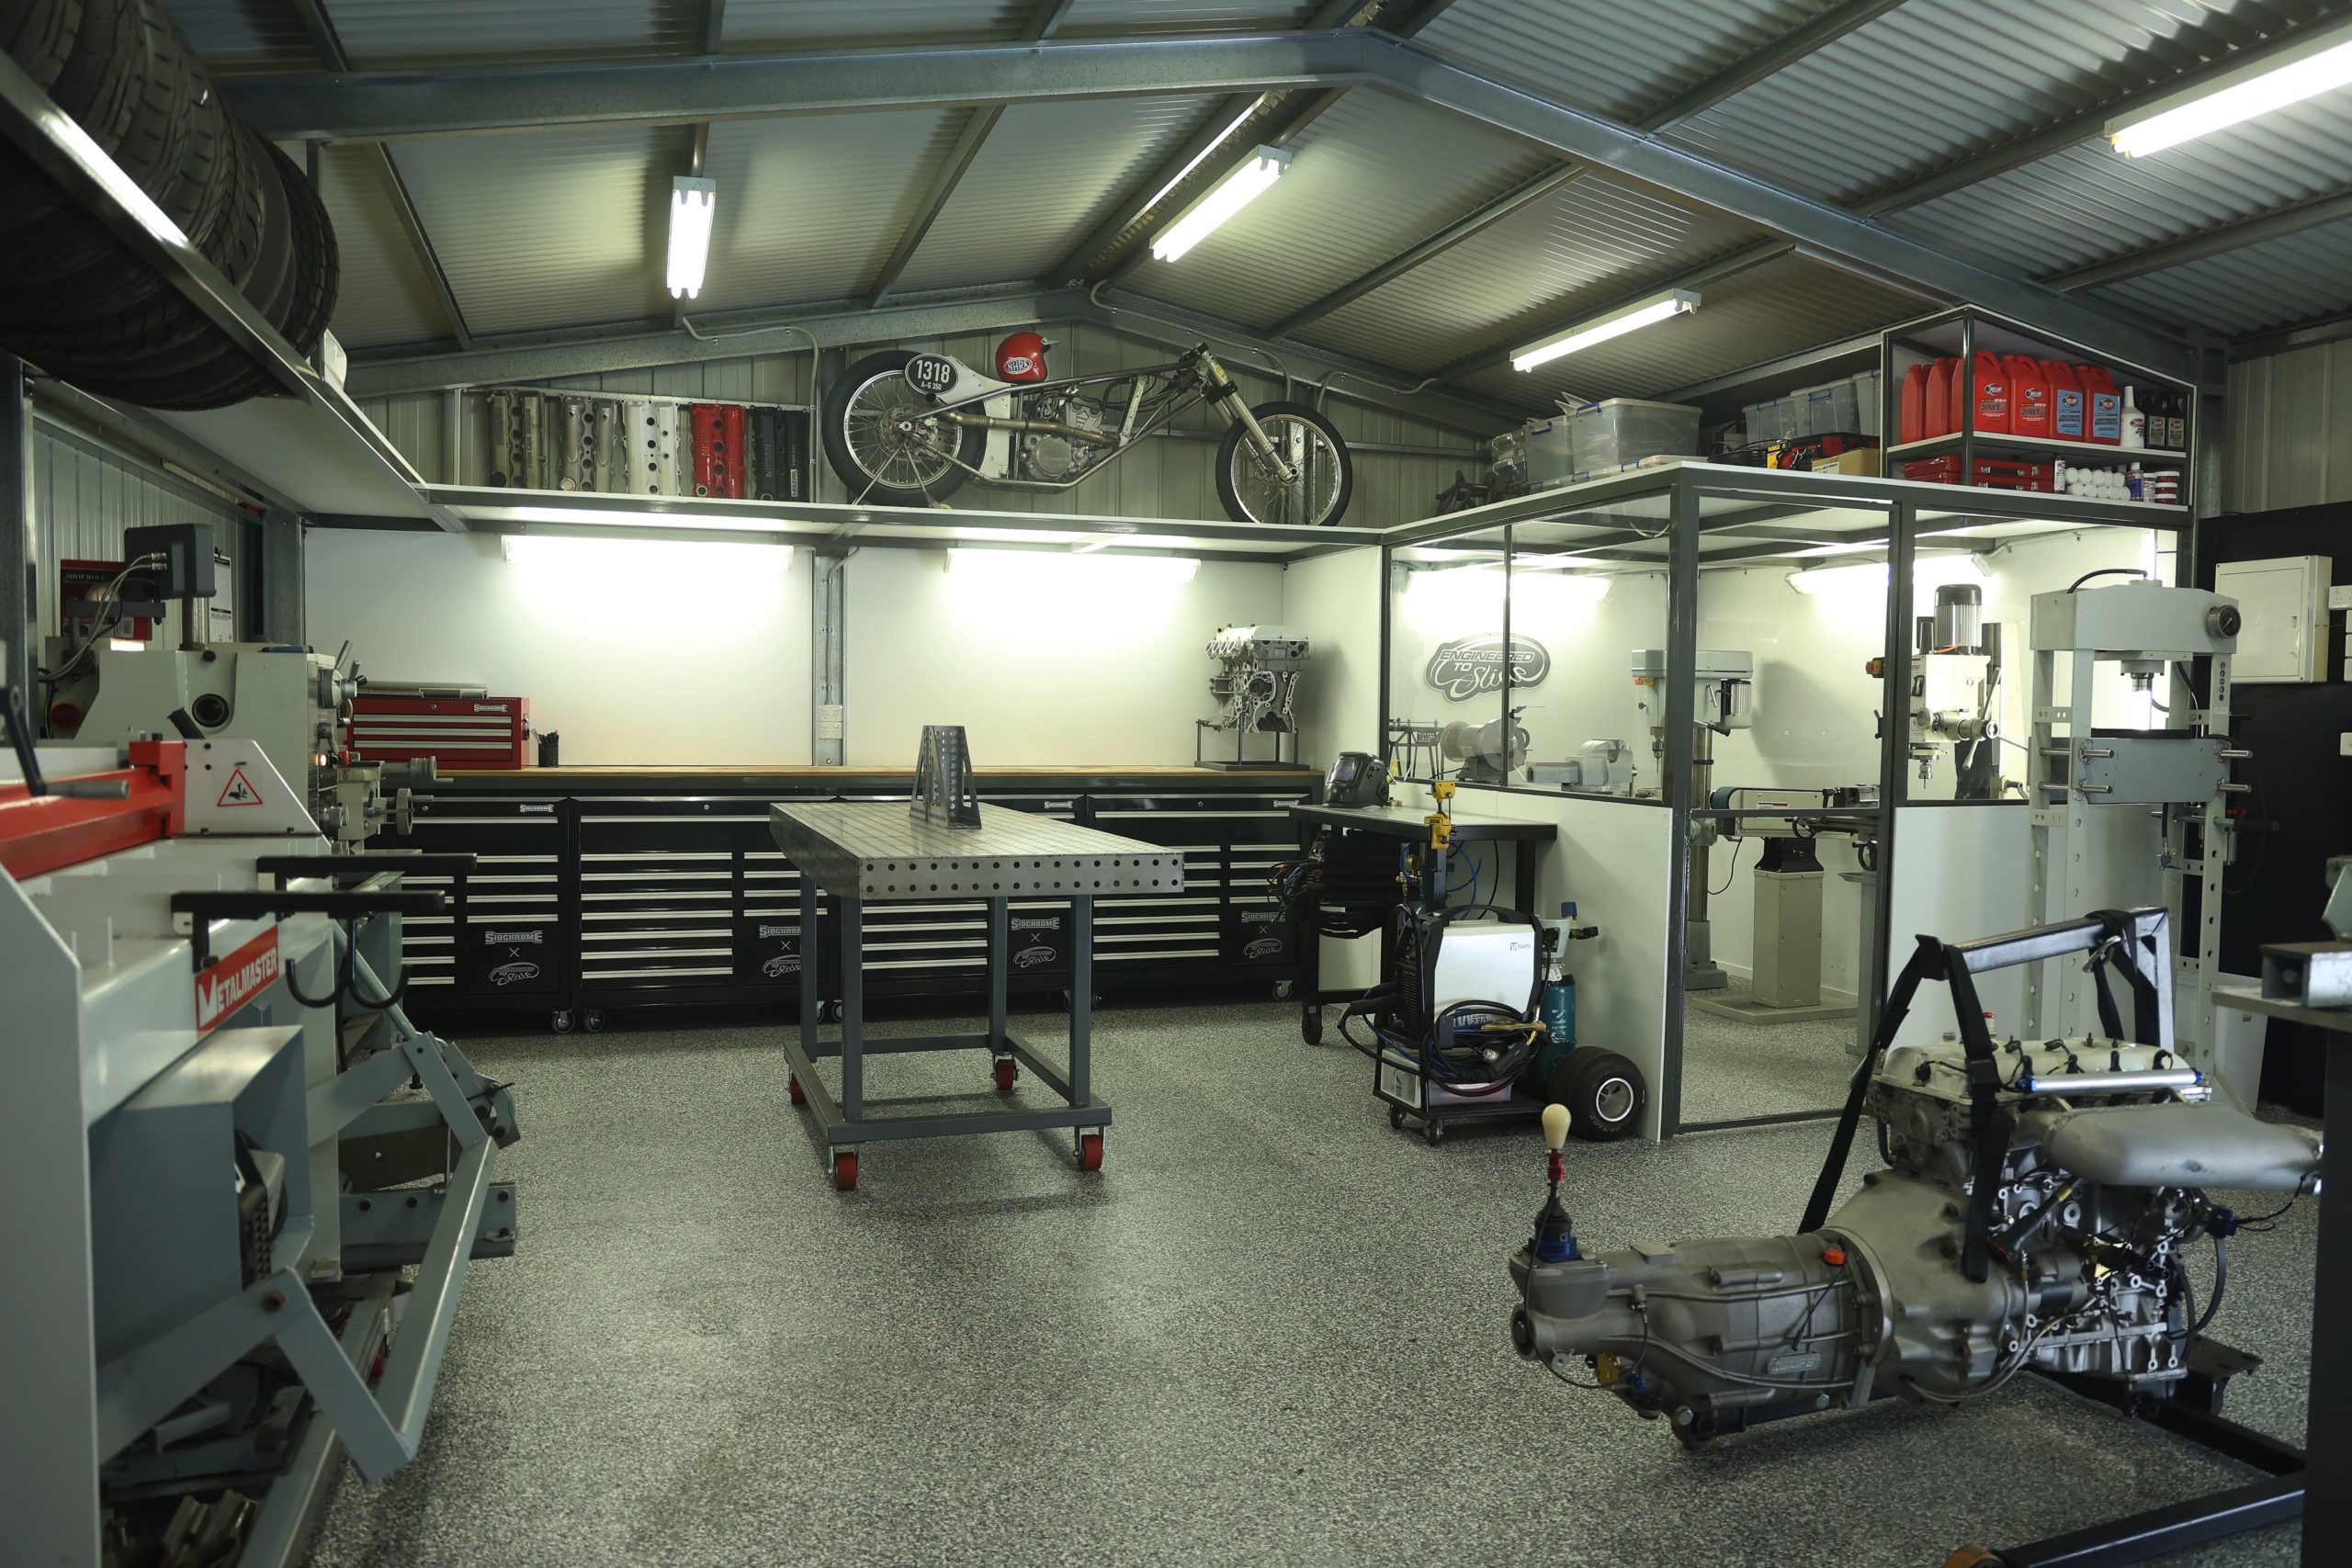
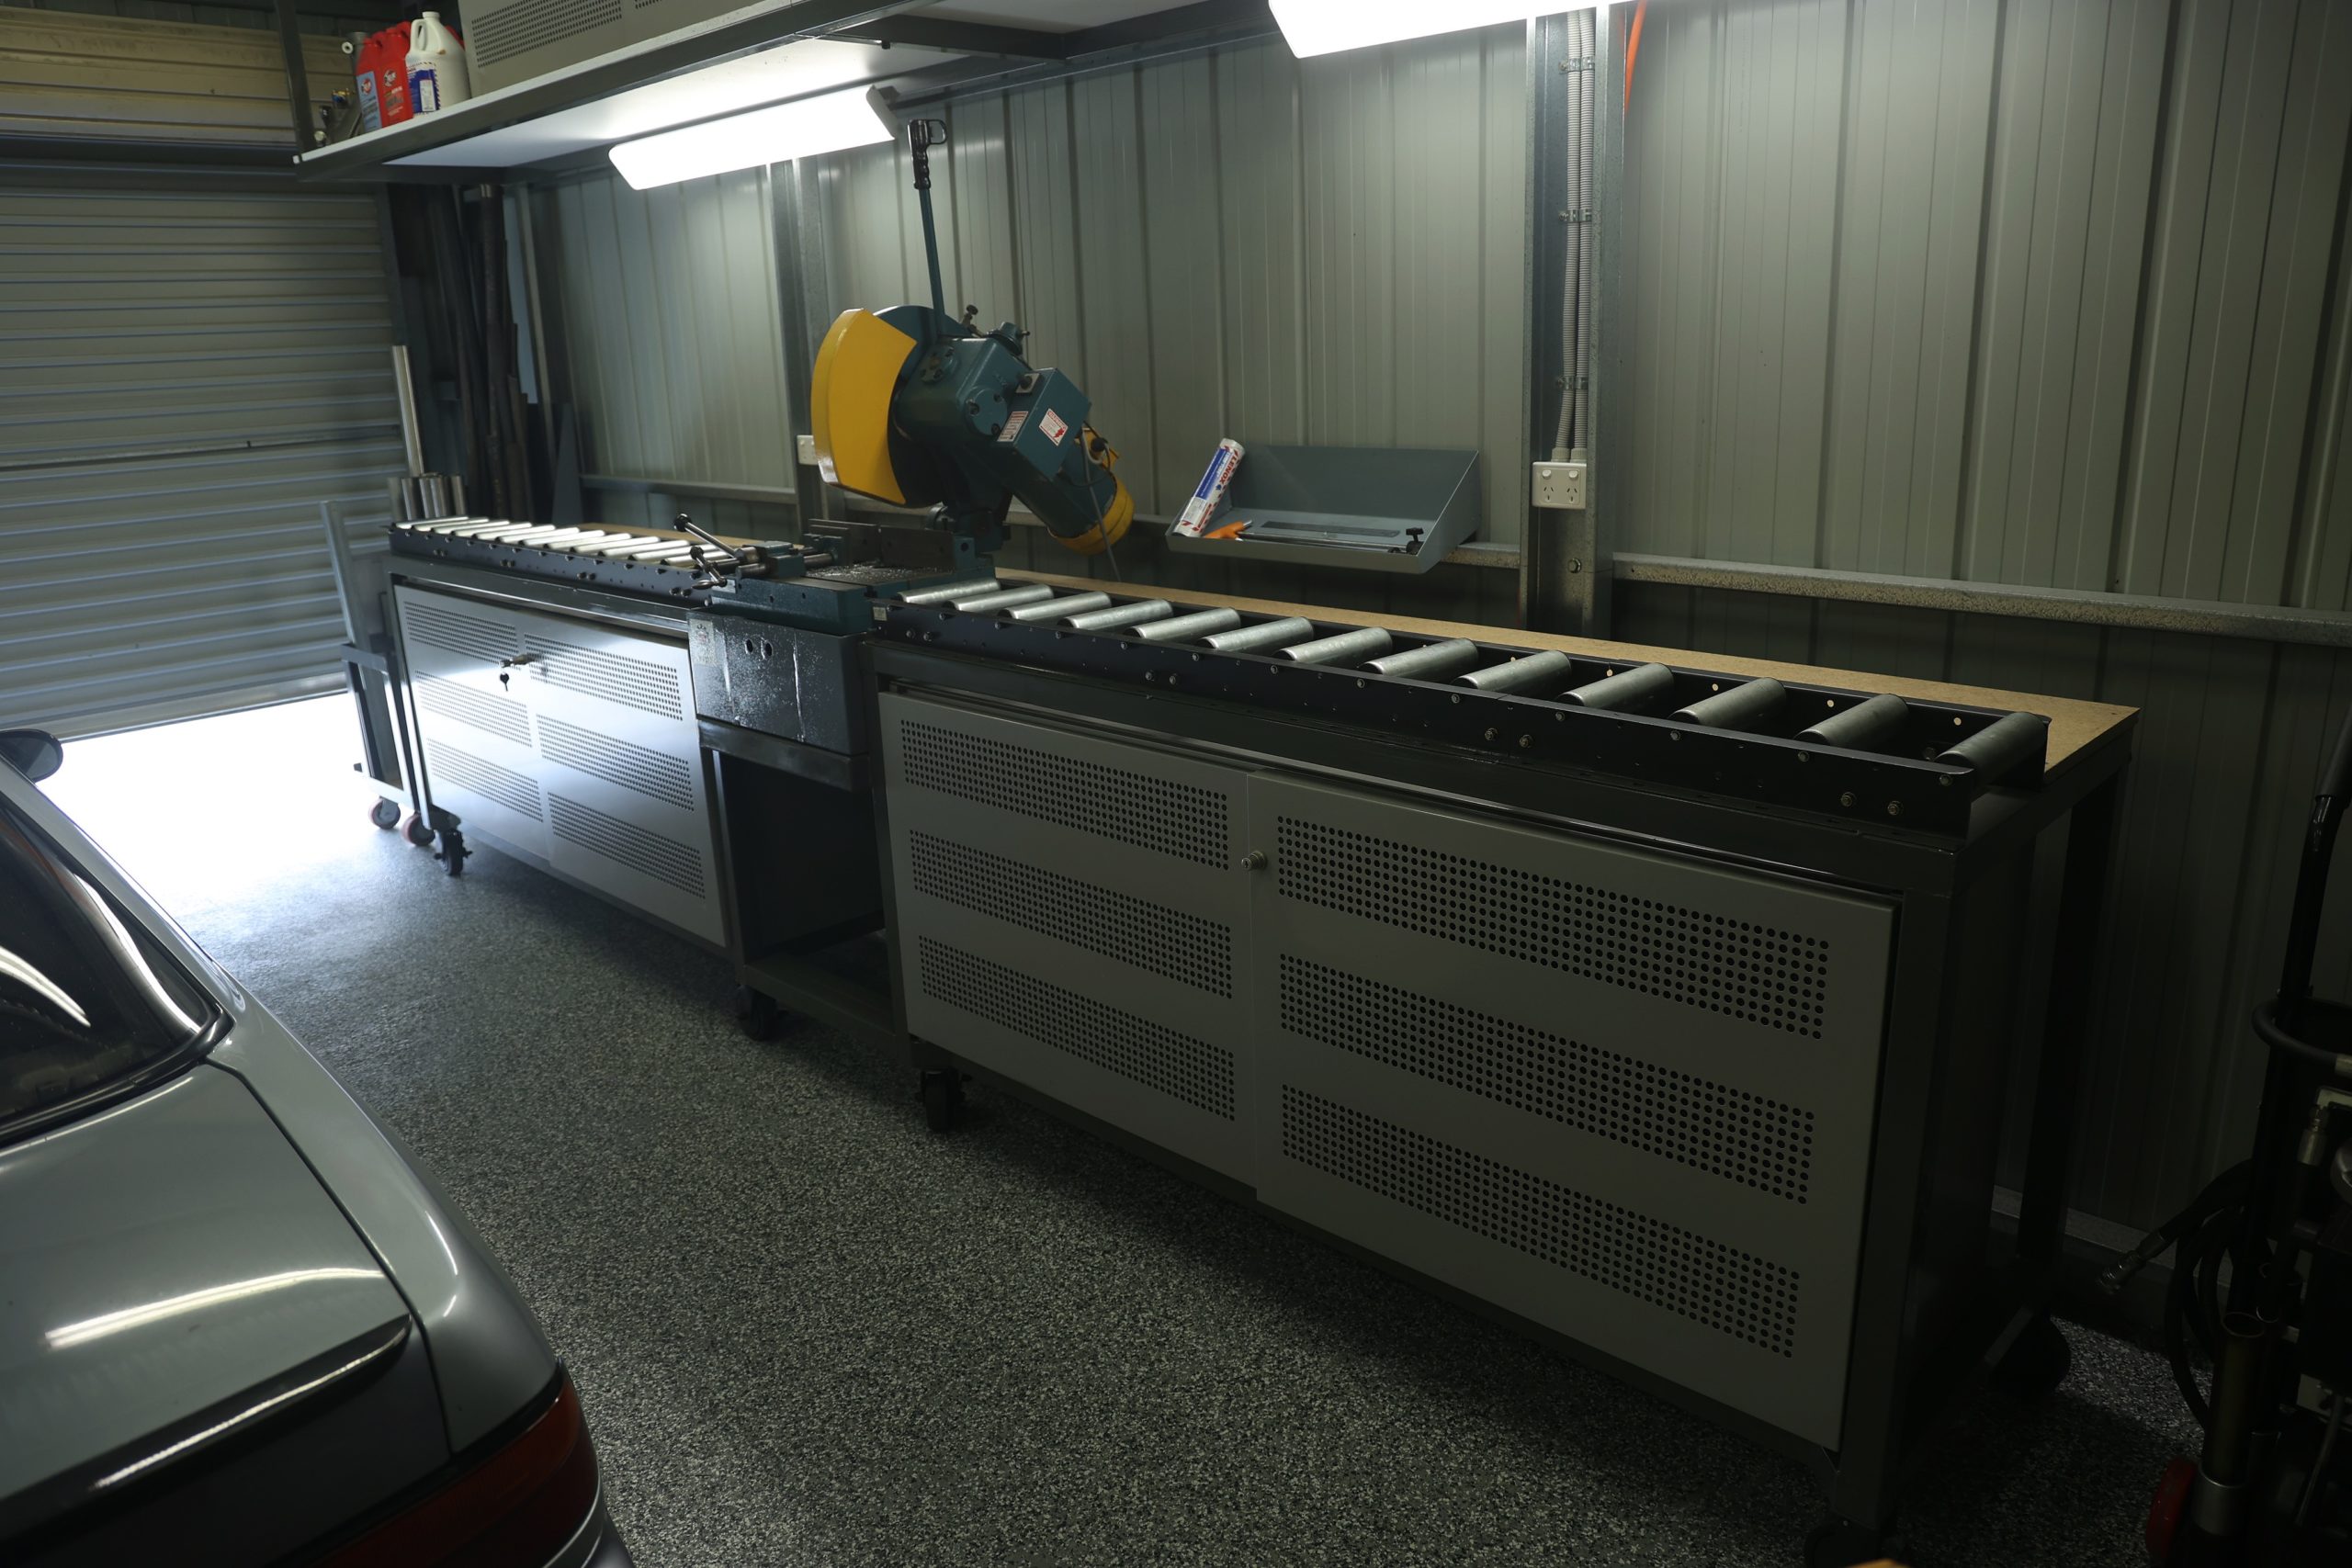
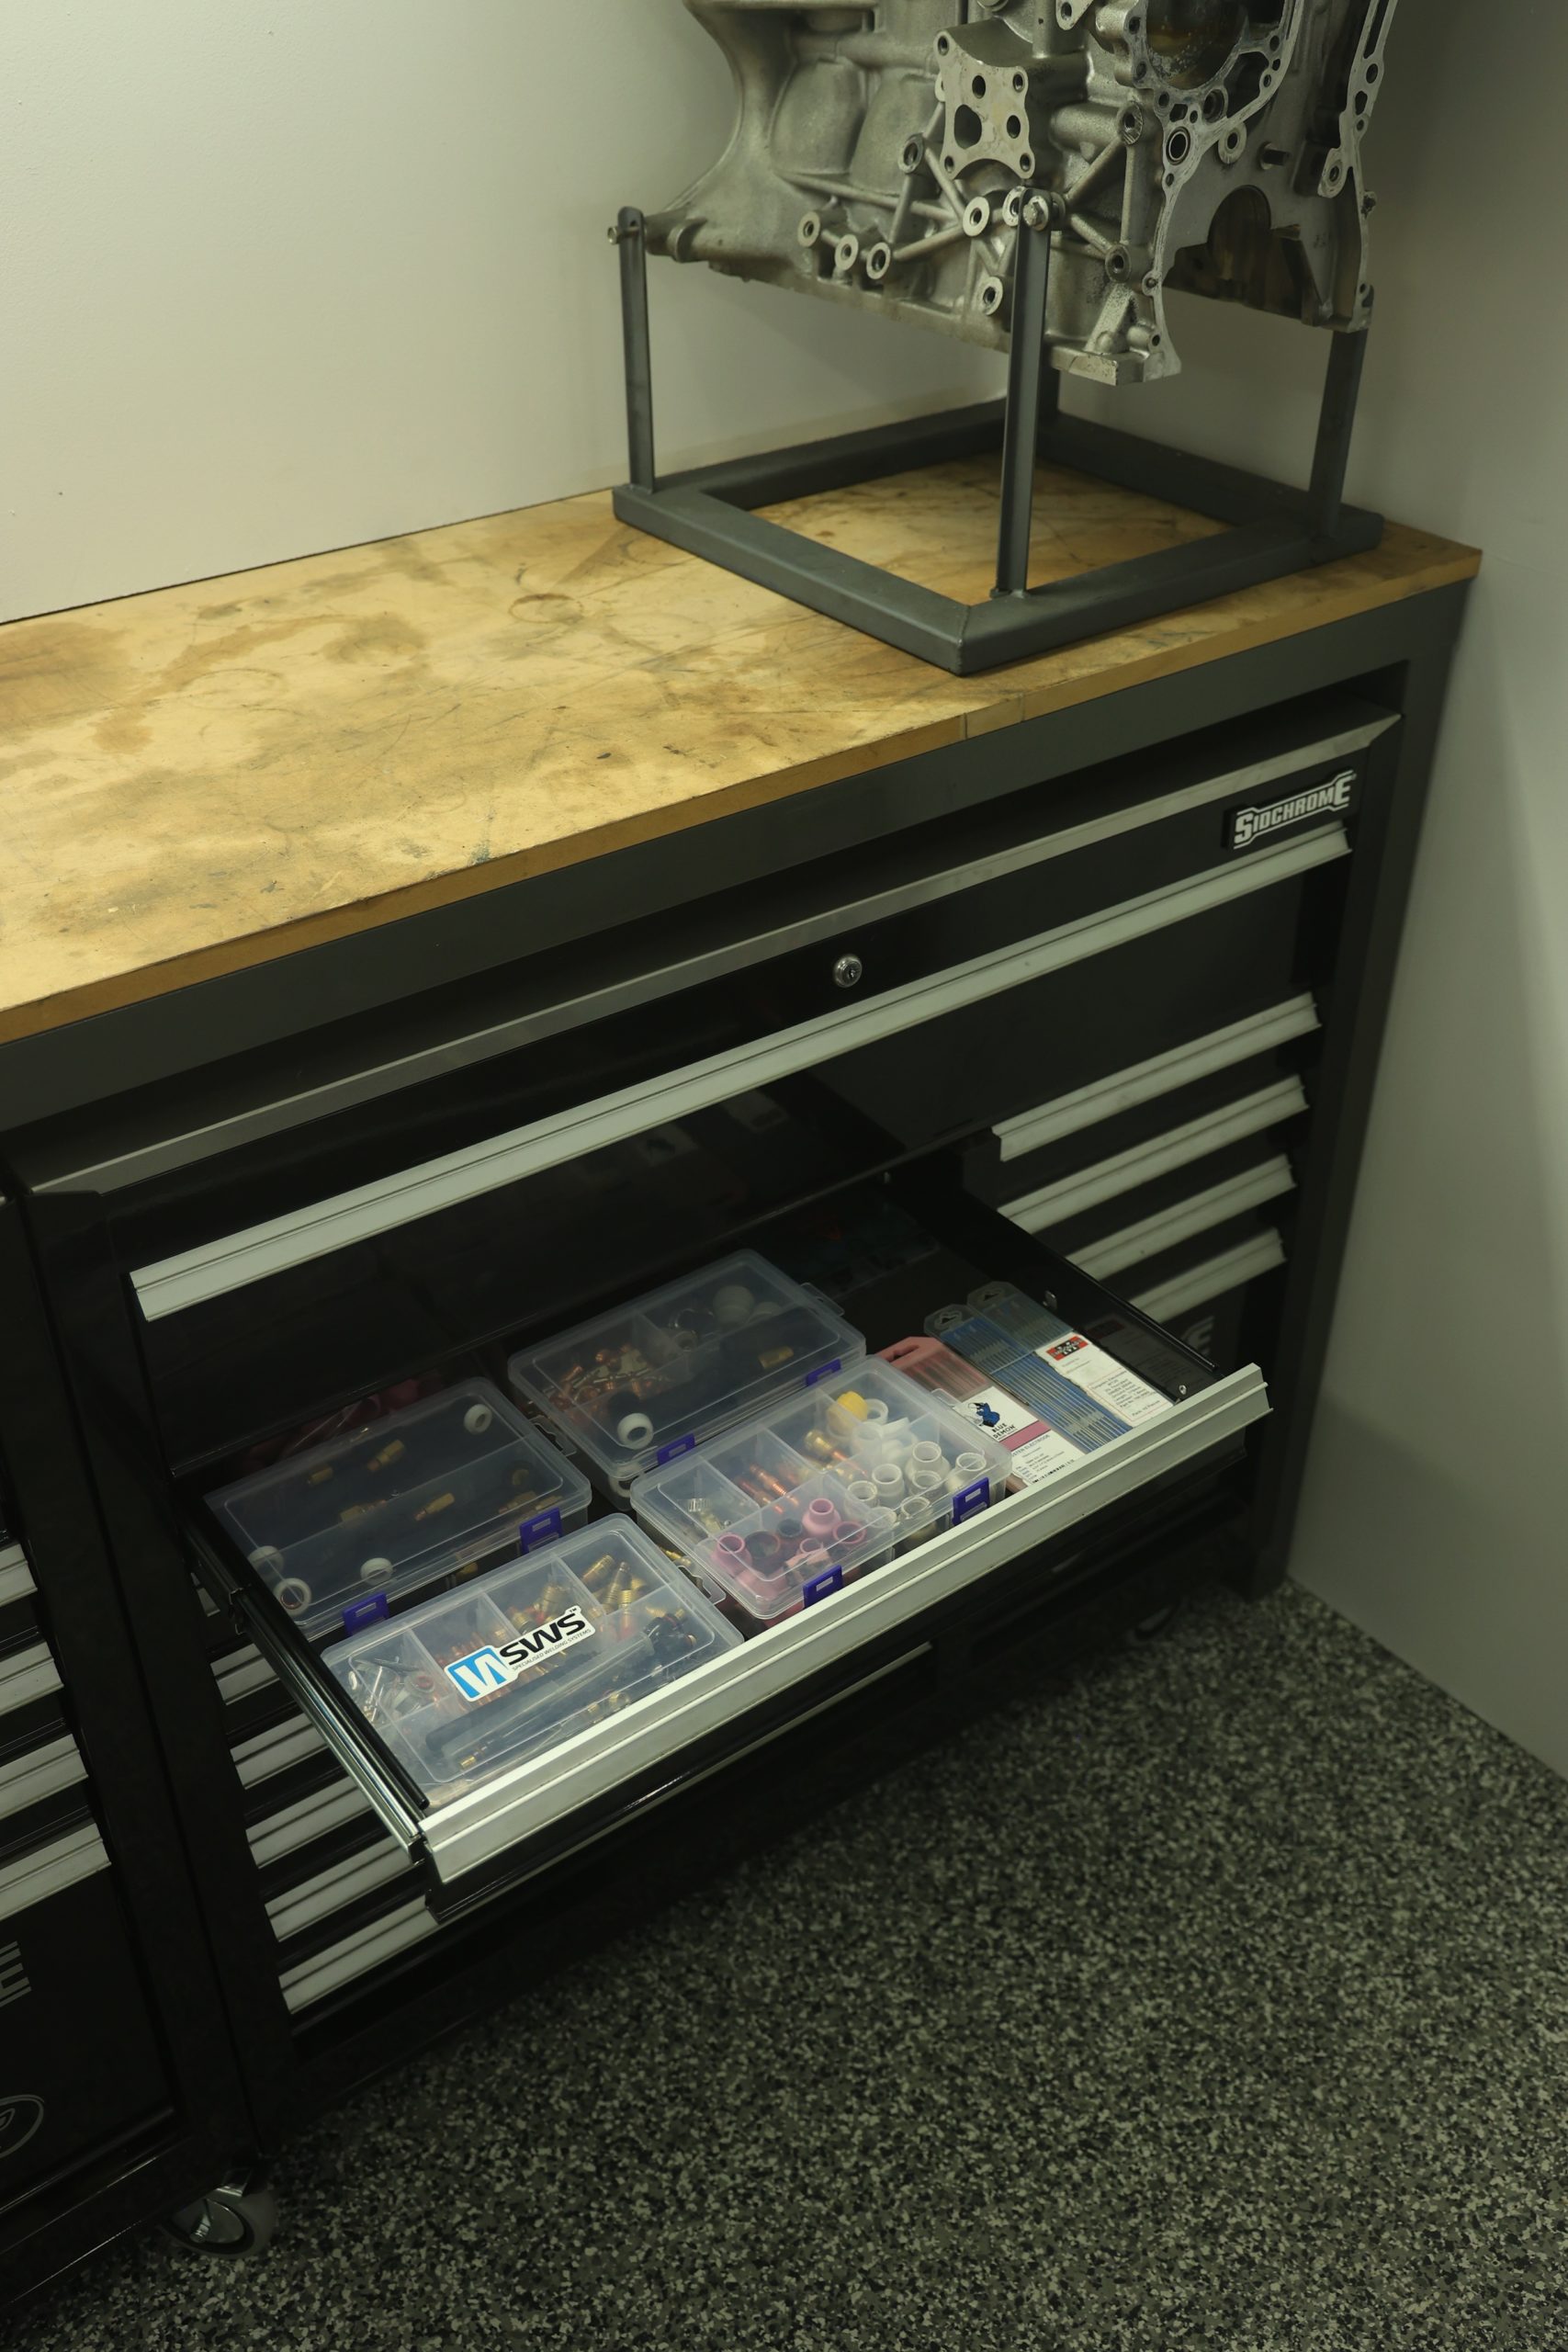
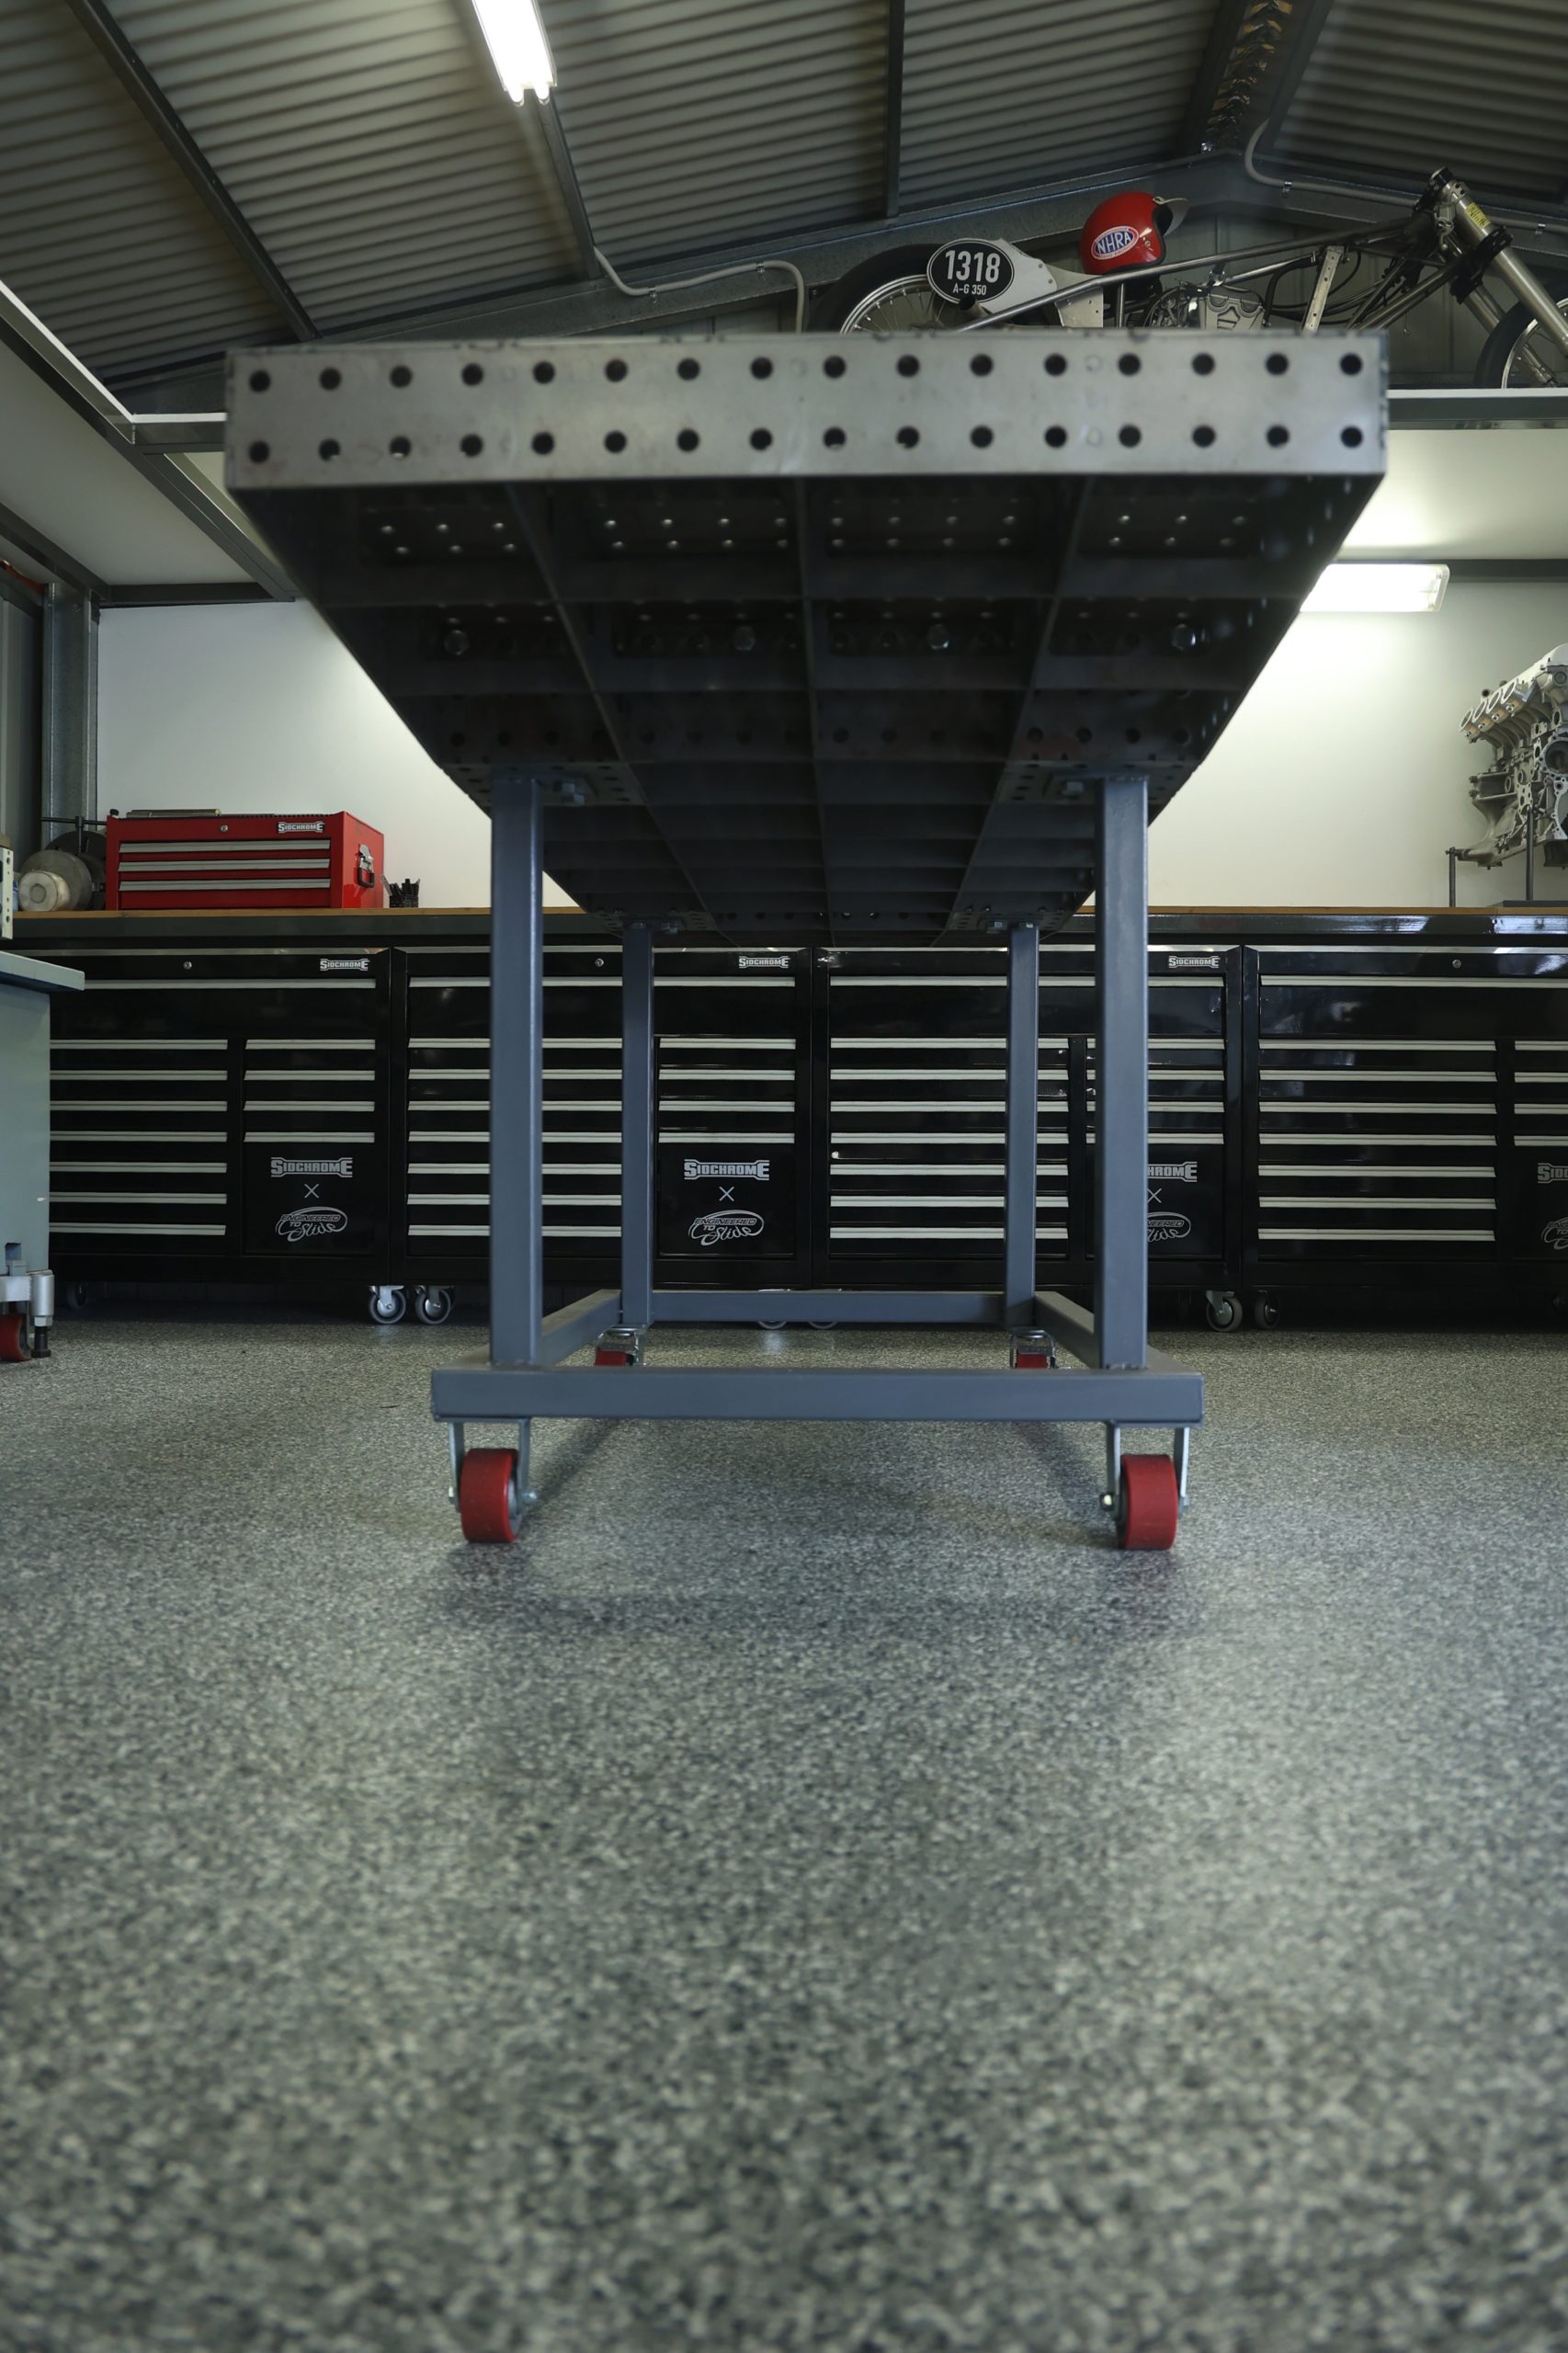
In this post we take a detailed look into my home garage with a 20 minute long walk through video and the itemised tool list that follows. This will give you a good idea on what it takes to complete the custom cars and motorcycles that come from my garage.
Custom cars and motorcycles are multi facetted creations that stir emotions within us, this leads us to love some things and hate others.

The word custom can be a pretty loose concept and in this post I am not talking about the cars or motorcycles with bolt on modifications that can be easily outsourced to local workshops.
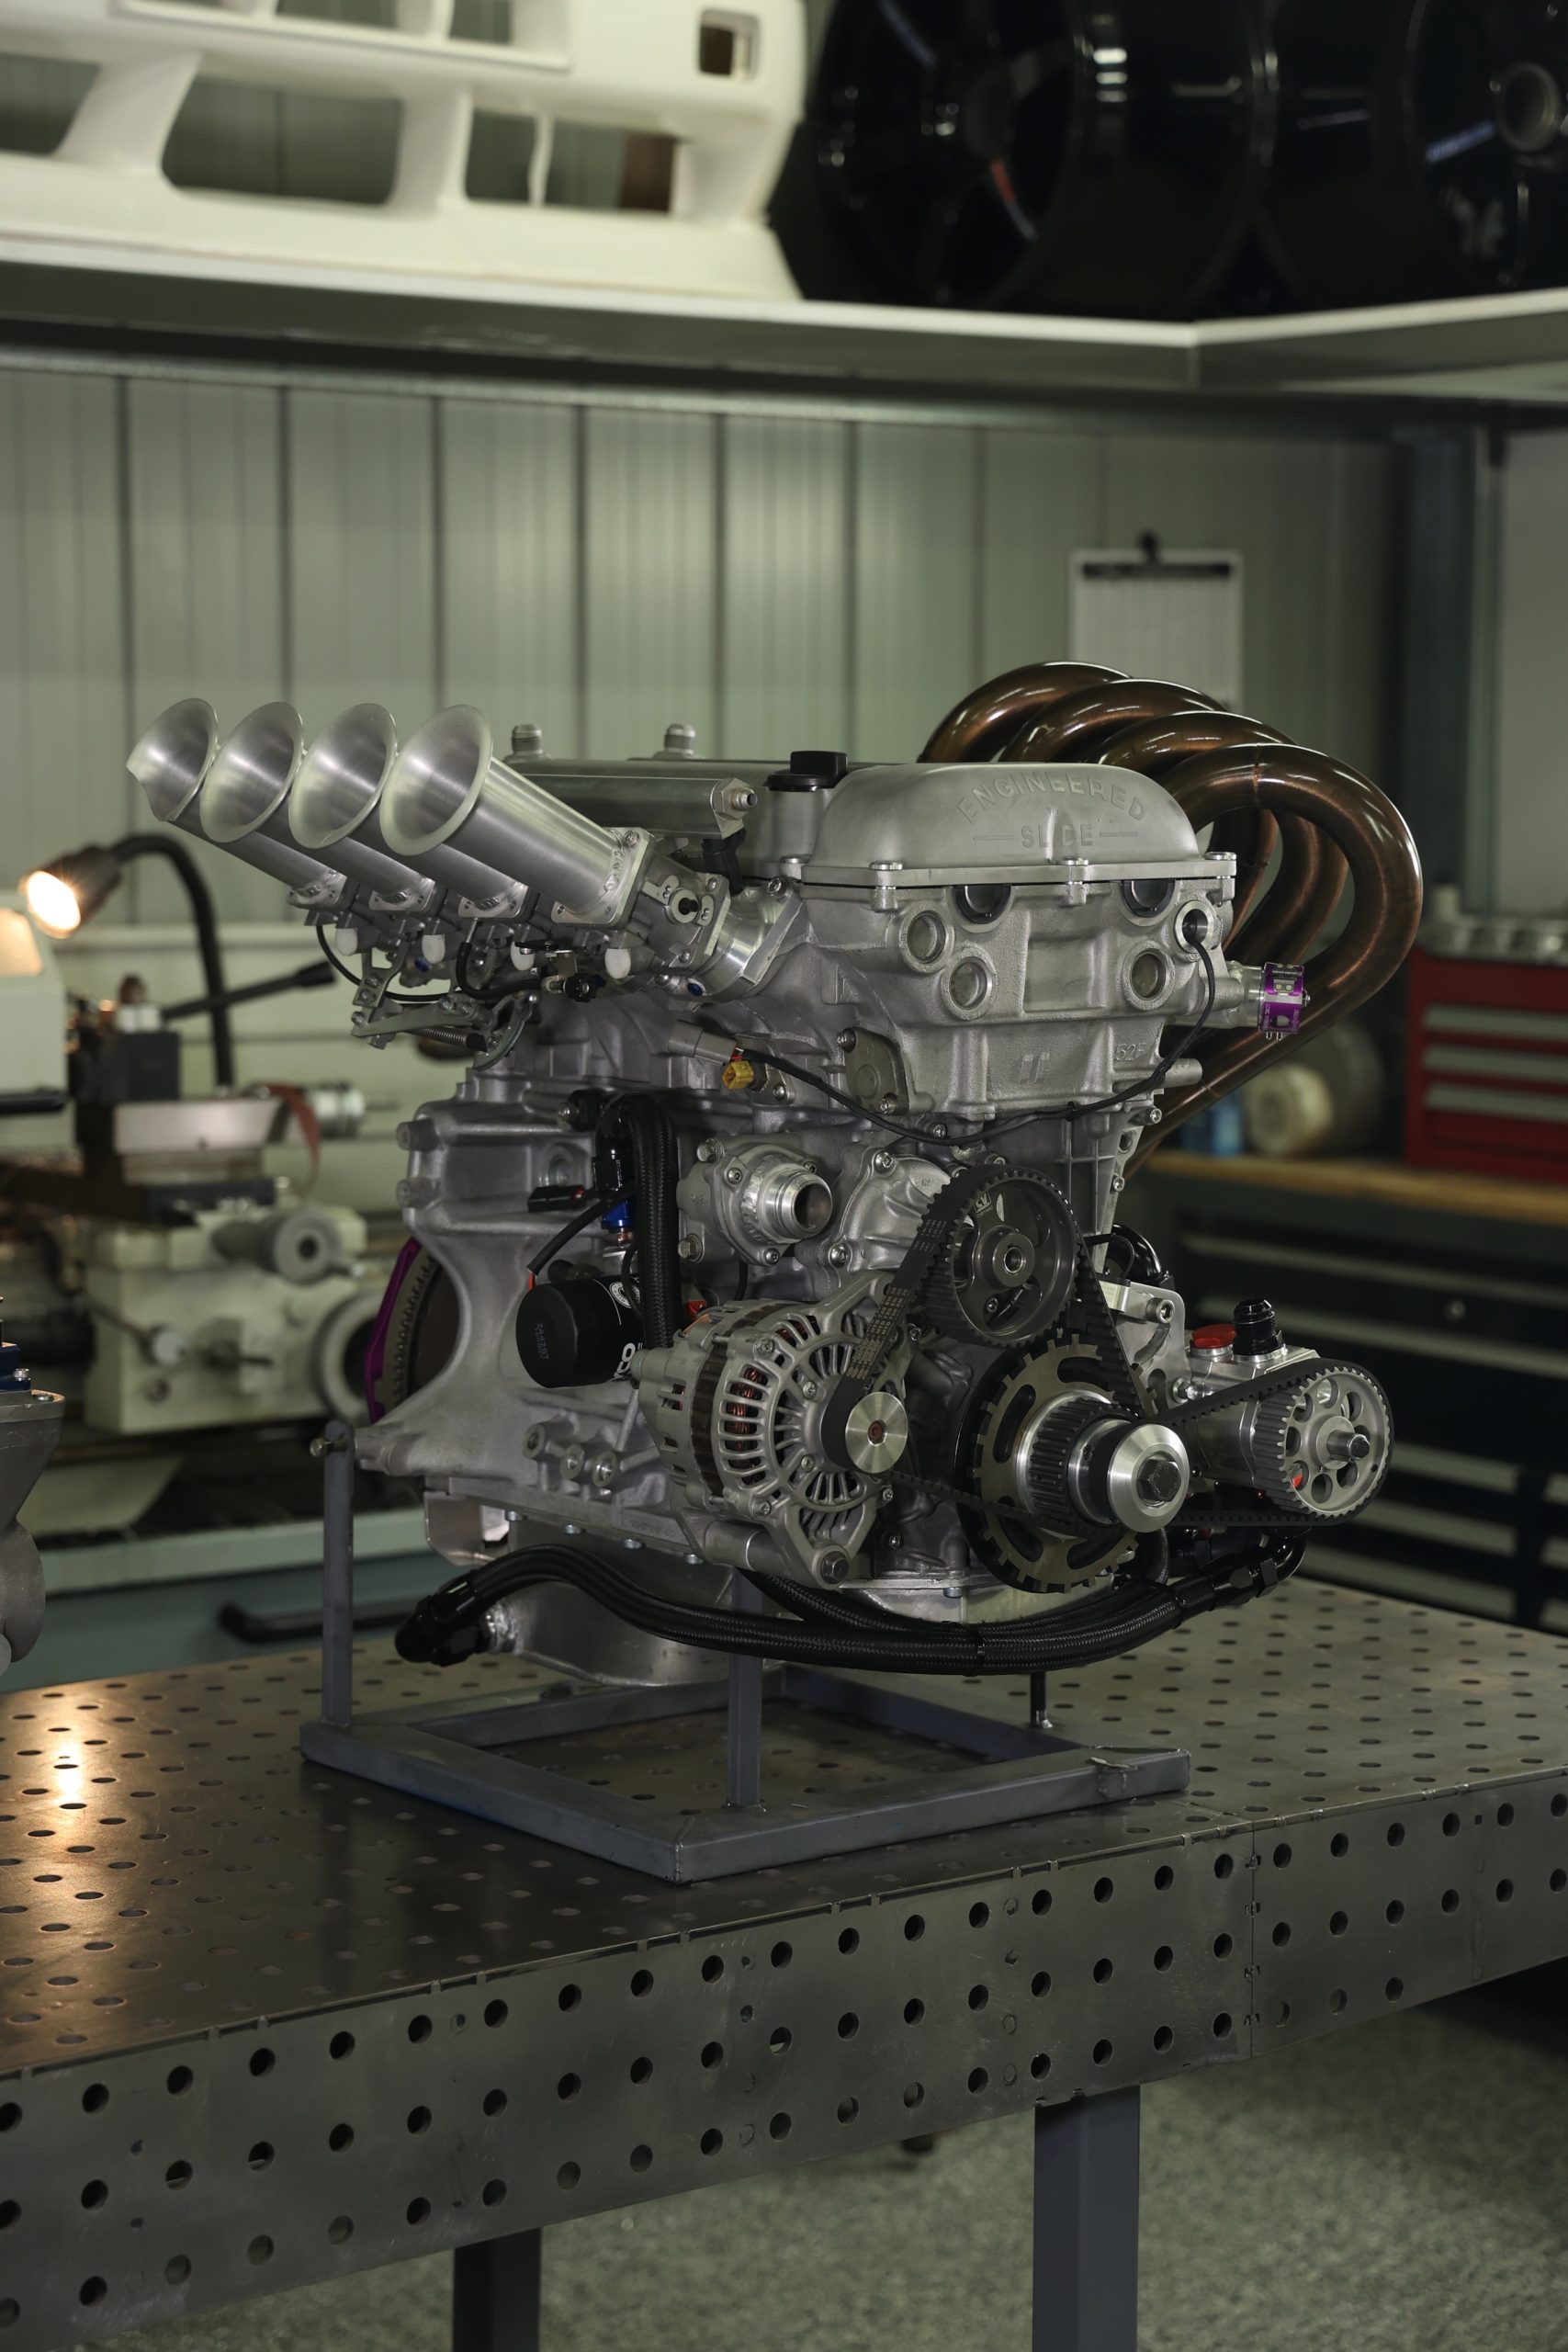
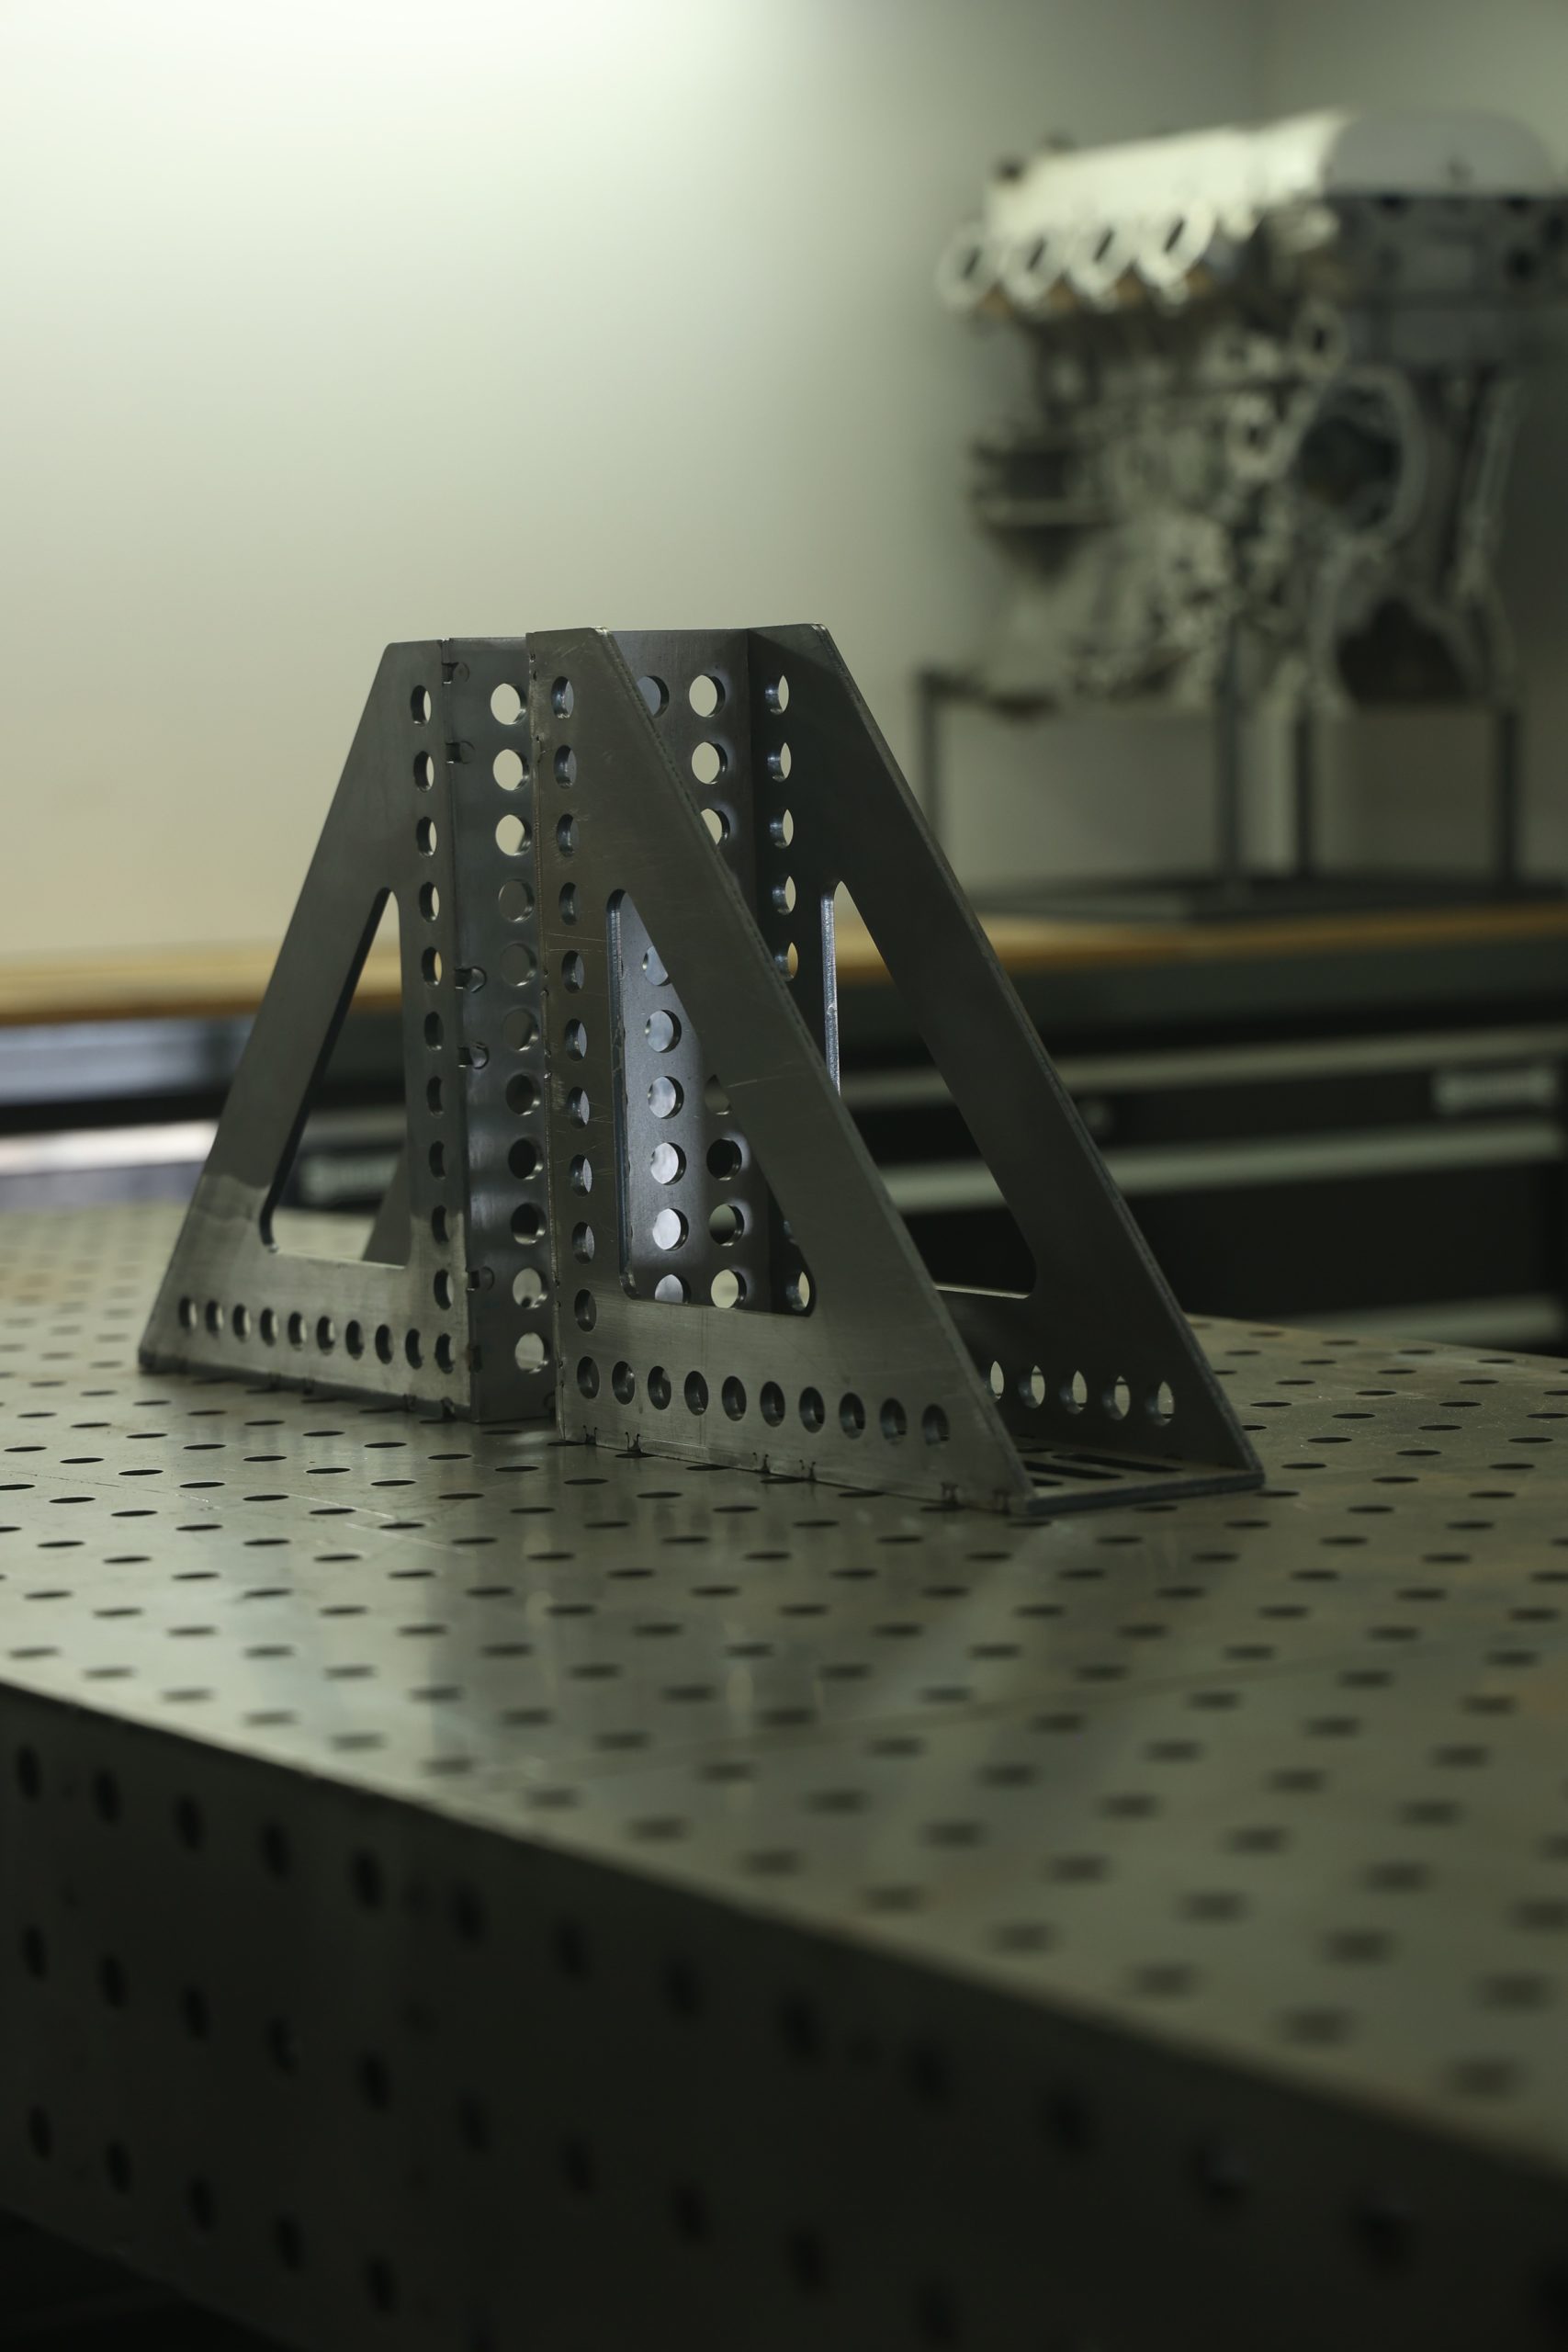
I am talking about the painstaking fabrication process that is required to turn out the more extreme machines and the workshops or home garages that this takes place in.
Throughout my career in the industry I have always searched for more information on the tools and skills required to turn mechanical ideas into a reality.


After collating over 20 years of this first hand experience into my fabrication courses I have put together this post to give you a detailed look at my workshop and the tools within it.
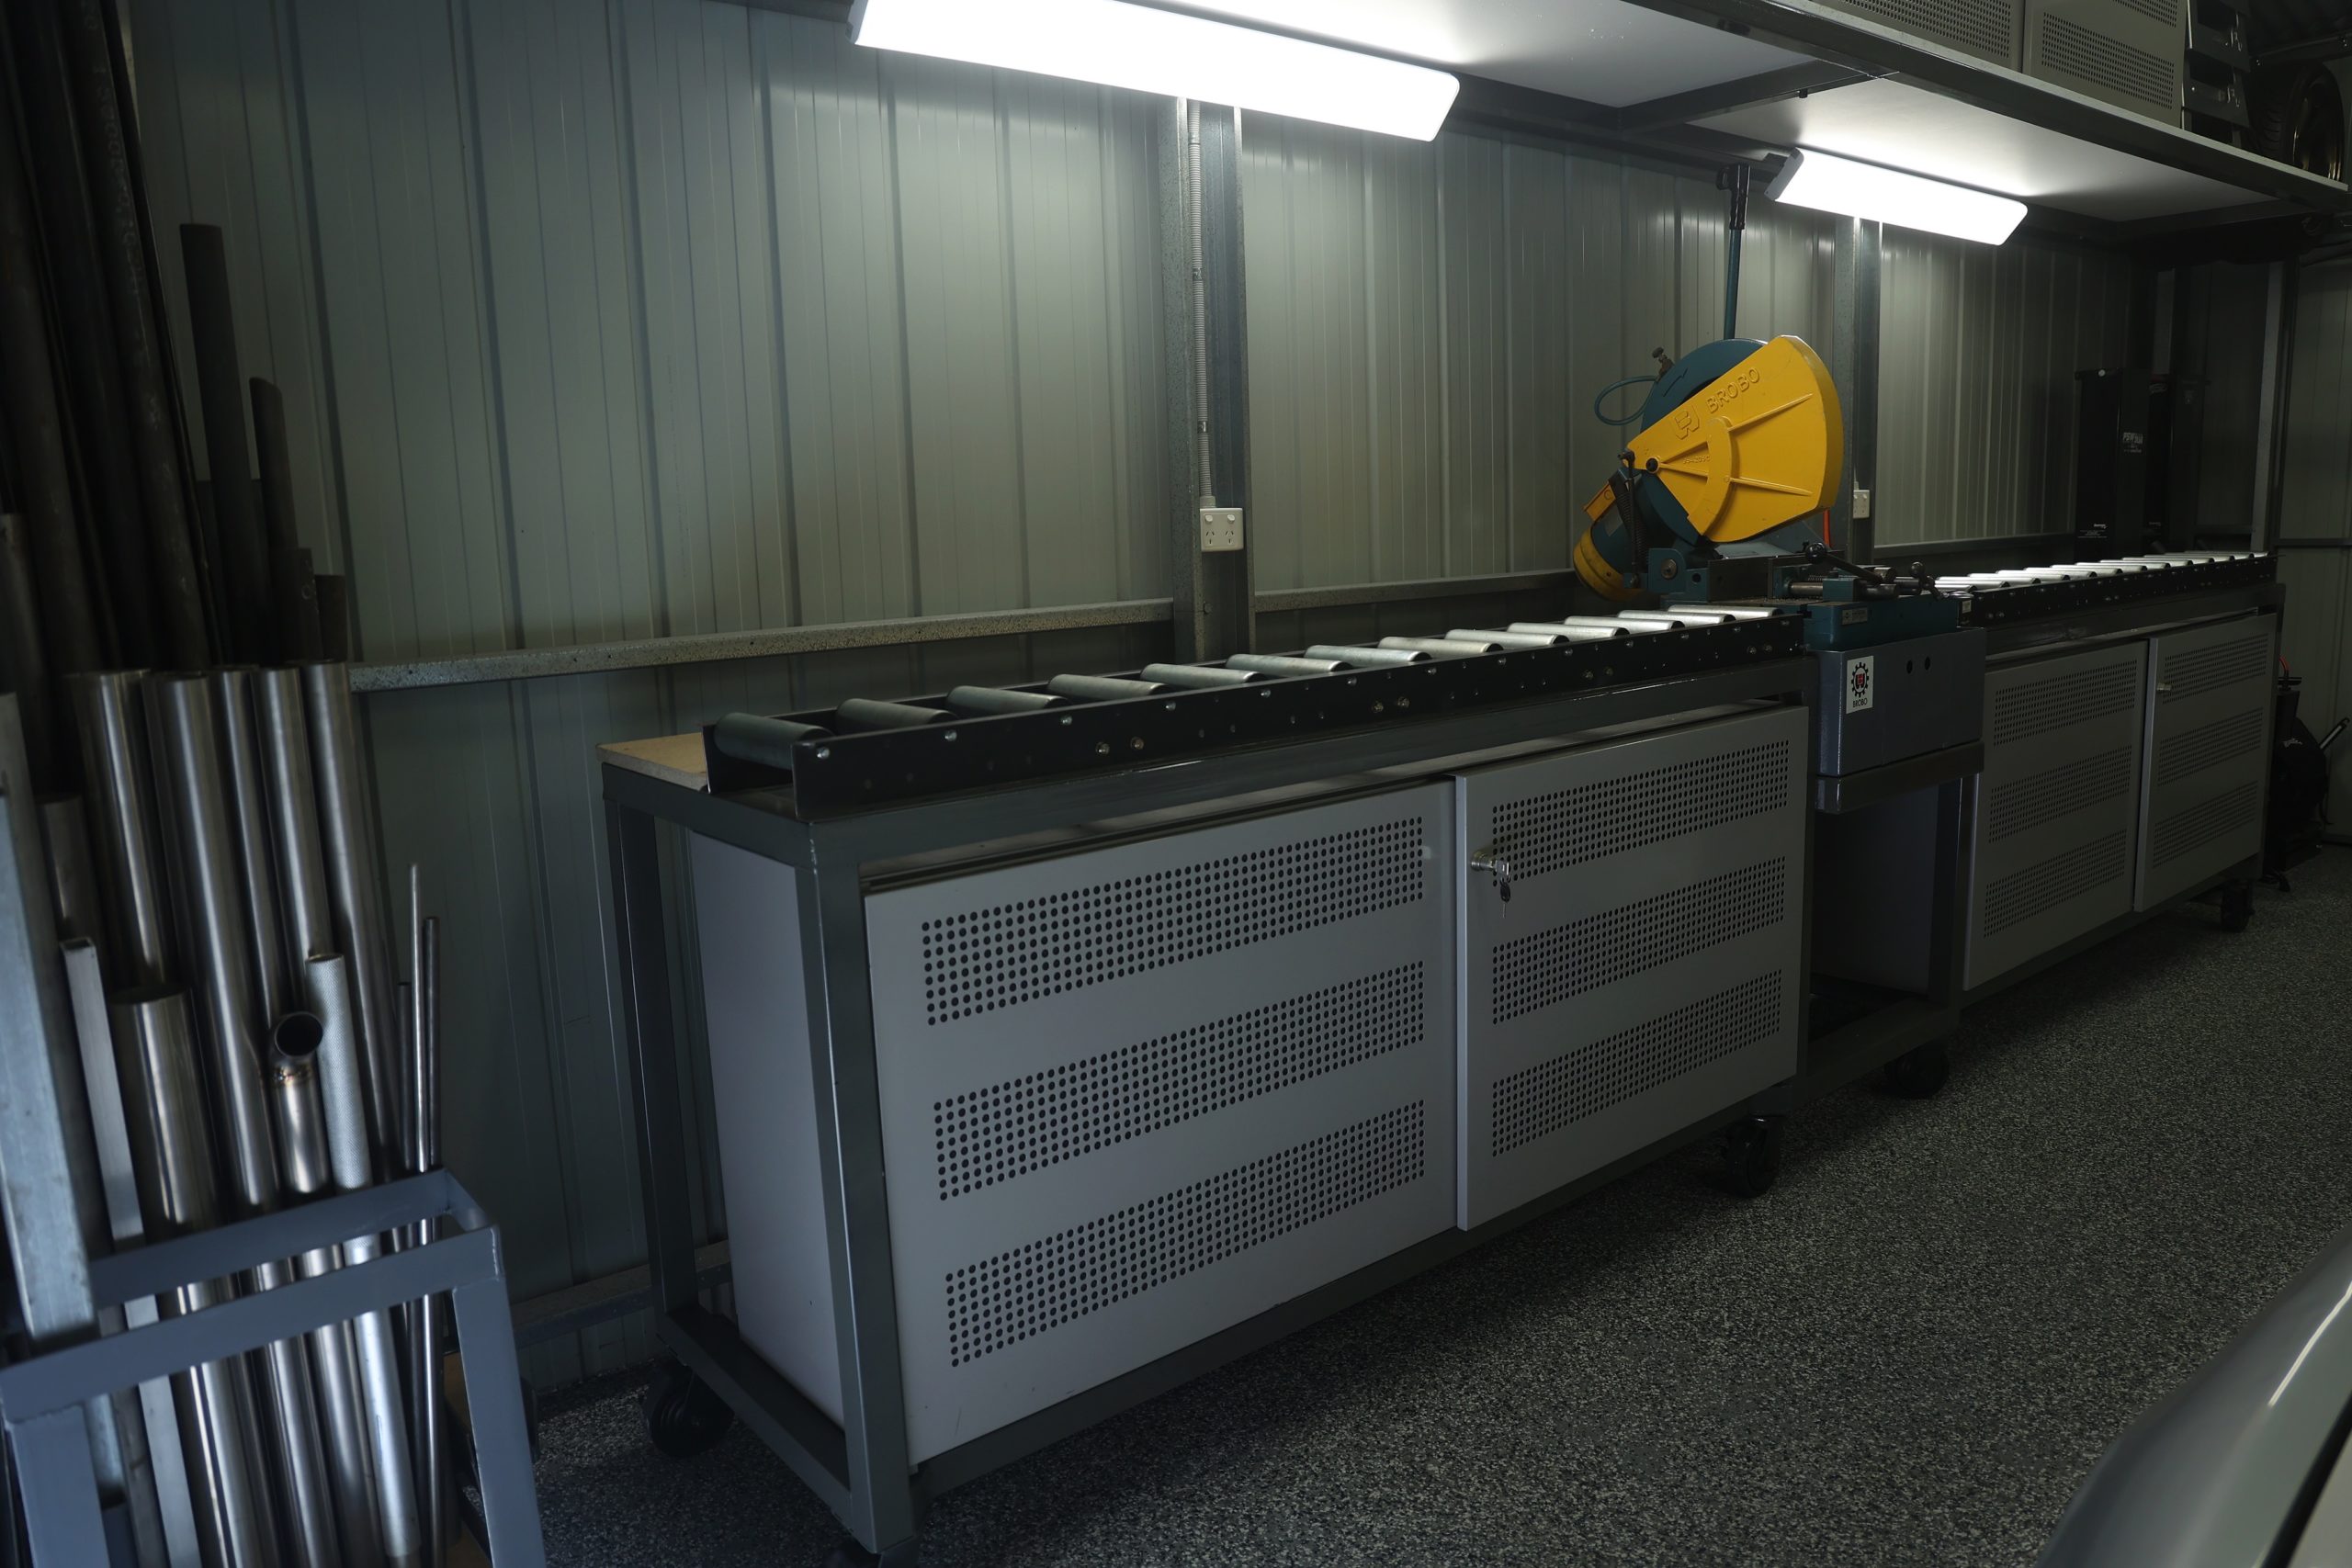
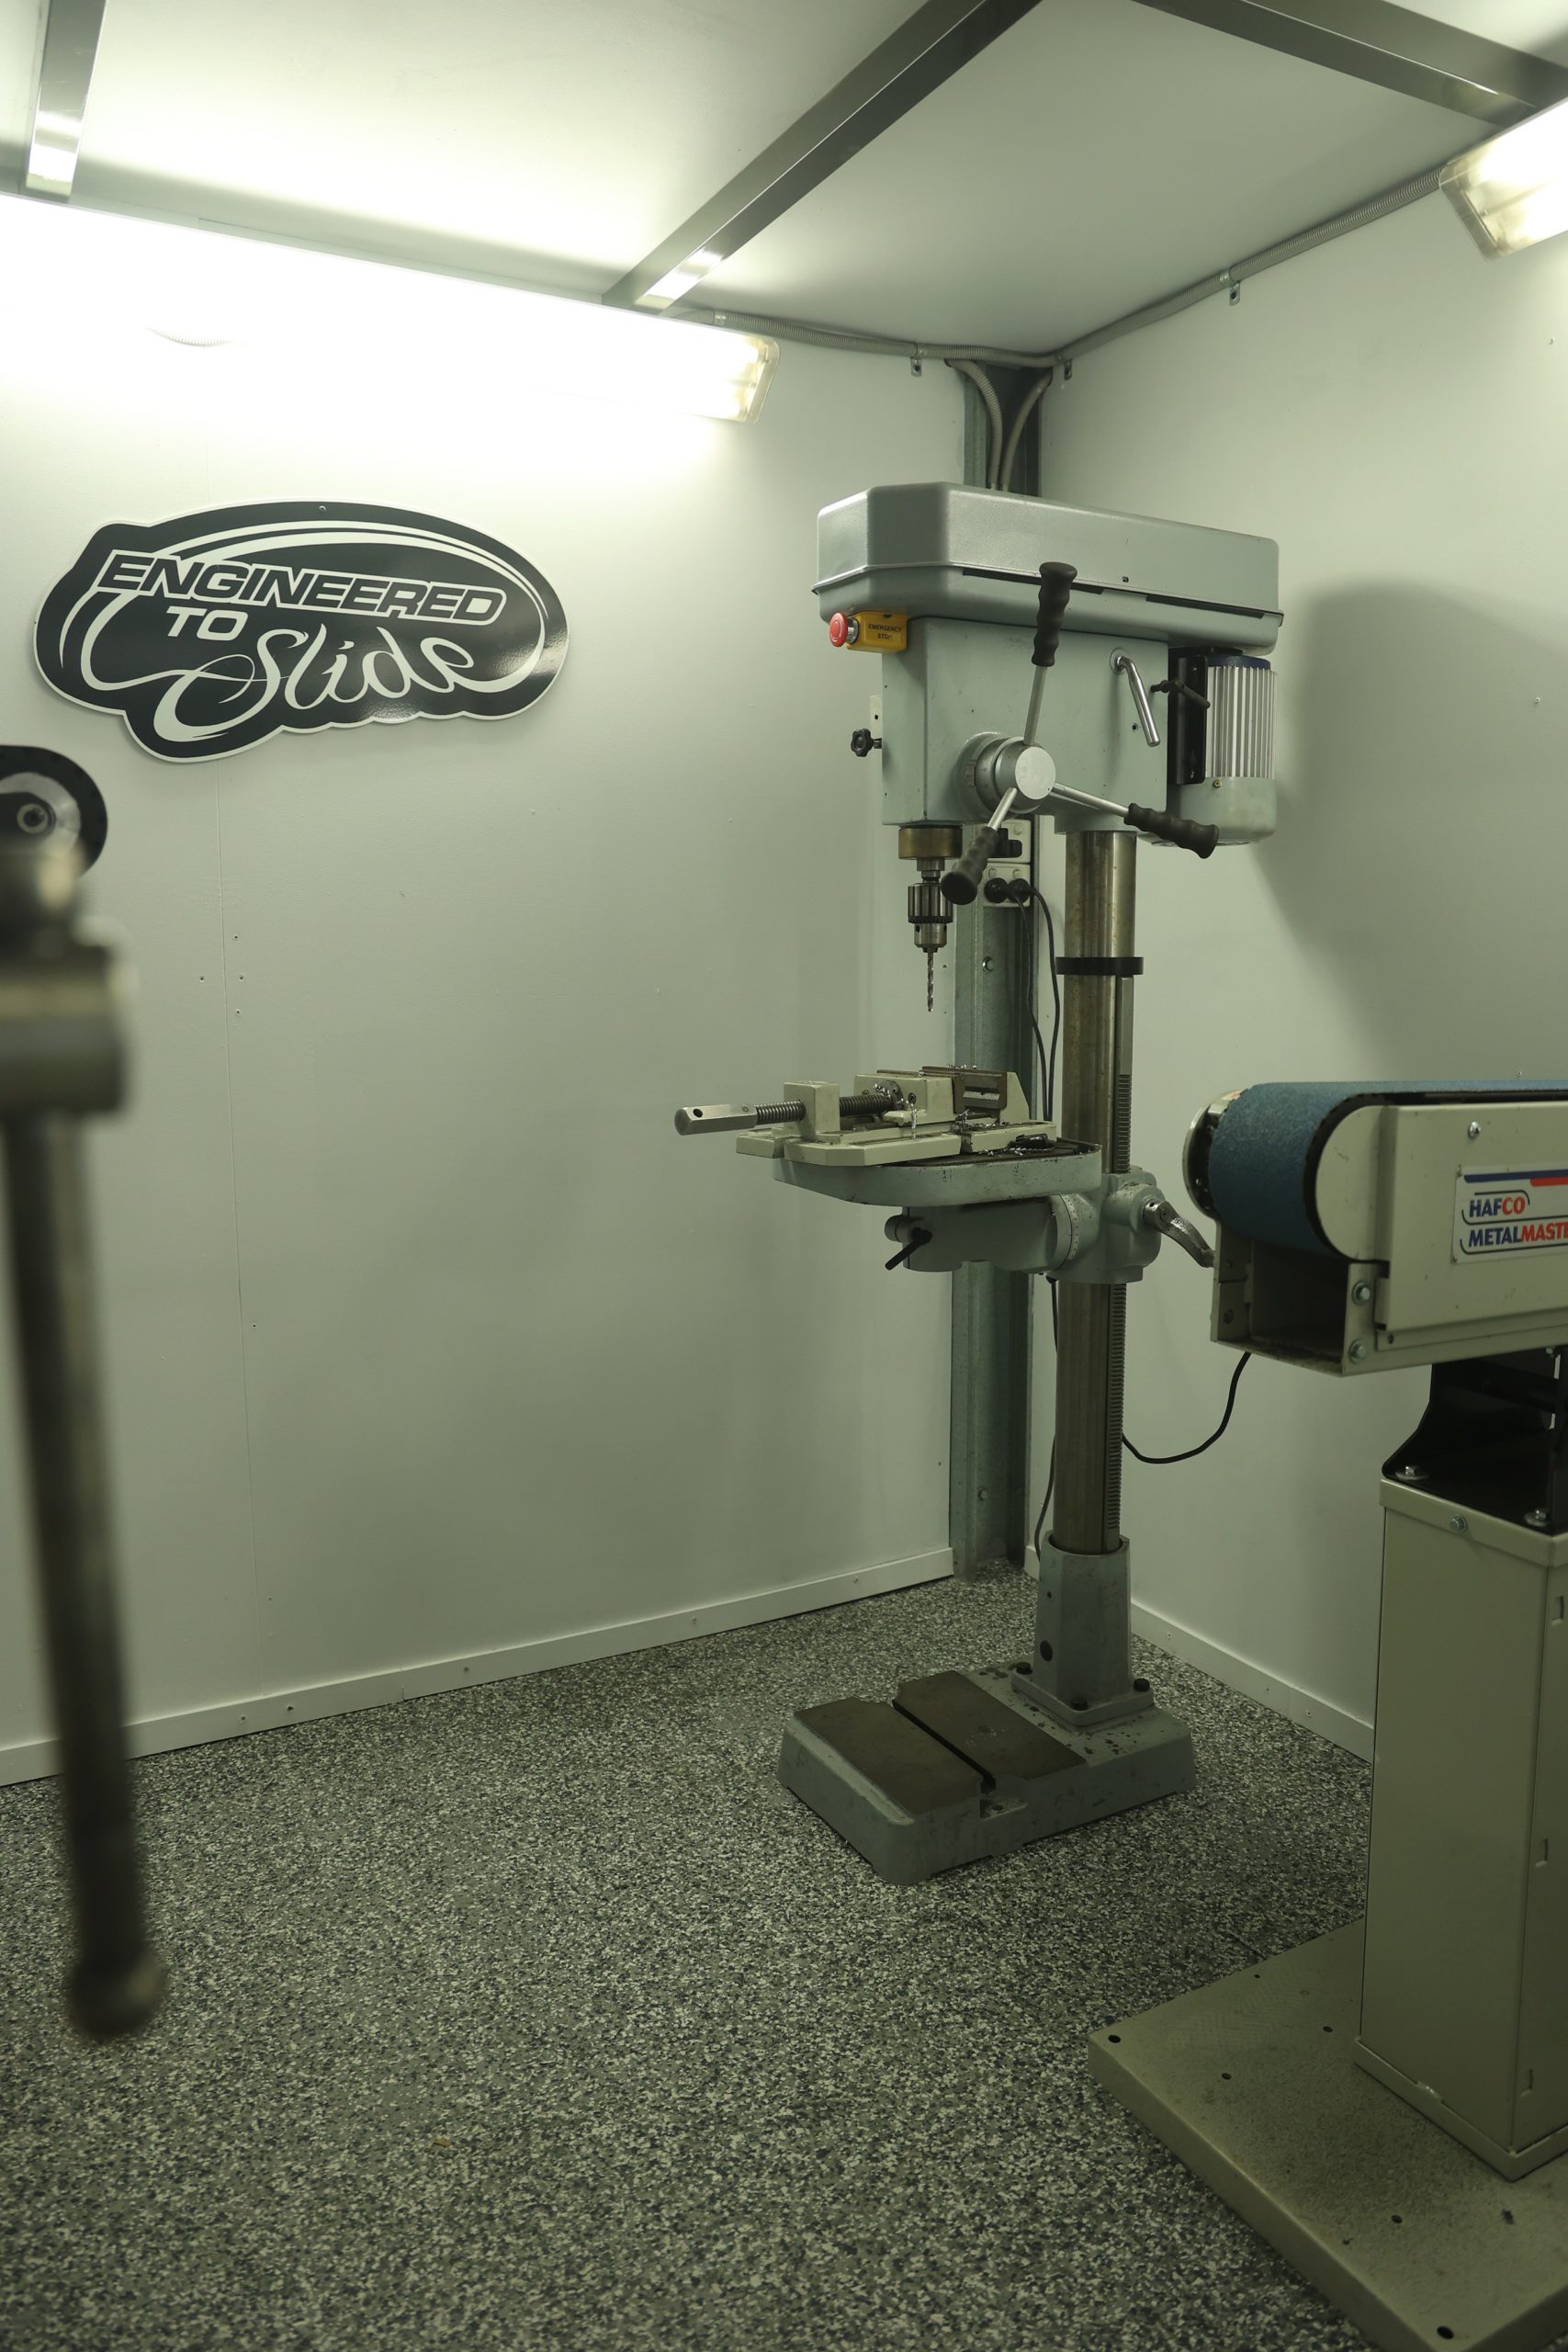
Far too often I speak to people who are overwhelmed at the expense of the tools needed to turn their dreams into a reality and I know the feeling all too well, I have built up my capabilities year on year and gone from a single car garage with a vice, angle grinder and a drill all the way up to what you see here.
I recently put together a post with some essential fabrication starter tools and if you are just getting started in fabrication then this is a brilliant starting point for you.
I hope you enjoy the above video I have put together detailing my current home garage.
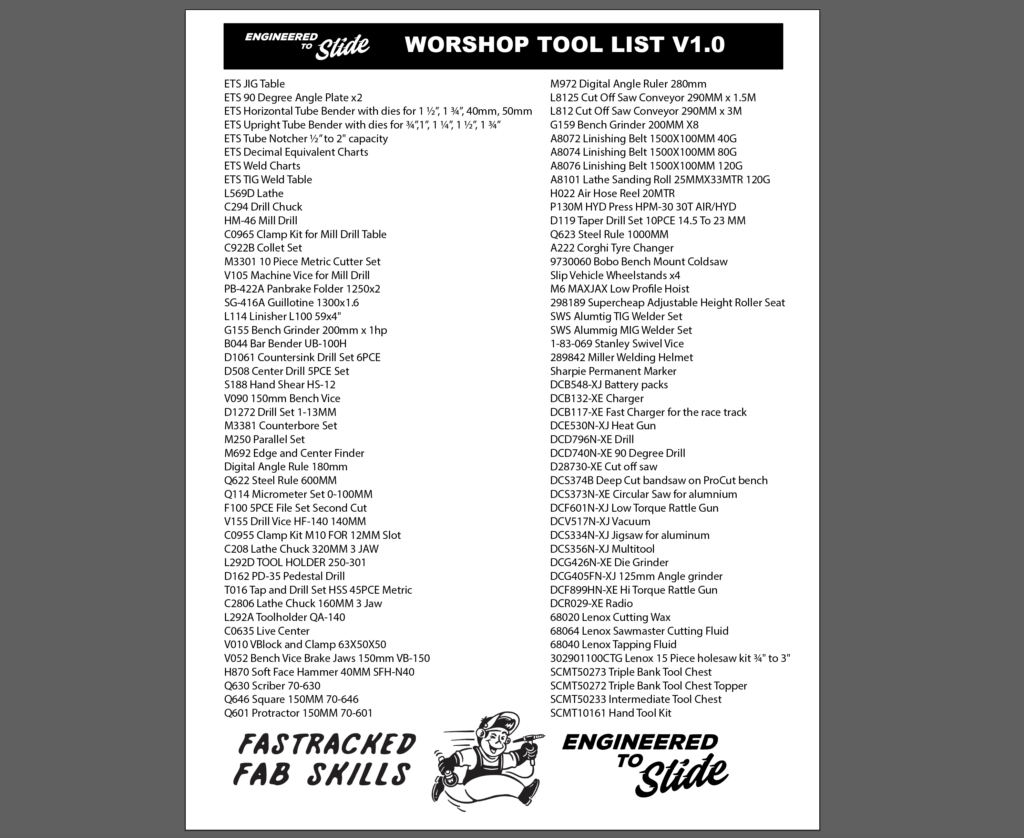
You will find the tool list below, I have added the part numbers so you can look up the specifics of the tool to see if it will fit your budget and workshop requirements.
Thanks for reading and happy fabricating.
Mark Eussen
Great look inside your shed. Fantastic insight to a well tooled and purpose build home workshop.
Any change of an overhead floor plan drawing?
Keep up the great work.
Nigel
Thanks Marc, sorry I don’t have an overview plan but I hope this tour shows you the layout well enough. Cheers
Michael
Hi Nigel, love your setup thanks for the detailed guide. I was also curious if u remember who/where you purchased your shed from.
Thanks.
Nigel
Thanks Michael, I actually purchased the property with the shed completed and I just fitted it out. I don’t know the brand but its your typical generic C section Australian garage. If you need more dimensions let me know and I will get them for you.
Michael
Sure if it’s not too much trouble the dimensions would be nice to know.
Thanks.
Nigel
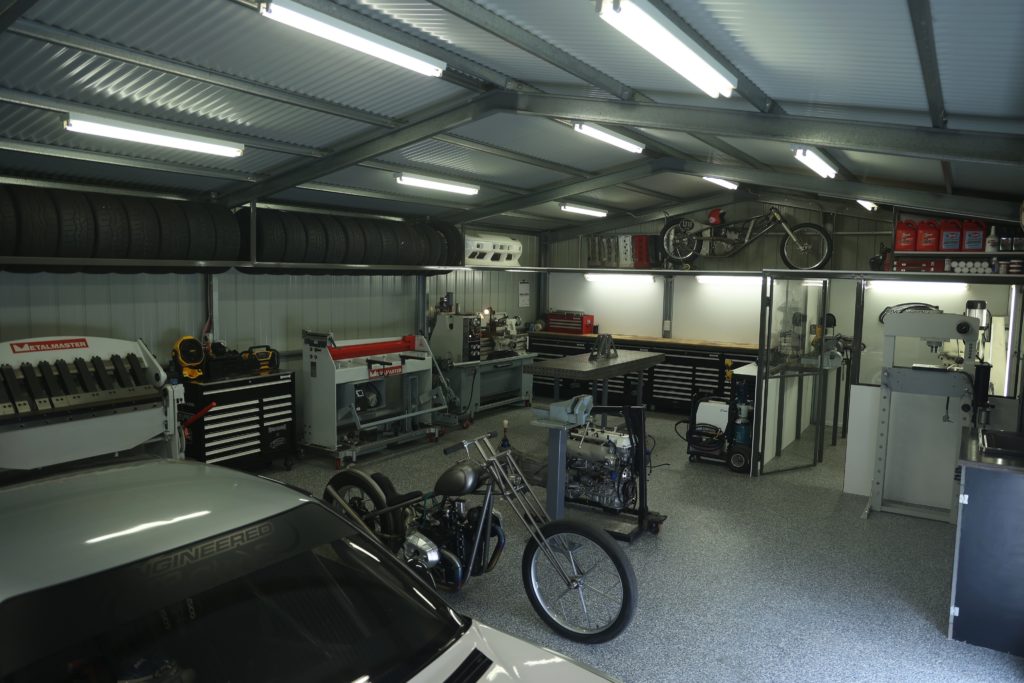
The dimensions are at the start of the video at the 2:00 mark and they are 12m x 7m with 2.7m eaves and 3.4m pitch. Thanks.
Josh
Hi Nigel,
Looks amazing and gives me so many ideas.
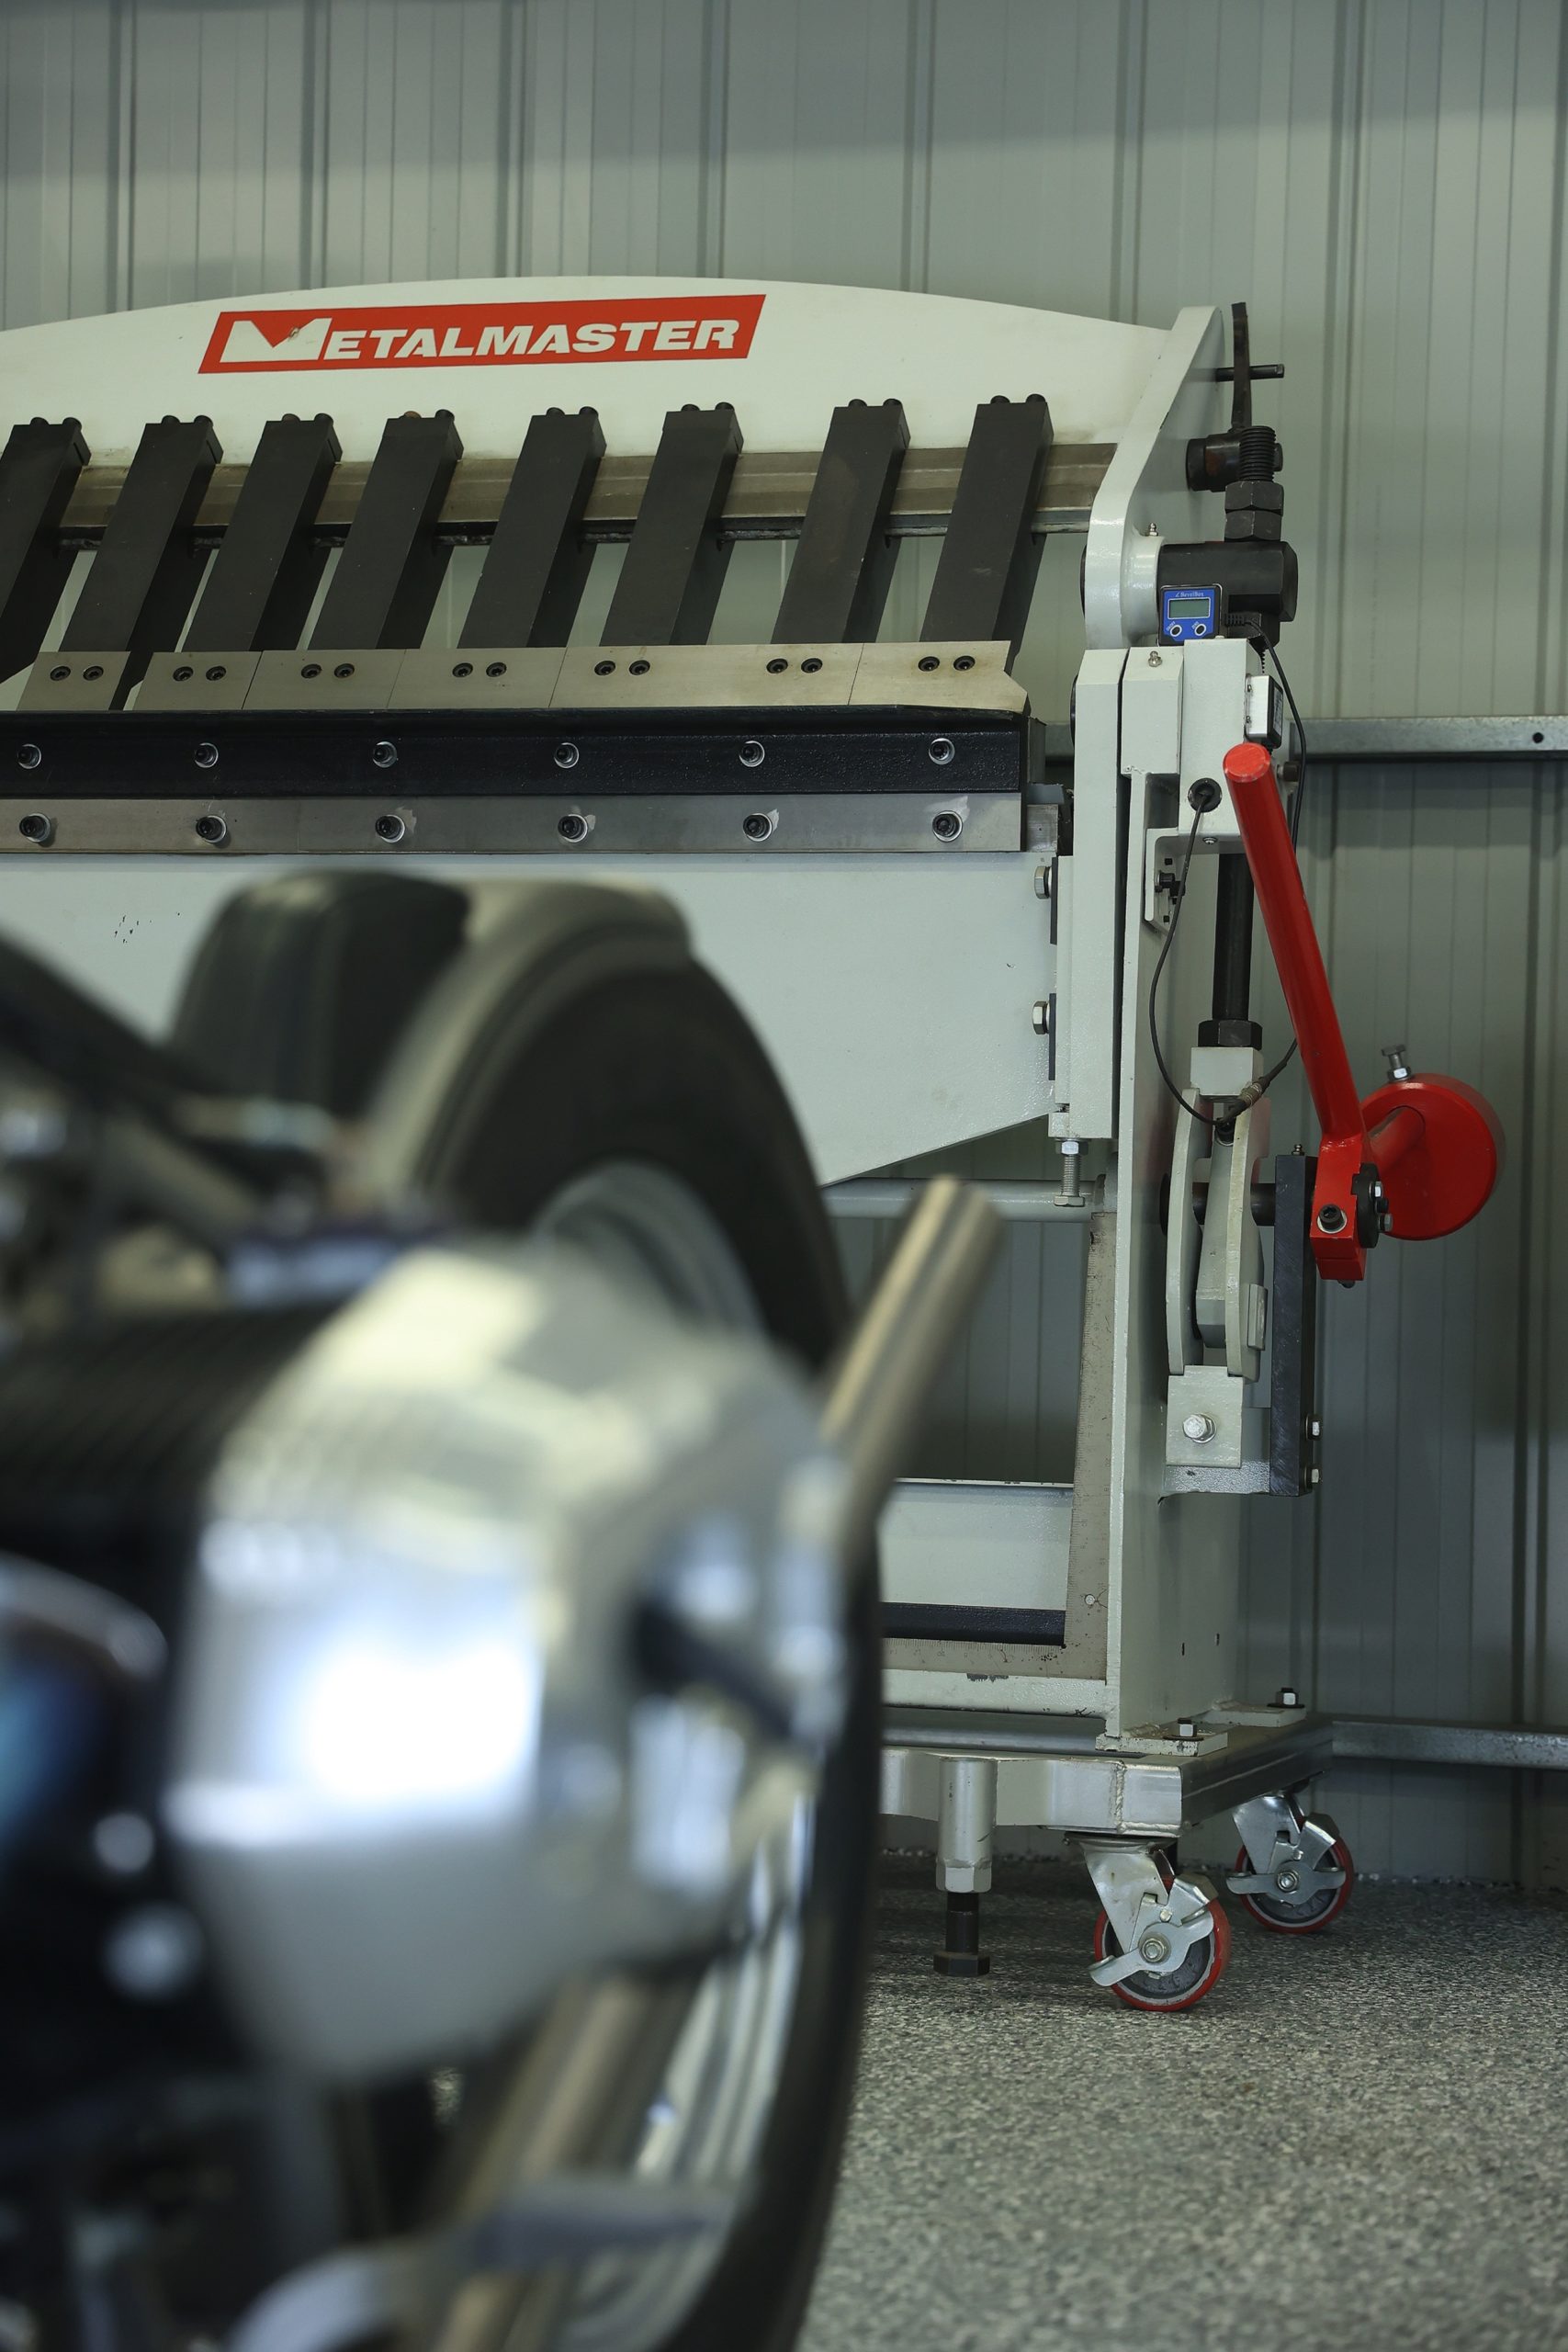
Just wondering where abouts your brought the heavy duty castor wheels from that are on your workbench and other machines in your garage?
Thanks mate
Nigel
Hi Josh, I pick them up from my local metal wholesaler but they can be purchased online too. The ones I use are rated to 225kg each and feature 4″ wheel diameters. They have an overall hight of 130mm and come in swivel, fixed and braked. I usually run two swivel and braked and two fixed for most of my projects. Thanks mate.
Nigel
Hi Nigel, great name!
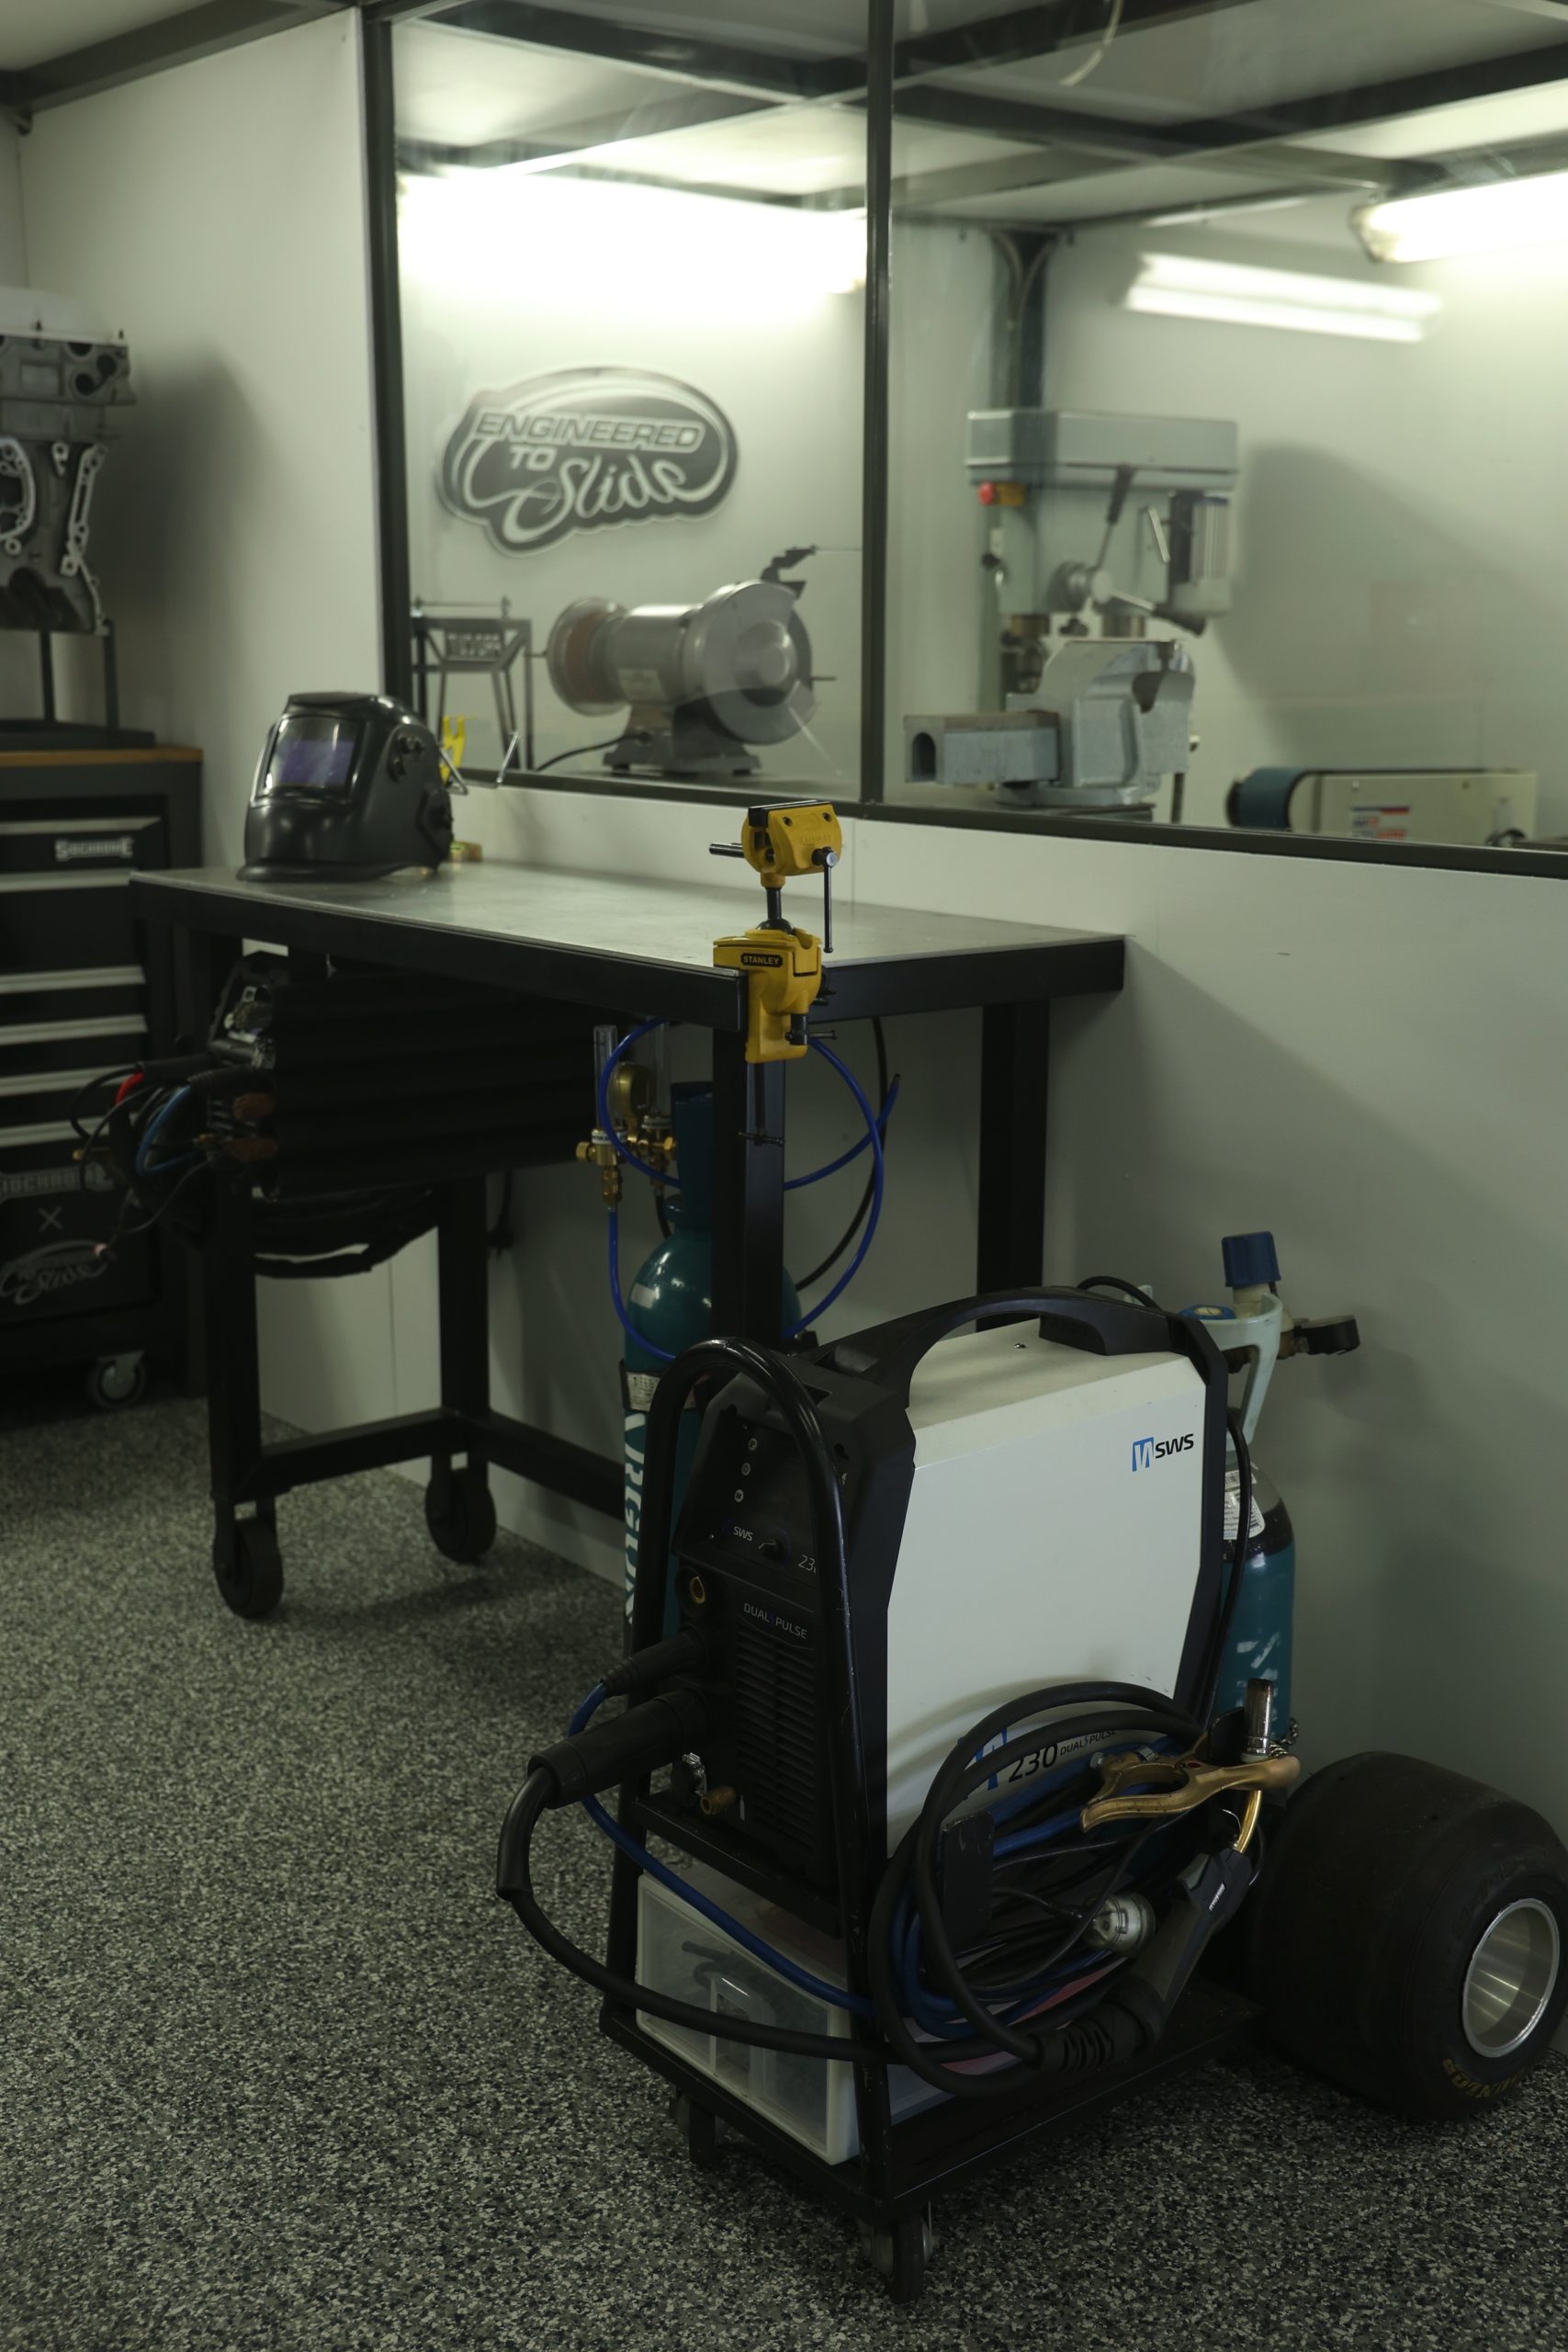
I’d love some more info on the construction of your “mess room”. Are the walls polycarbonate?
Nigel
Hi Nigel, the walls are 5mm thick Acrylic sheet and I just cut them with a circular saw. The frames are made from 20mm box tube and the windows are attached with 3m double sided body molding tape. Let me know if you need anymore info.
Travis Short
LOVE the garage and your work!!!
I will be building a new detached garage soon and unsure about flooring. I do and build a lot of different things in my garage and currently have epoxy coated floors. One of the problems I have with the epoxy is the burn marks from when I weld. Now, looks like you pretty much exclusively TIG weld so maybe you can’t answer but how have you kept the epoxied floors nice with lots of welding? I primarily MIG weld and maybe that’s why I might have a bigger problem with the burn marks than you. Thanks!
Nigel
You are right Travis, and thanks for the comment. The Epoxy floor does show burn marks from MIG welding, but as far as I know the best finish would be this flake finish which hides the majority of those marks.
Nathan Latham
Hi Nigel,
Firstly, absolutely amazing job done on the workshop!
Just wondering how tall is the mess room / Tyre racking around the workshop from the floor level? Currently 3D designing mine and really inspired by your set up.
Nigel
The mess room roof is regular door hight 2050mm plus 50mm of tube and 18mm of MDF ontop of that. The tyre rack follows that hight around the garage so its 2050mm to the underside of the 50x50mm tube, thanks.