It’s no secret that I love mountain biking and push bikes in general, I grew up addicted to BMX and in recent times mountain bike parks have turned into picturesque locations with BMX like features that stretch over km of terrain and provide a thrill that’s hard to explain.
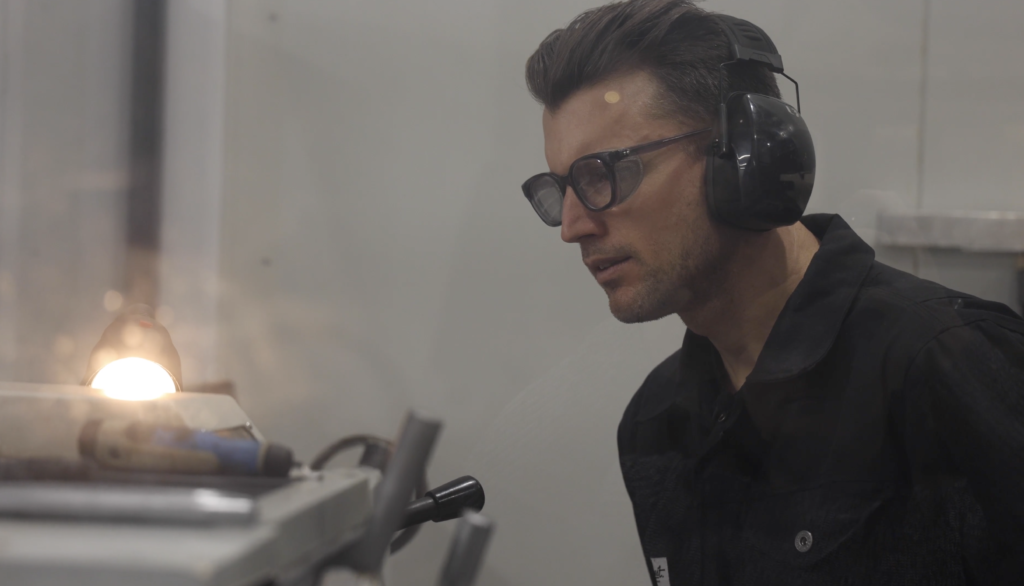
As fabrication is a large part of my life too I tend to look at things a little differently to most, a bike is not a set and forget machine, it’s like a car to me and if I can find ways to simplify and improve it through fabrication then you know I am going to do what it takes to make it better.
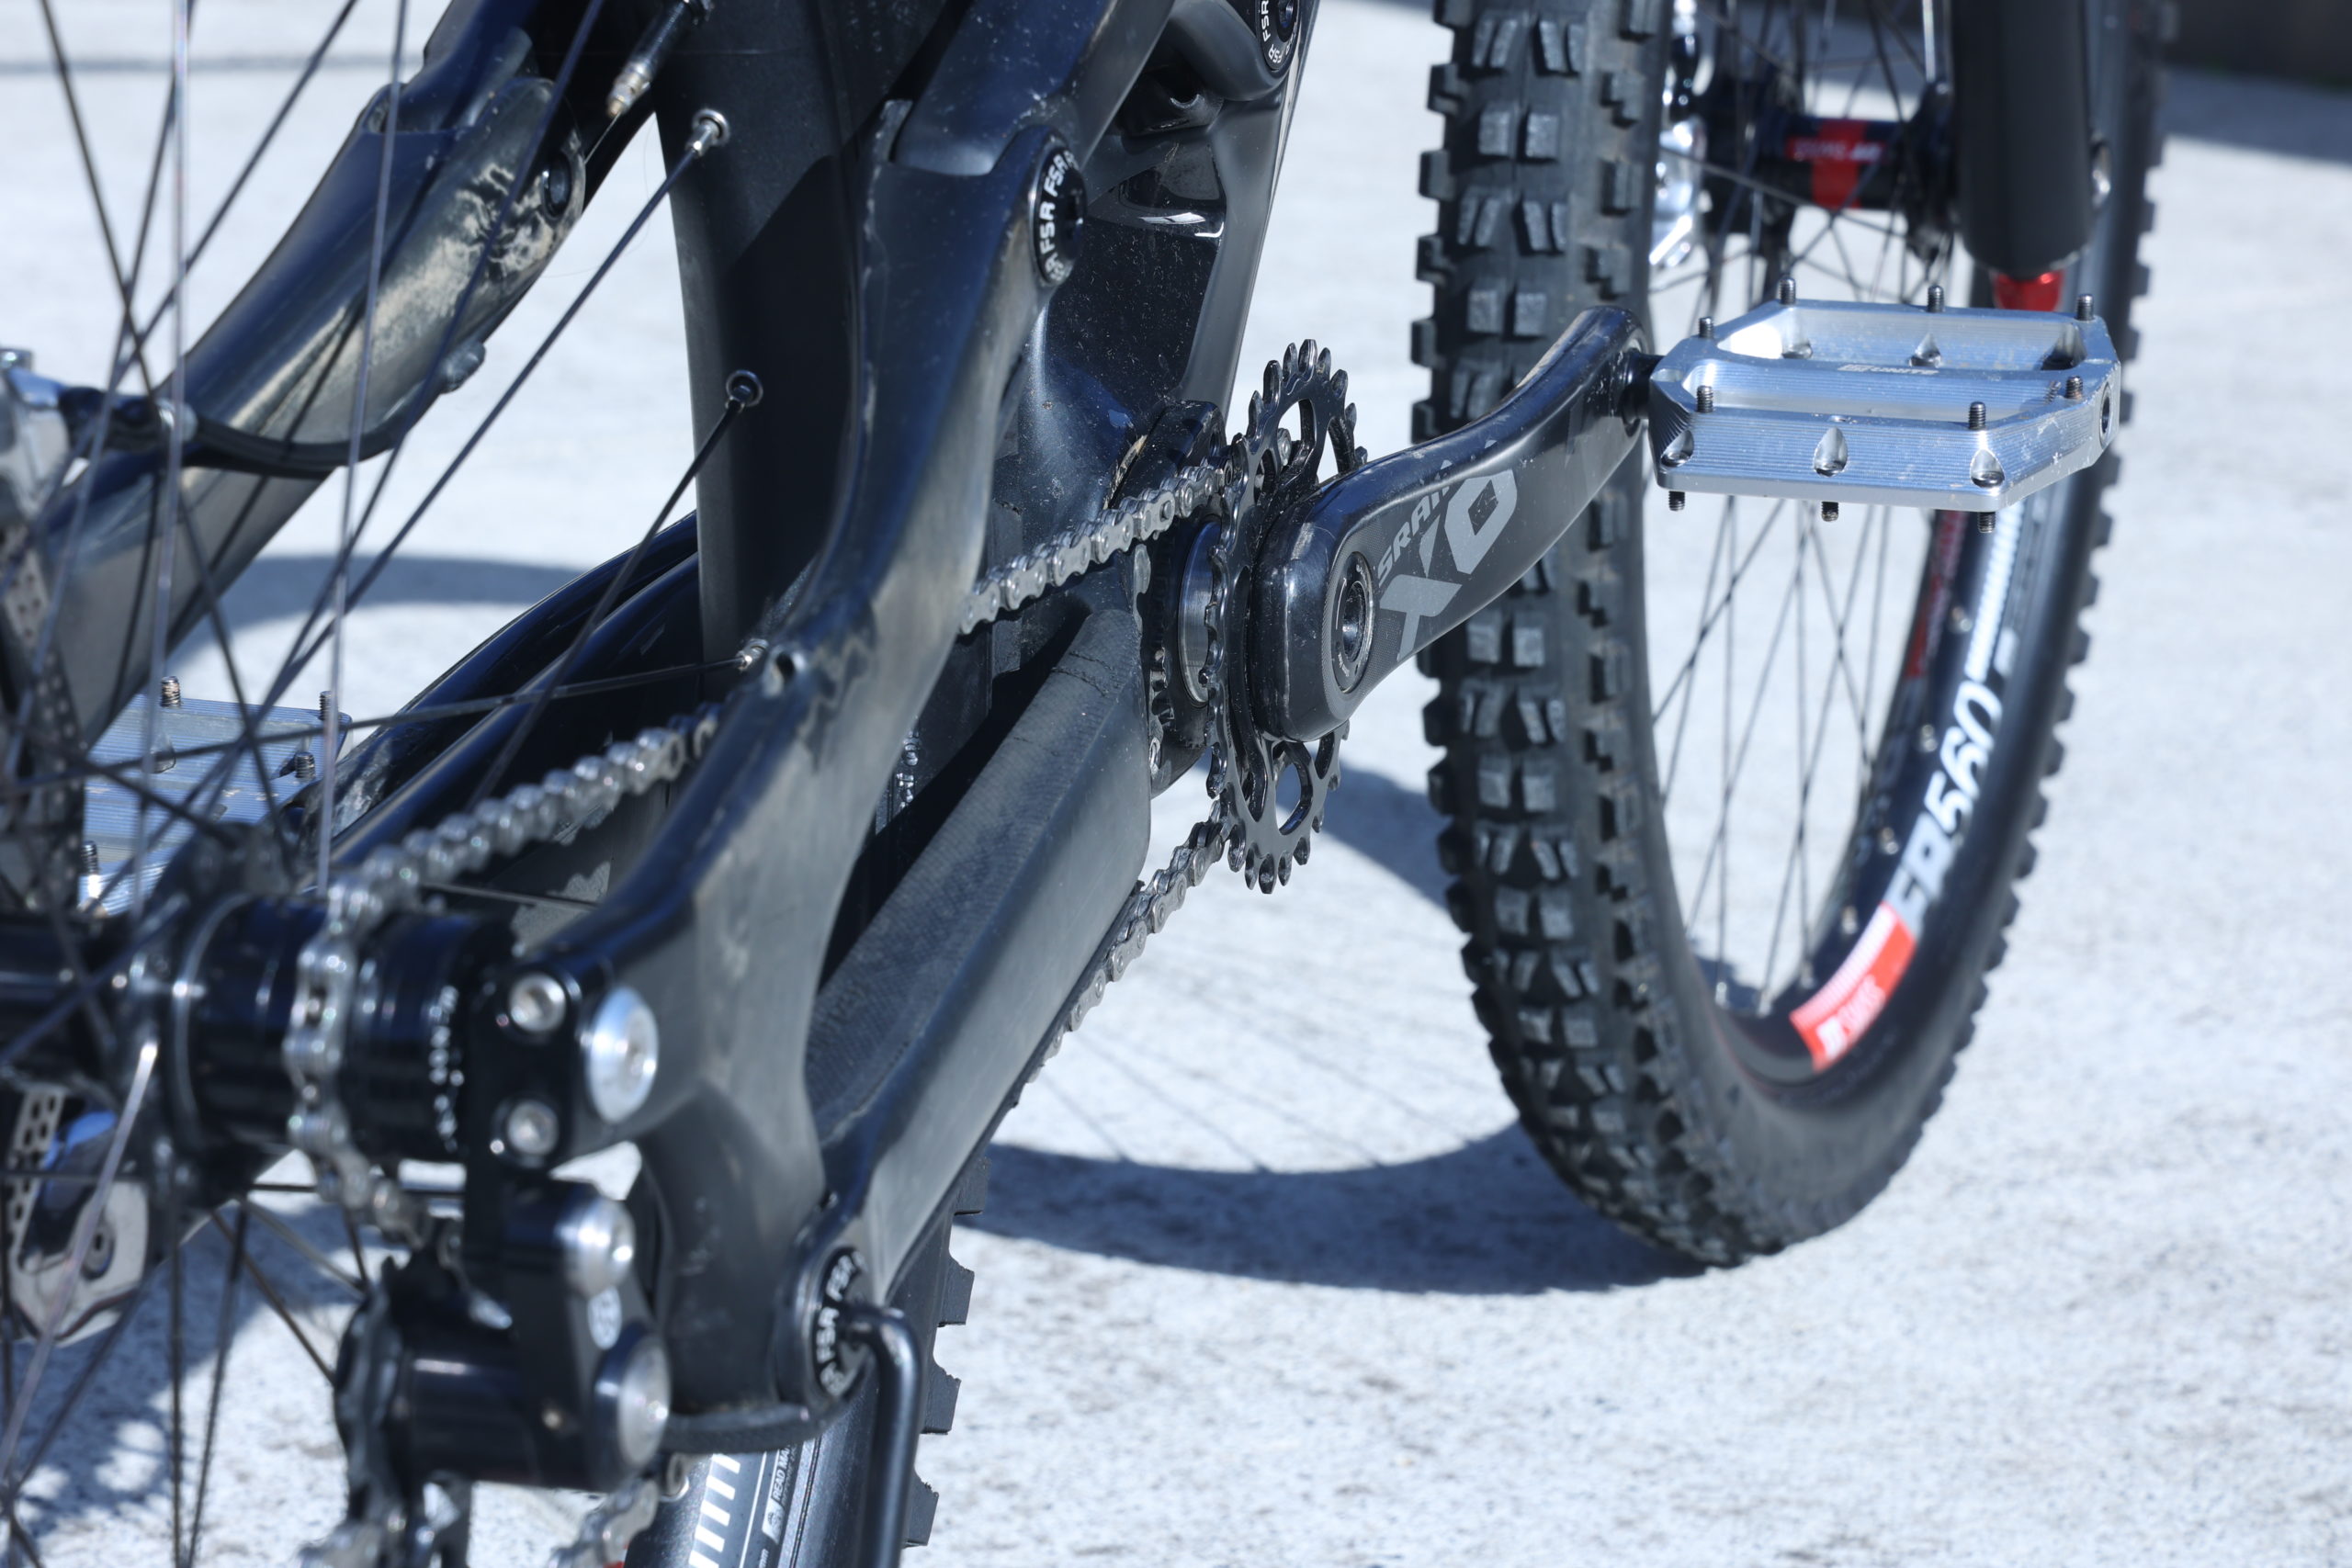
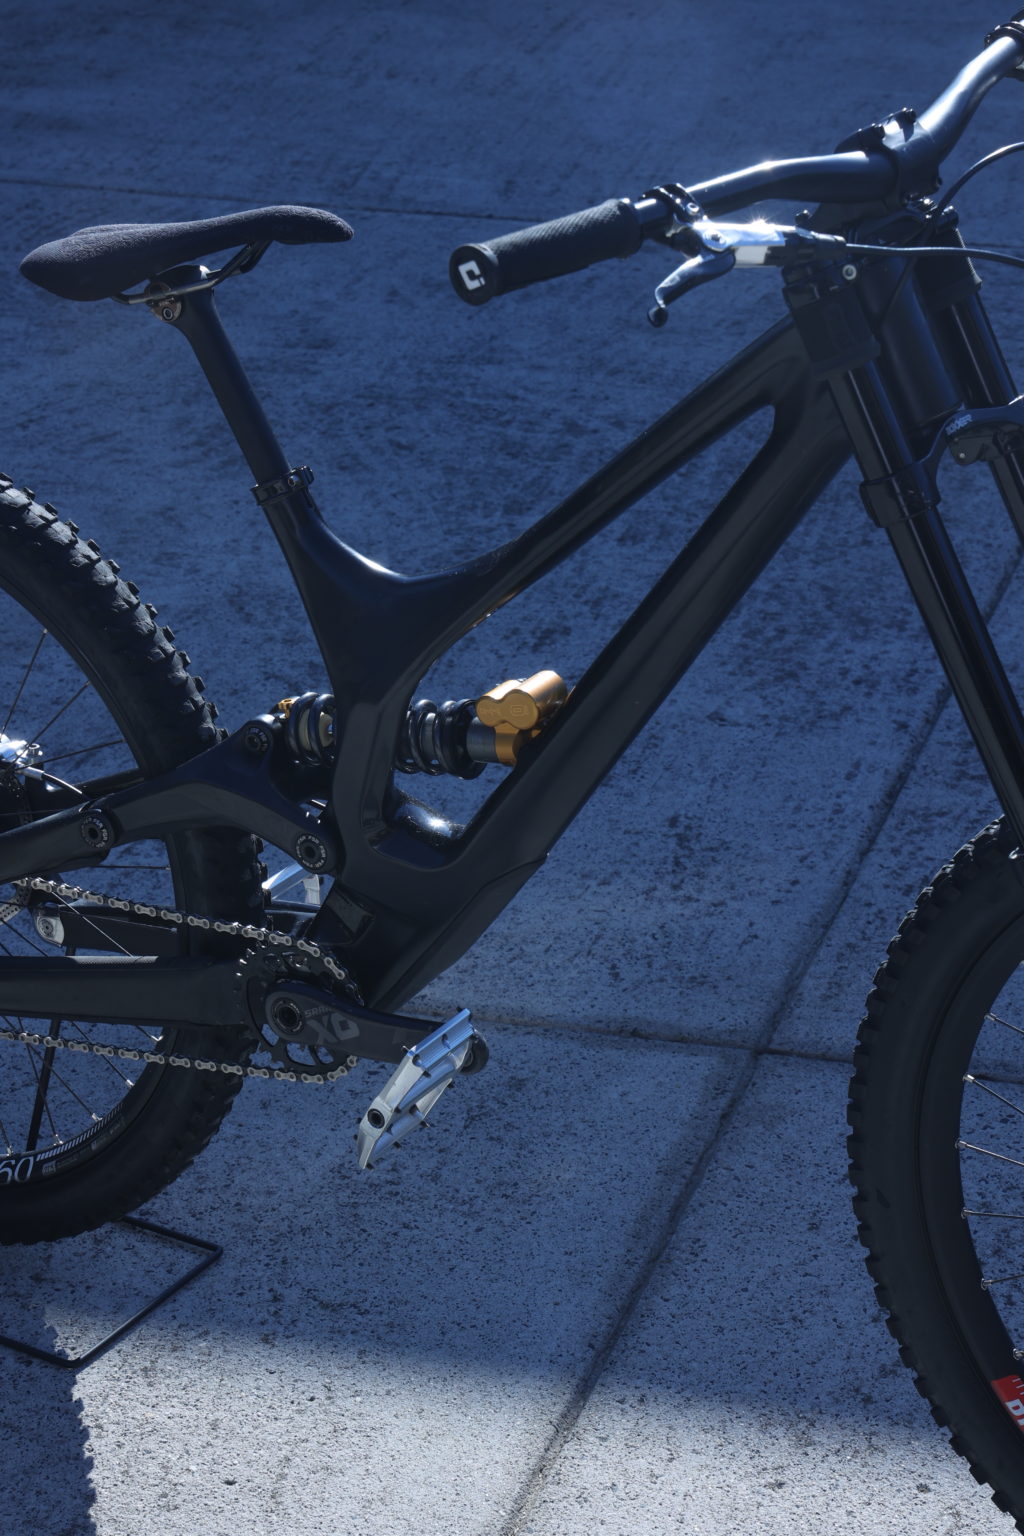
As I mentioned earlier BMX has been a big part of my life and modifying my mountain bike to be a little lighter and more like a BMX was my goal as detailed in my latest project the 2 Speed MTB.
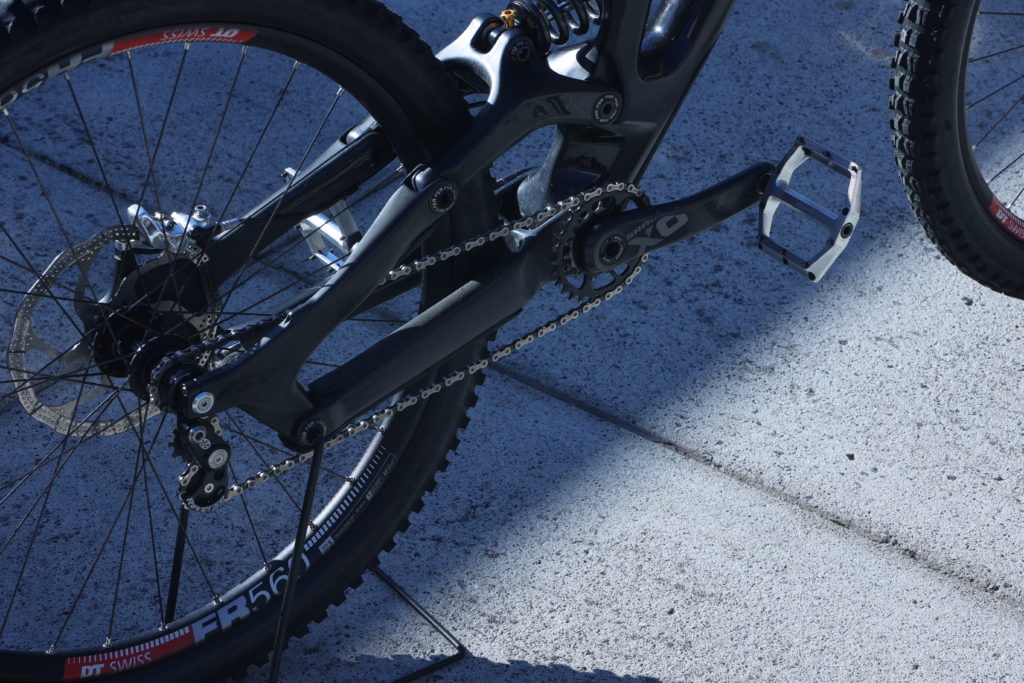
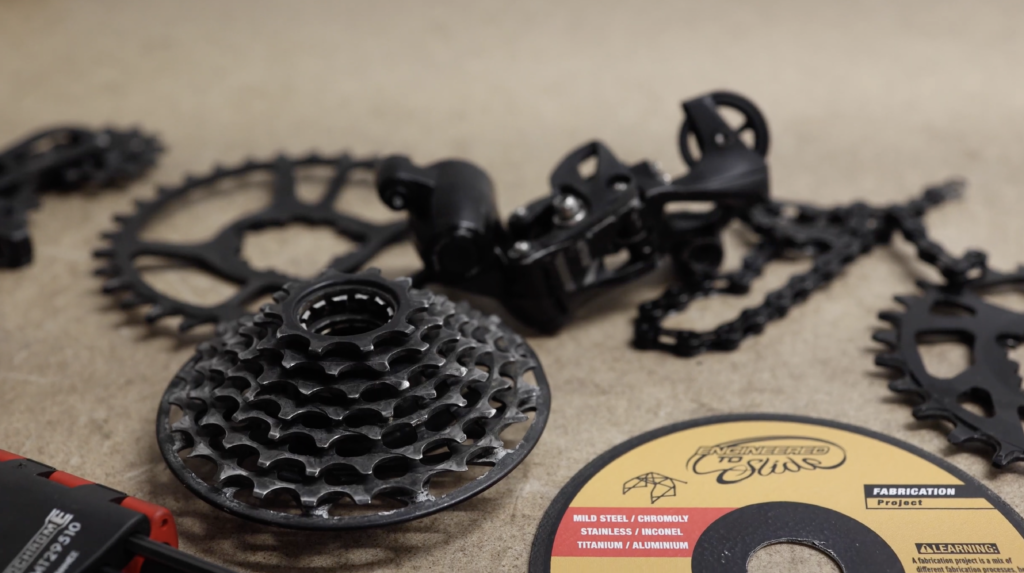
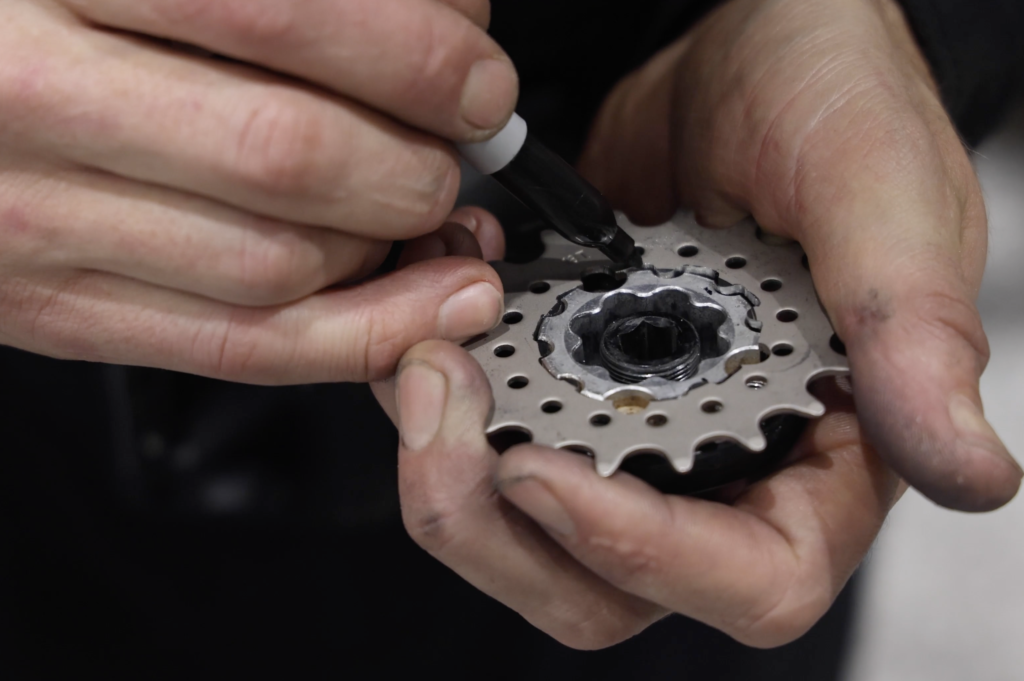
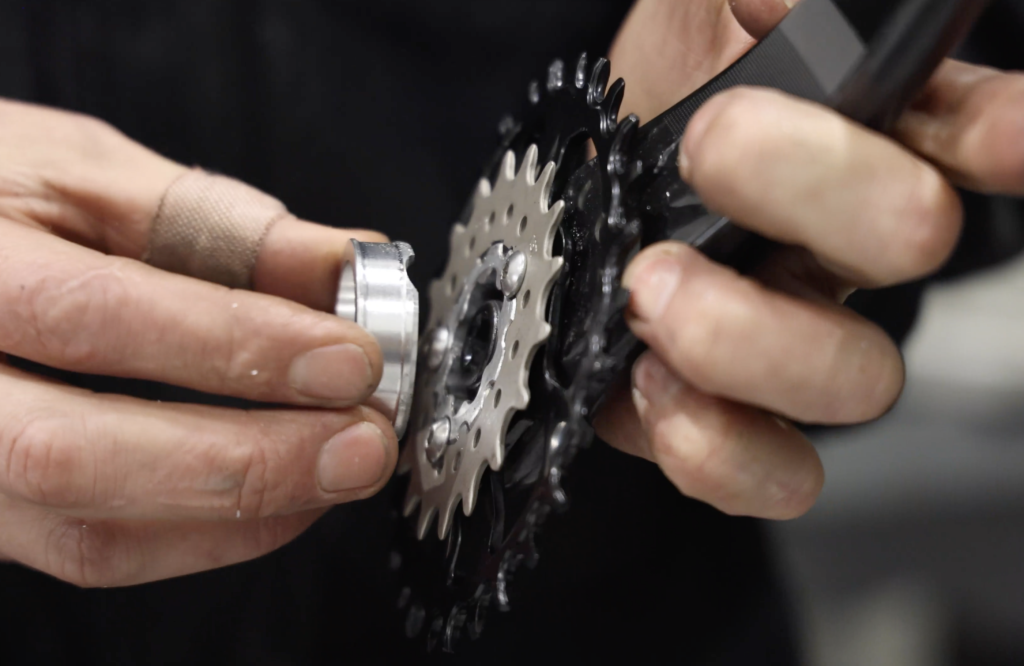
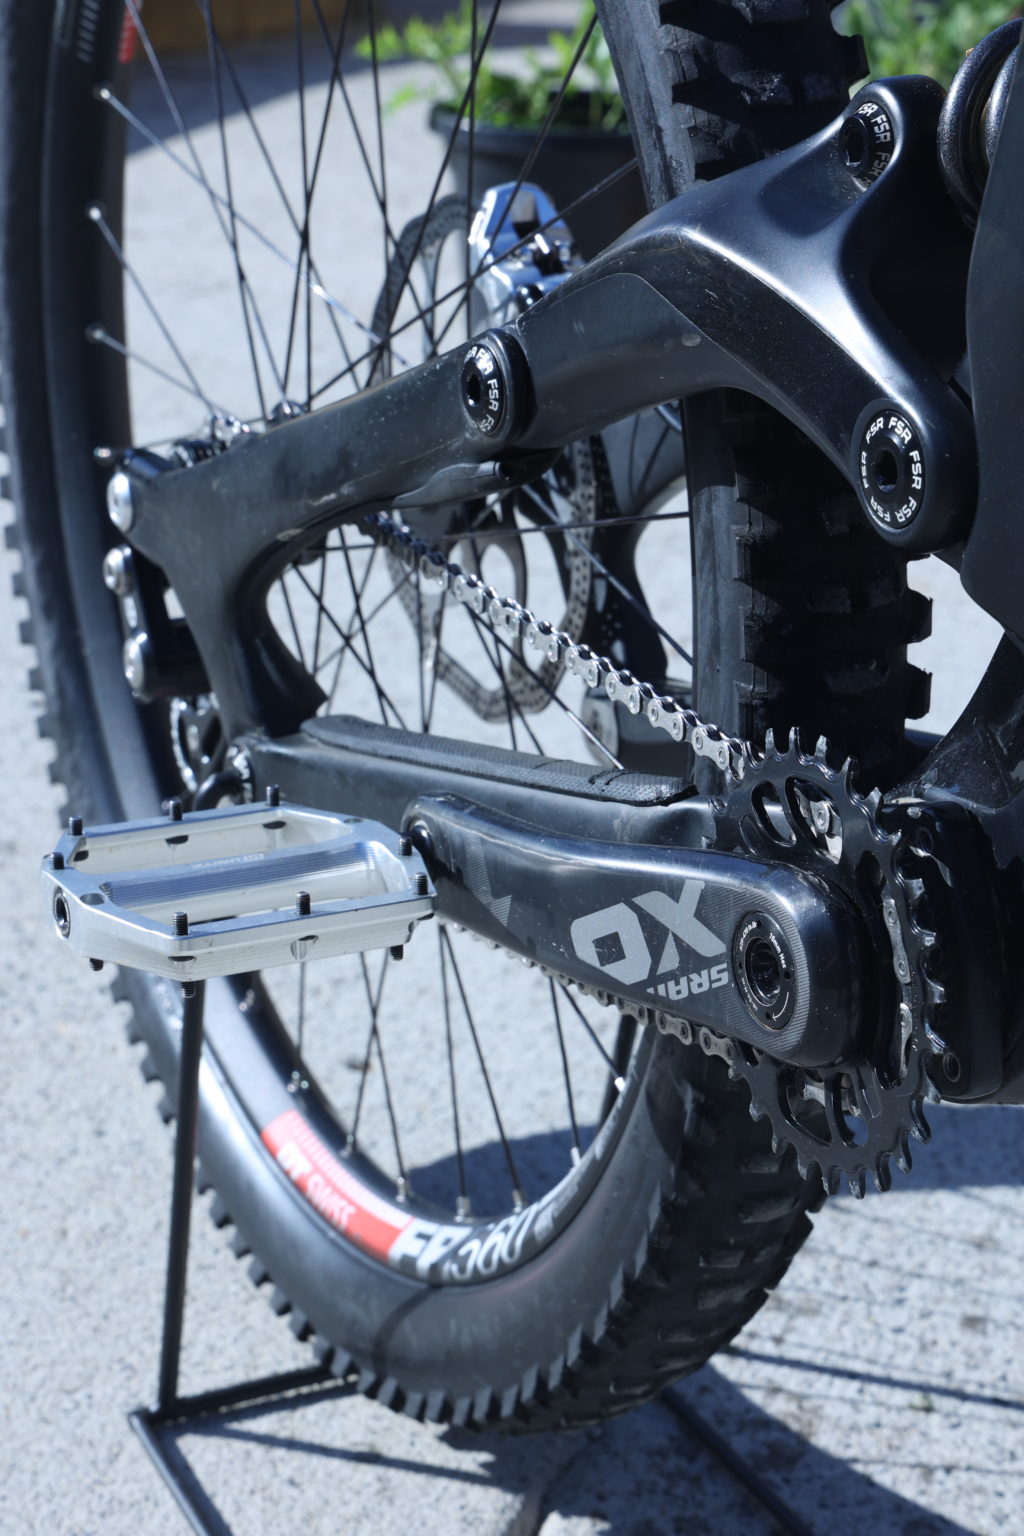
This was a process of first figuring out the ratios that I would need, a smaller gear on the rear wheel will mean a higher wheel speed per rotations of pedals, because this is a downhill bike that is designed for fast descents I wanted the smallest possible gear on the rear freewheel that I could find, this turned out to be and 11 tooth and this replaces the entire 7 speed cassette that the bike came with originally.
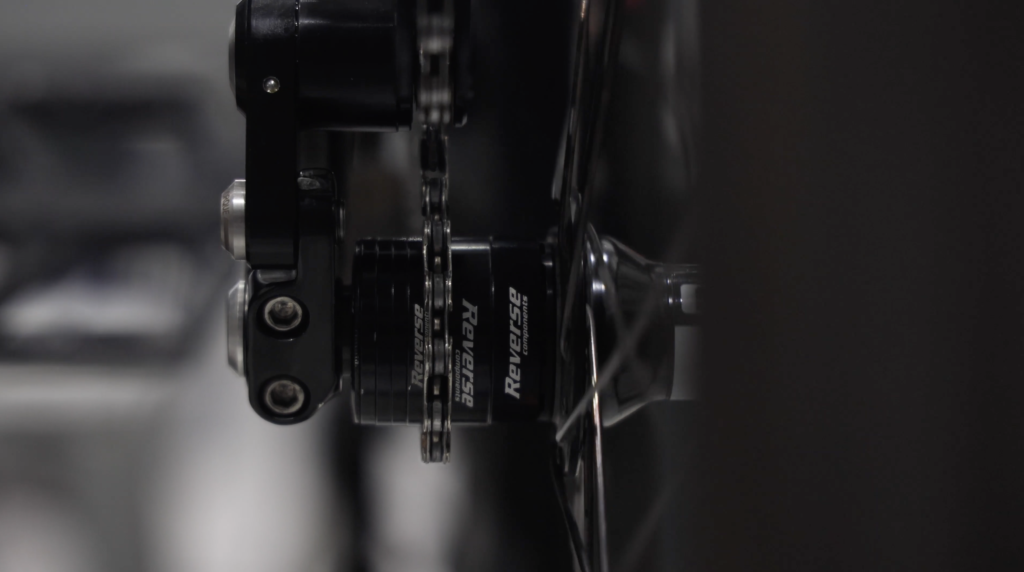
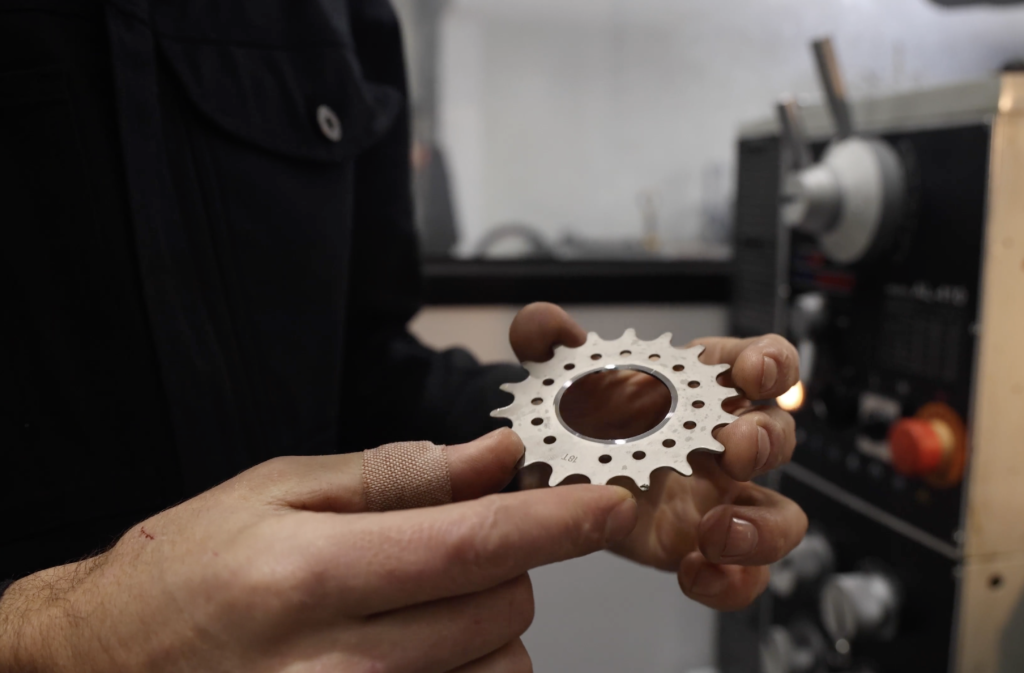
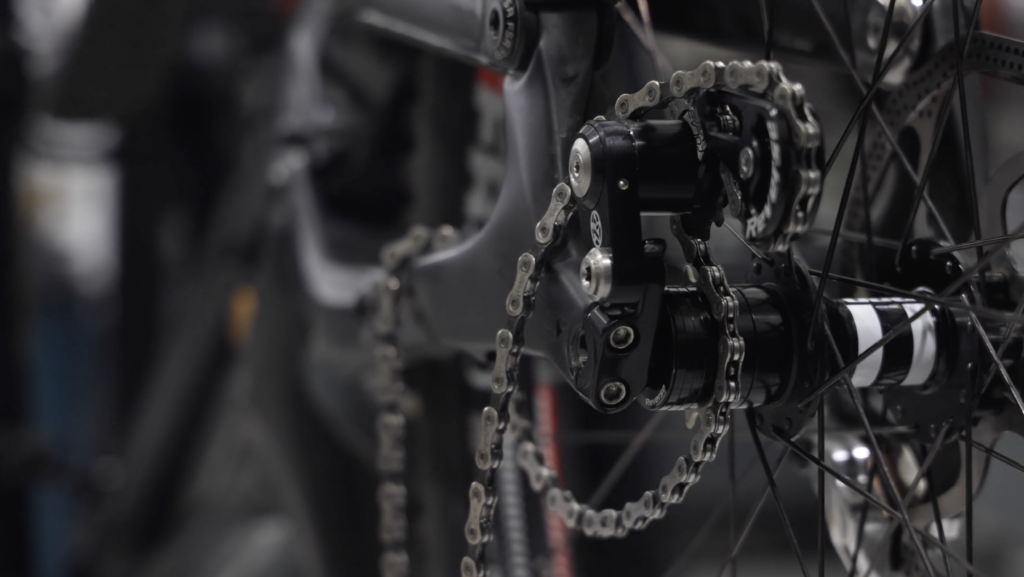
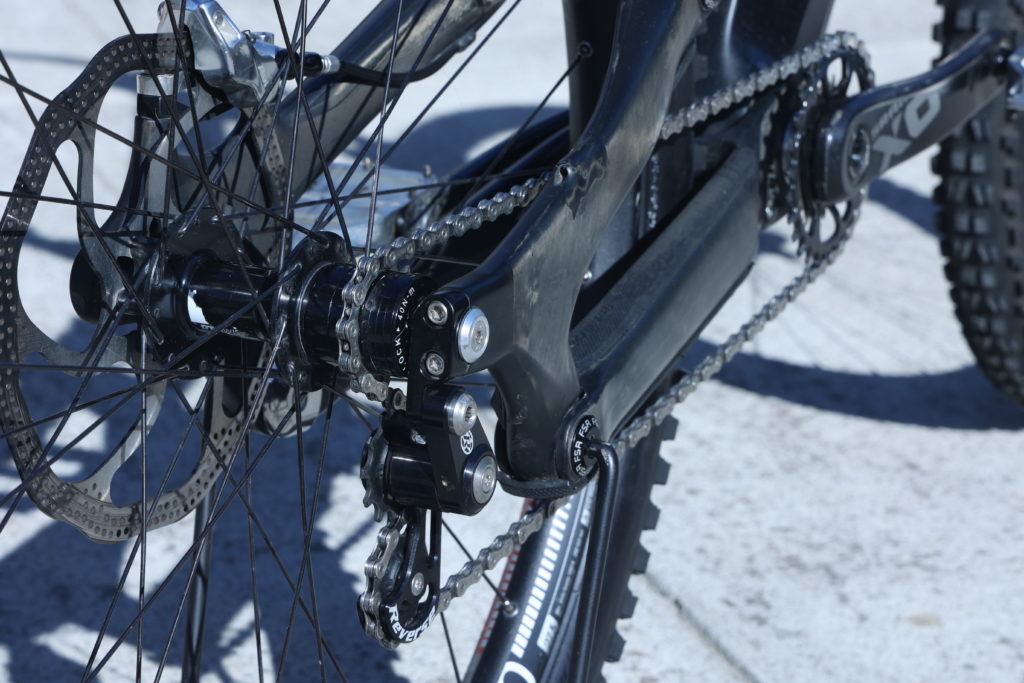
This means that the bike is now a single speed and due to the rear suspension kinematics I needed a tensioner to suit, lucky for me Reverse components make on that suits this bike, this allows enough chainline growth for the suspension movement.
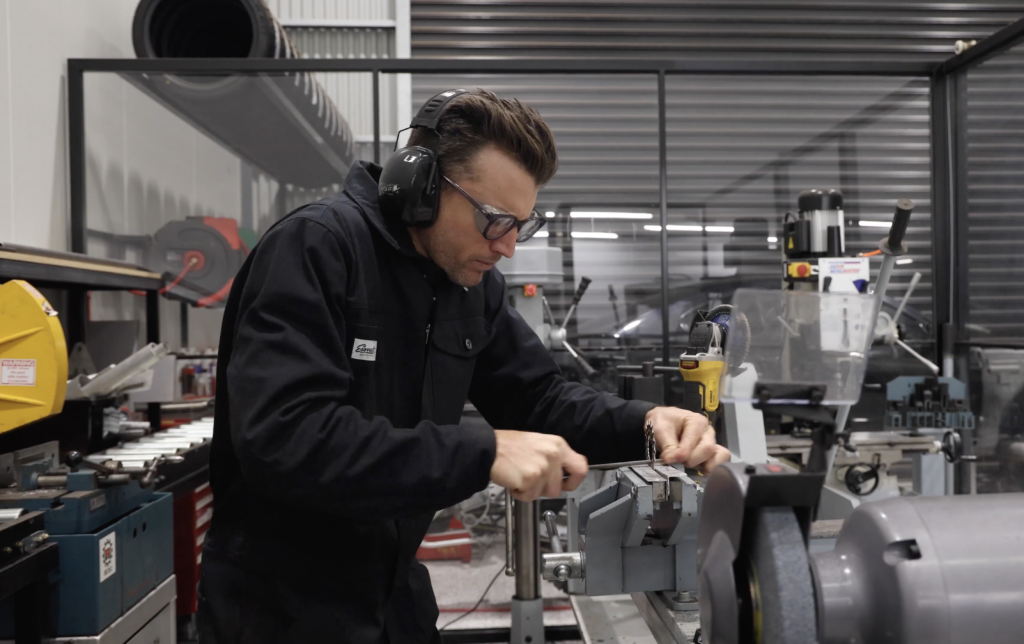
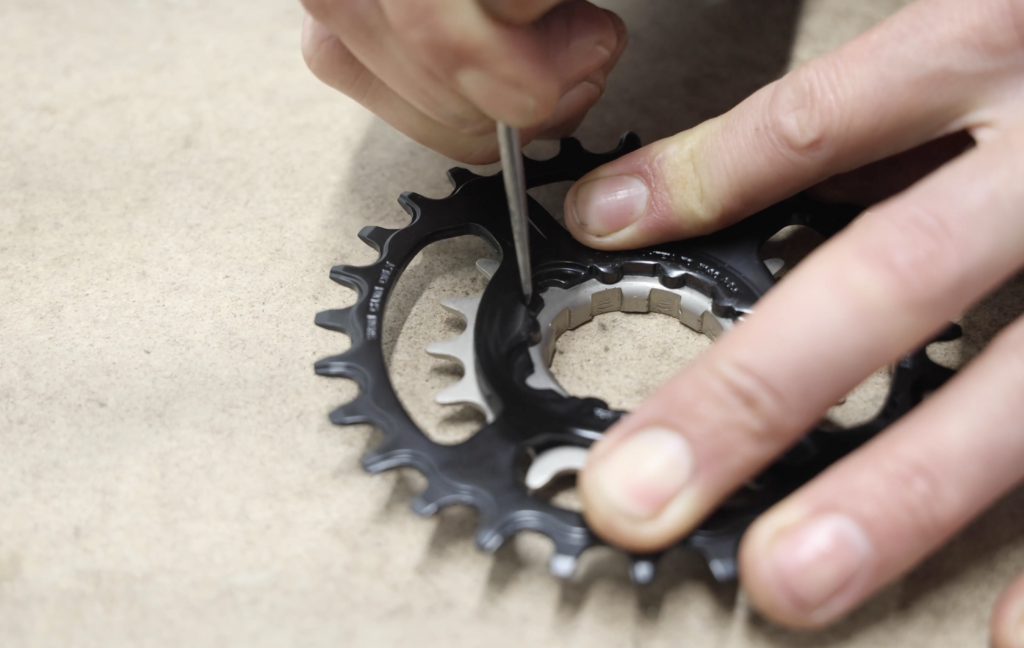
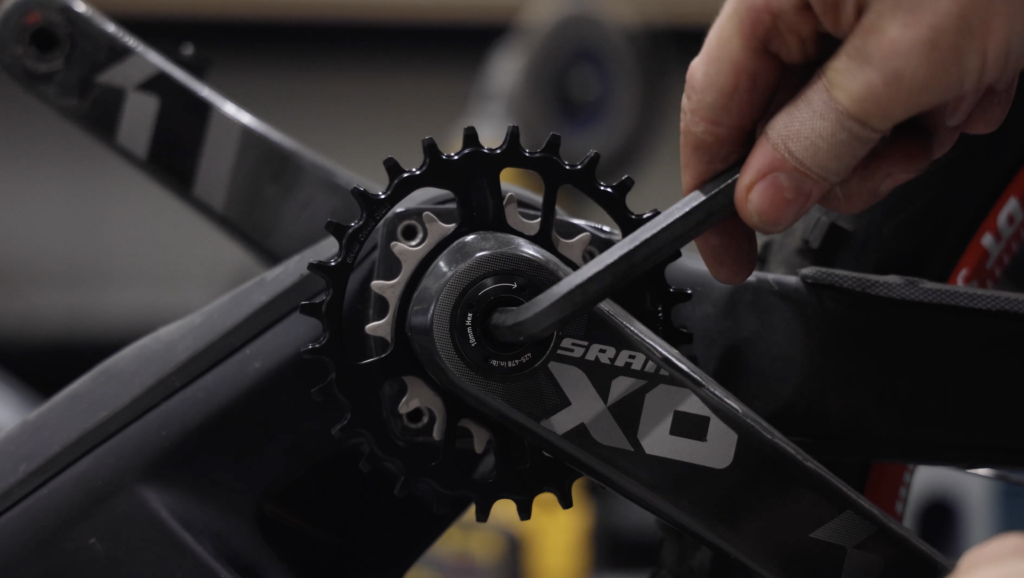
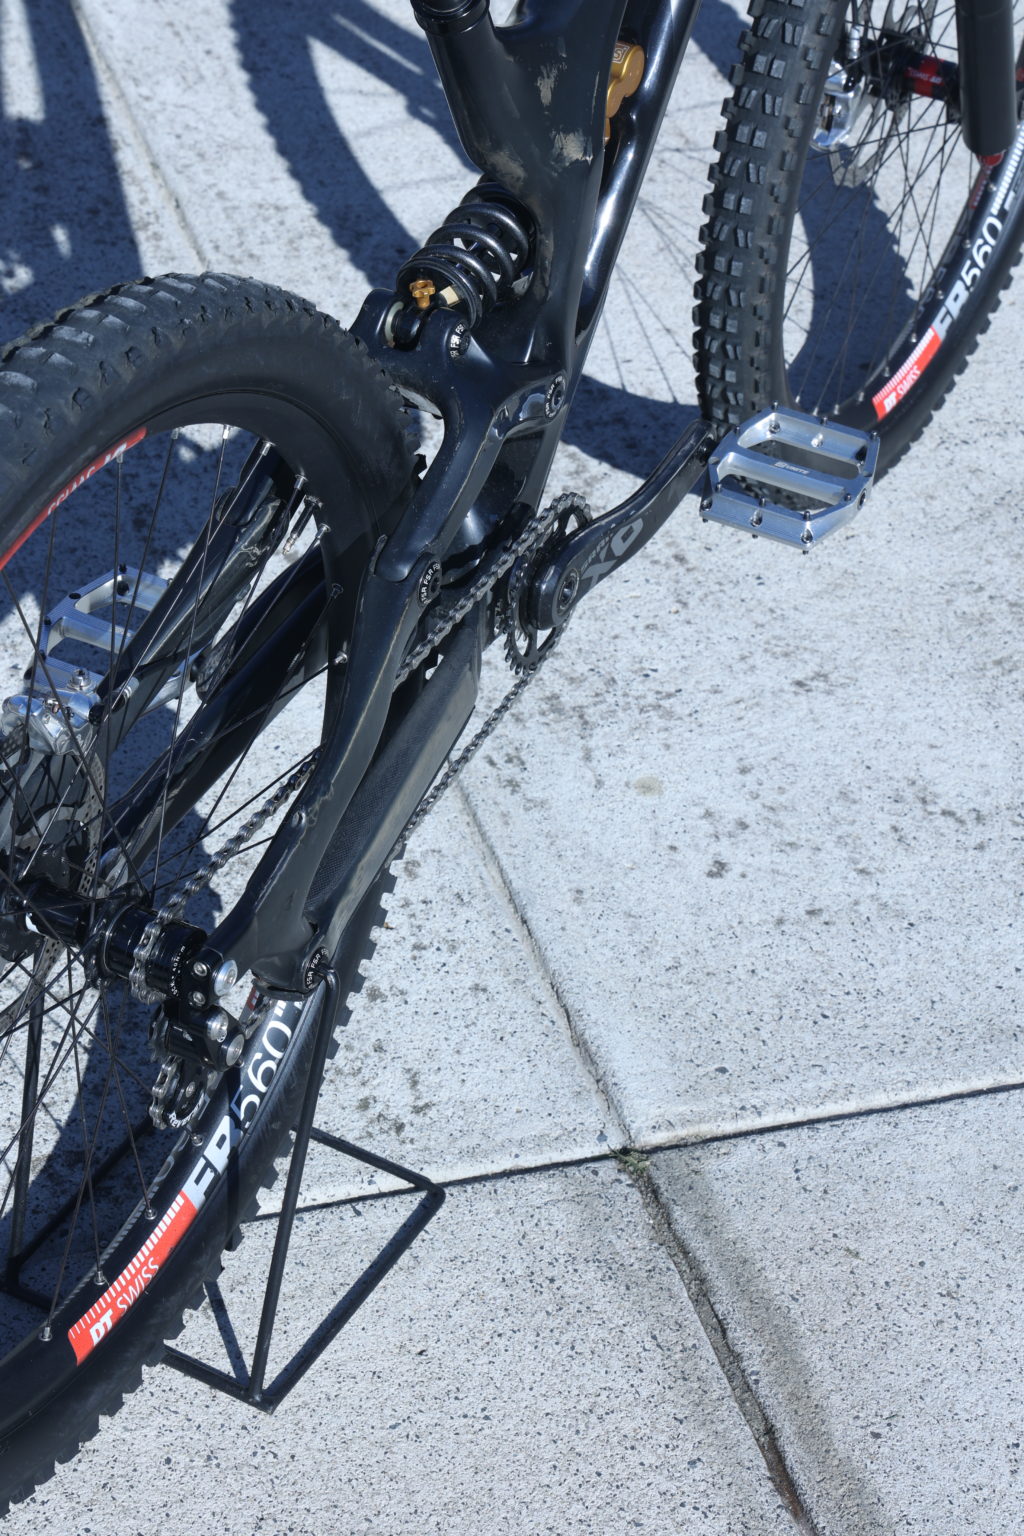
With the rear wheel and gearing sorted I could turn my attention to the front chainring and this is where some customisation was required. The front sprocket is different to the rear, the larger you go the faster the bike will be able to travel, so I wanted to keep a good amount of speed but still be able to climb a hill if needed.
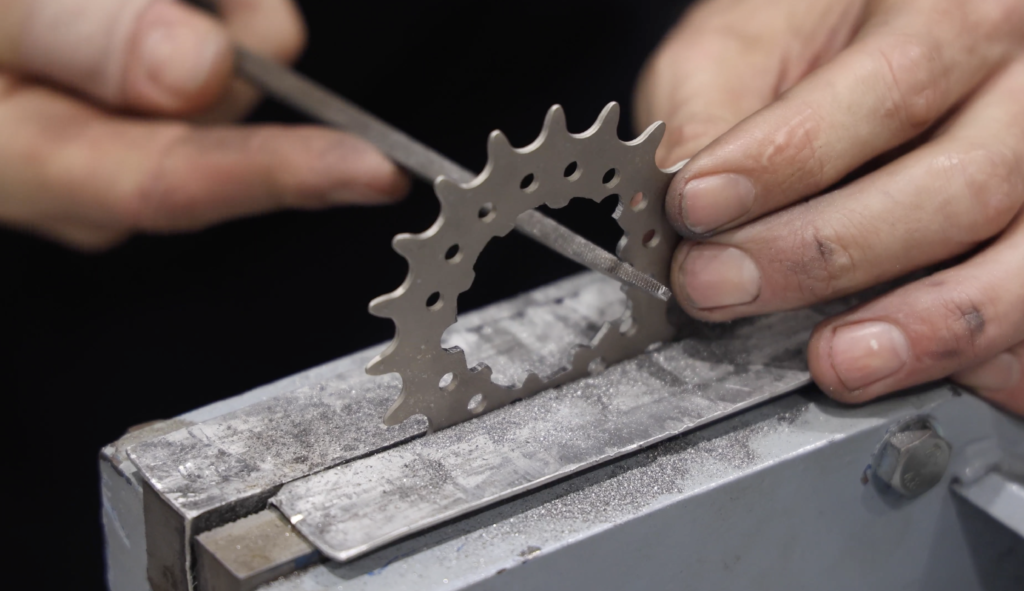
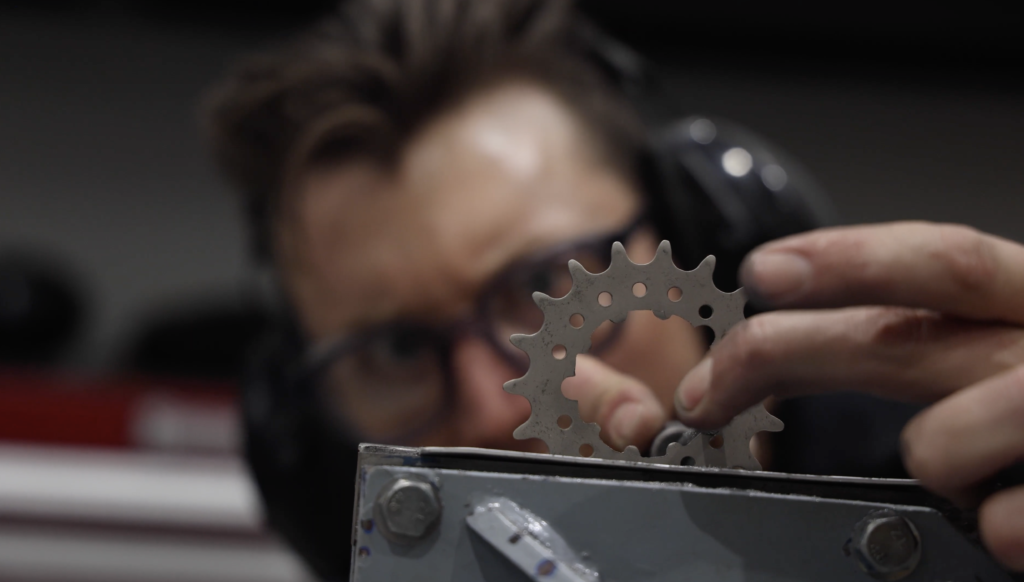

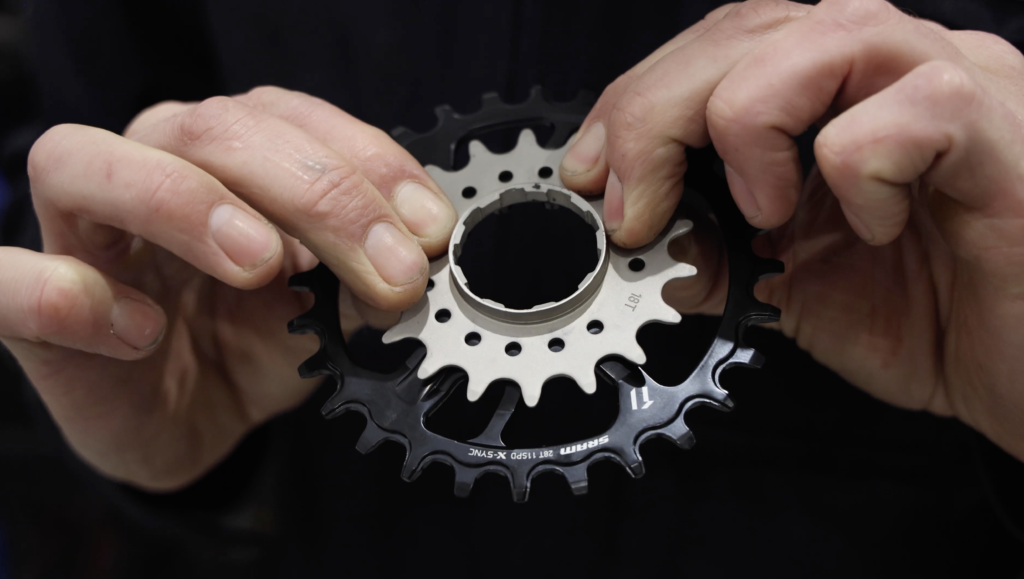
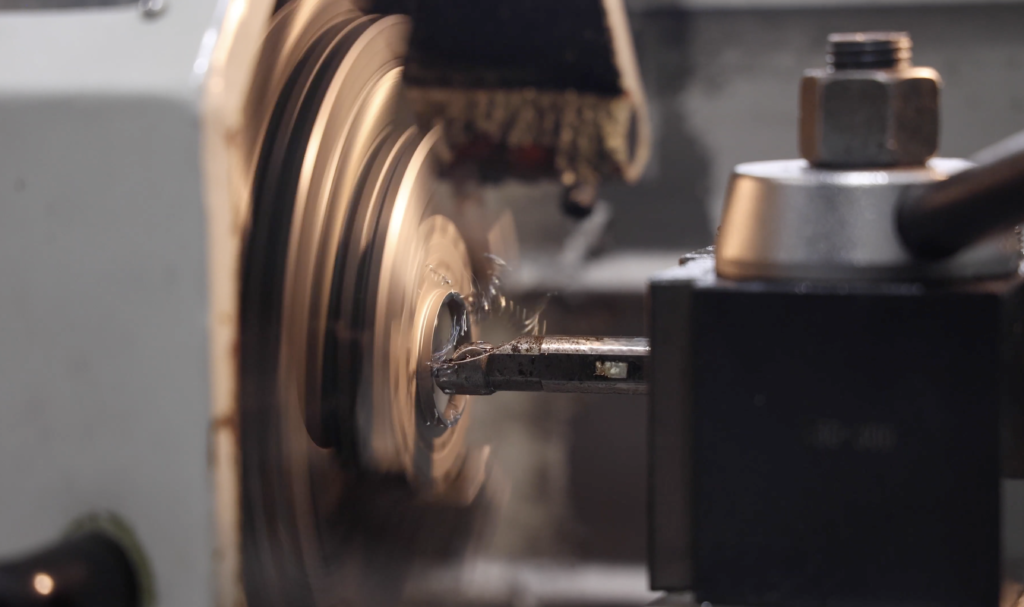
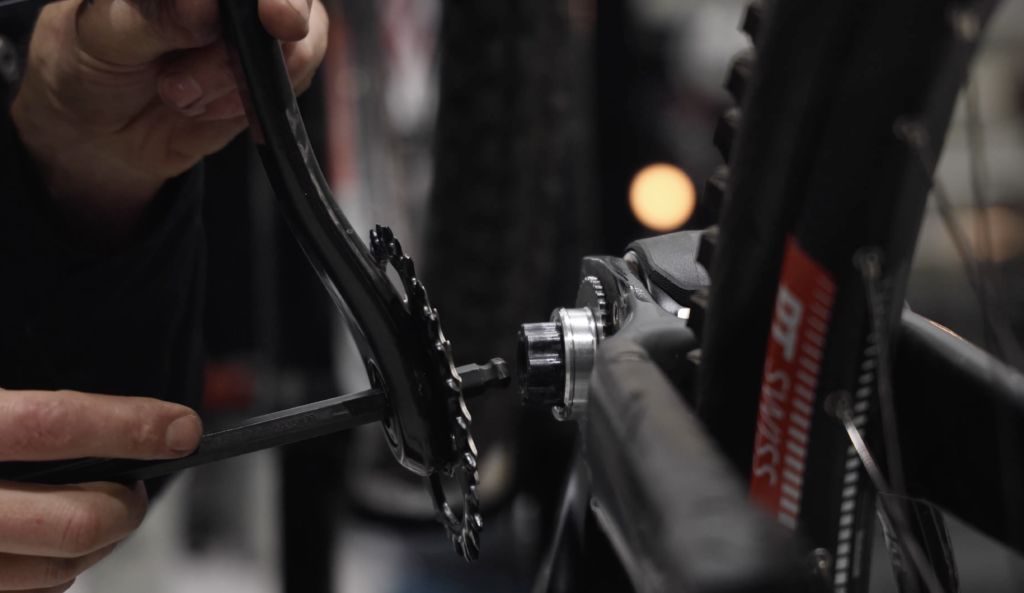
To create a solution here I grabbed a simple chromoly single speed 18 tooth gear and filed it out to fit over the SRAM crank spline and attached it with some longer bolts and a custom spacer, I changed the larger sprocket for a 3mm offset one that gives the chain just enough clearance and then spaced out my chainline to suit.
Shifting is done by hand and although this isn’t ideal it works for me, I usually spend 30 to 45 minutes climbing to the top of the mountain and then once at the top, slip the chain onto the larger sprocket and descend in a fraction of that time.
This simplifies the bike, I no longer have a shifter on the handlebars, a clunky derailleur hanging off the rear of the frame, no cables running to it, just a single speed for up and a single speed for down.
It turns this bike into a very custom and very purposeful downhill bike that’s light and has all the features I need to enjoy my time on the mountain. If your interested in doing this you can subscribe and checkout the detailed Project video and if you want to learn more about the fabrication processes then our Skills section will be the place to visit.

Thanks for reading and as always enjoy the ride!