Before I get in to the details I want you to realise that the bike you see depicted in this post was once a dream that I didn’t think would be possible to create.
It’s a funny thing, the more simplistic something is the more difficult it can be to create. A bicycle is one of the oldest forms of transport and it’s inherent form (two wheels and a connecting frame) really hasn’t changed all that much.
The learning curve has been incredibly steep throughout this Trinity project which is made up of myself, Chase Warner and Mic Williams. Our Instagram chat thread over the last few years has been comprehensive, it’s a daily feed of ideas and problem solving which then get’s turned into sketches and designs for approval and validation.
None of us proclaim to be masters at our craft but all of us have the passion and drive to learn and develop our skills to make this a success .

What is success to us? It’s building the best performance orientated Mountain Bike available and we are nearing closer to that goal with every Prototype.

Before we look at the rise of our Version 3 Prototype you have to see where it all came from.

Version 1 was a leap of faith, taking a year or two of design and creating a bike that validated some material and kinematic decisions before launching the brand at the HandMade Bicycle Show.


Fast forward a year, we took another 12 months of design ideas and put them together to create Version 2 Prototype to display at the HandMade Show.
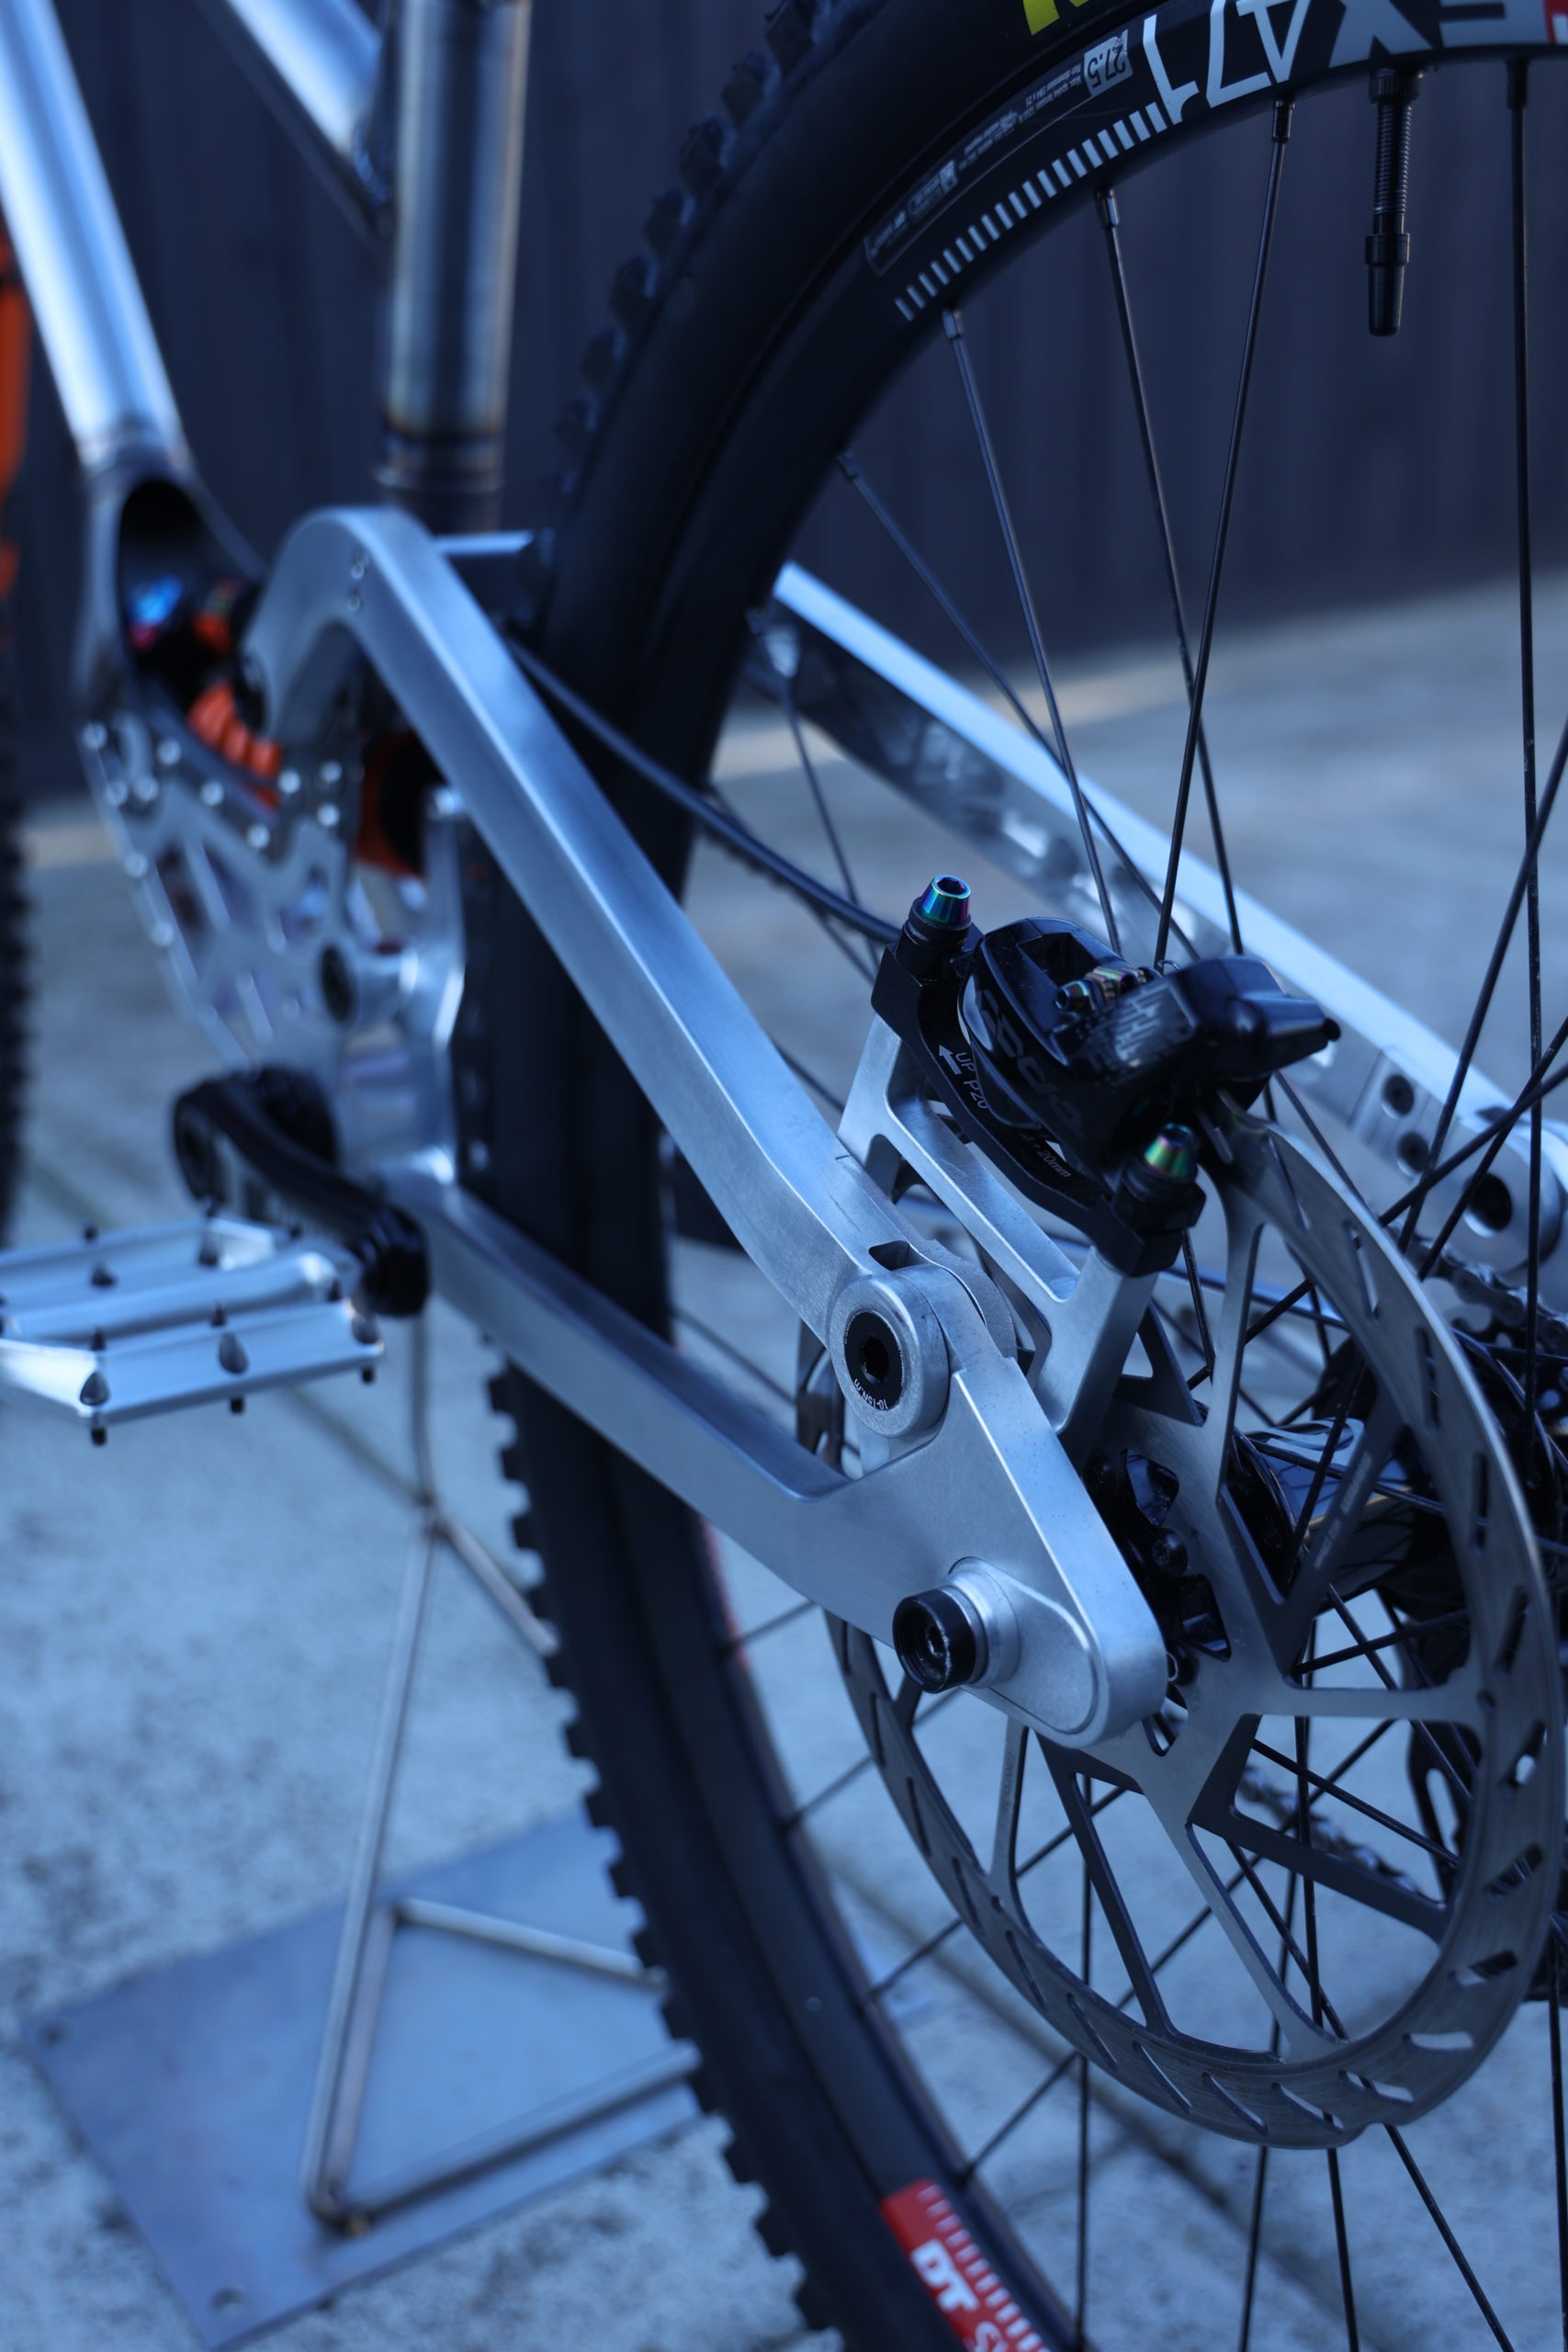
Both bikes got ridden hard, Version 1 told us that our suspension design and material choice was in the ballpark but it needed a stiffer rear end to make everything work.

Version 2 rectified the stiffness issue in the rear end but was let down by our lack of understanding in designing Metal printed parts leading to a heavy front end that really didn’t offer the feel of a traditional Chromoly frame.
Both bikes show the DNA of Trinity MTB with a raft of drivetrain options and both bikes had us excited about what was to come….
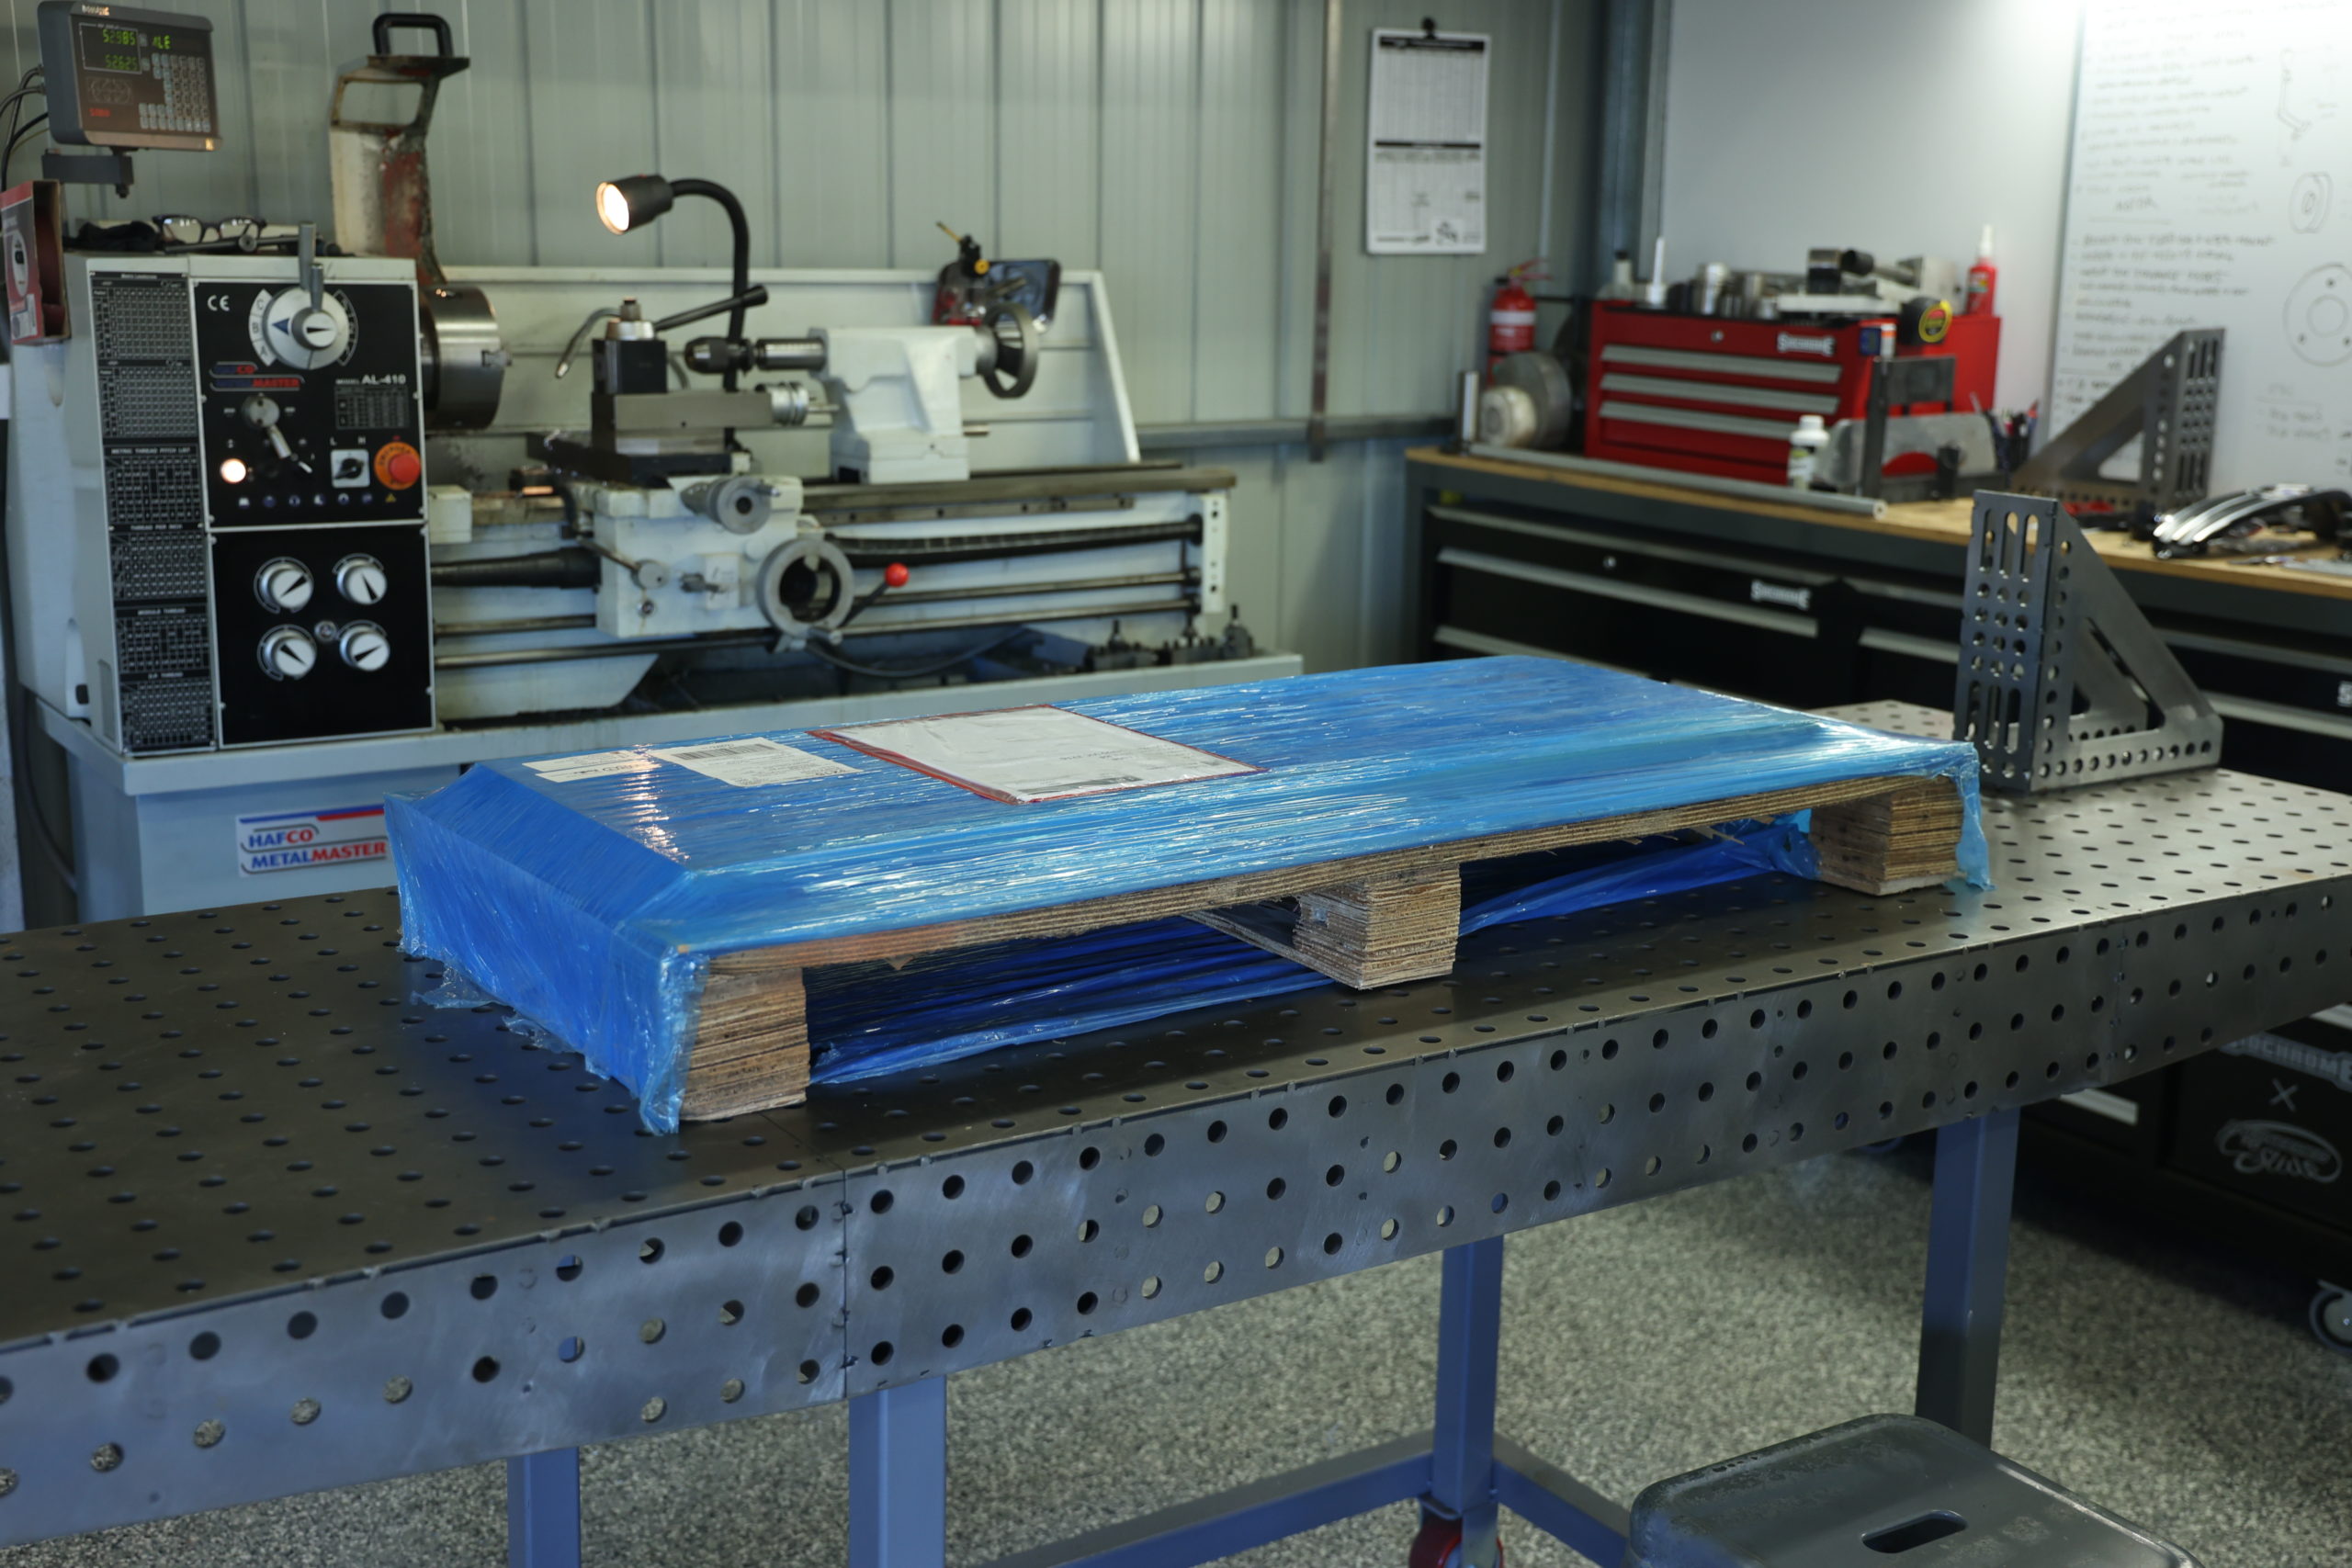
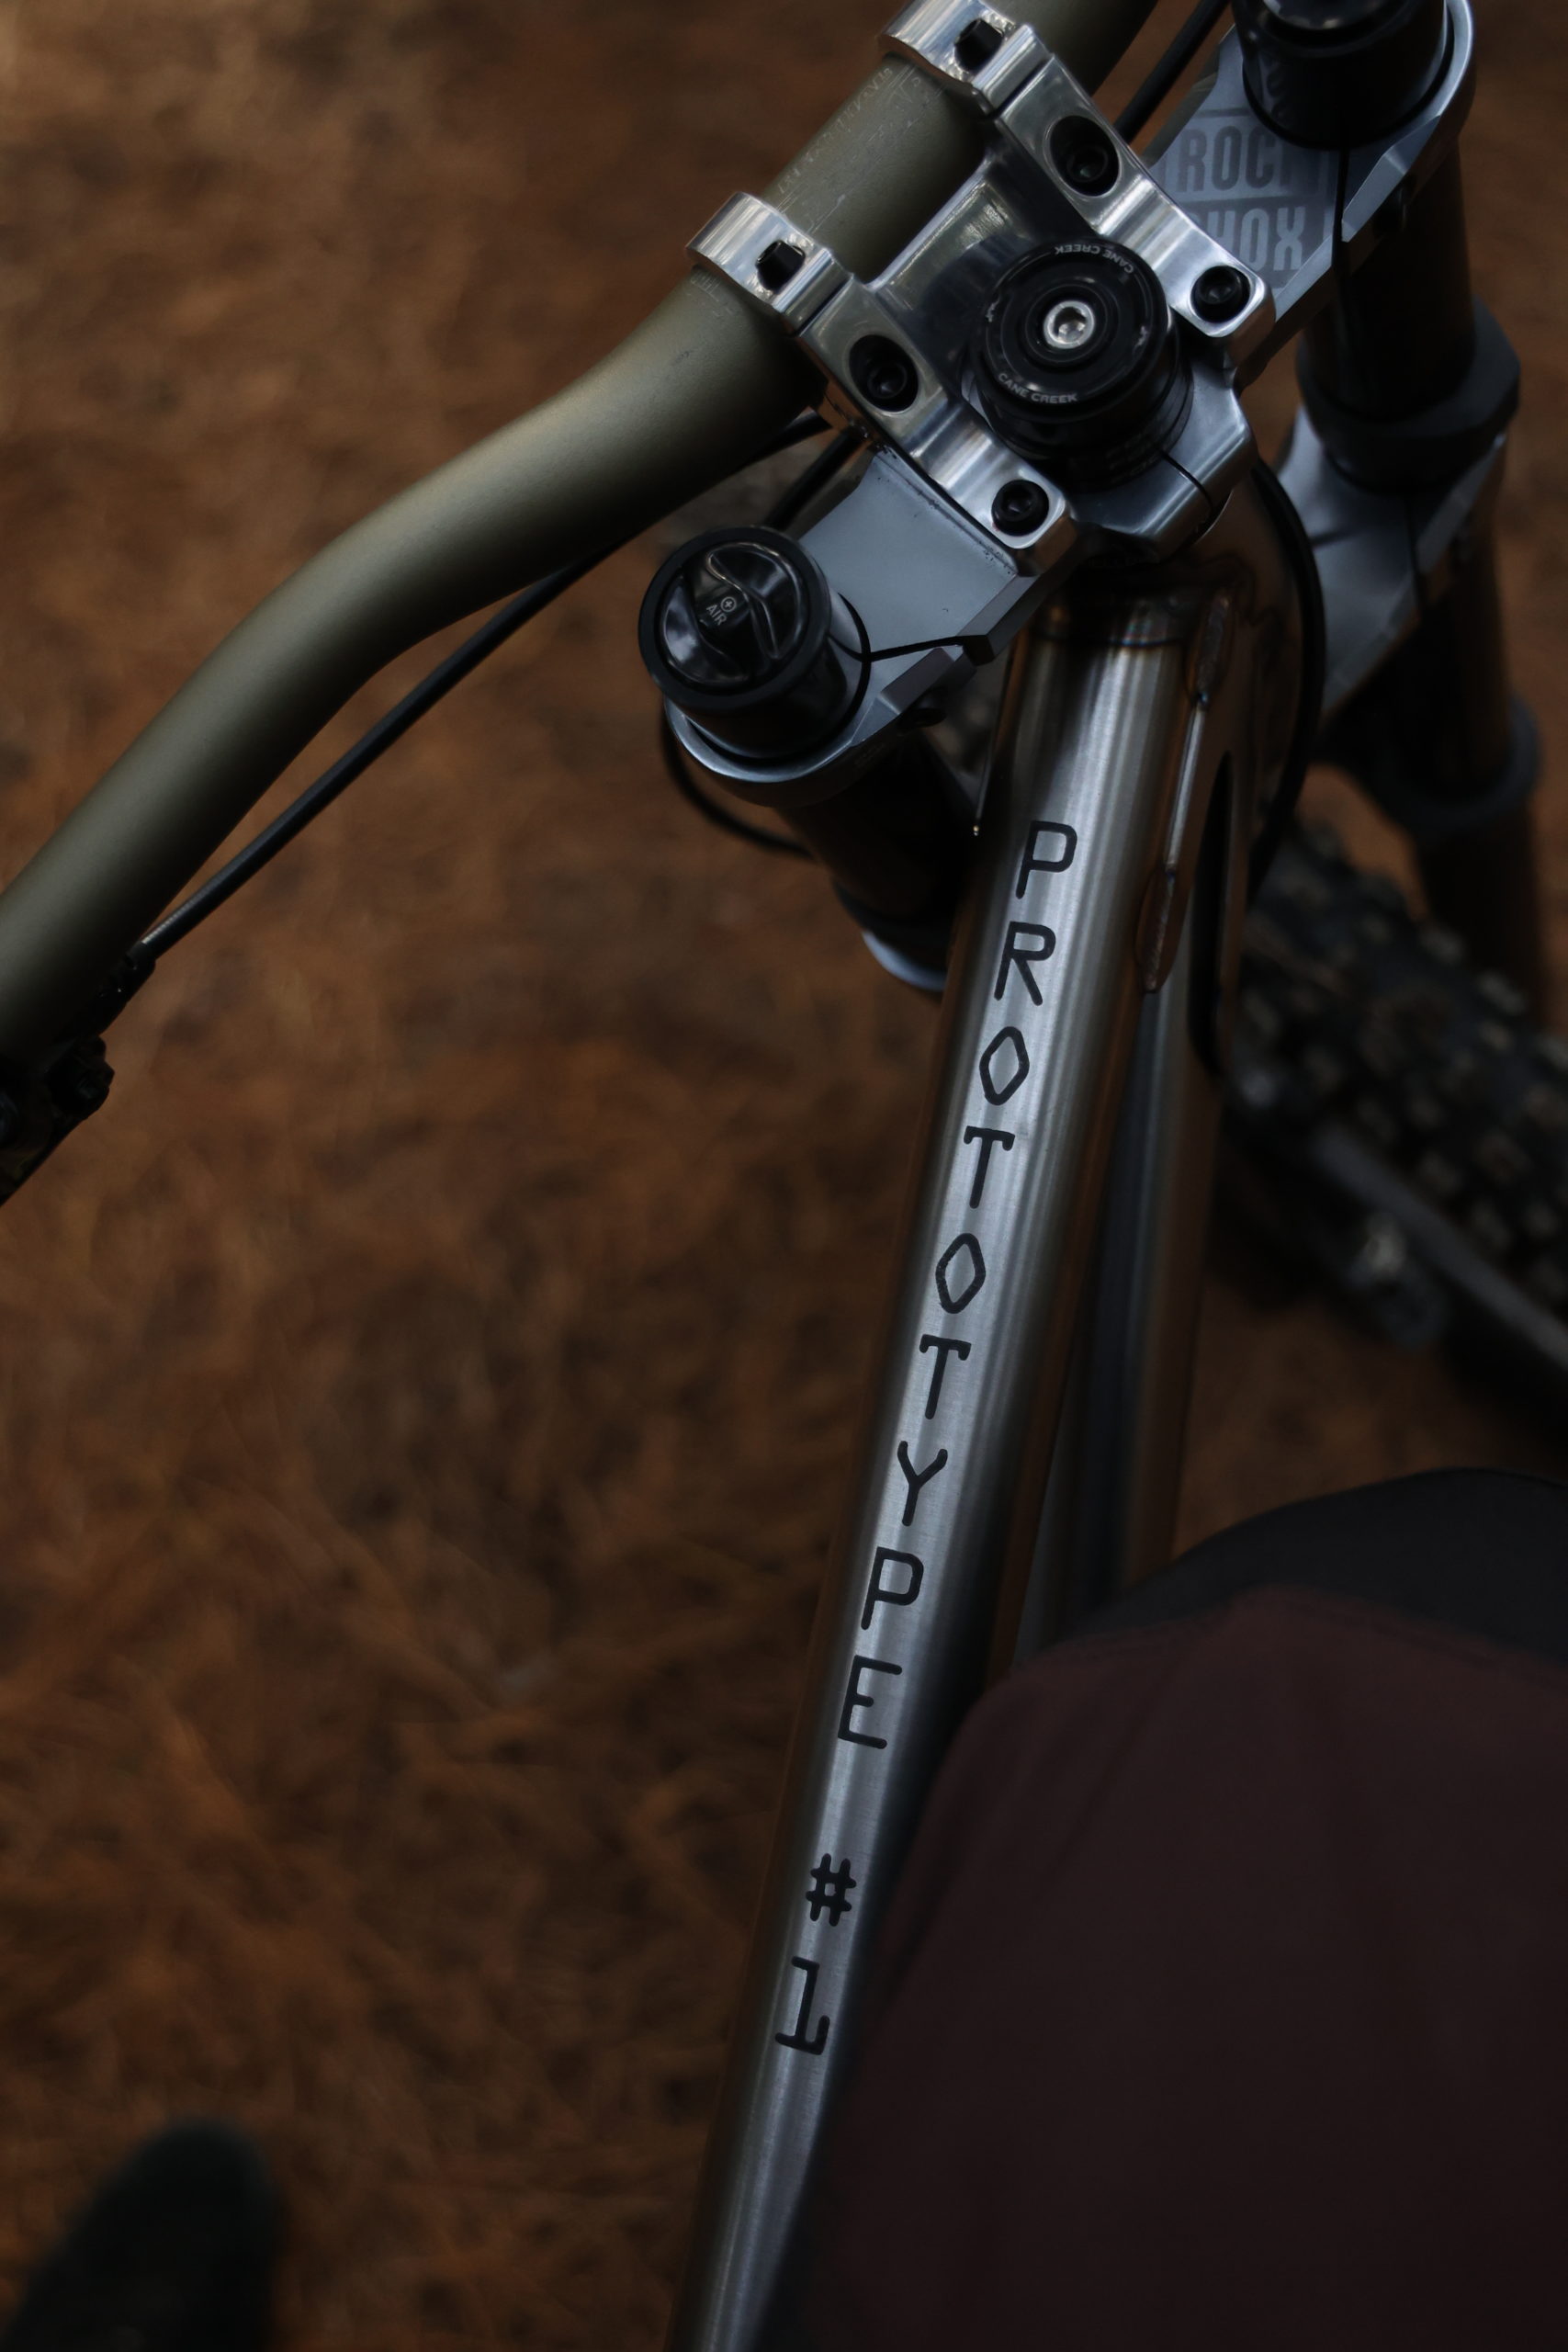
Enter the manufacturing process of Version 3, the Handmade Show happens once a year, we weren’t hanging around for another year and with the Crankworx festival coming to Australia it seemed like the perfect time to export those files from Fusion 360 and turn our designs into real life.

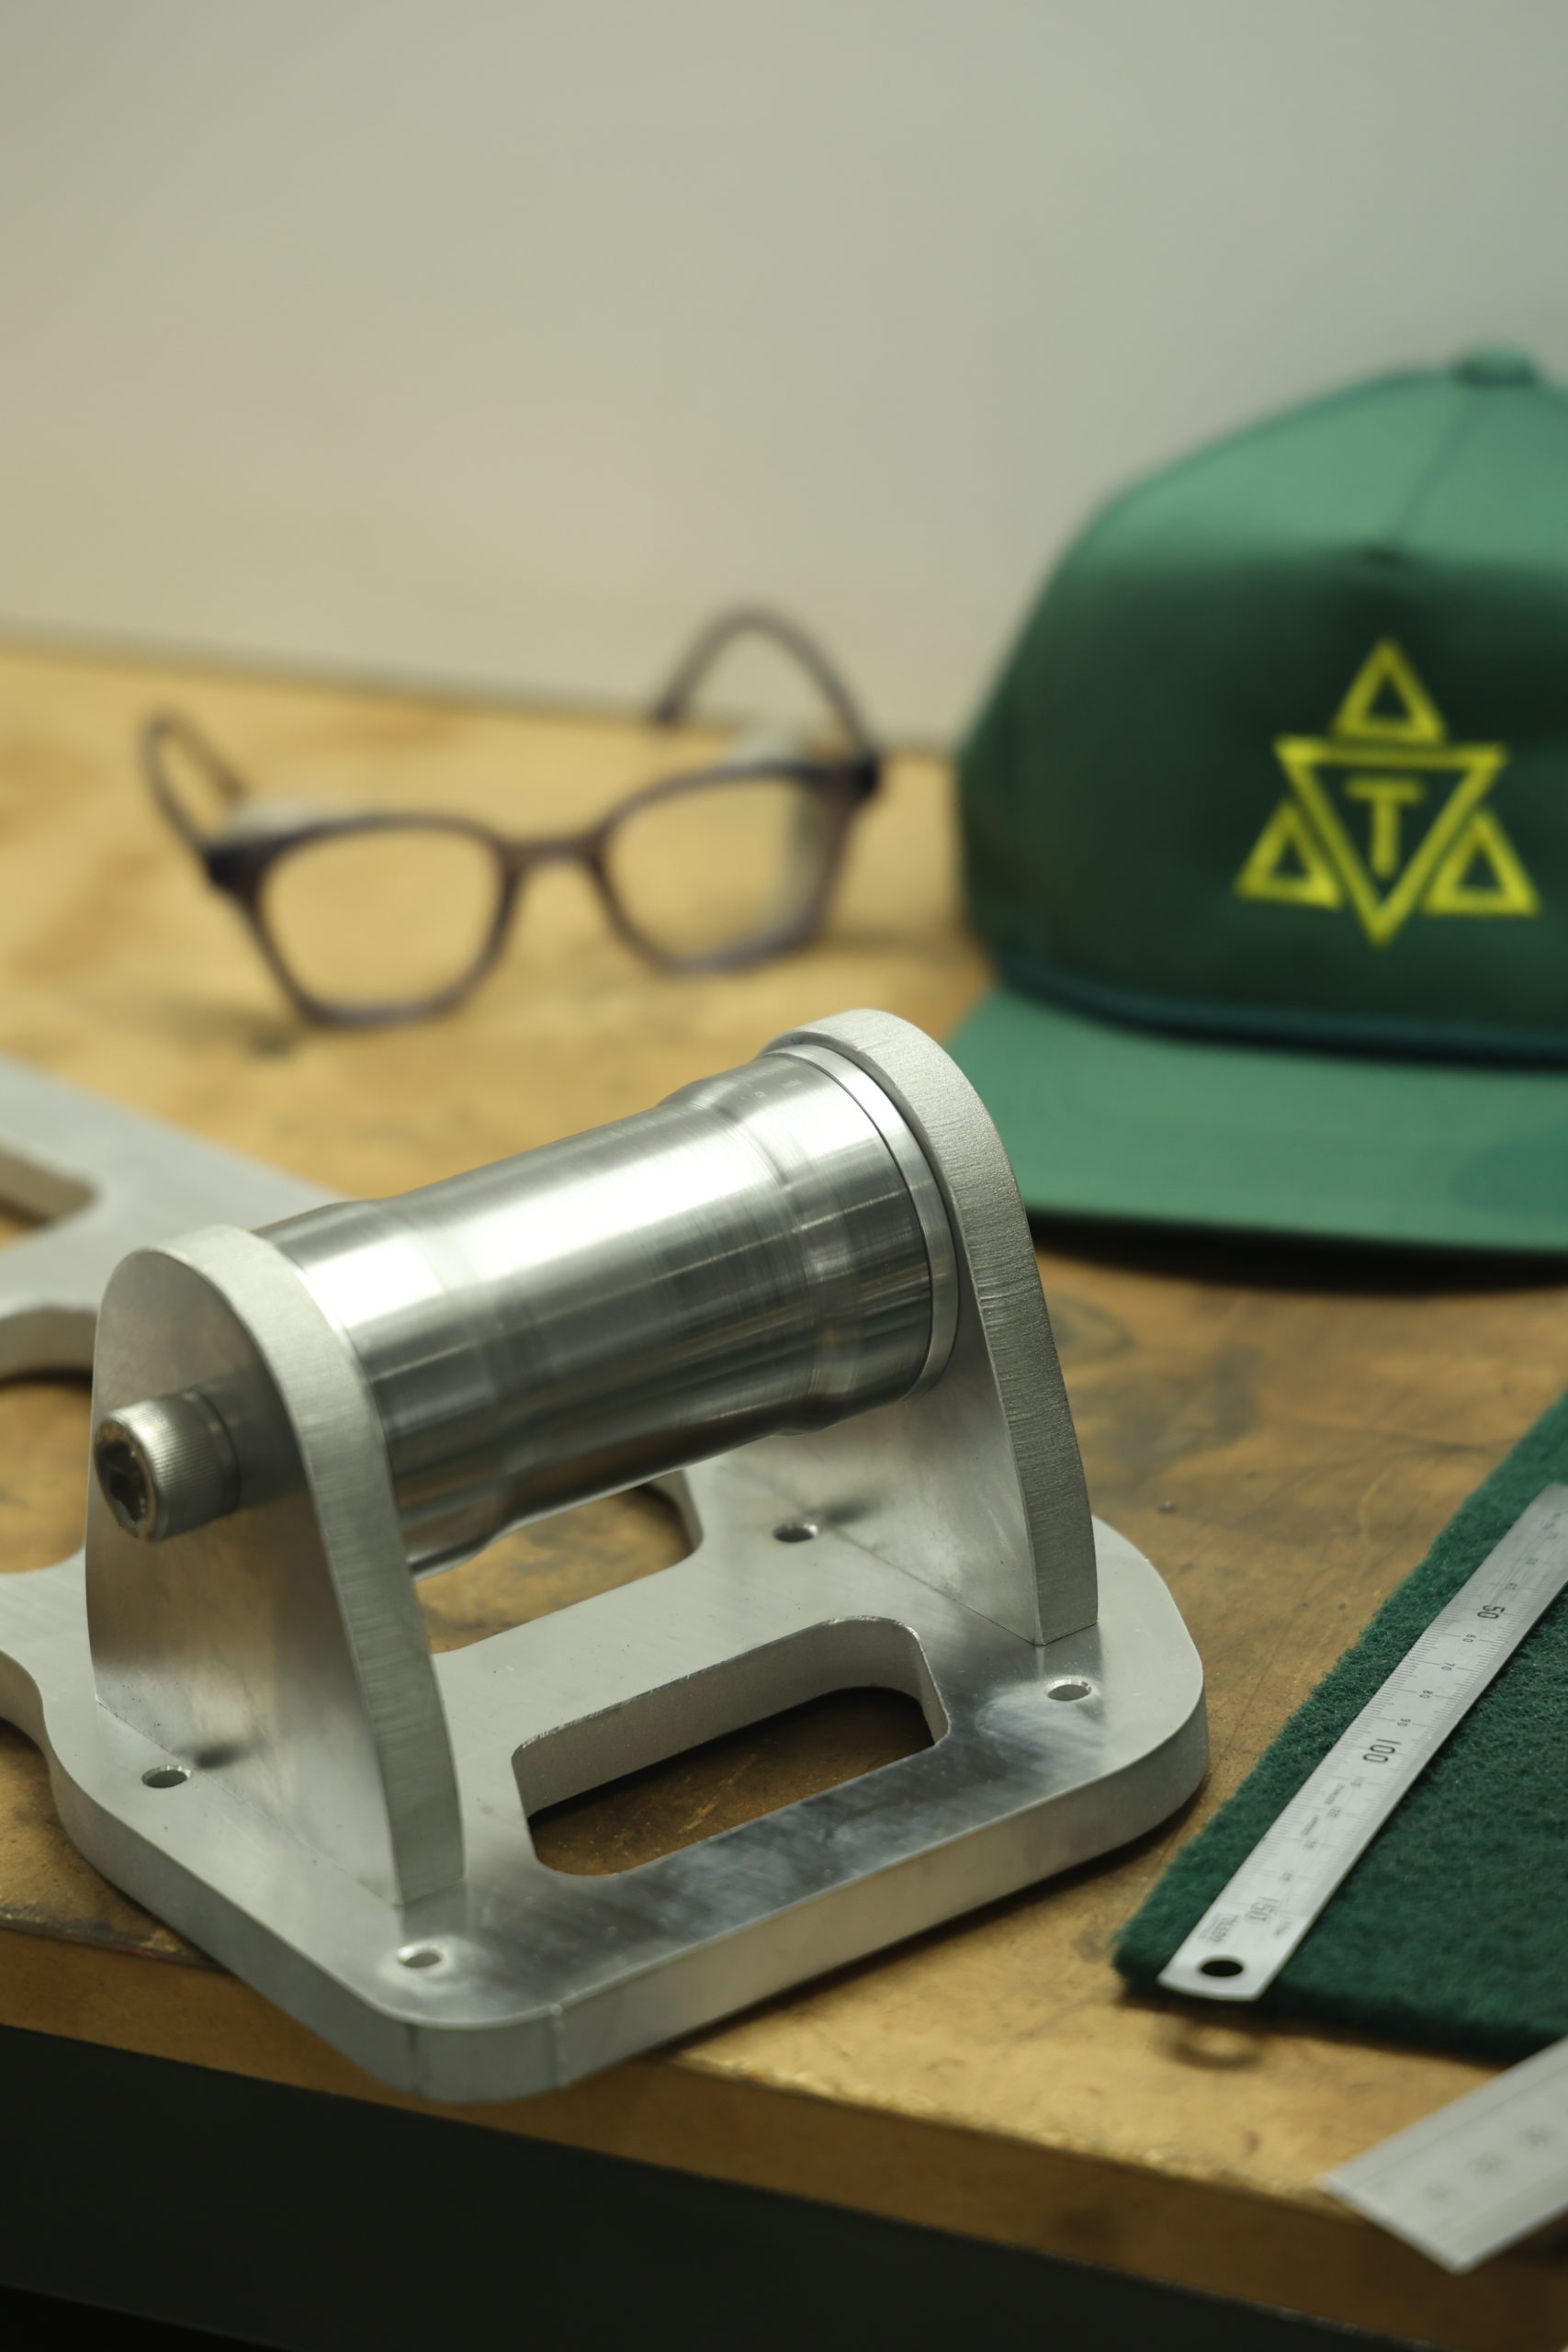
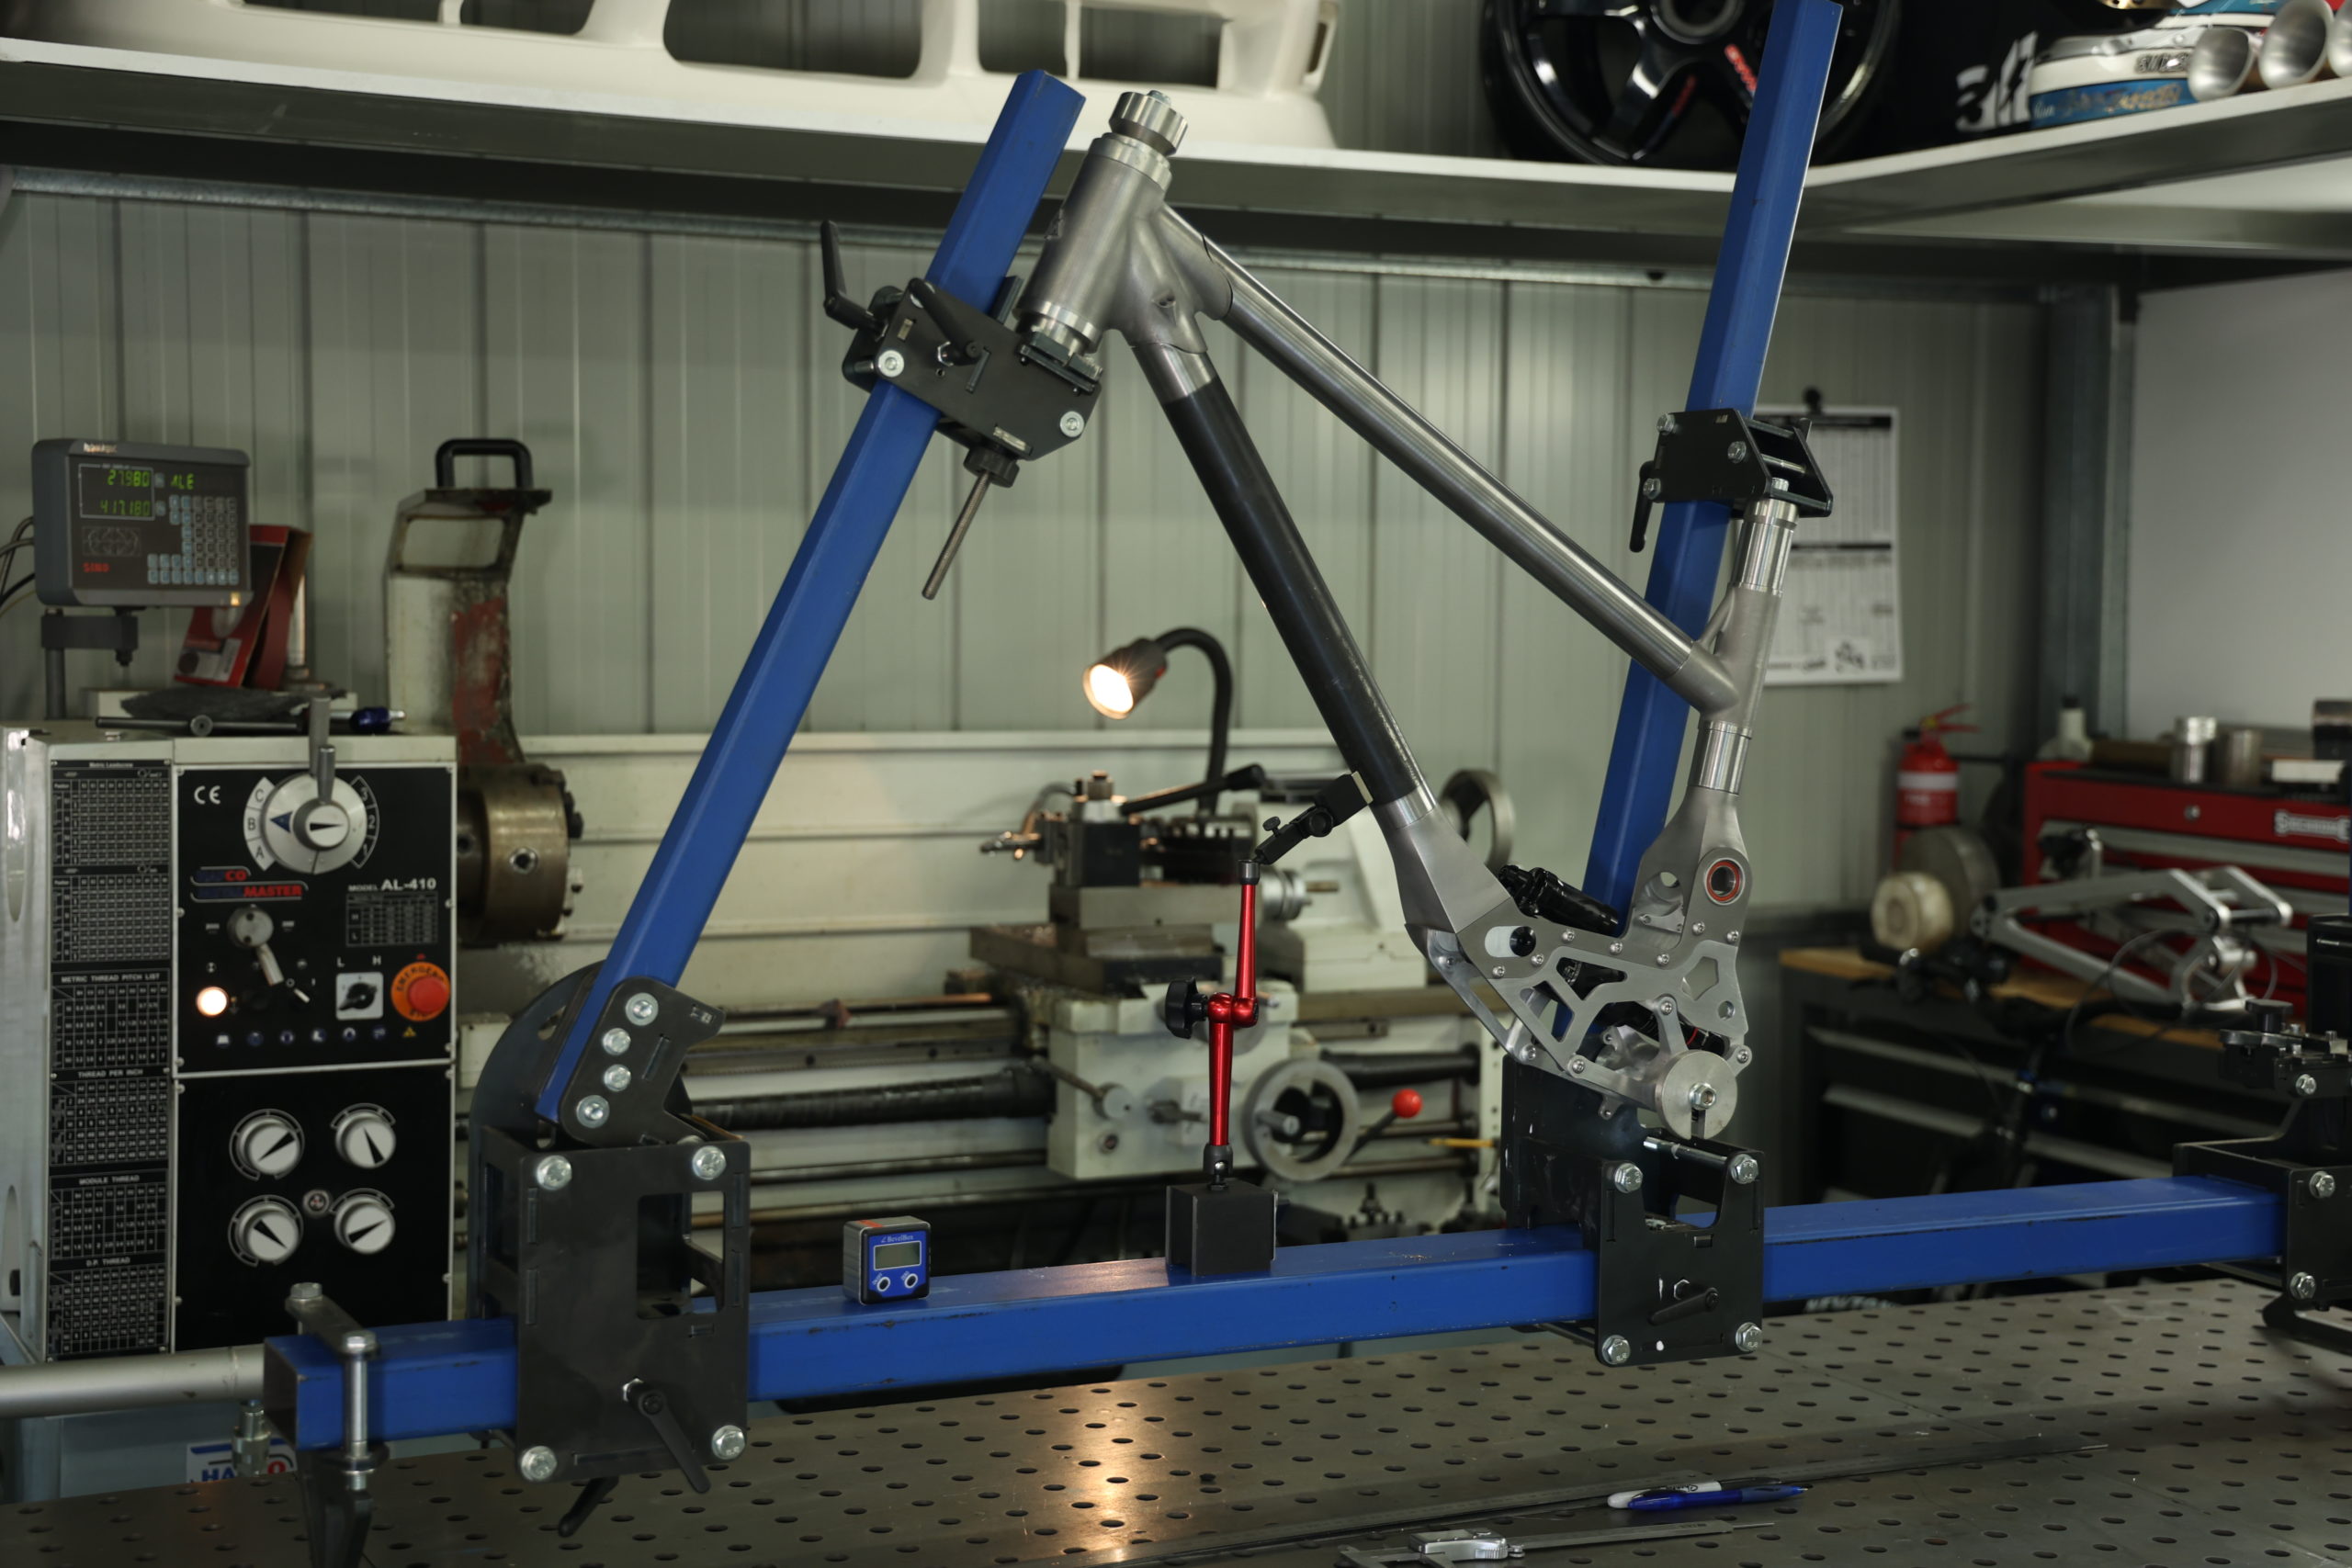
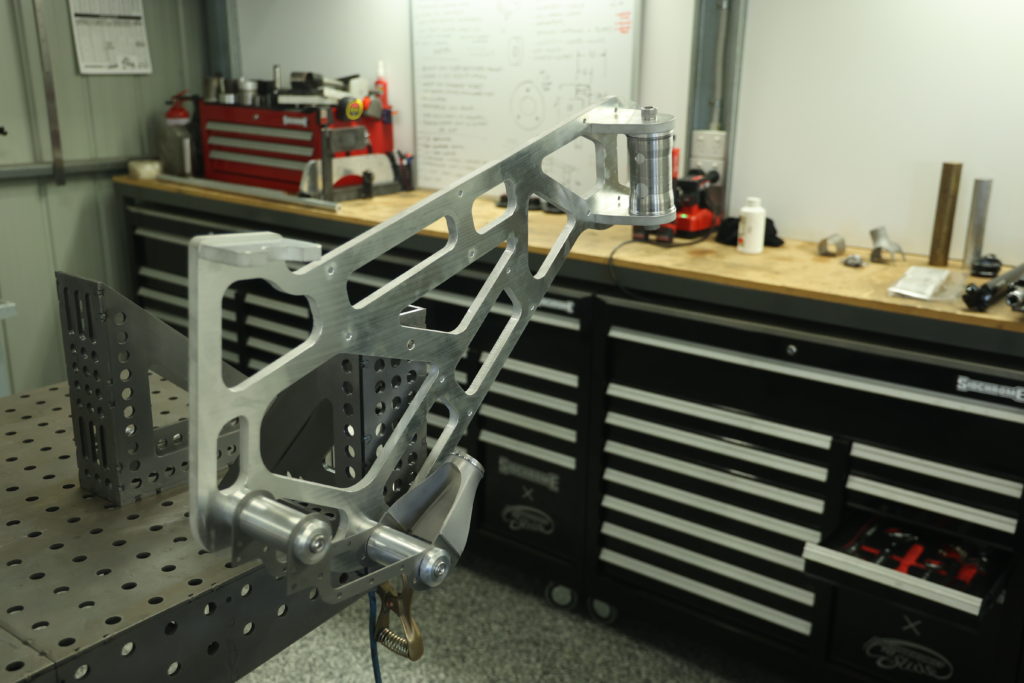
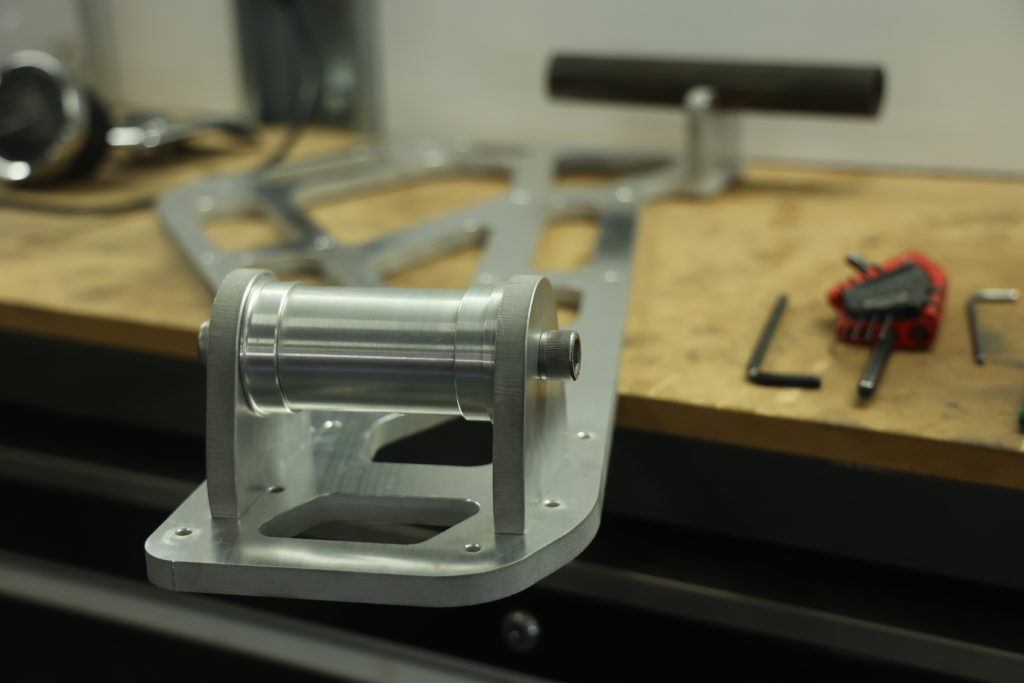
It starts with a JIG or a Fixture, this positions the tubes exactly where we need them and offers a no questions approach to assembly. I made this from 12.77mm Aluminium Cast and Machined plate that was Water Jet cut to size.
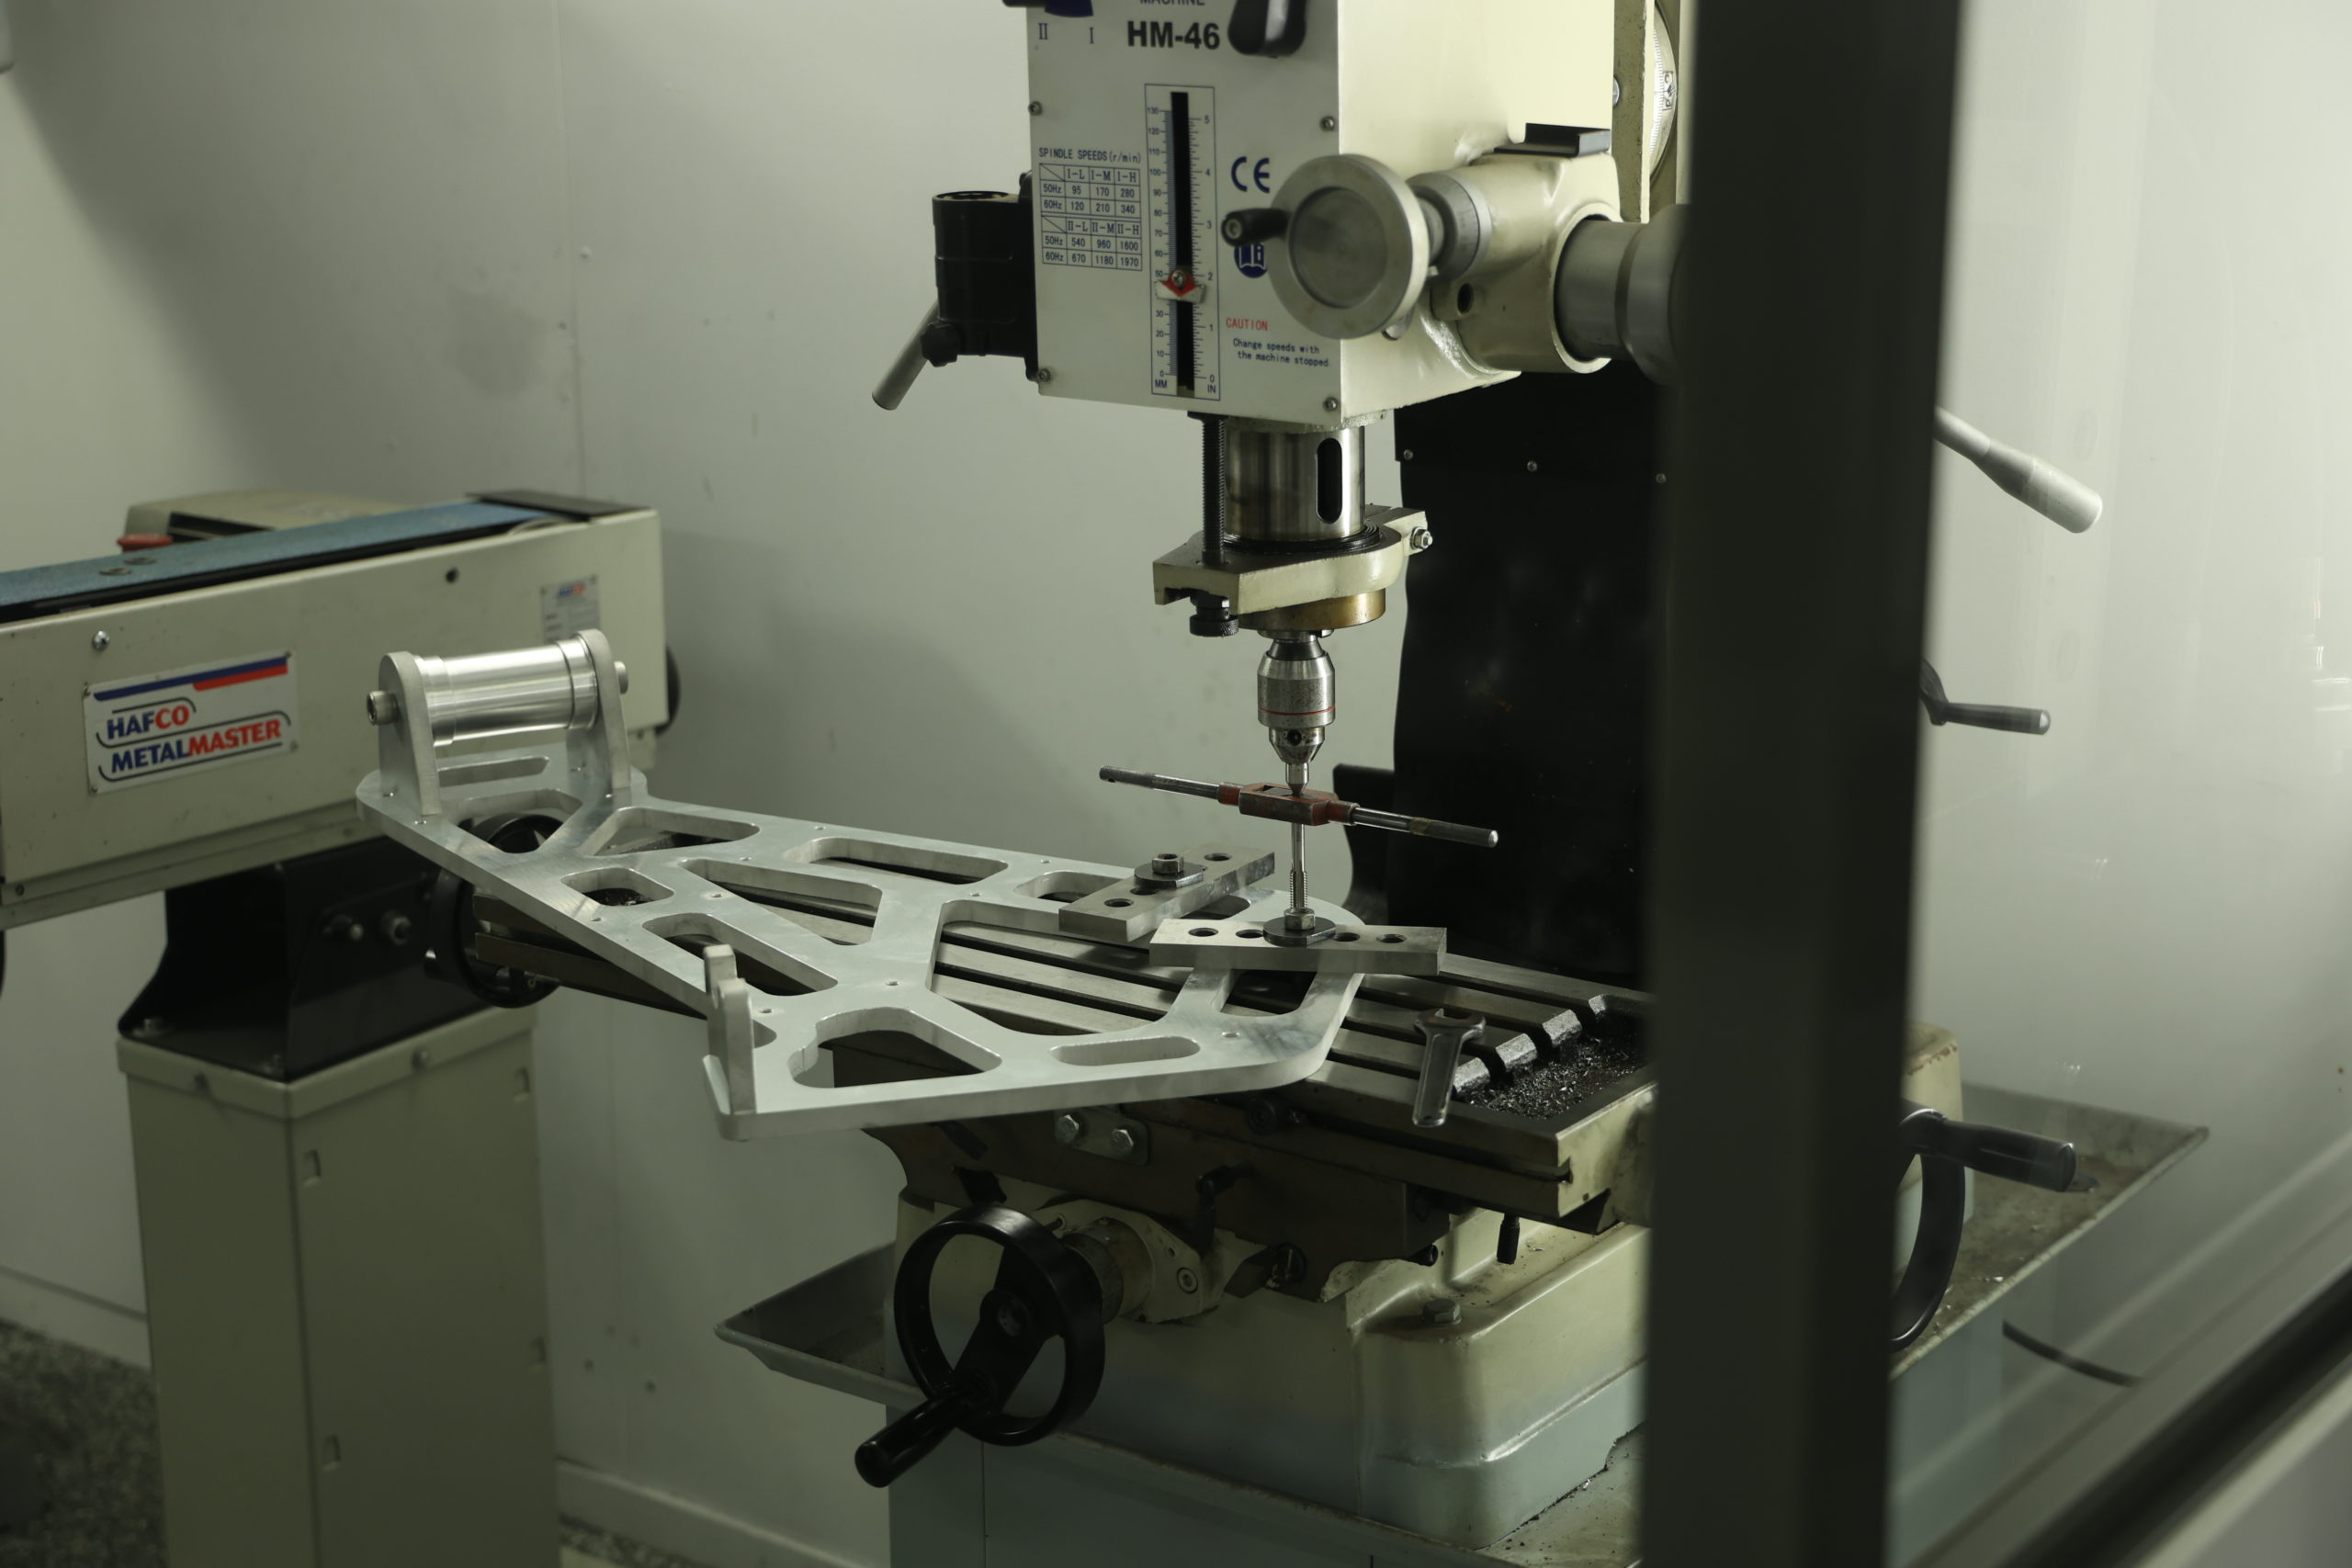
From here I deburred all the corners and started focusing on the headtube and main pivot mounting points.
I have been loving my home workshop throughout all of this, quality craftsmanship takes time and being at home allows me the opportunity to be here and do it when time permits.
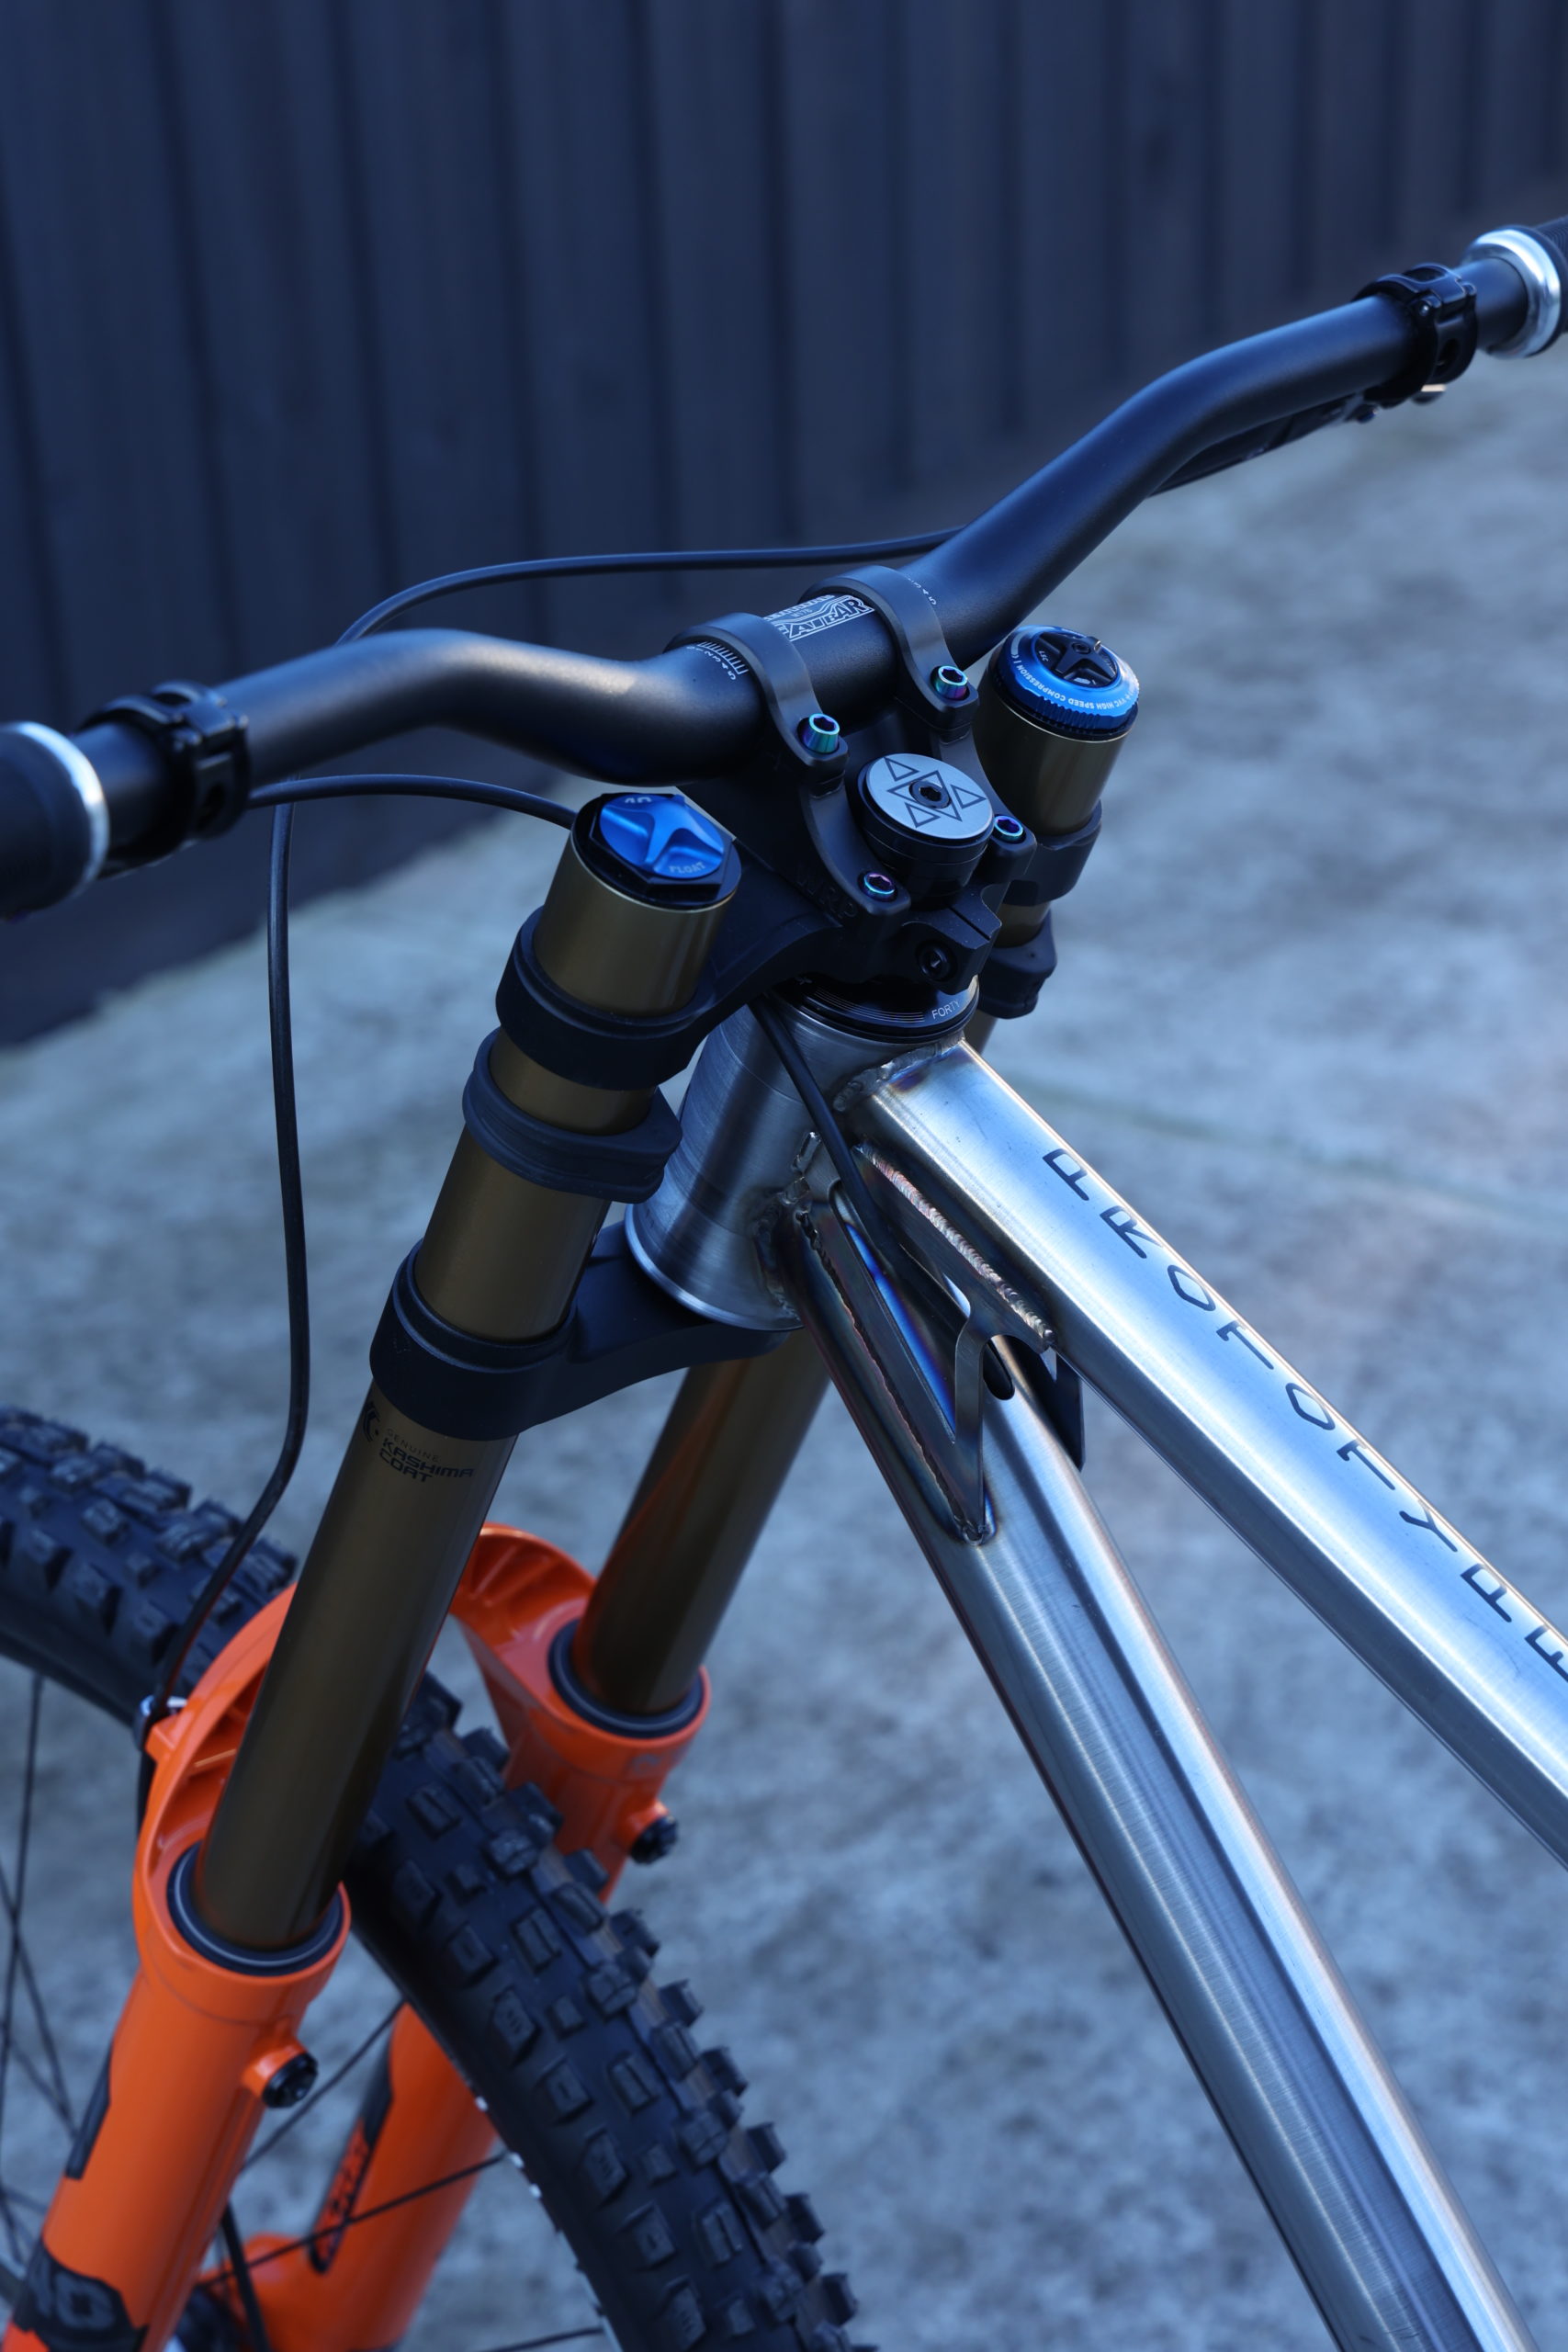
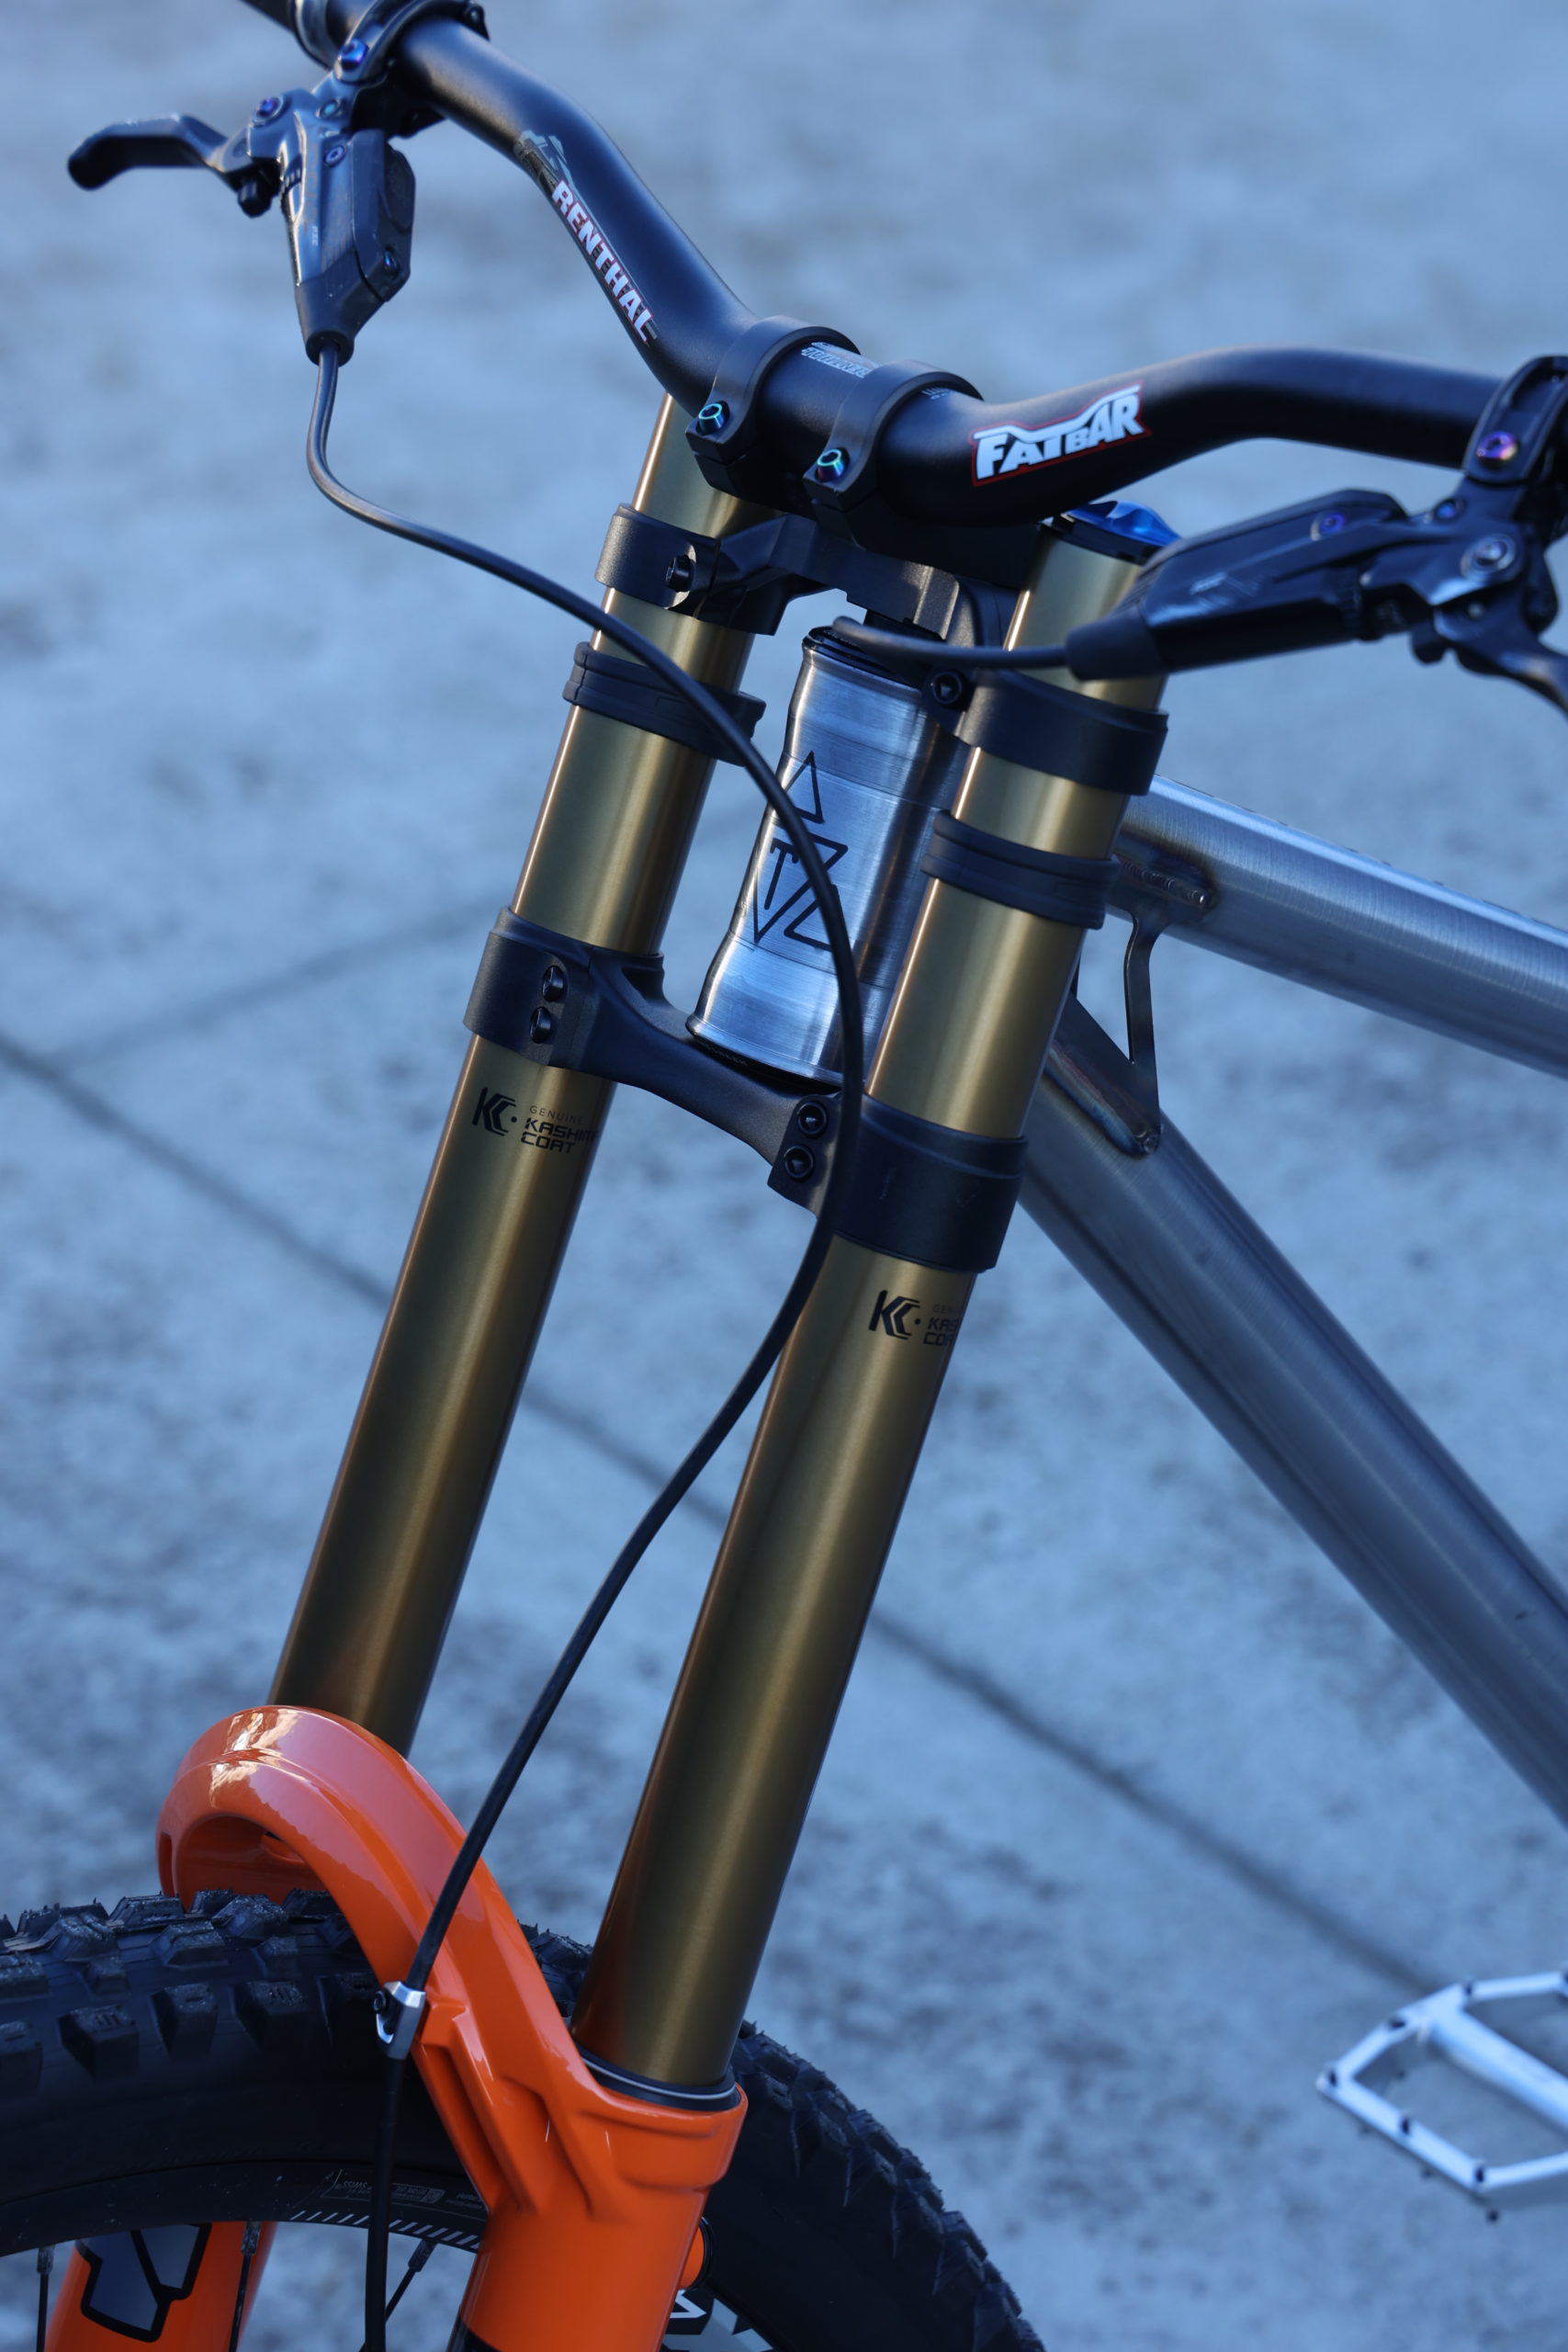
With the fixture complete I could now start to focus on producing the frame components. I mentioned earlier about the printed head tube on our V2, the thought process behind this was to remove the labour involved in making the head tube, top tube notch and down tube notch.
But it resulted in lengthy delays, difficulty in design, post machining and a ride characteristic that wasn’t immediately recognisable. The strength of a machined and welded head tube assembly is incredibly hard to match and although this could be emulated with a printed part it wasn’t exactly where we wanted to focus our time or money.
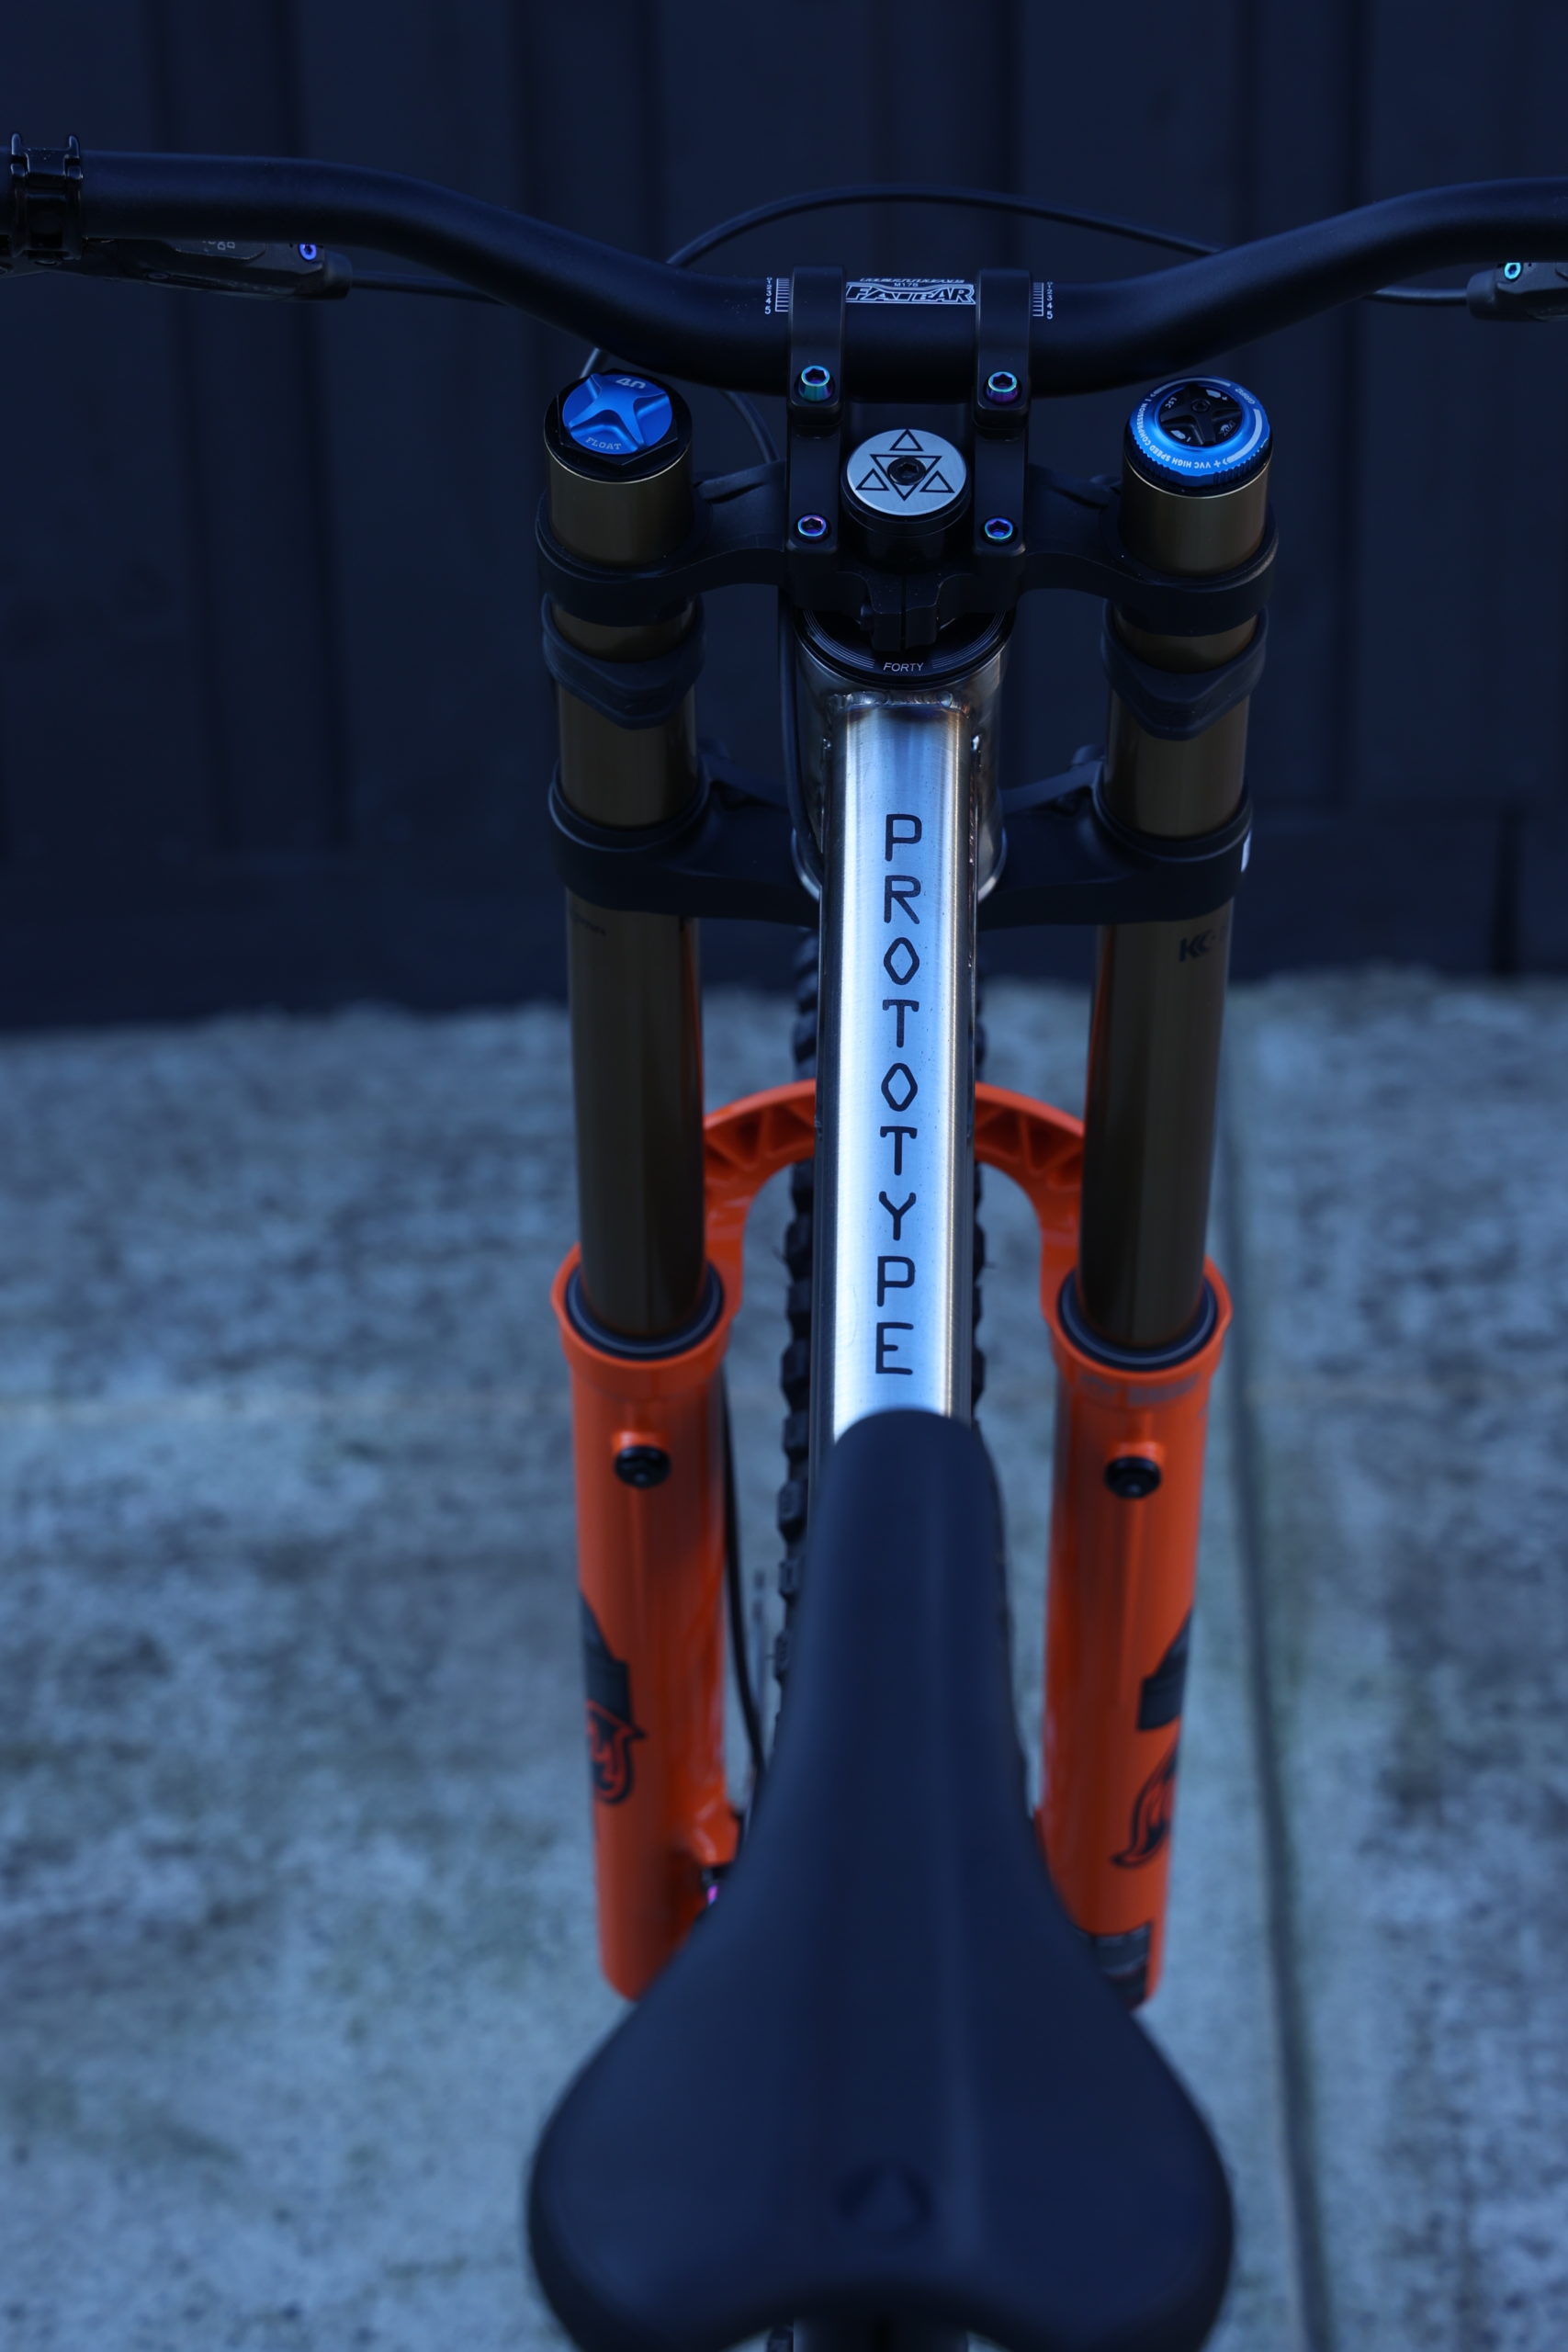
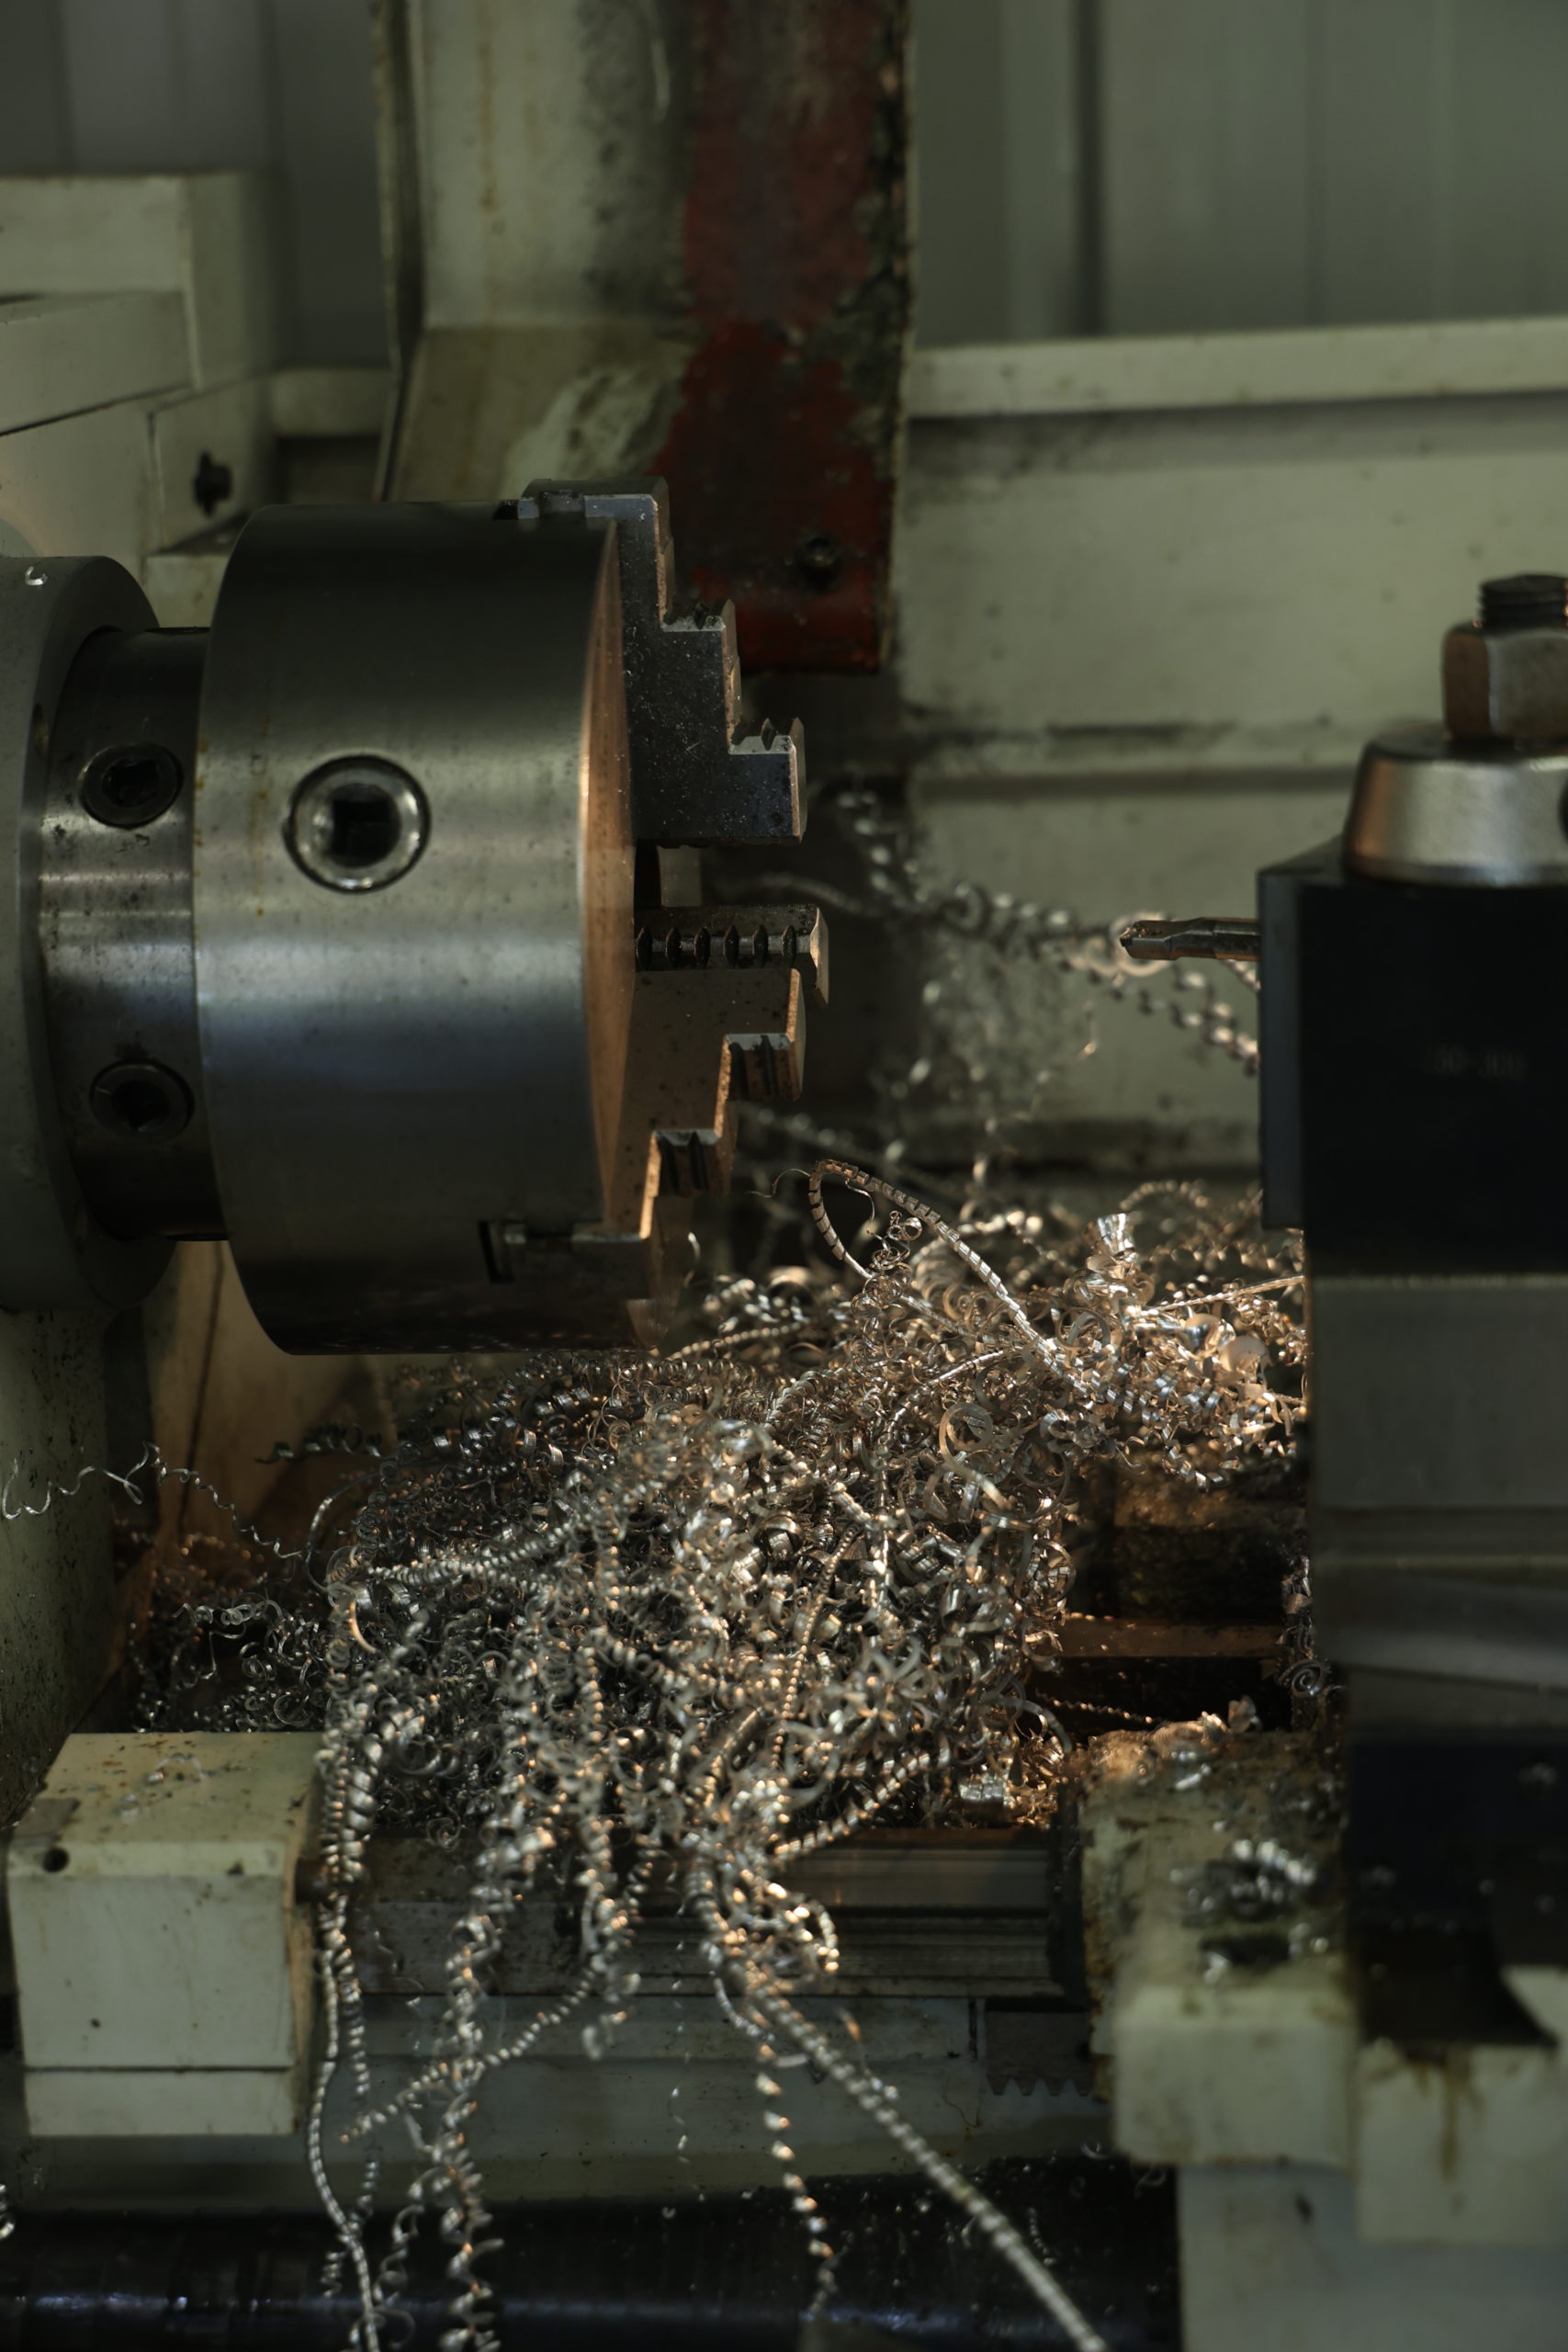
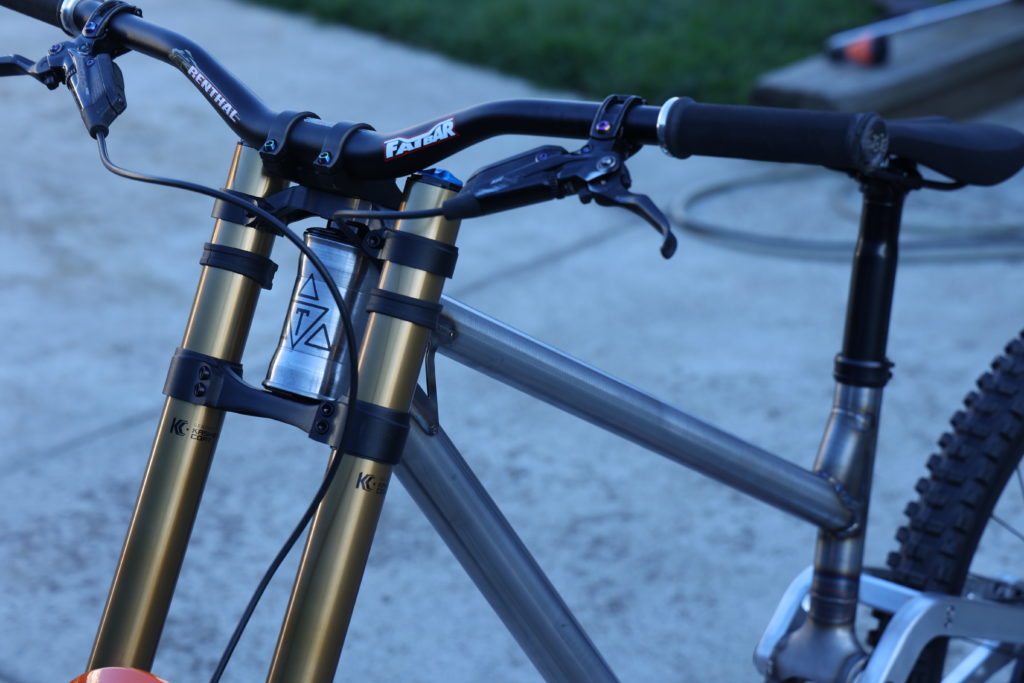
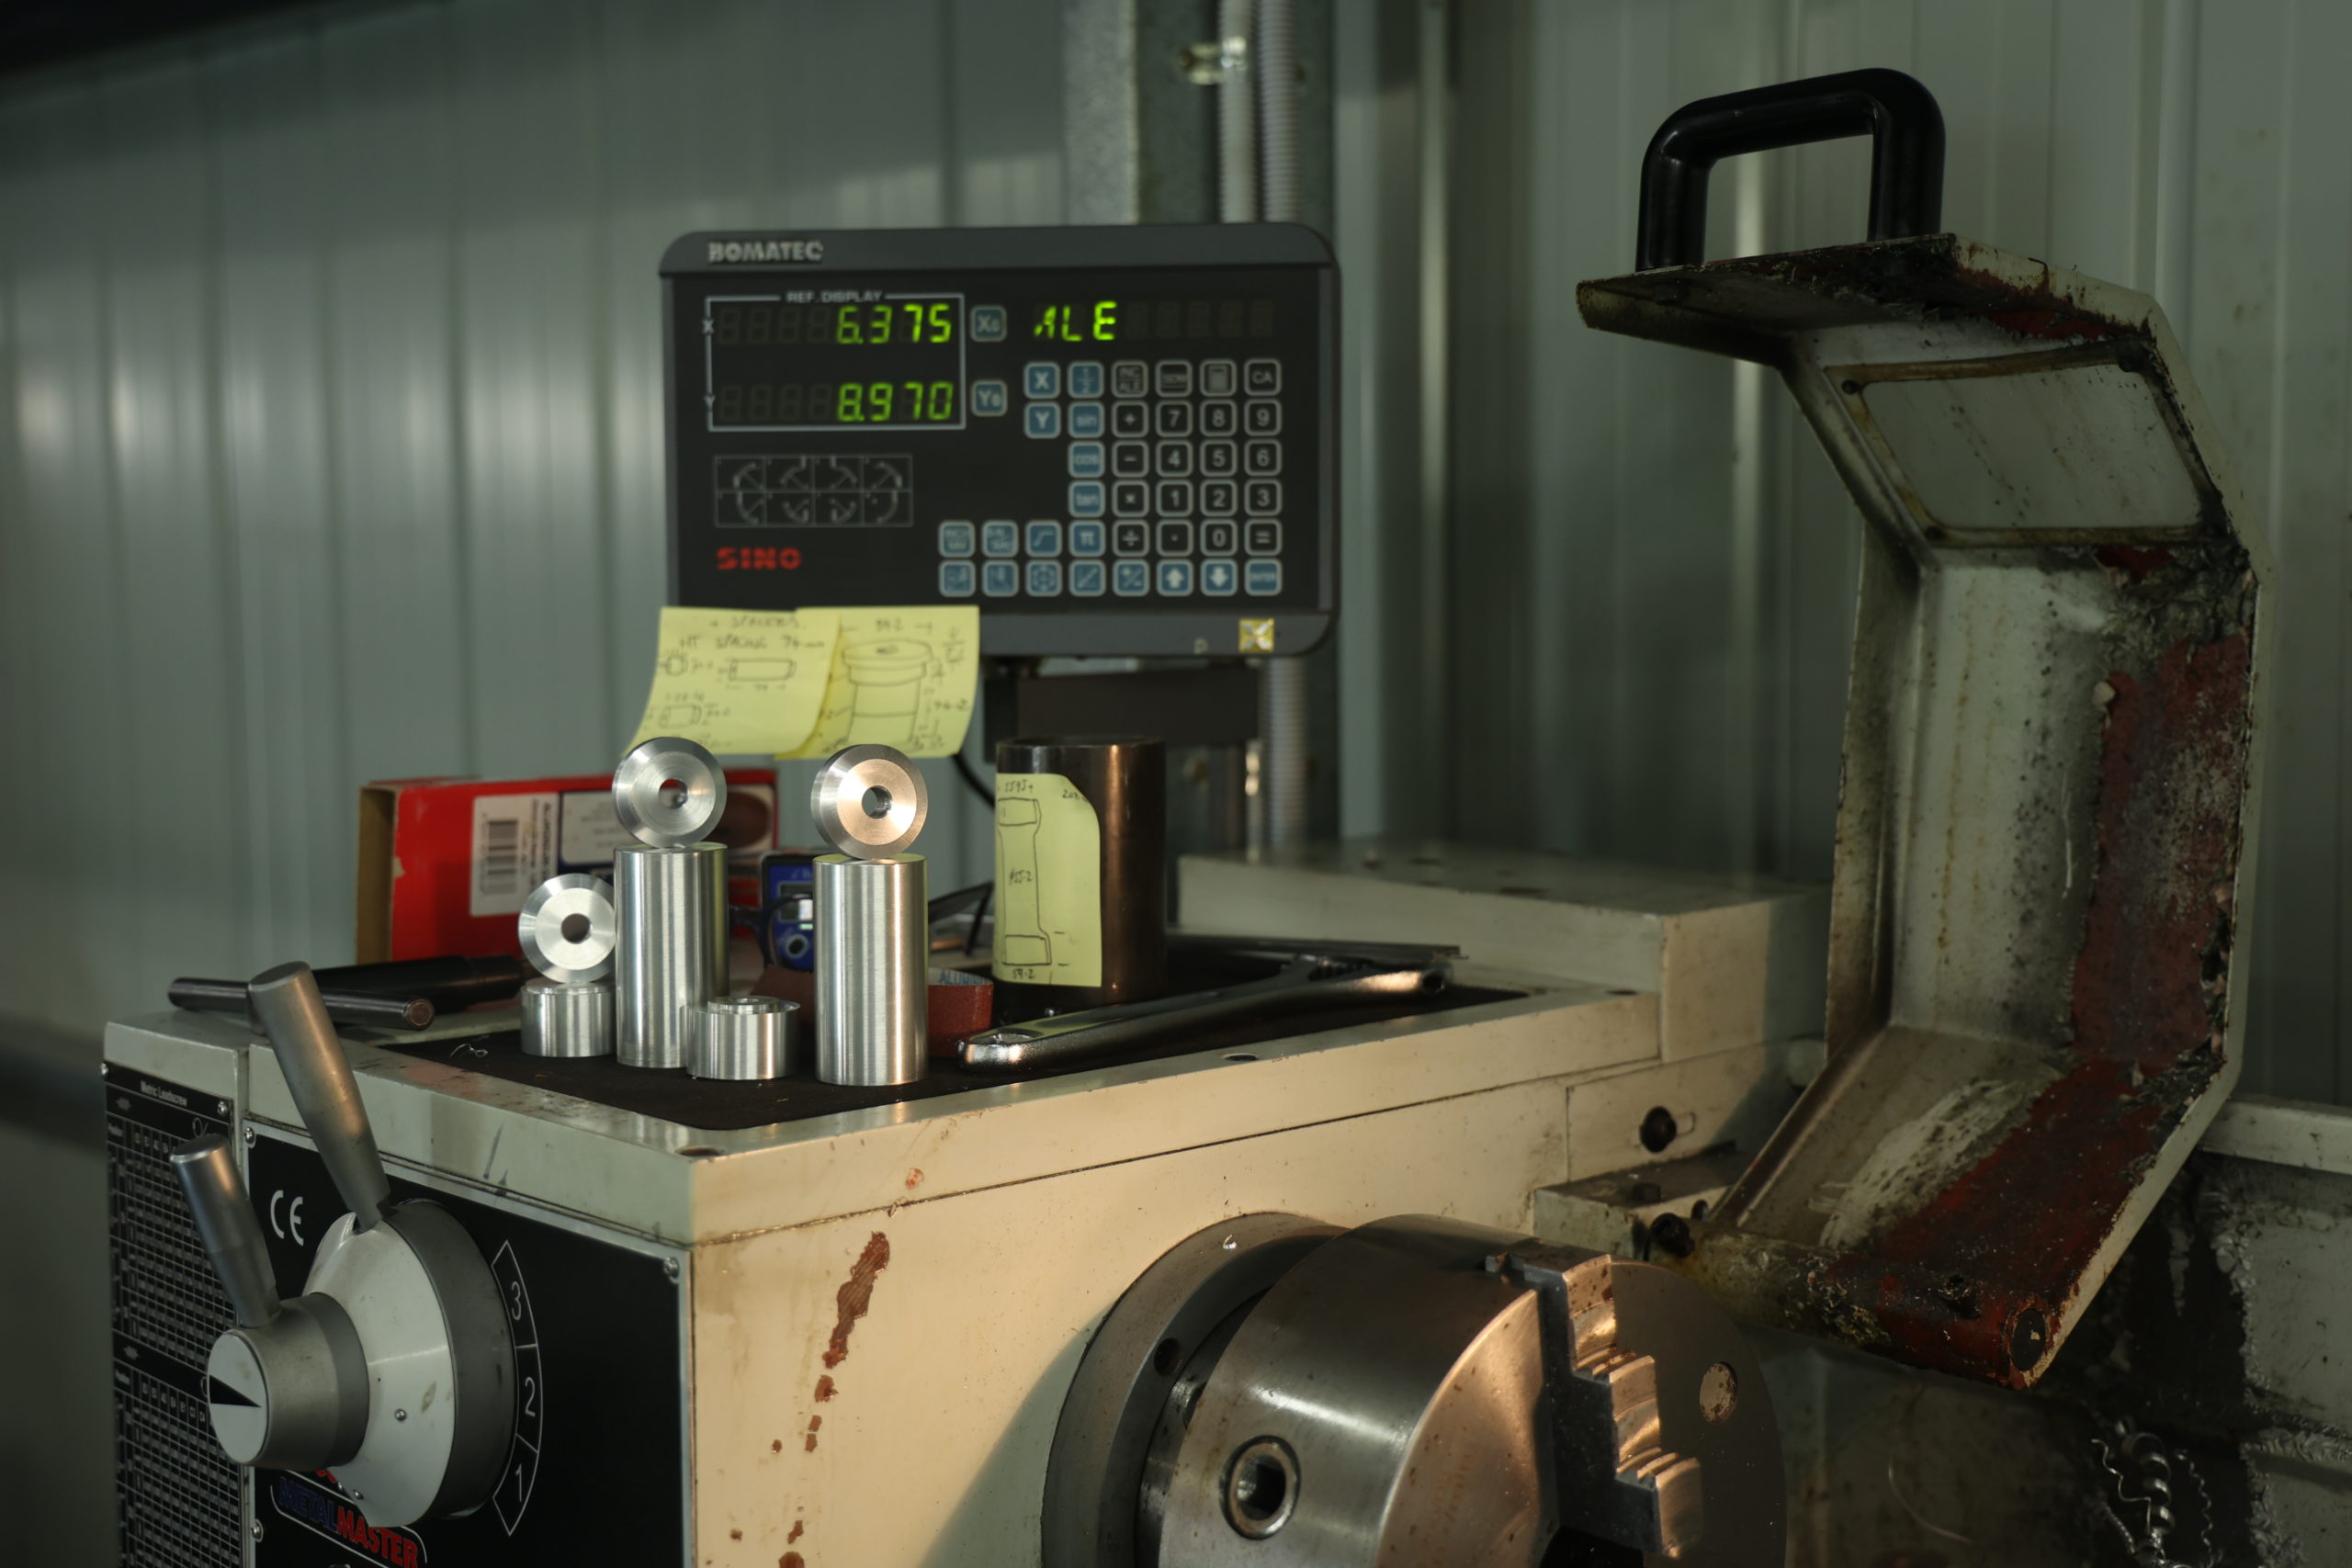
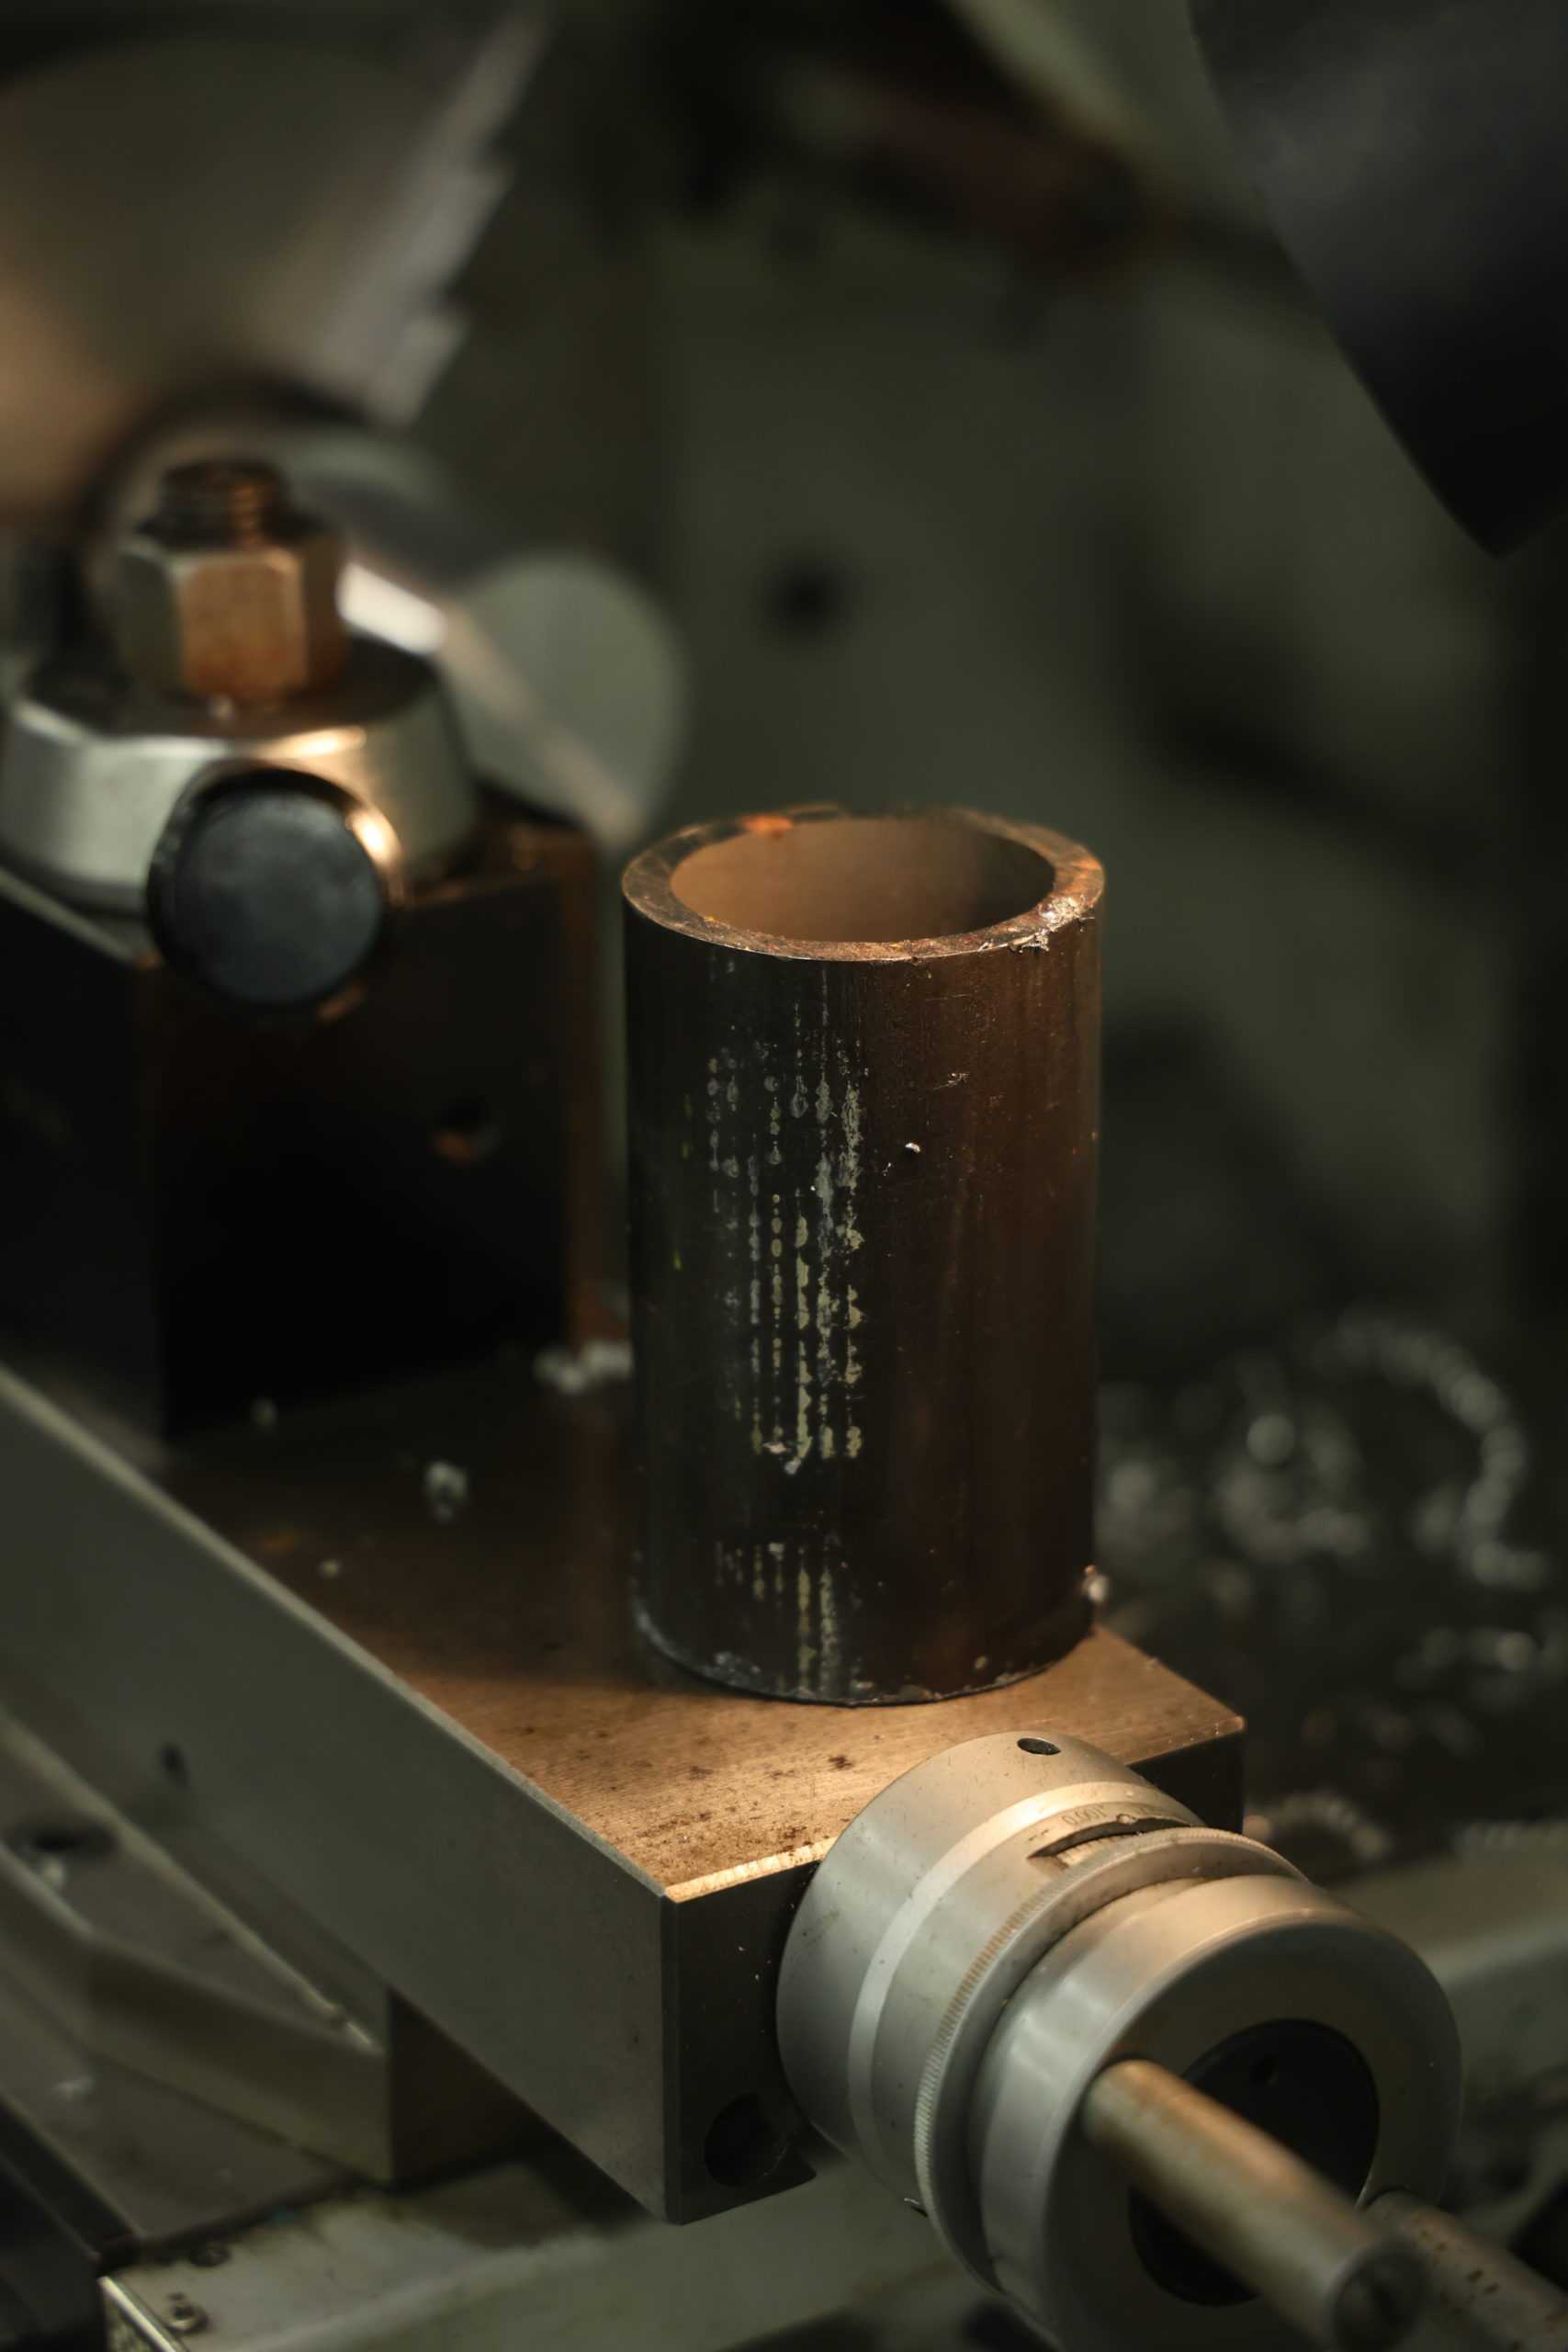
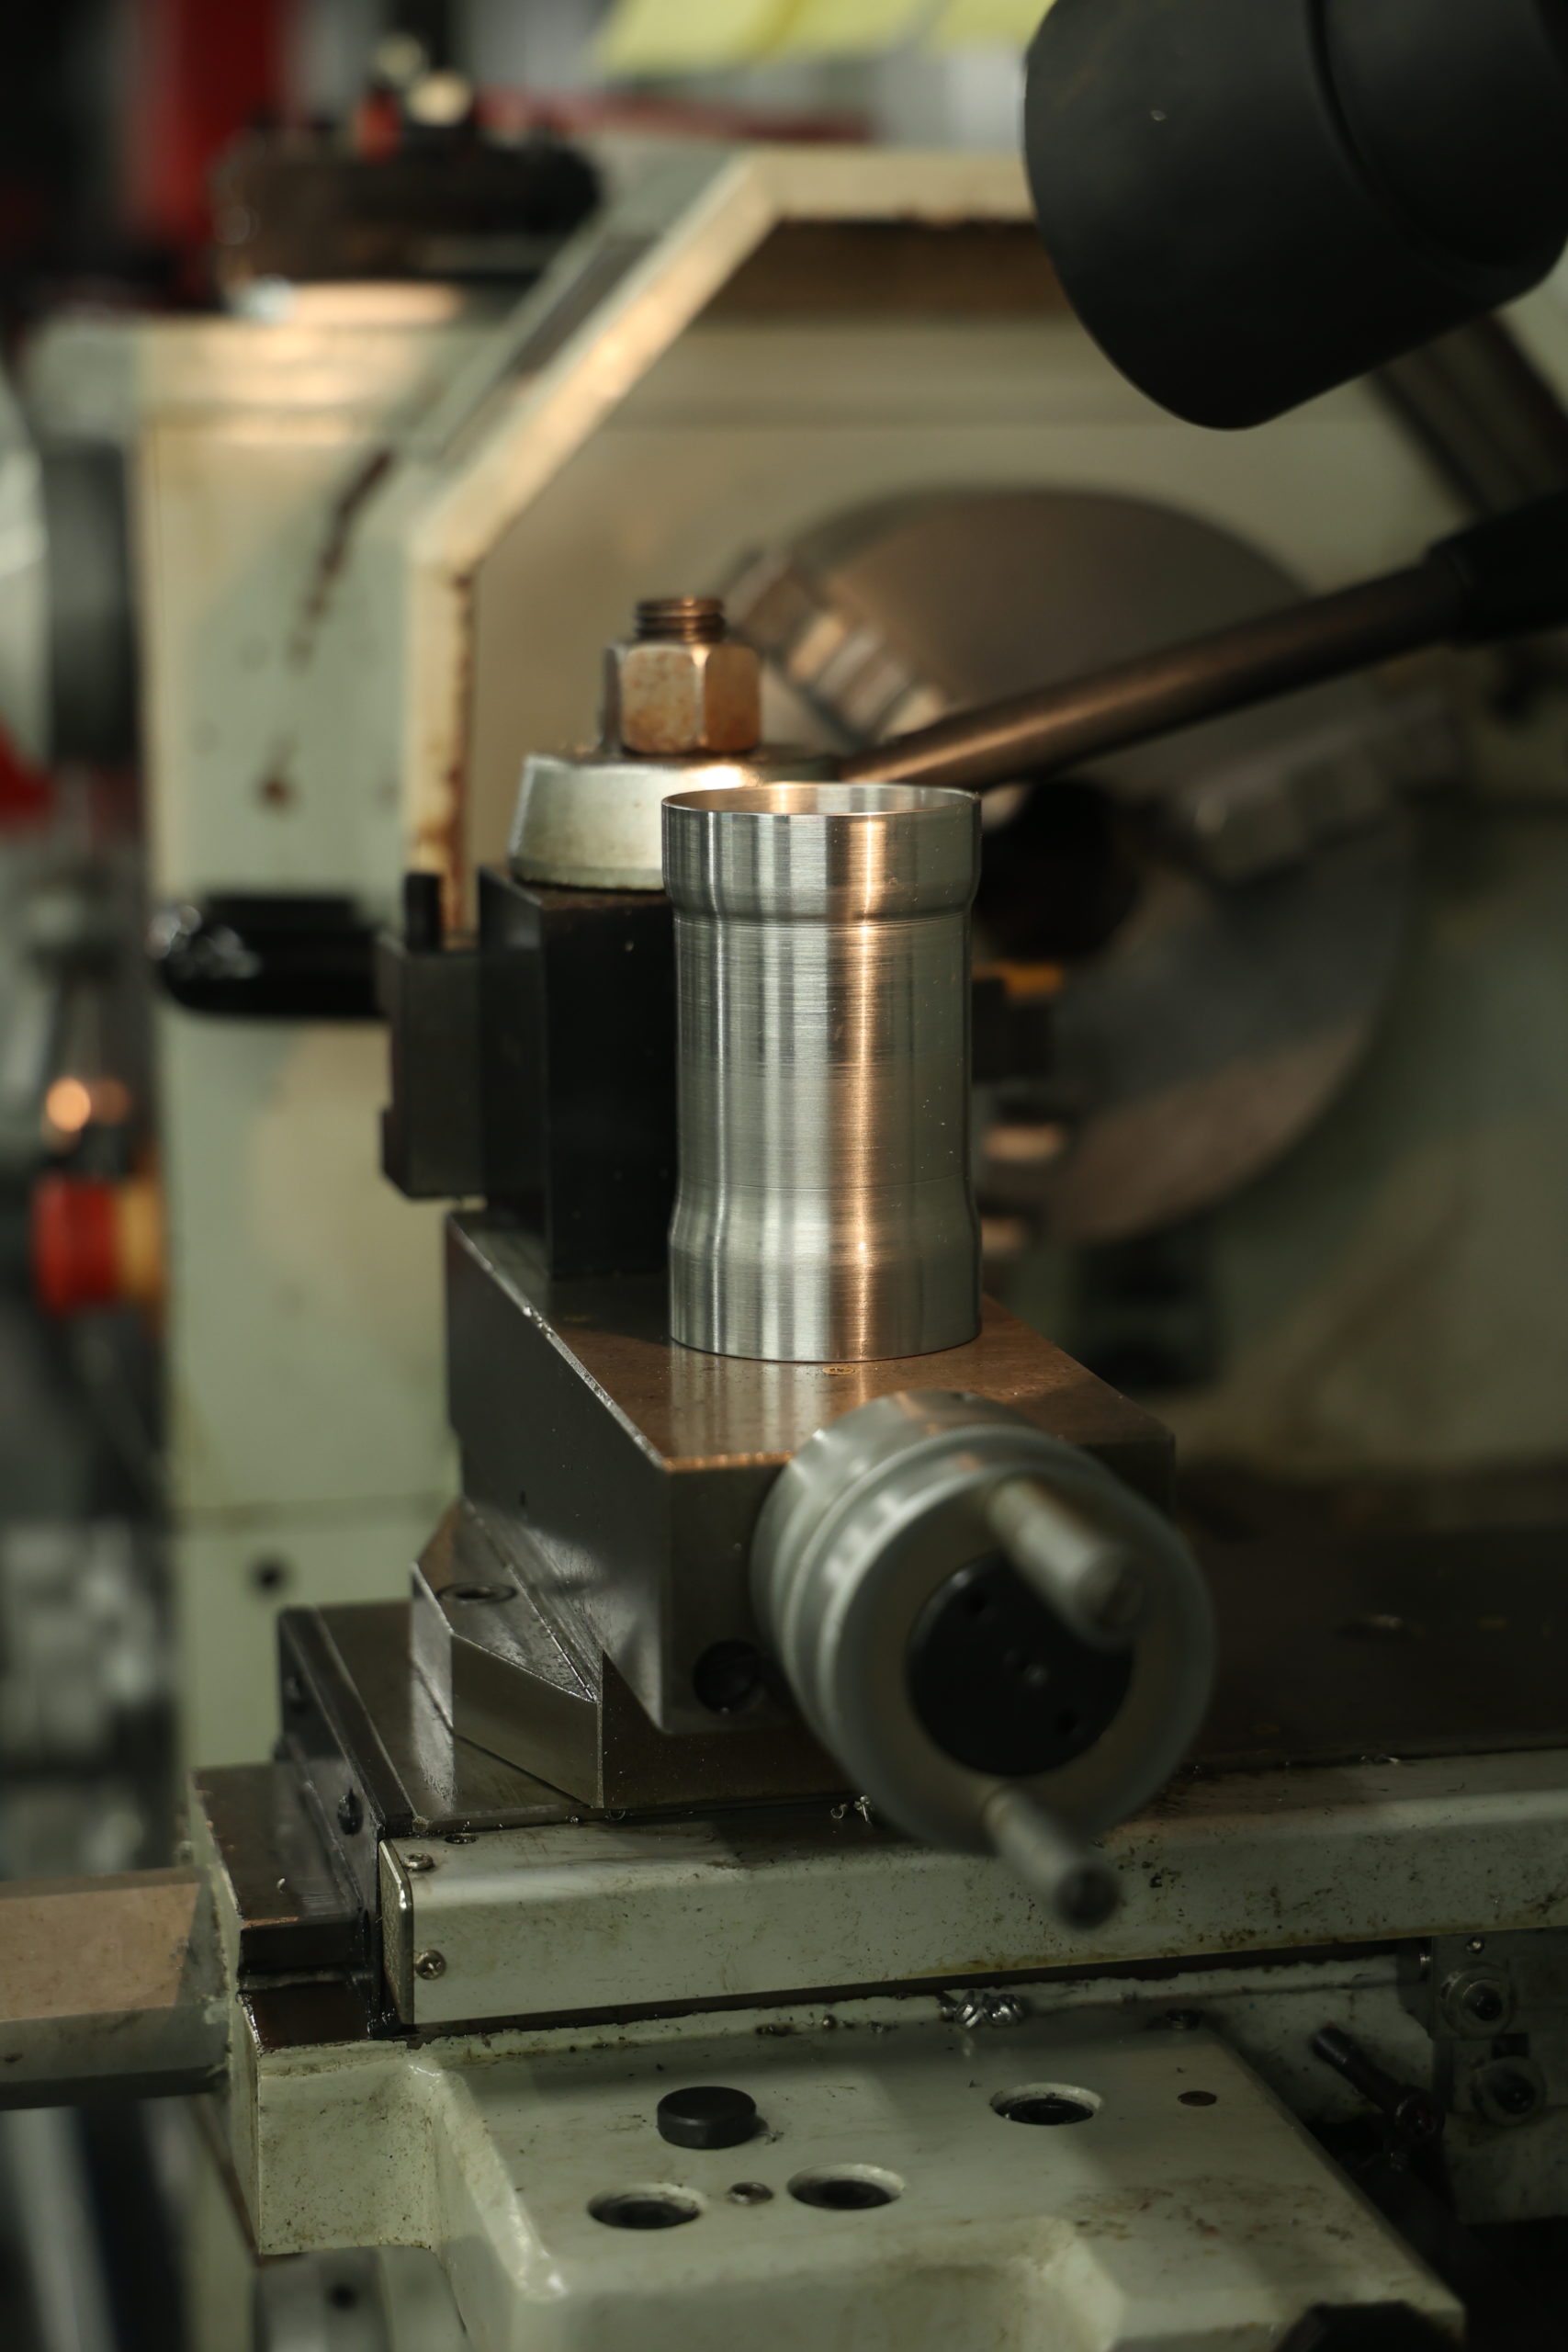
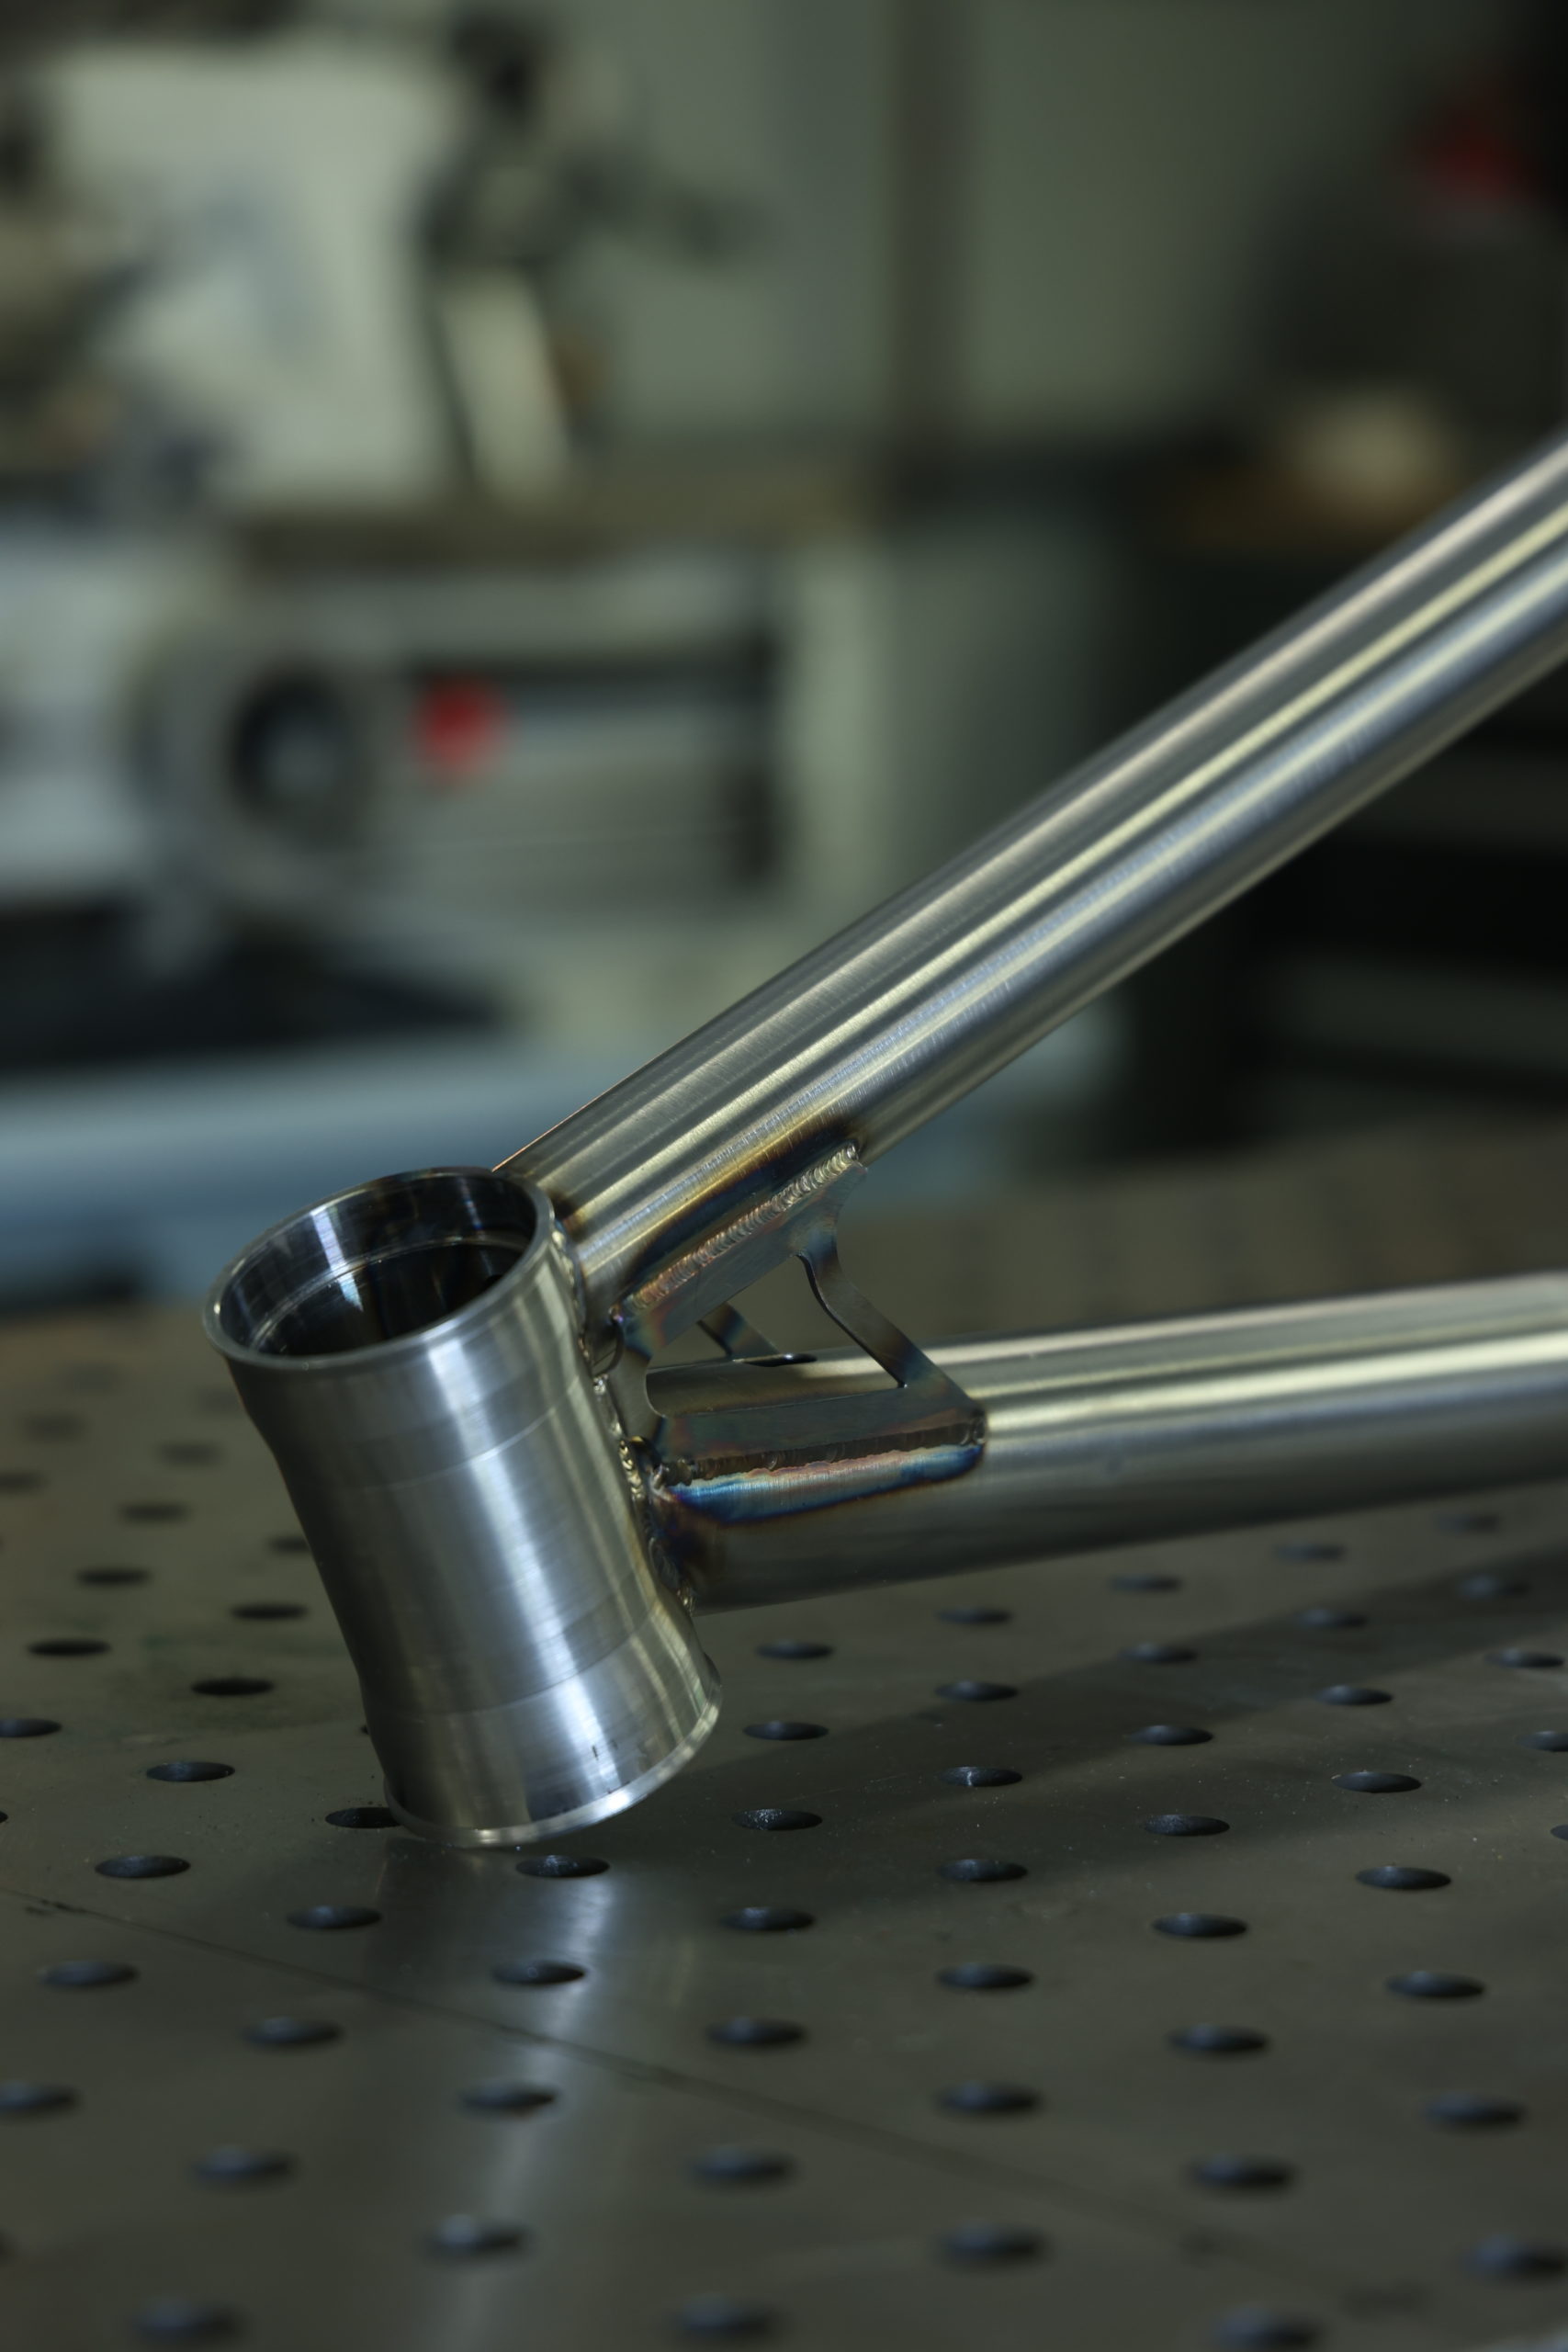
I hunted around and found some 4130 Chromoly thick walled tube that allowed me to machine this on my lathe. In a slightly backward way of doing things I machined it freehand then drew the part in Fusion 360 so that we can add it into our design file for manufacturing later on.
Inside this headtube lies a heatsink, this soaks up the heat generated by the weld and minimises distortion to maintain a nice press in bearing cup assembly. Understanding what happens here is important and we go into this during our courses on TIG Welding as-well as our Fabrication Staple Skills course.
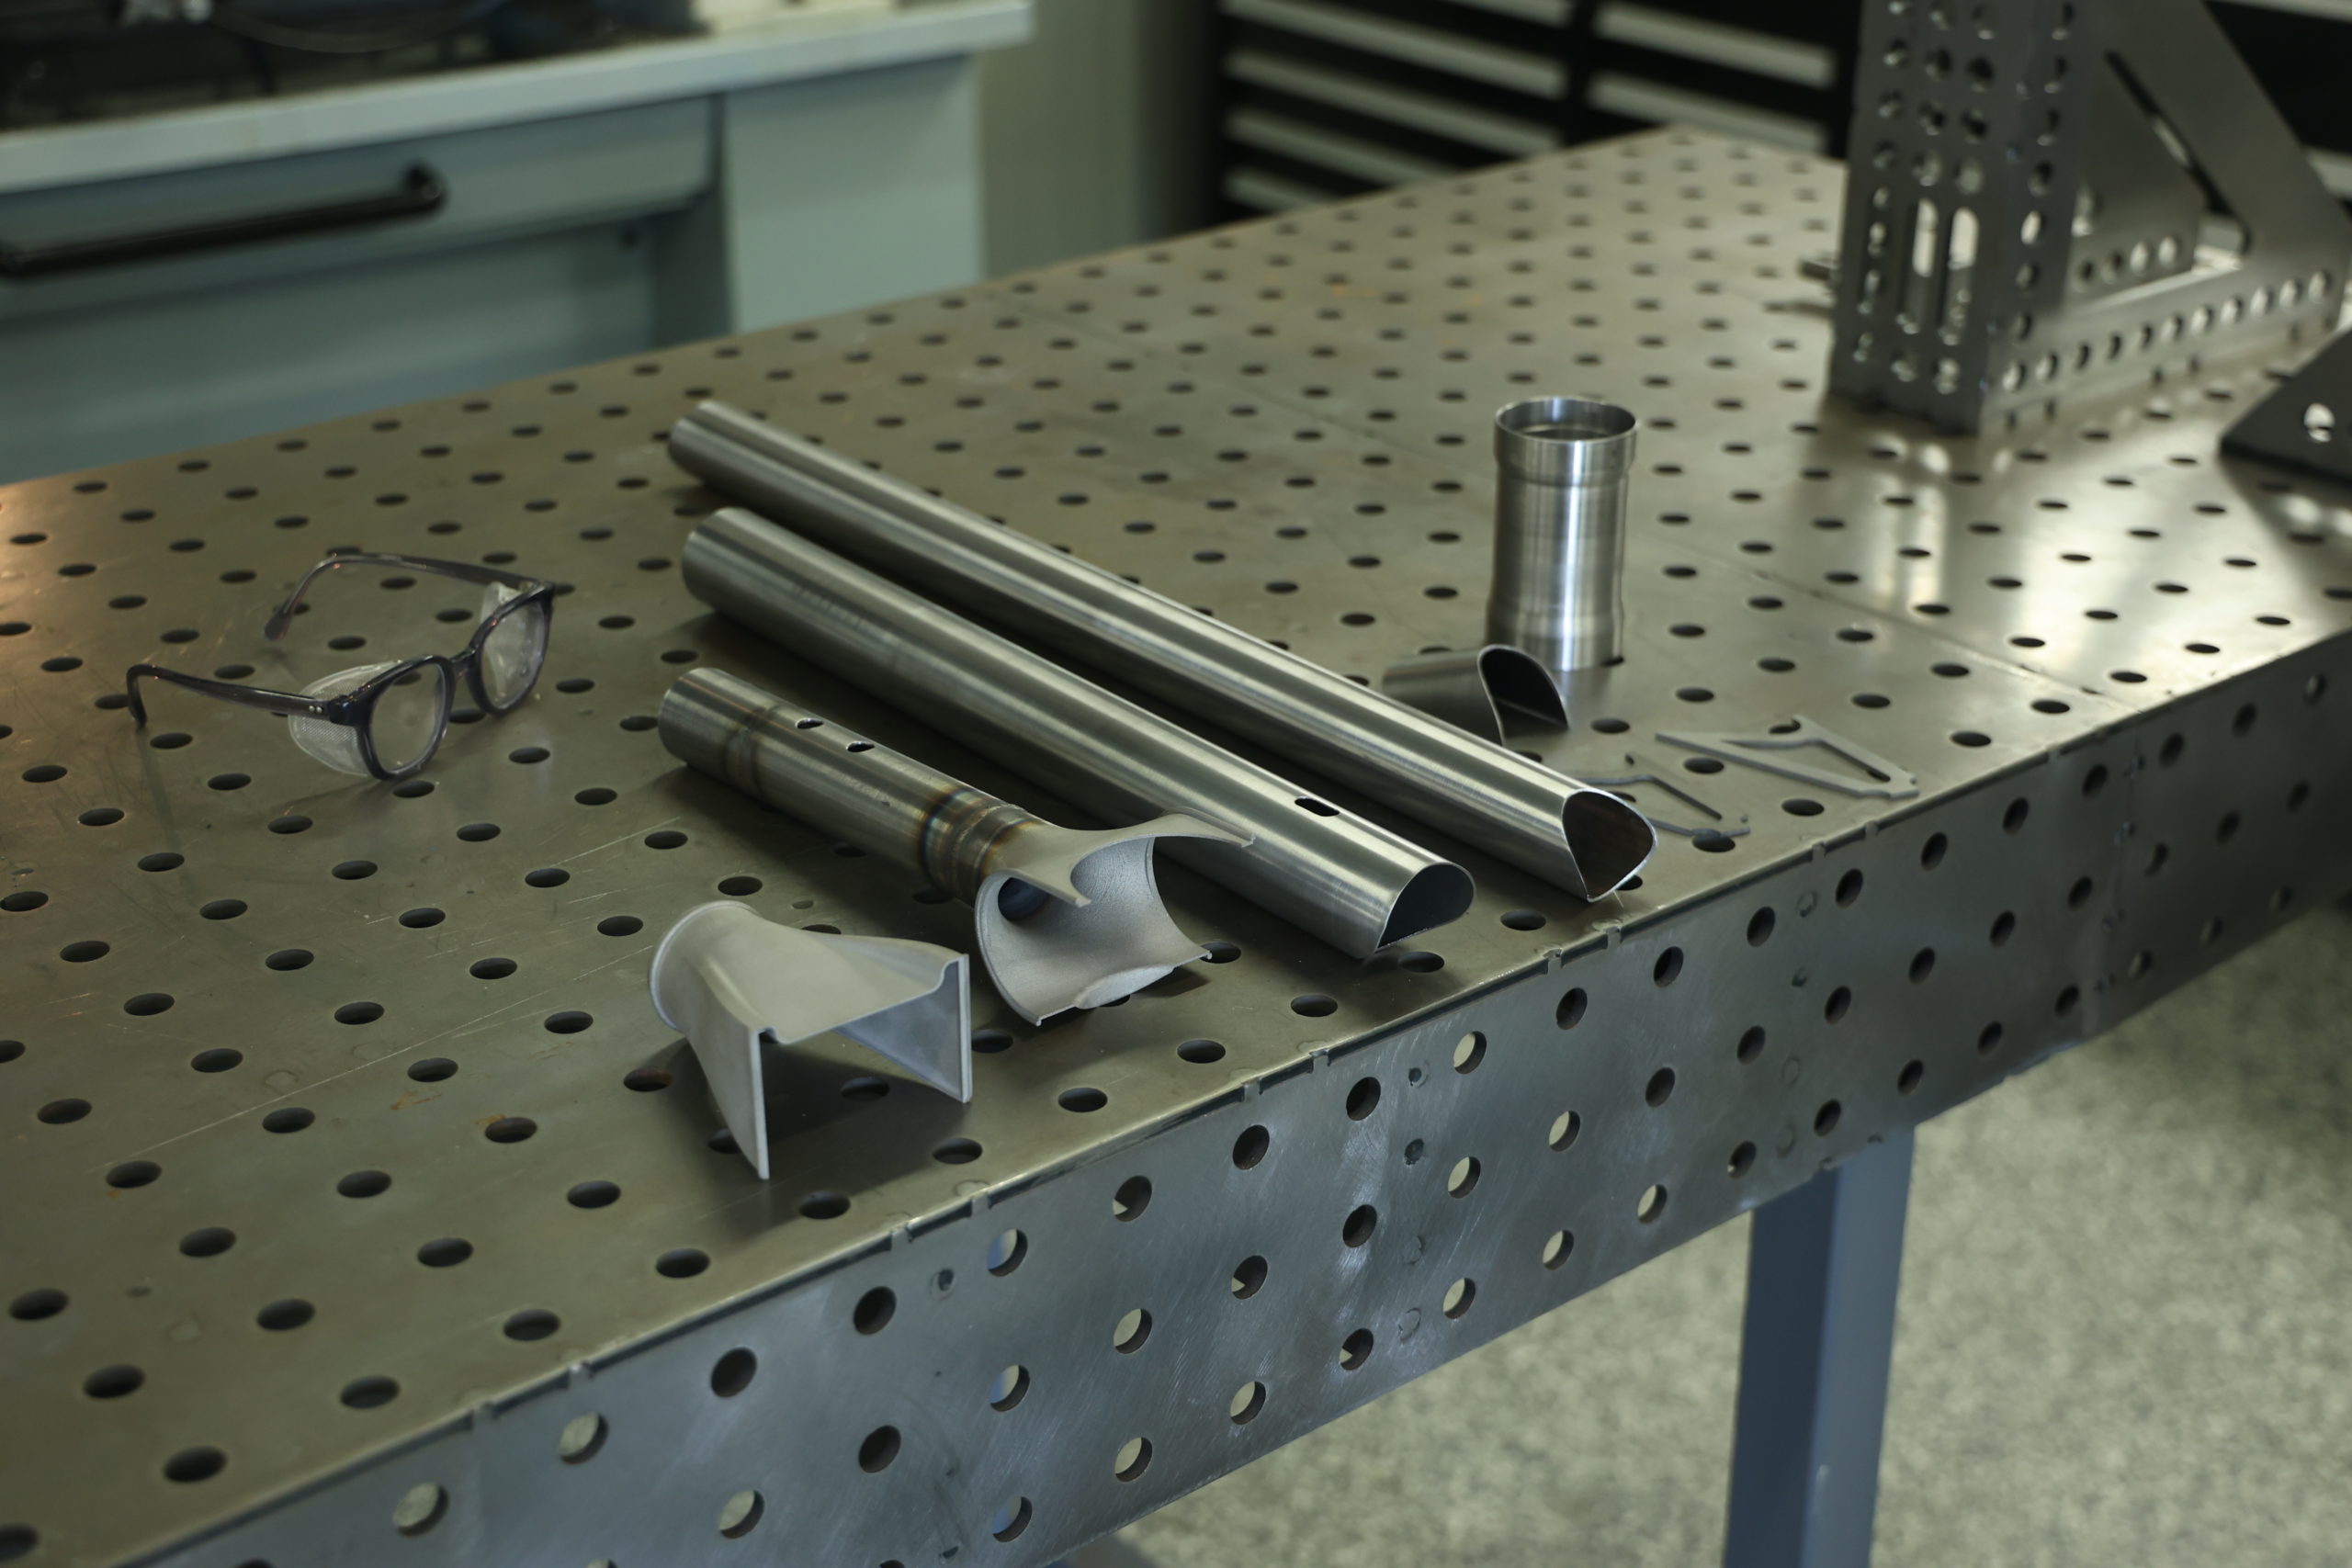
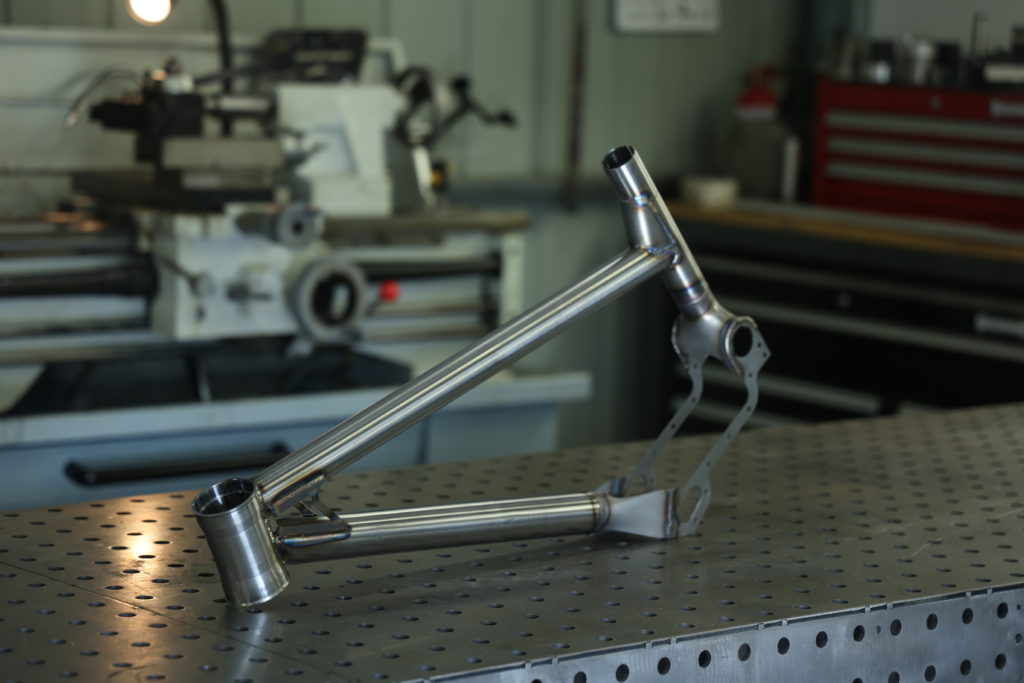
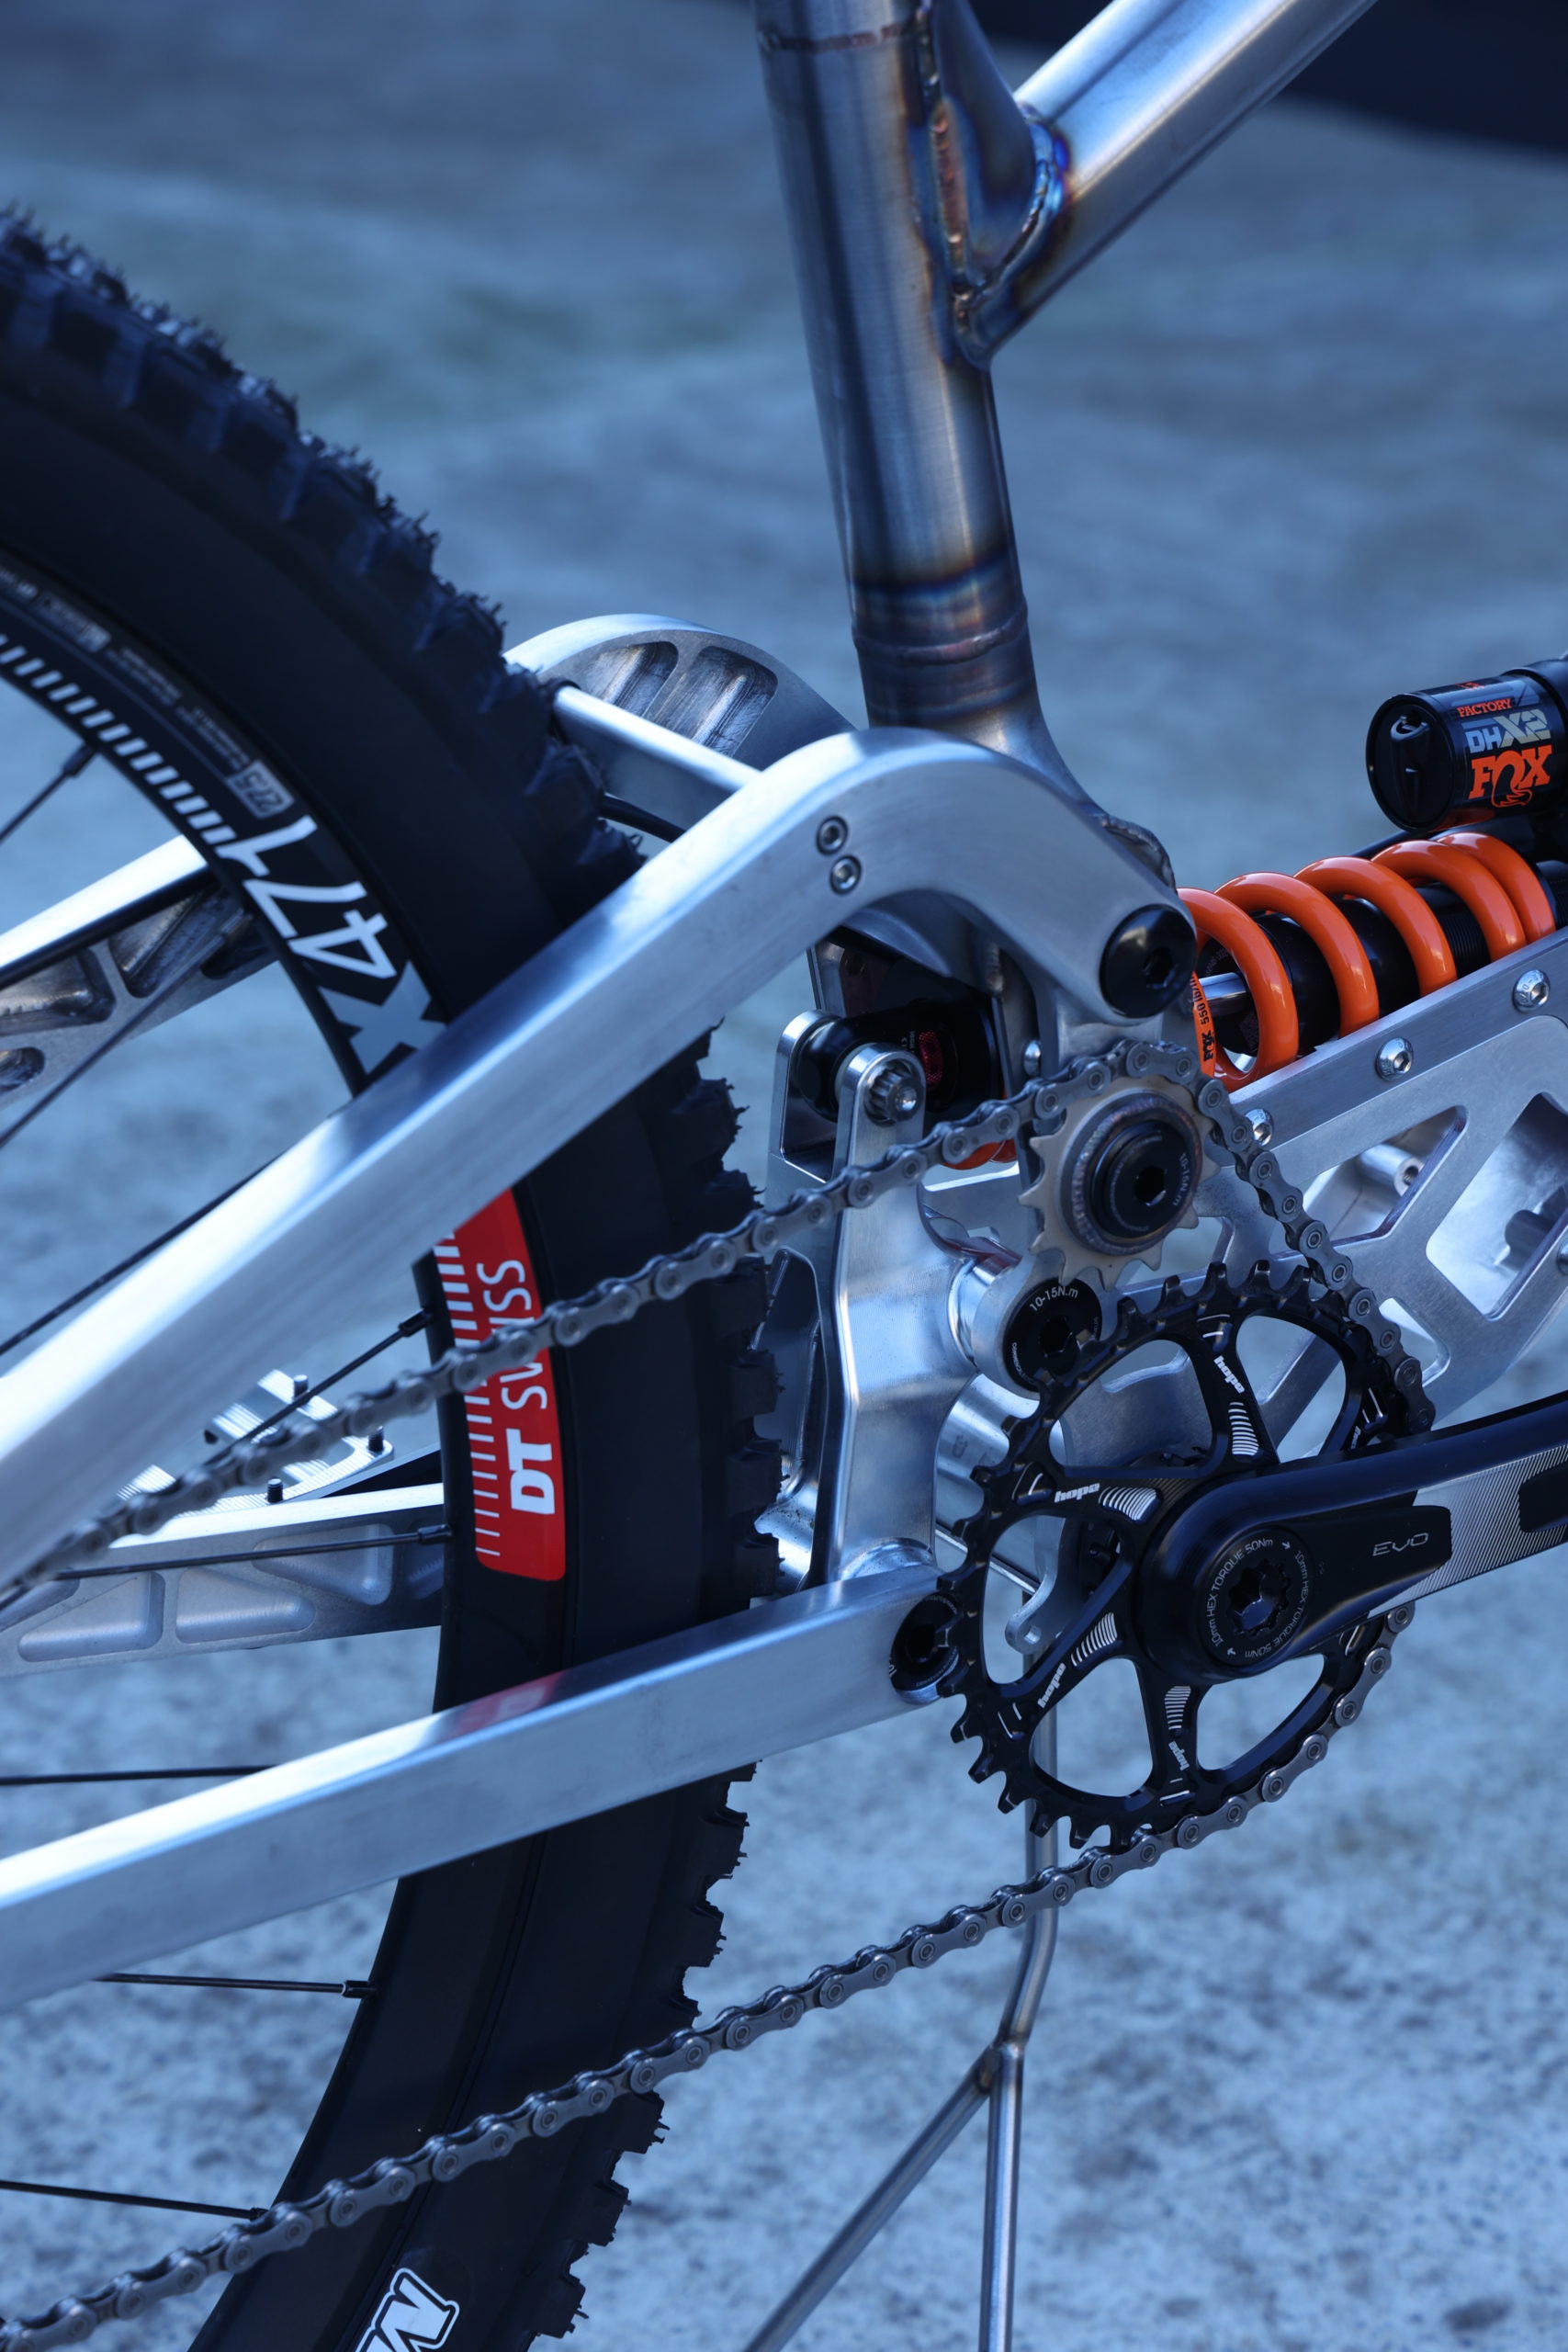
With the JIG, Headtube and Heatsinks complete I could then start work on the frame tubes. We learnt a lot about designing printed metals in V2 Prototype and put those lessons into the V3 design, the down tube cone and the Seat tube cone came out beautifully.
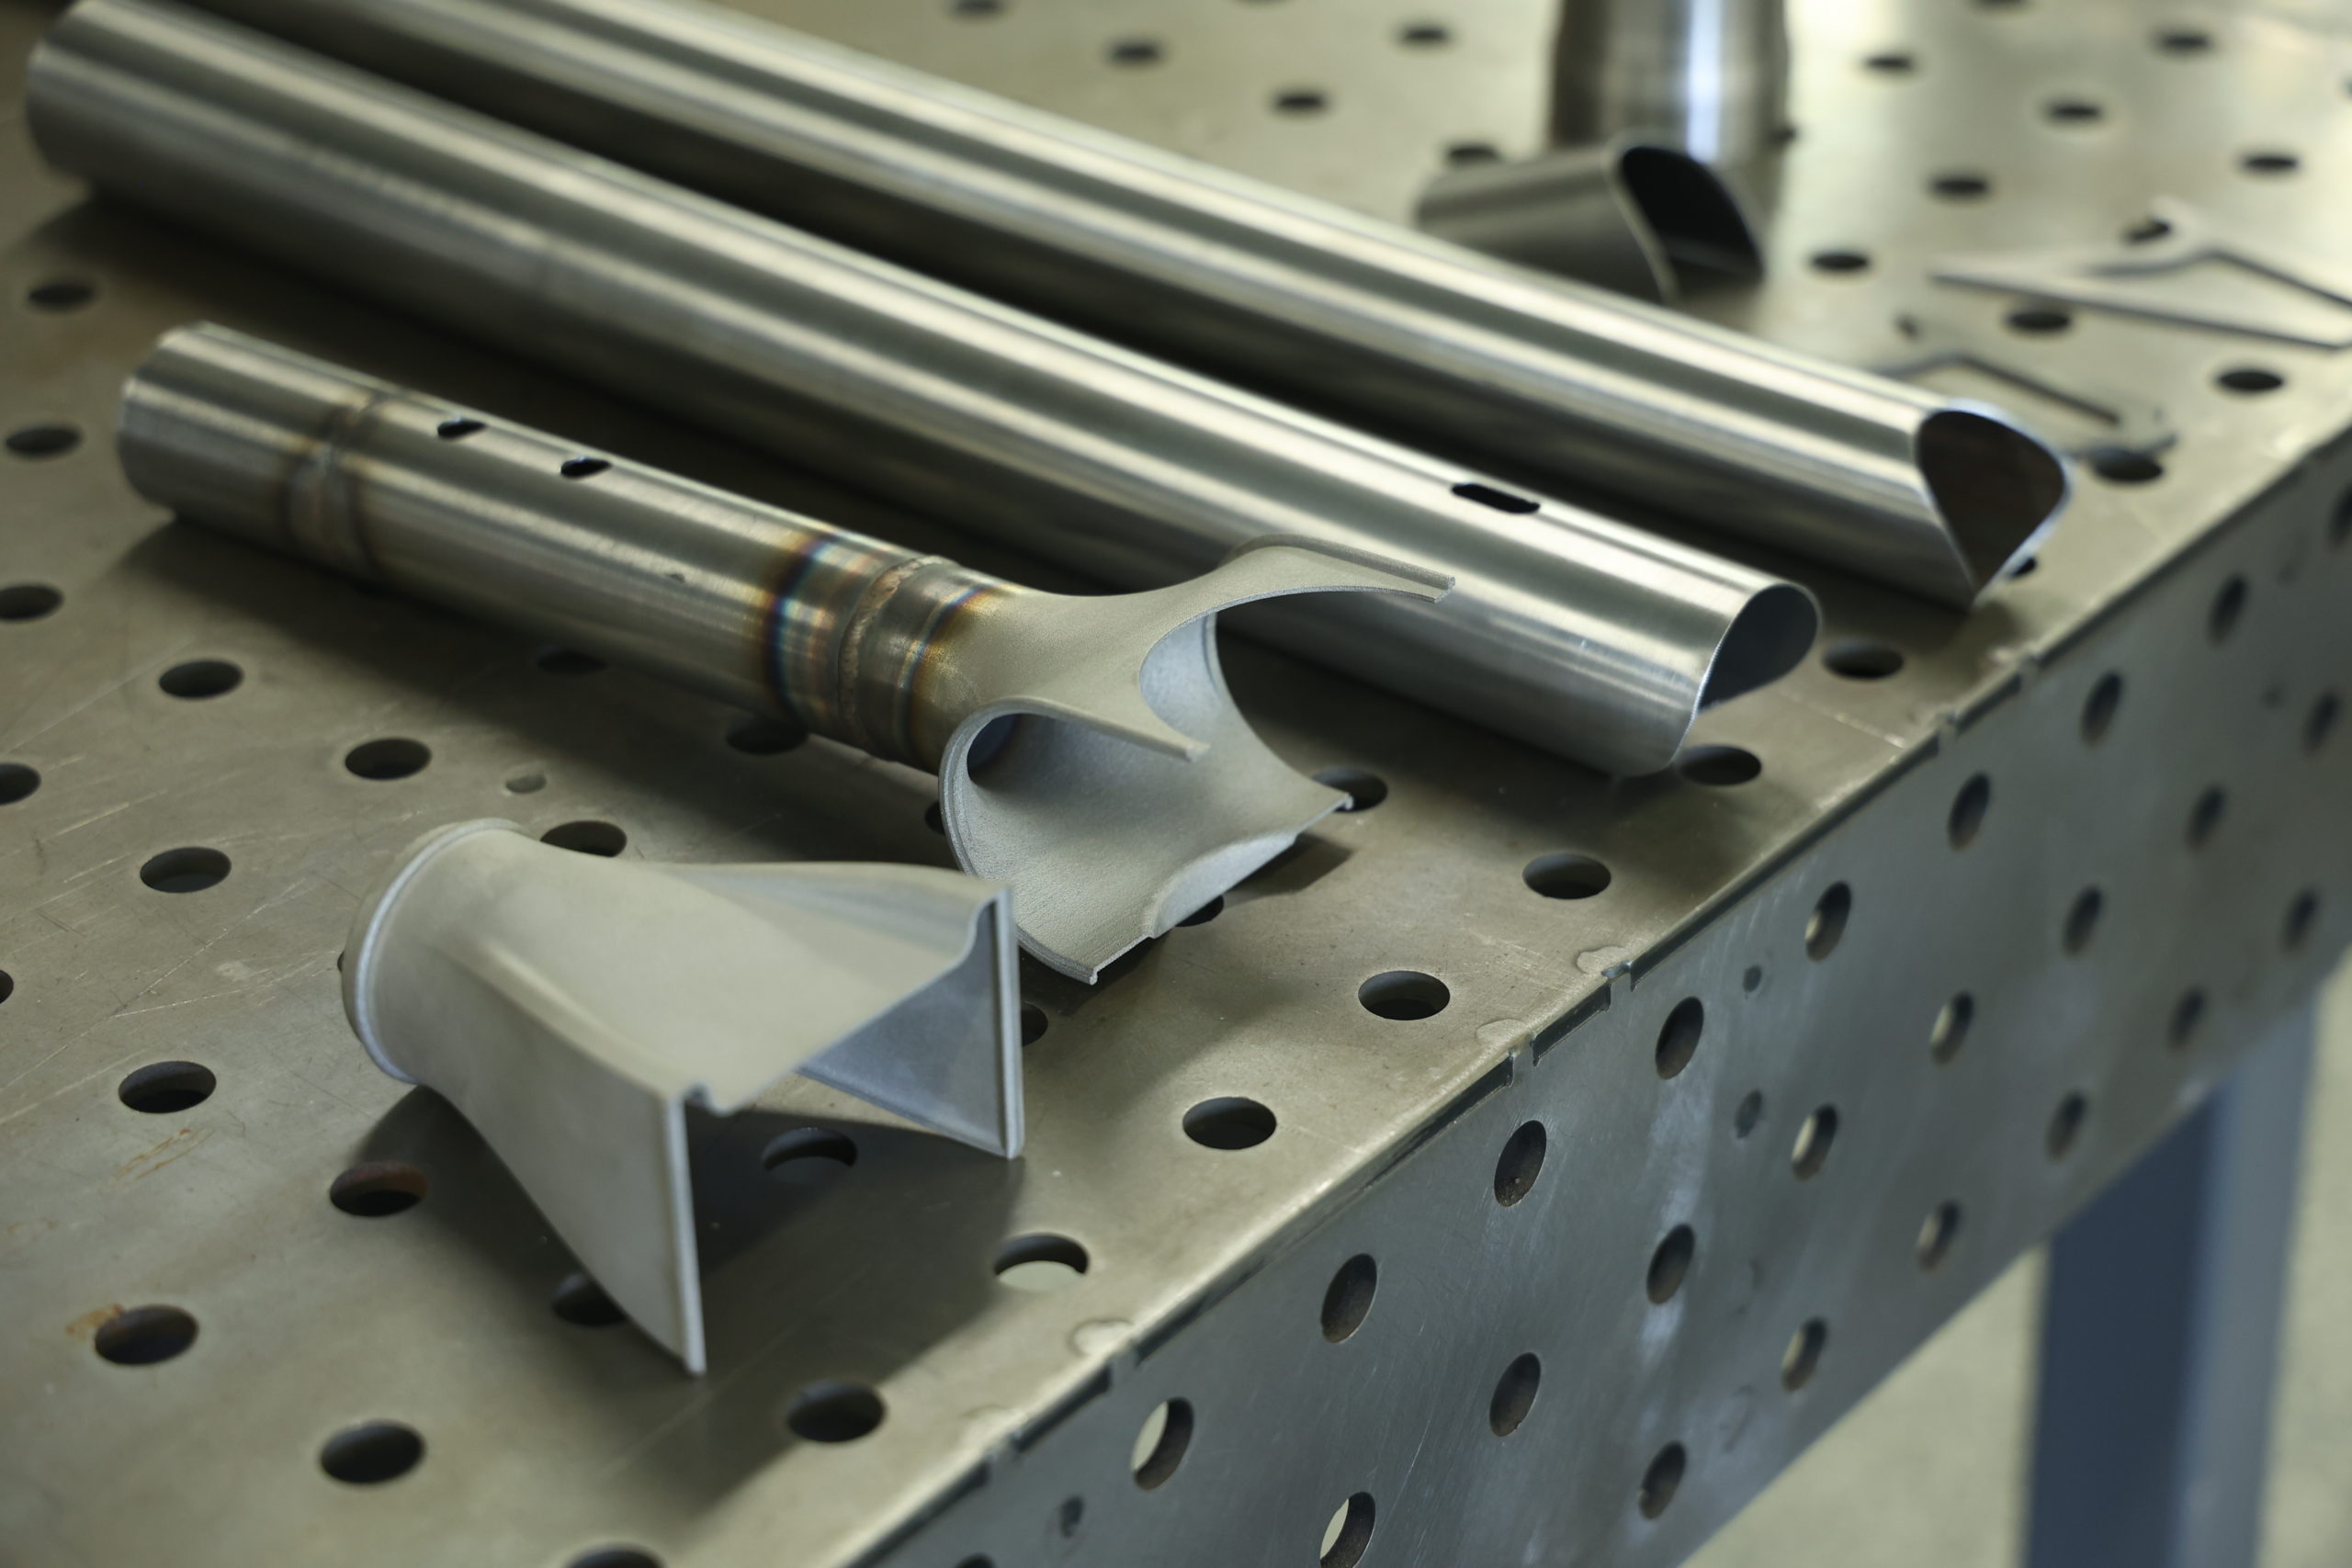
The seat tube combines two different thicknesses of 4130 1.5 inch tube and this joins to the MS1 printed cone that clasps the main pivot. All of this has a sacrificial weld bead that allows a fusion weld to join the parts.
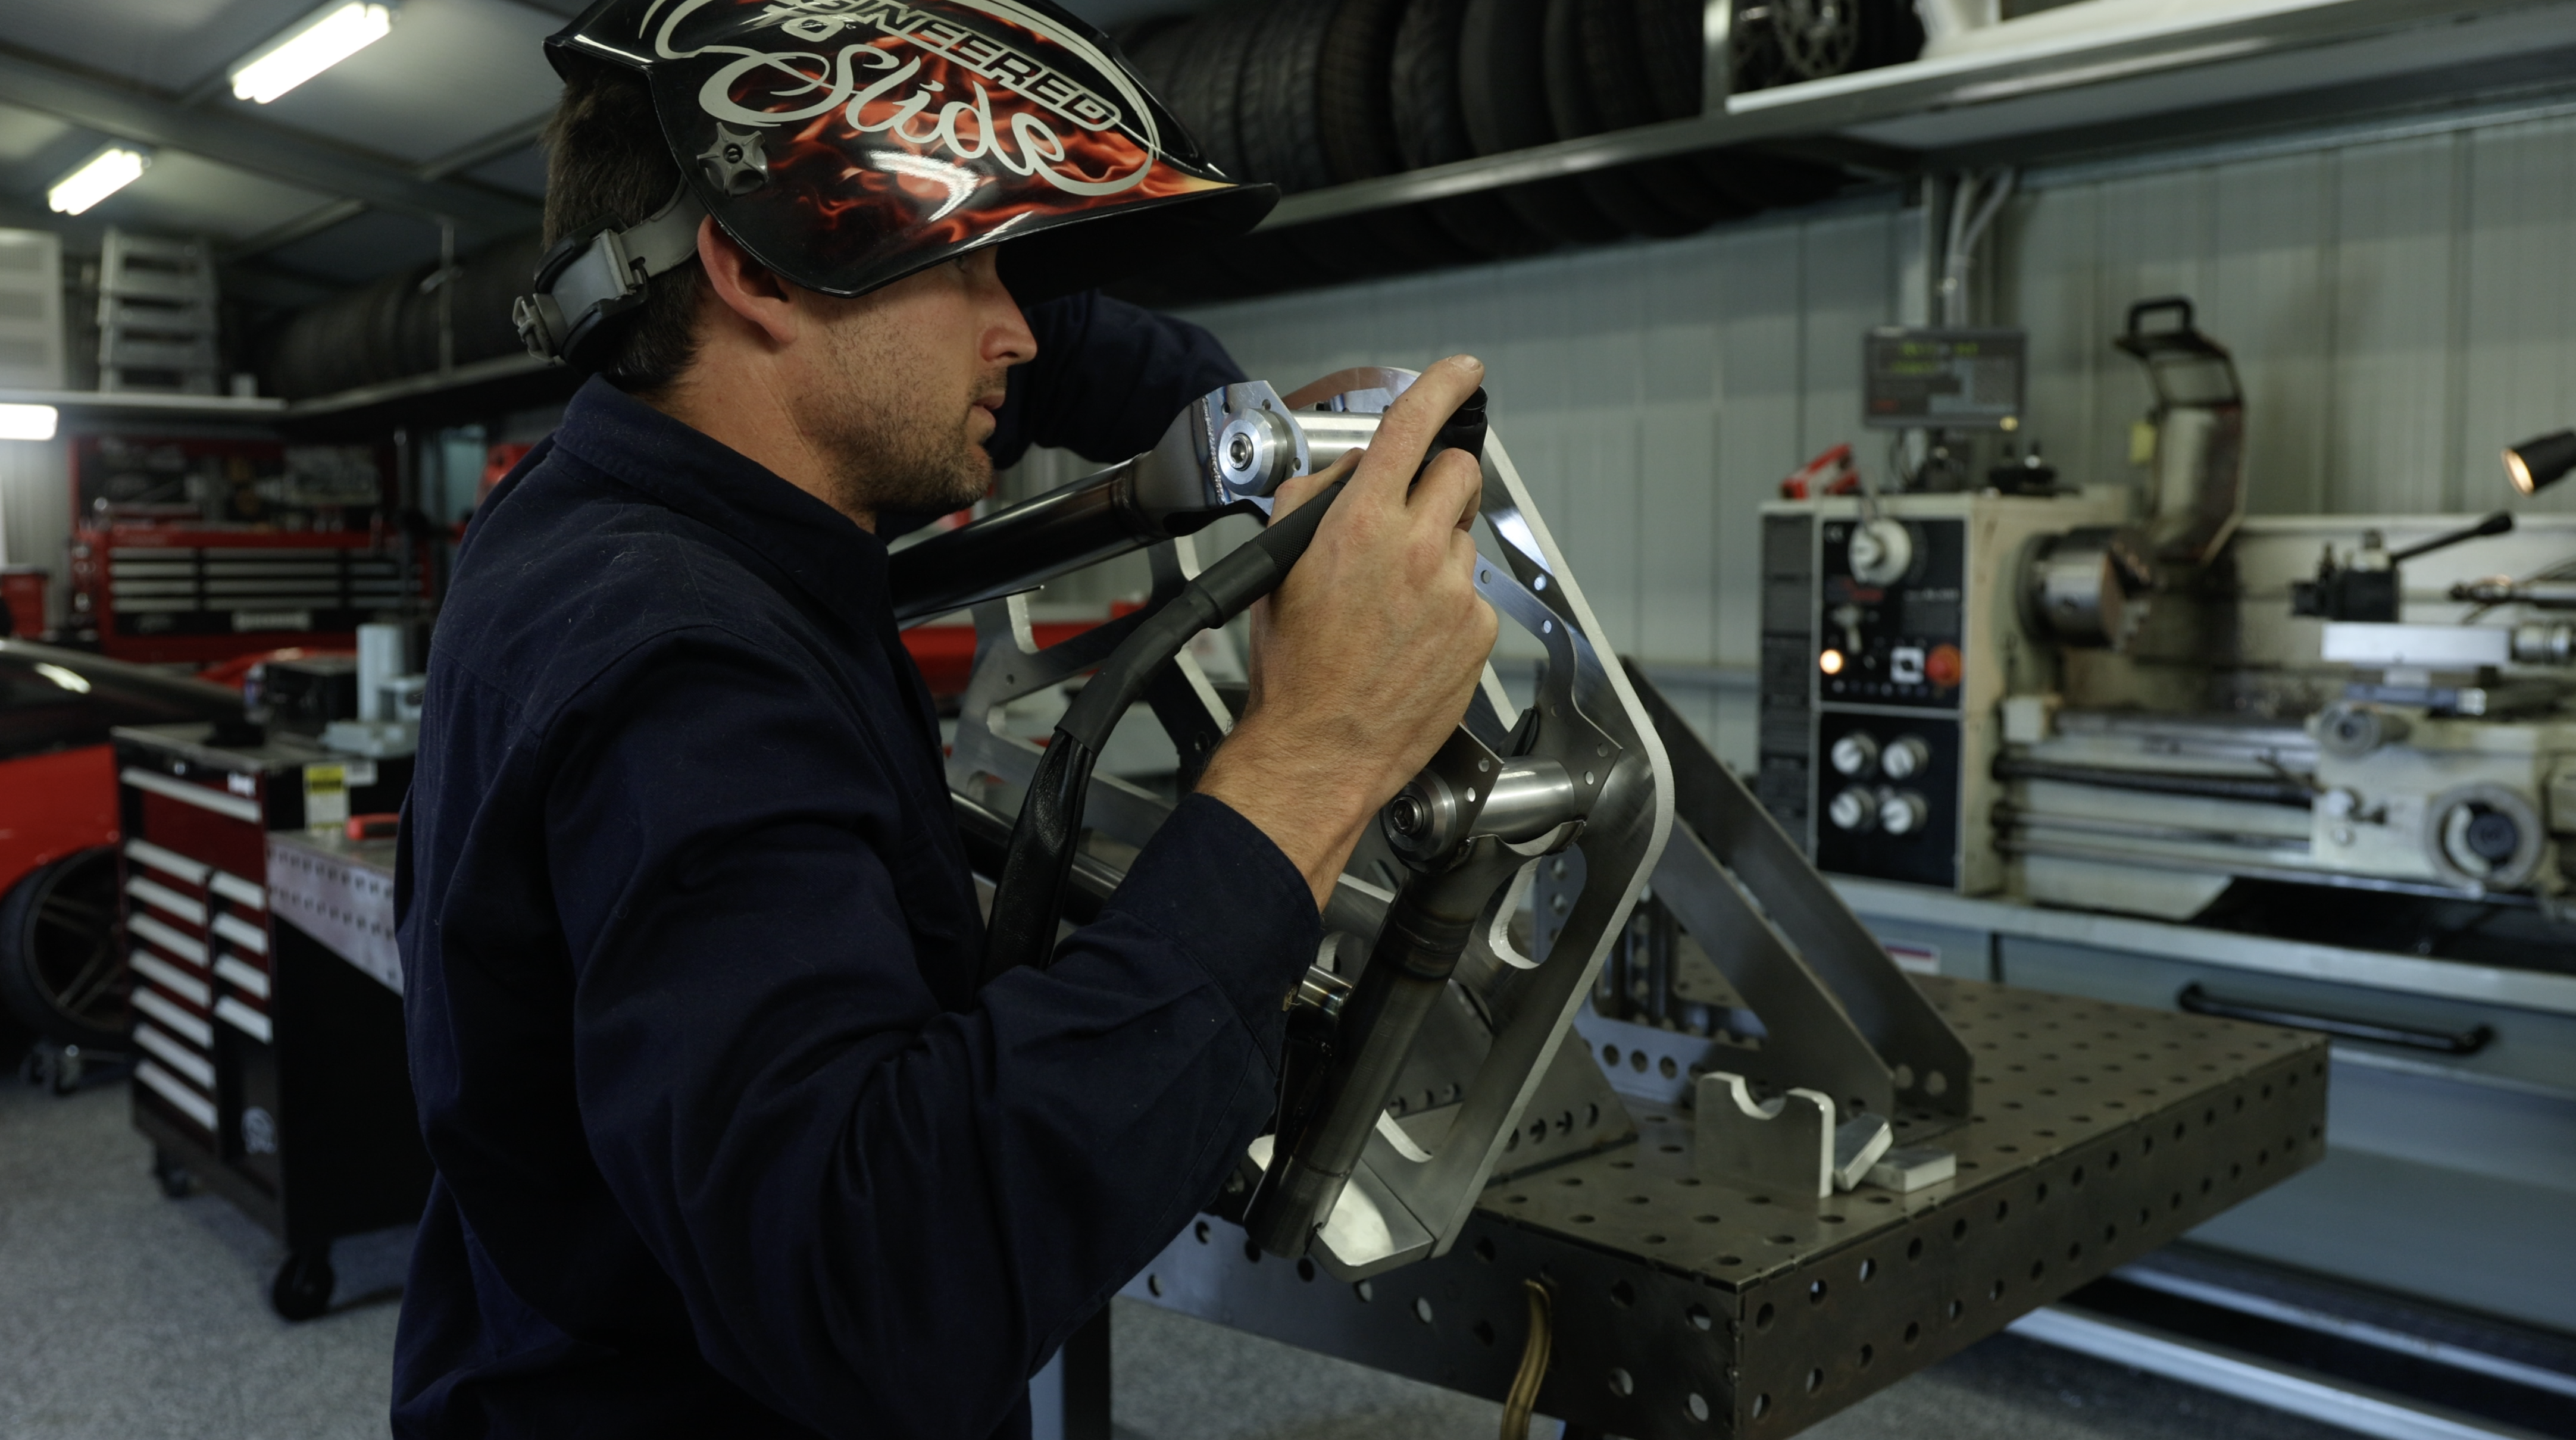
Once everything is in the JIG I can perfect the notches and and start making it look like a bike frame. Having a gap free relationship here is critical, spend the time to do it right and use a half round file to perfect the fitment. Our Fabrication Staple Skills course has a great module on doing this.
Using this JIG on the JIG table (available in our downloads section) allows me to rotate it how I choose to get into all the tight spots.
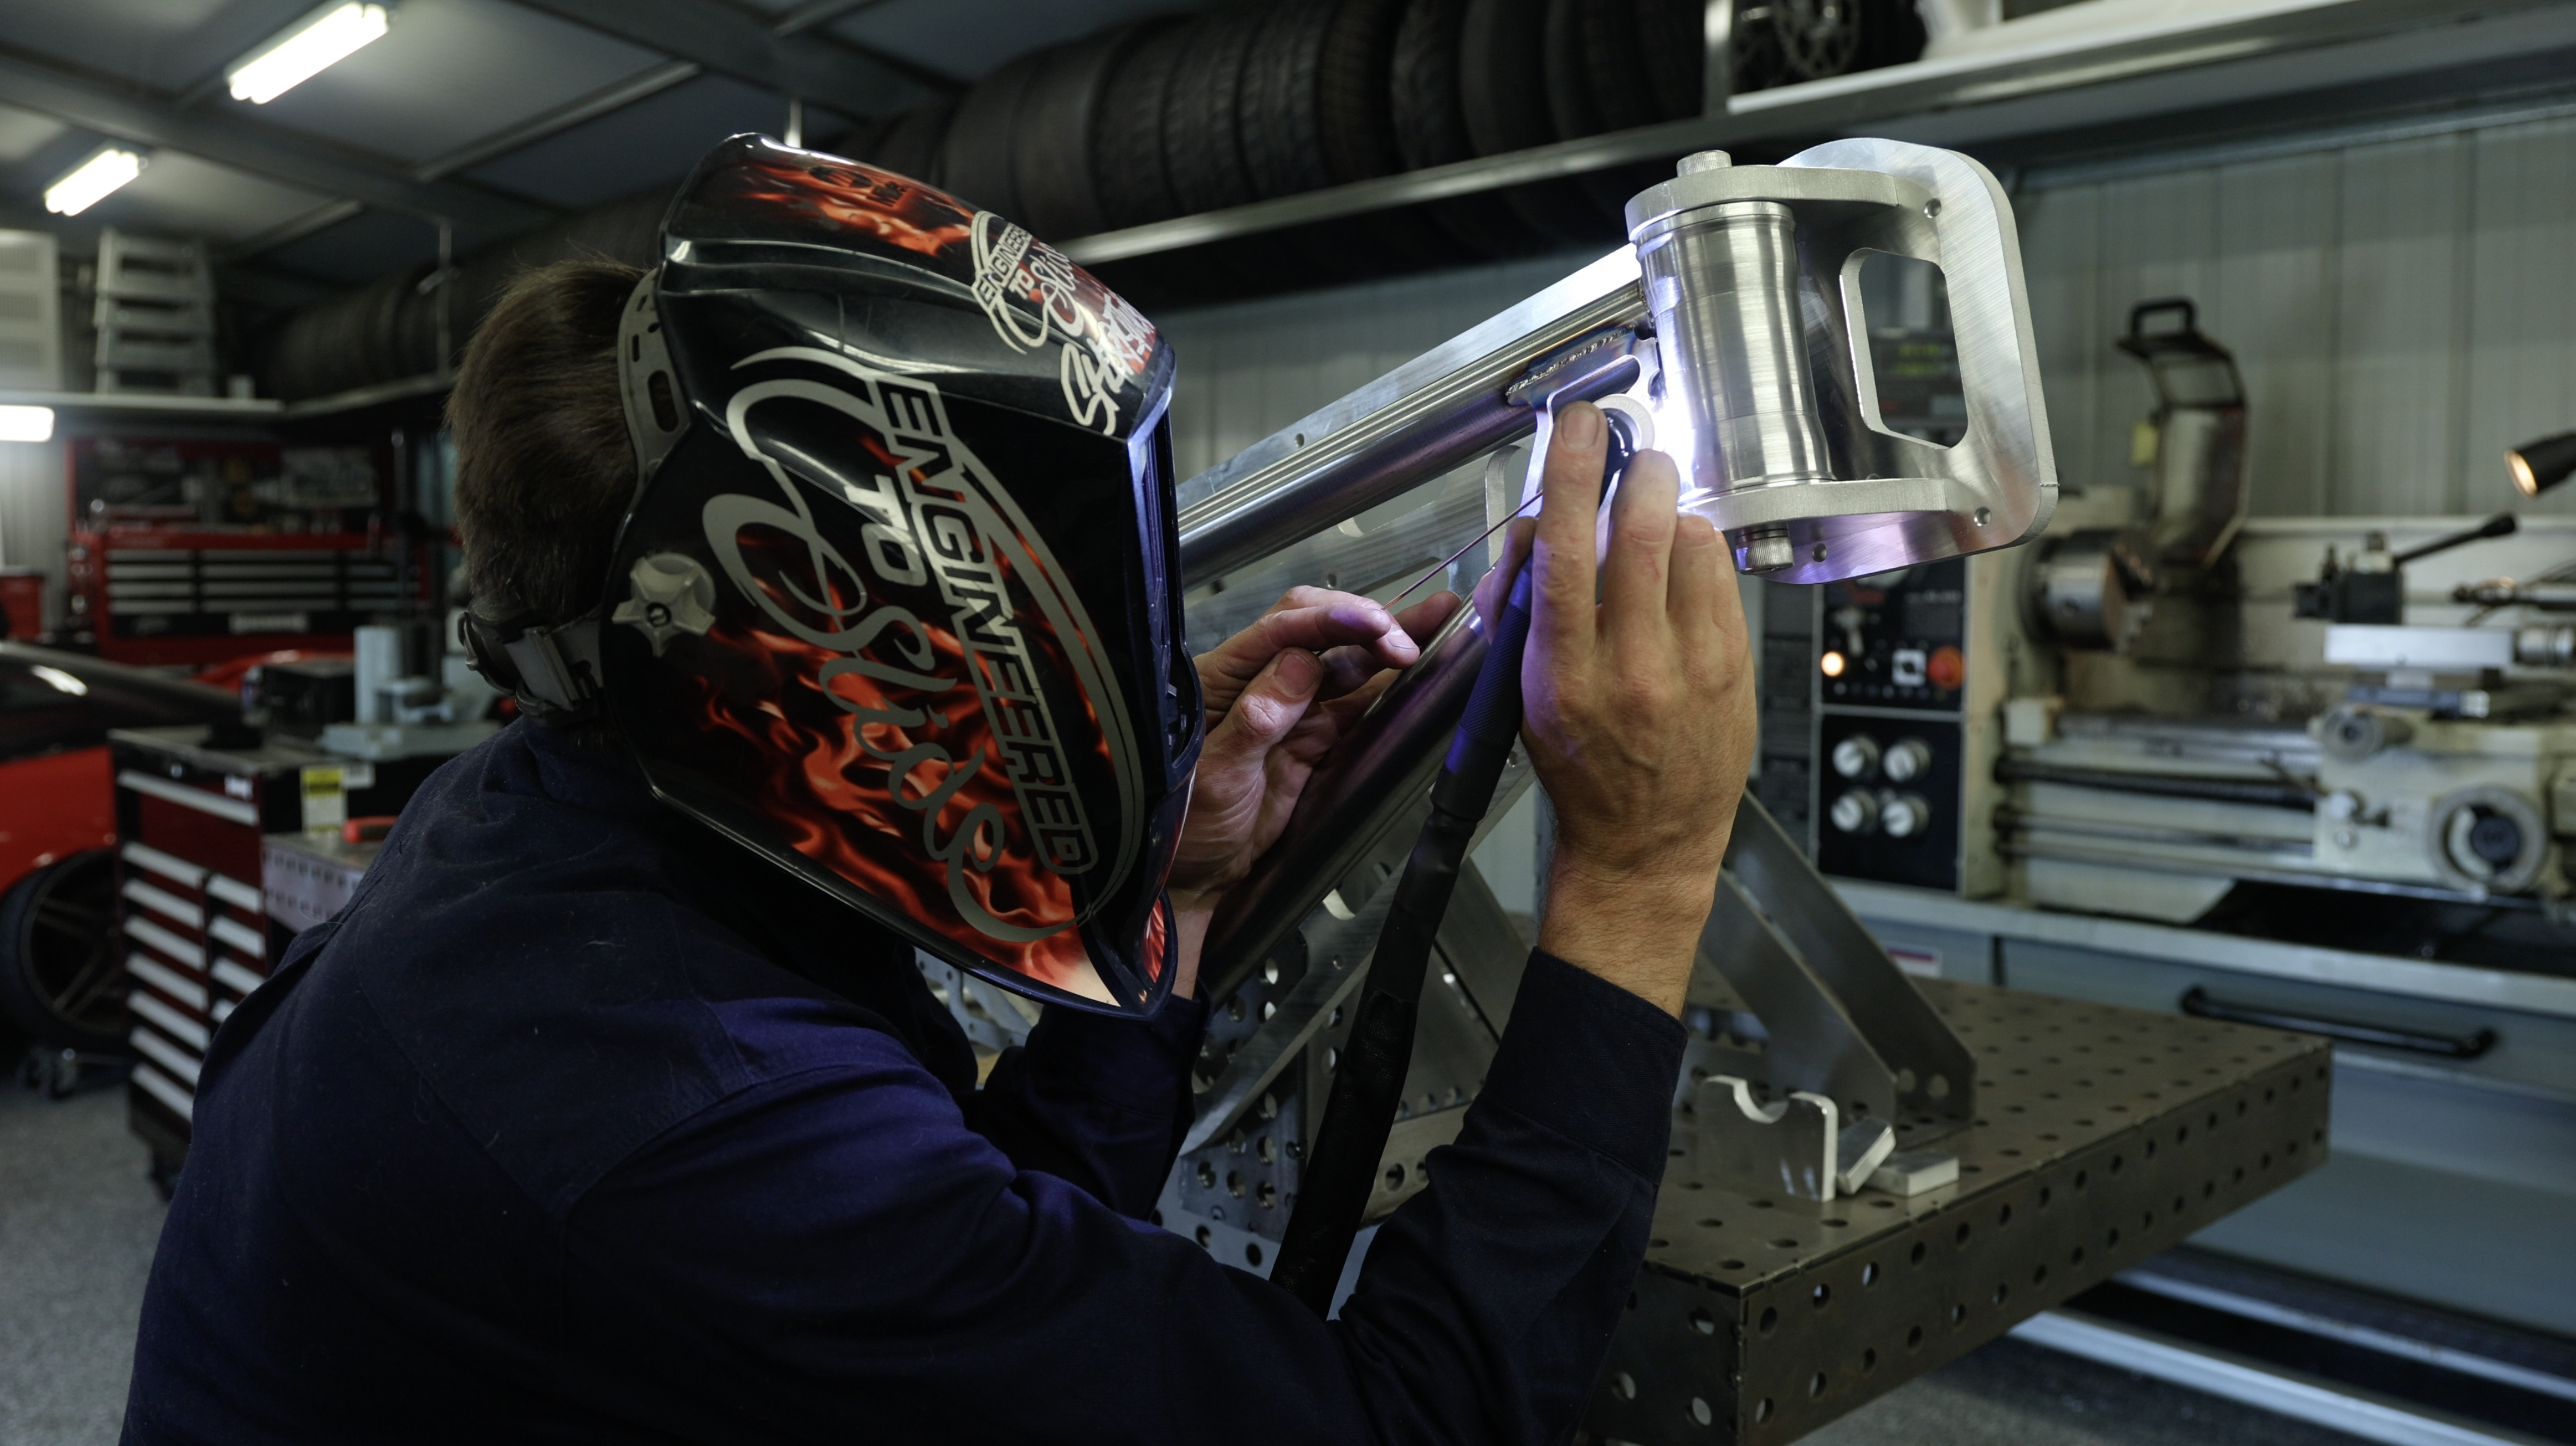
I know I should be wearing gloves but I ran out of the disposable ones and needed complete control and feel during these welds. I am running a 2.4mm Multimix tungsten, 1.6mm ER70S6 filler rod with a gas lense and a large cup to protect the weld from atmospheric gasses causing a reaction. I love TIG welding and if you want to get more details on the process you can join my course to get the lowdown on what you need and how to use it.
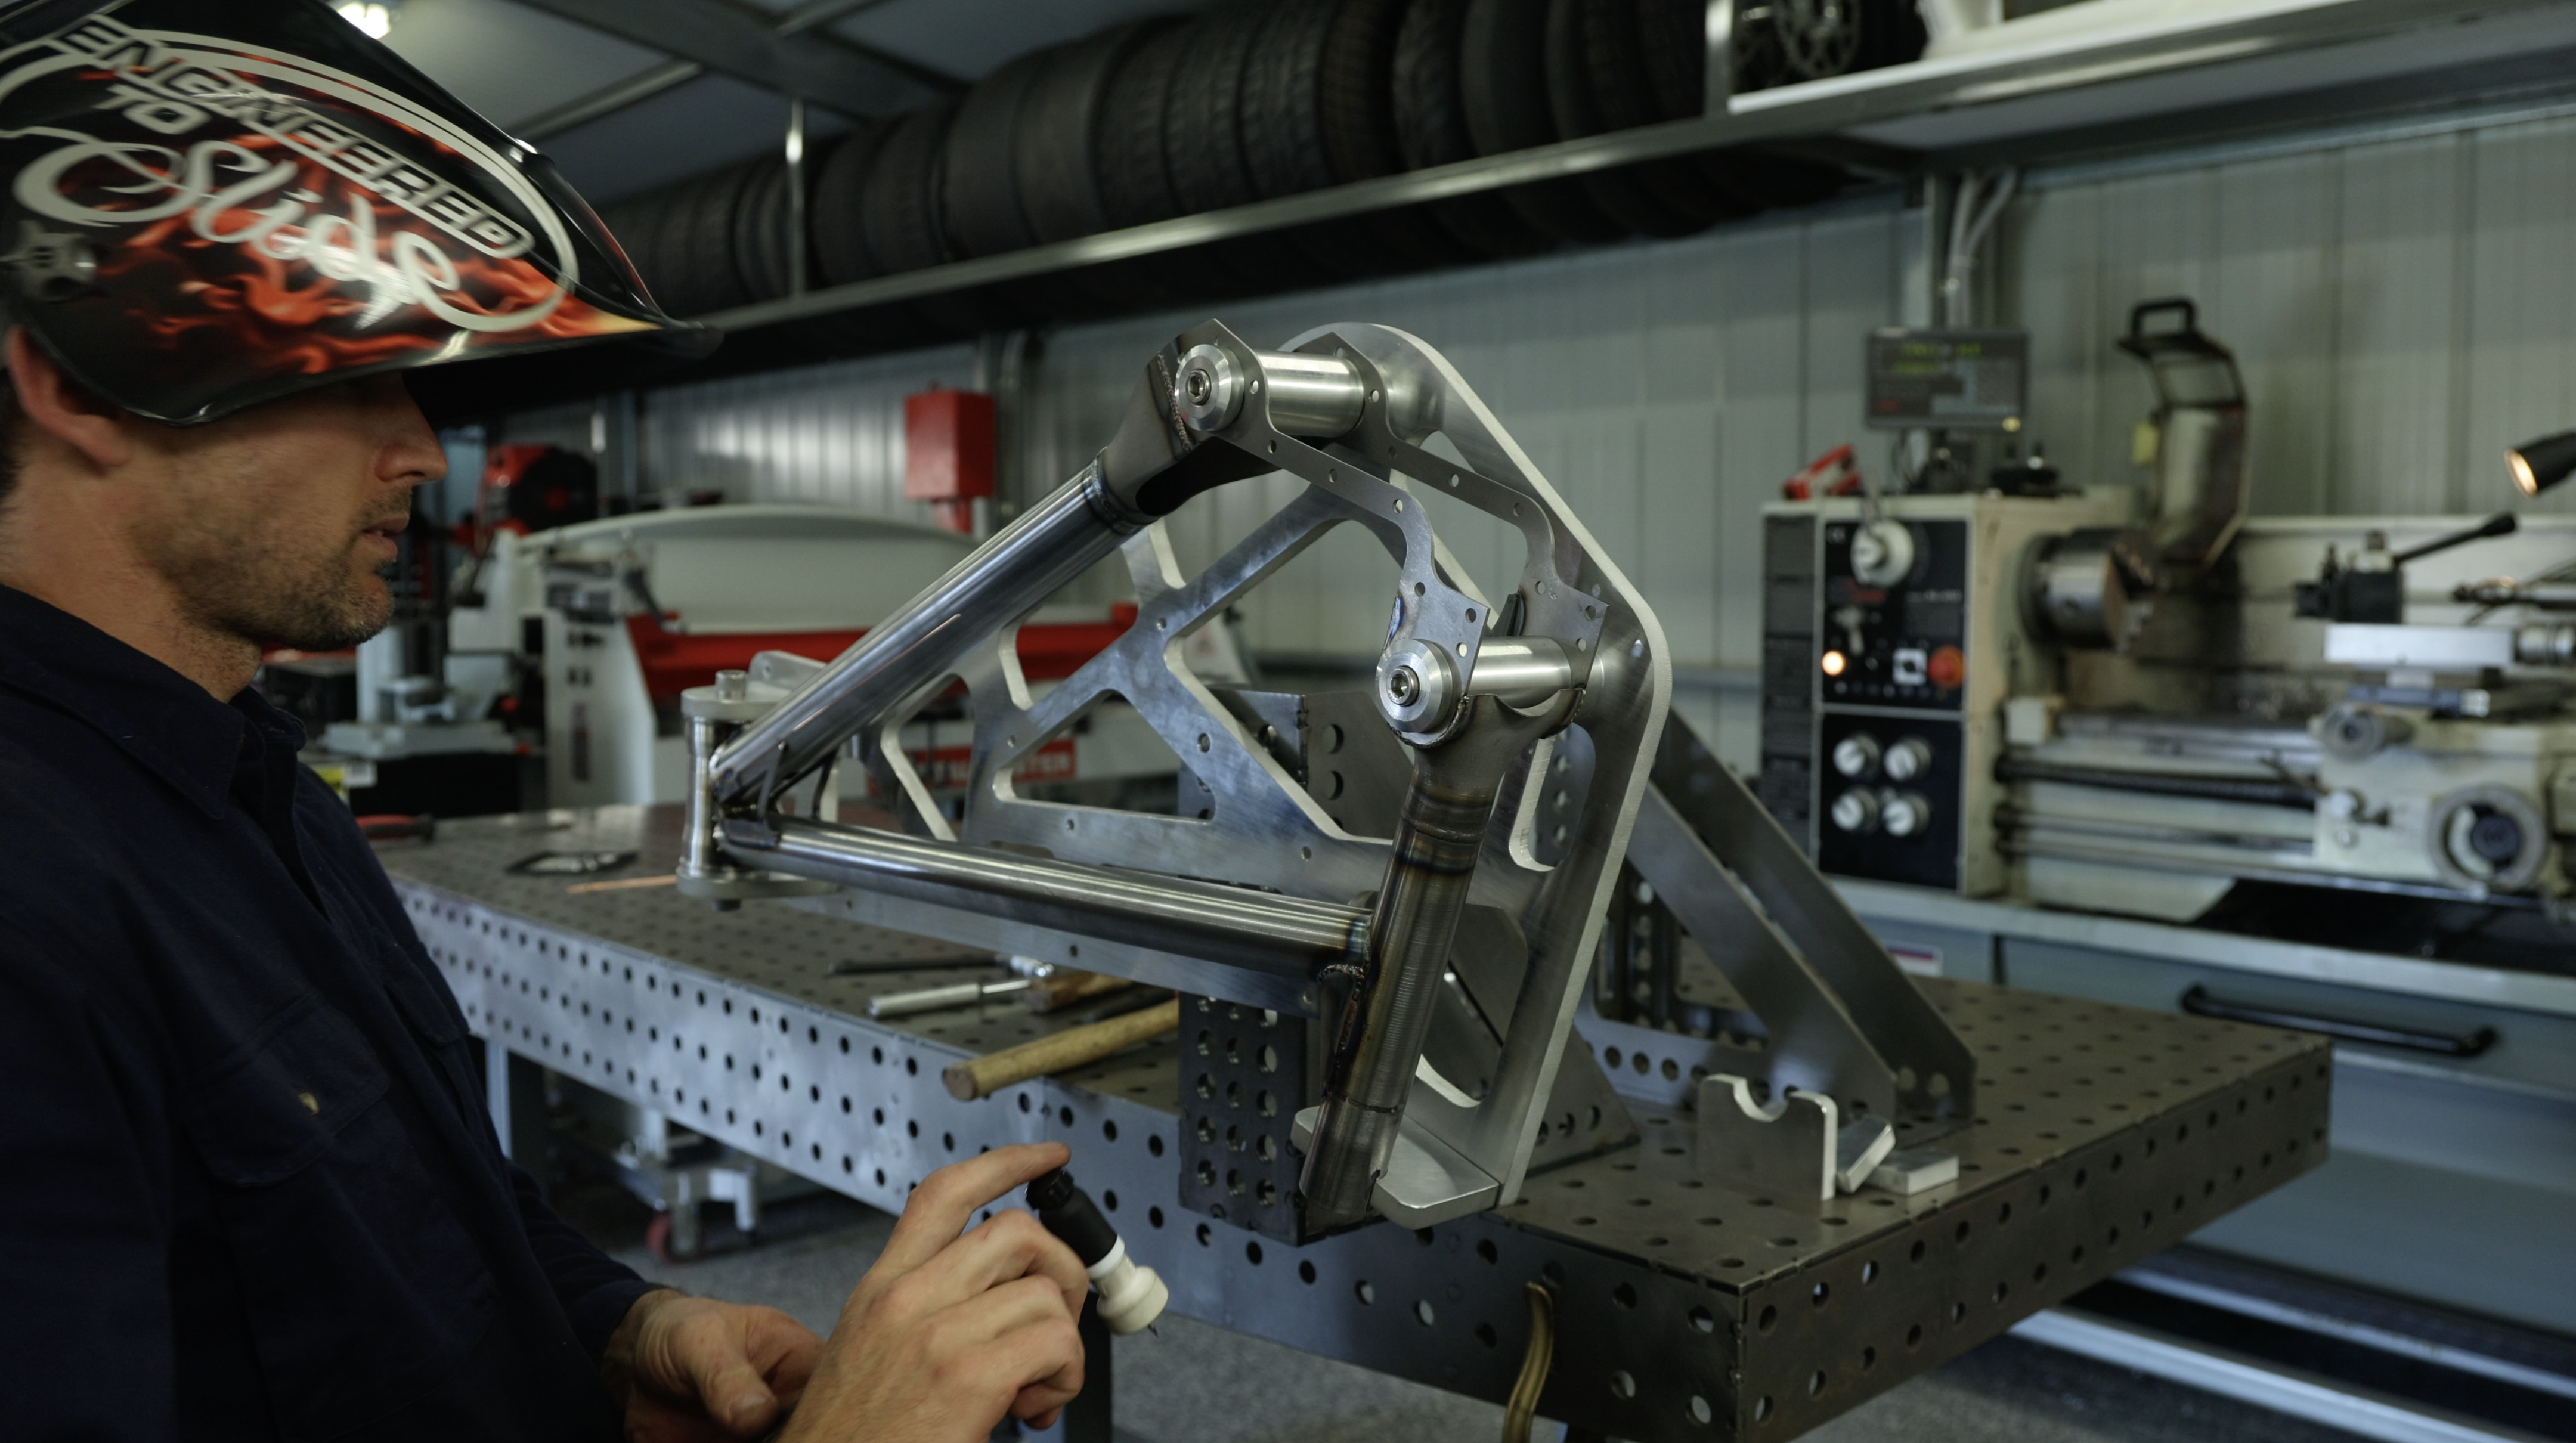
Once it’s mostly welded I let it cool down to room temperature.
At which point I can remove it from the JIG and complete the hard to reach weld areas.
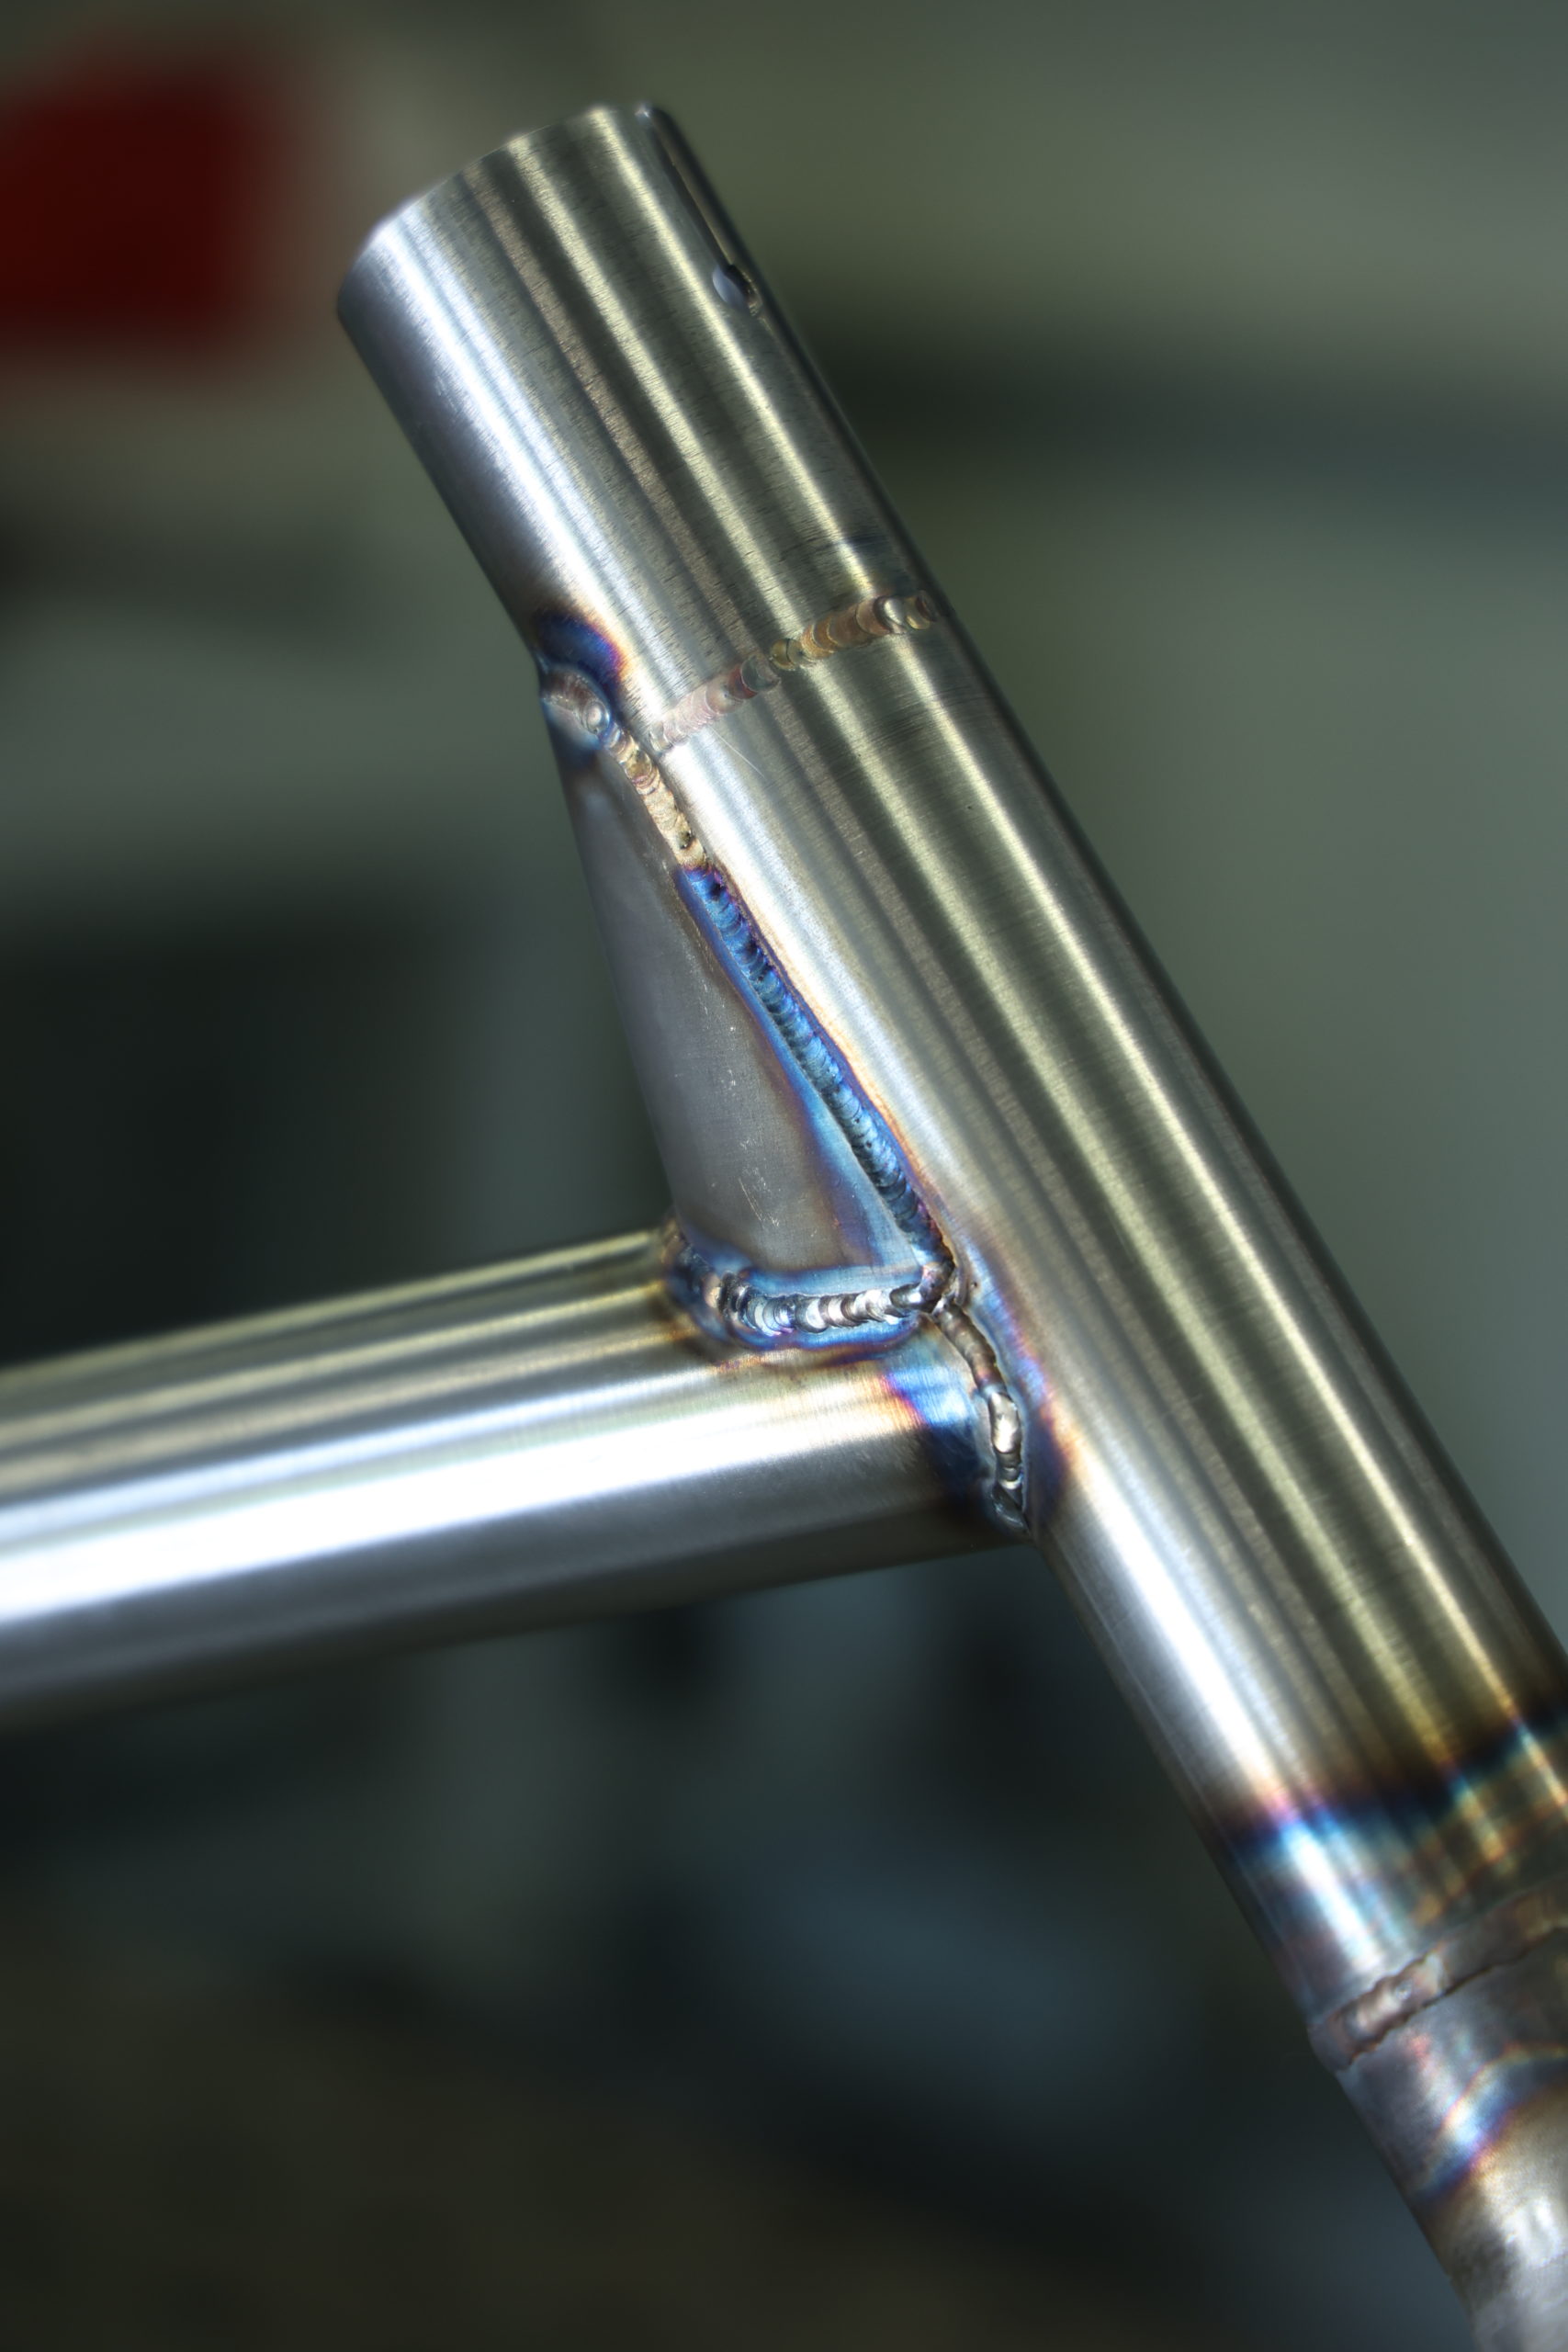
I’m still learning and forever will be, TIG welding a bike frame is the most difficult thing to do, 0.9mm tubes and no room for error.
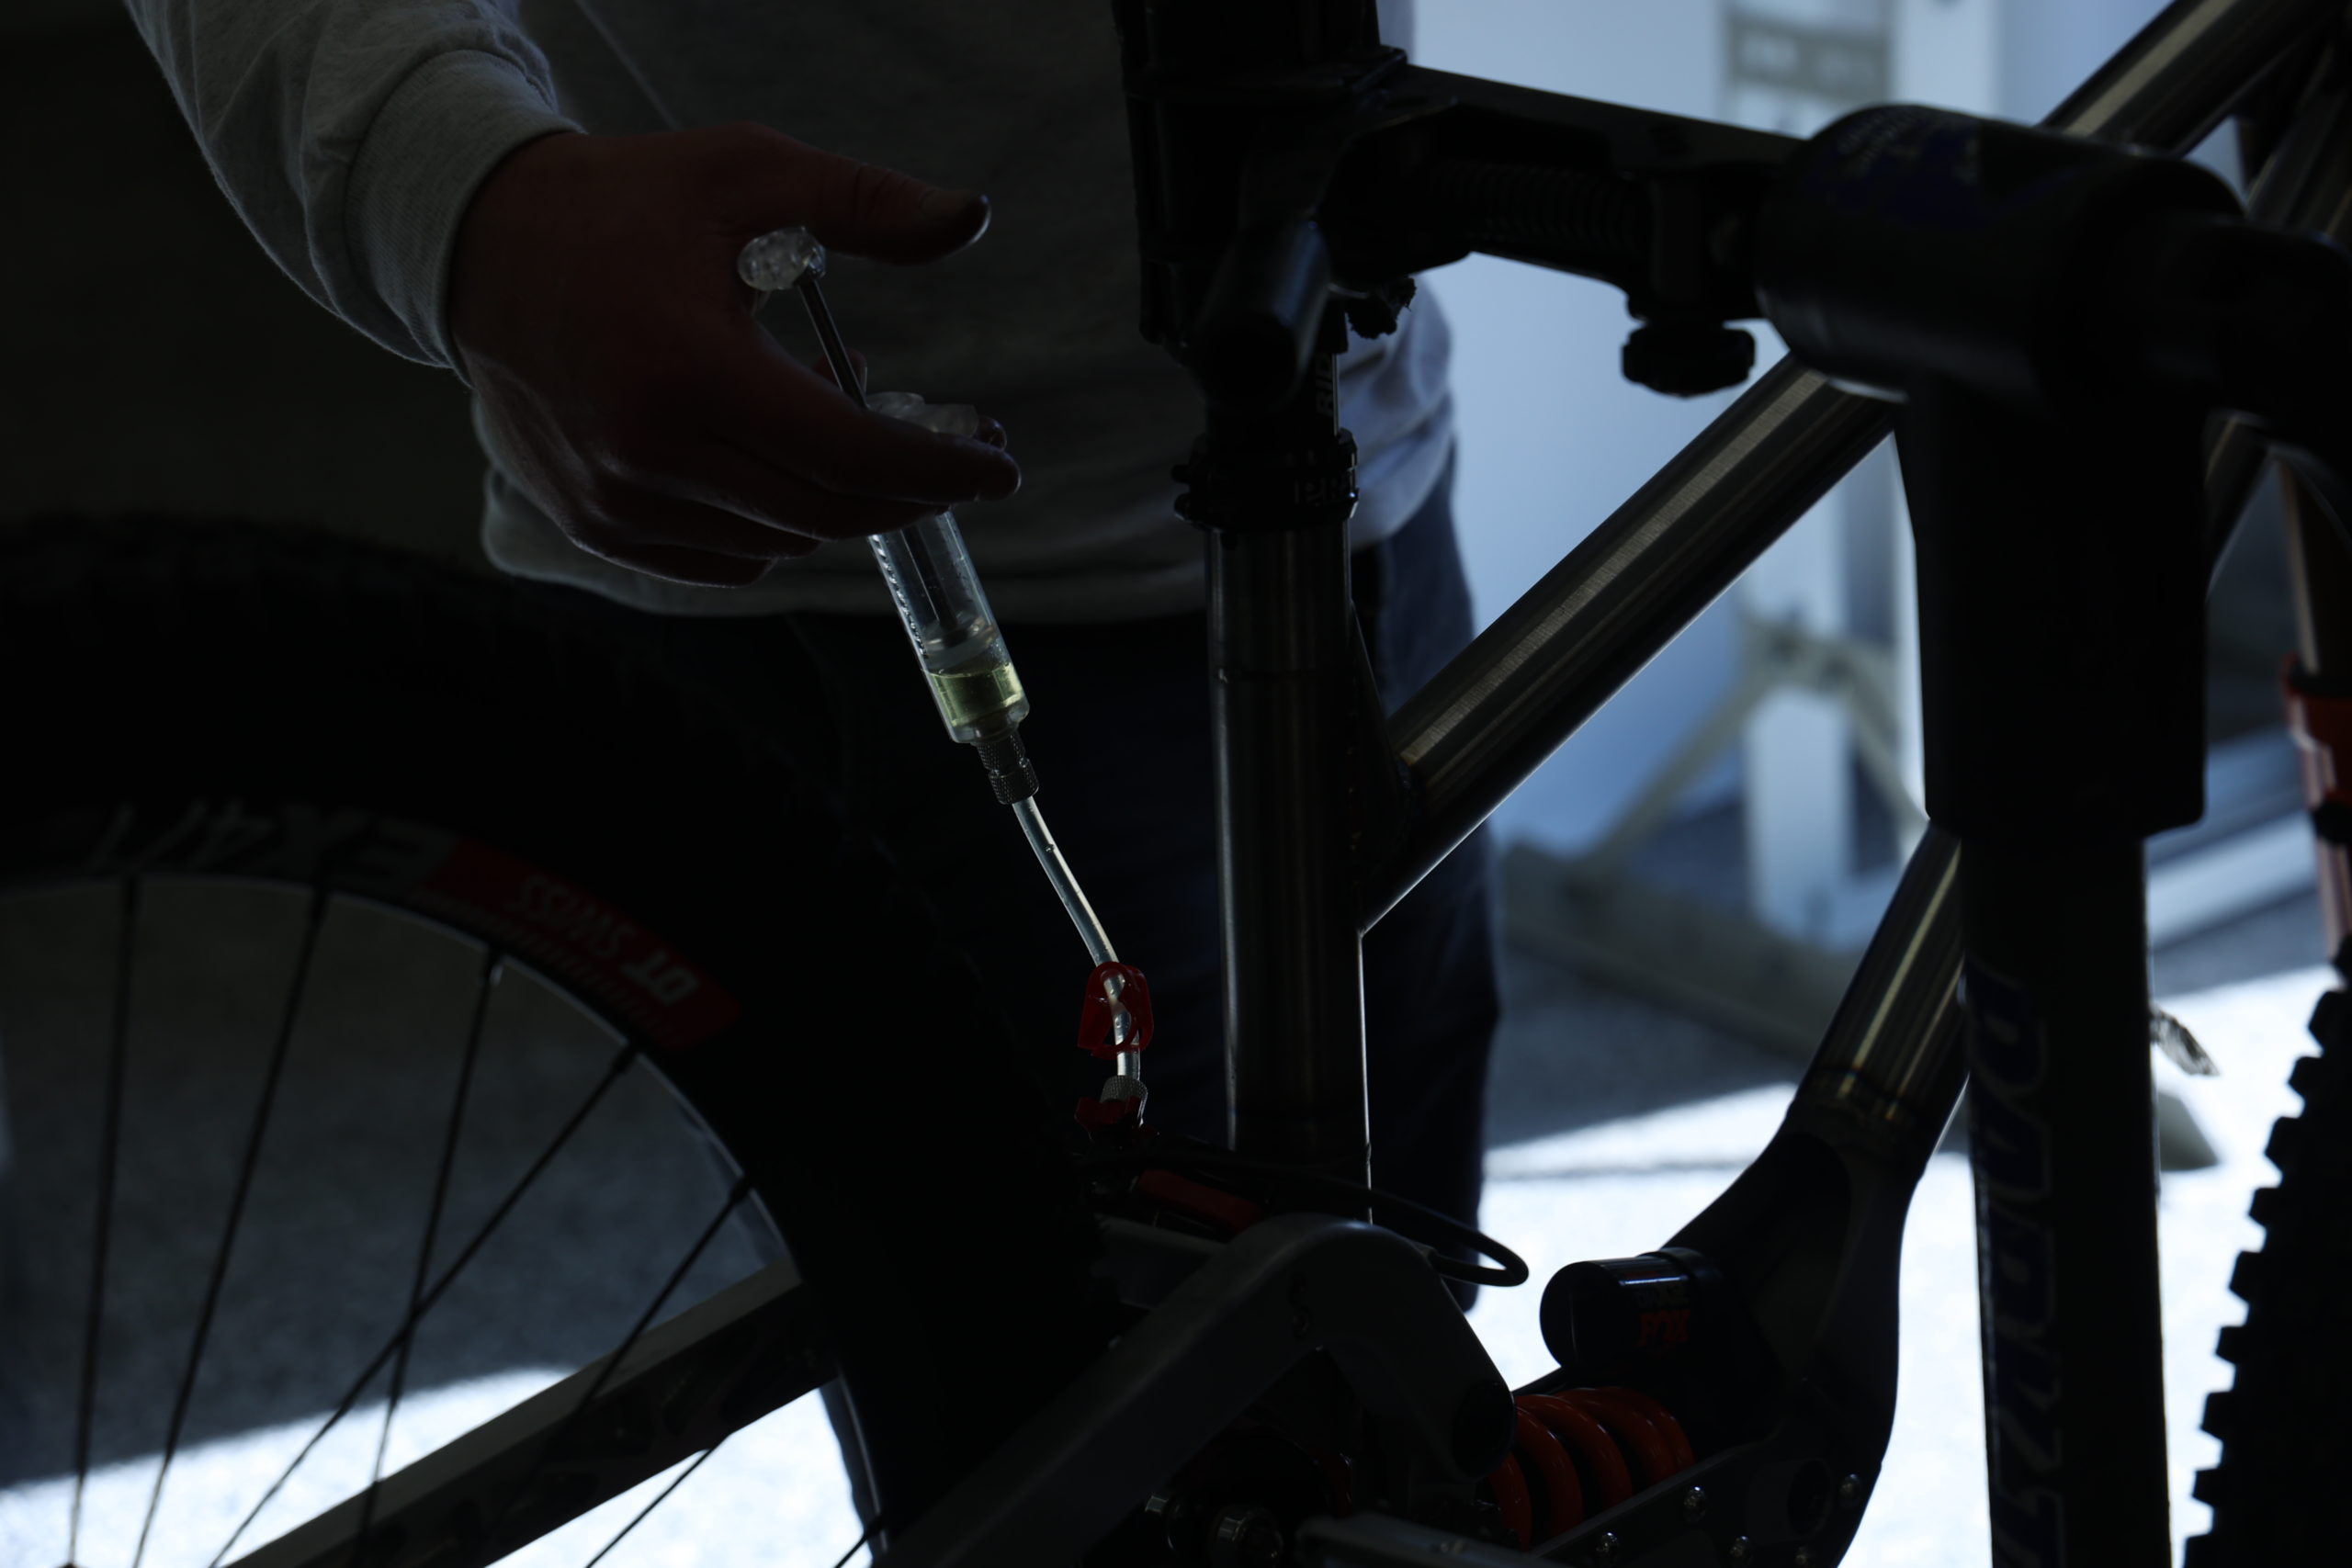
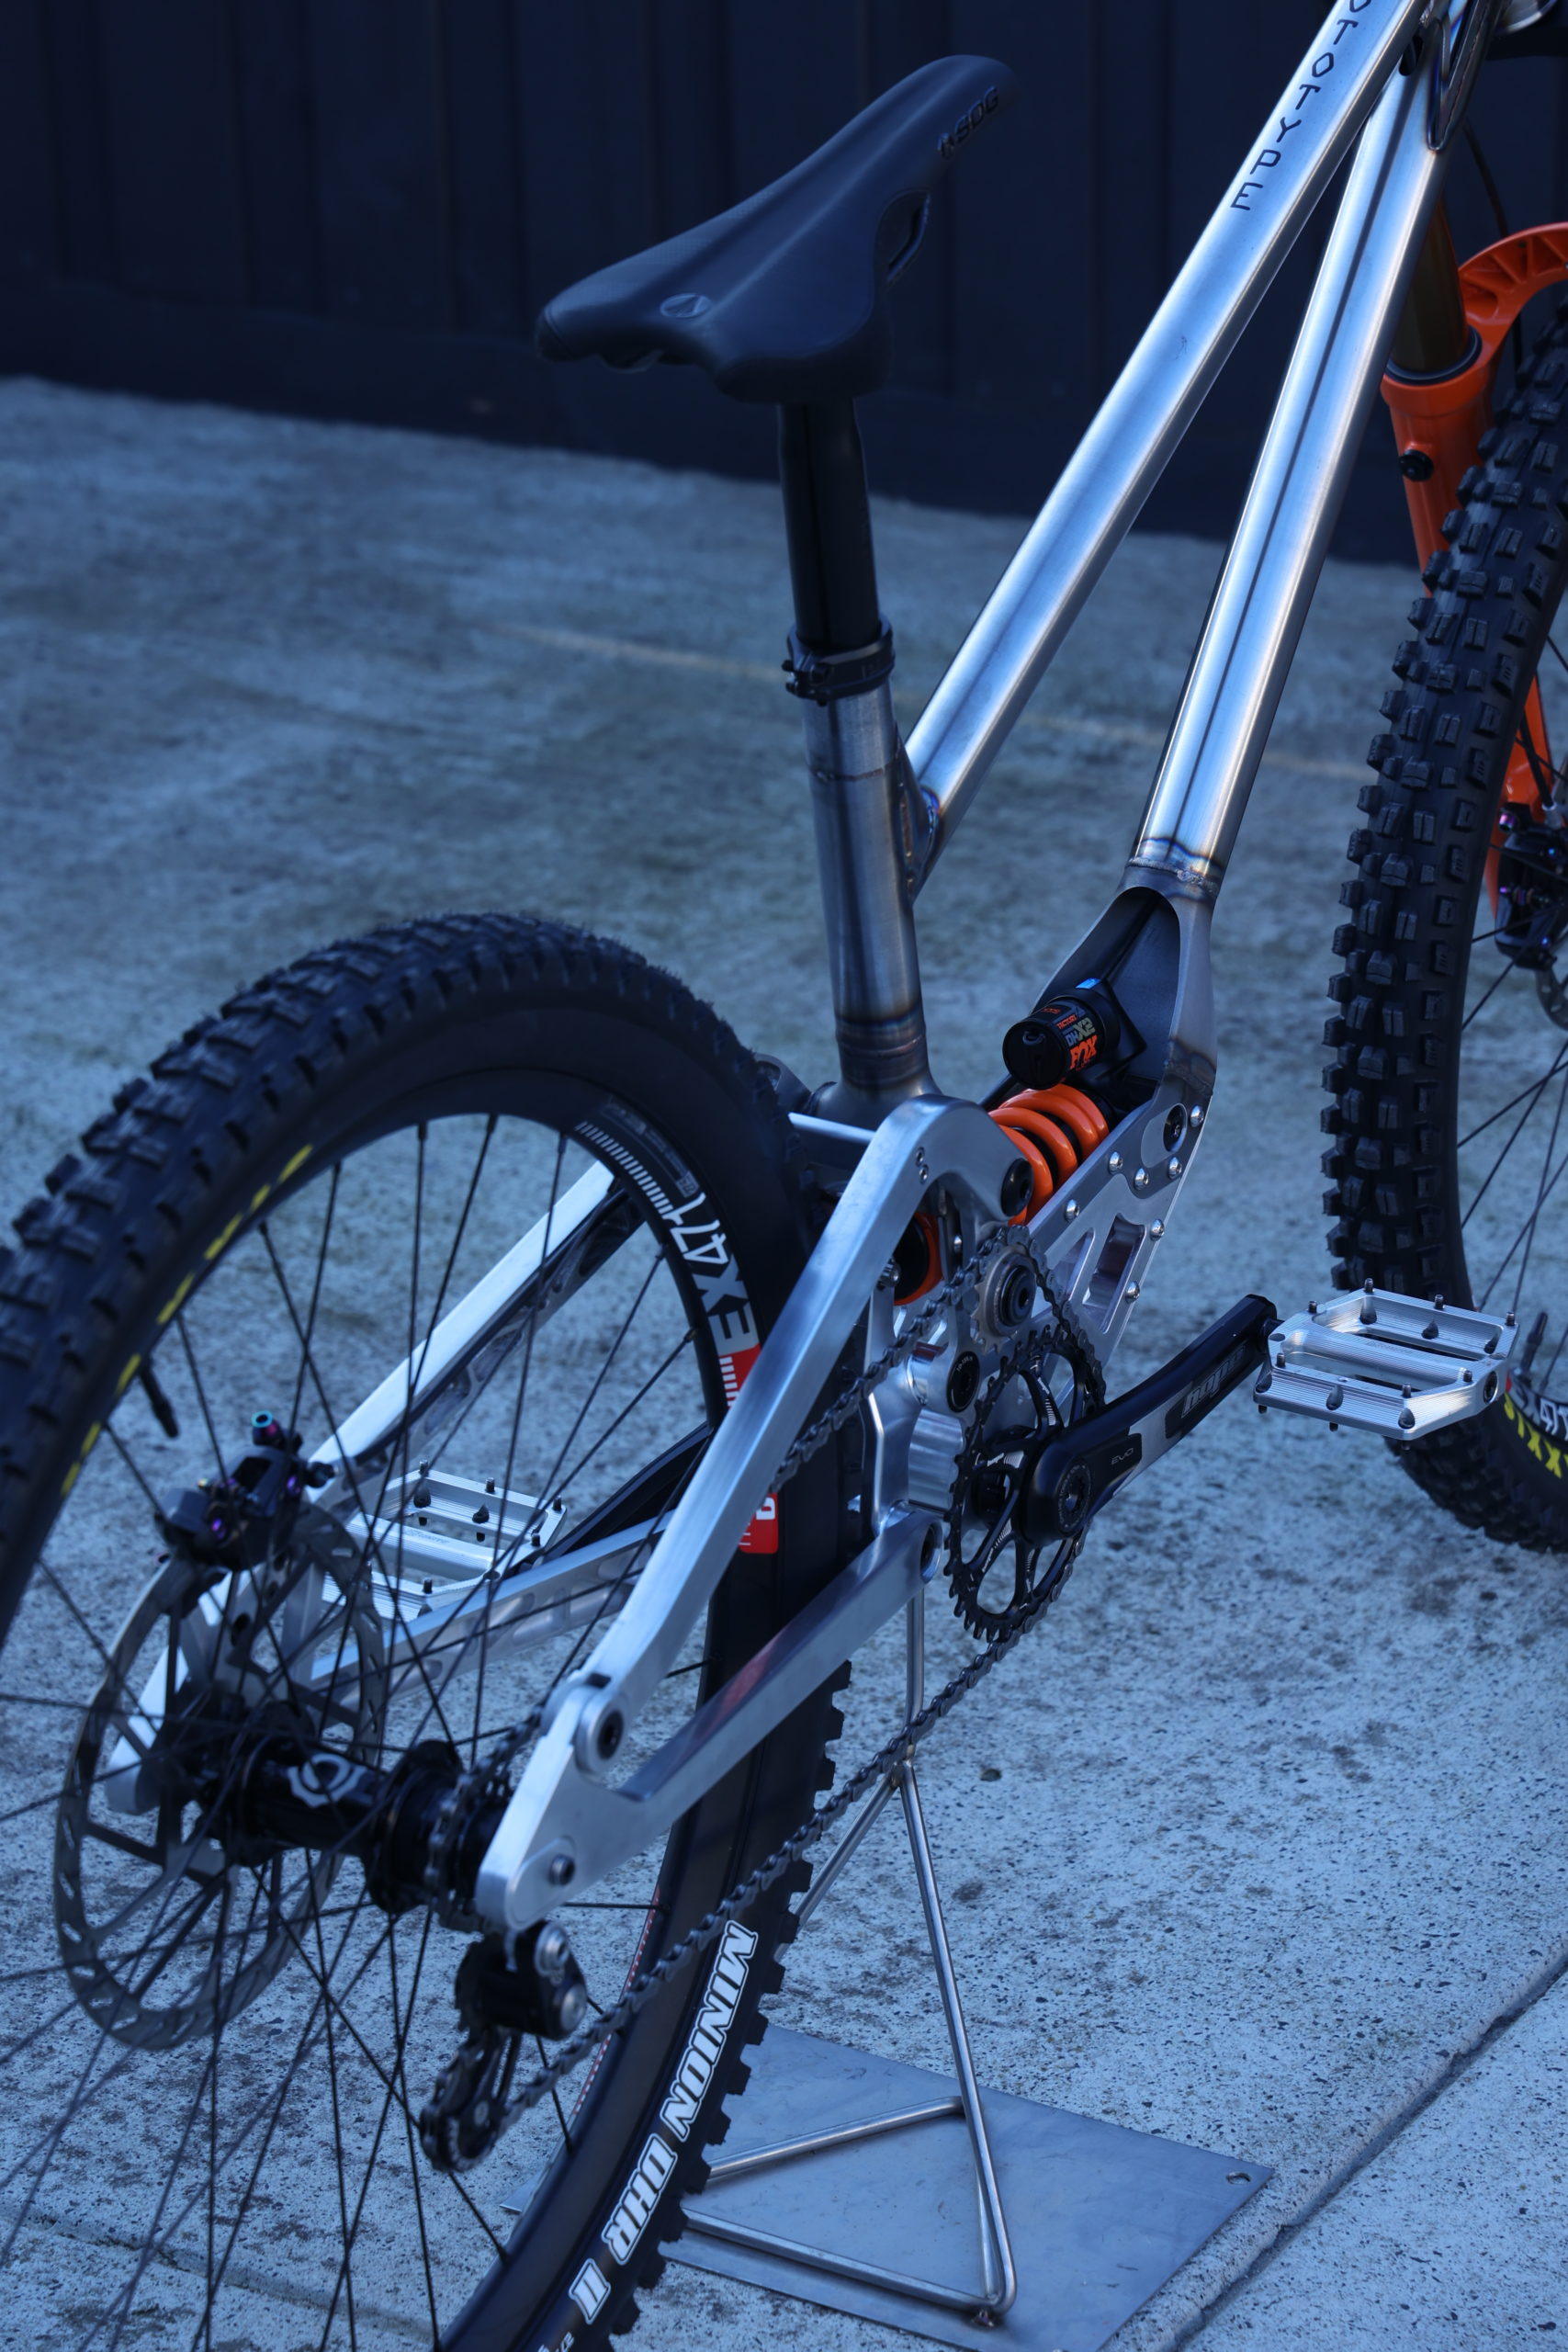
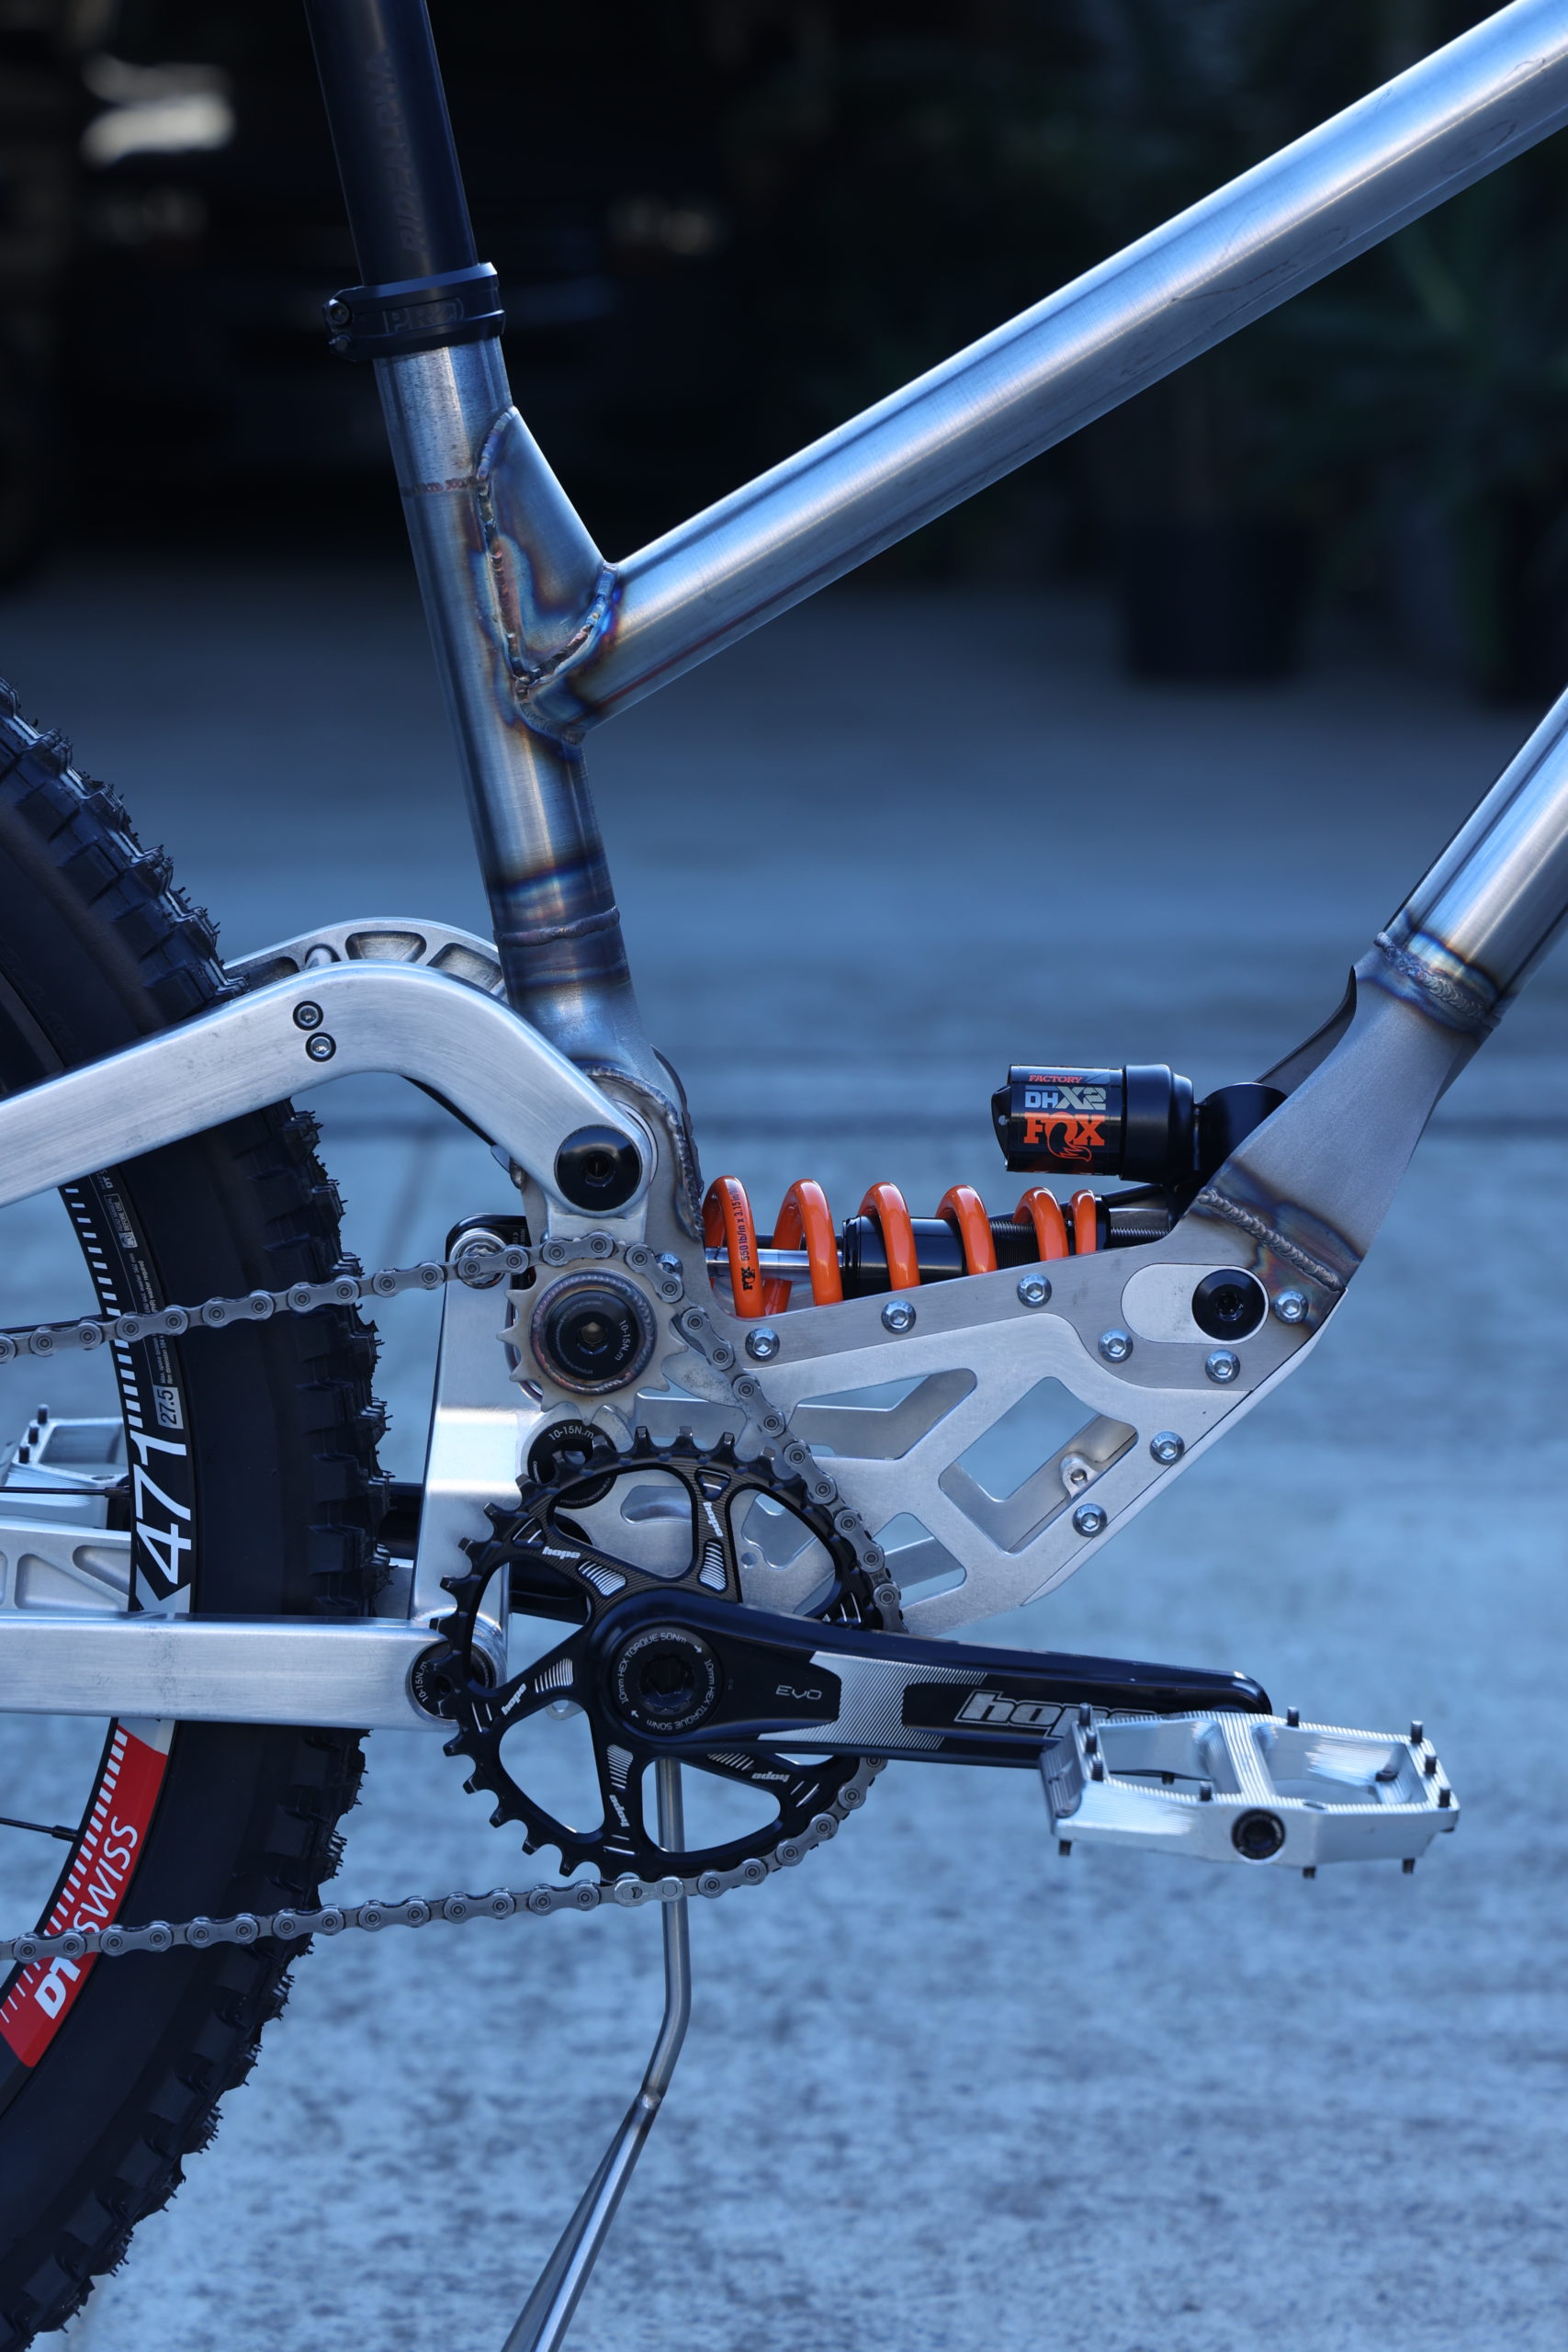
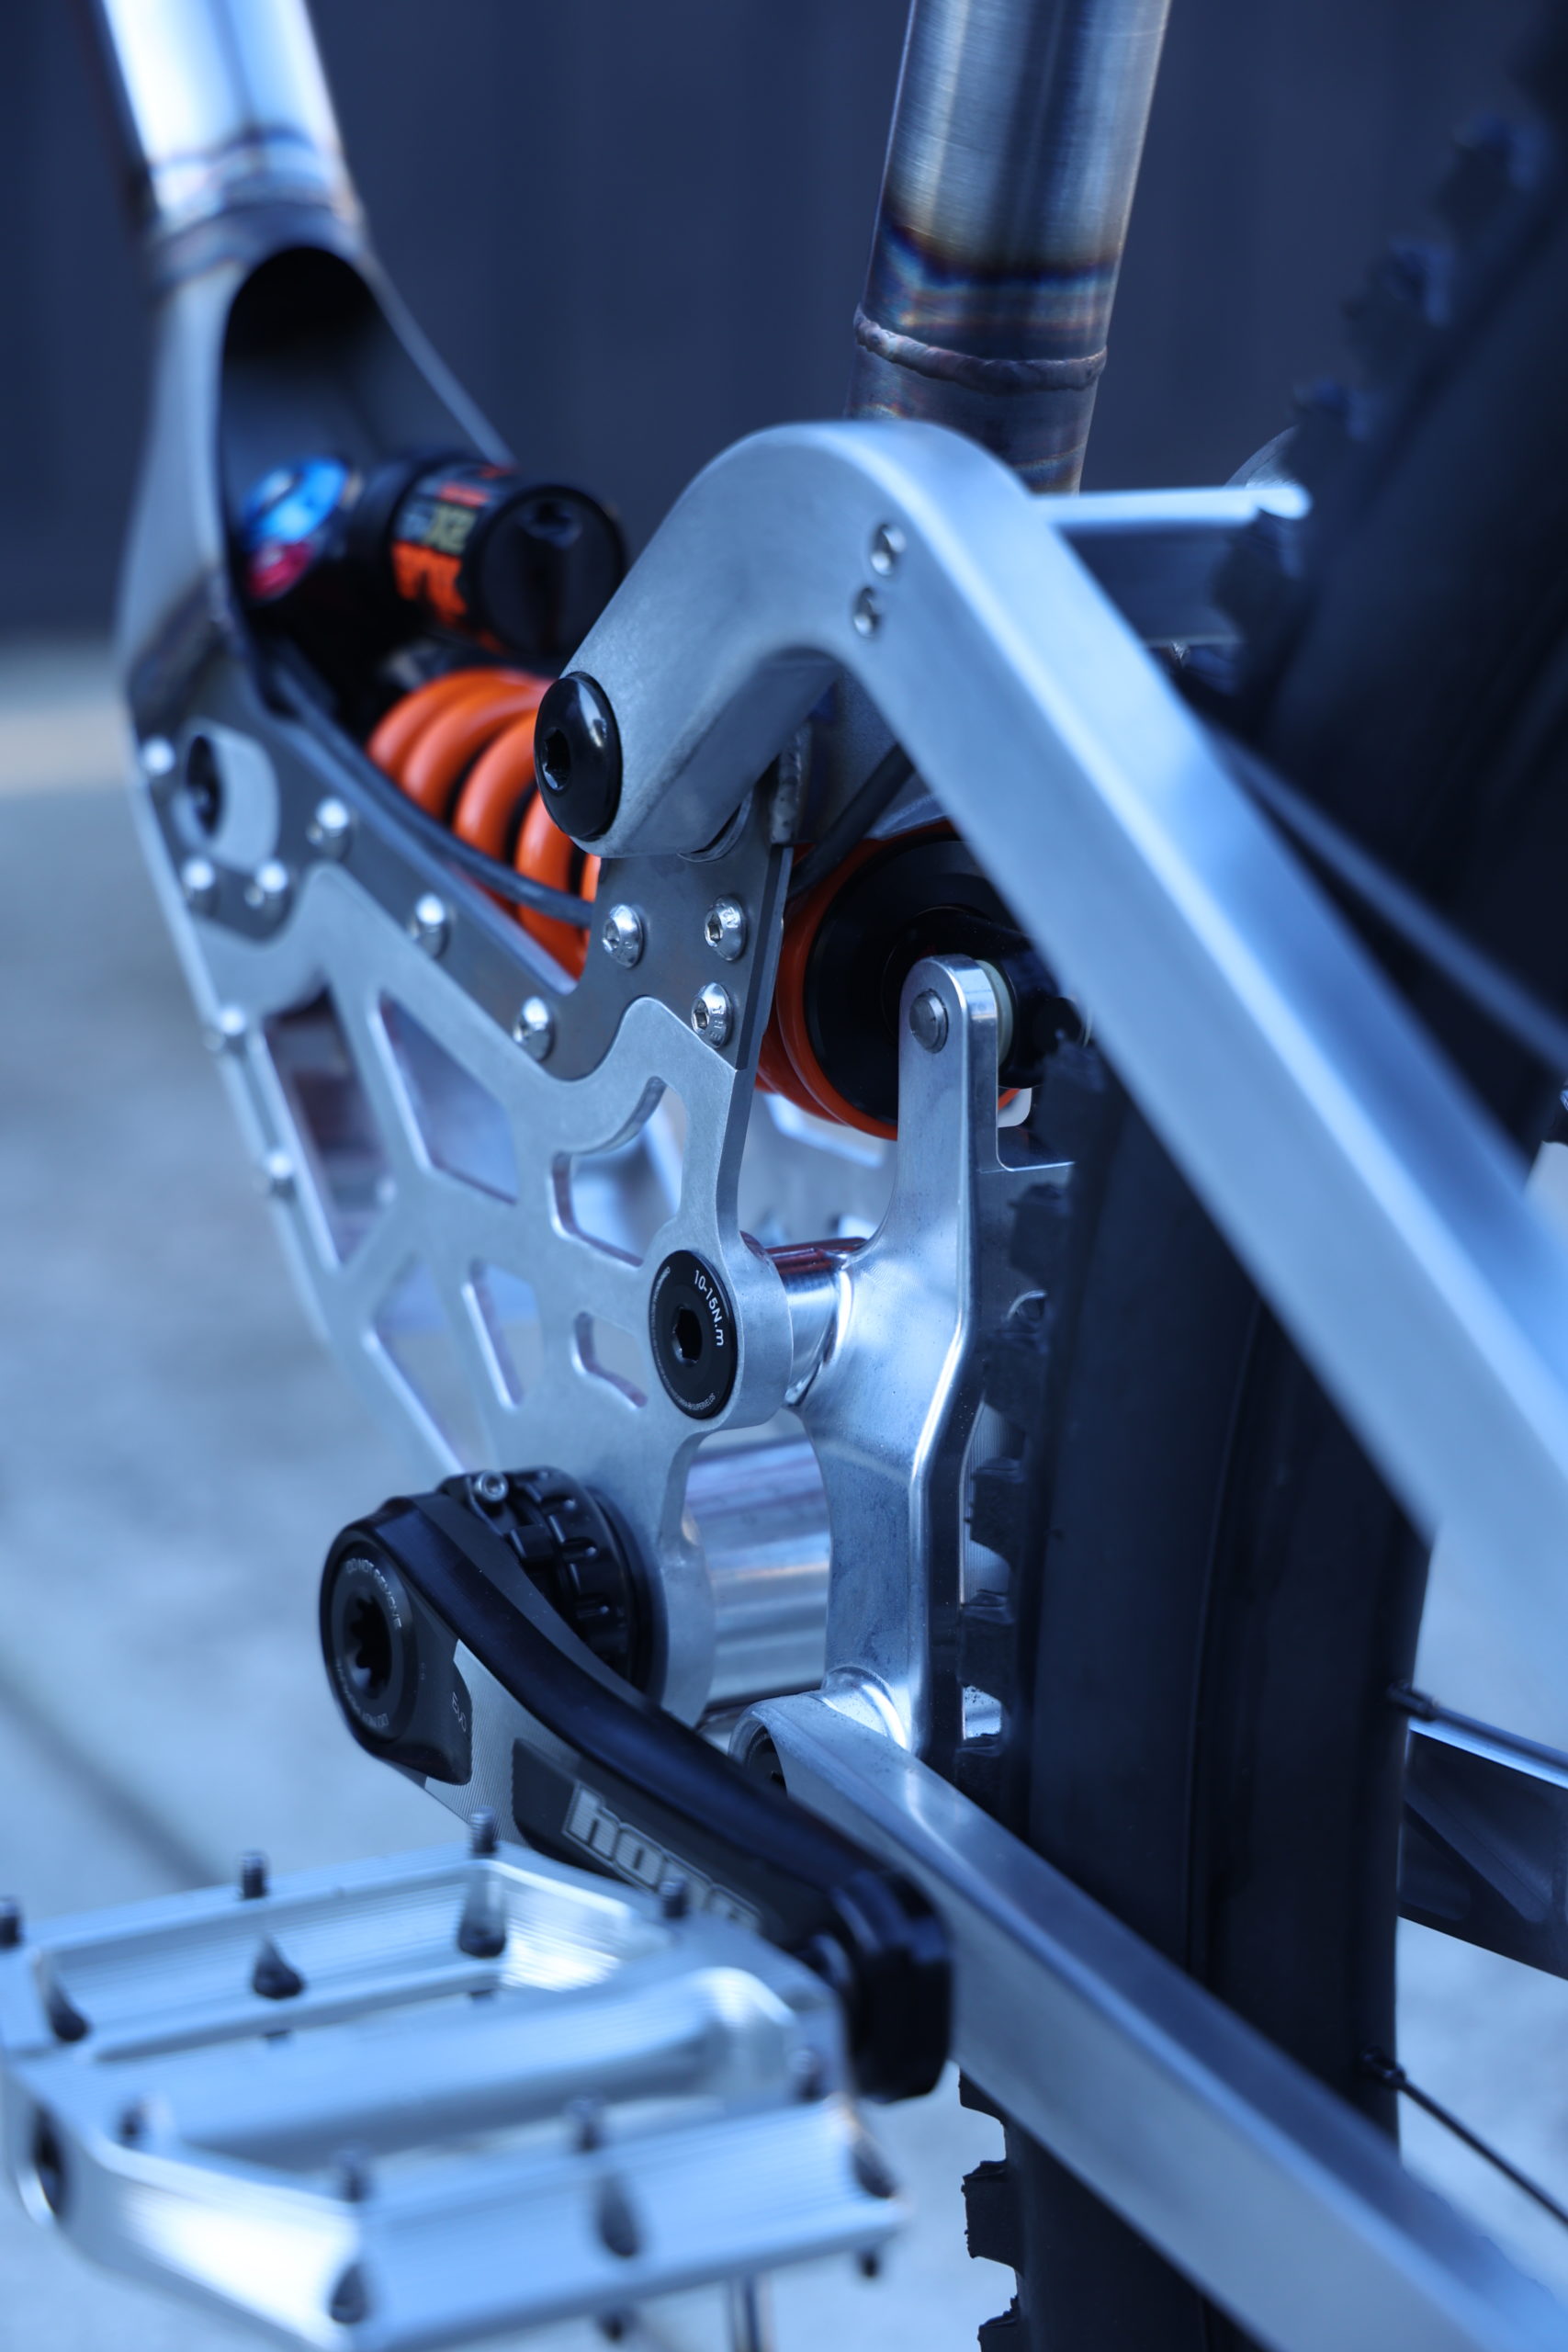
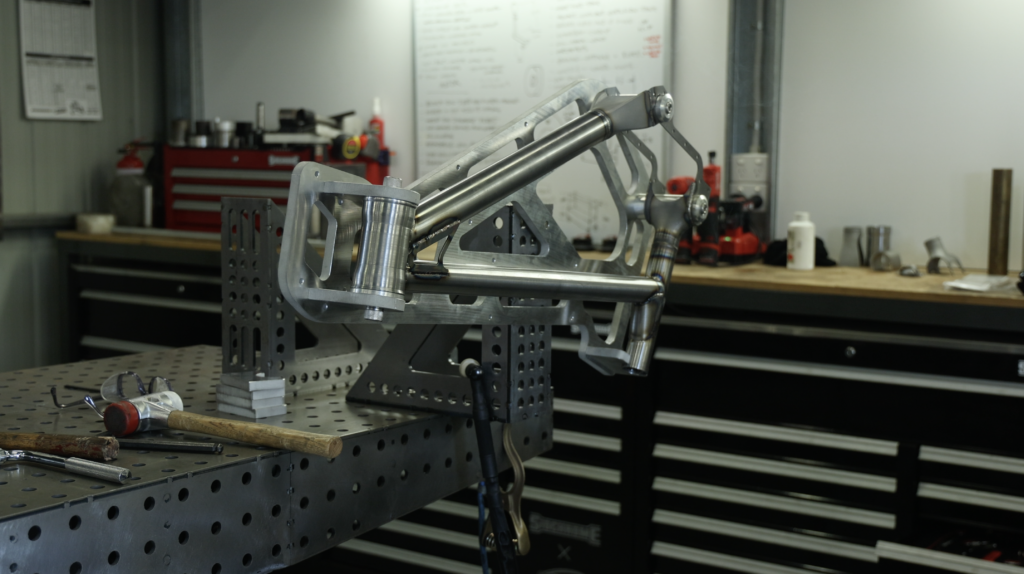
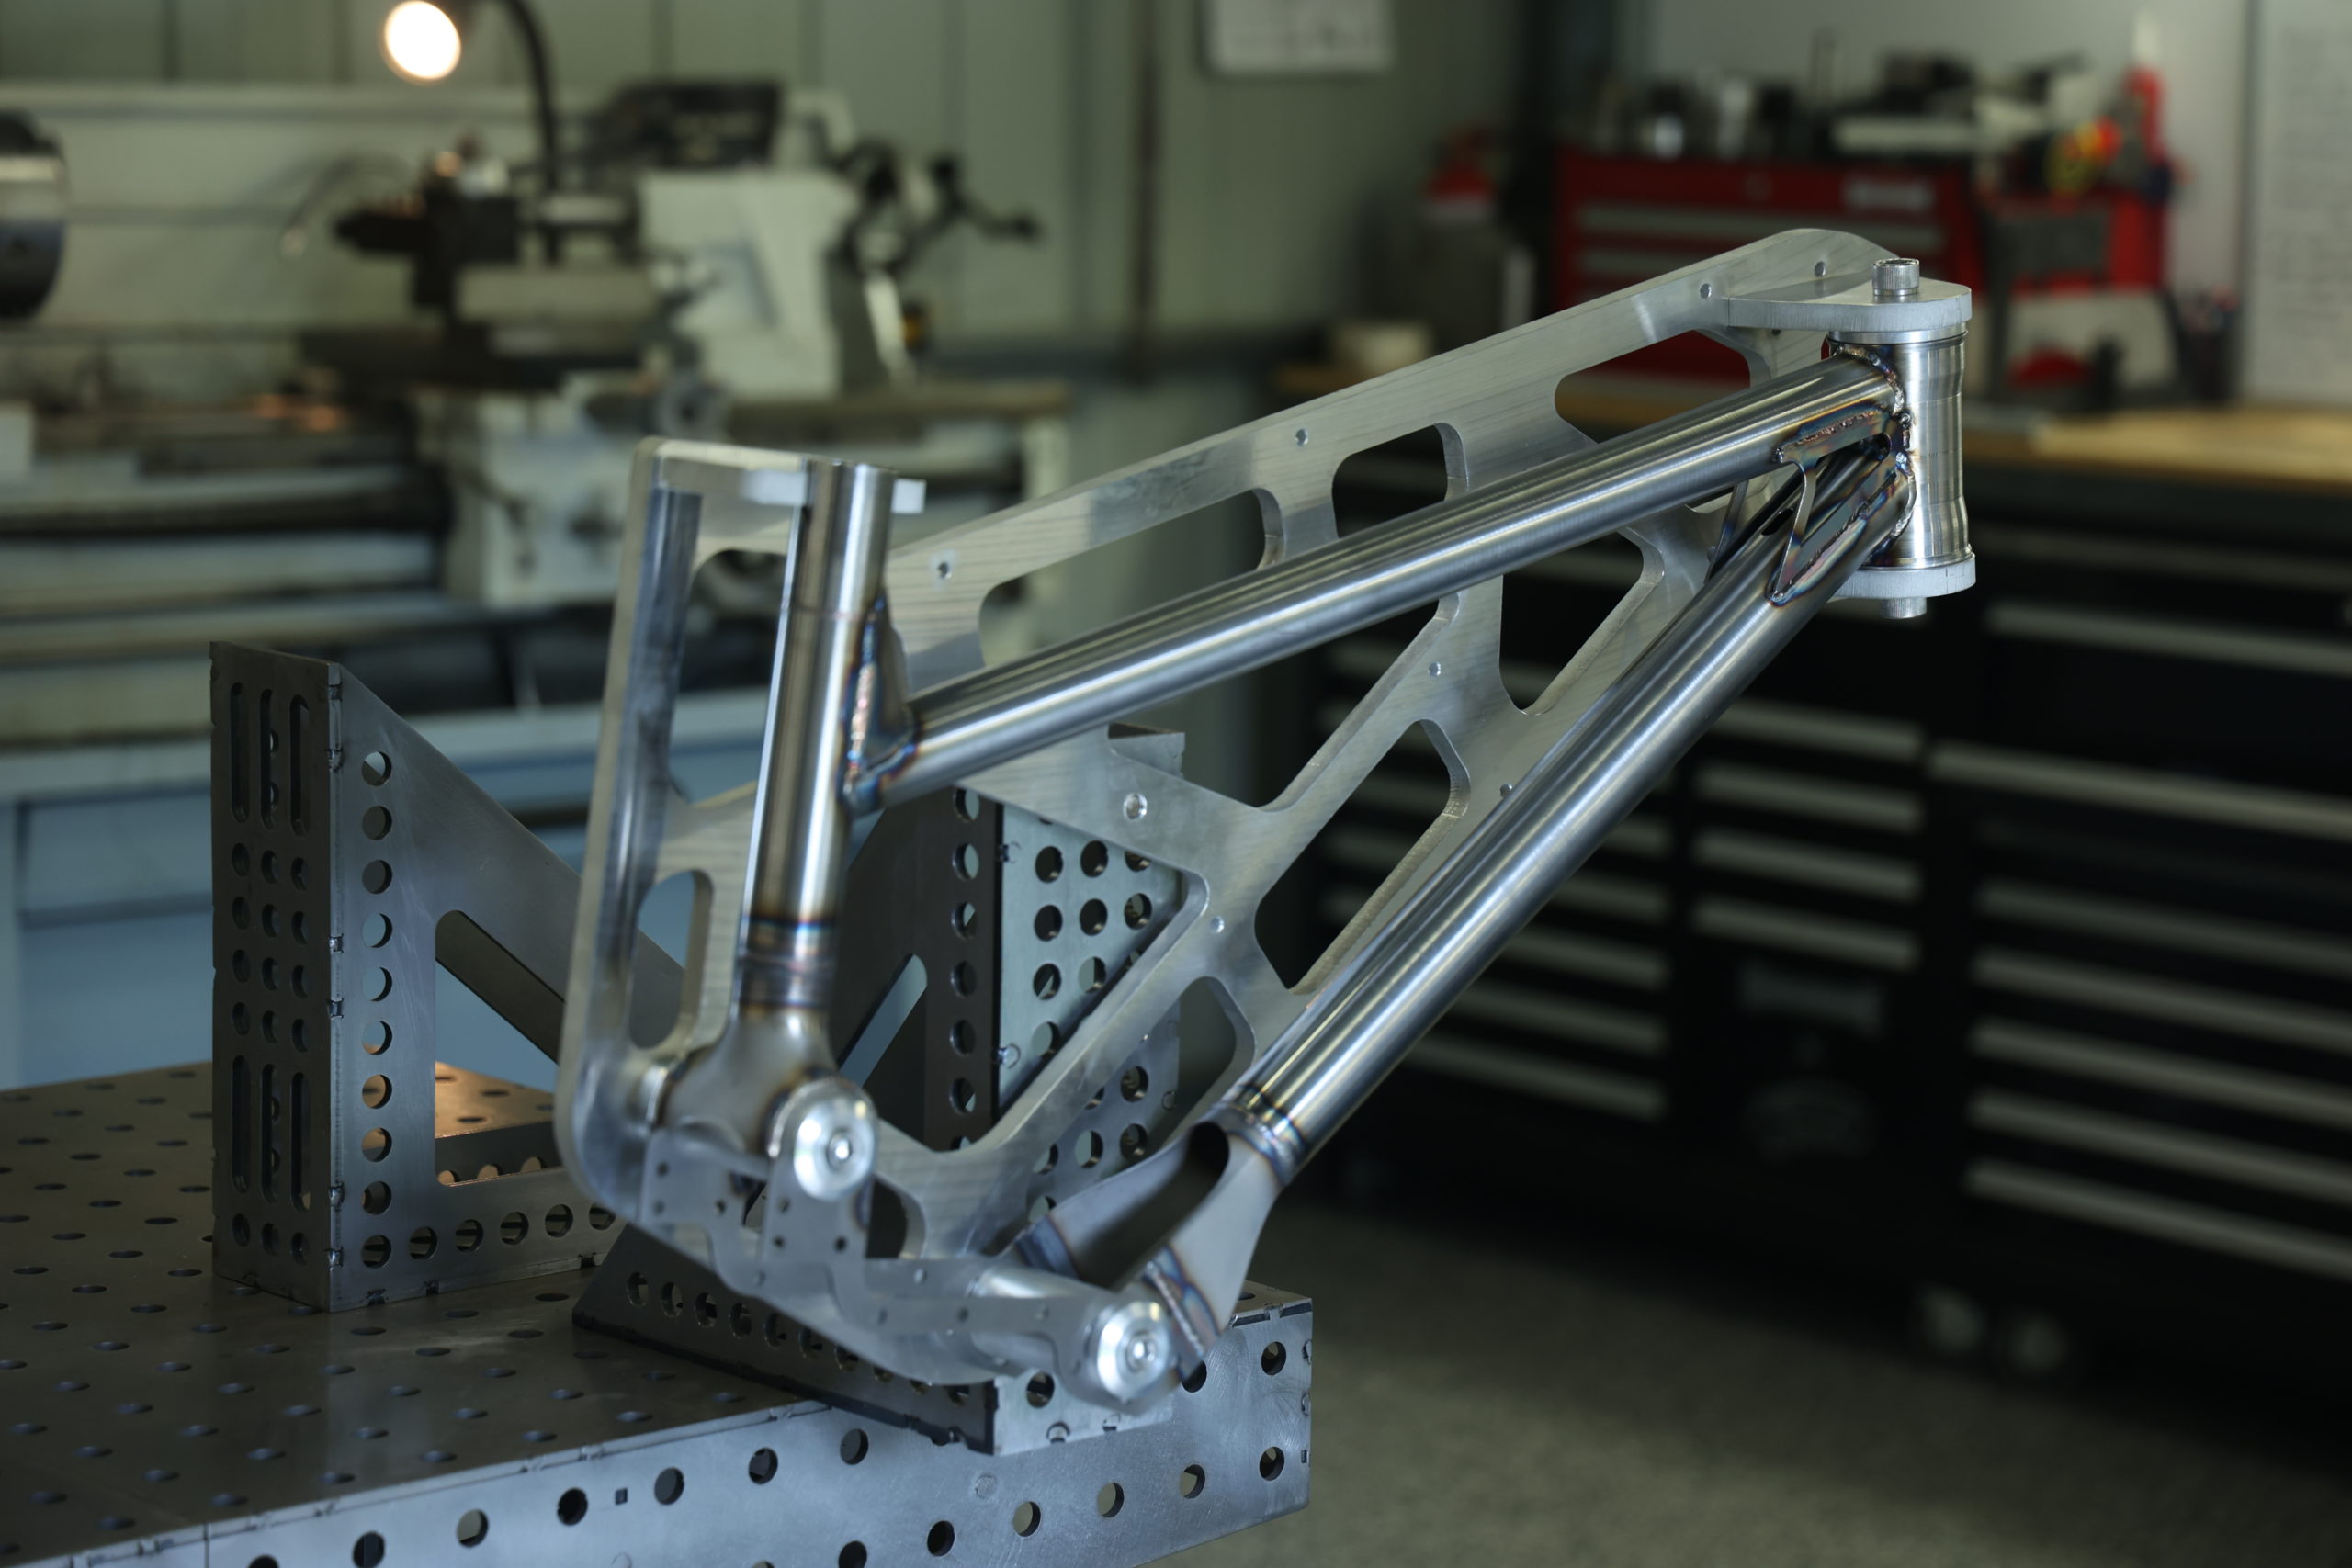
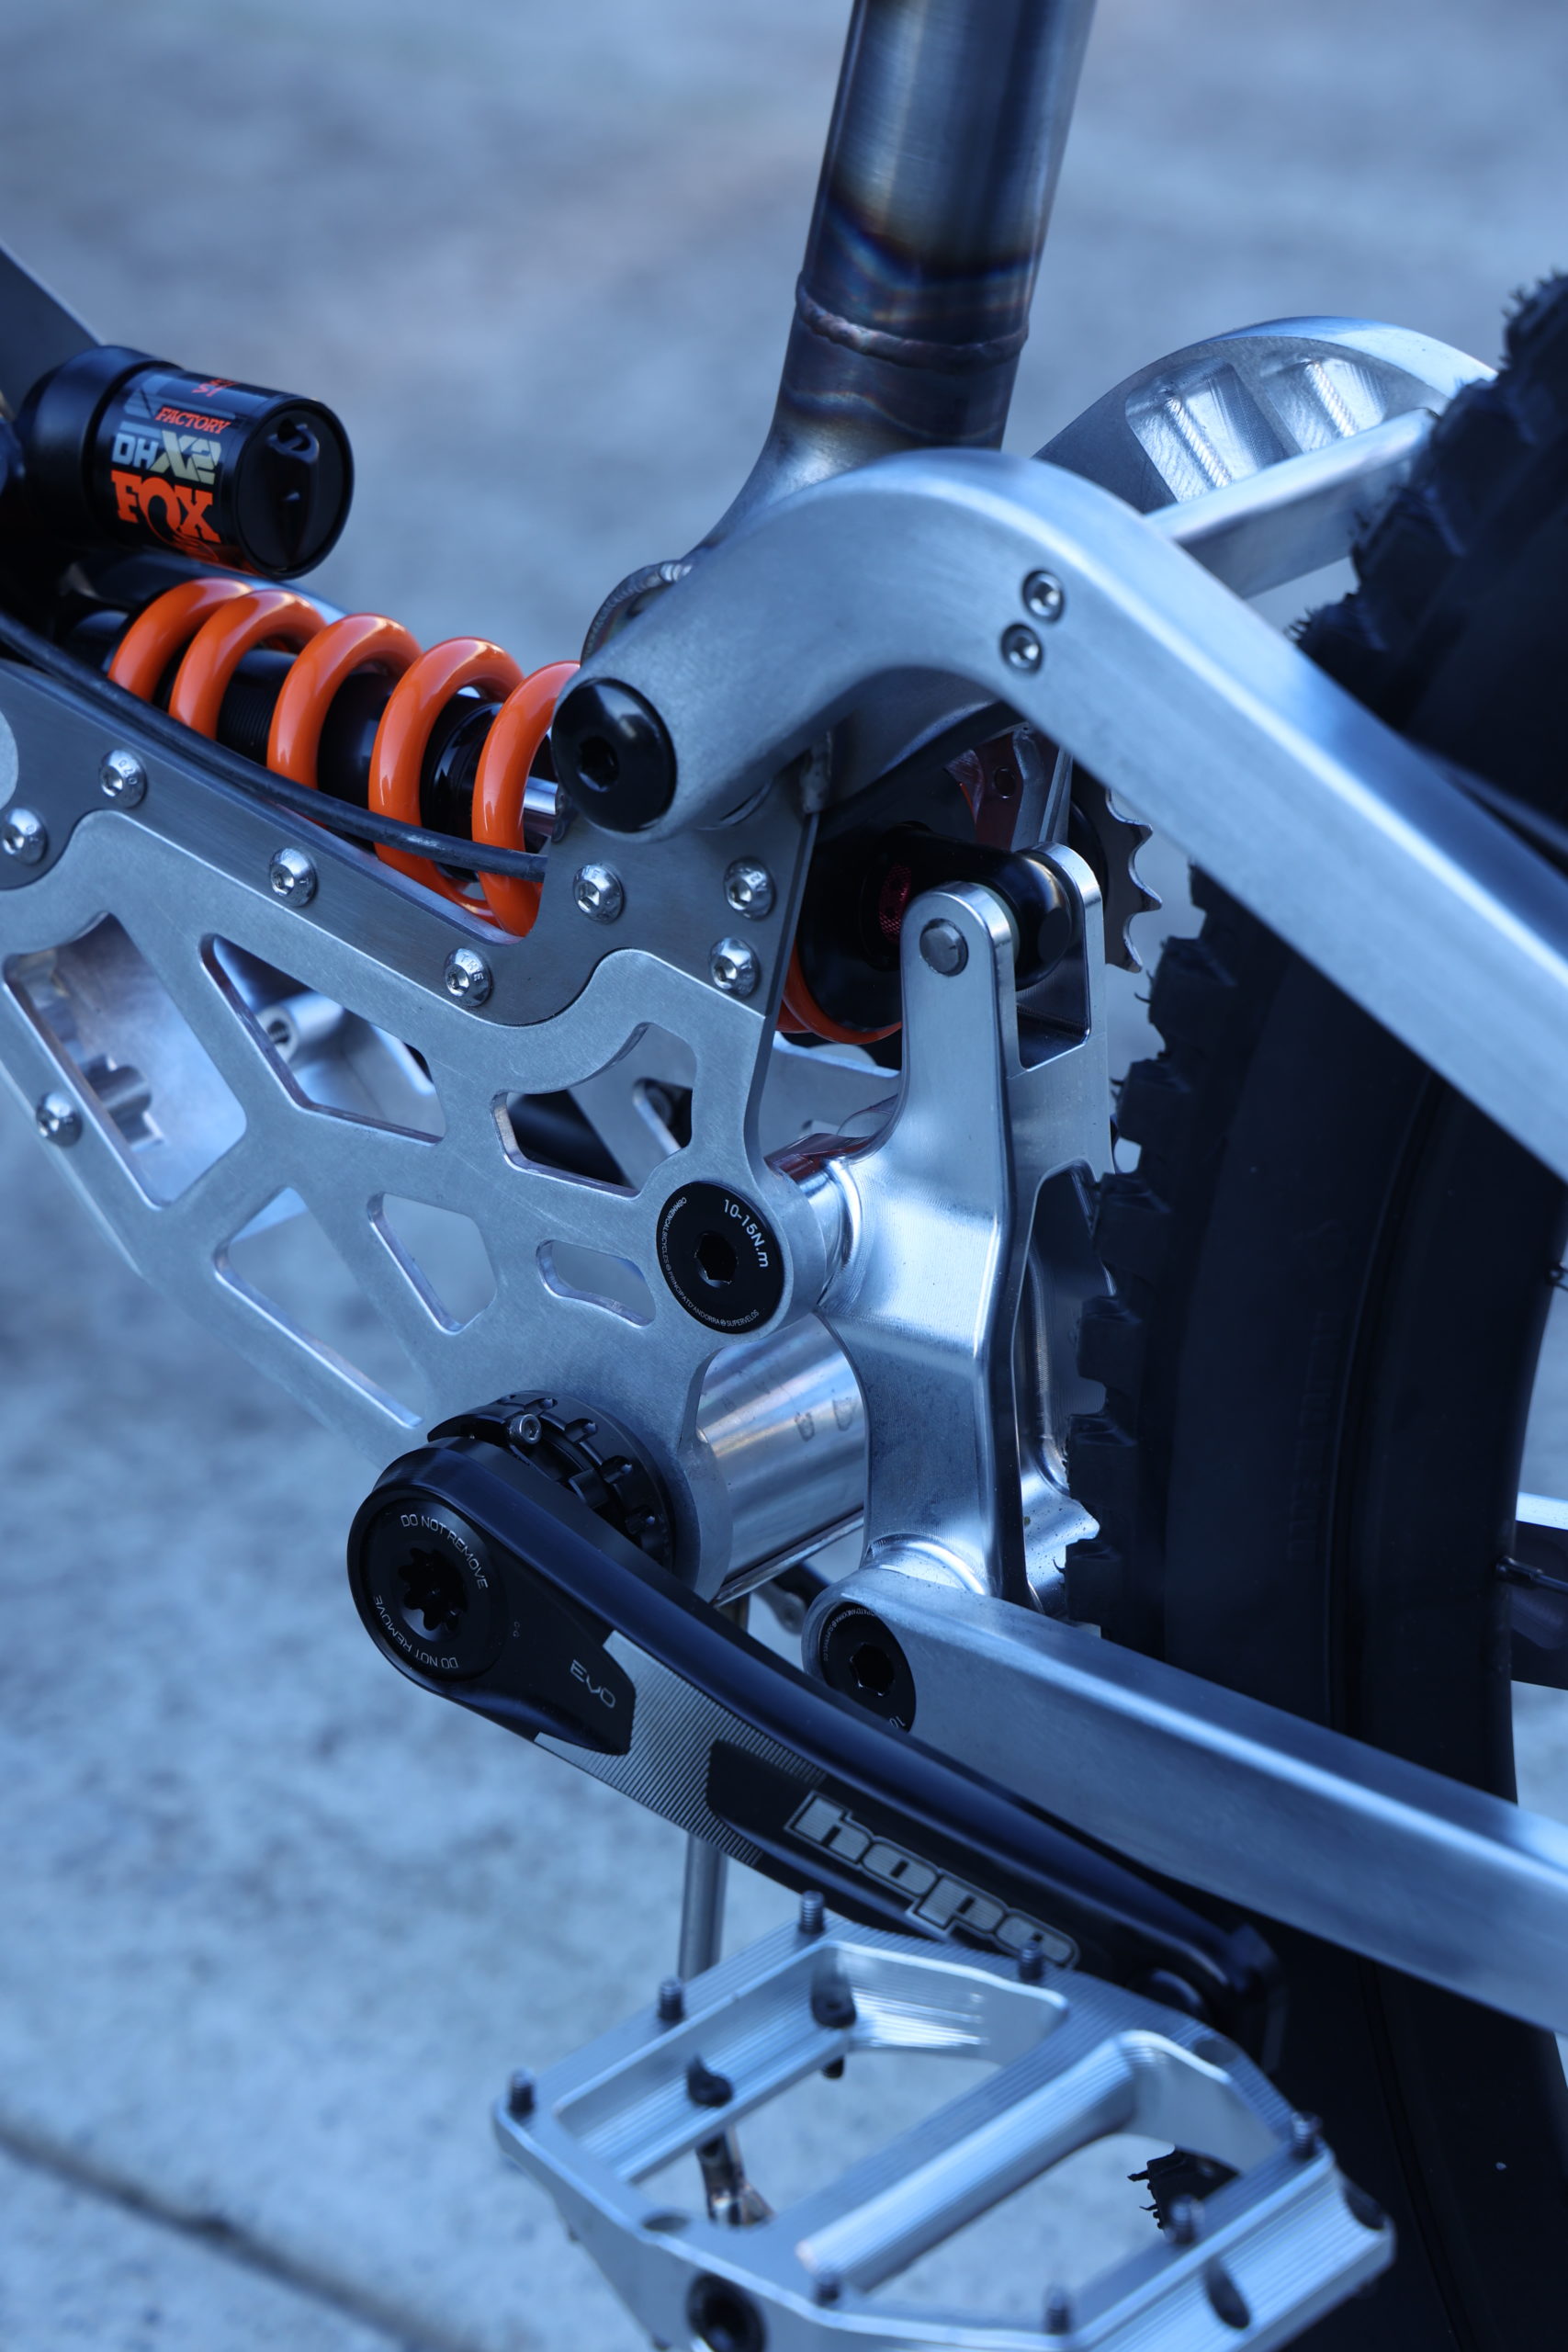
What followed on from that was a 6 hour assembly process that involved custom making bolts, washers and clearances so each bearing was perfectly preloaded to complete a smooth but tight suspension system.
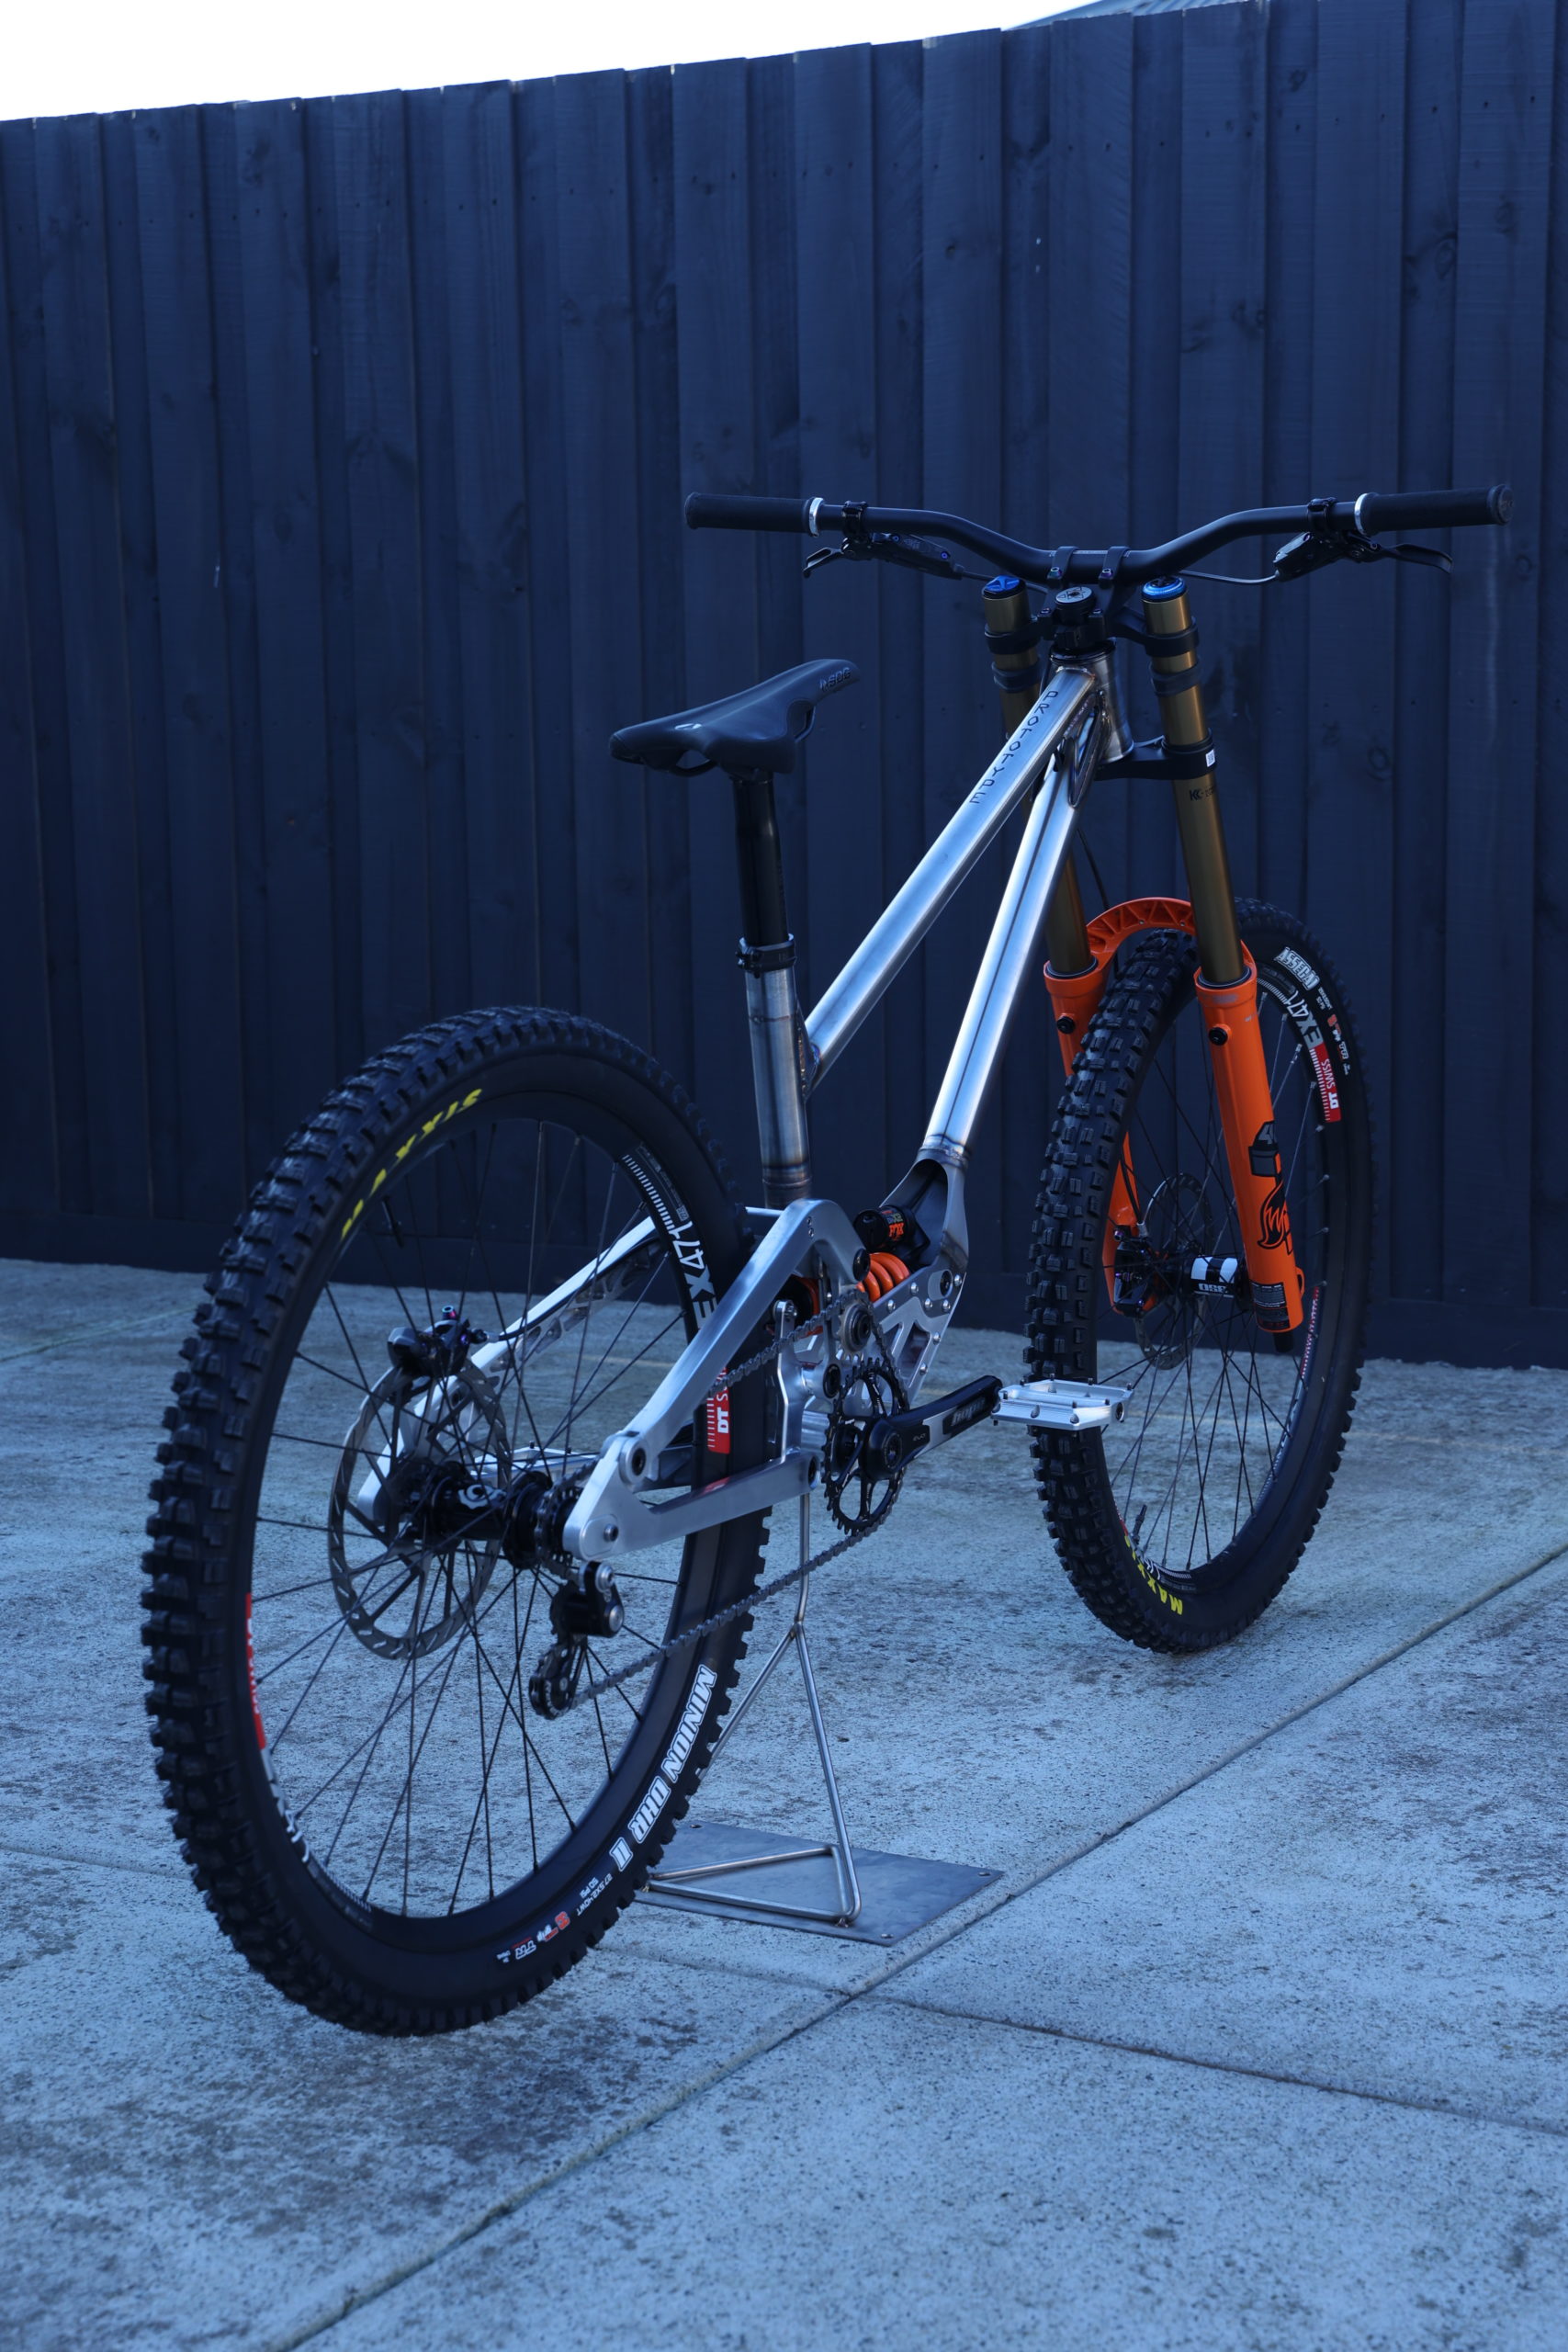

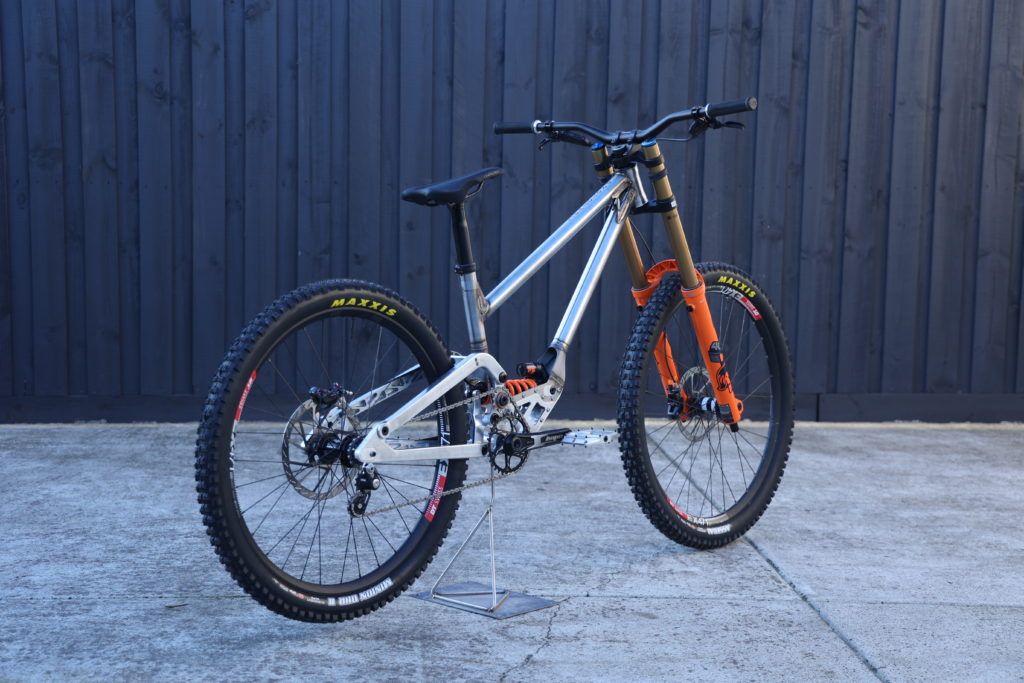
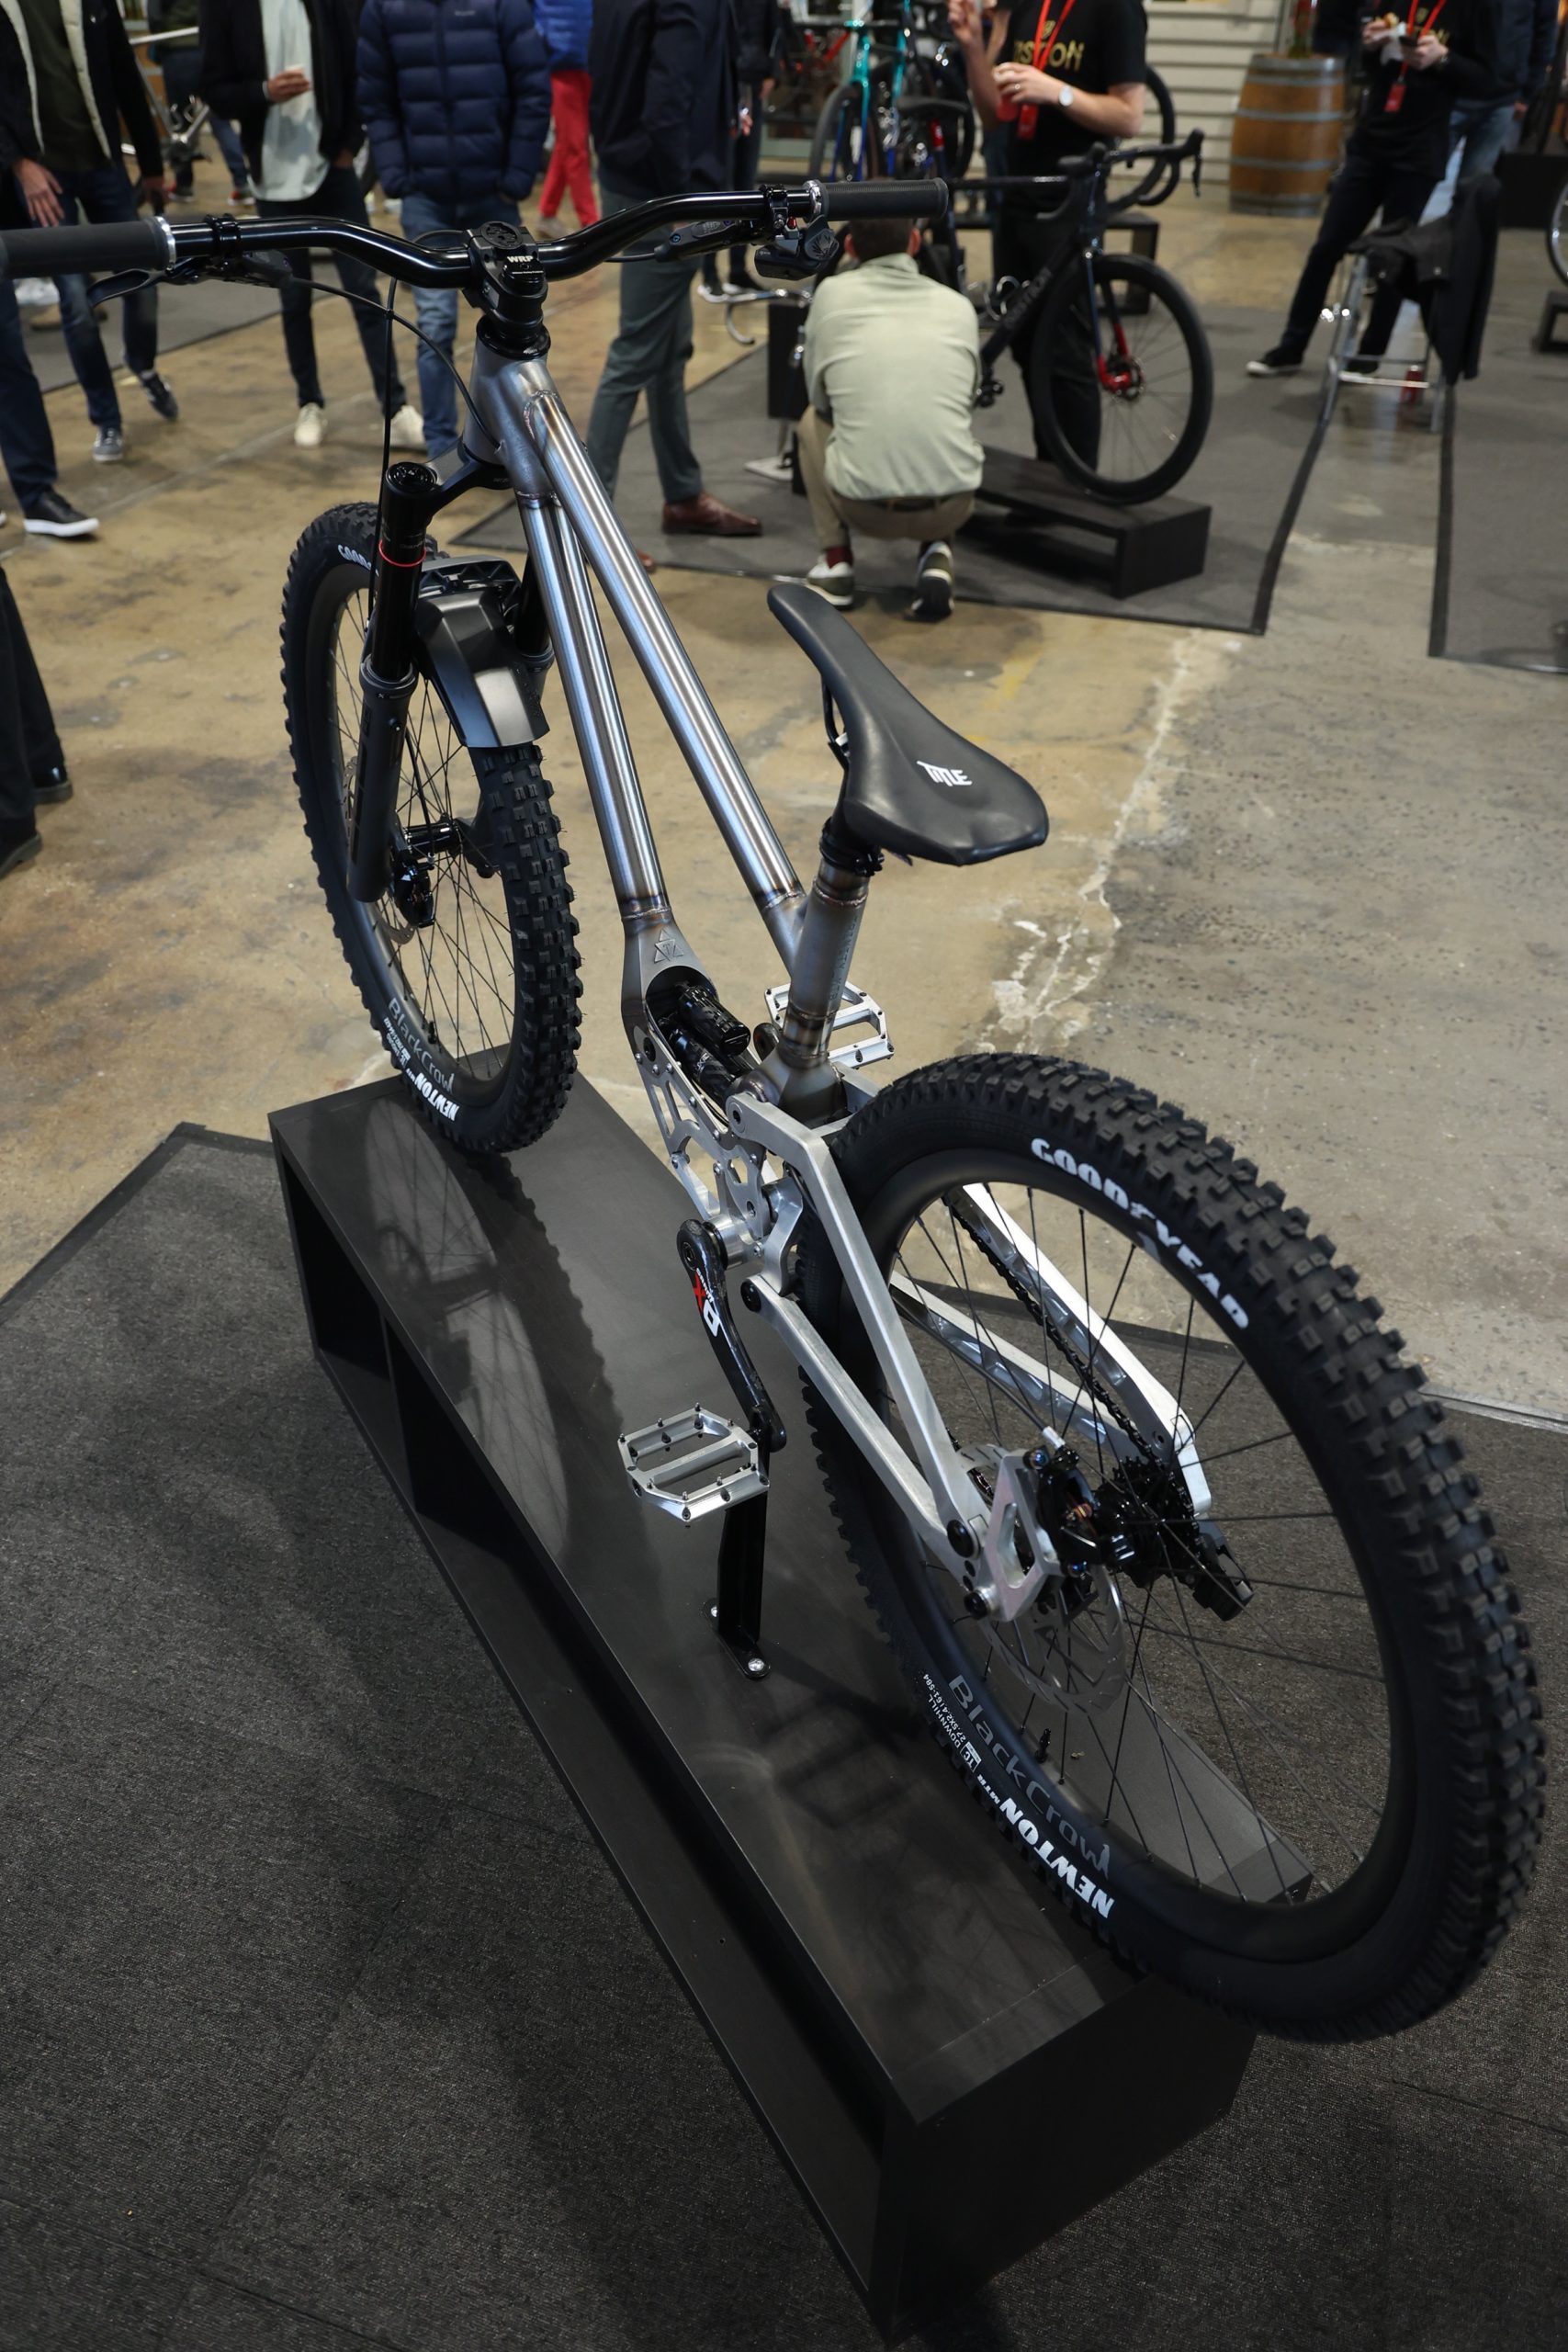
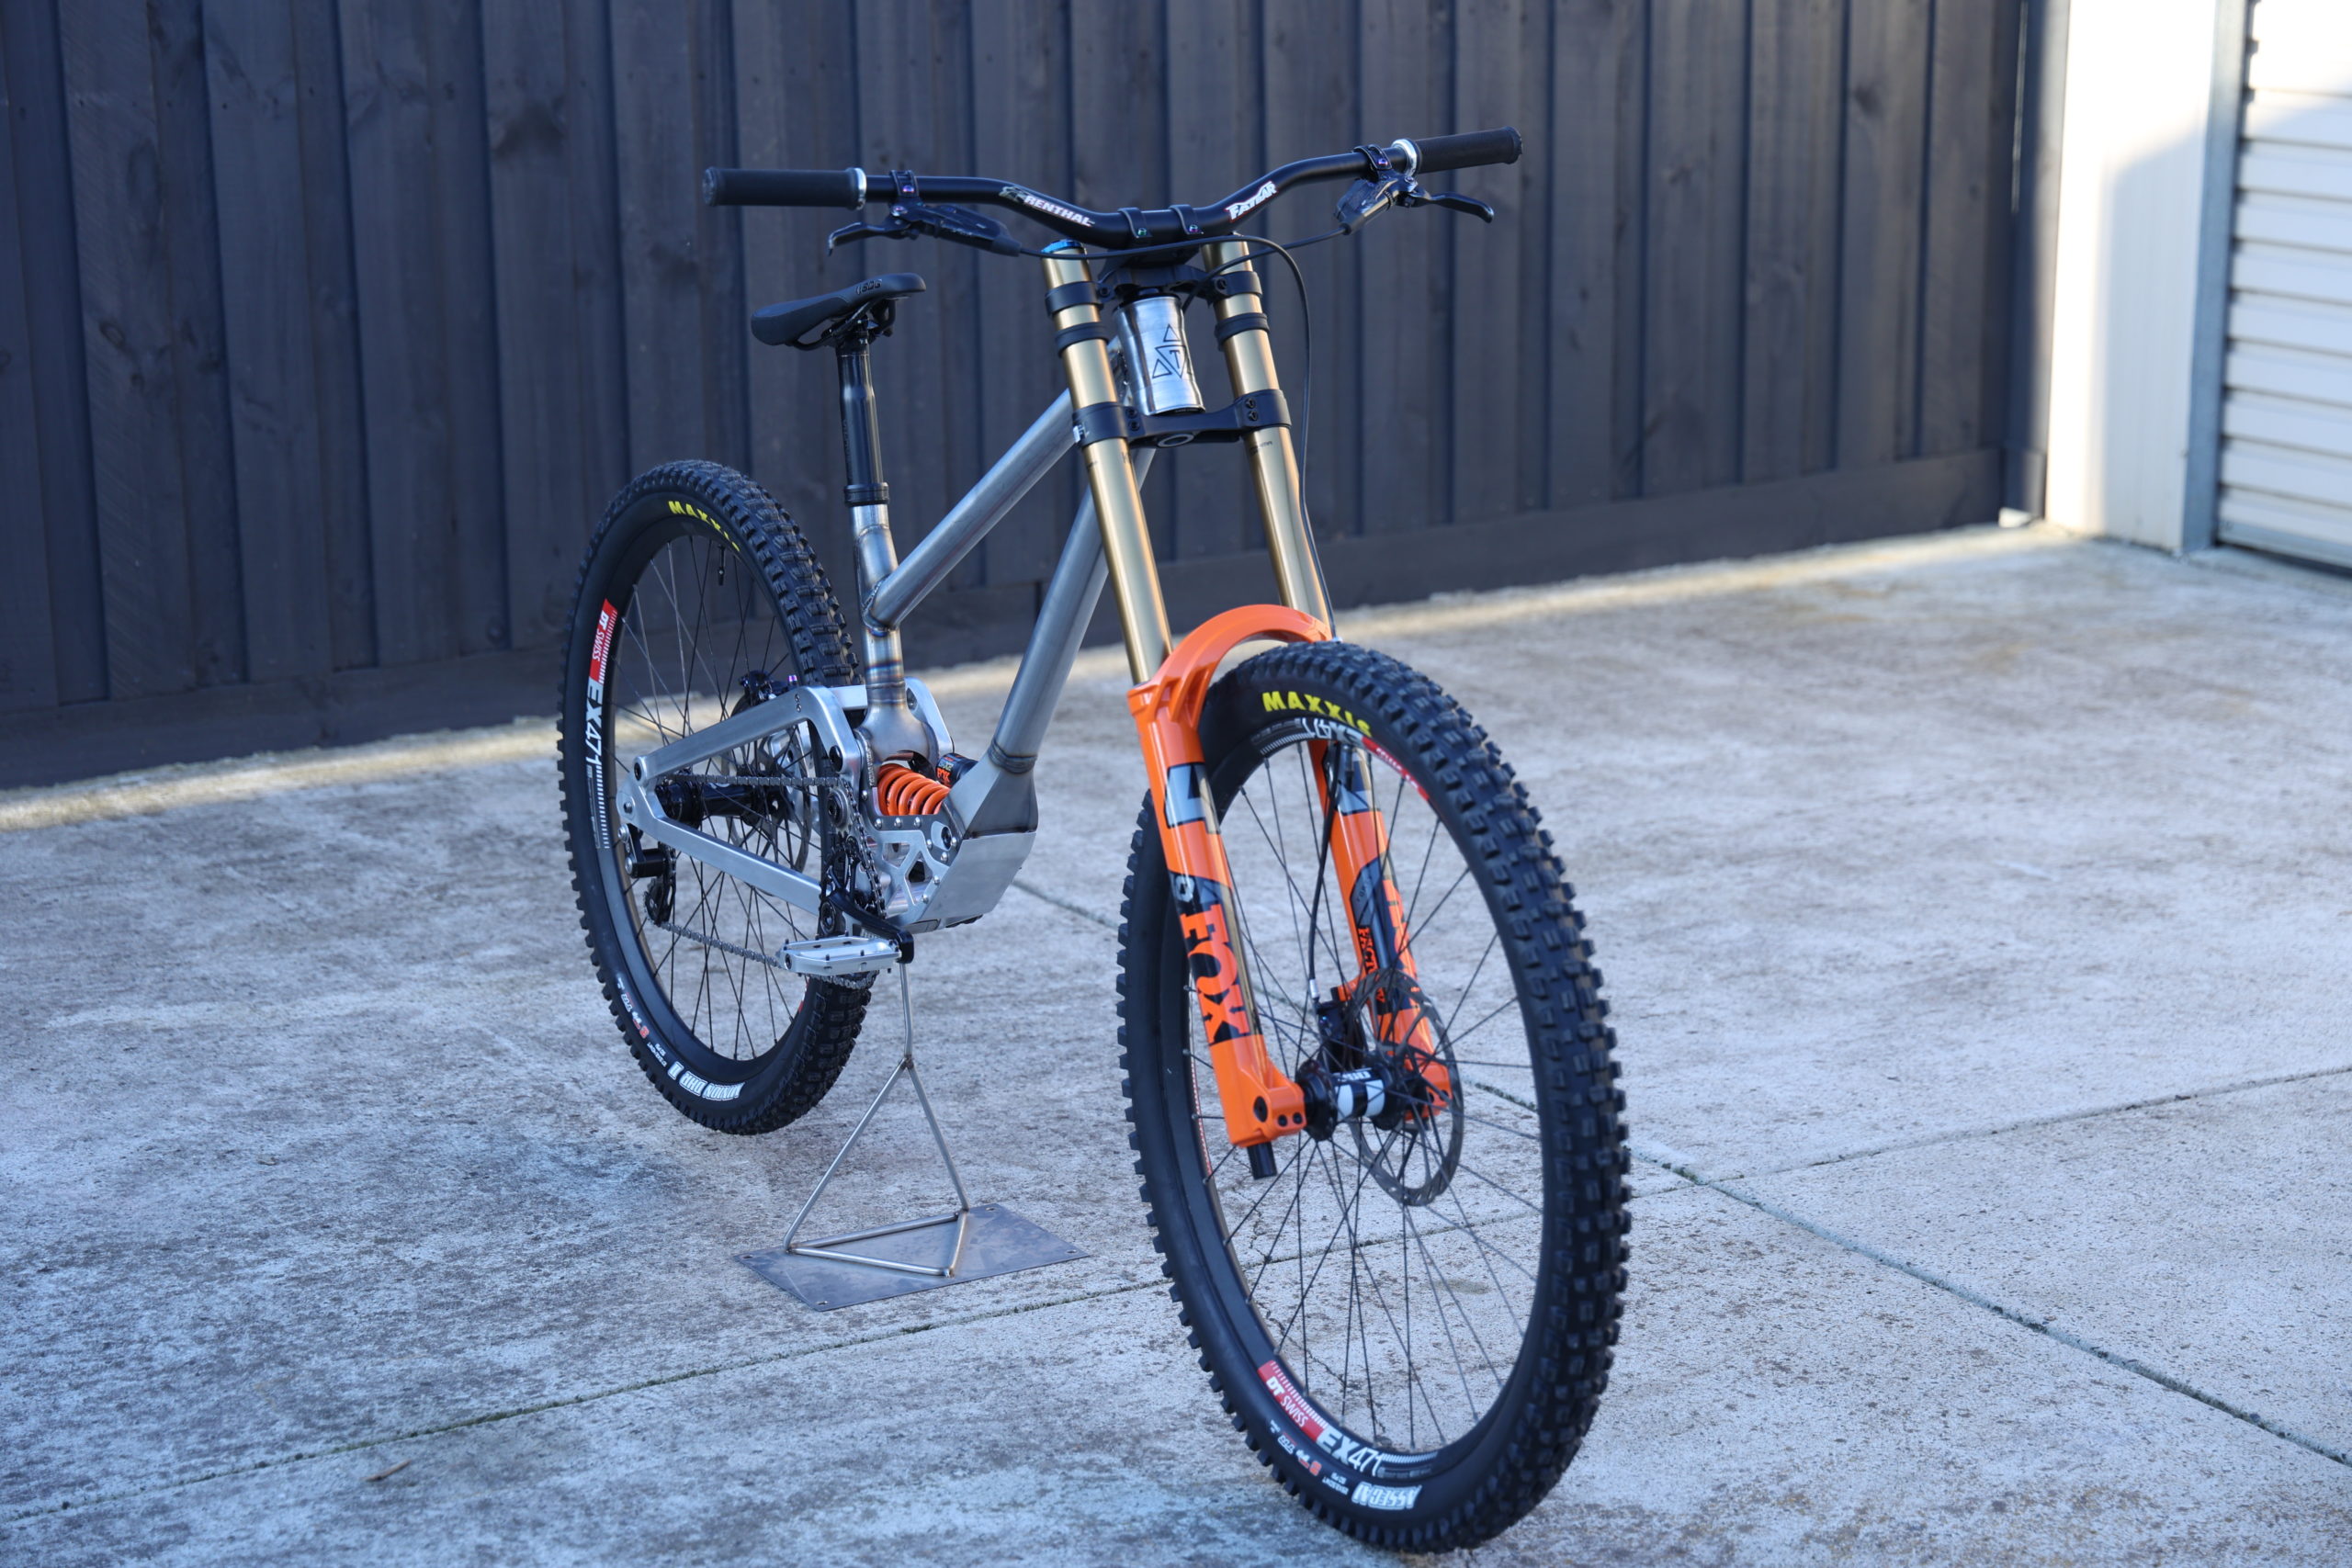
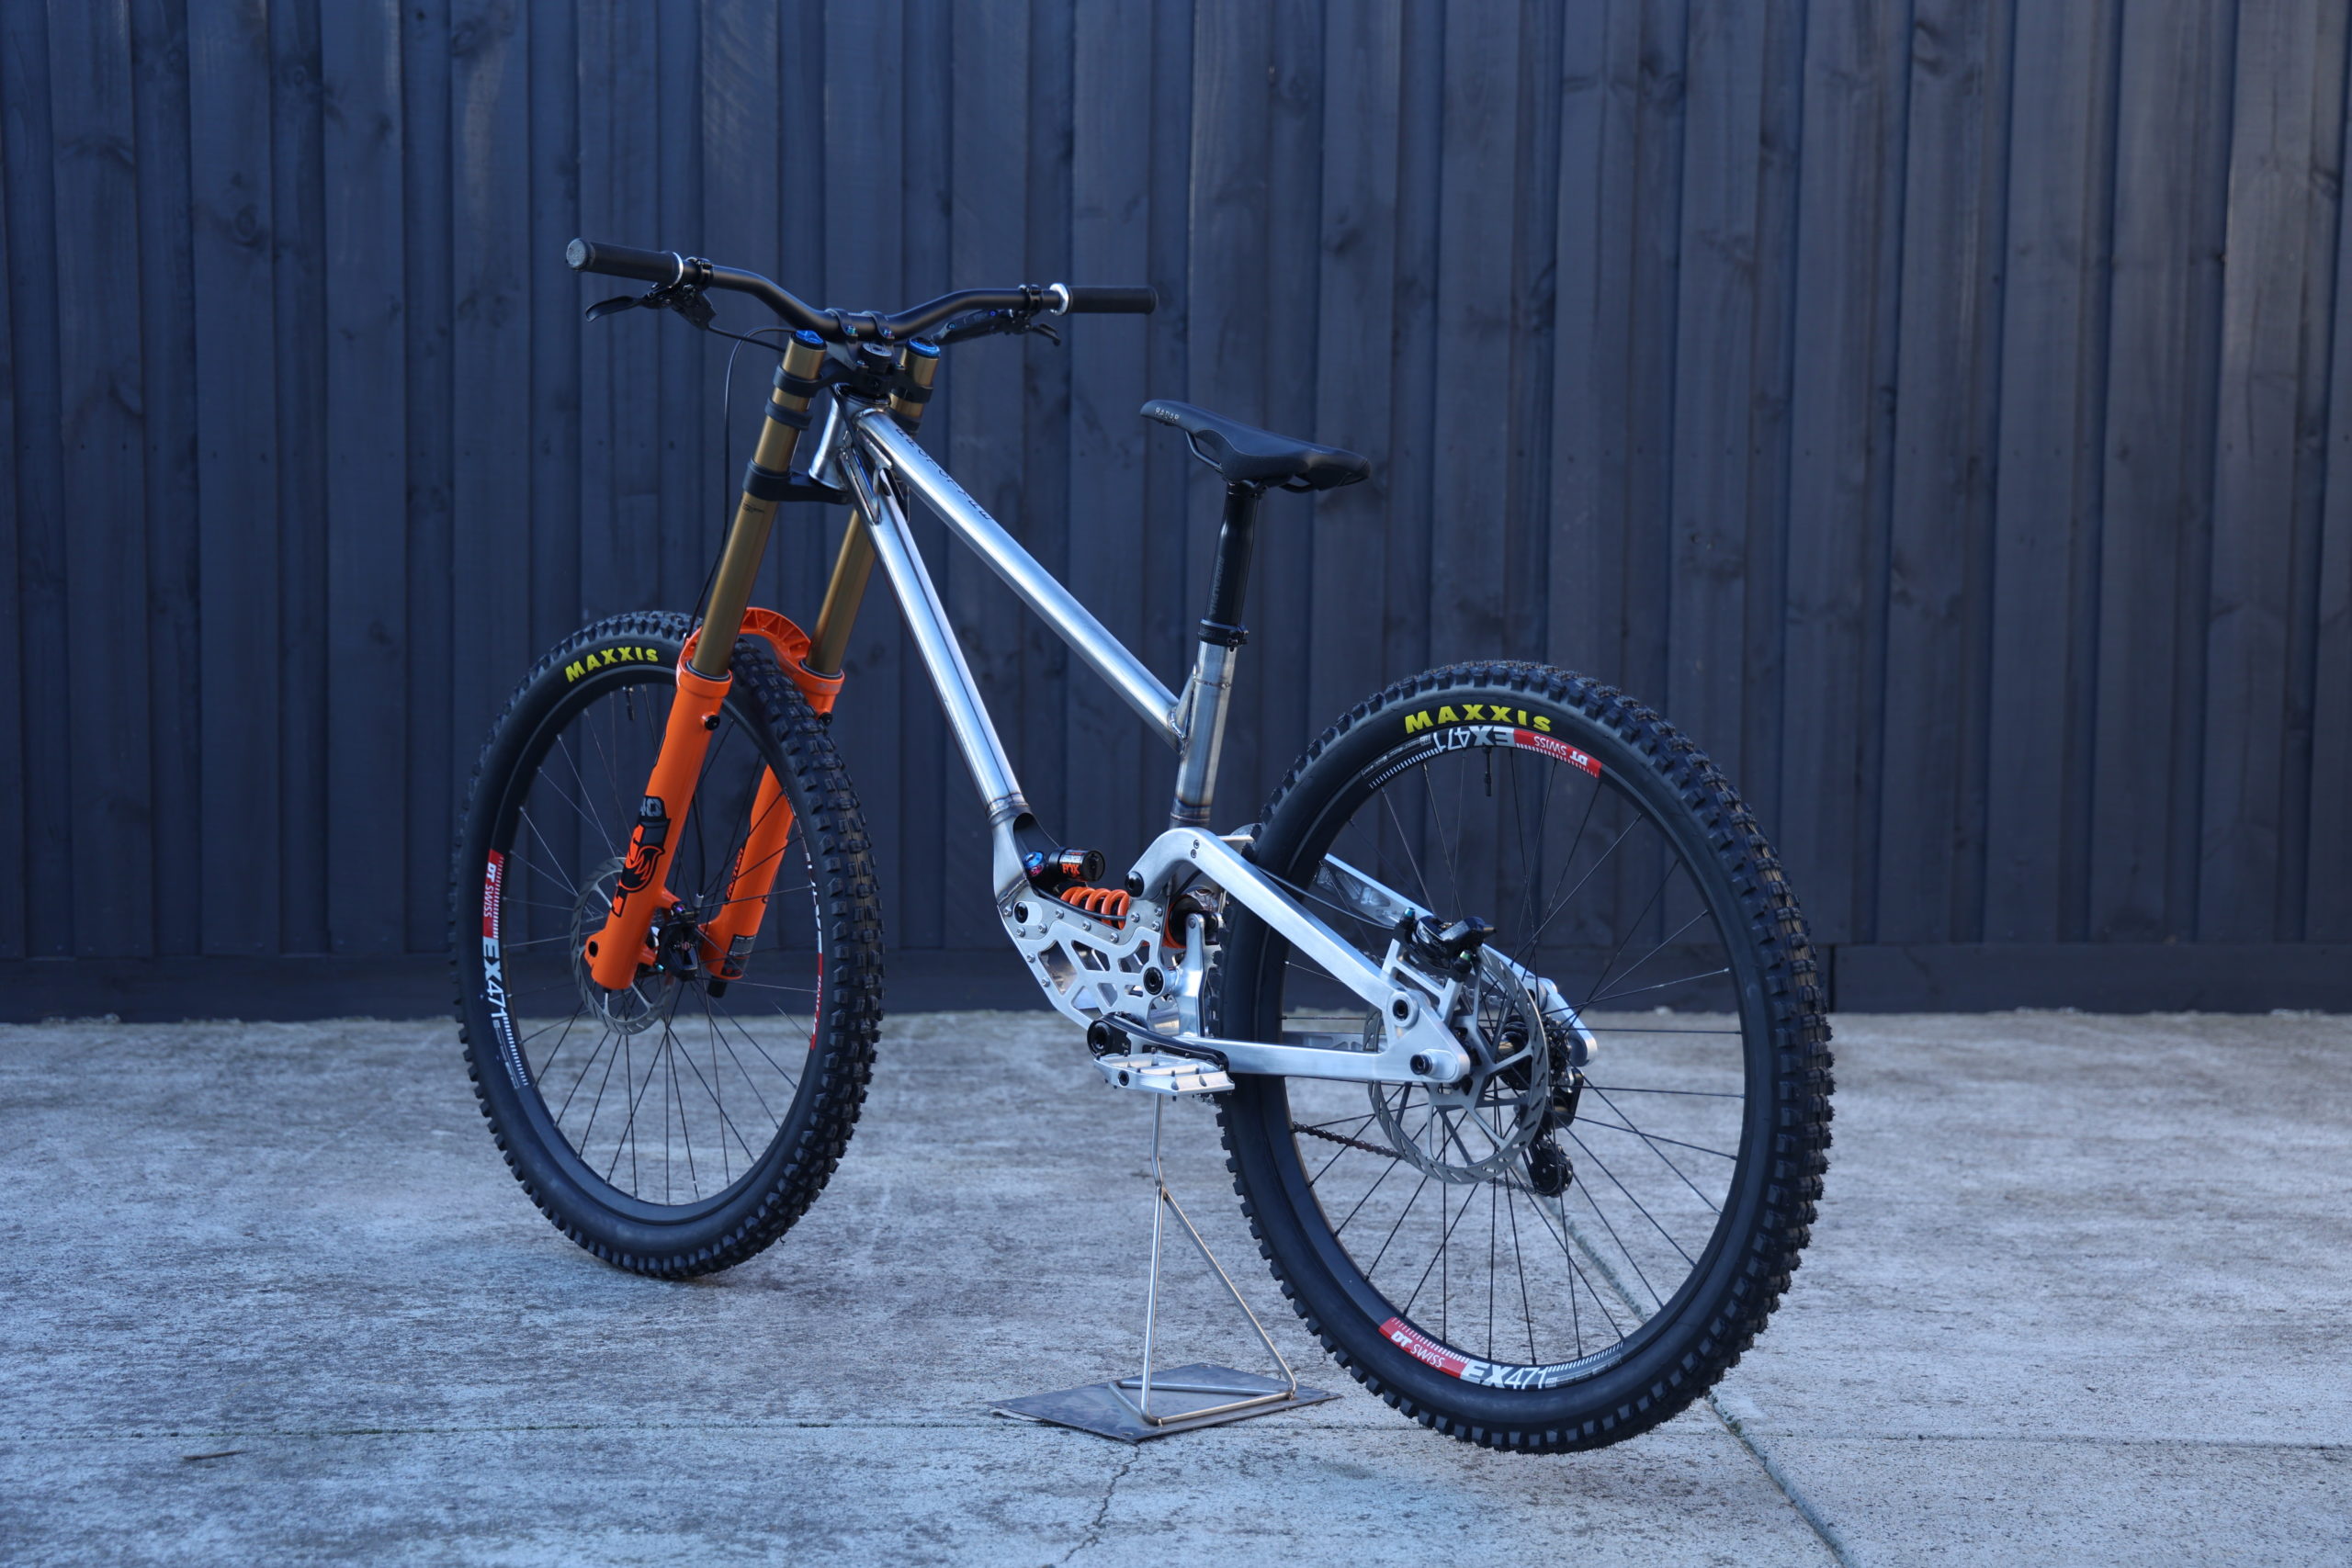
The result…….. Stunning! A big thank you to FOX who supplied the suspension.
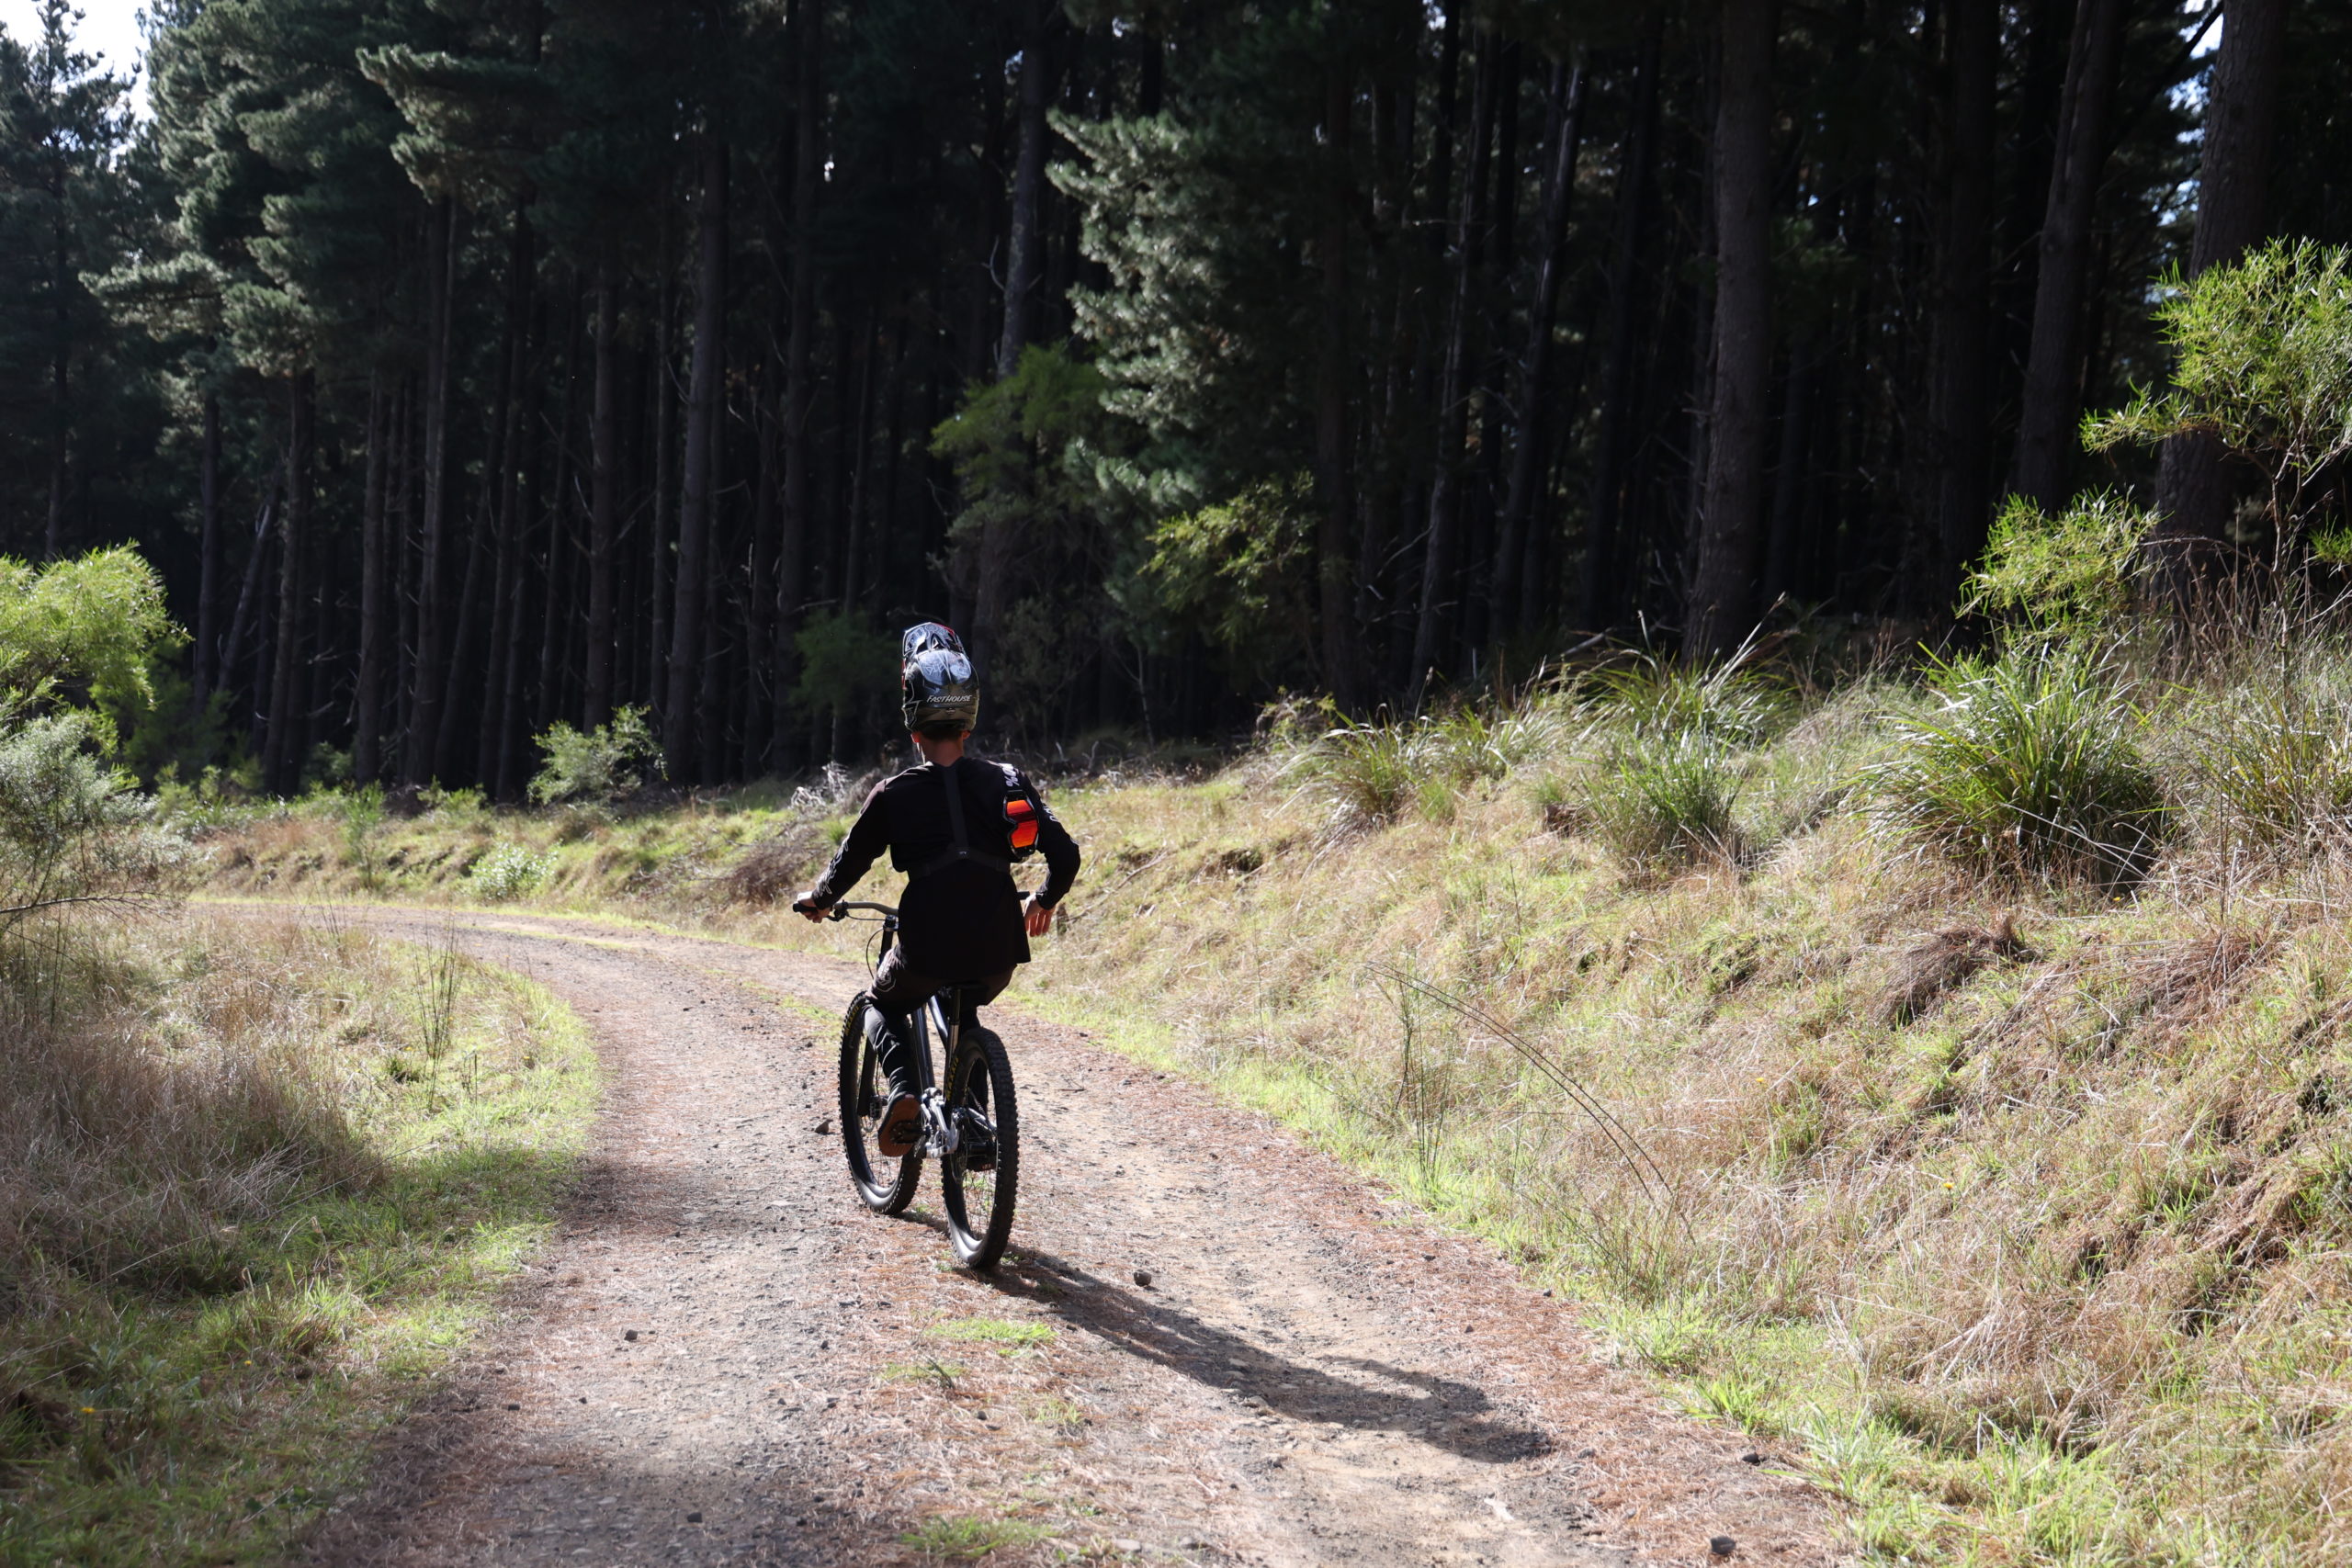
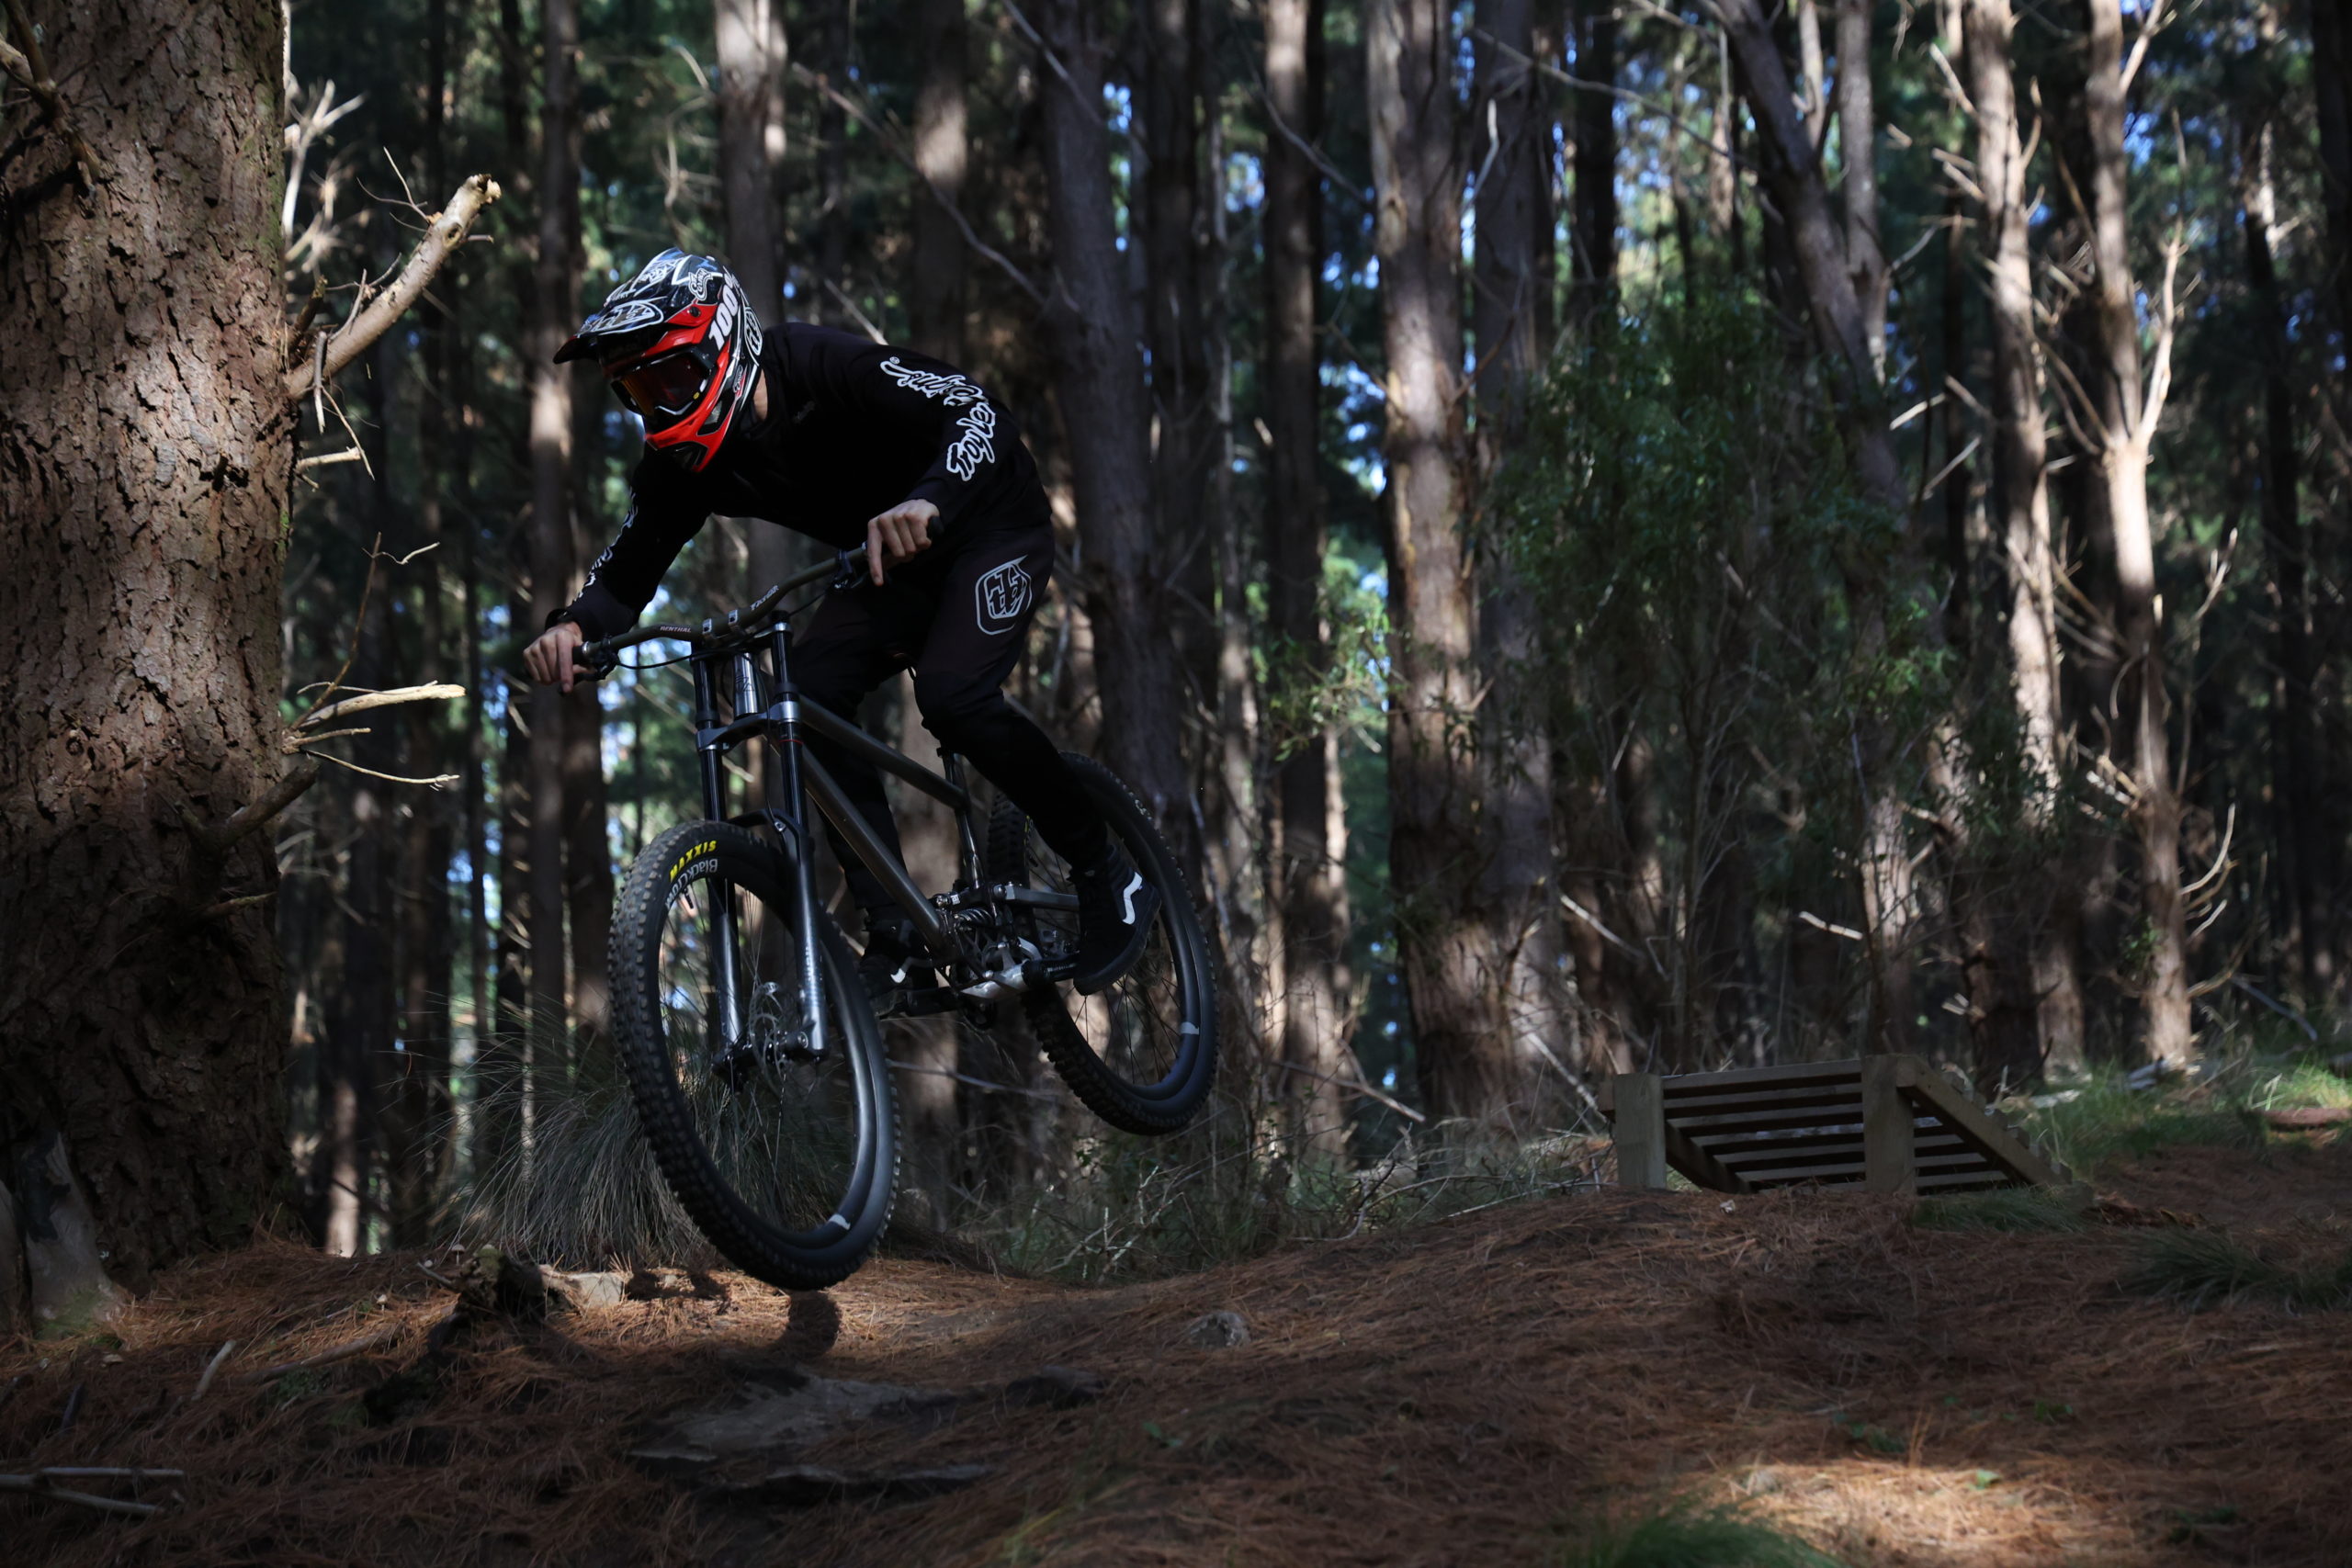
Just in the nick of time too, the bike gets shipped off for Crankworx practice in Cairns the very next day with our own Mic Williams at the helm for Speed and Style, Downhill and Slalom practice starting in just a few days time.
It’s not until a bike comes together like this that we realise what we have completed, traditionally all downhill bikes are manufactured offshore and customising anything is really just focused around bolting on commercially available parts that the manufacturer tells you works. Here and now we have the opportunity to build a Works Factory Race Bike that has complete tune-ability and we are not done yet.
So what do we have up our sleeves for V4? Let us blast out of the starting gate and enjoy V3 first, it’s about fully understanding it’s capability and highlighting any weaknesses. I don’t focus too much on suspension kinematics, thats Chases arena, but I love to feel the way that different materials, wall thicknesses and shapes react beneath me. I love that we a three person team and between all of us we can manipulate any single element on this bike to make it perform better in any environment we choose to put it in.
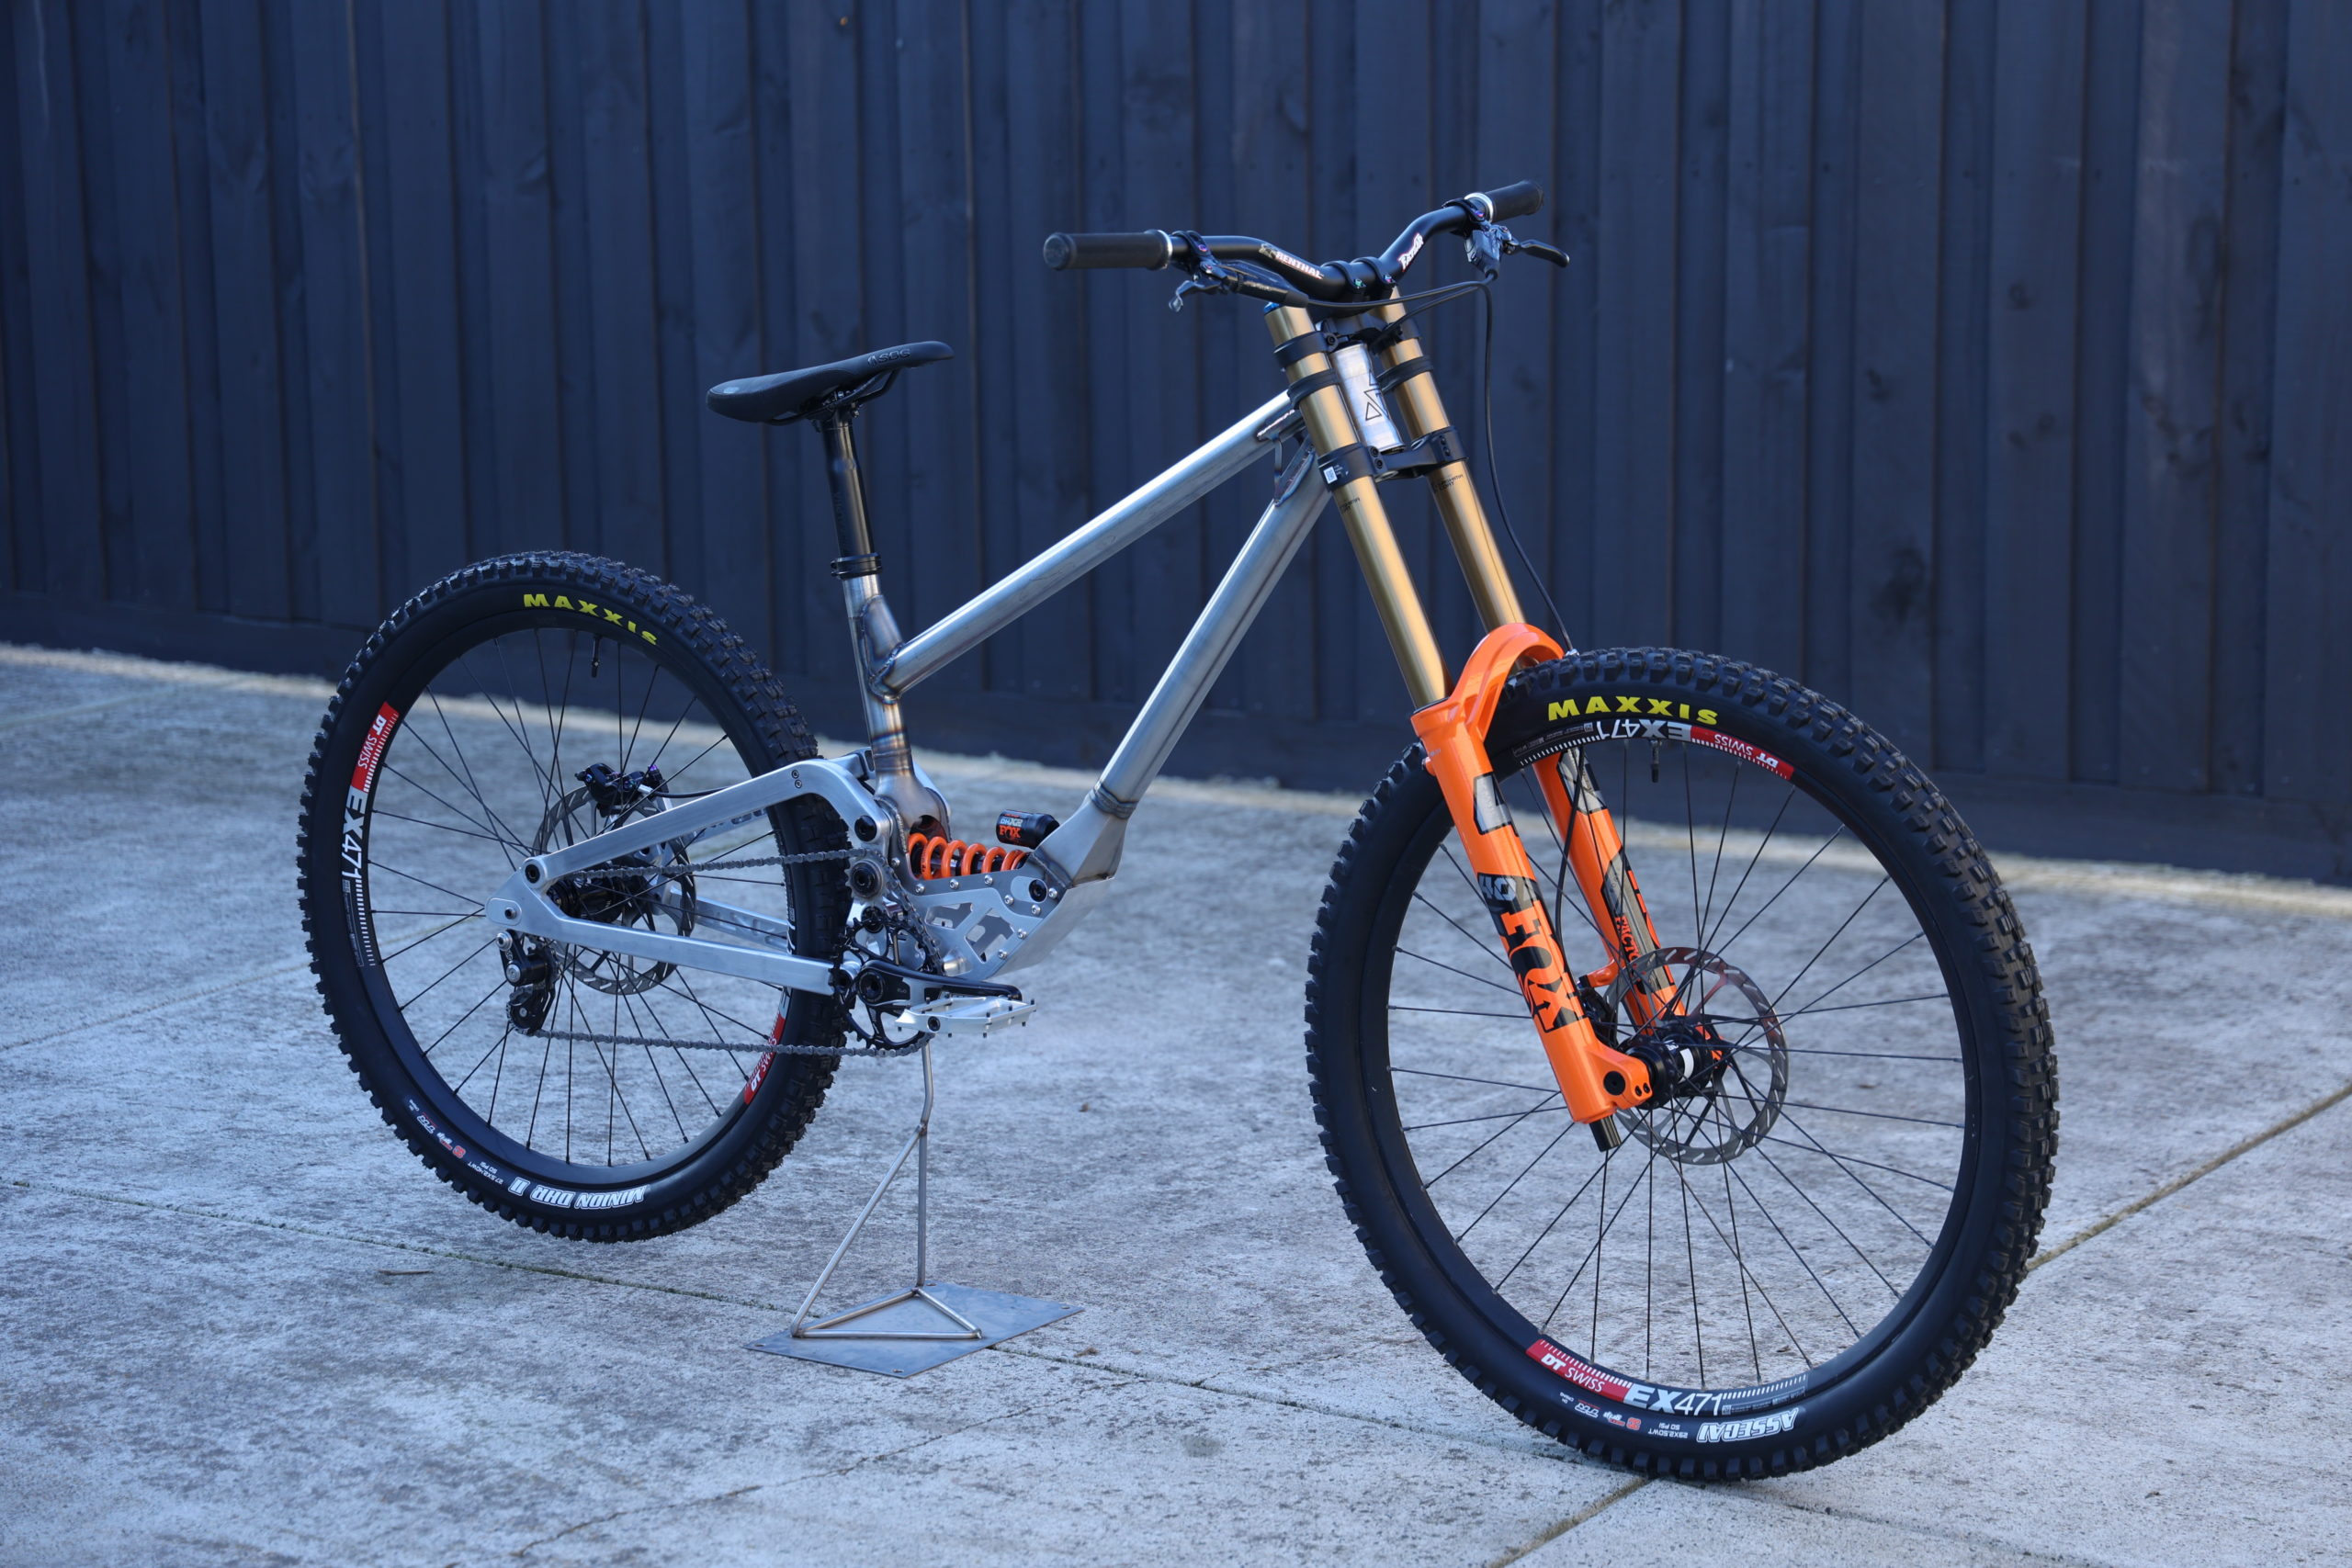
The journey has just begun, we know the path forward and I know we have what it takes to put this bike on the top step of the podium. Oh and I havn’t even mentioned our own gearbox or adaptable EMTB training assist abilities yet, stay tuned and make sure you follow Trinity MTB on the gram for constant updates.