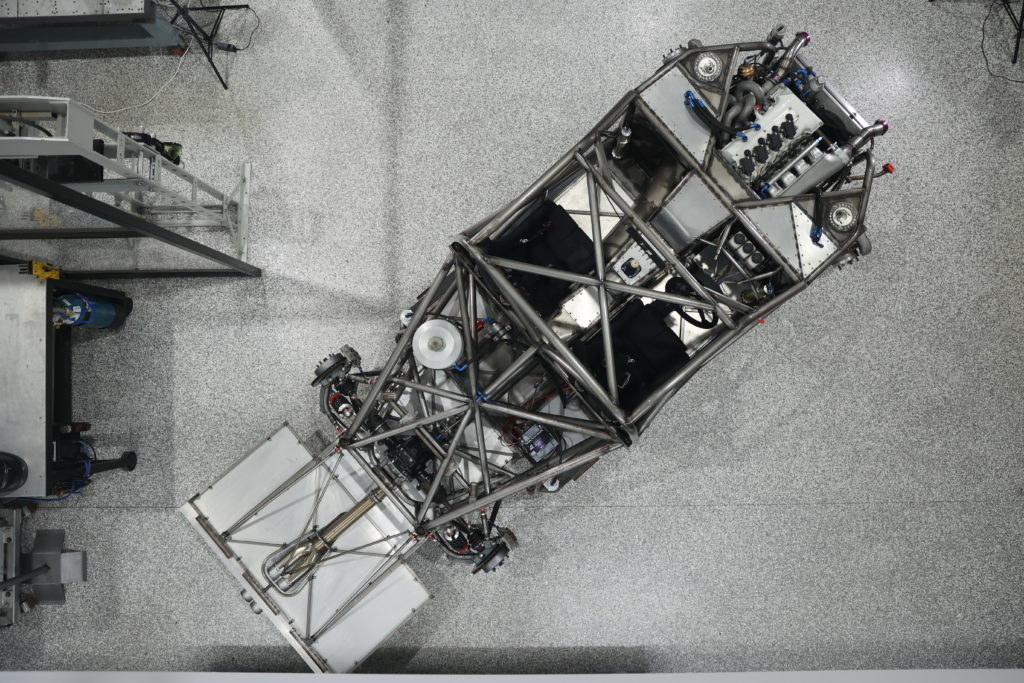

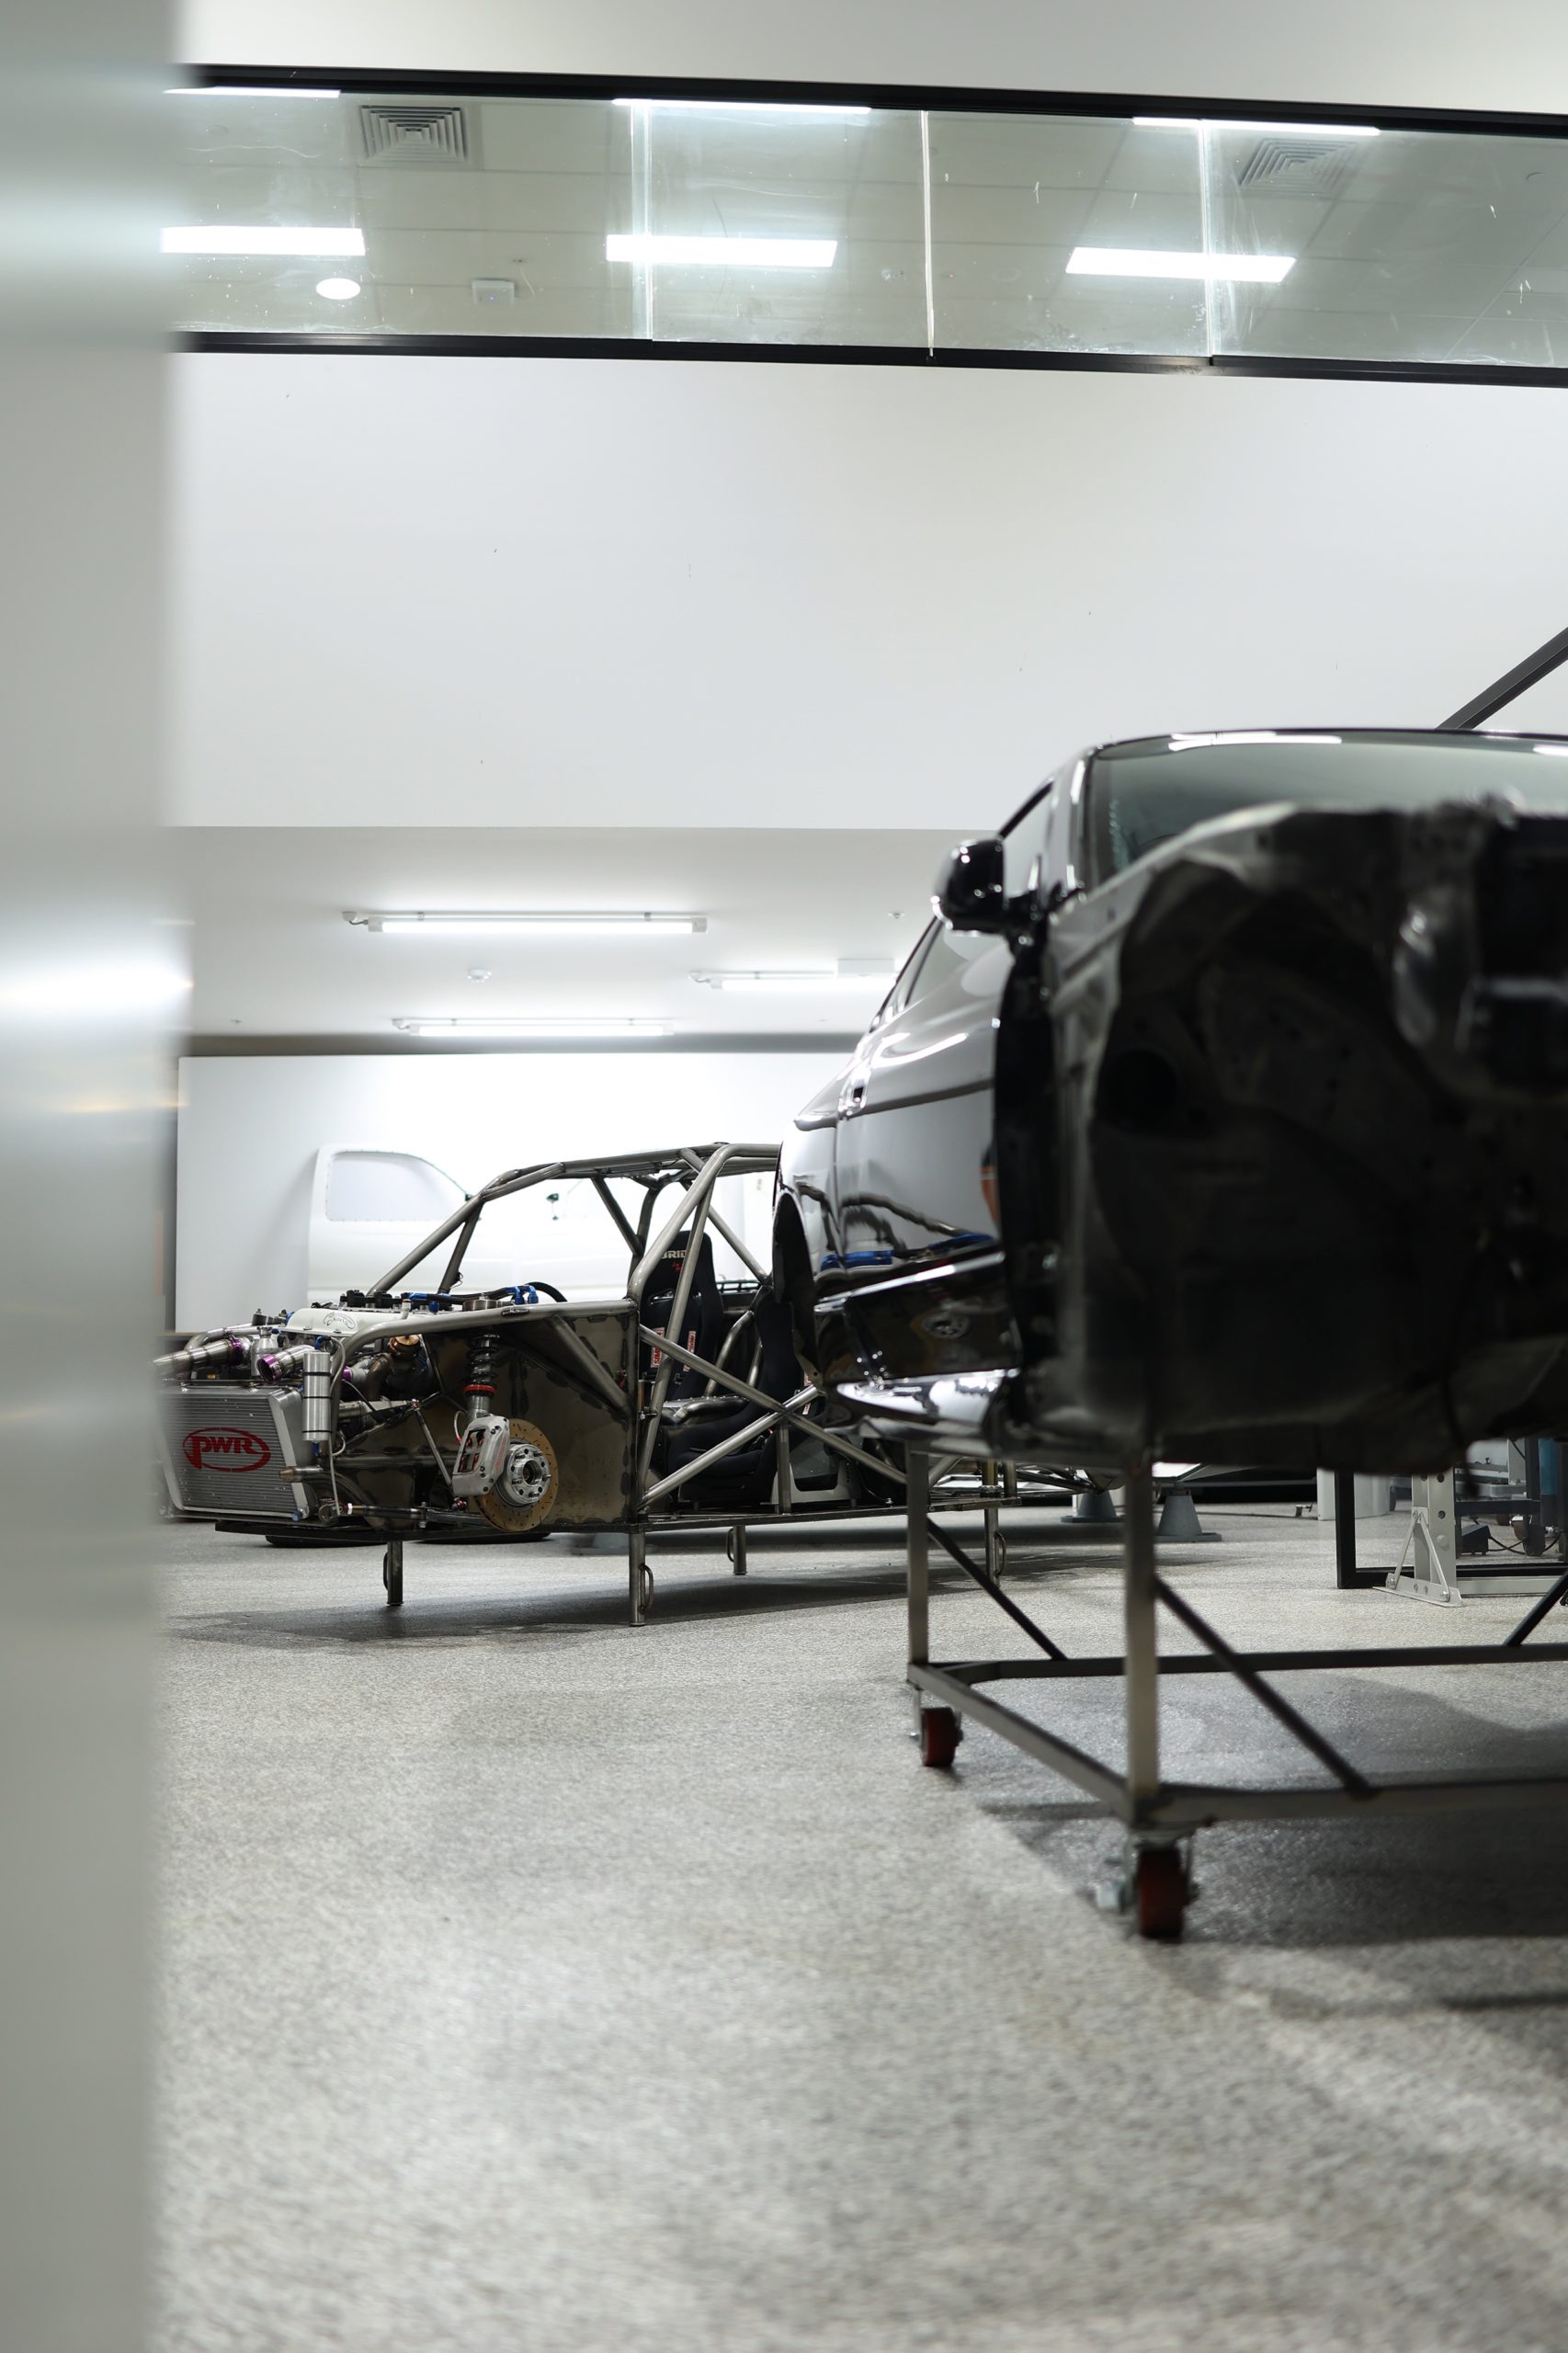
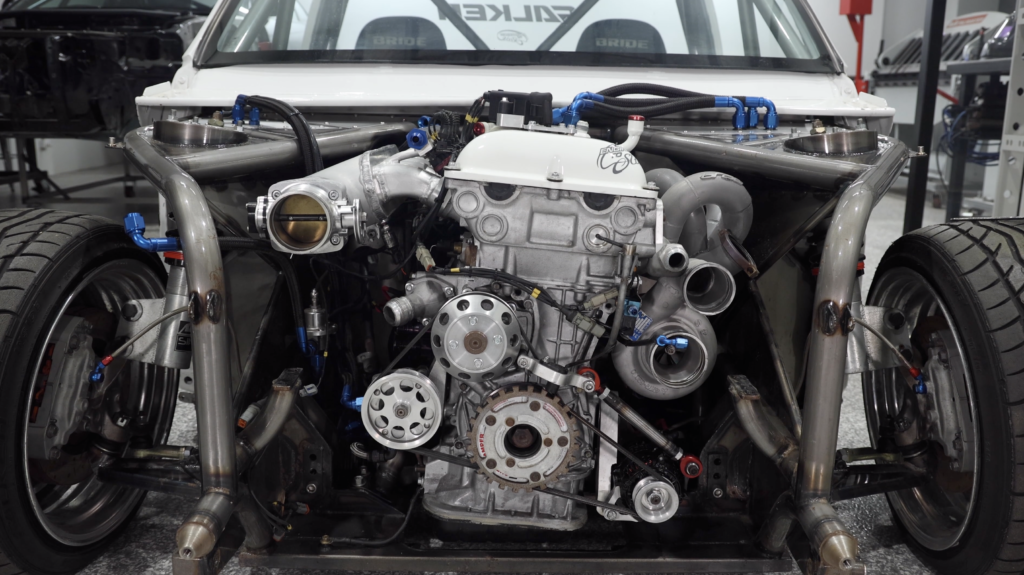
You might remember a little while ago I pulled the SR20 out of the Hilux to get the PS13 all setup with the Quaife 6 Speed Sequential for WTAC.


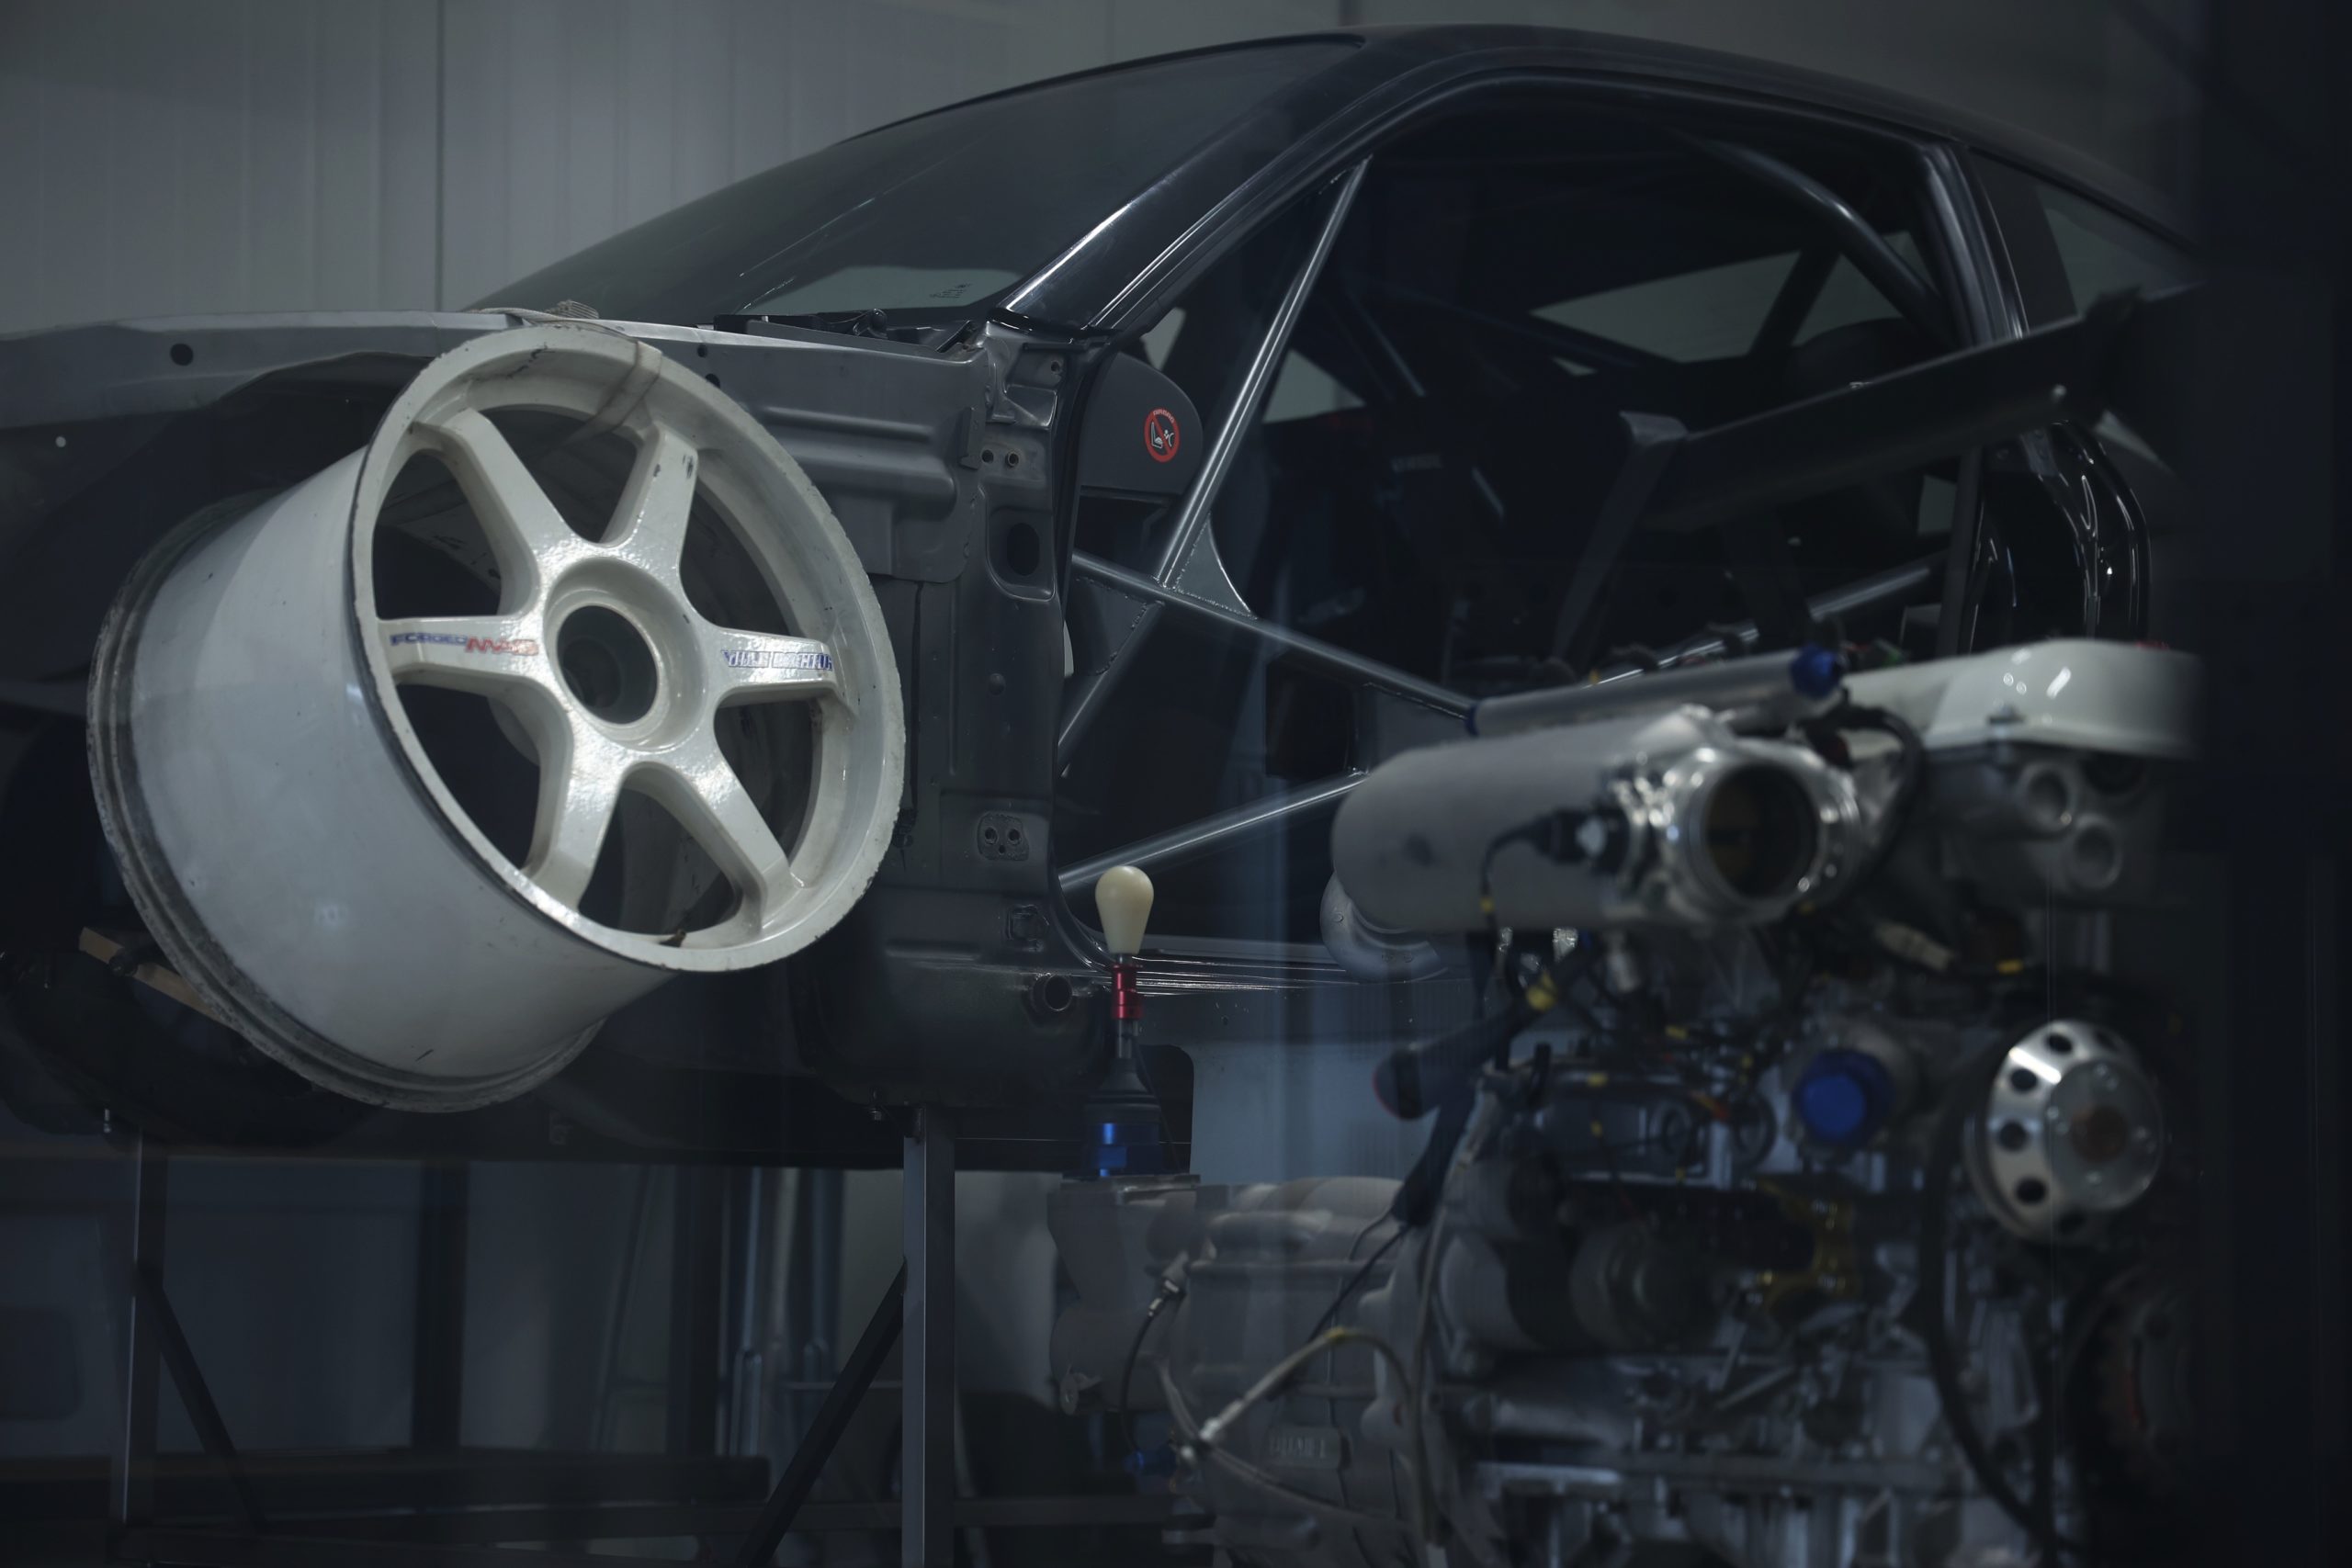
It’s been a crazy busy year and the PS13 is still in the trailer from its last drive at Phillip Island and that means the Hilux is still laid up without a drivetrain. While the motor was out I wanted to address some of the issues I was having with the Hilux.
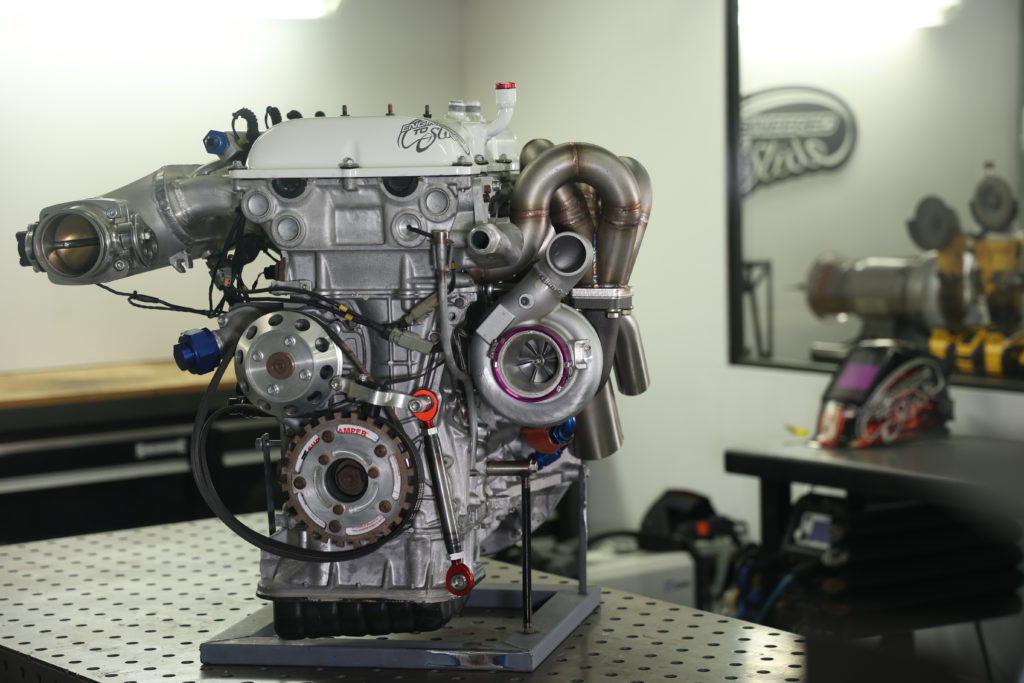
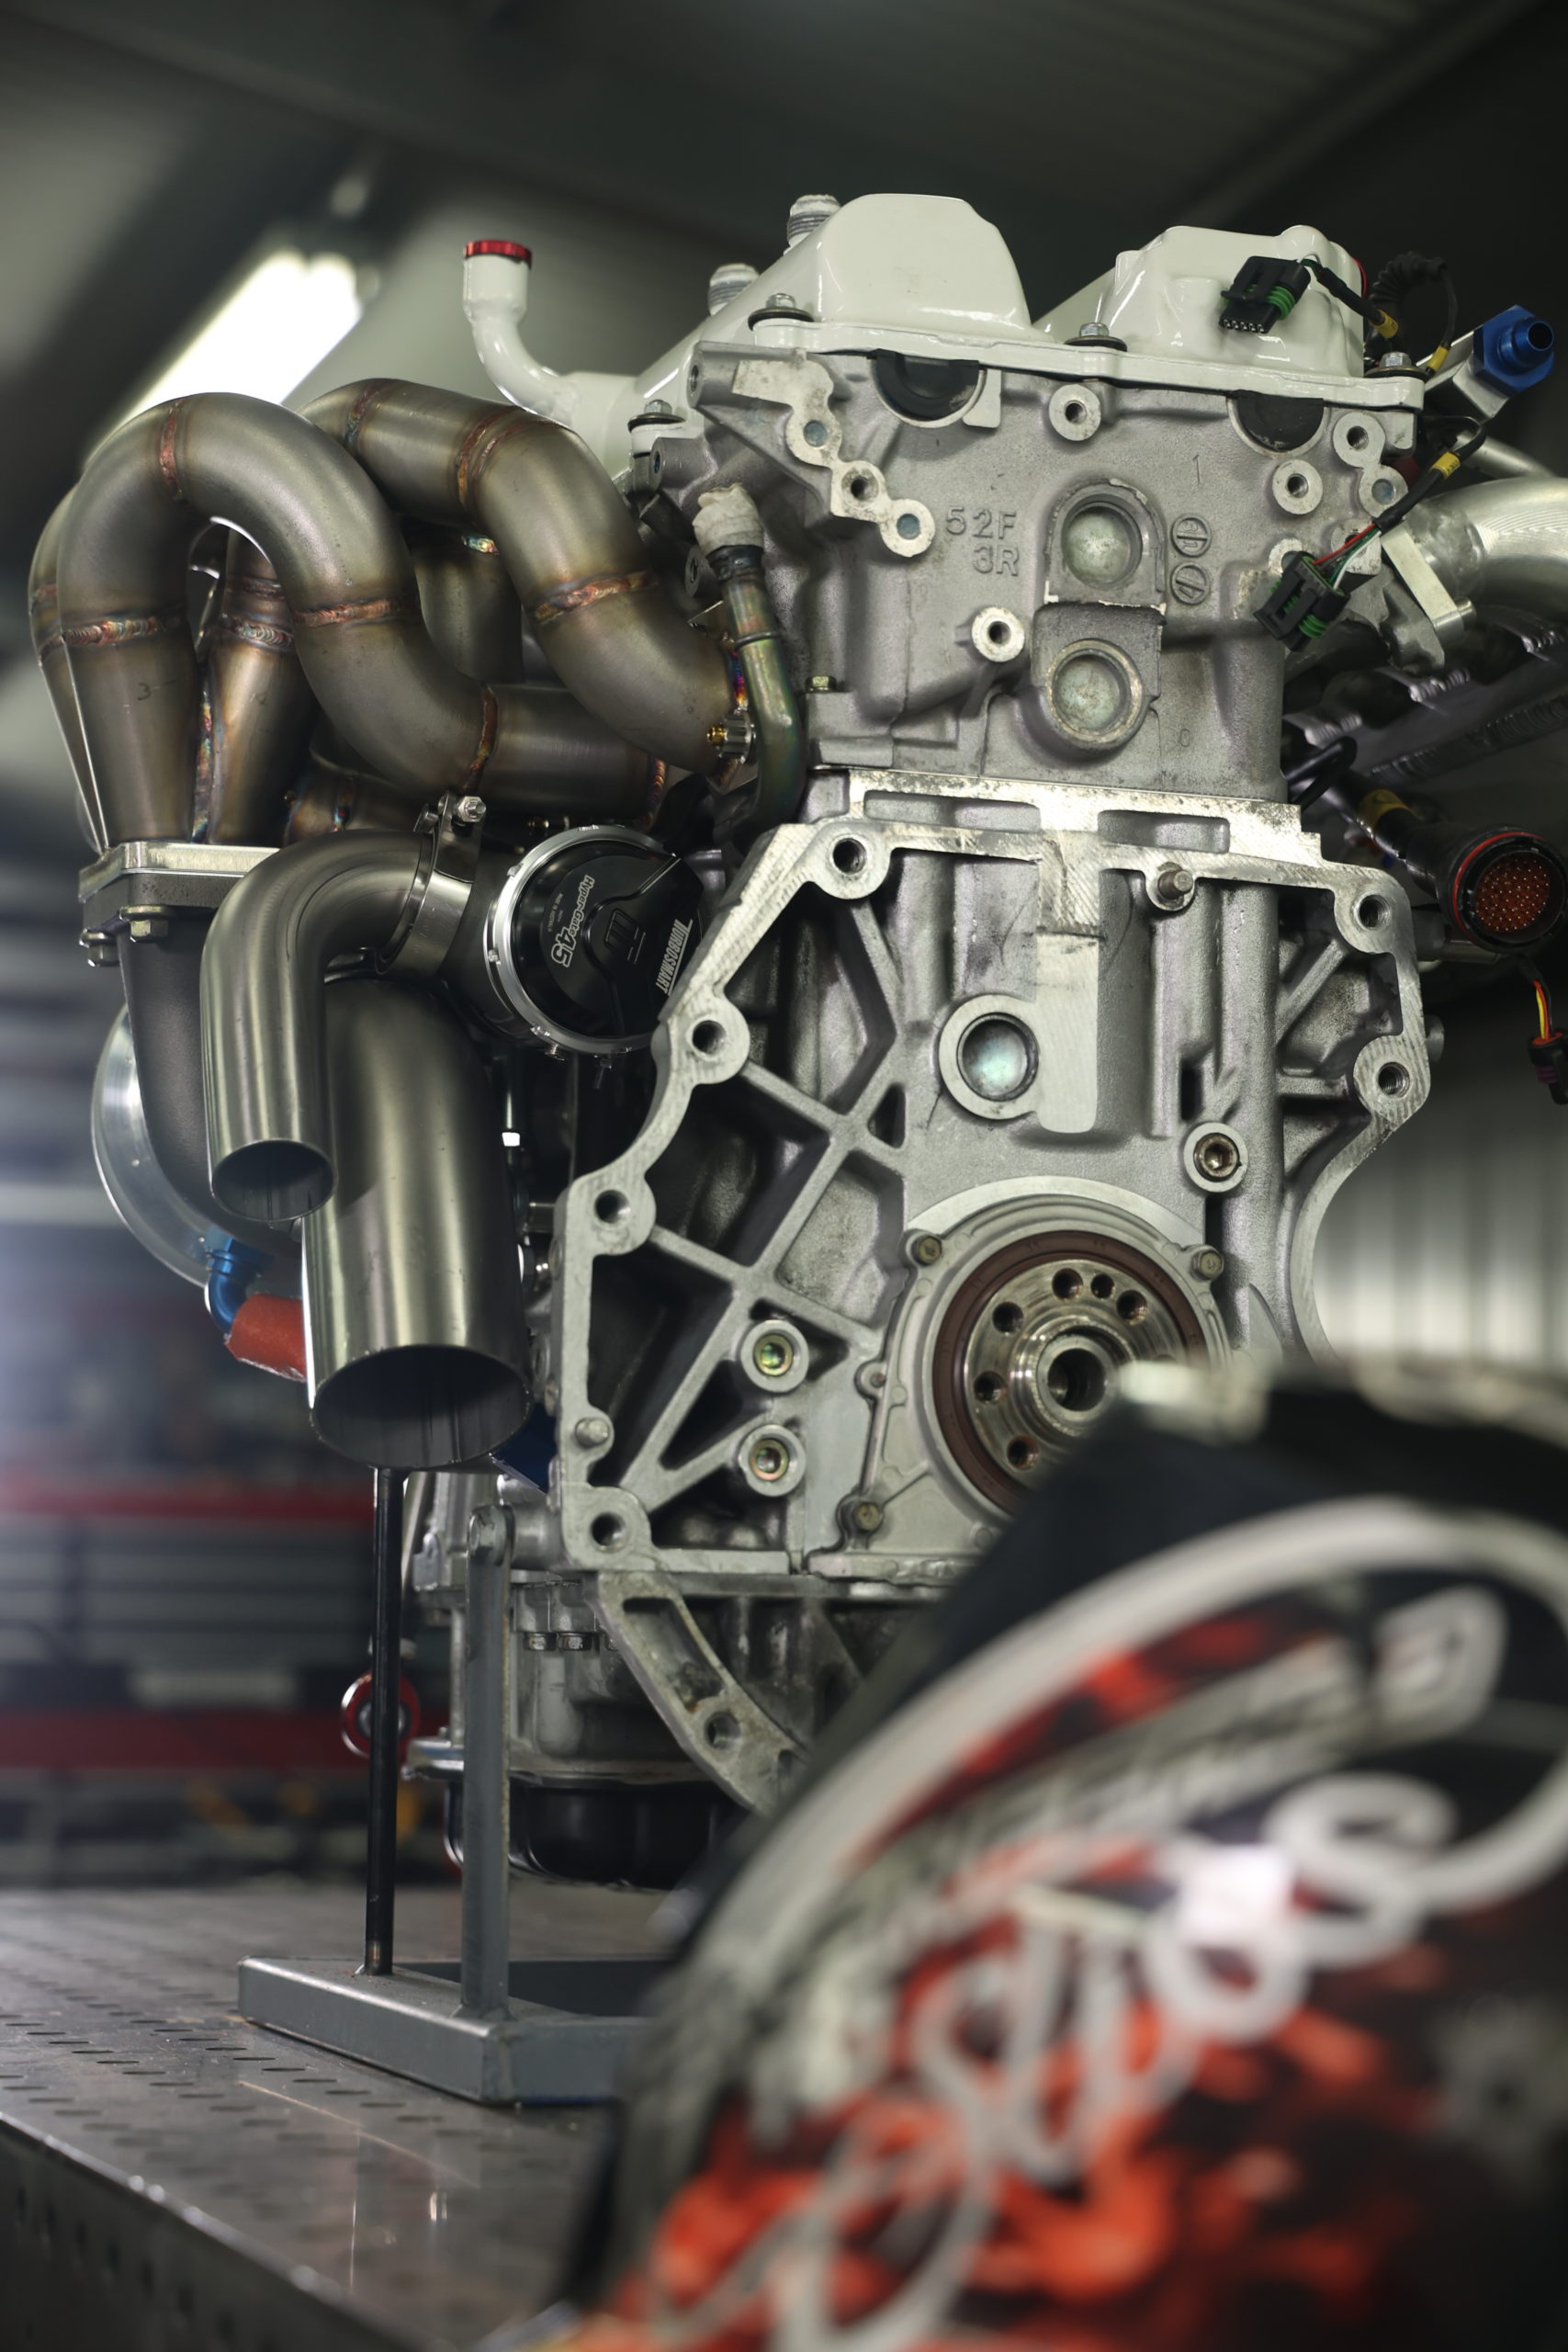
While writing and preparing the NA Header Course I learnt a lot about materials, when it came to creating the new Turbo Manifold Course I wanted to make a Stainless Steel Turbo manifold to see the effect of a material change from Mild Steel to Stainless Steel.
I go into this in a lot more detail during the course but Stainless Steel has a low rate of thermal conductivity, which means its 220% better than mild steel. What this means is that it keeps the heat inside the tubes, which results in more exhaust velocity and that in turn promotes better performance and response in turbo applications.
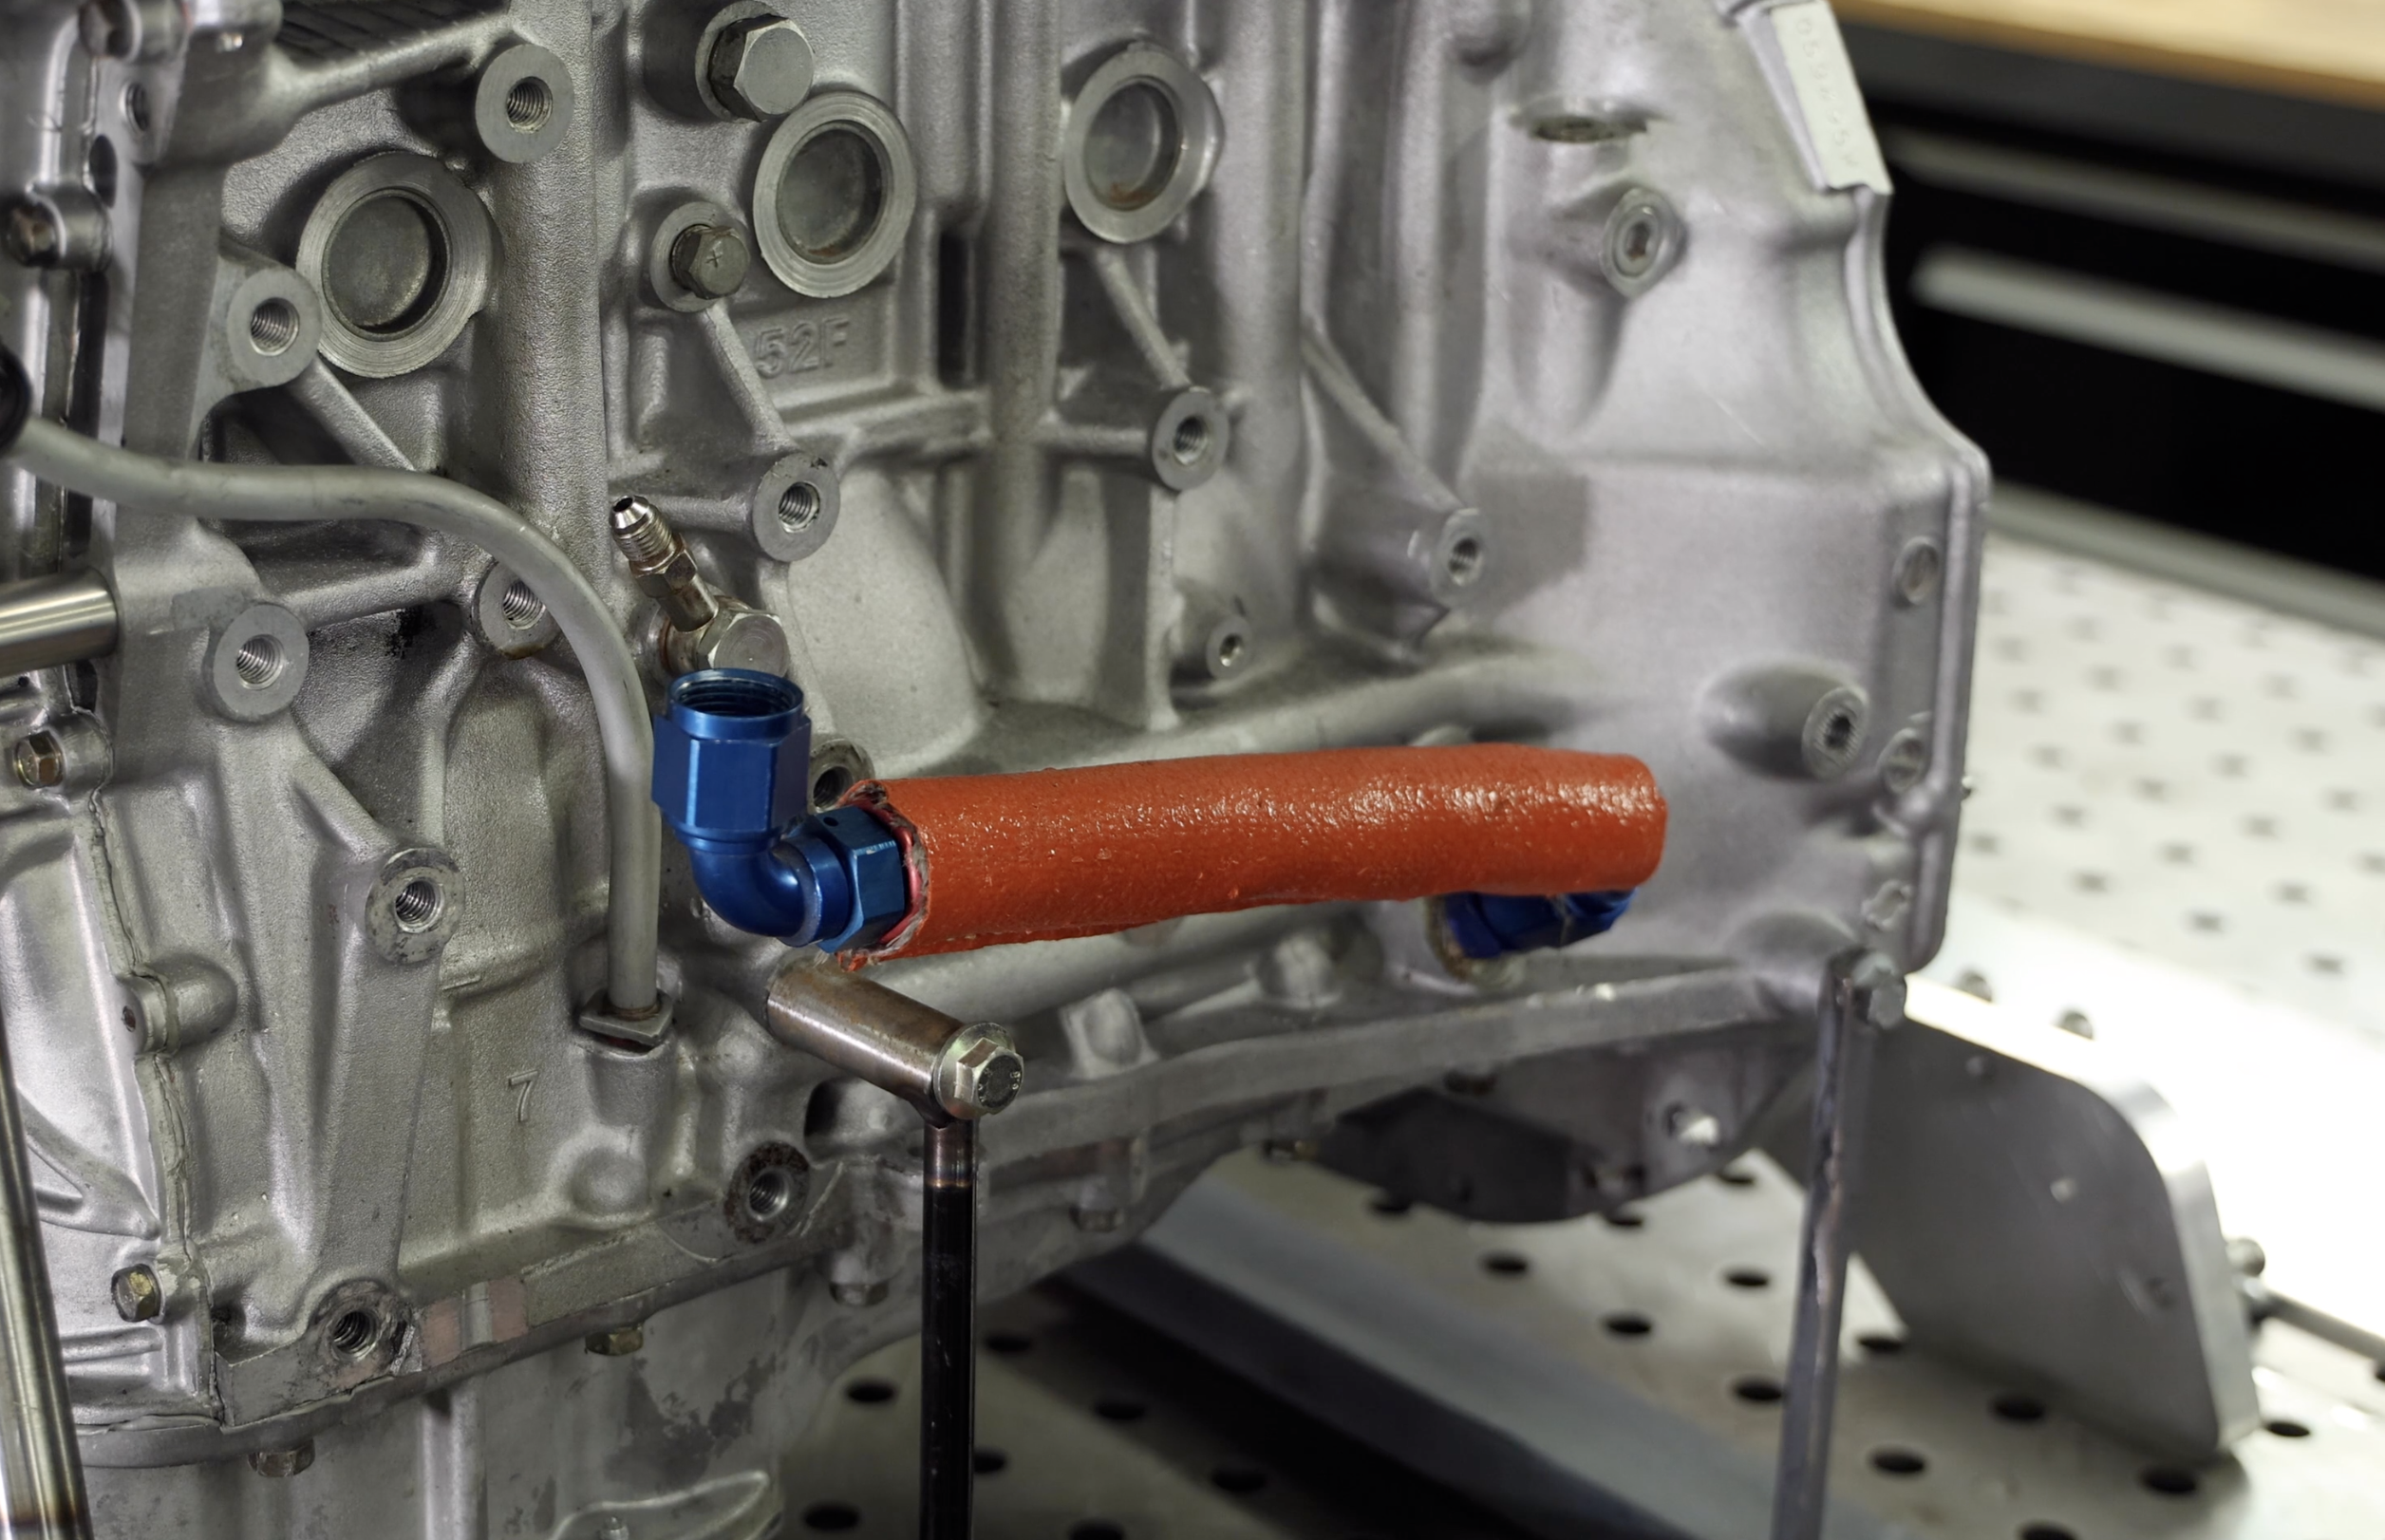
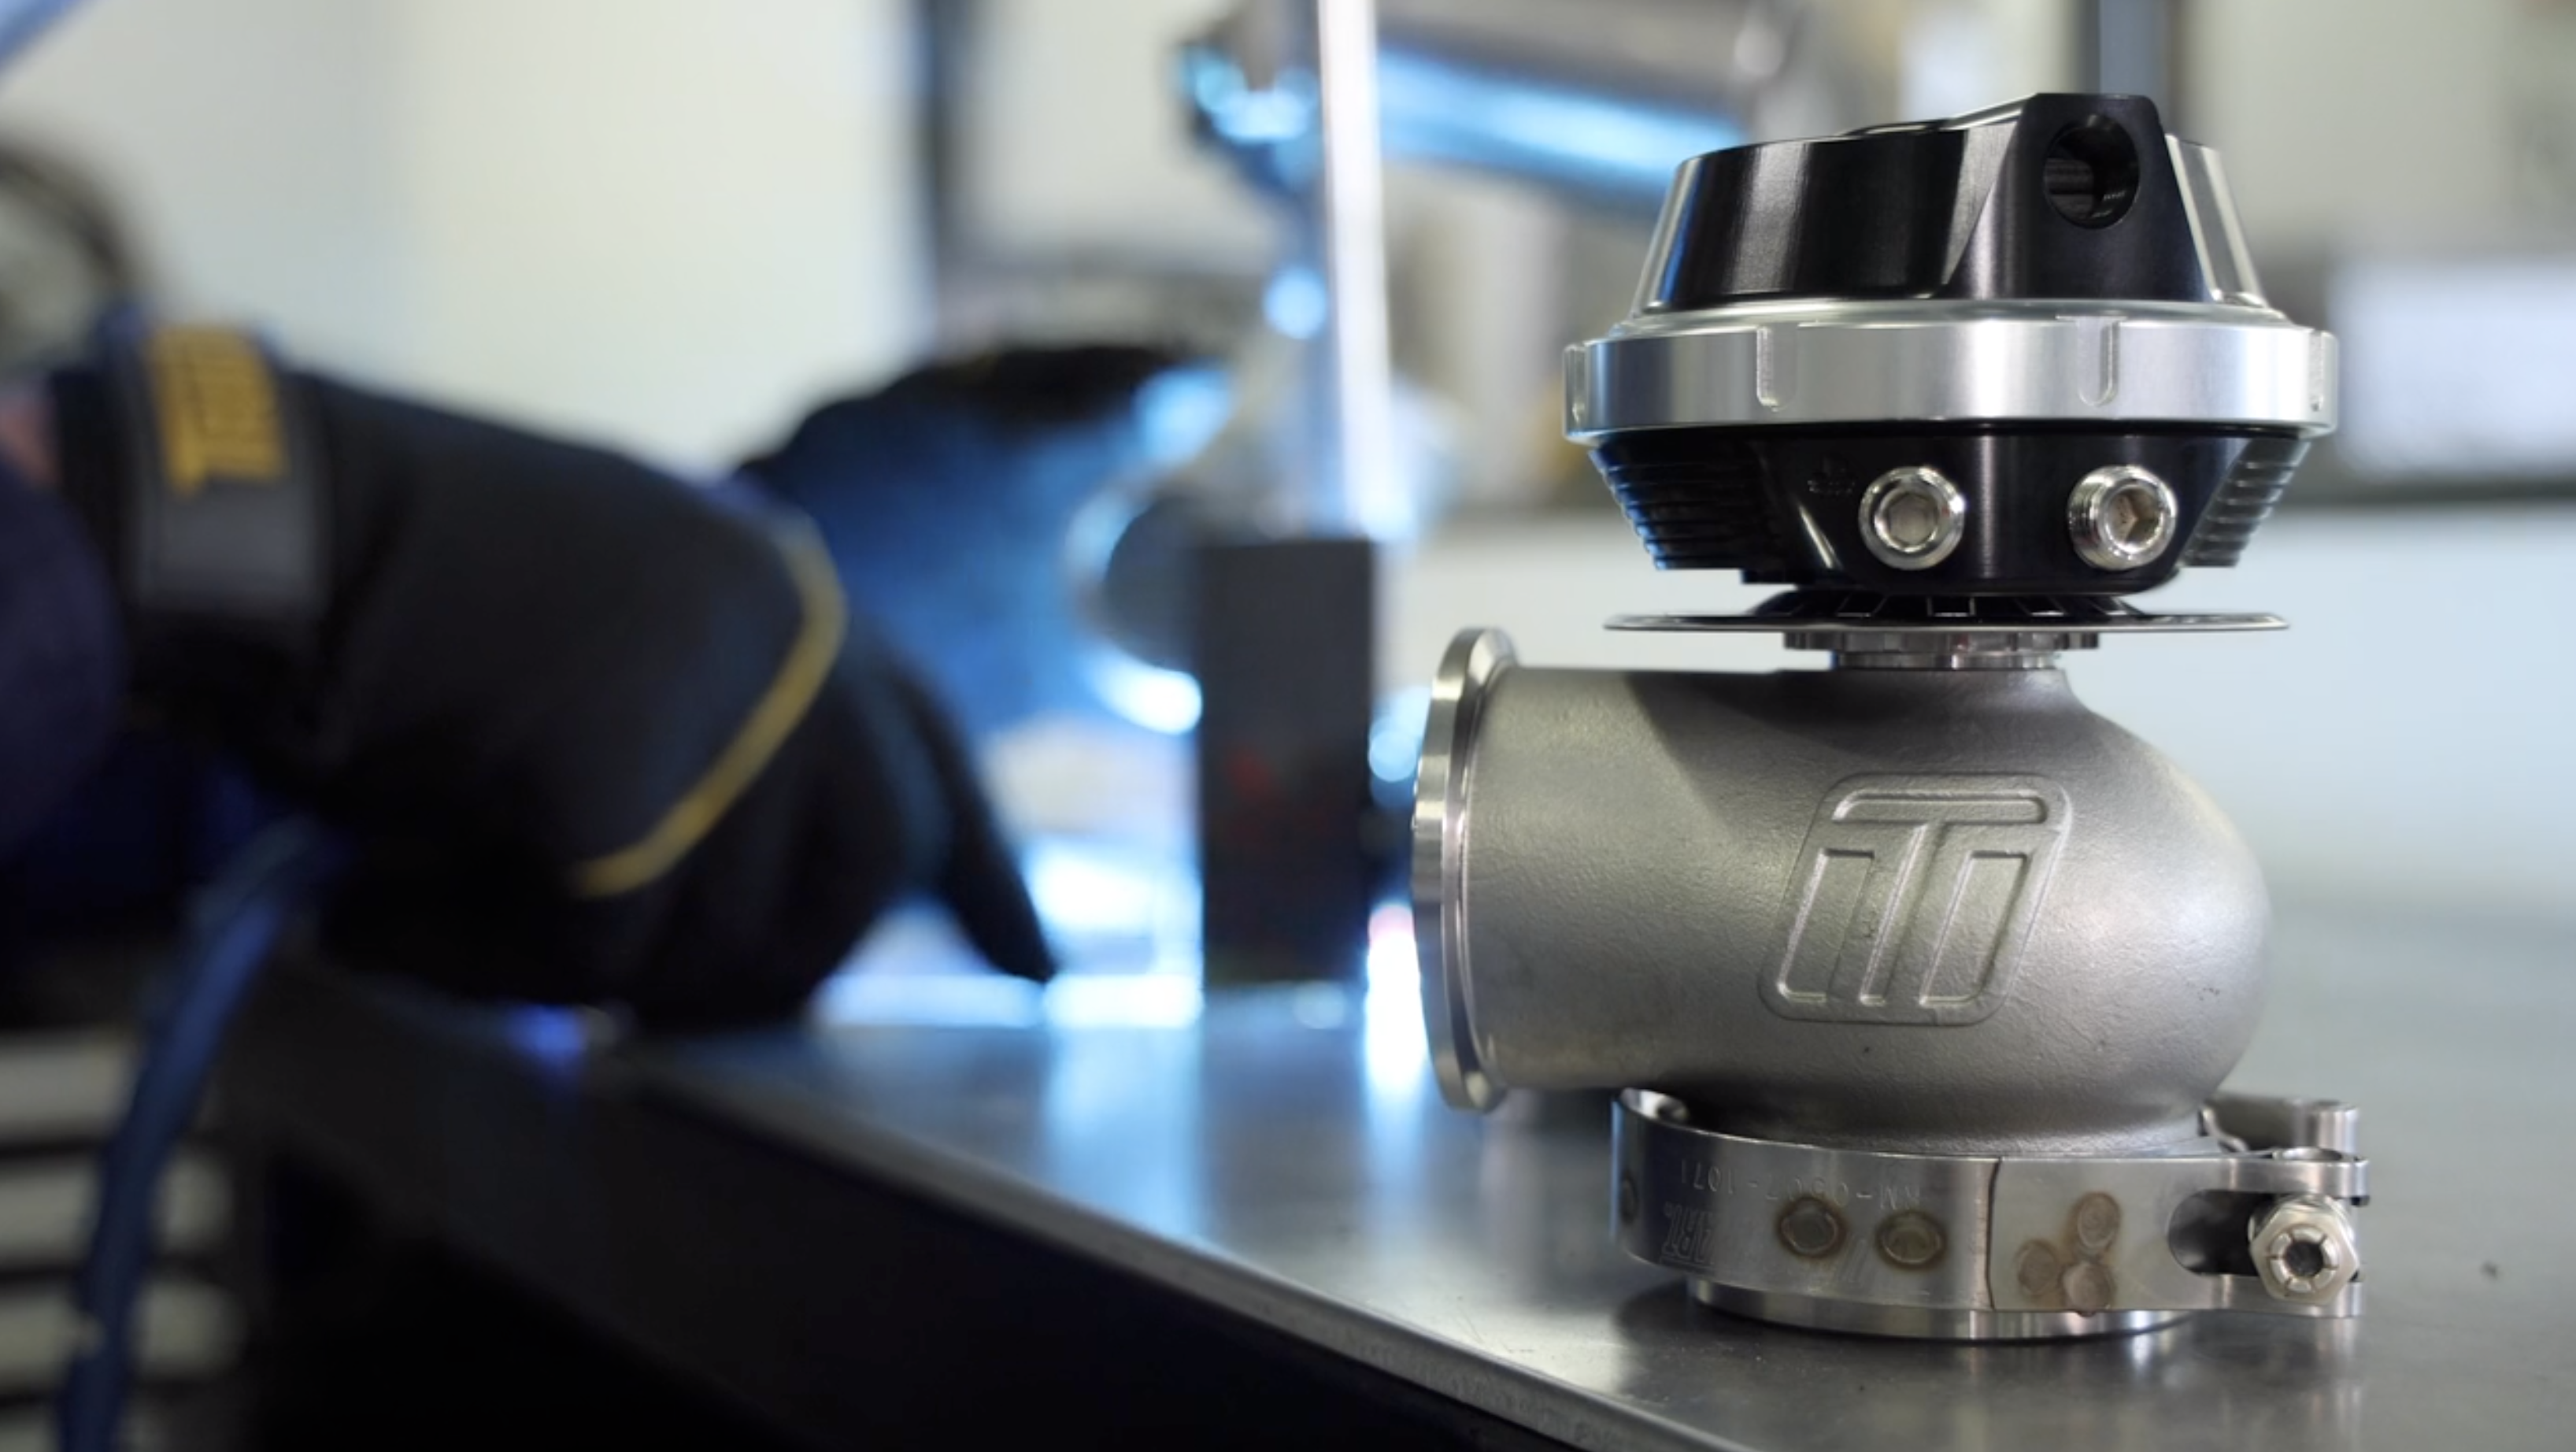
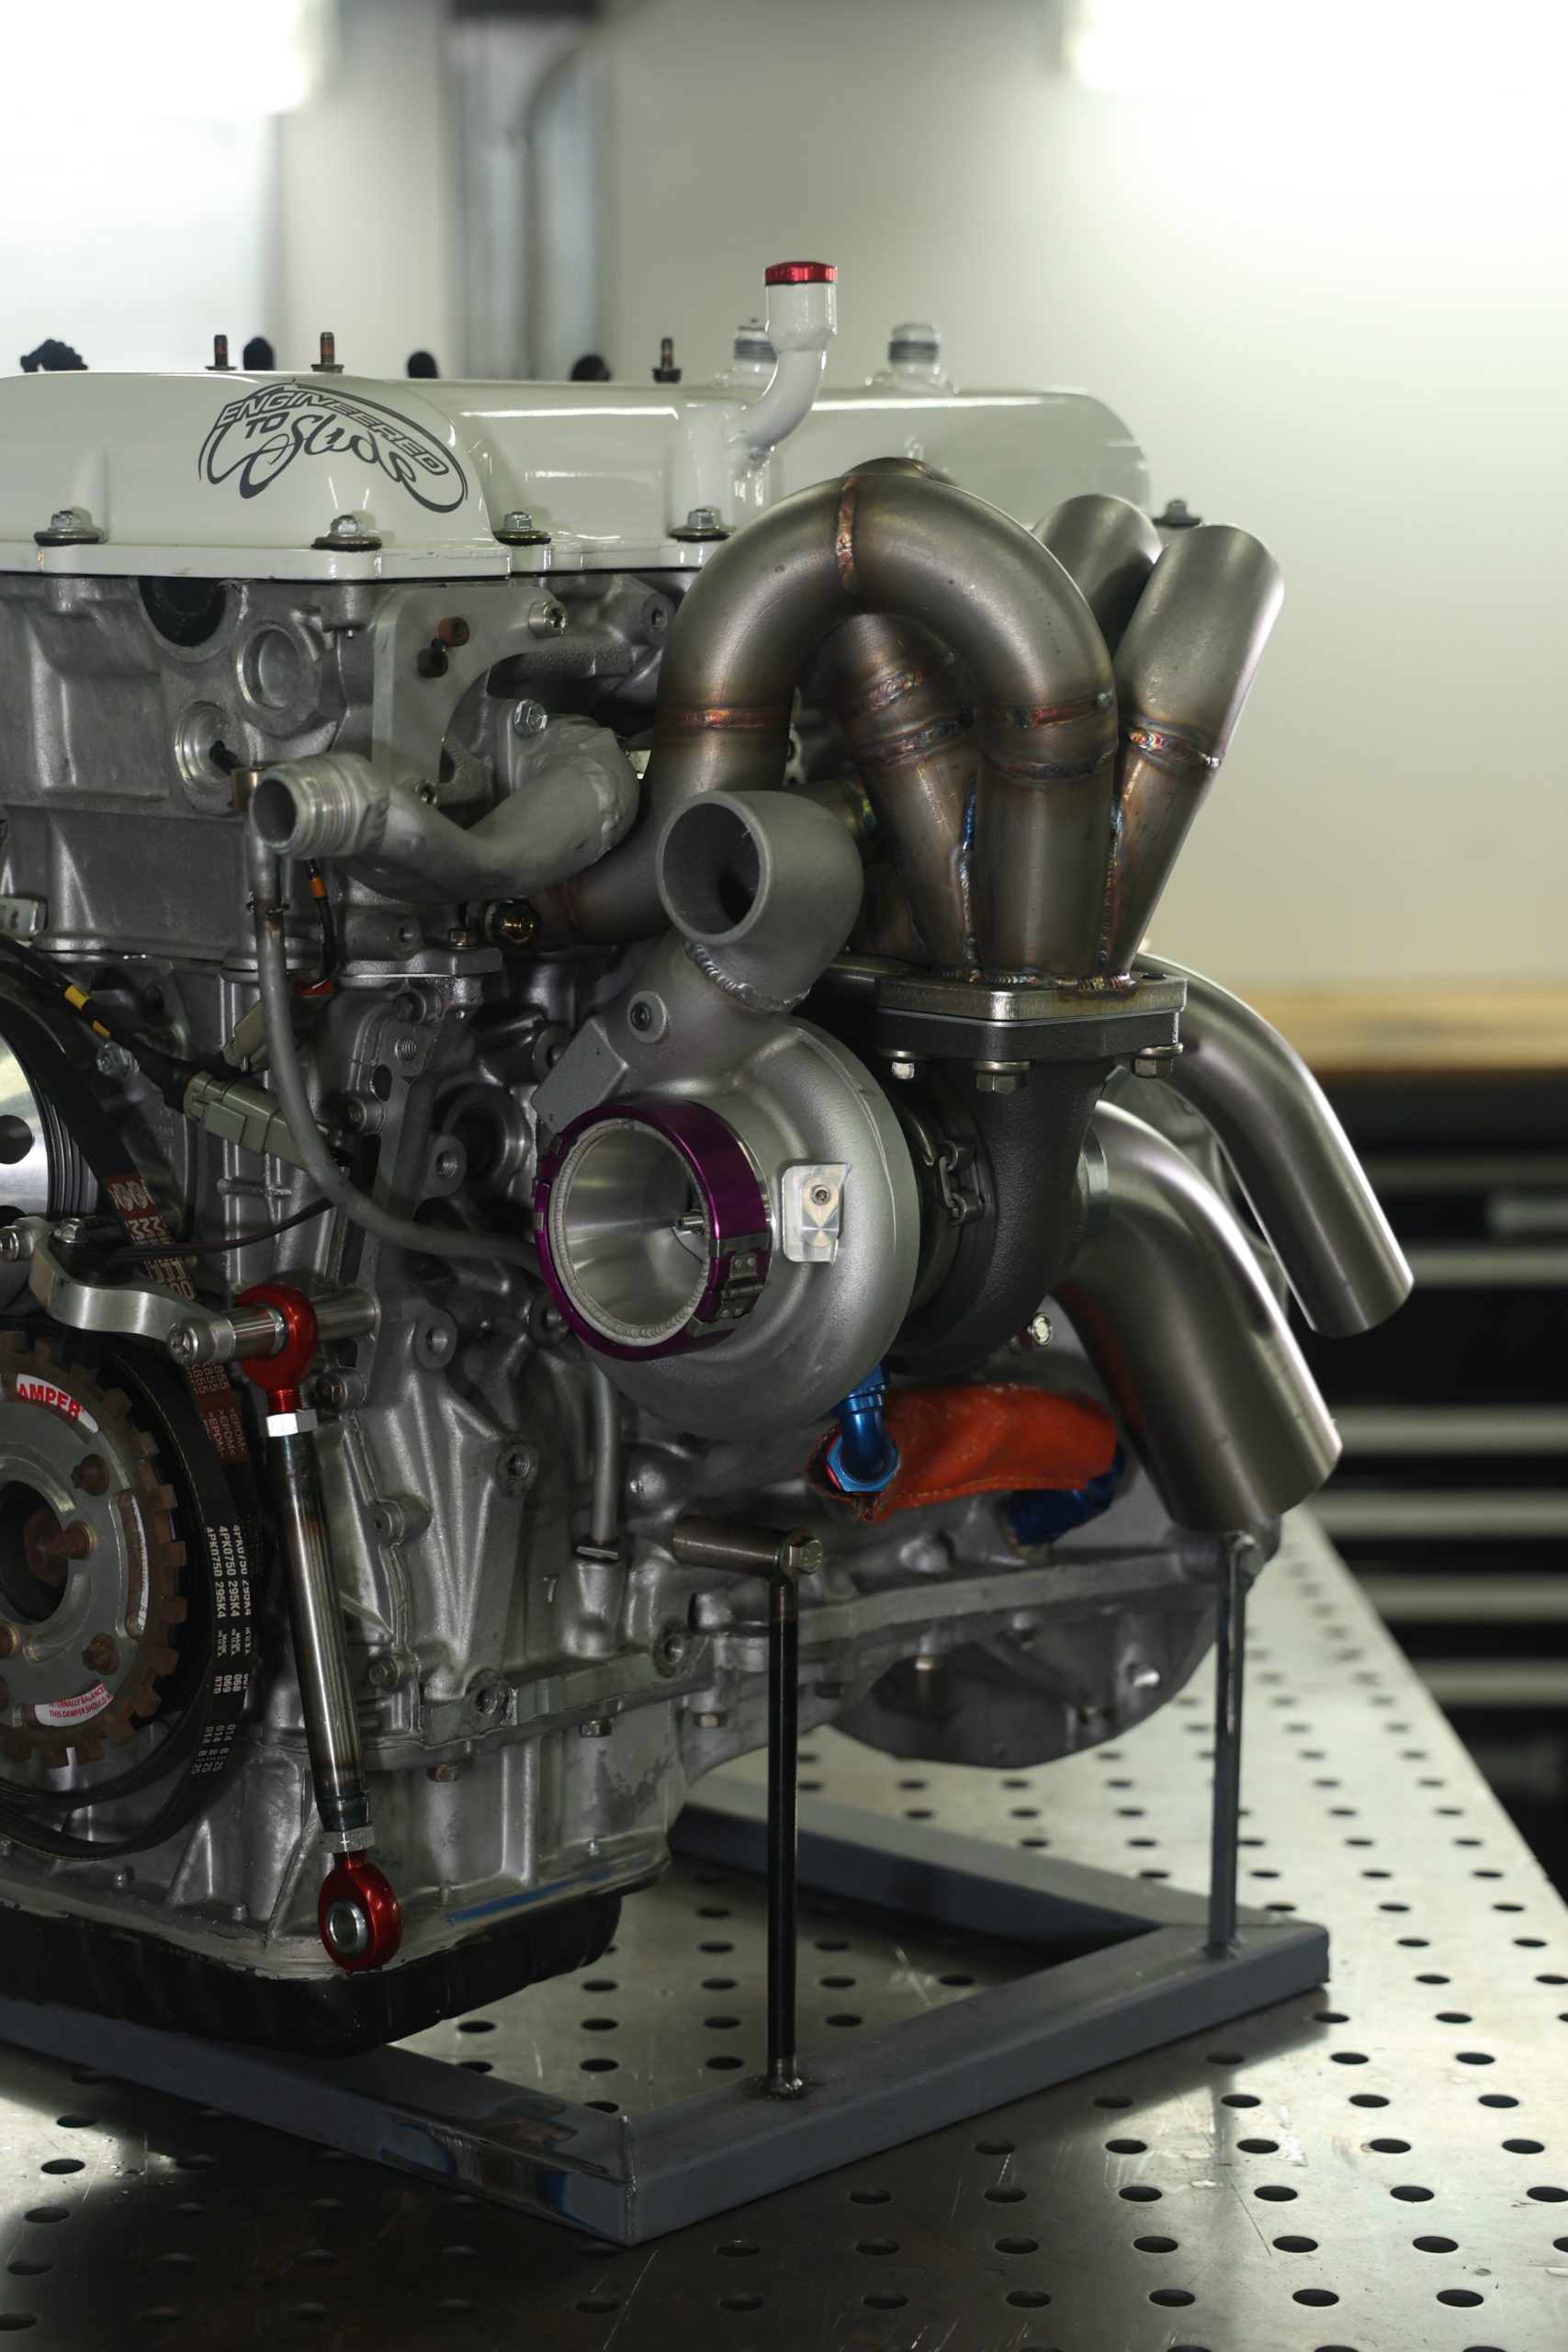
This means the Hilux’s engine bay will run cooler and the turbo should spool faster which is a win win! To add to that I wanted to upgrade my wastegate to Turbosmart 45mm item and mount it under the manifold to free up some room and create a more direct path for the wastegate pipe. Fun fact, you can go on Turbosmarts website and input your engines characteristics to help measure the wastegate size needed.
I achieved all of this and now I can plan to put the whole combo back in the chassis and work on all those other niggling issues I have had in the past (mostly alternator which ill remount and reconfigure)
So let’s take a look at how the new manifold came to be.

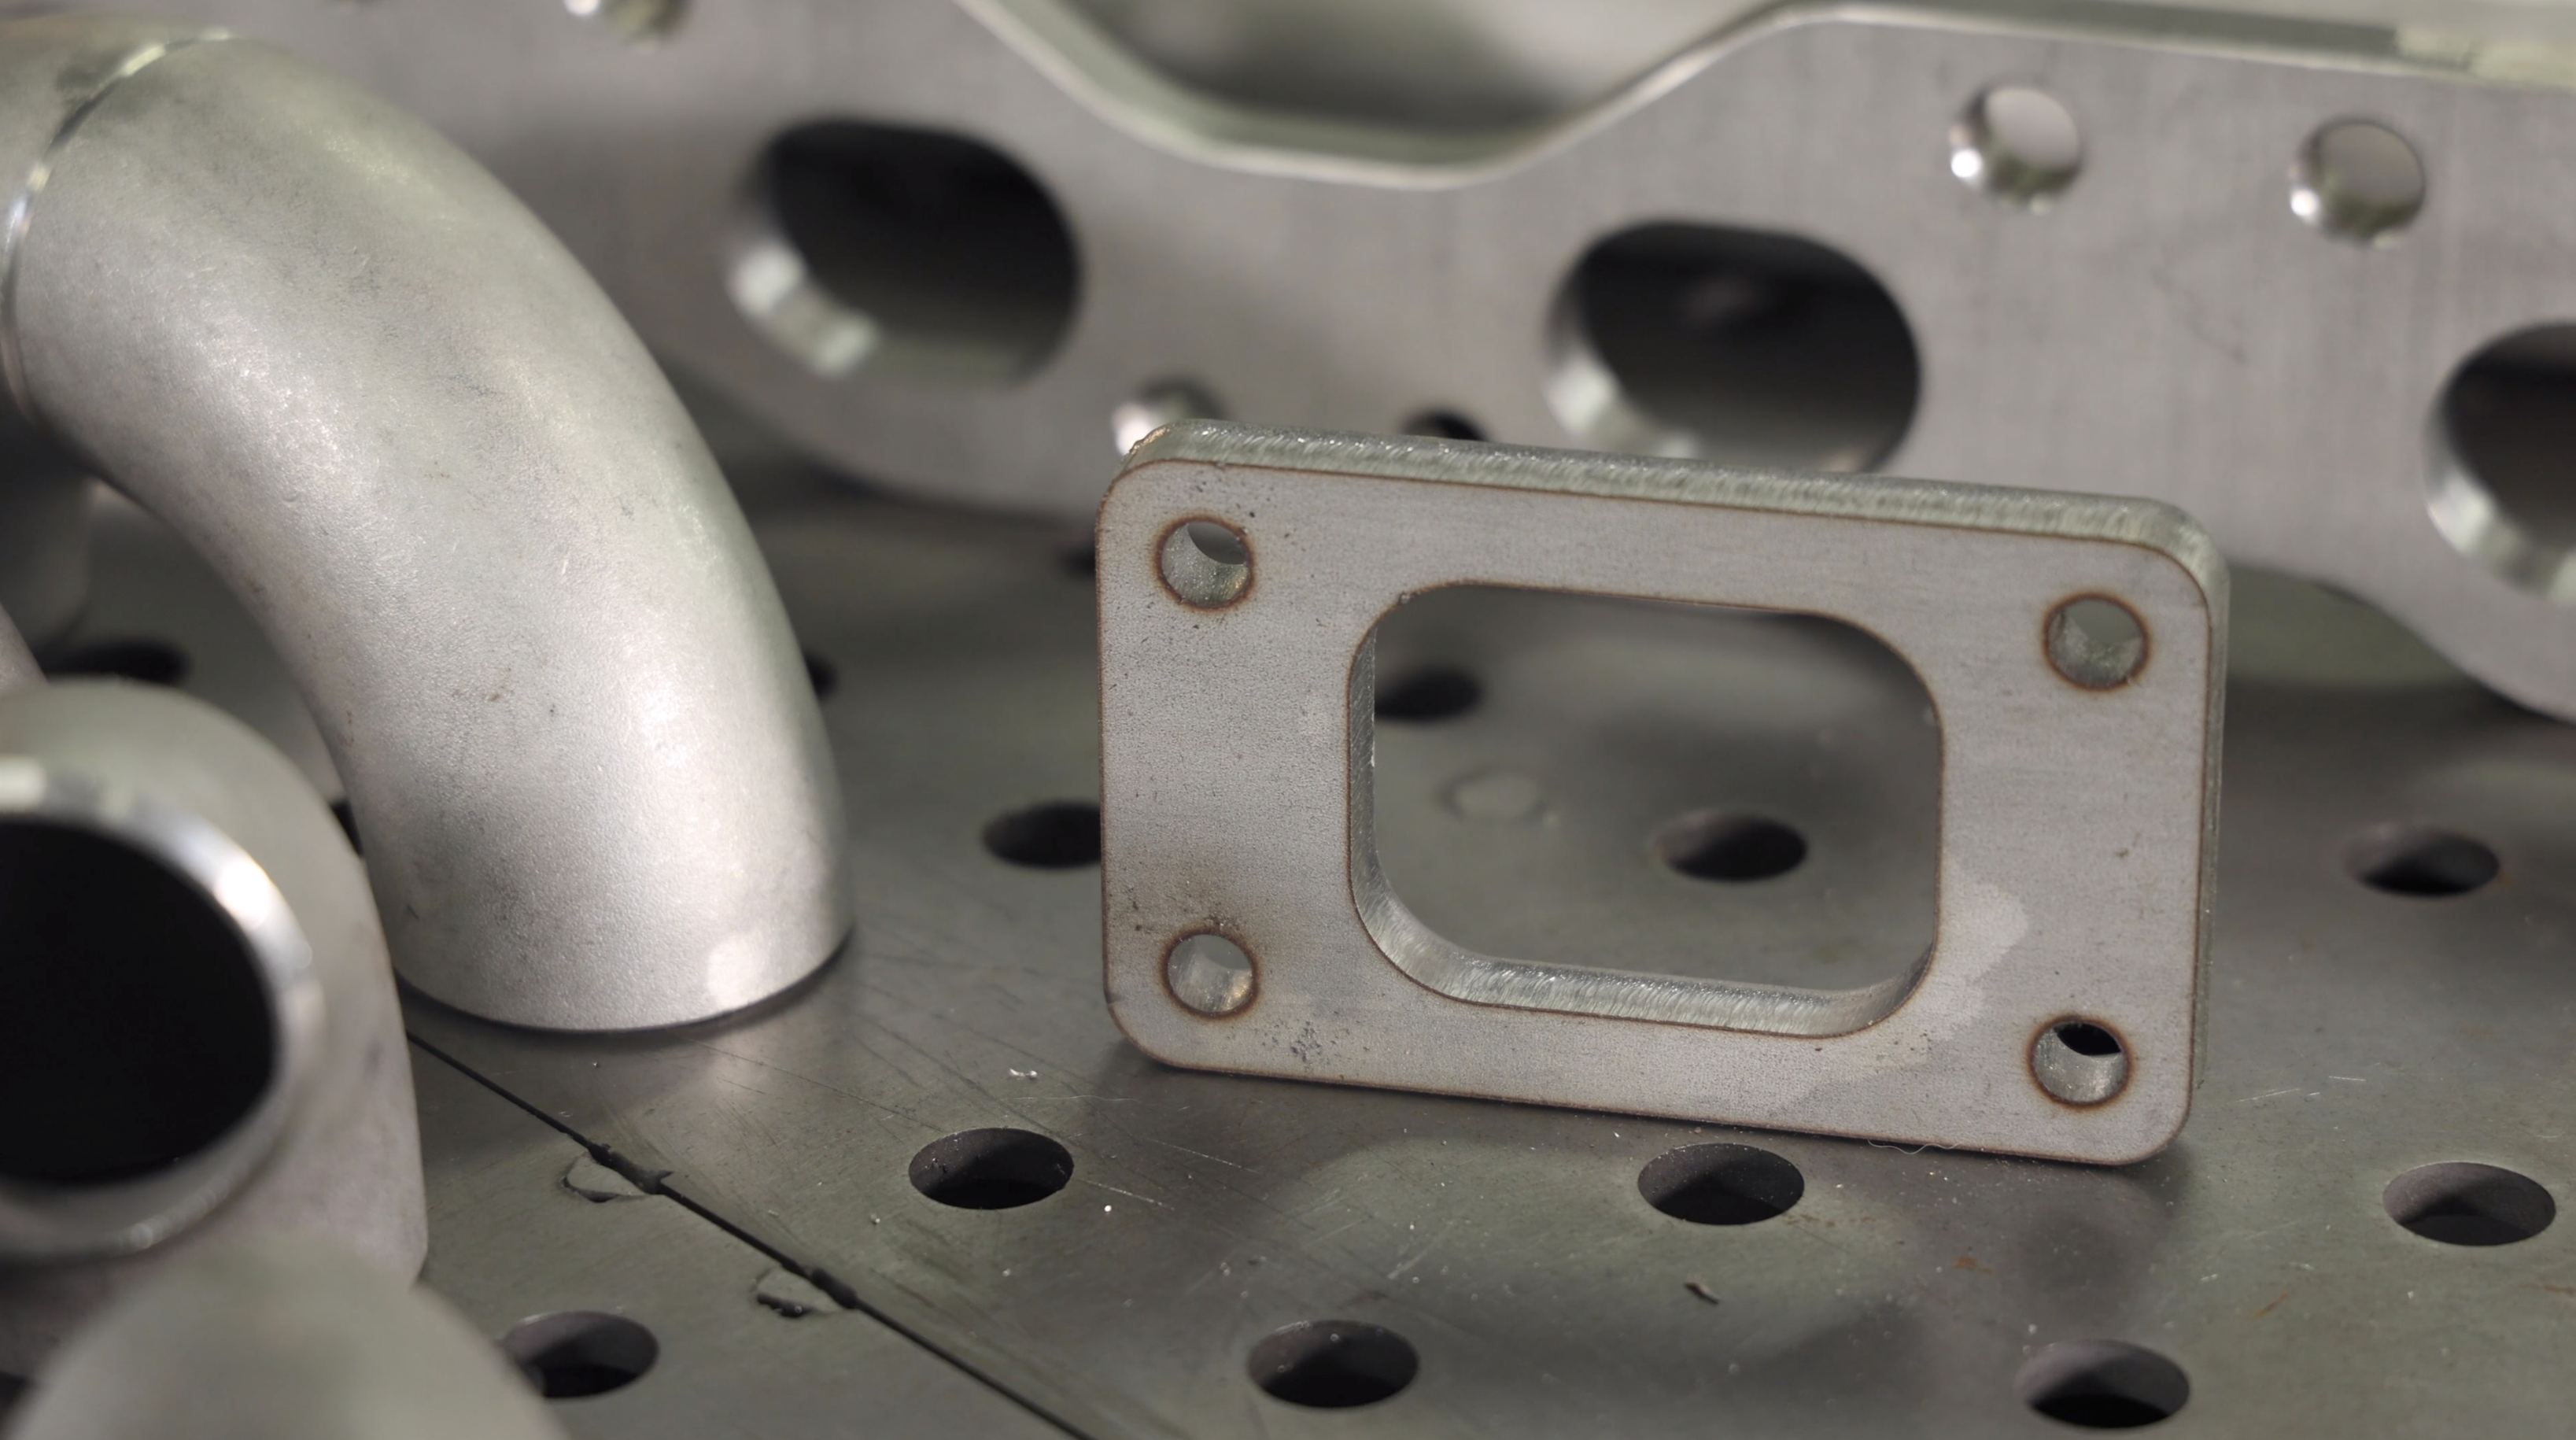
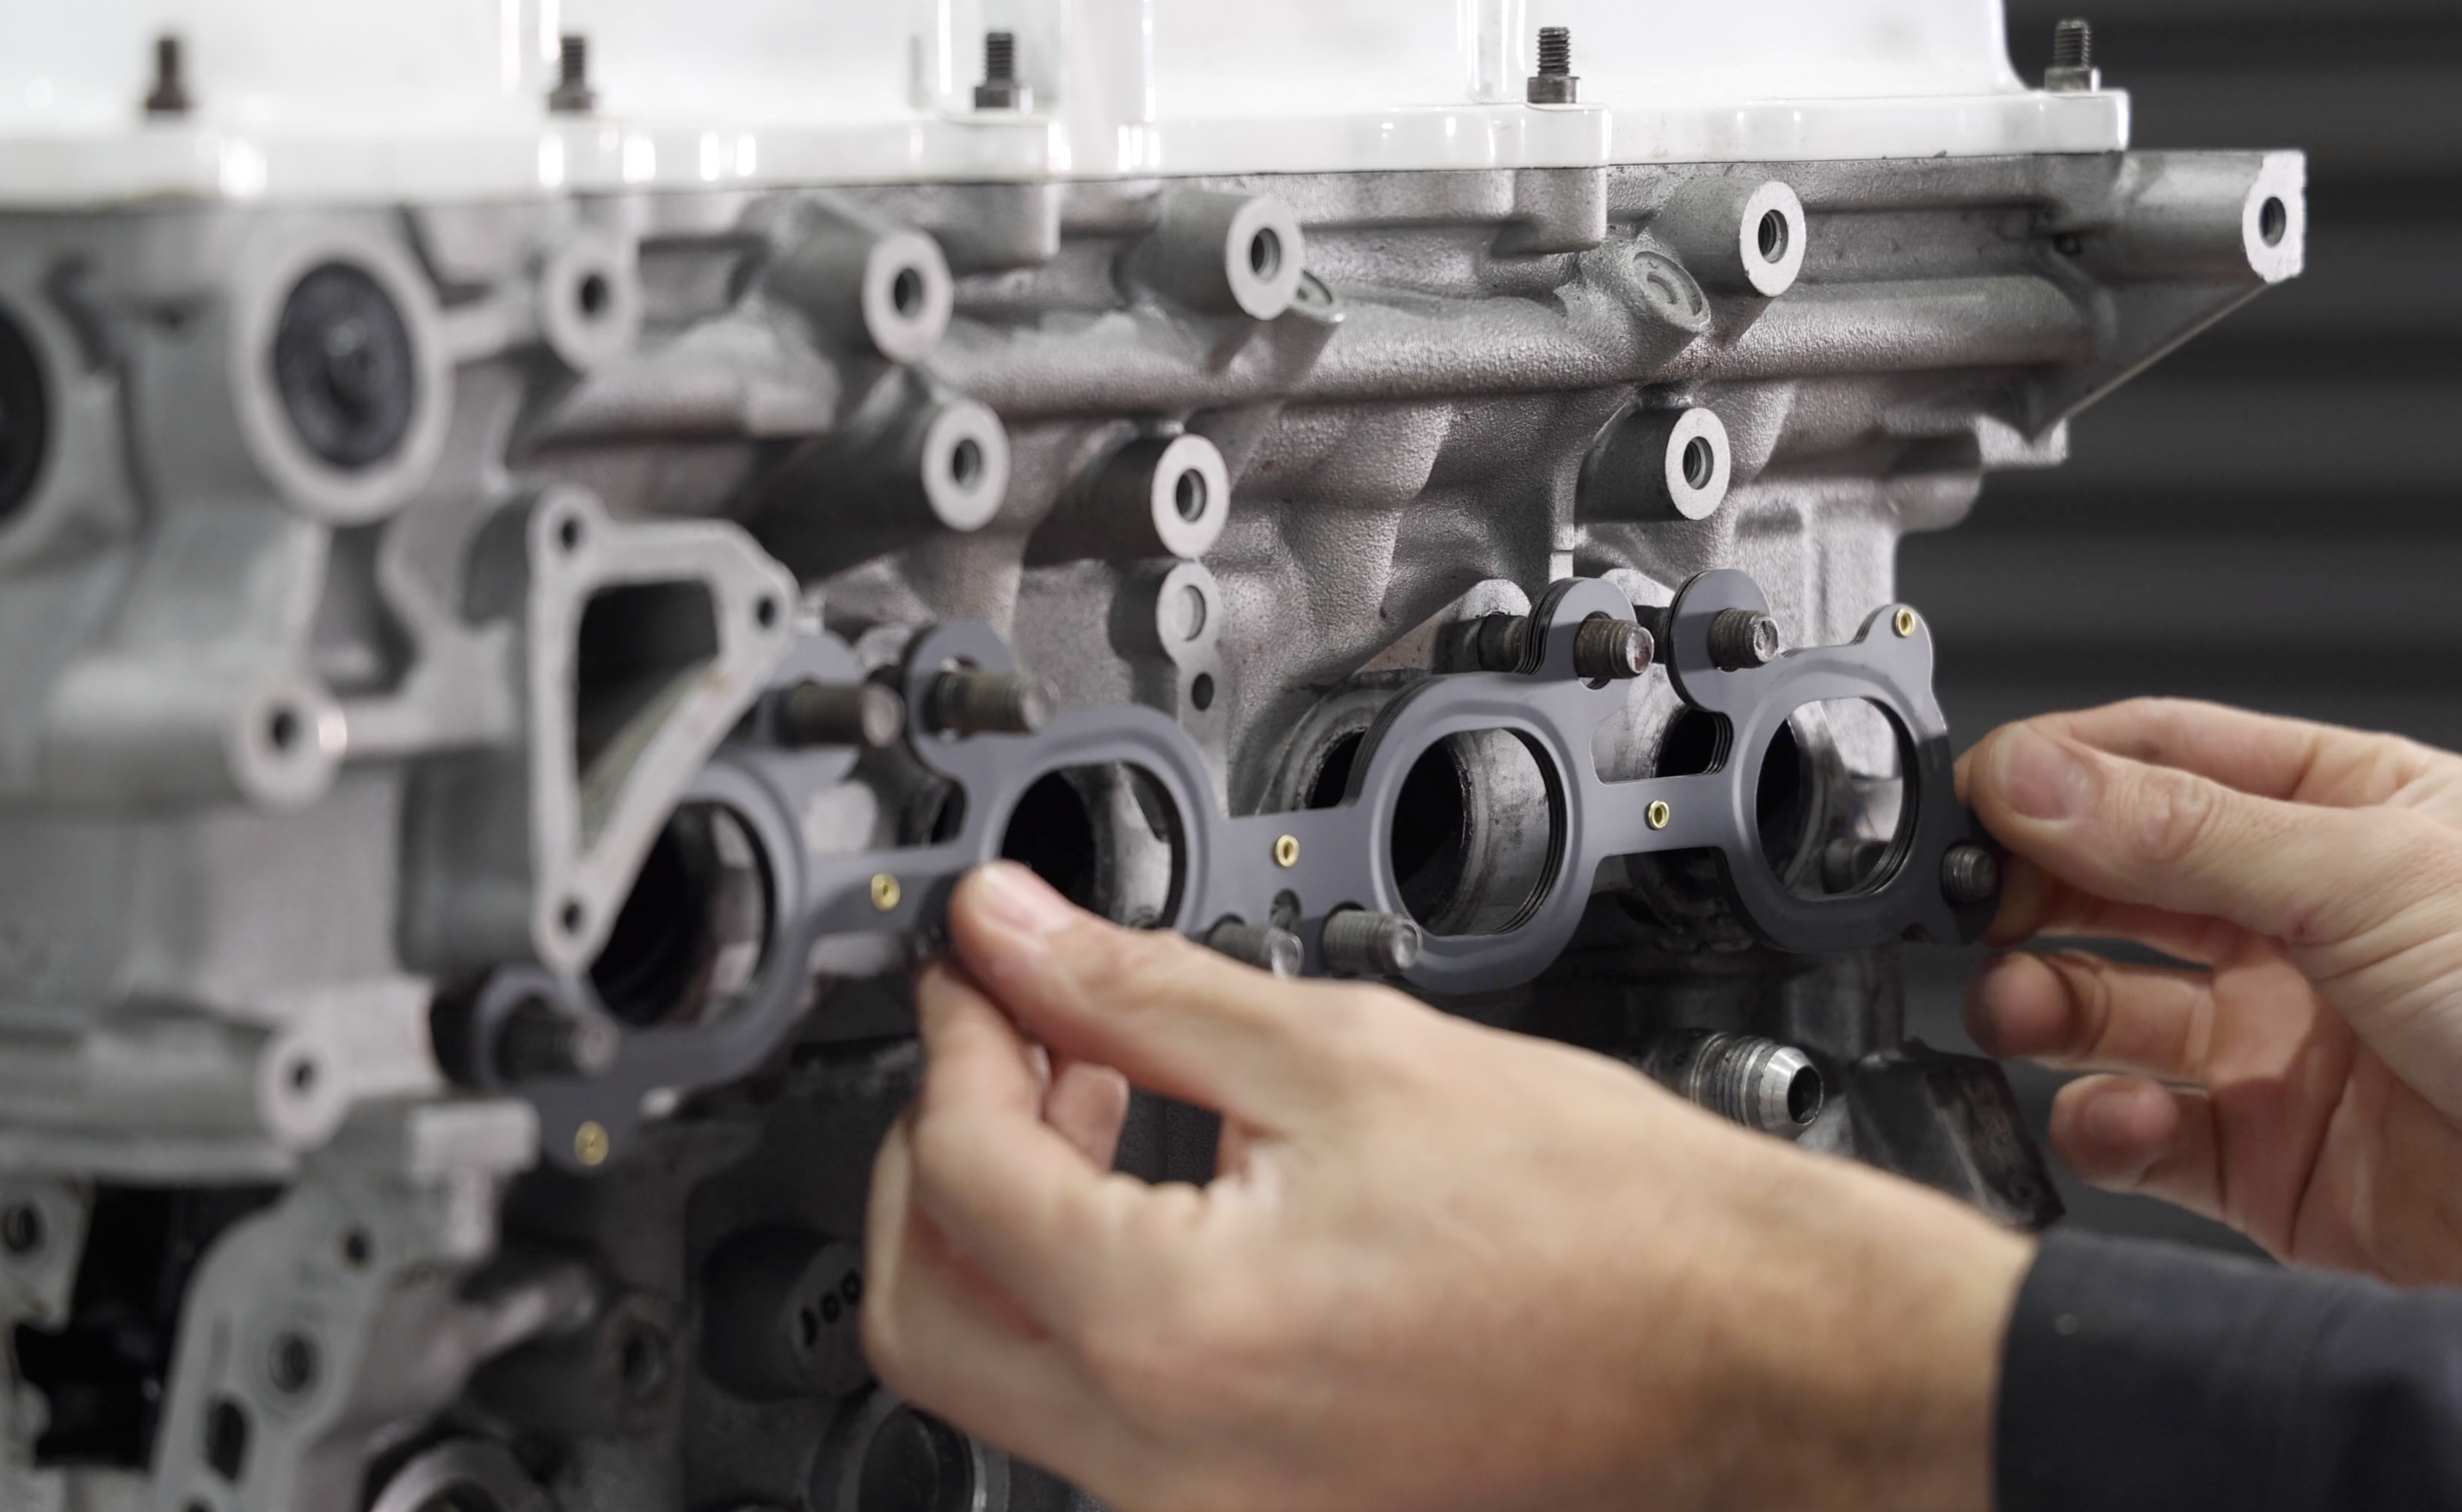
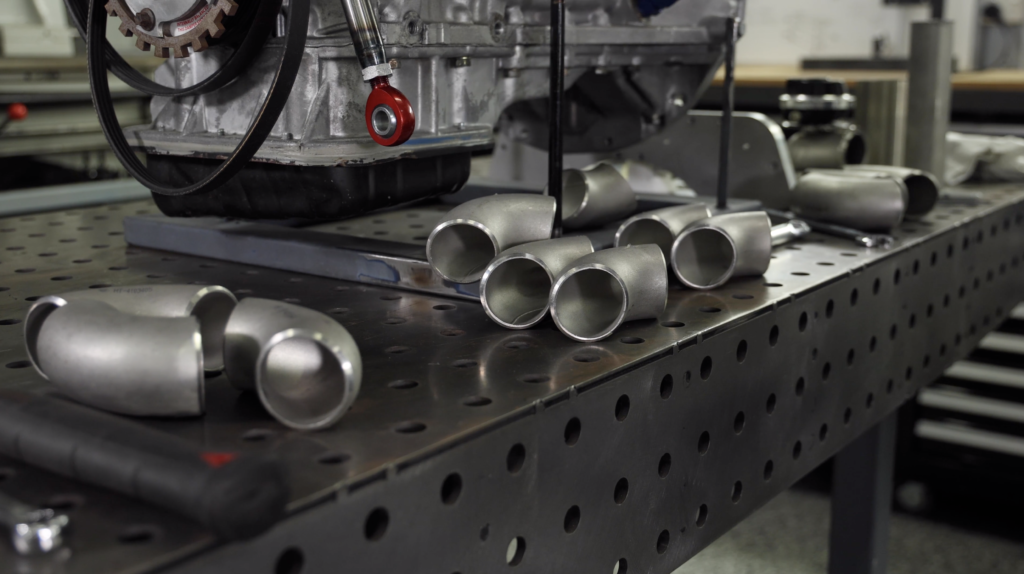
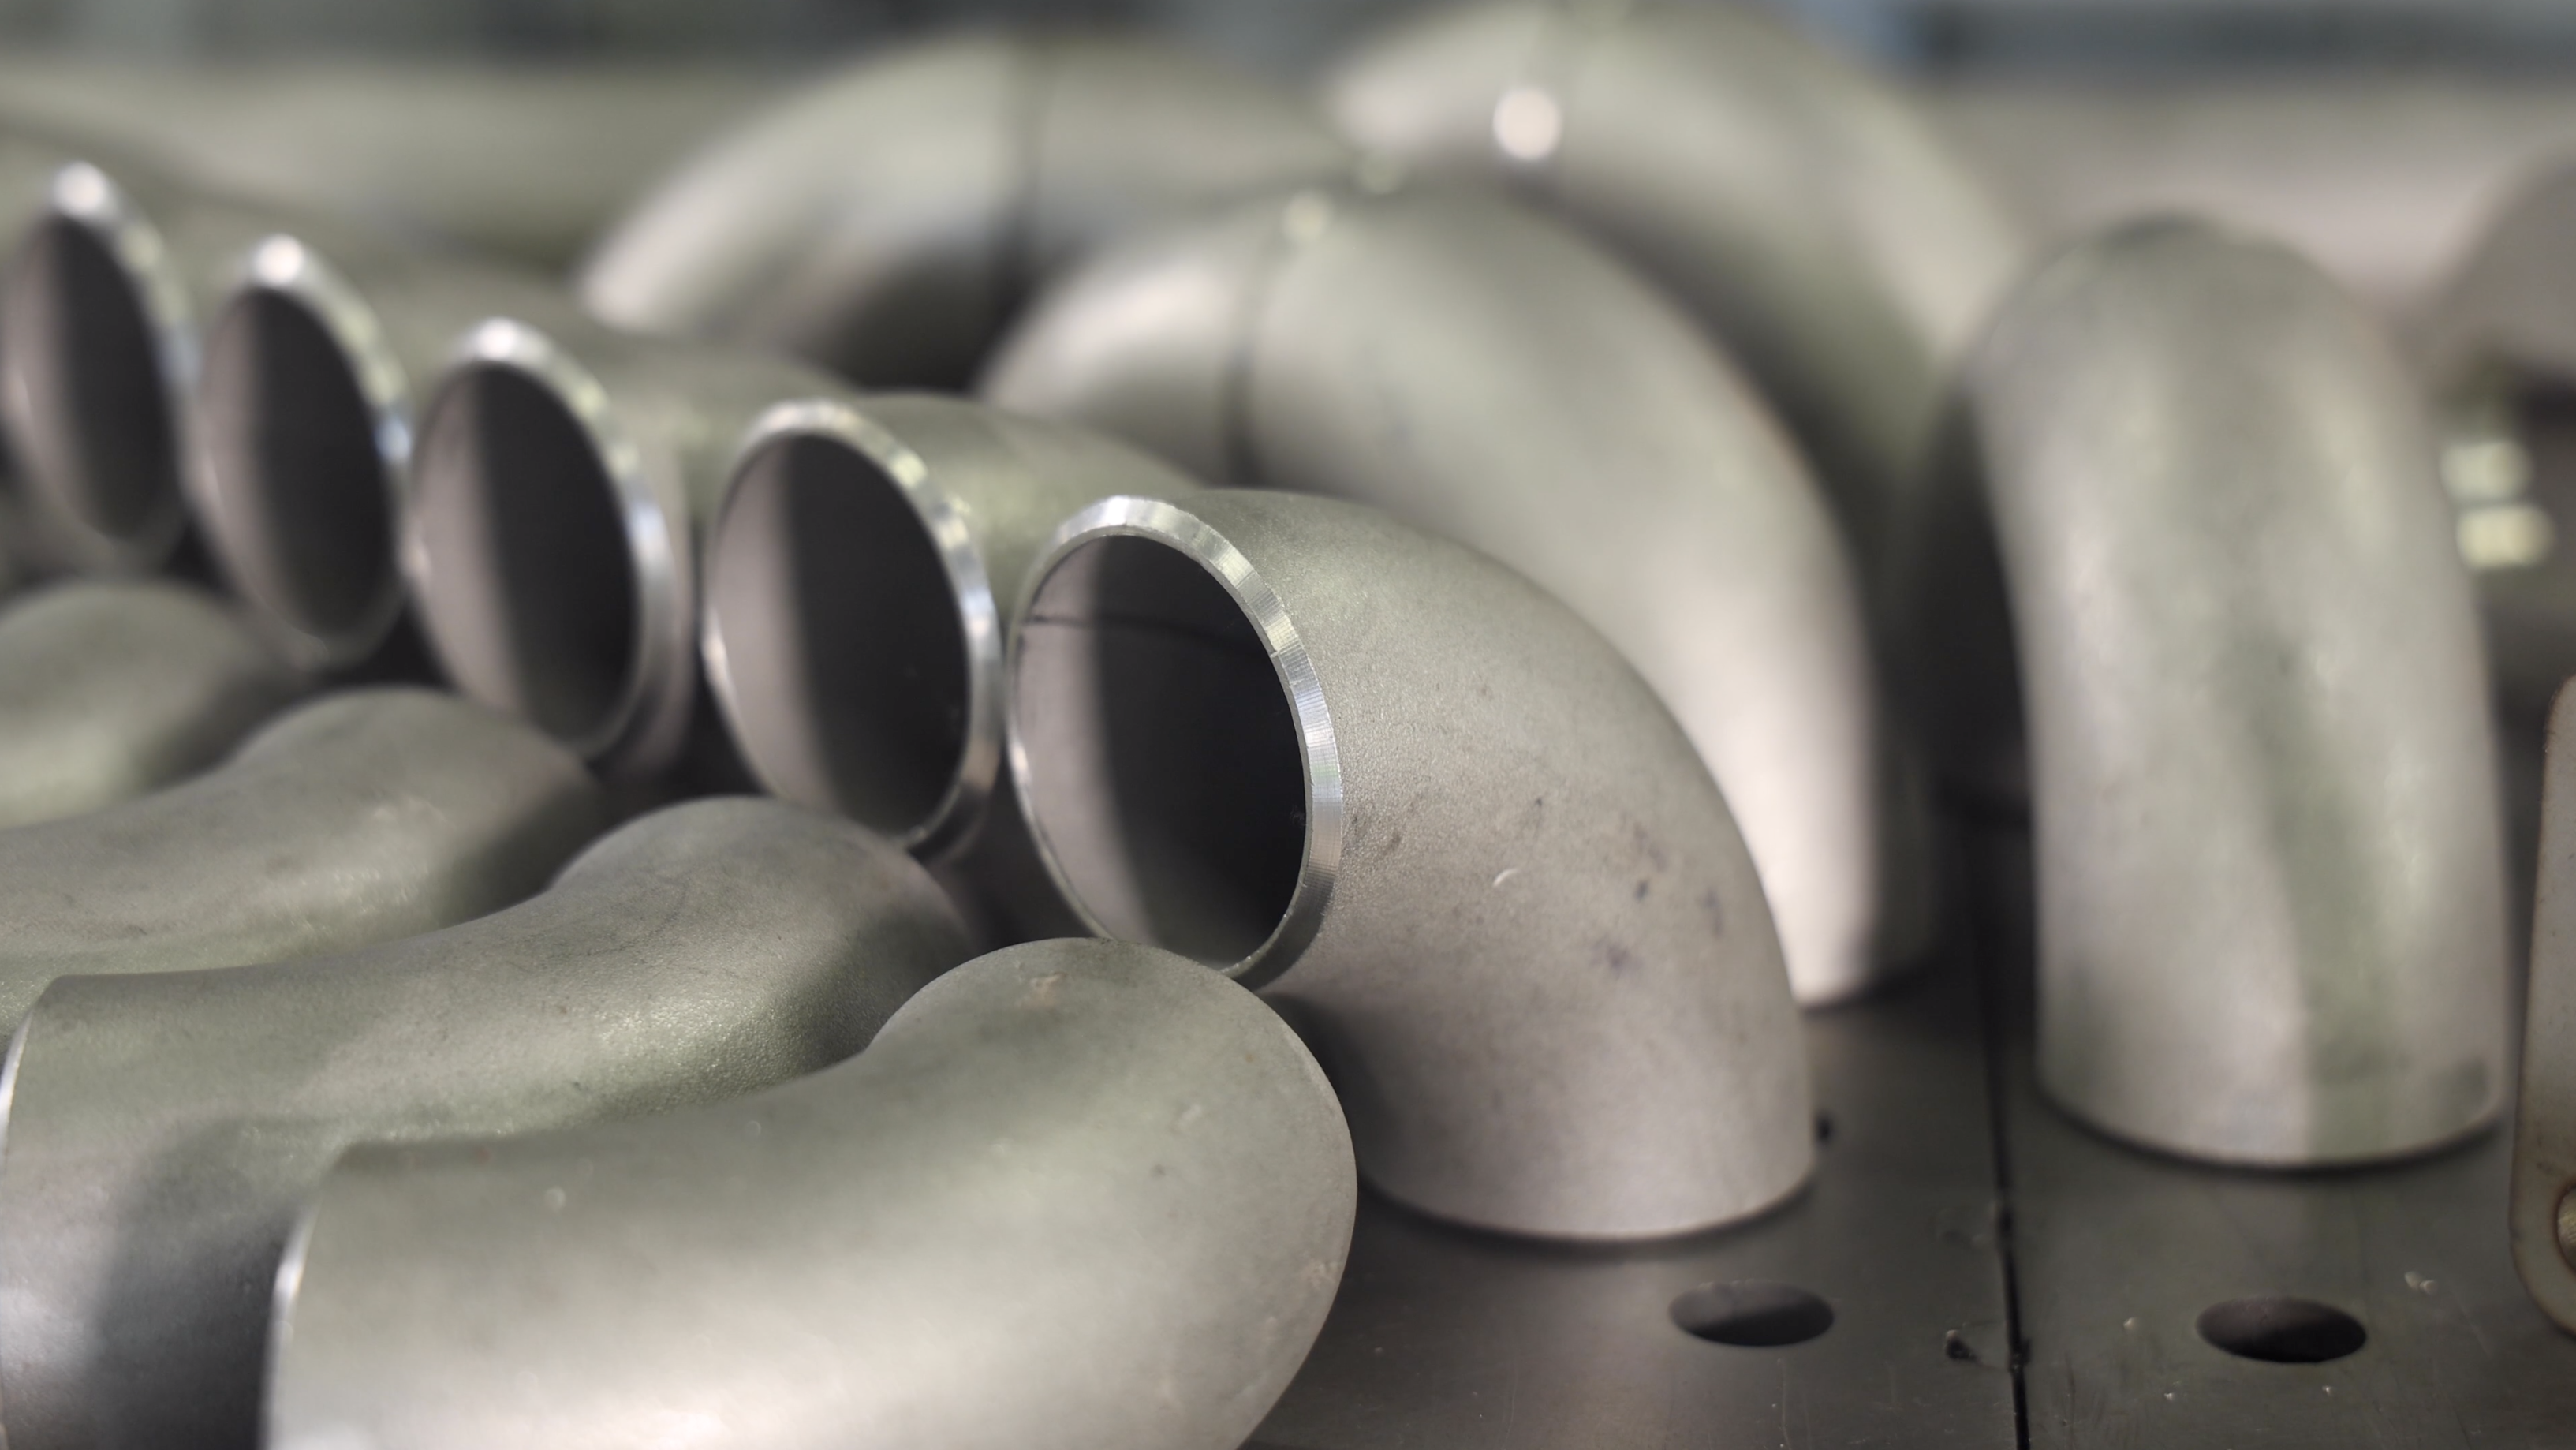
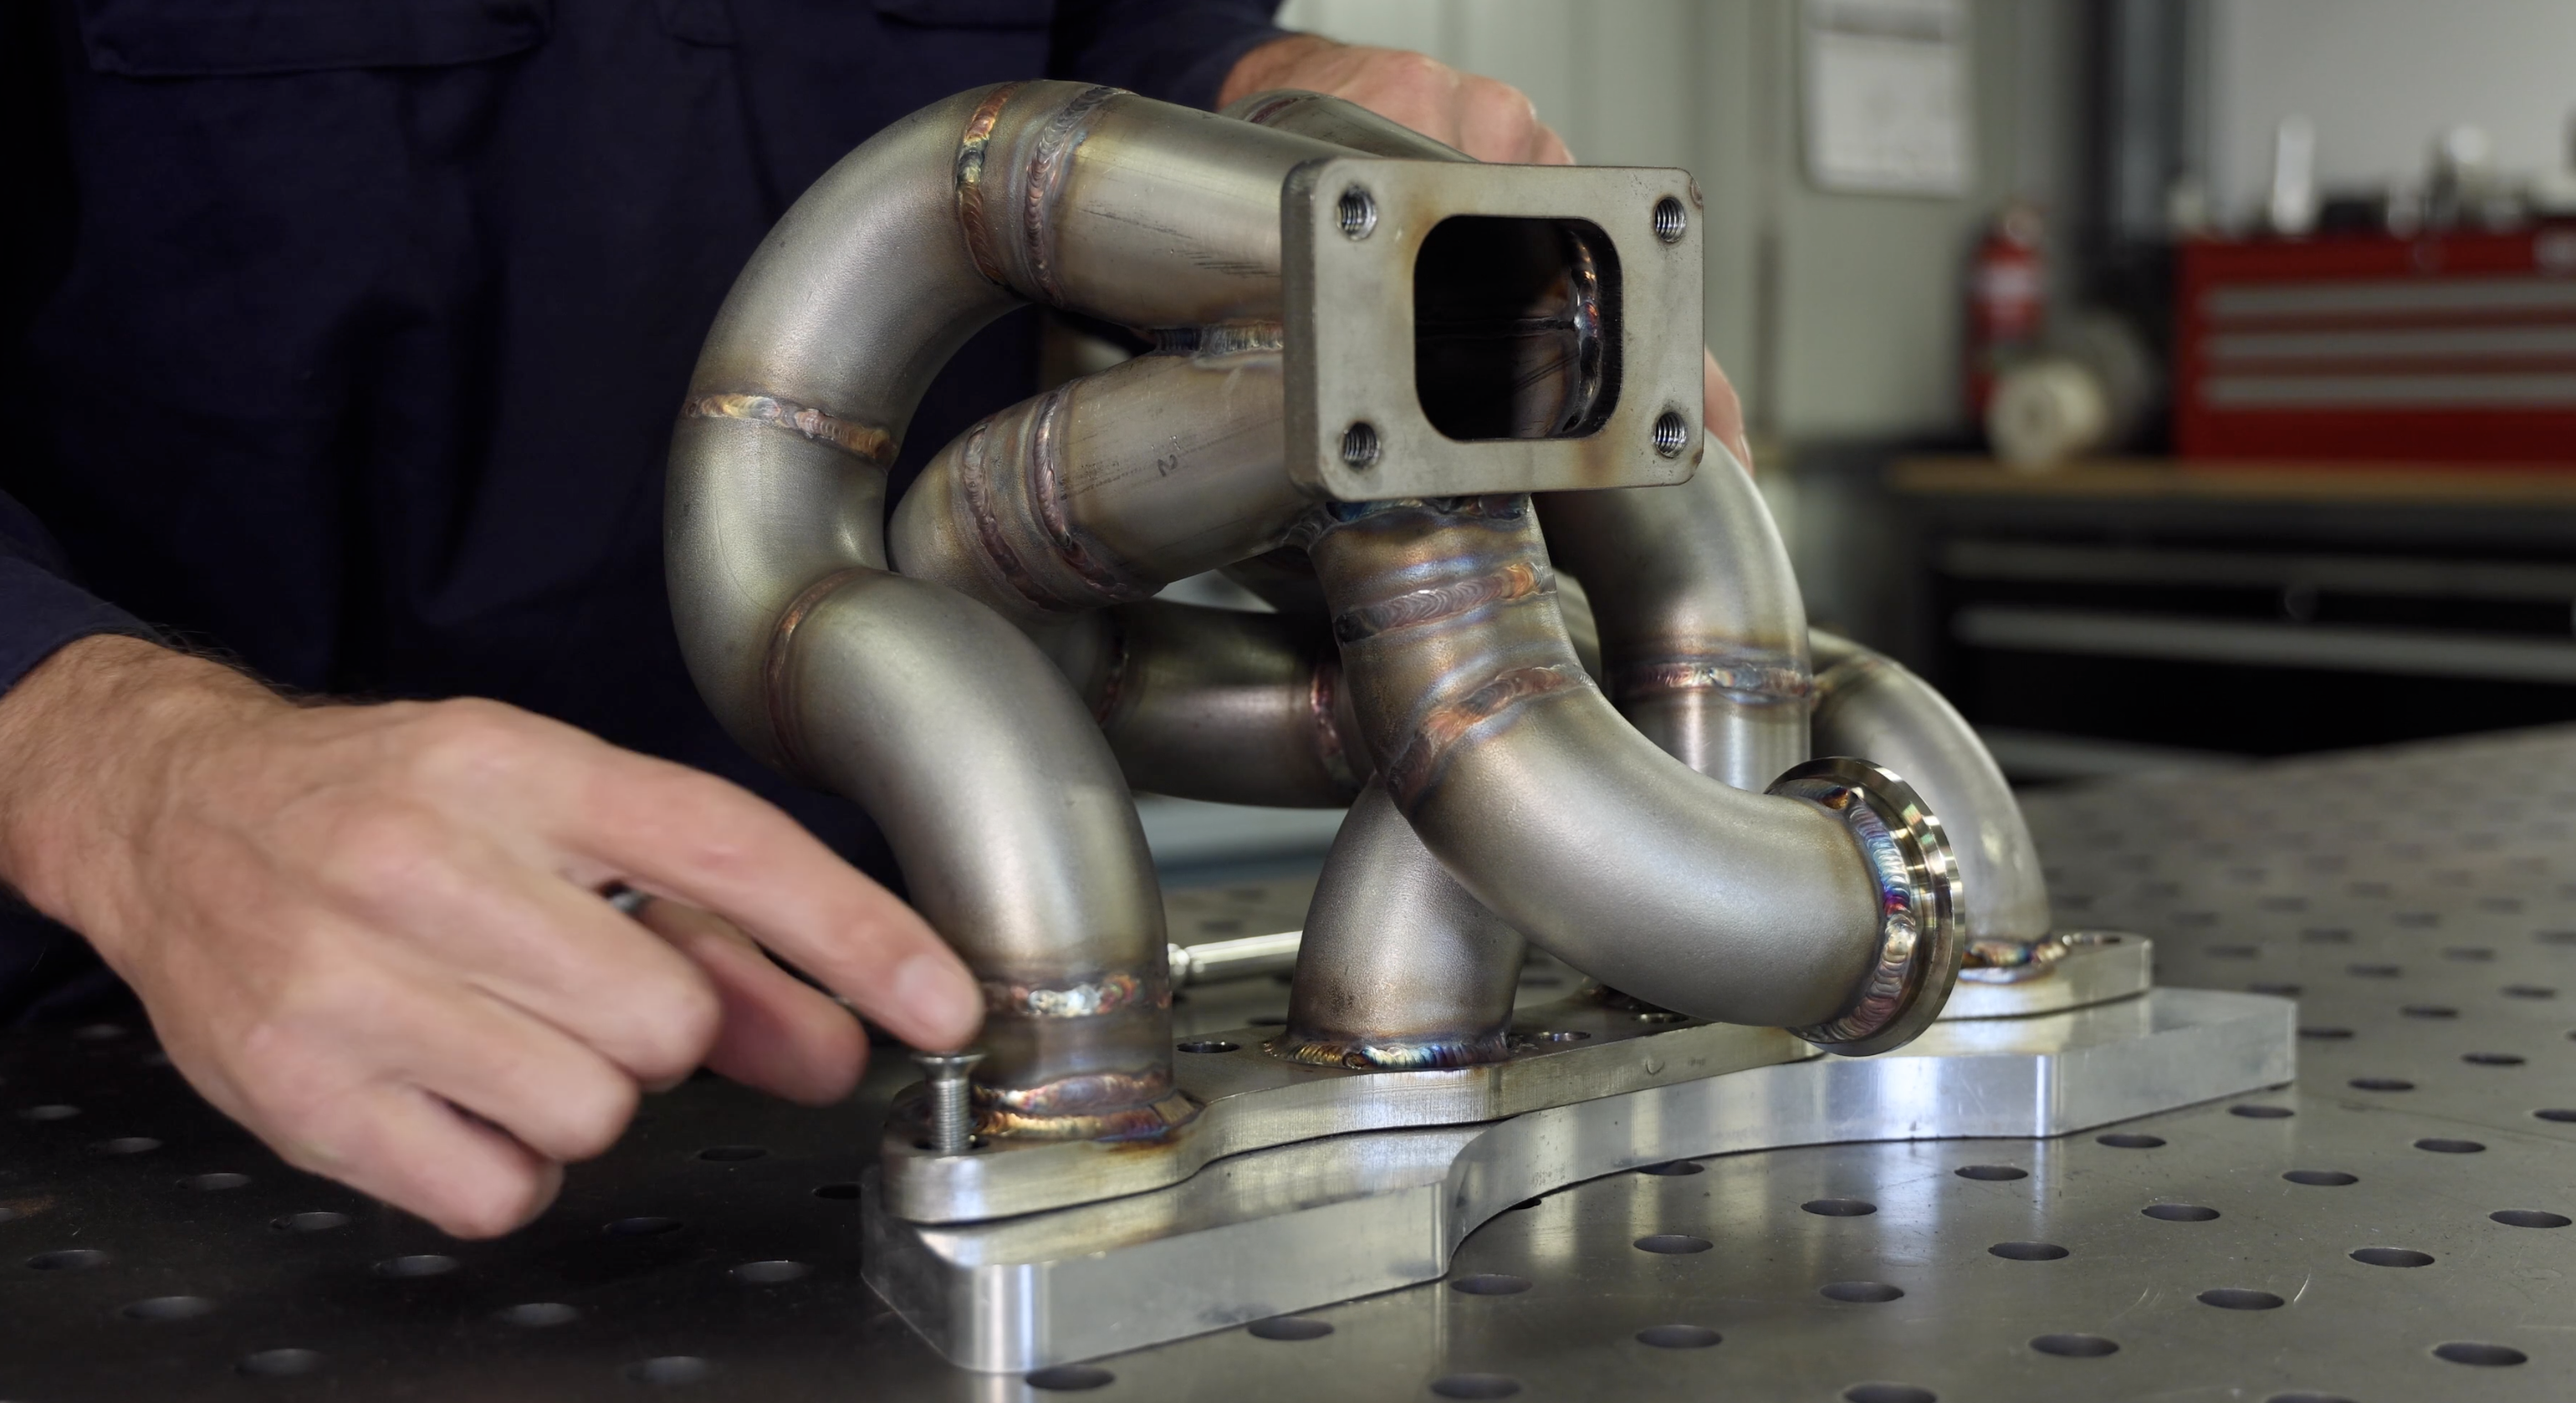
First up I needed to get all my parts sorted, I needed atleast 25 90 degree Schedule 10 1.5″ Stainless bends (5 per cylinder and 5 for the wastegate) 1 meter of matching straight tube, a stainless header flange that measures 12mm thick, a stainless T3 turbo flange, a turbo and a wastegate.
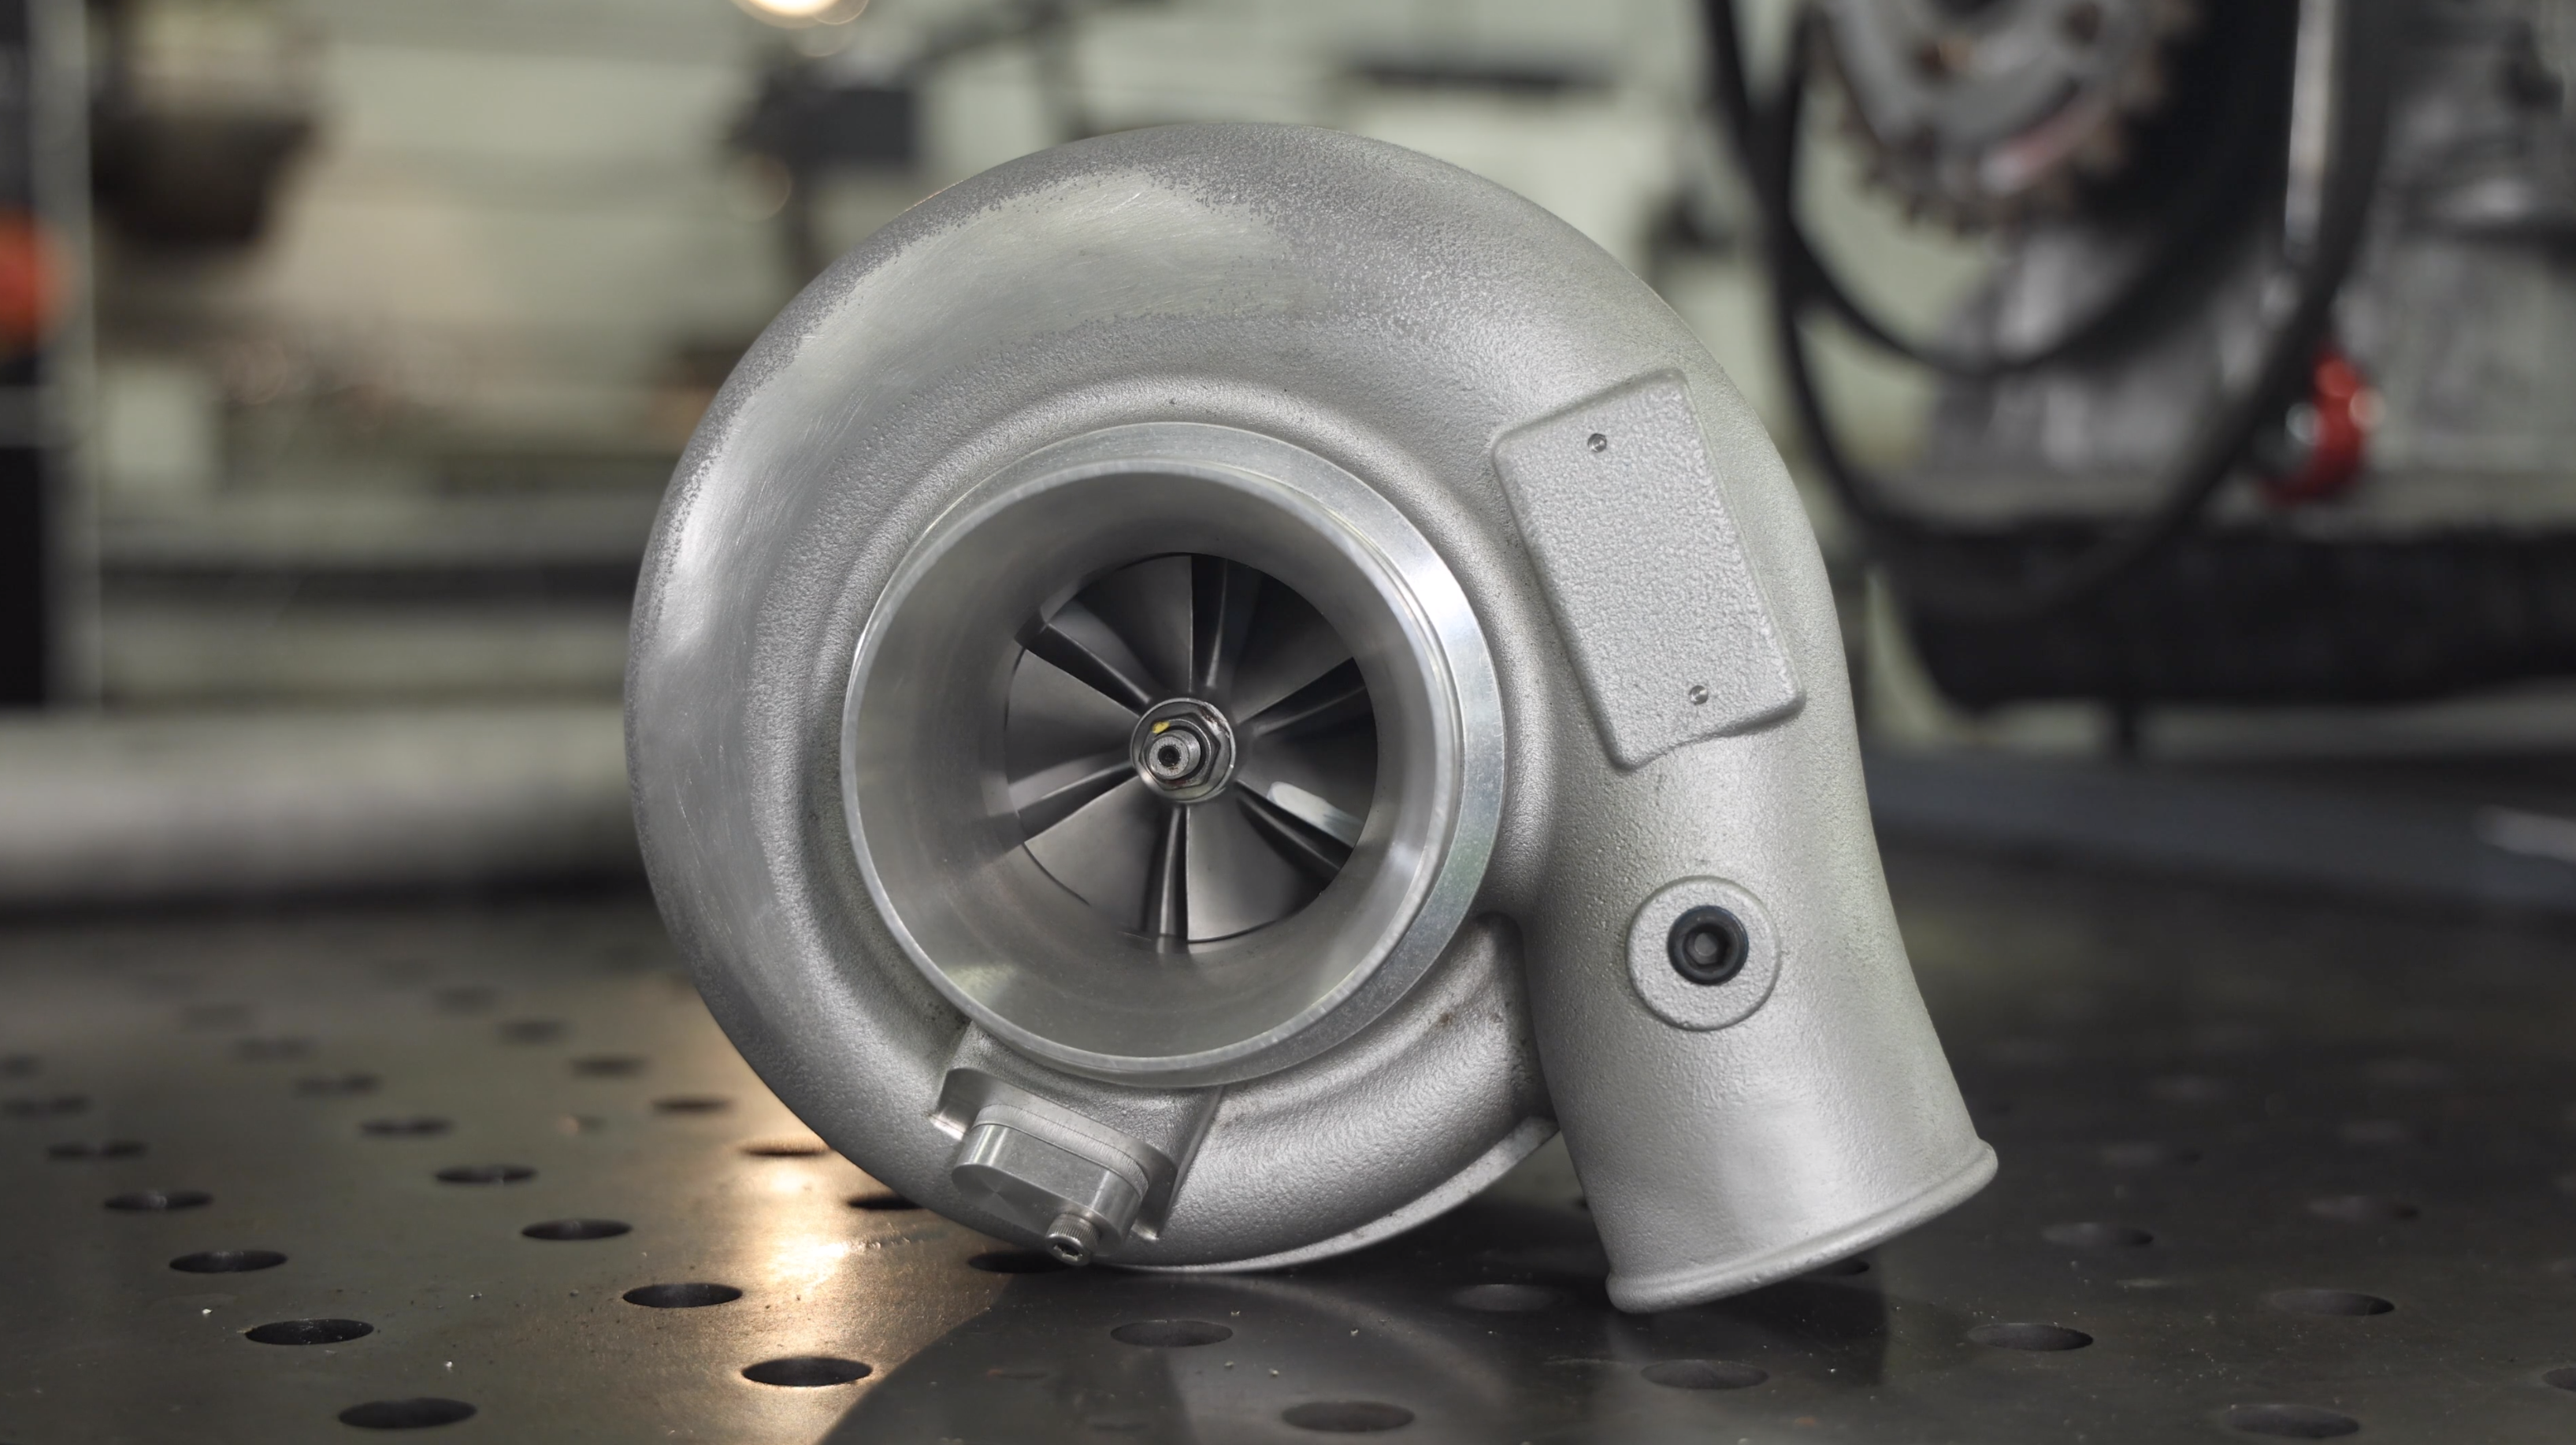
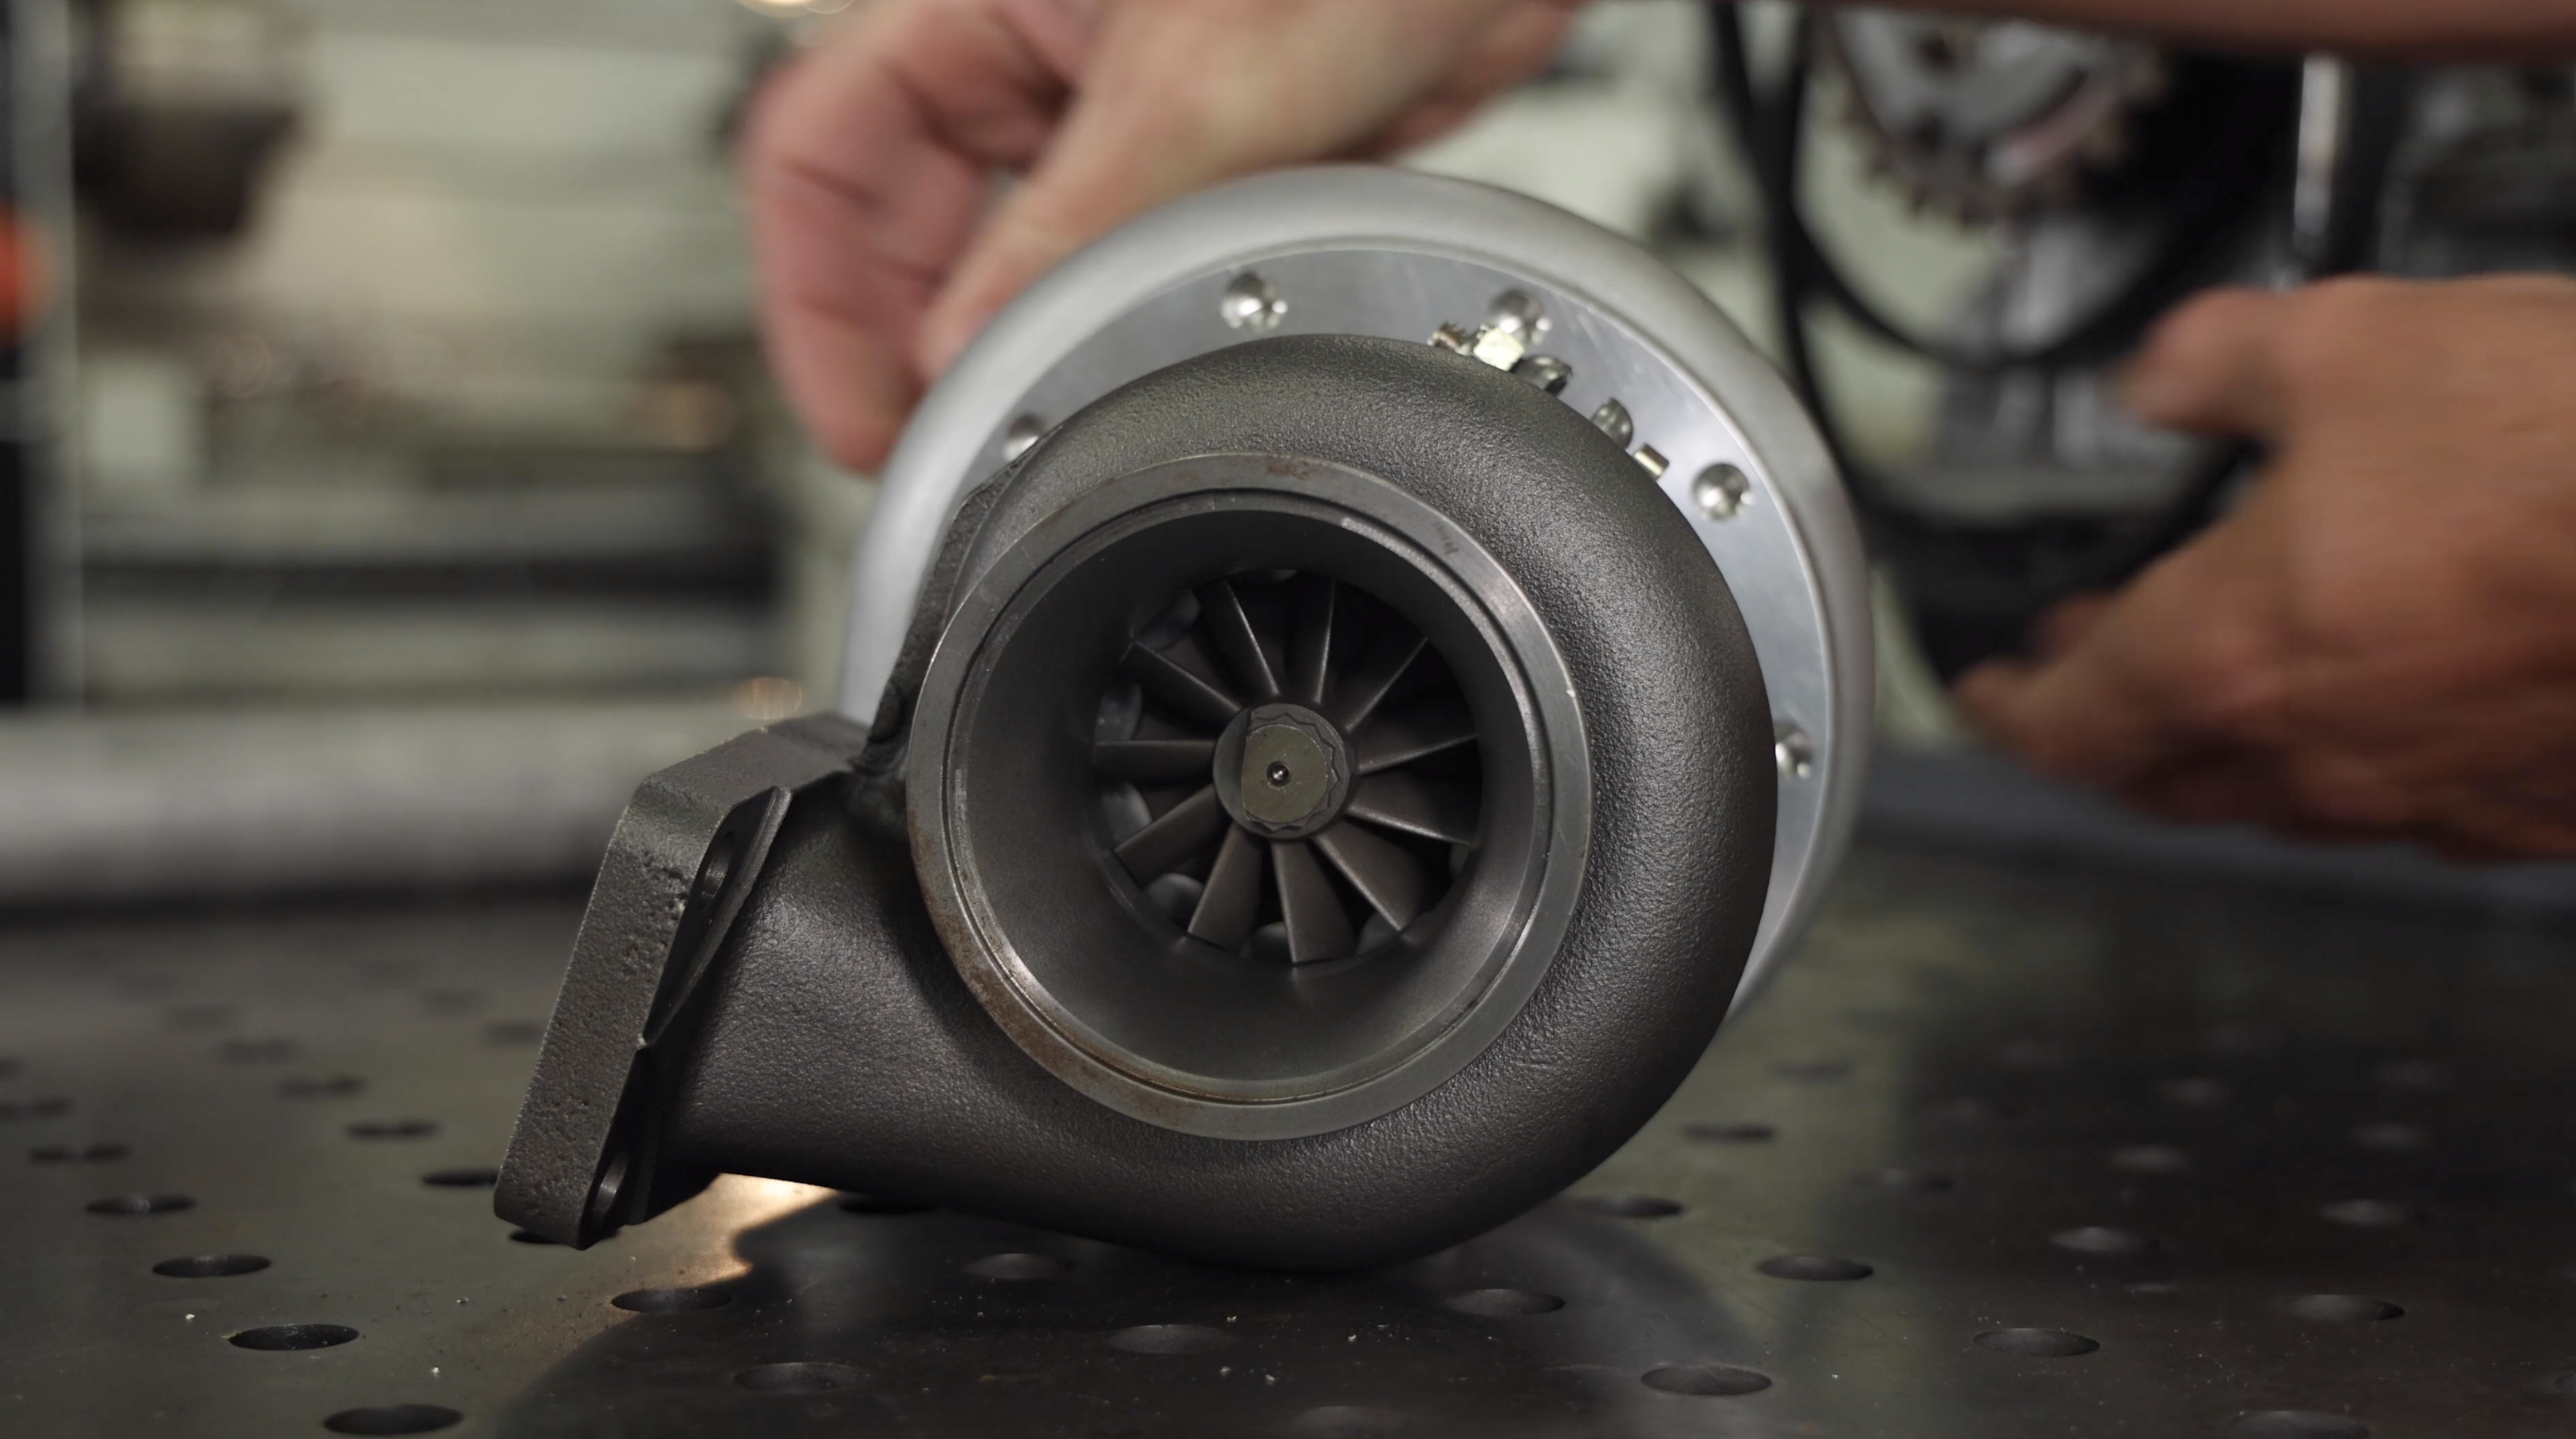
Call me old fashioned but I still stuck with the TD06 L2 20G 8cm, in my experience I just havn’t felt another turbo perform like these do, they are mega simple, mega small and very unsophisticated but they create a mid range punch in an SR20 that makes it feel like its producing way more power than they actually do.
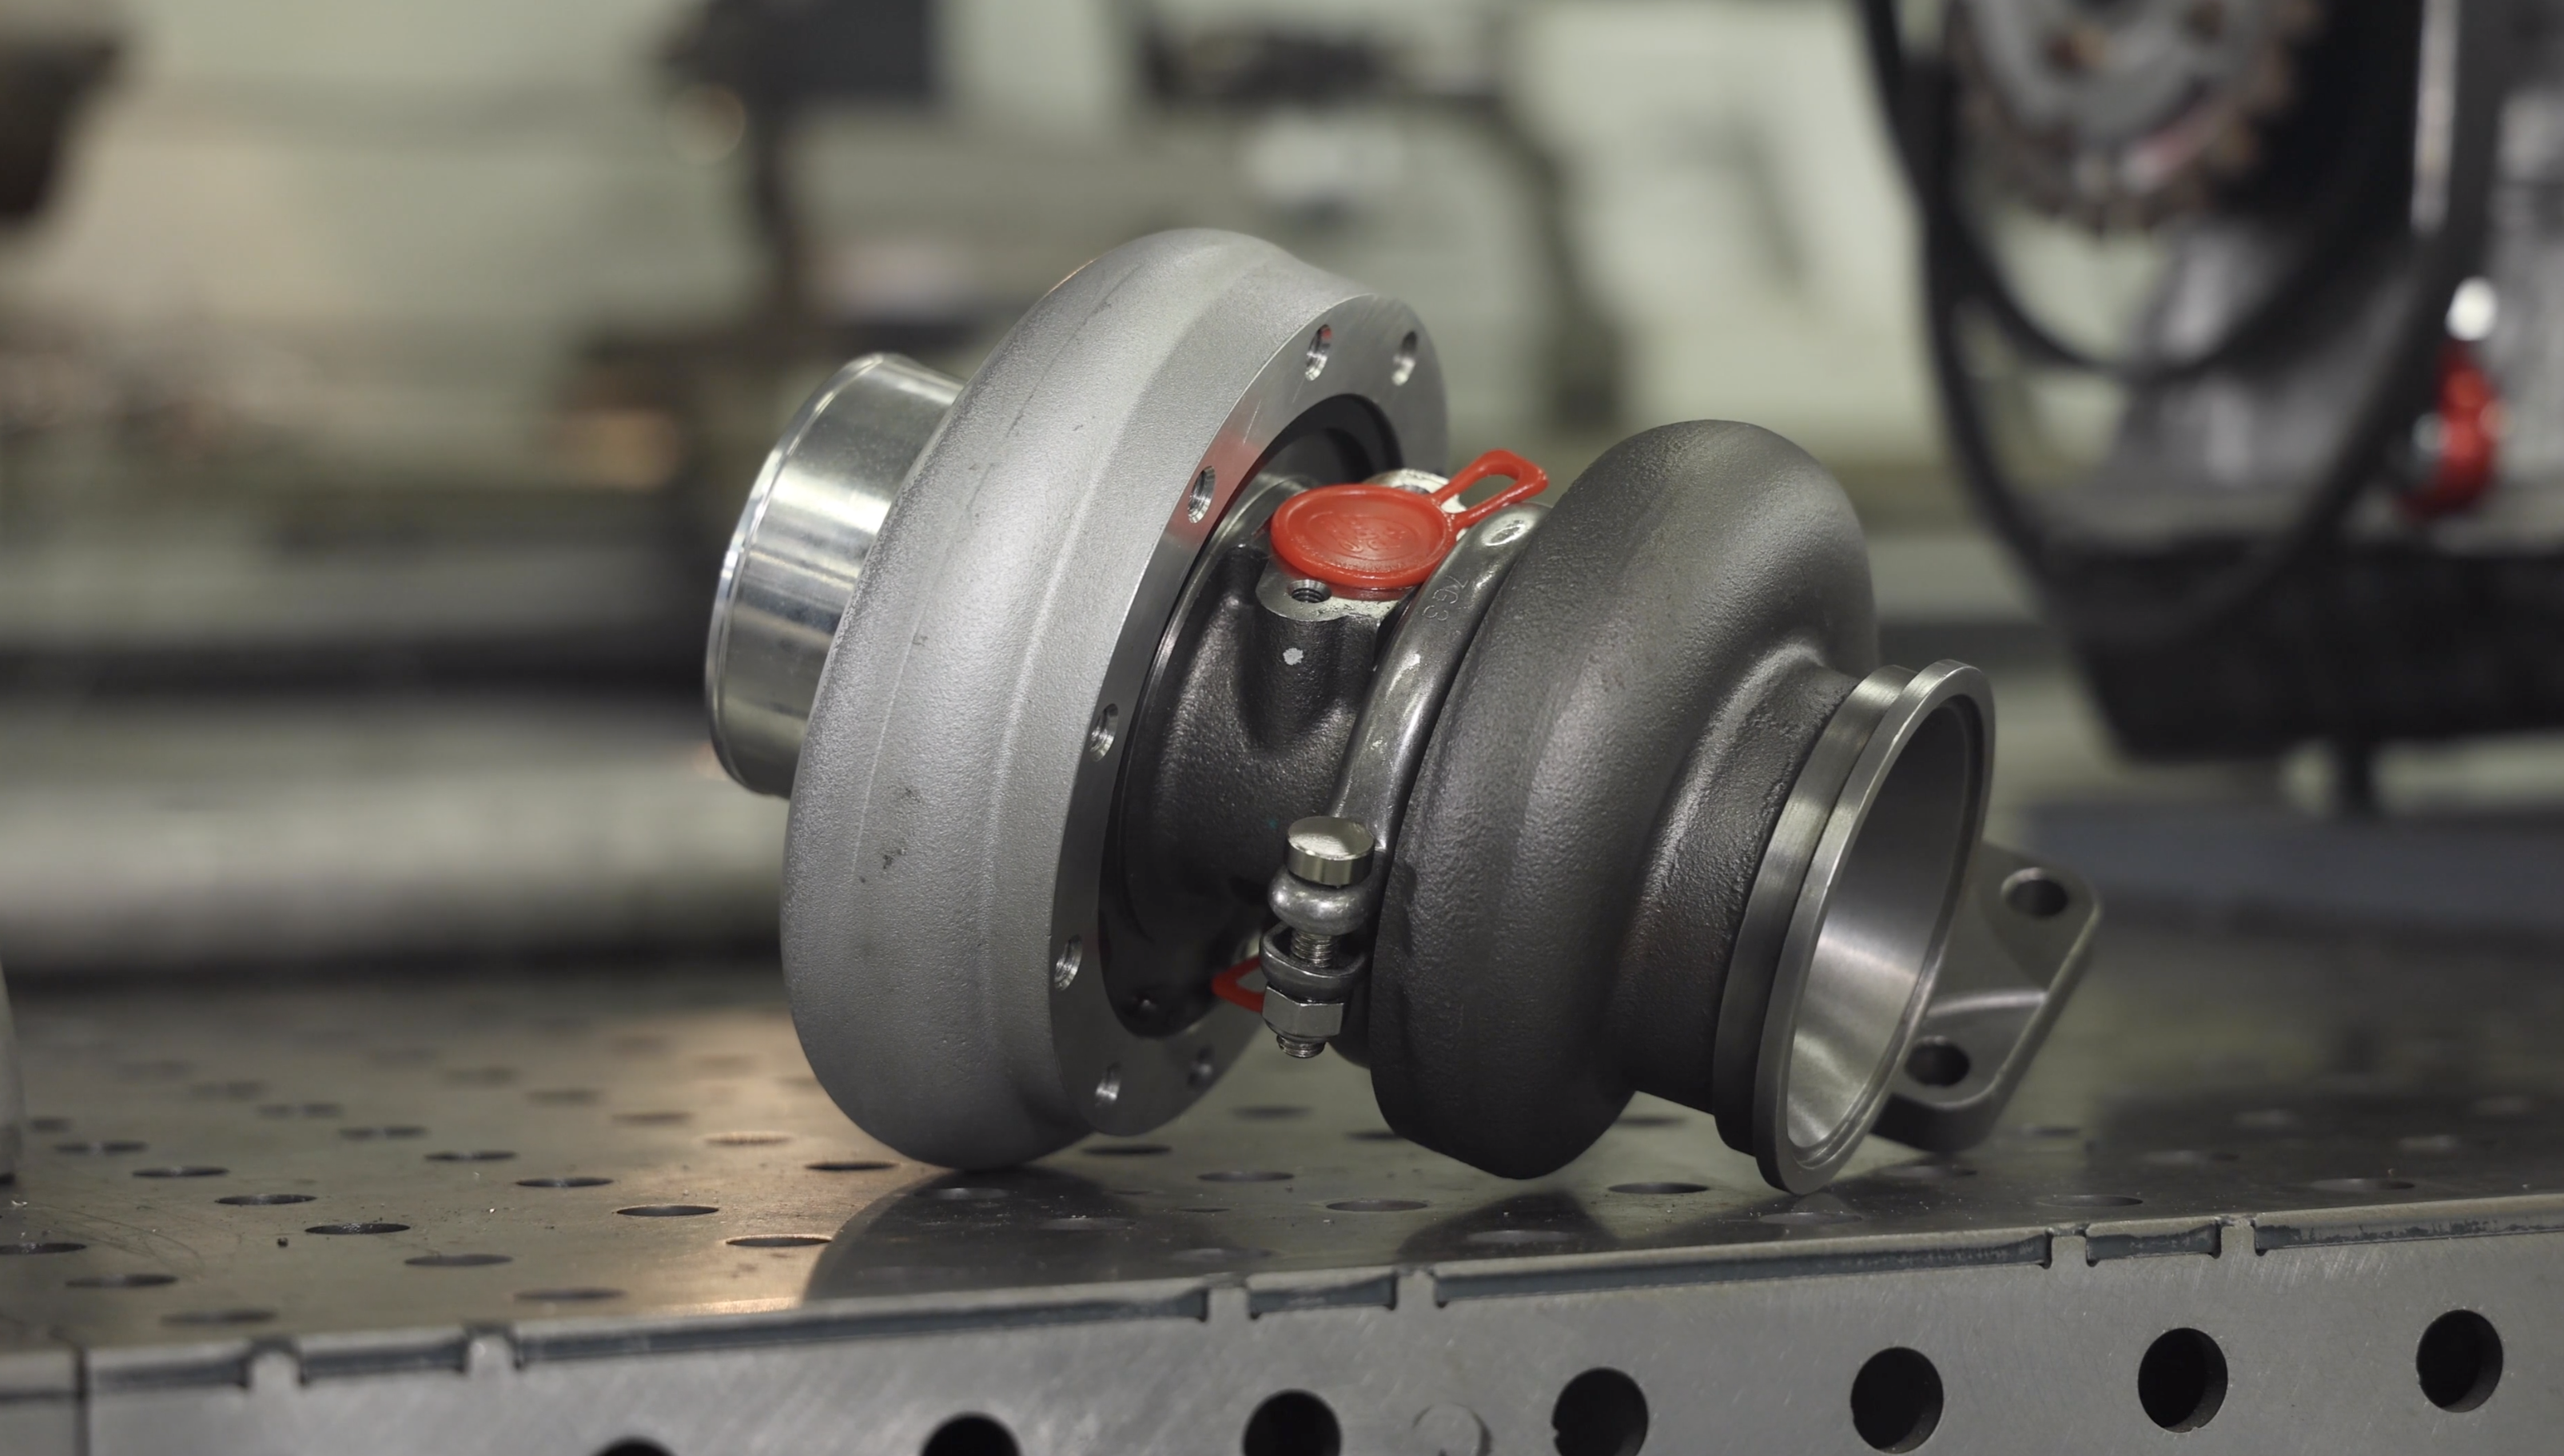
Genuine TRUST ones are hard to come by, I have one but I wanted to go with the T3 rear housing as the 3 bolt flange is susceptible to blowing out gaskets with only 3 M8 bolts holding the turbo on. Every car that I run a 3 bolt flange on I have welded it to the manifold, this eliminates the problem but a T3 flange will do the same.
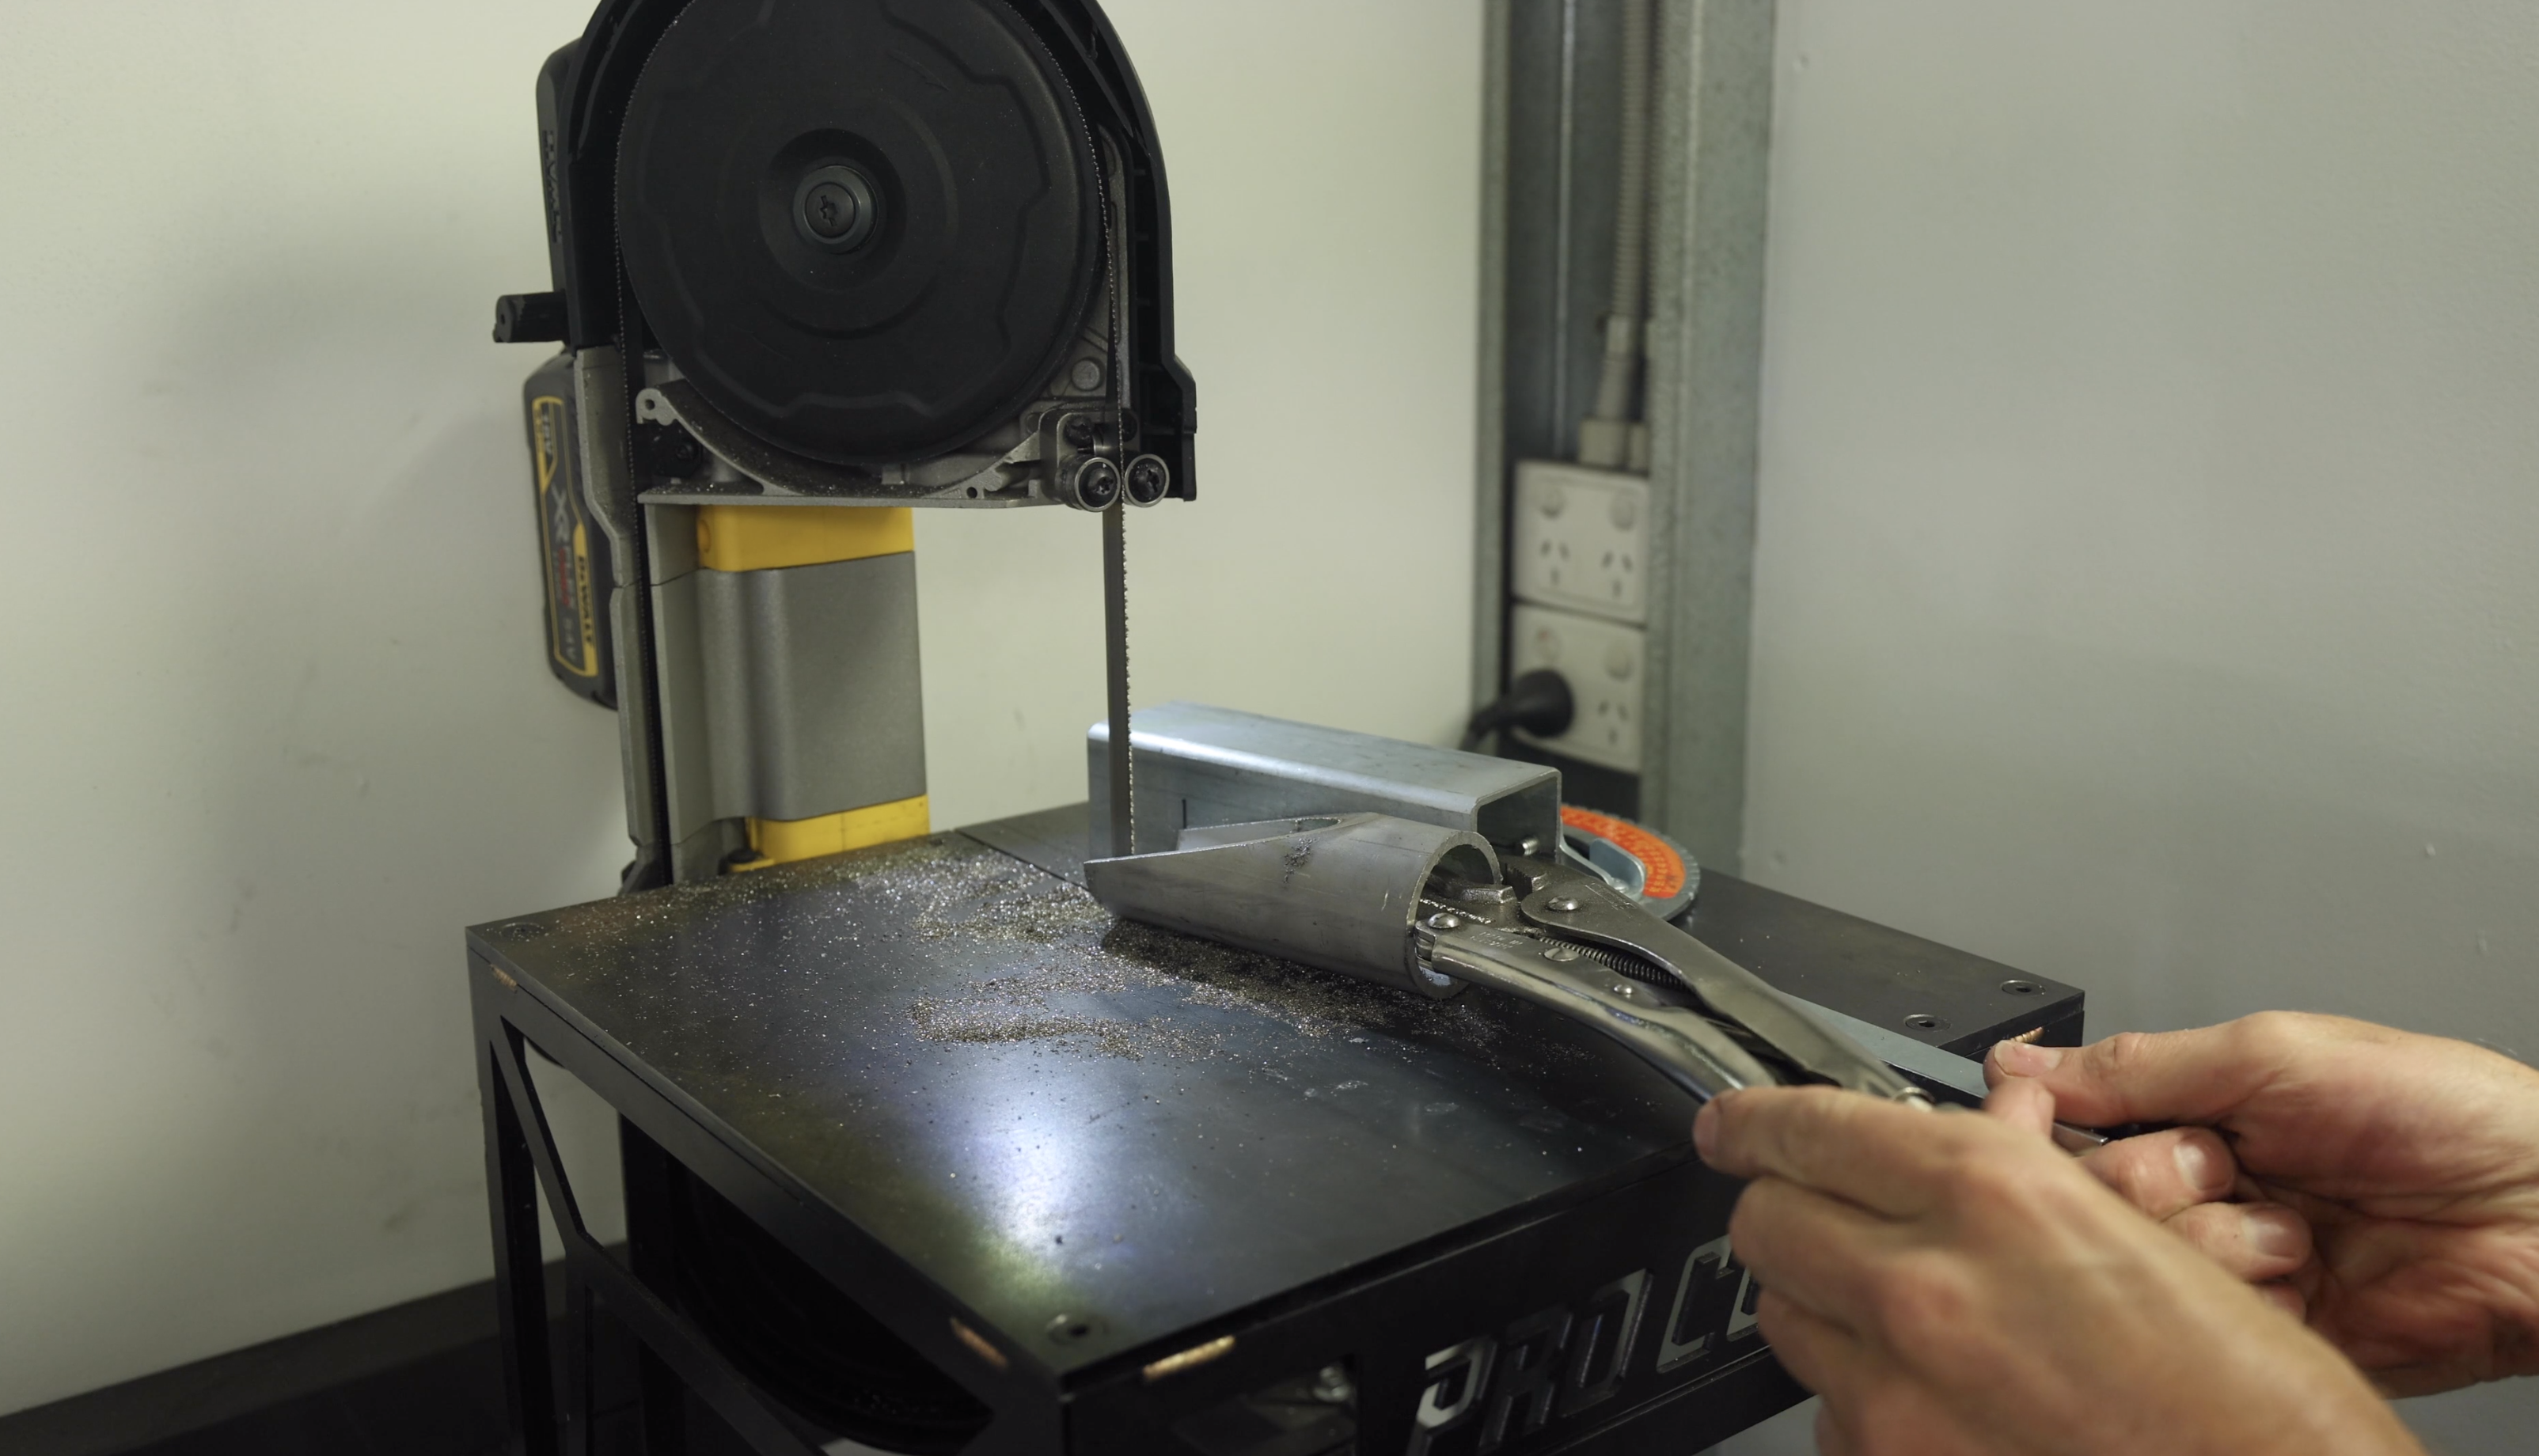
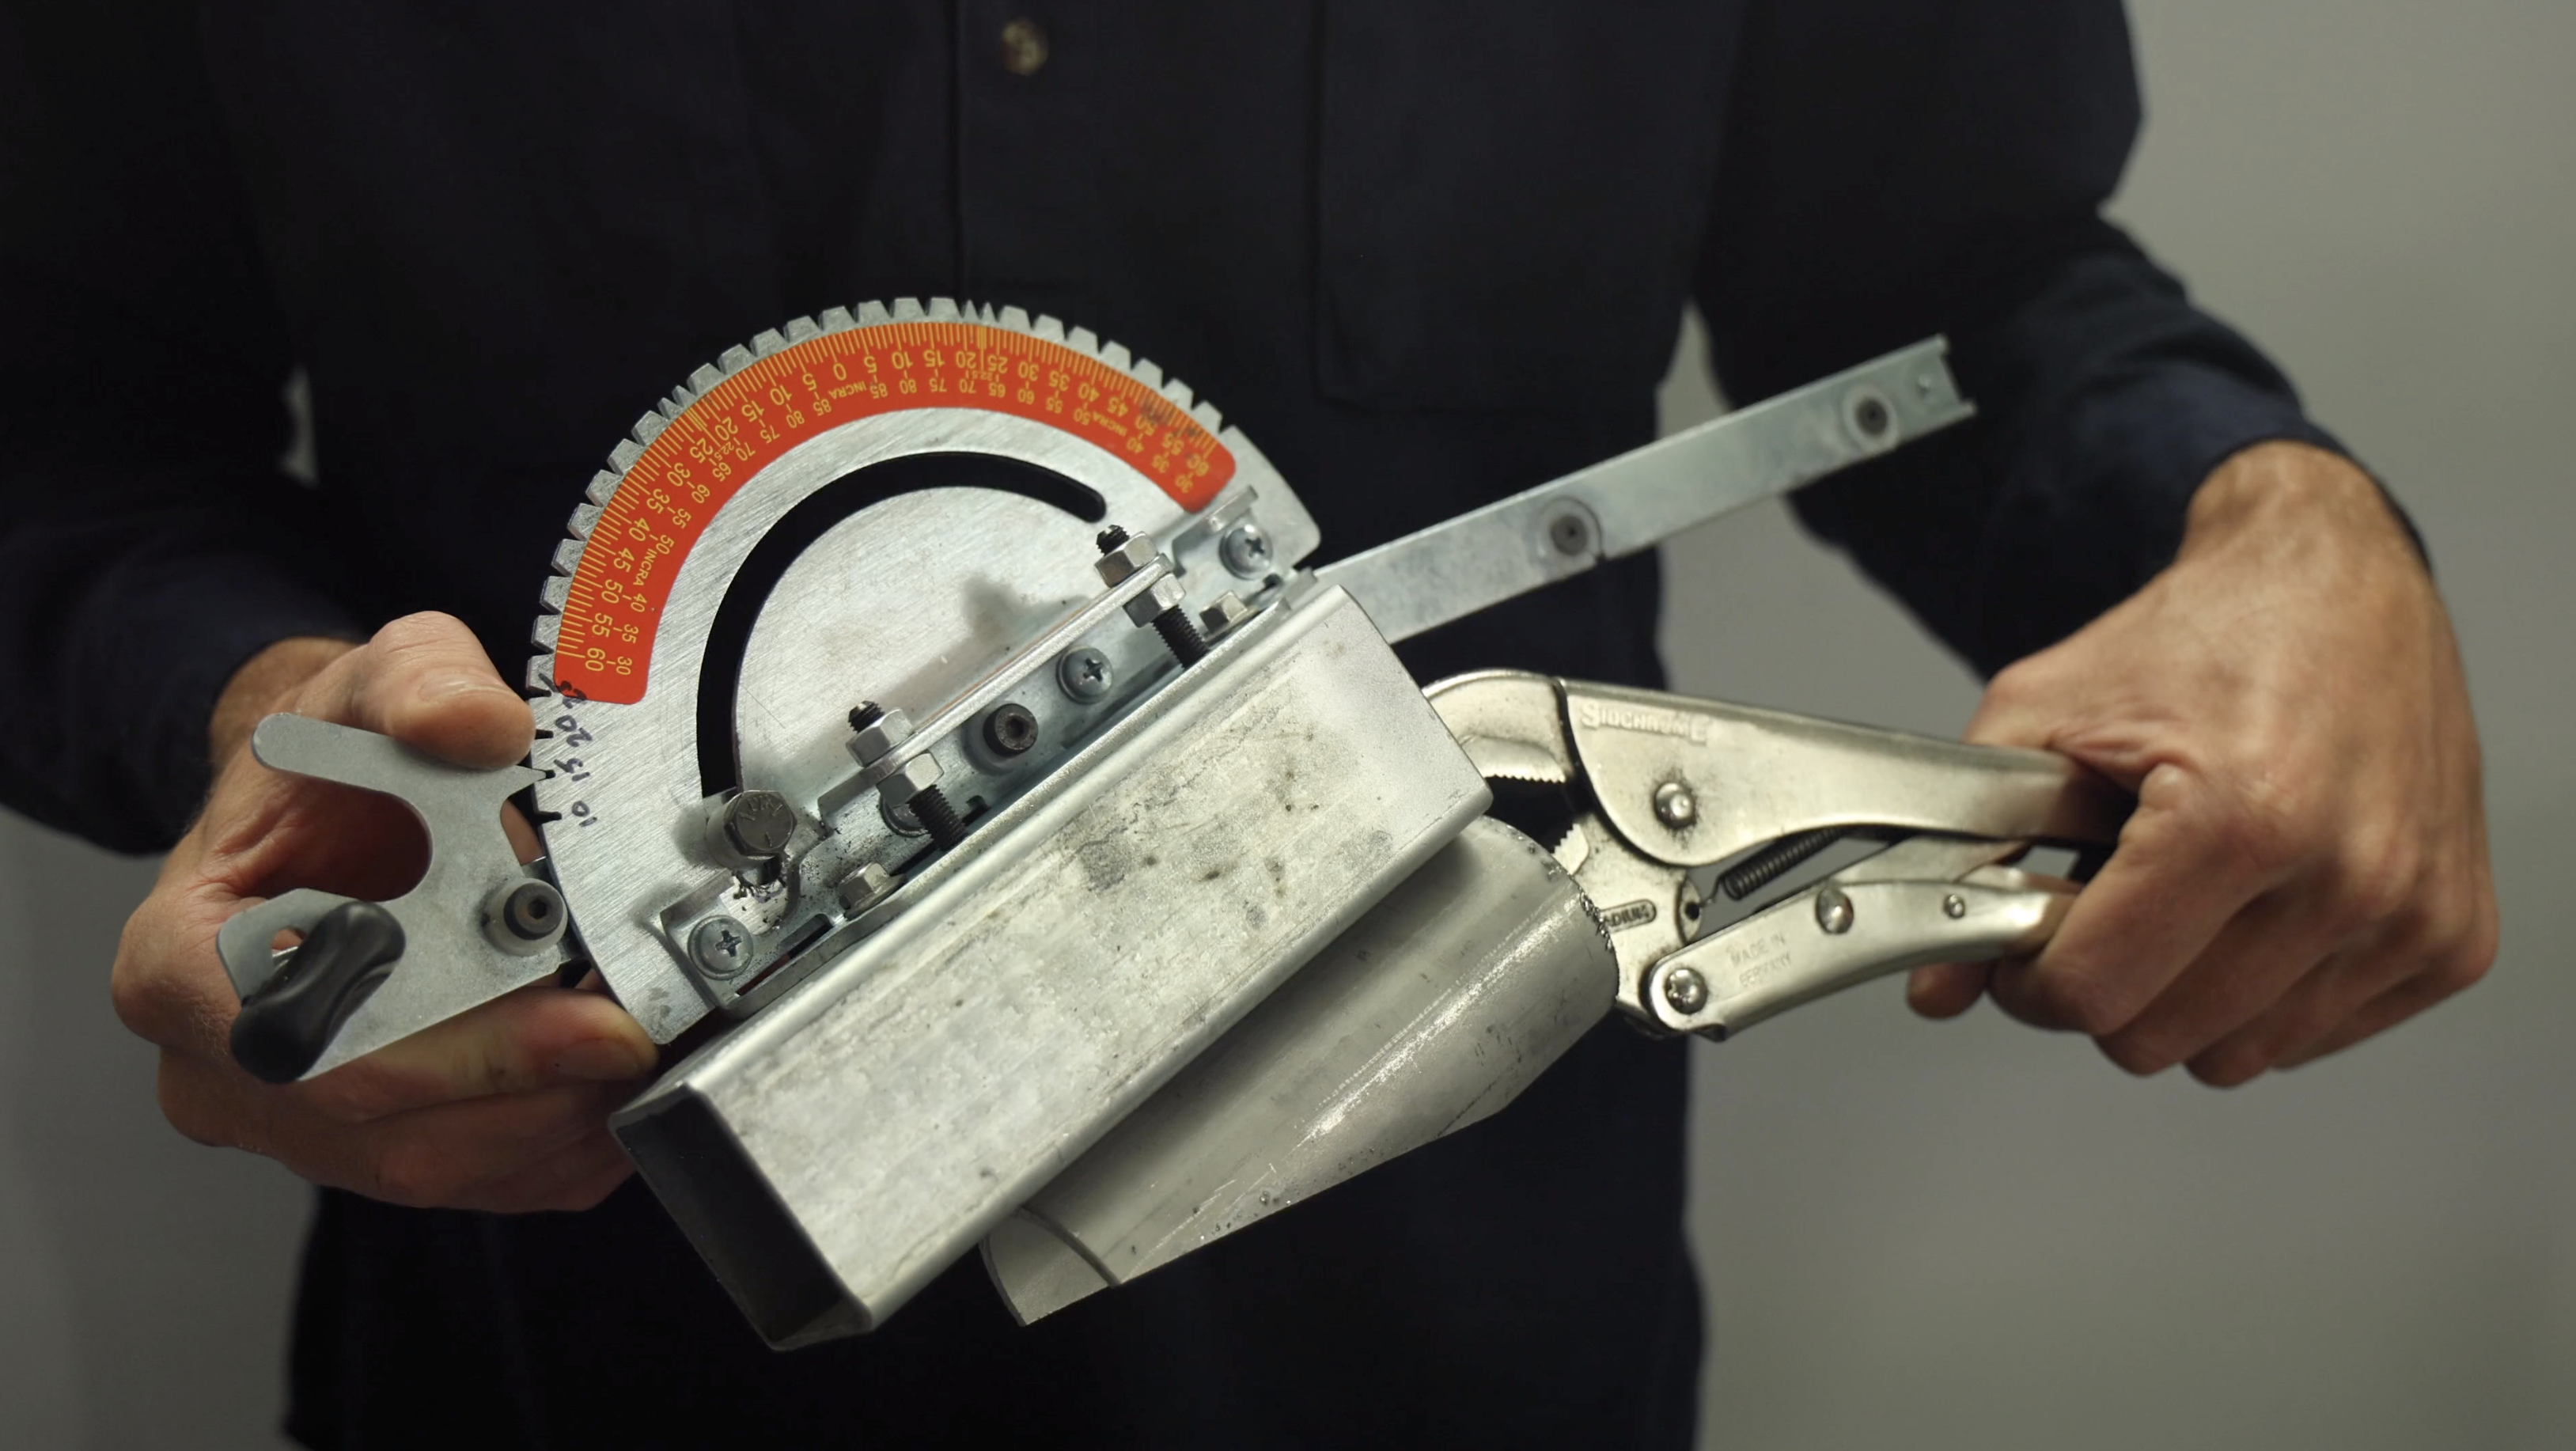
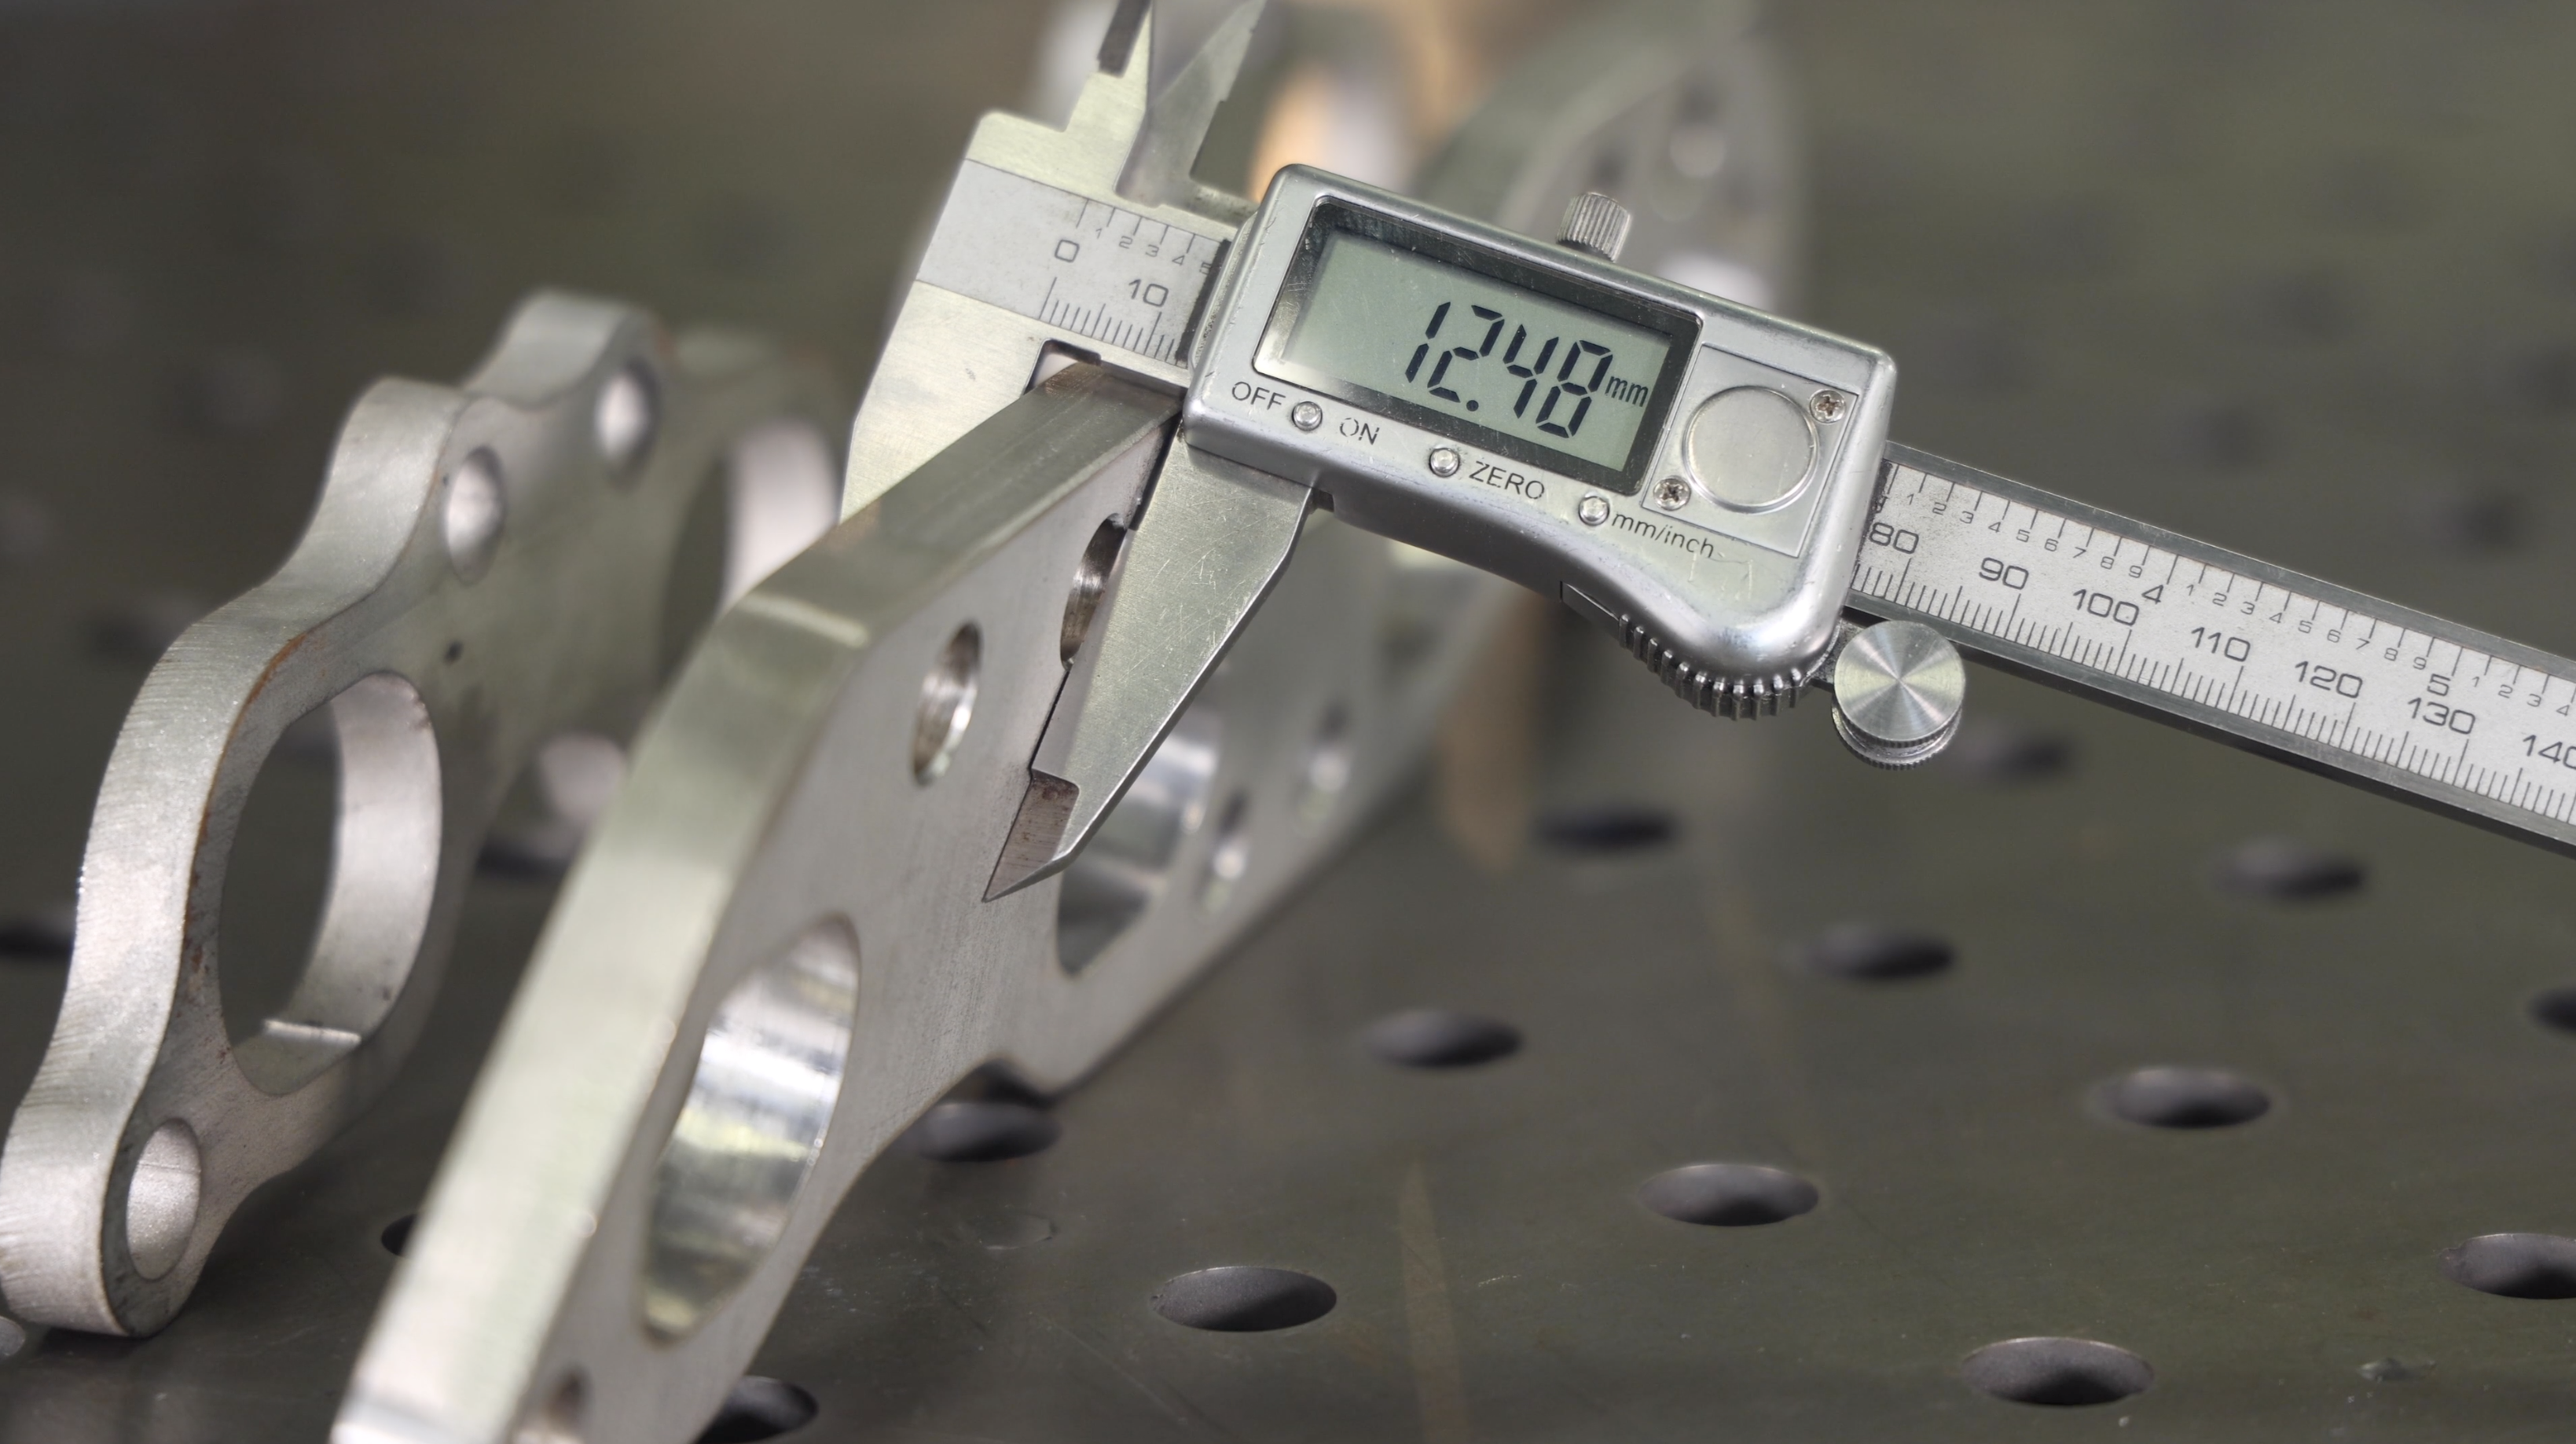
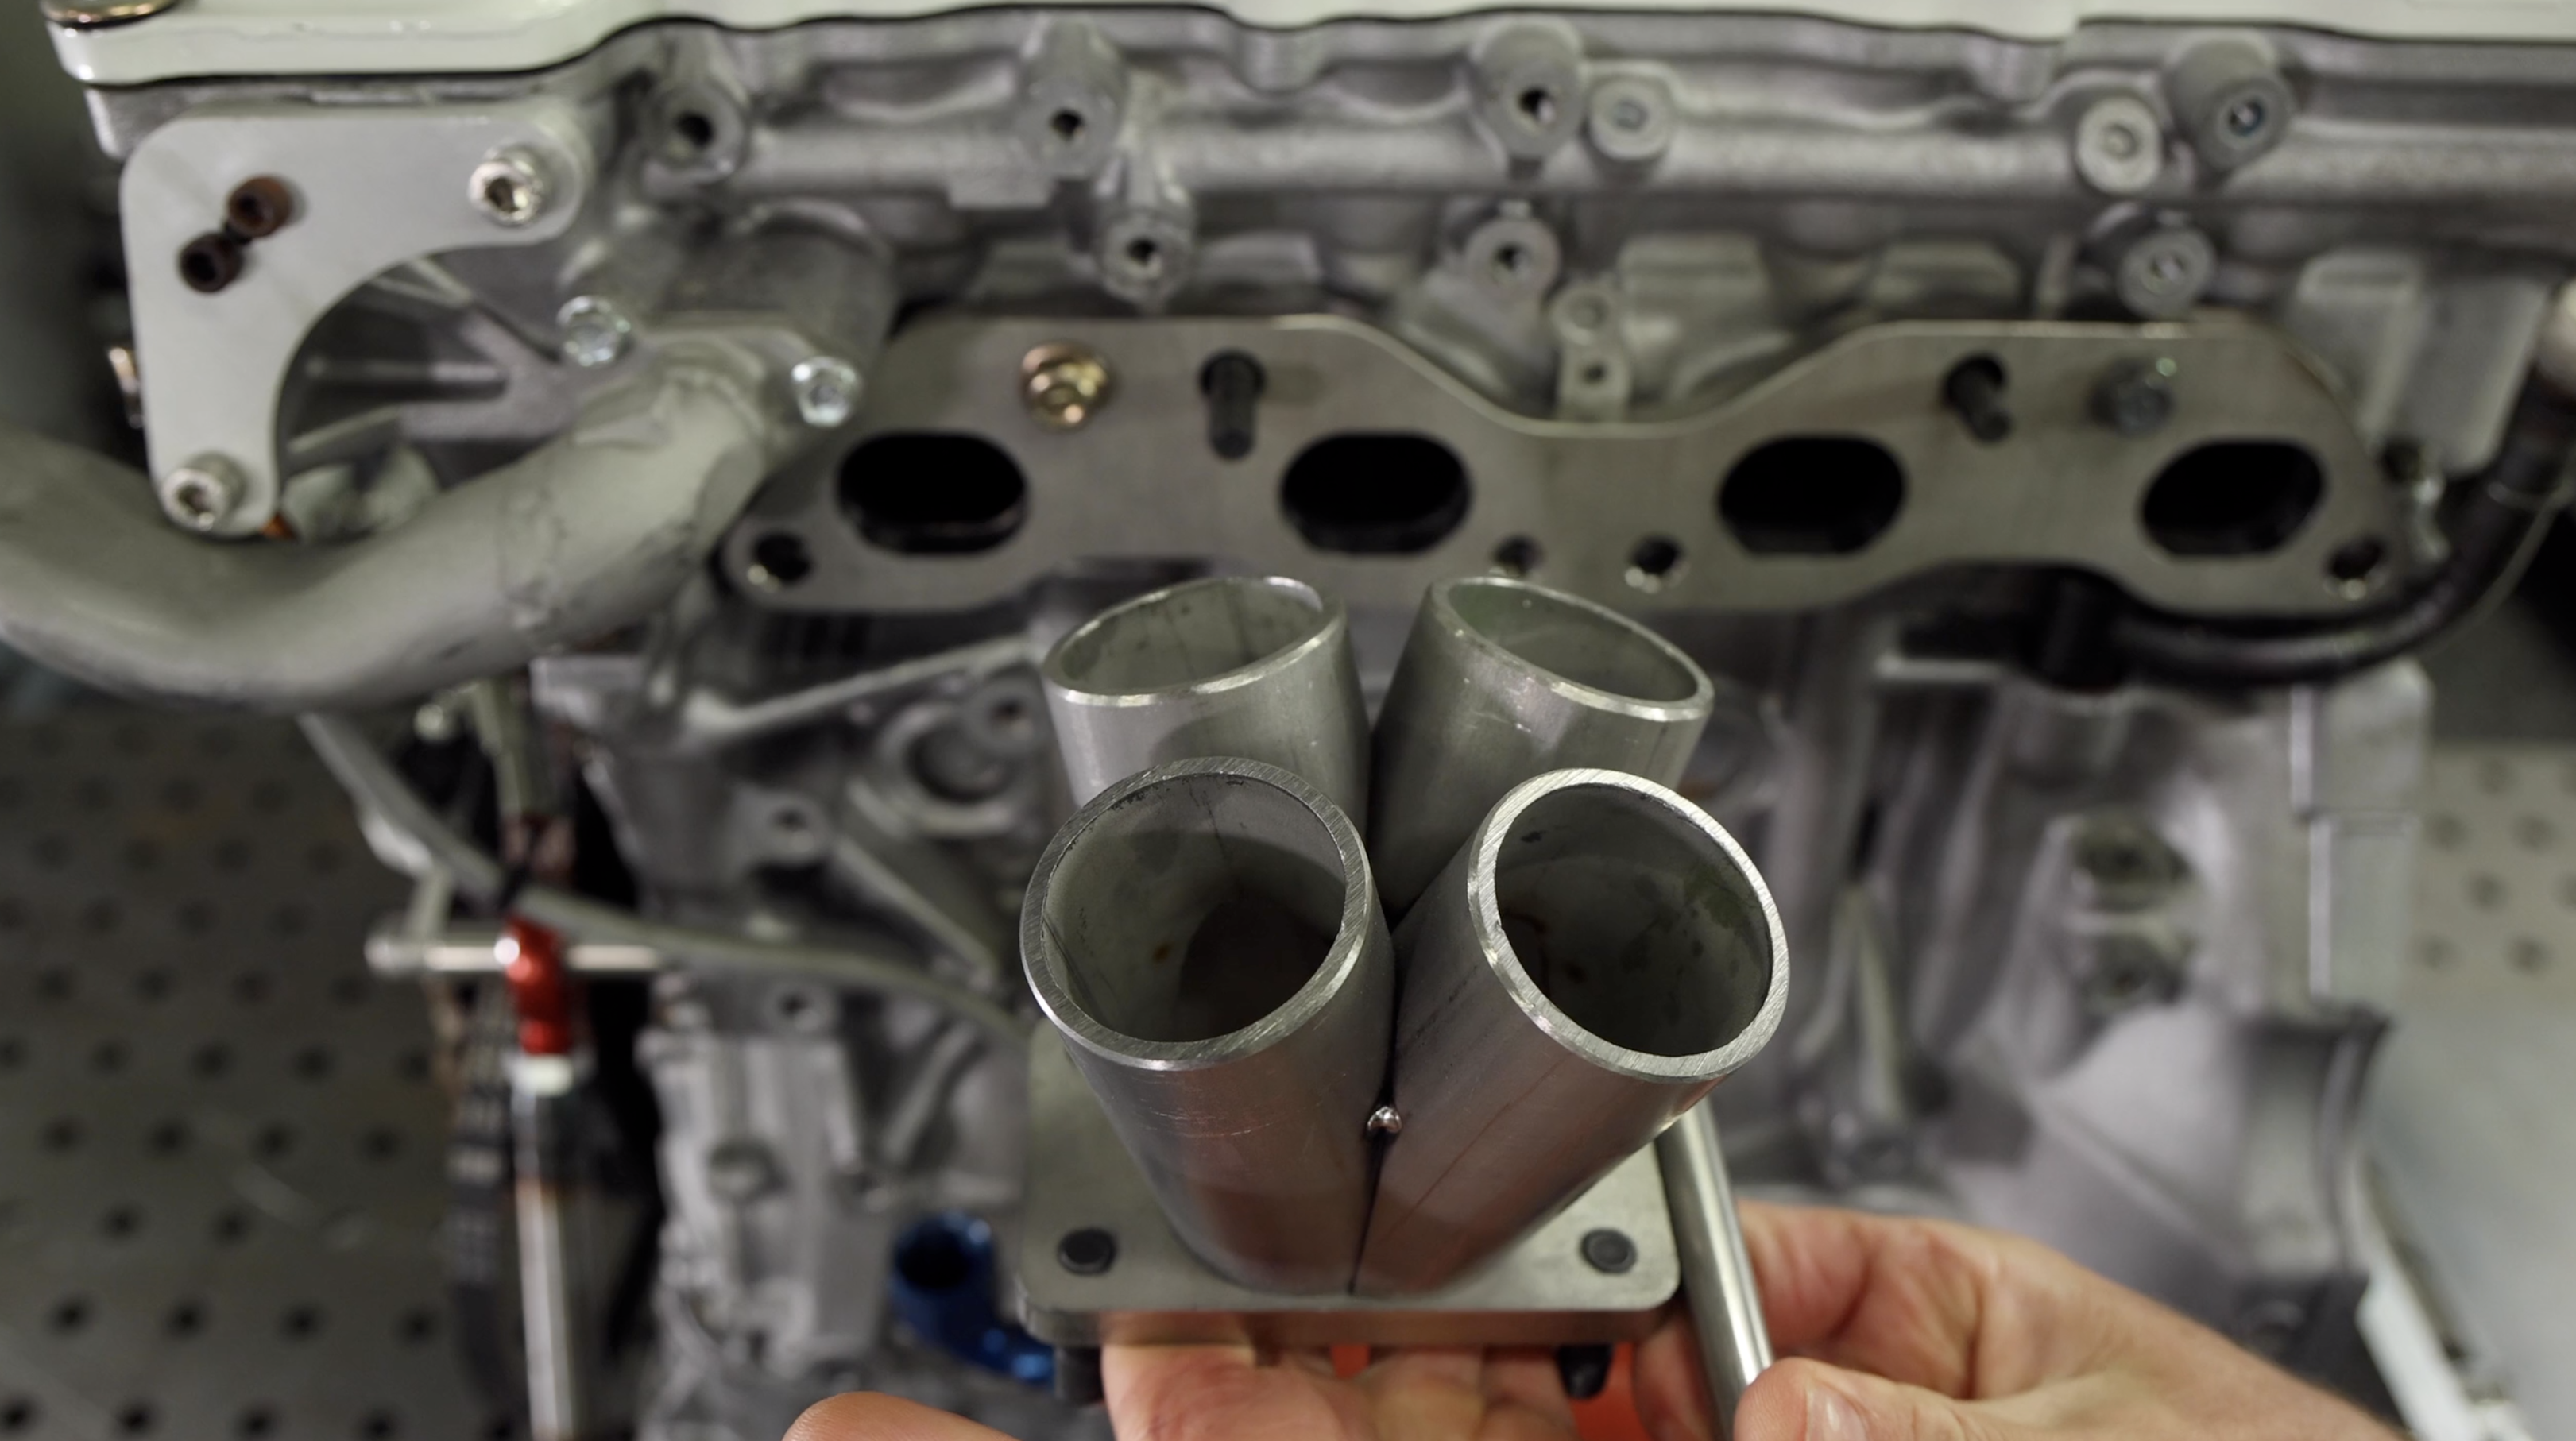
My first port of call was to make the merge collector, if these cuts confuse you then your not alone, take the course and I will give you all you need to know to be able to make your own. Its not that hard once you setup for the process.
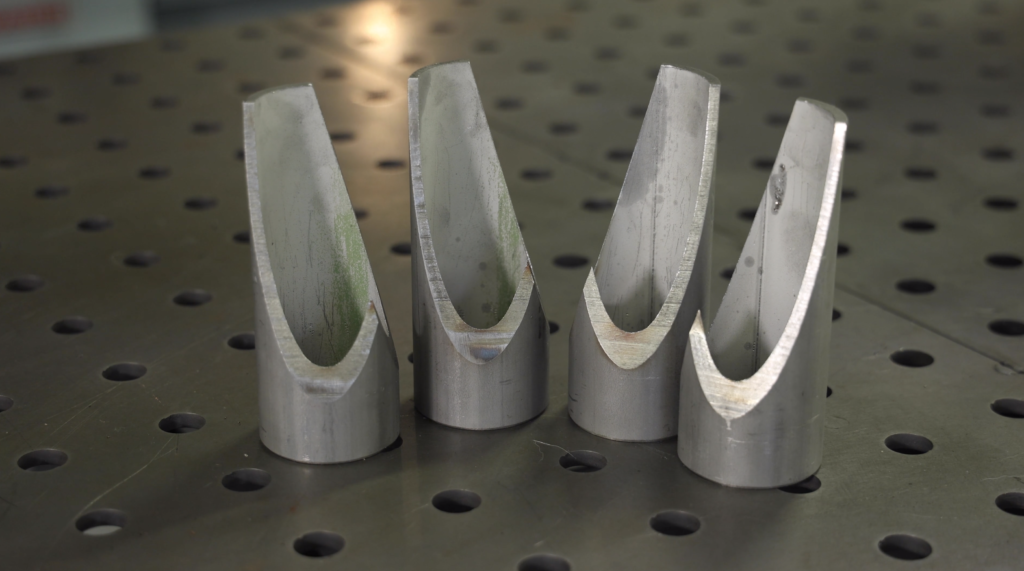
I have a Pro-Cut table with a cordless bandsaw mounted to it and a Mitre track that I mount my tubes to for cutting, this set at 15 degrees took all the guesswork out of the process and with a 14TPI blade and some way it ripped through the Stainless Steel without a fuss.
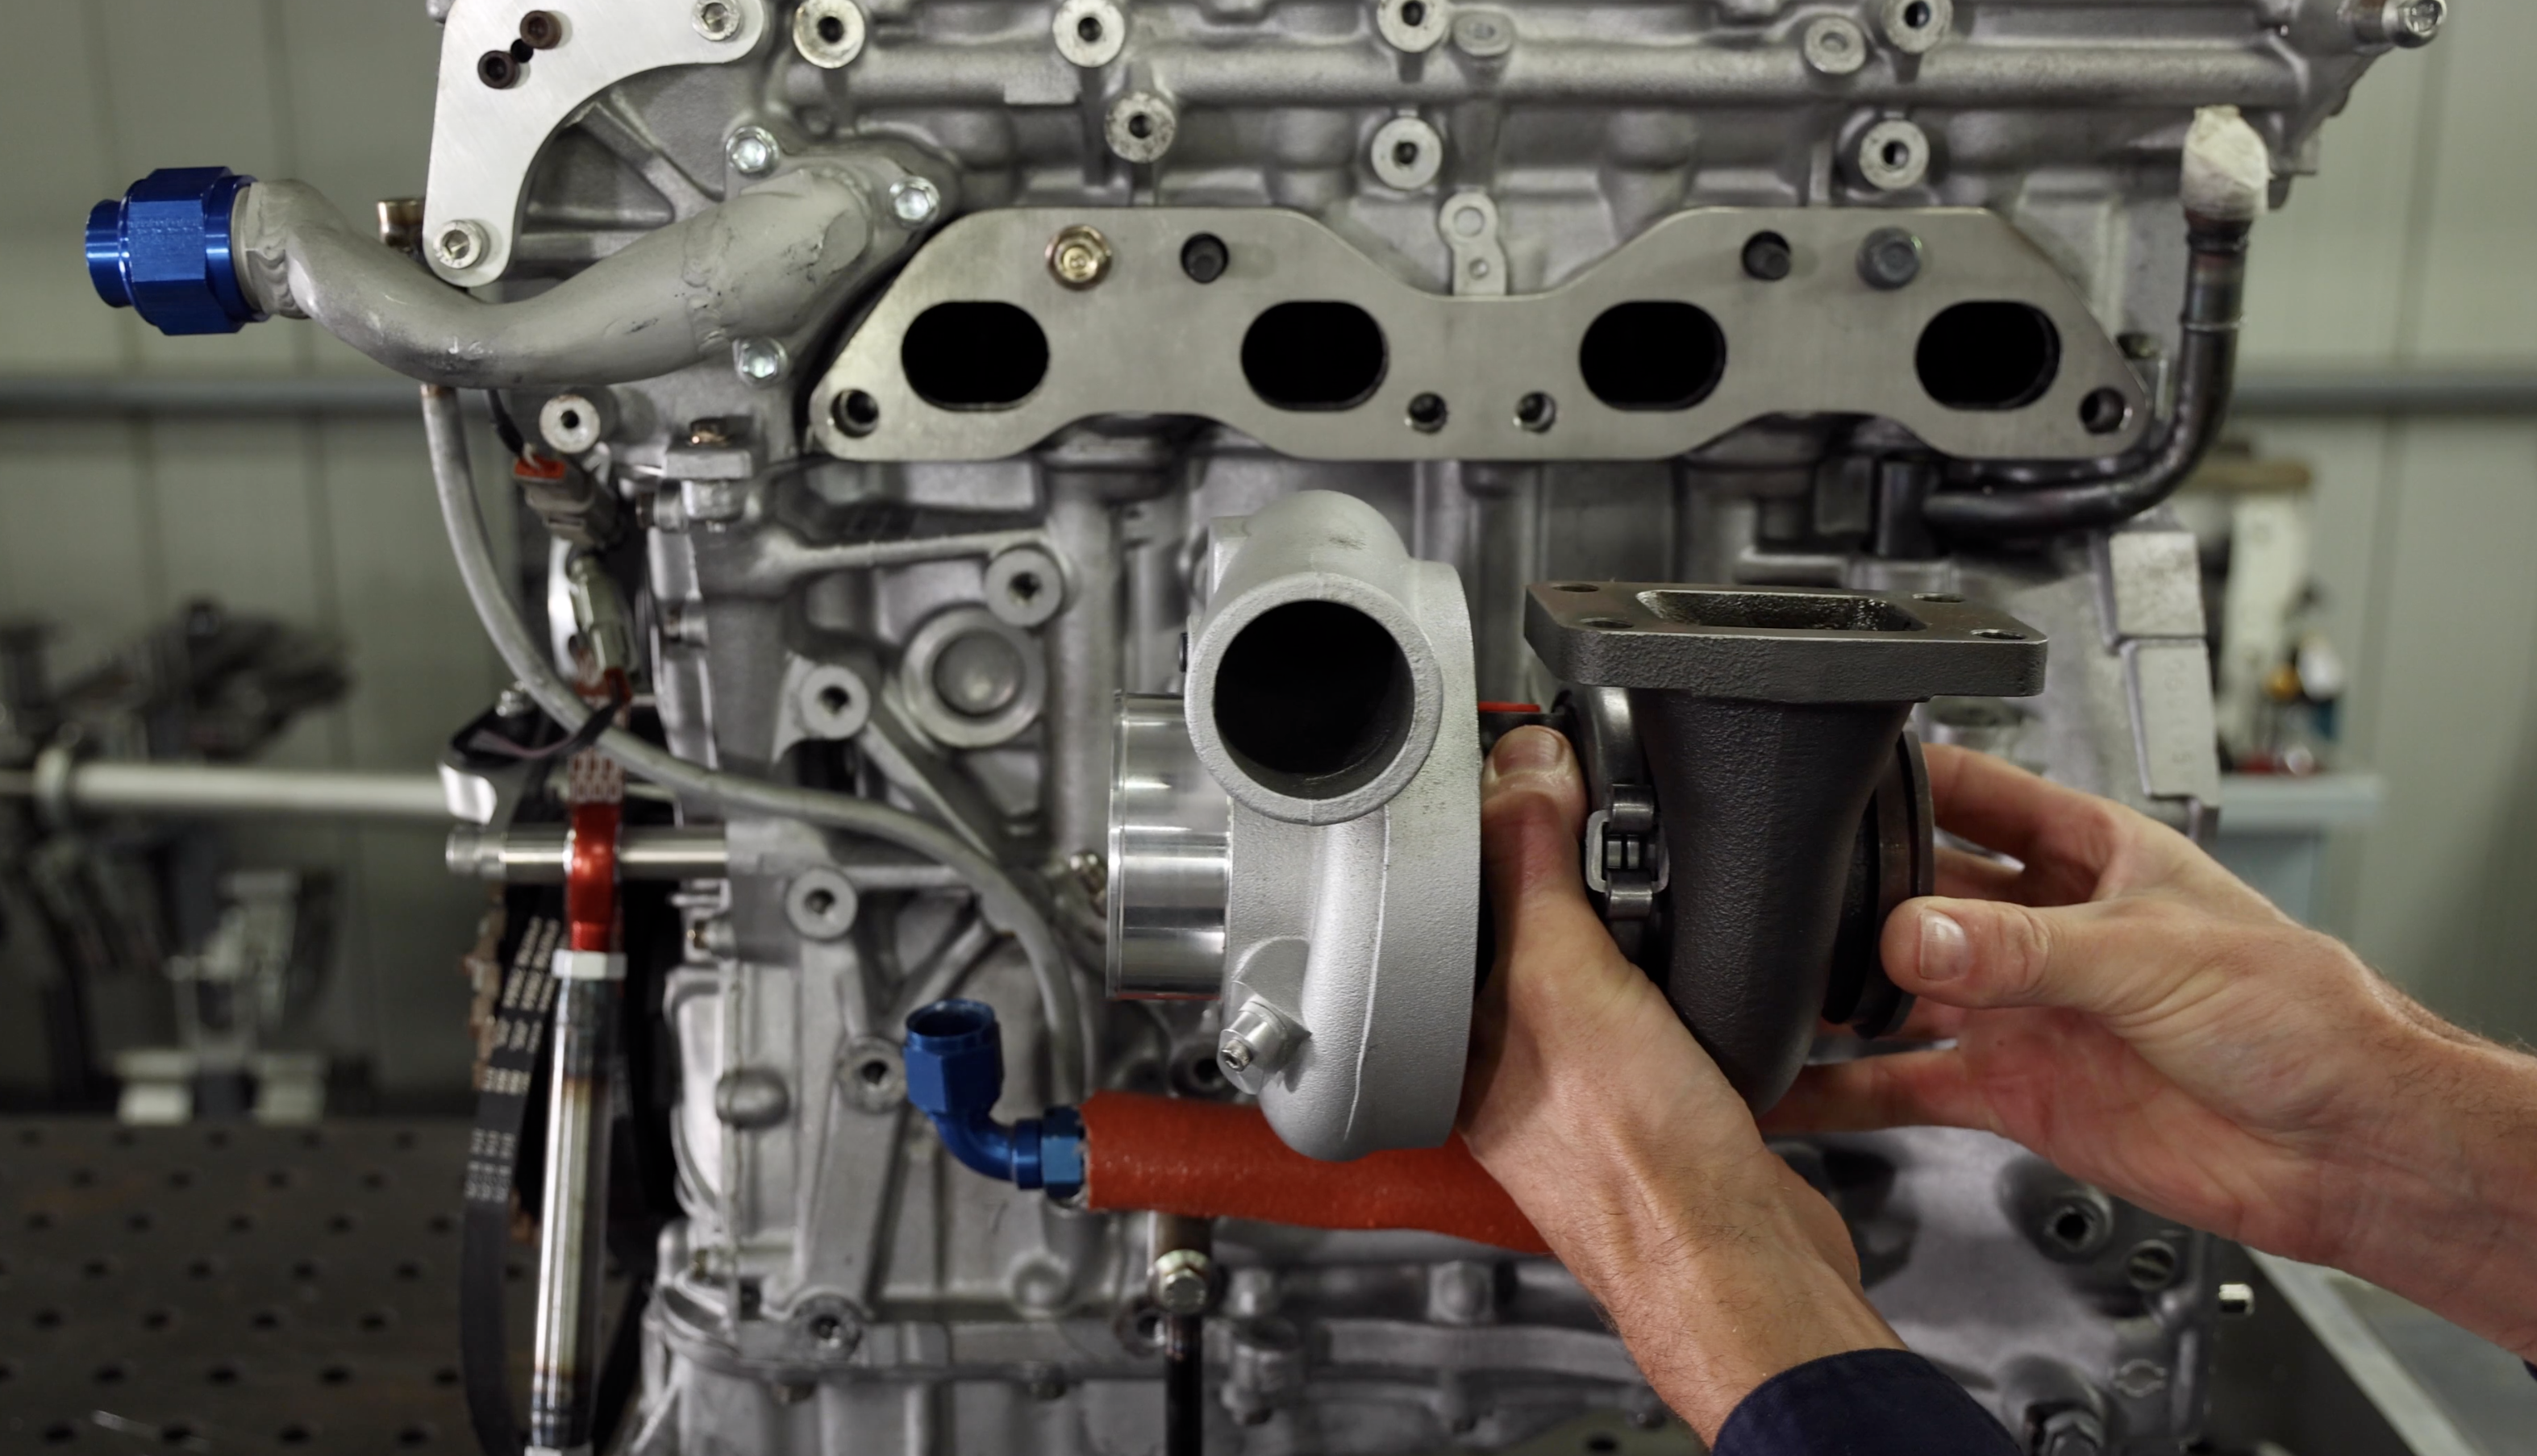
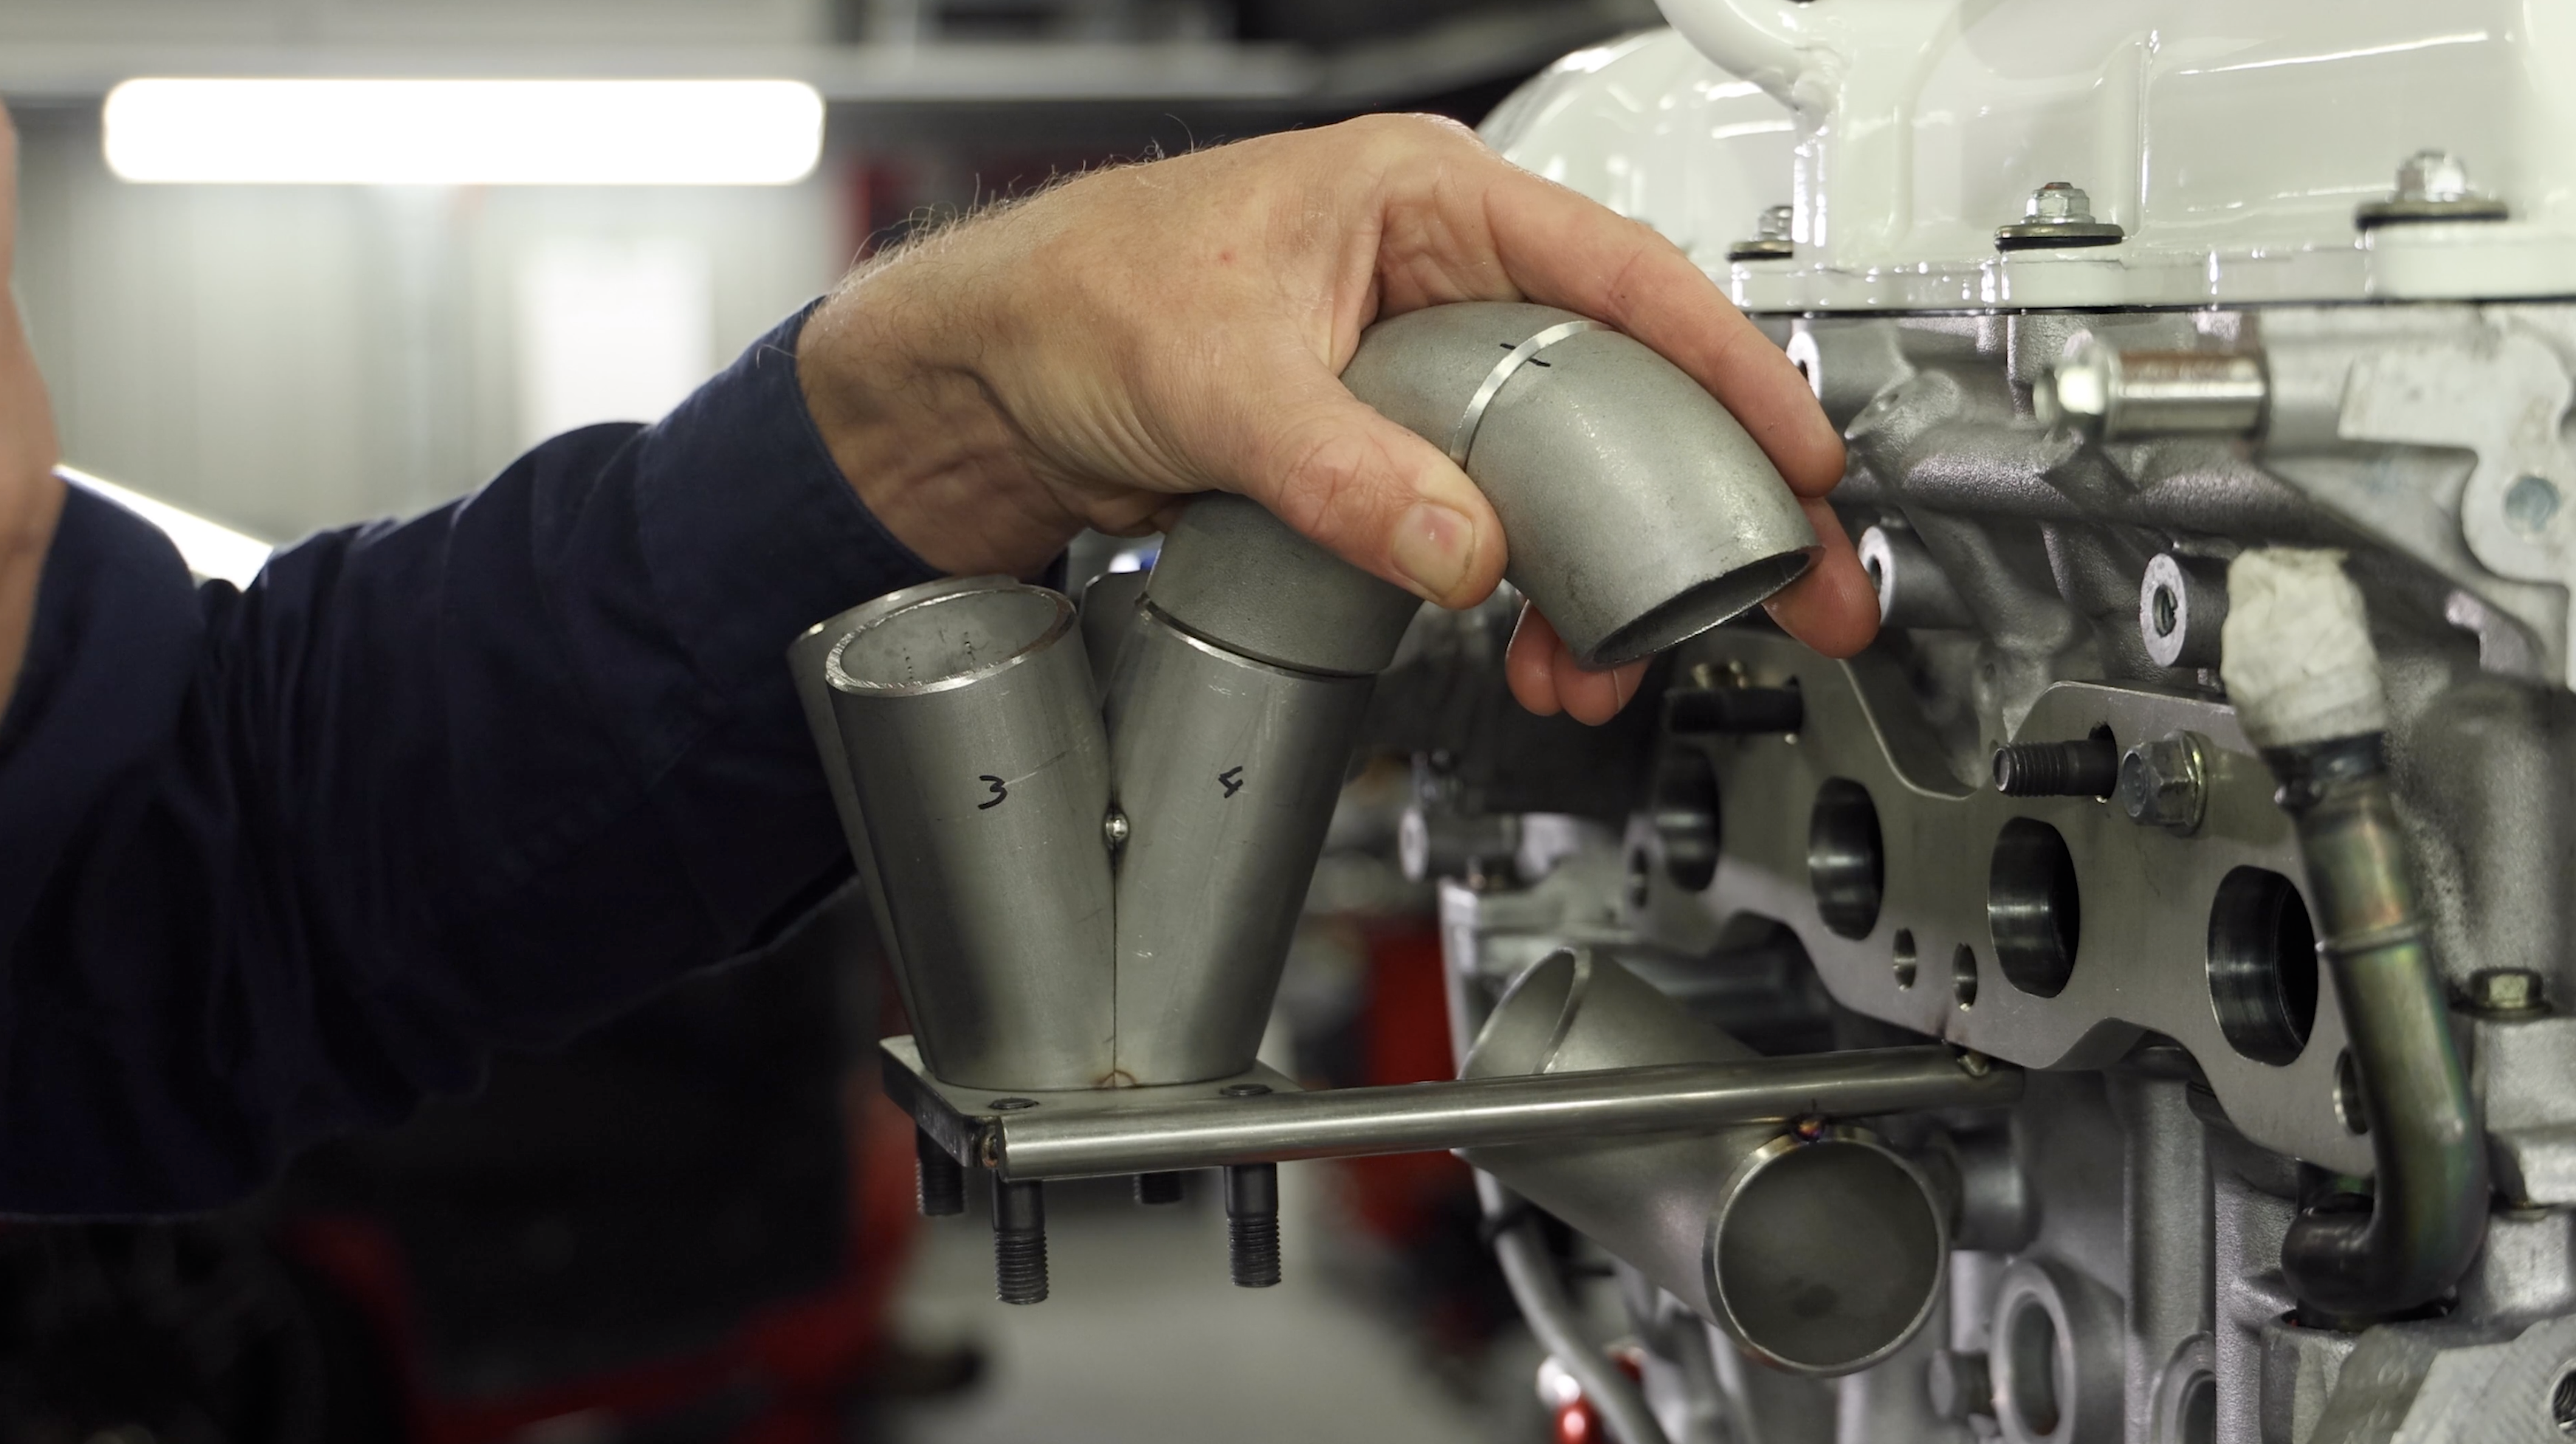
With that completed I could then position the turbo, this is not easy but this tip will save you a whole lot of pain. Grab a piece of matching material solid 10-12mm bar and tack weld it onto the base of the header flange and then onto the side of the turbo flange.
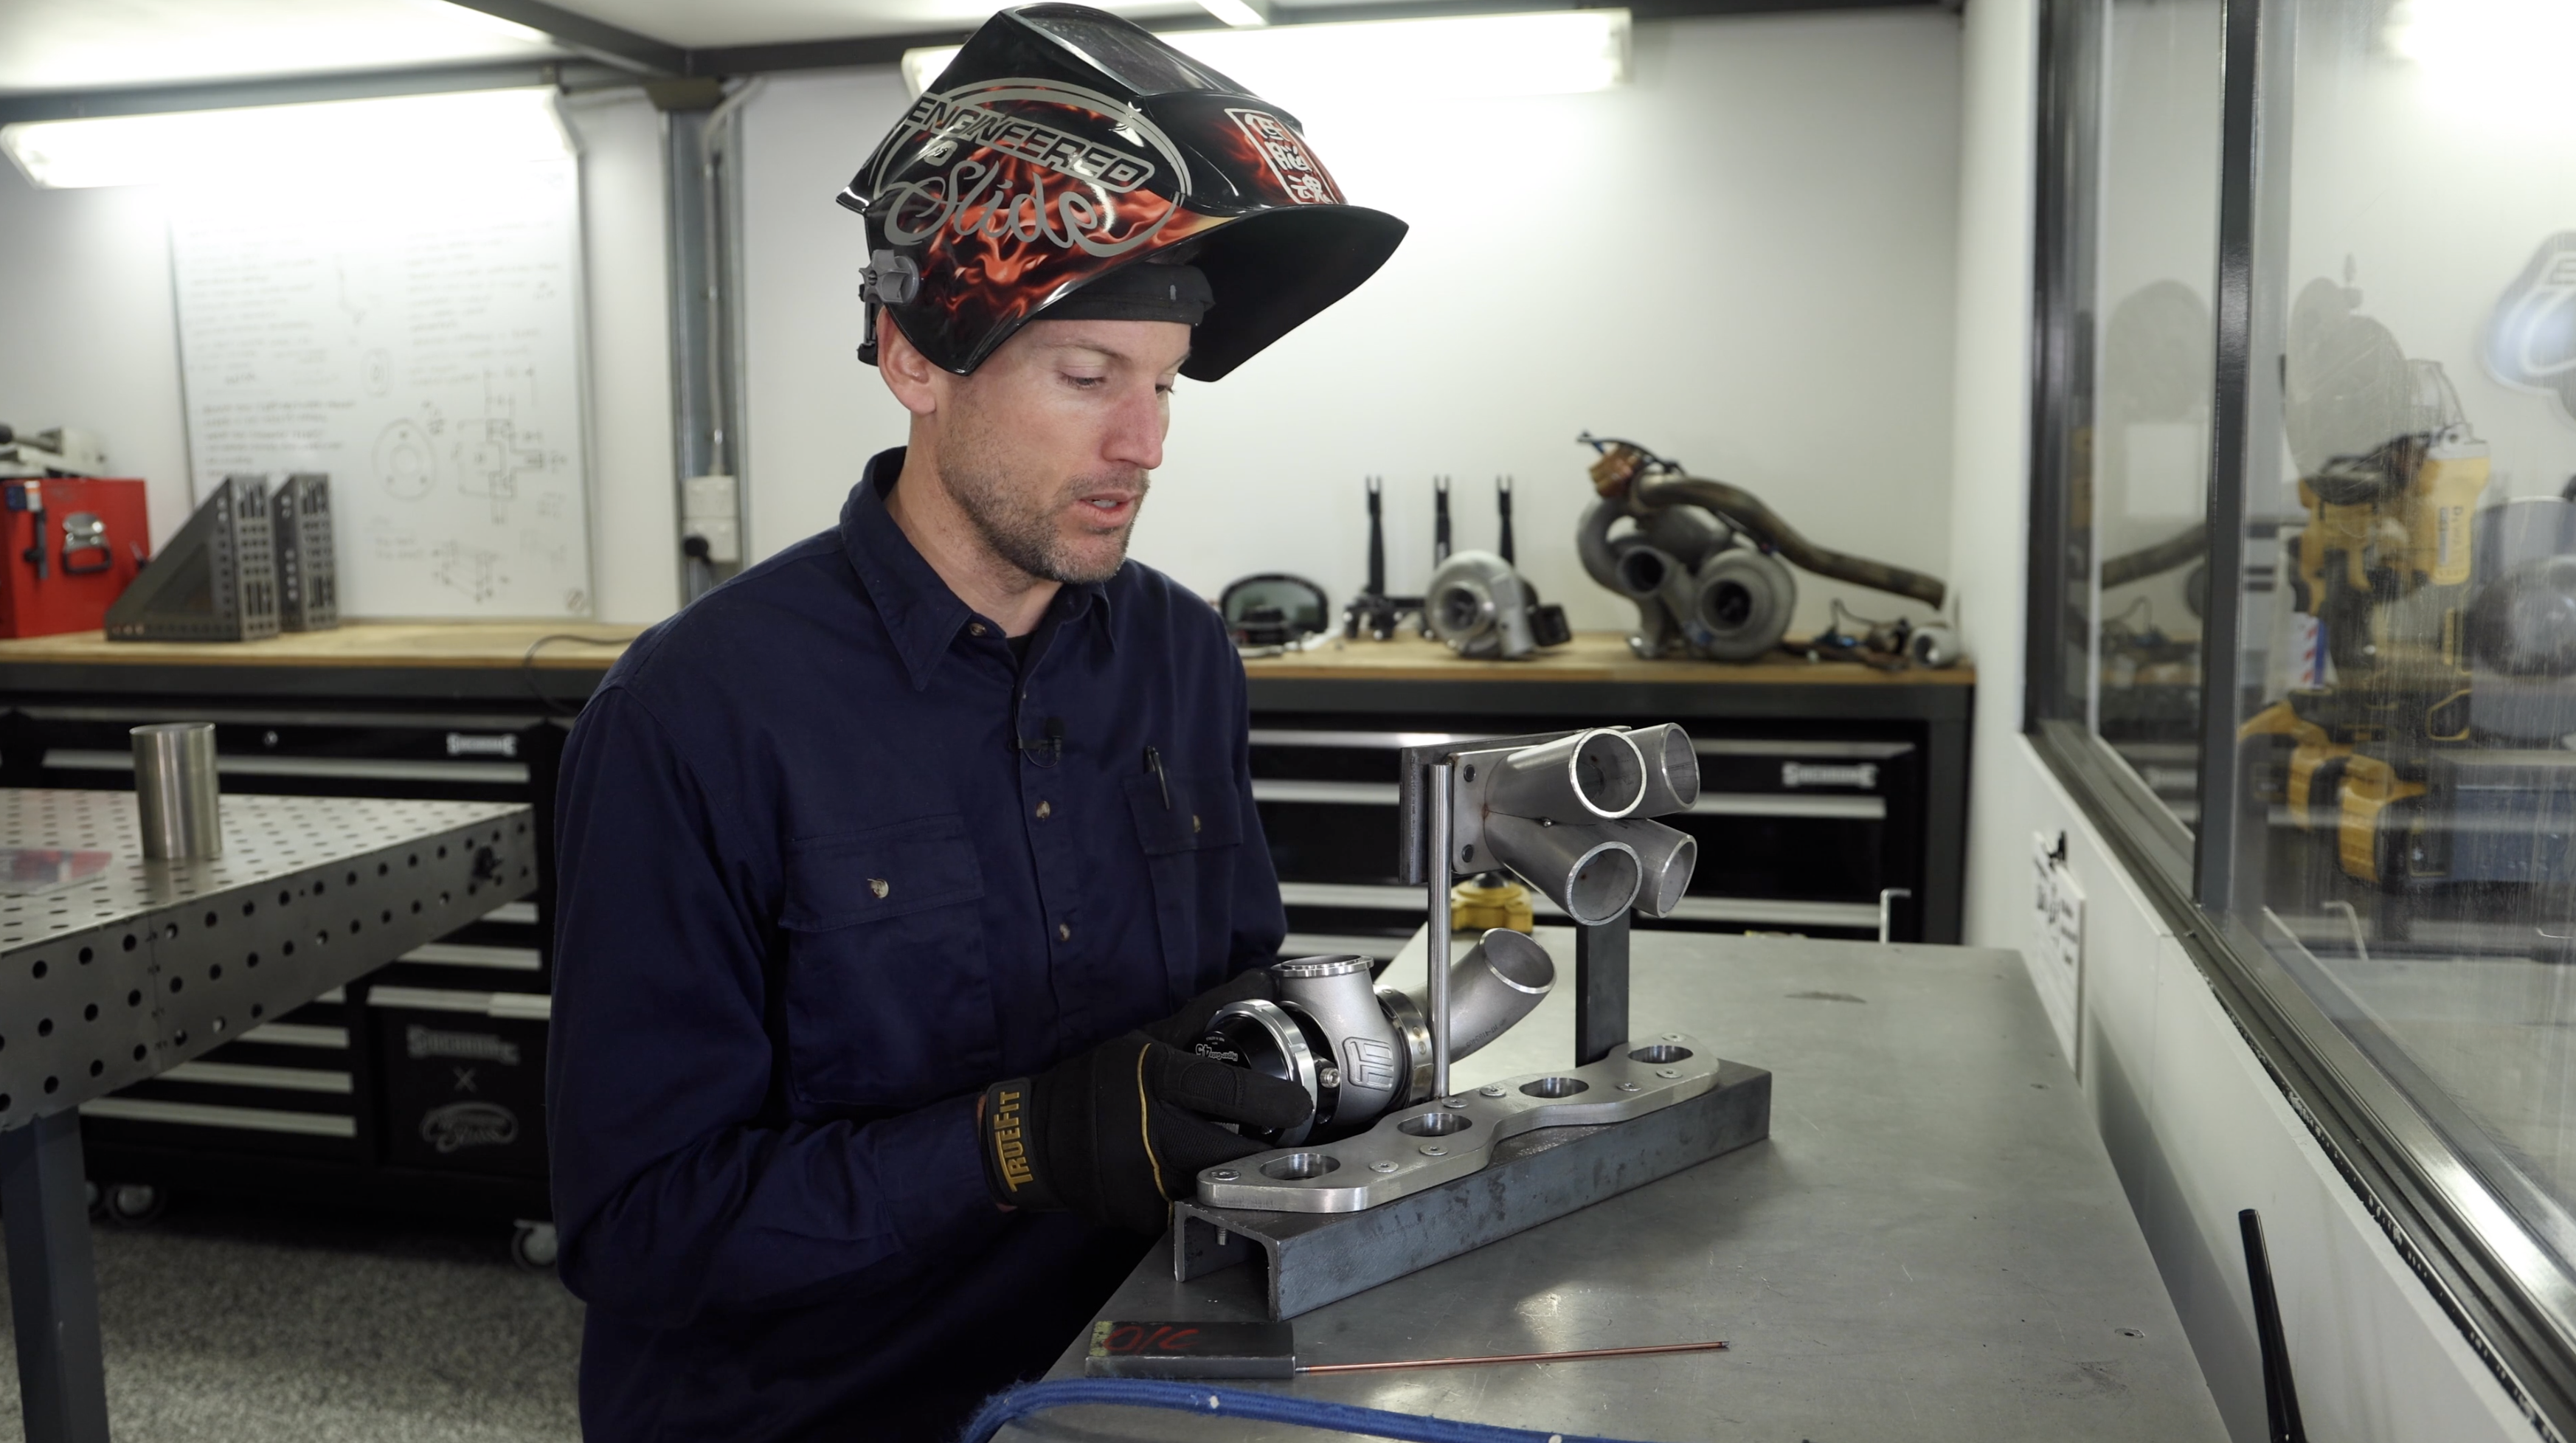
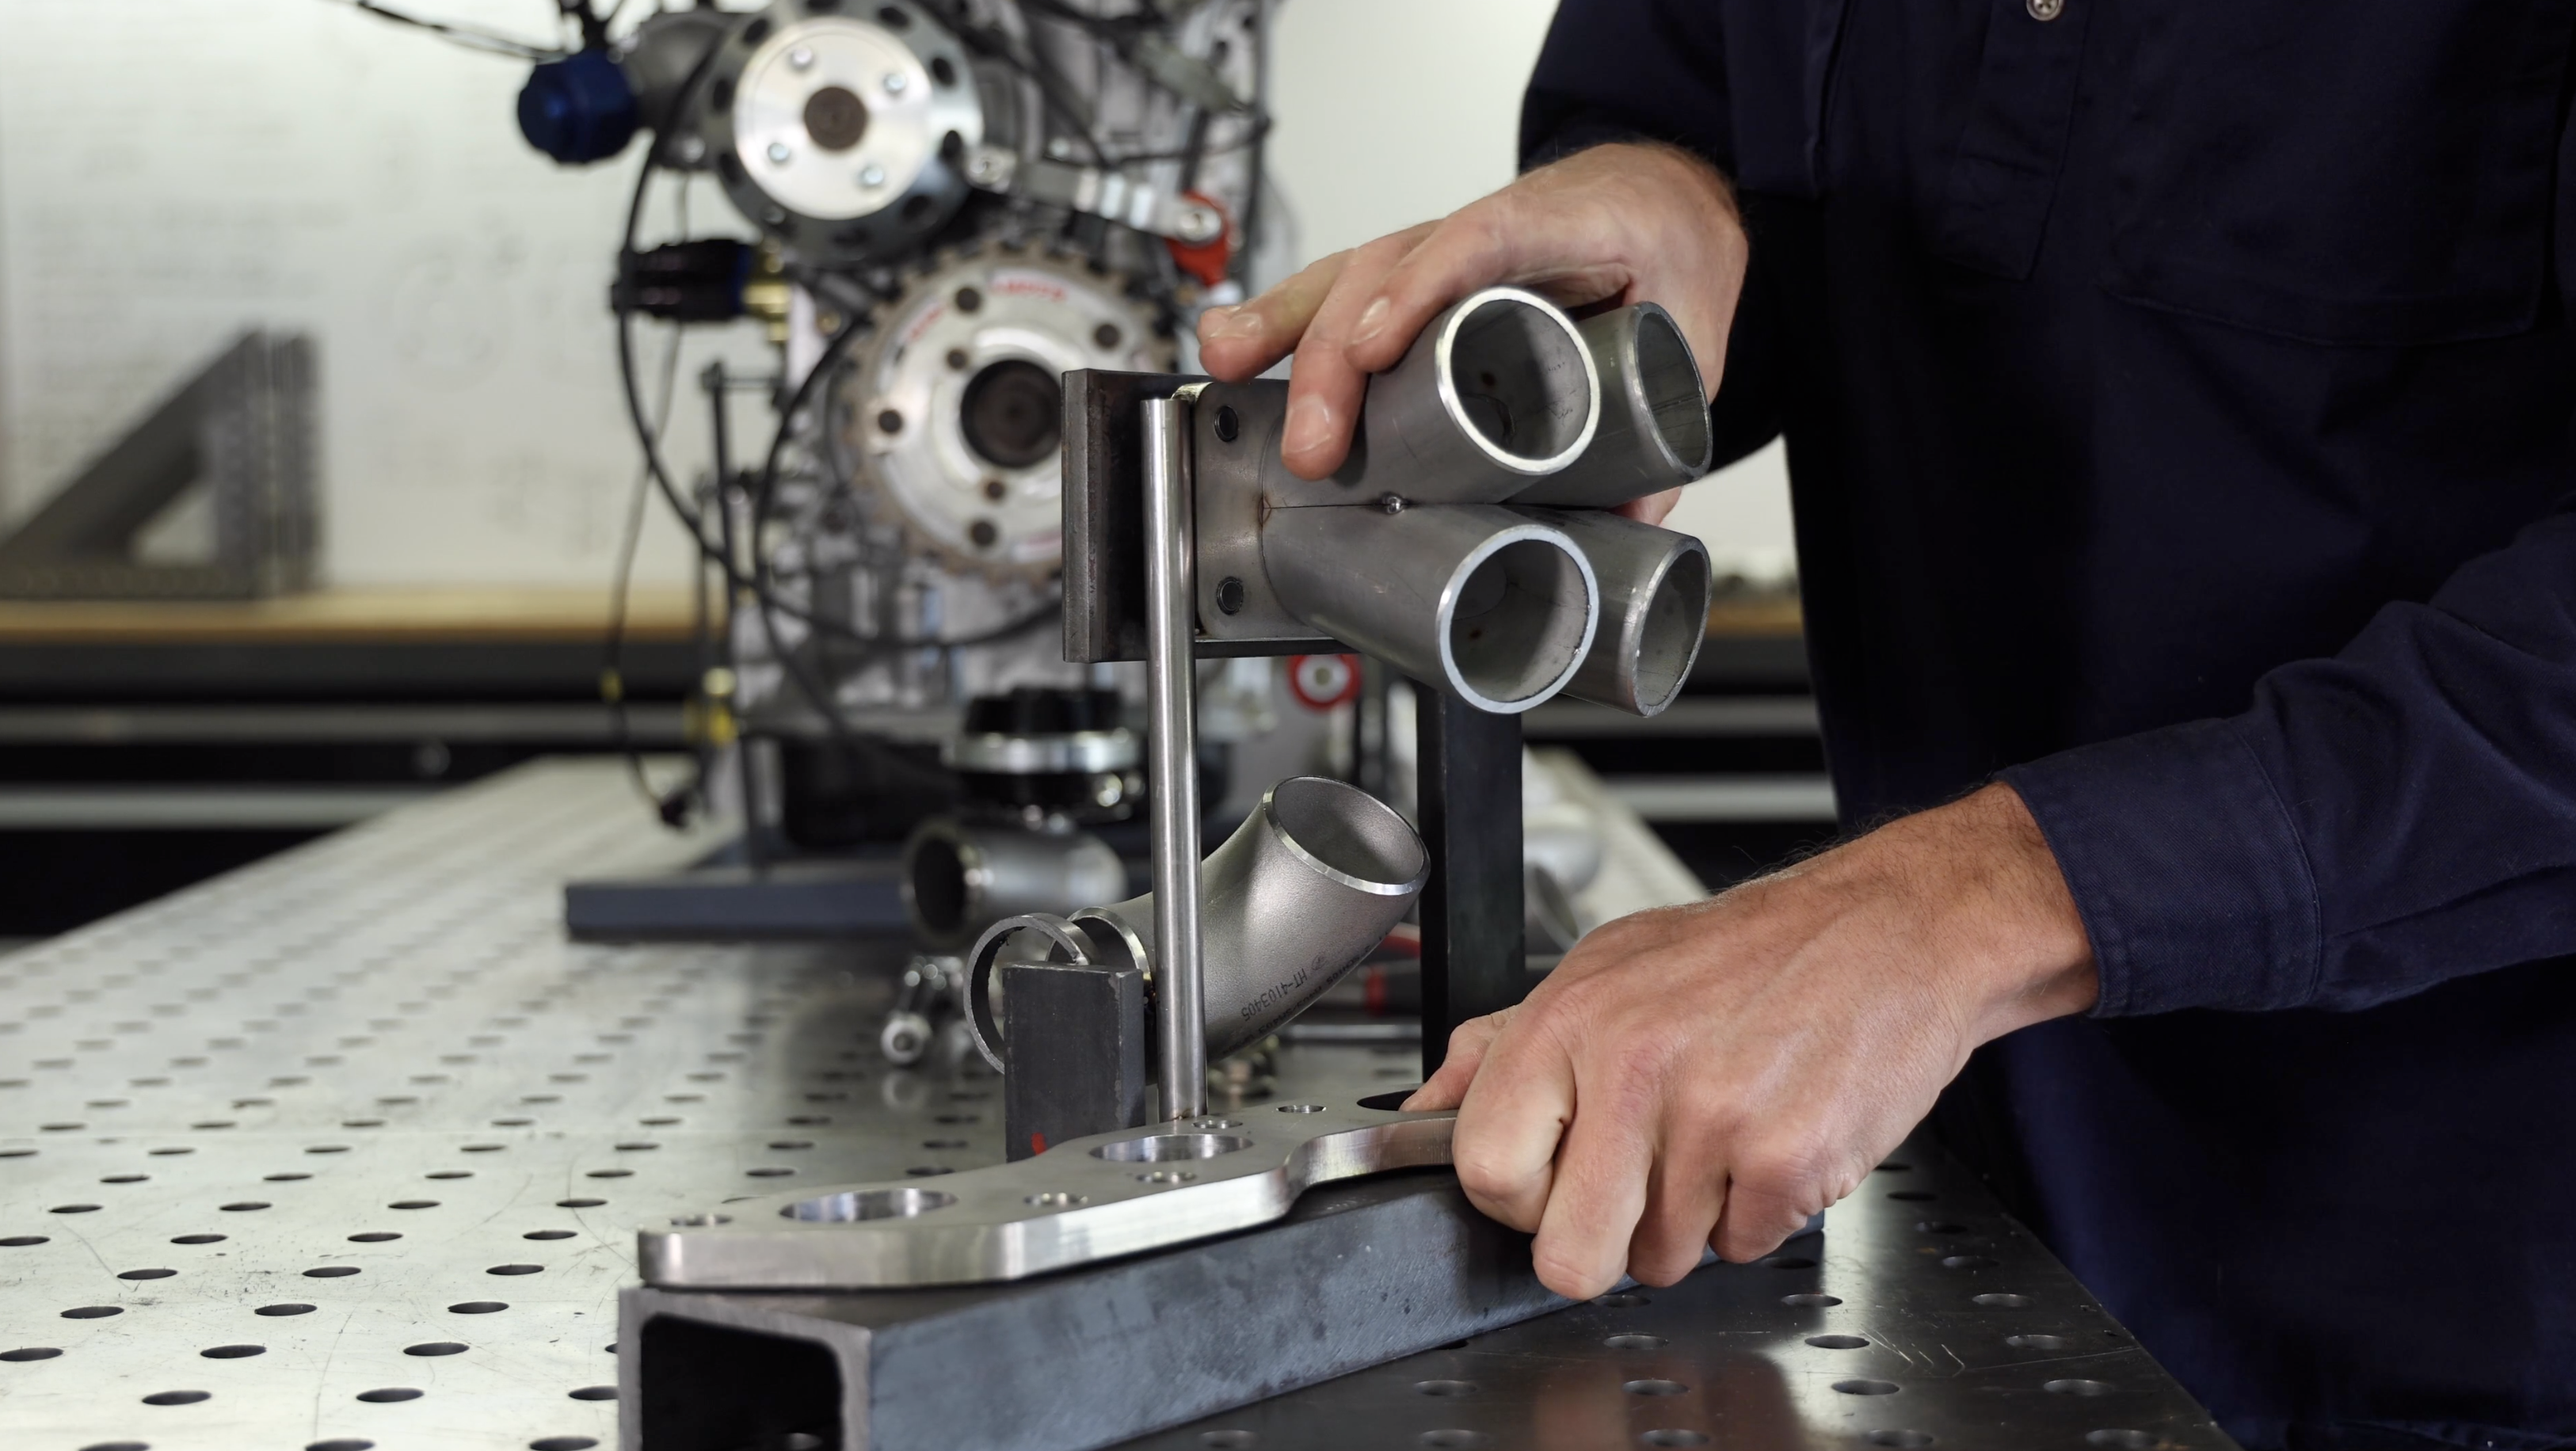
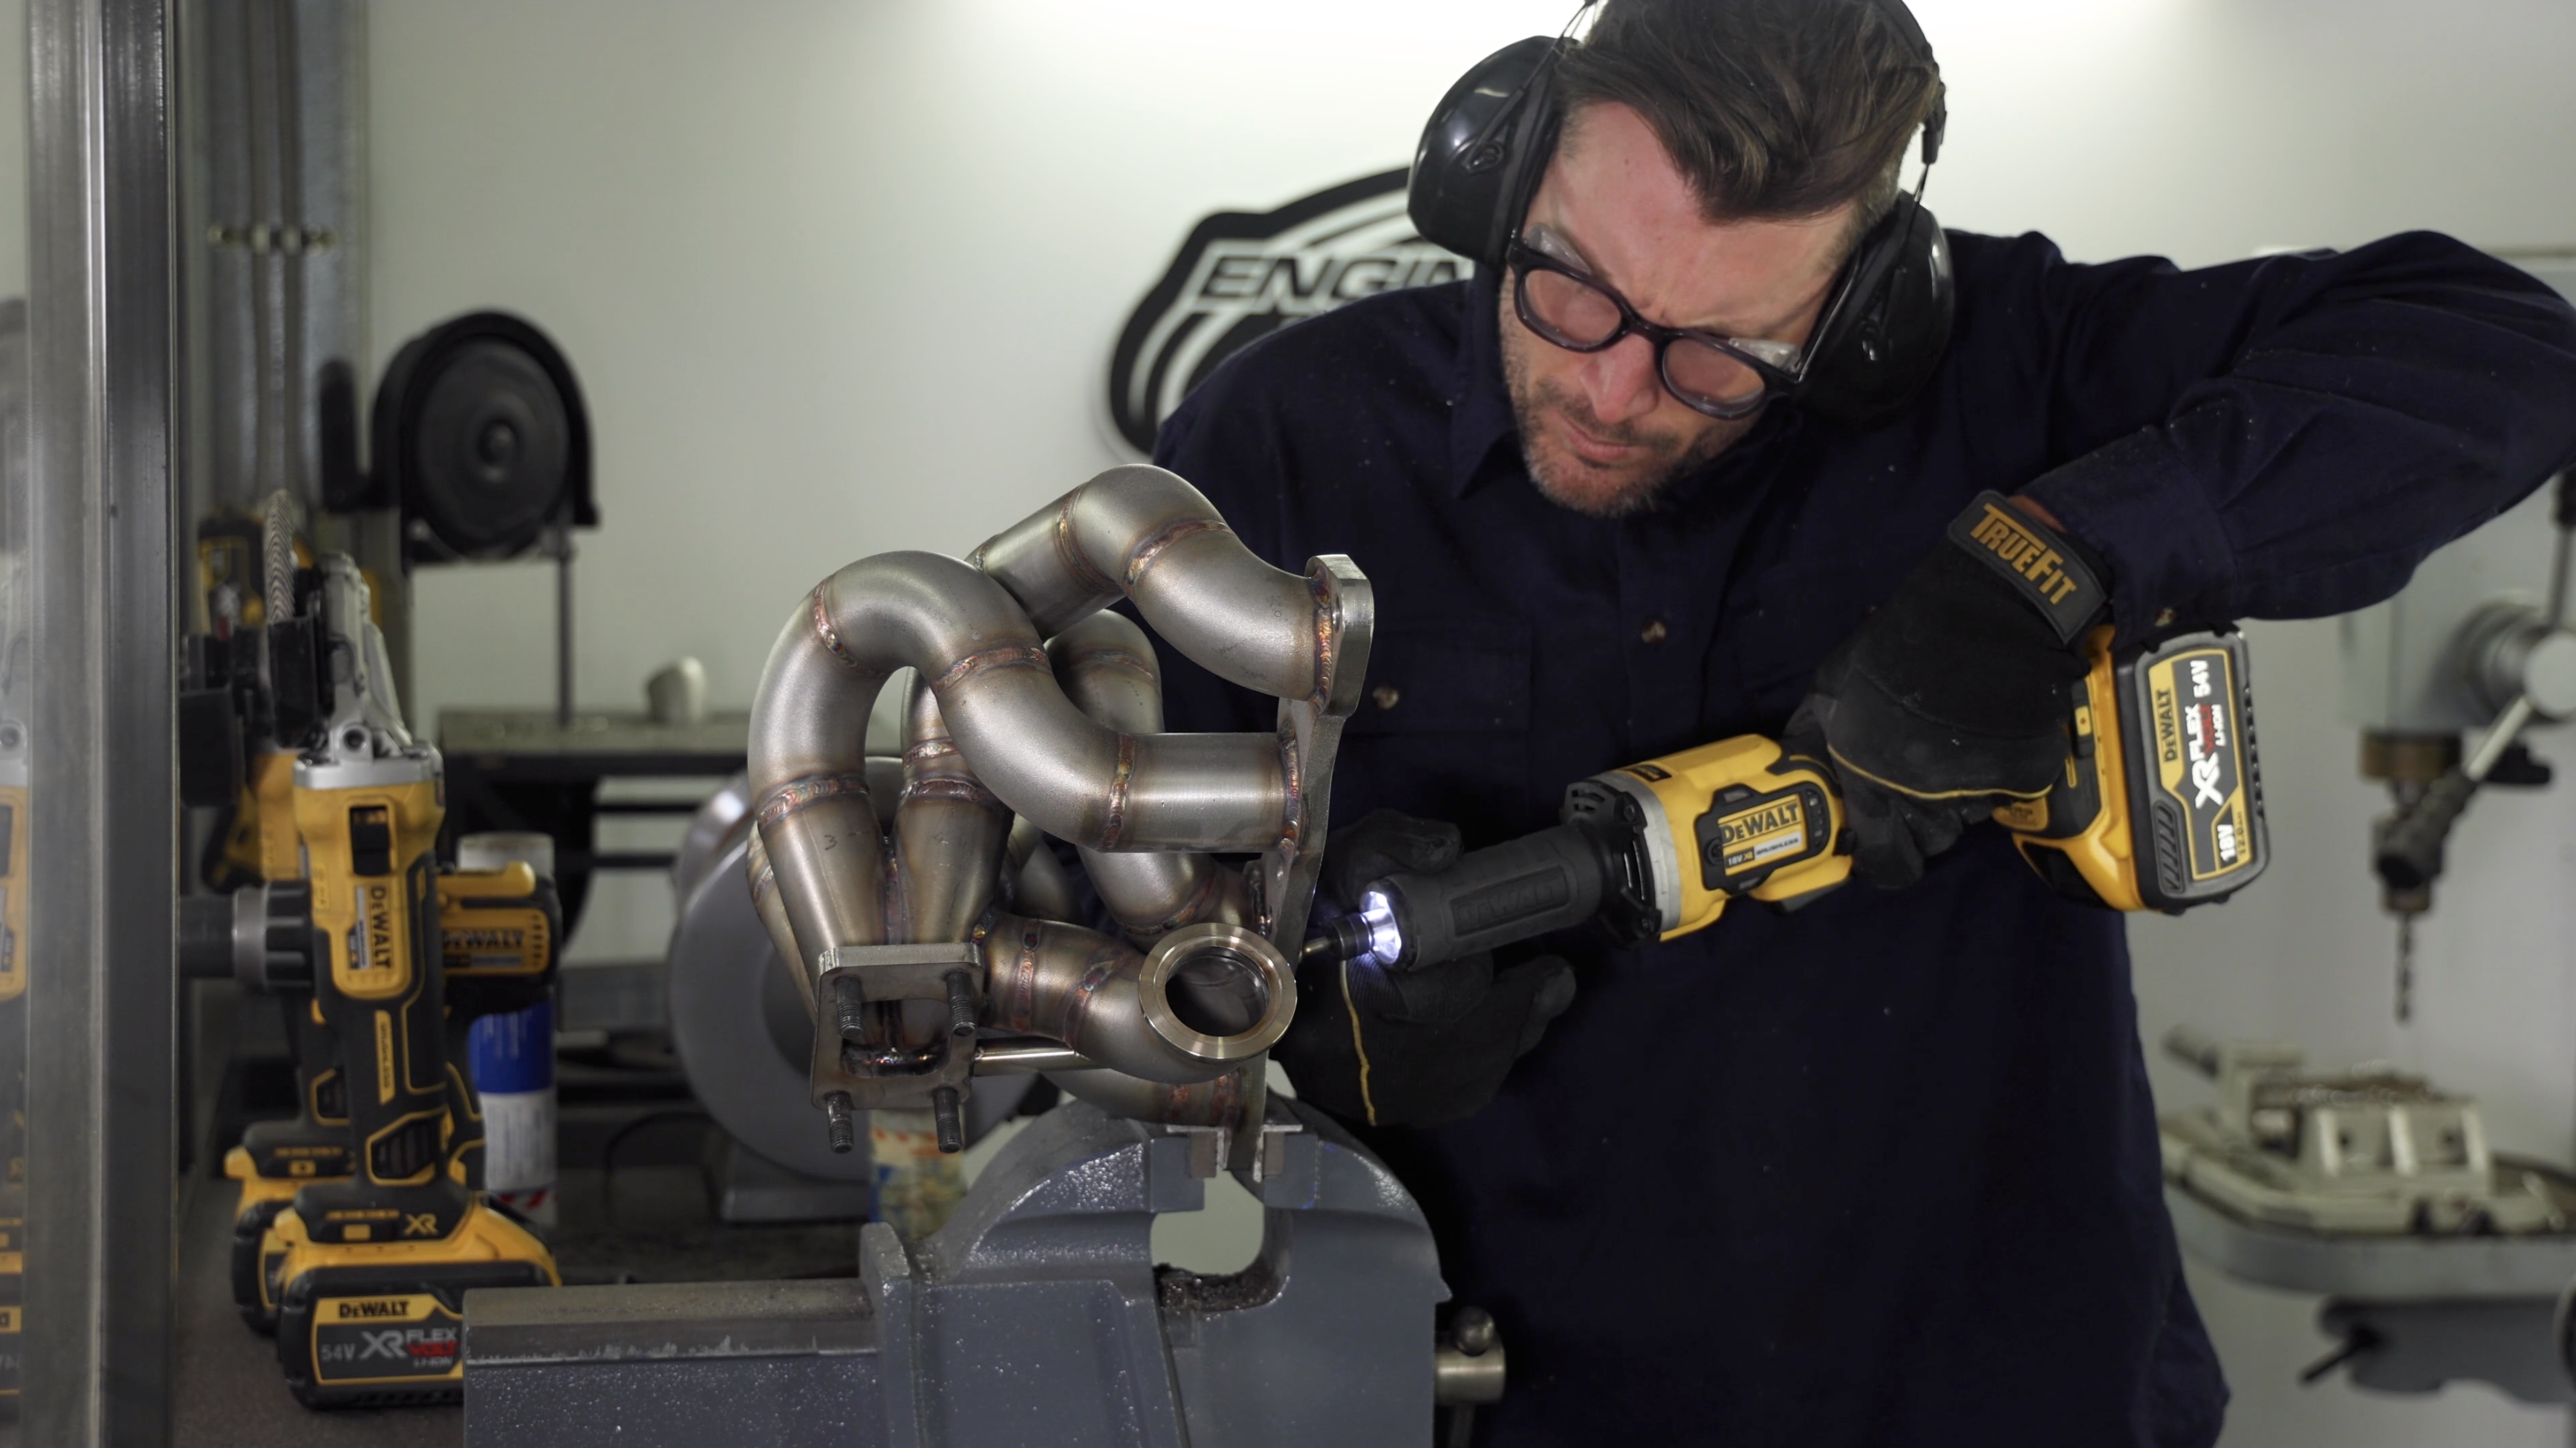
Mount up the flanges to the head and the turbo and bend it around until your position is perfect. Add in any details you want such as wastegate position and you have a perfect baseline to start your manifold from. From here we can choose to build a JIG, this doesn’t need to be spectacular, I spent $22 on mine and it allows me to have this turbo position set so I can make as many of these manifolds as I desire, this is a perfect step for those interested in building manifolds for a living or copying your old manifold to keep the turbo position along with the dump pipe, intercooler pipe, oil lines ect.
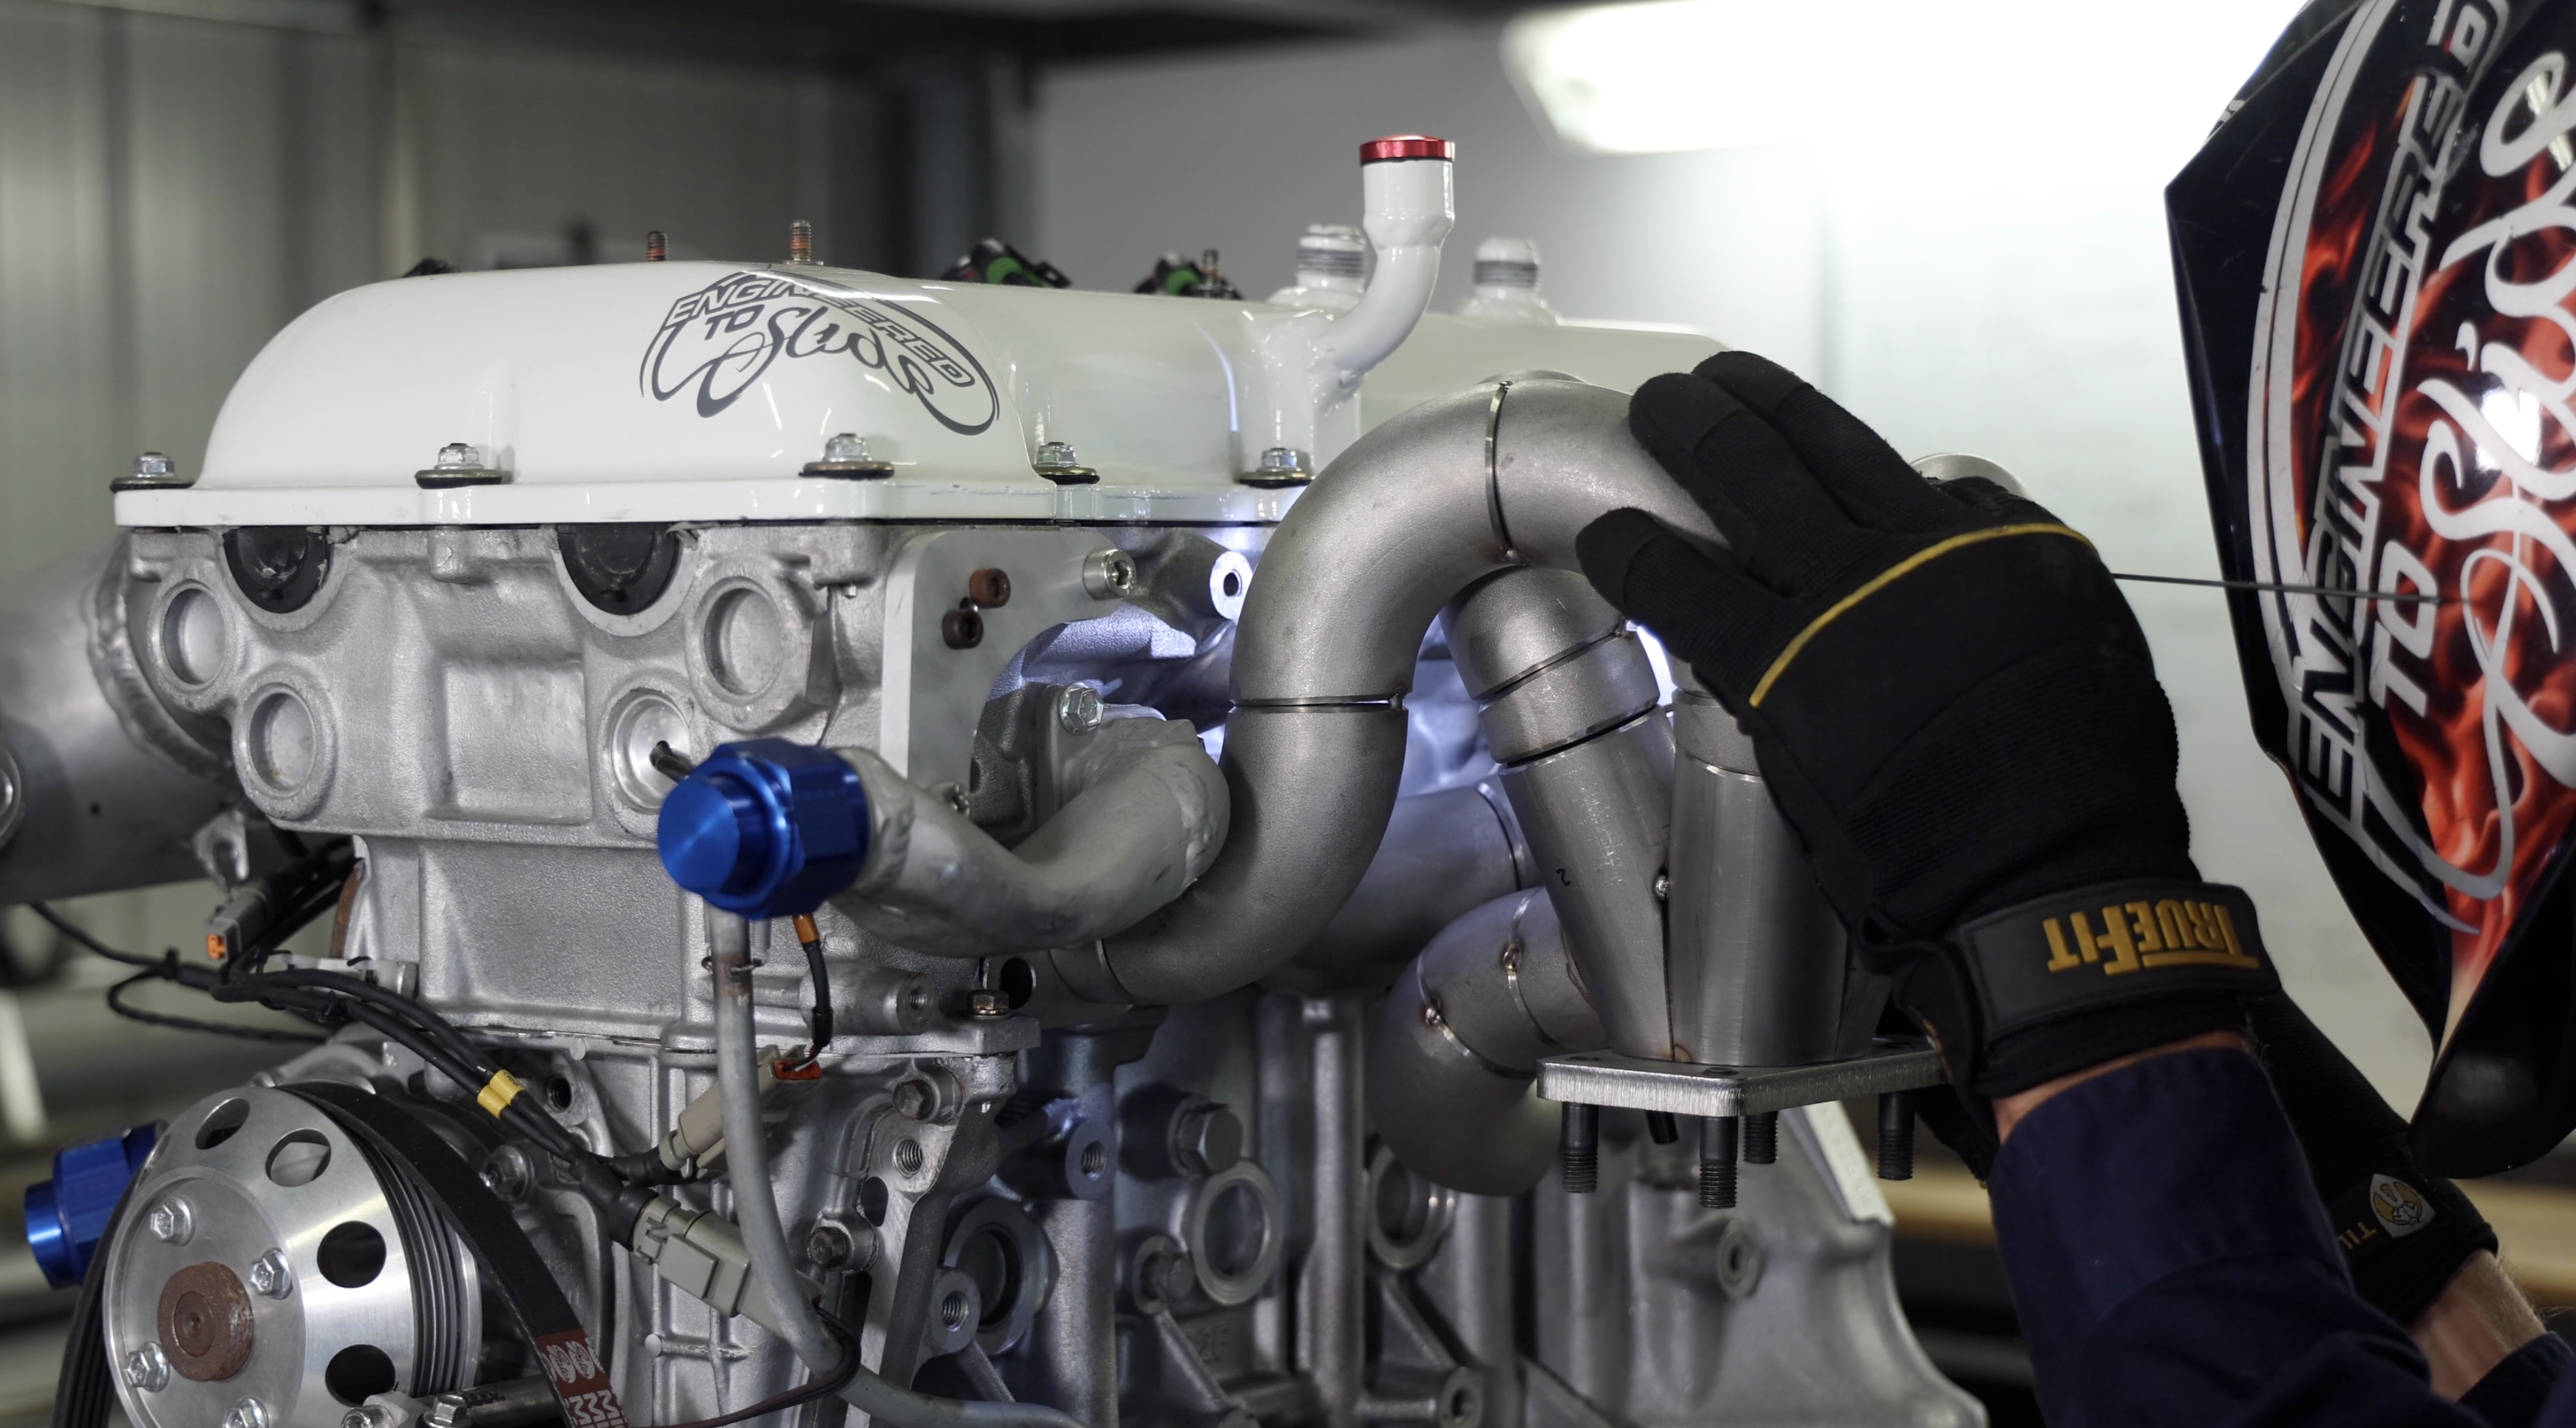
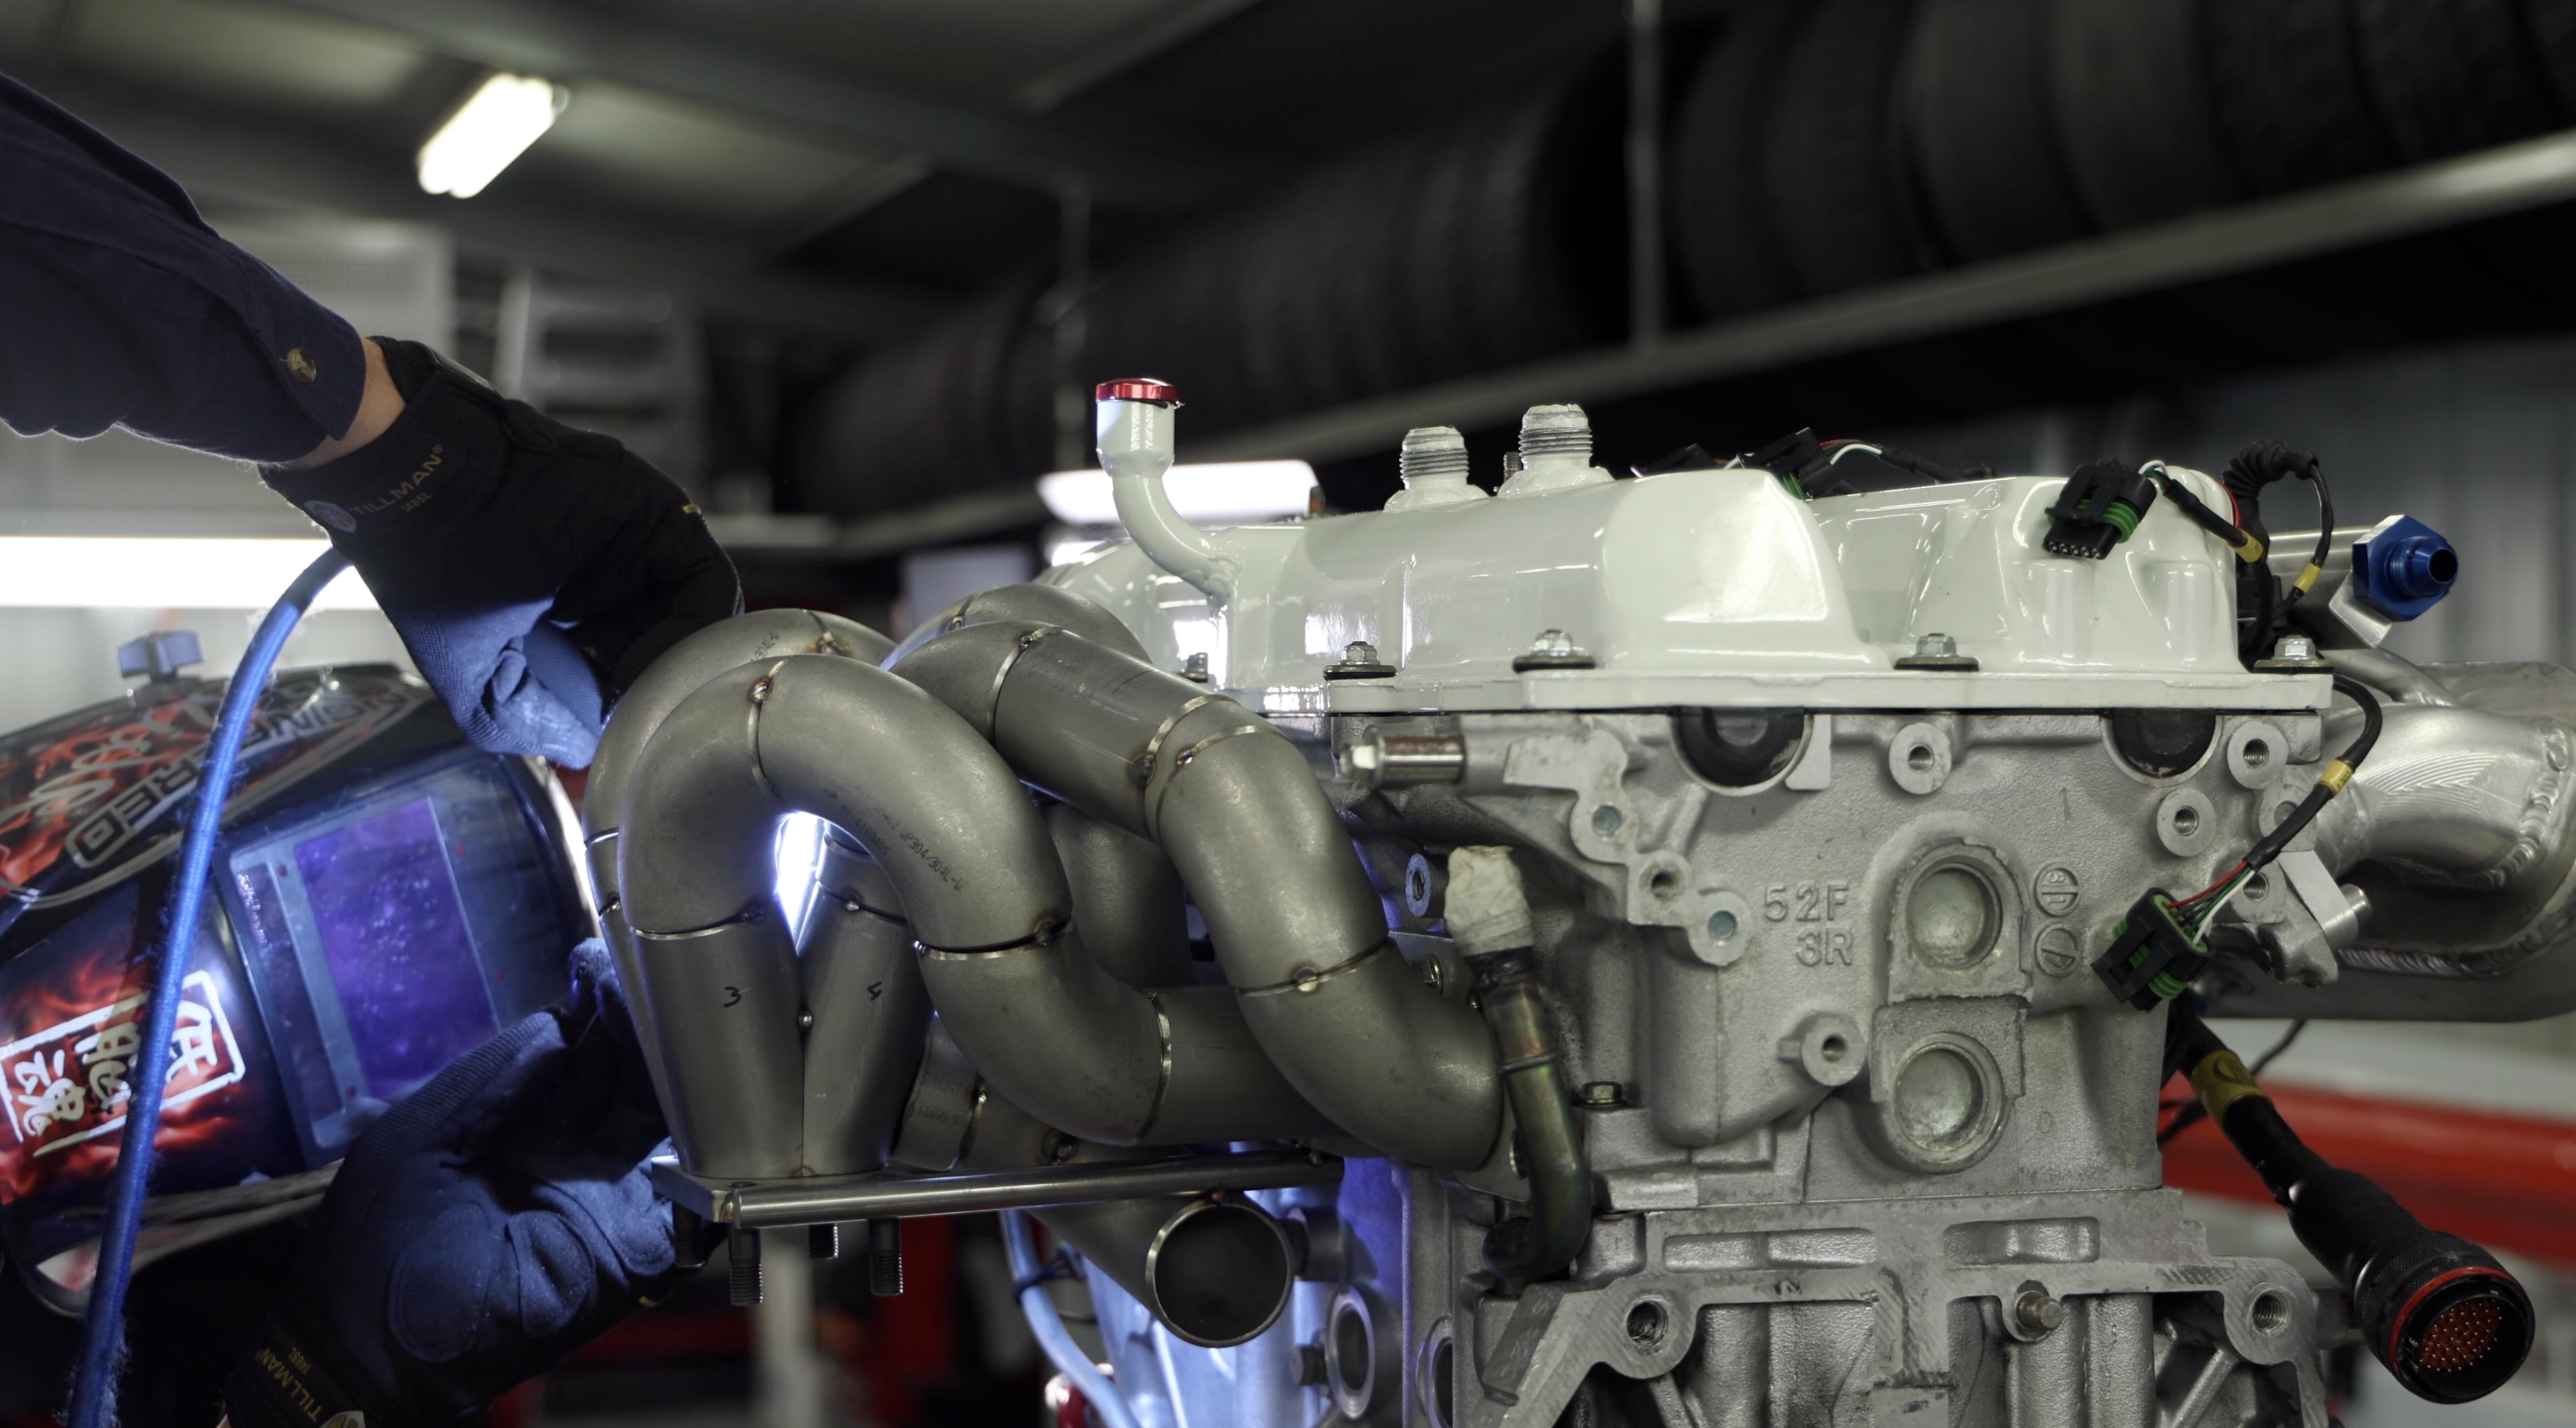
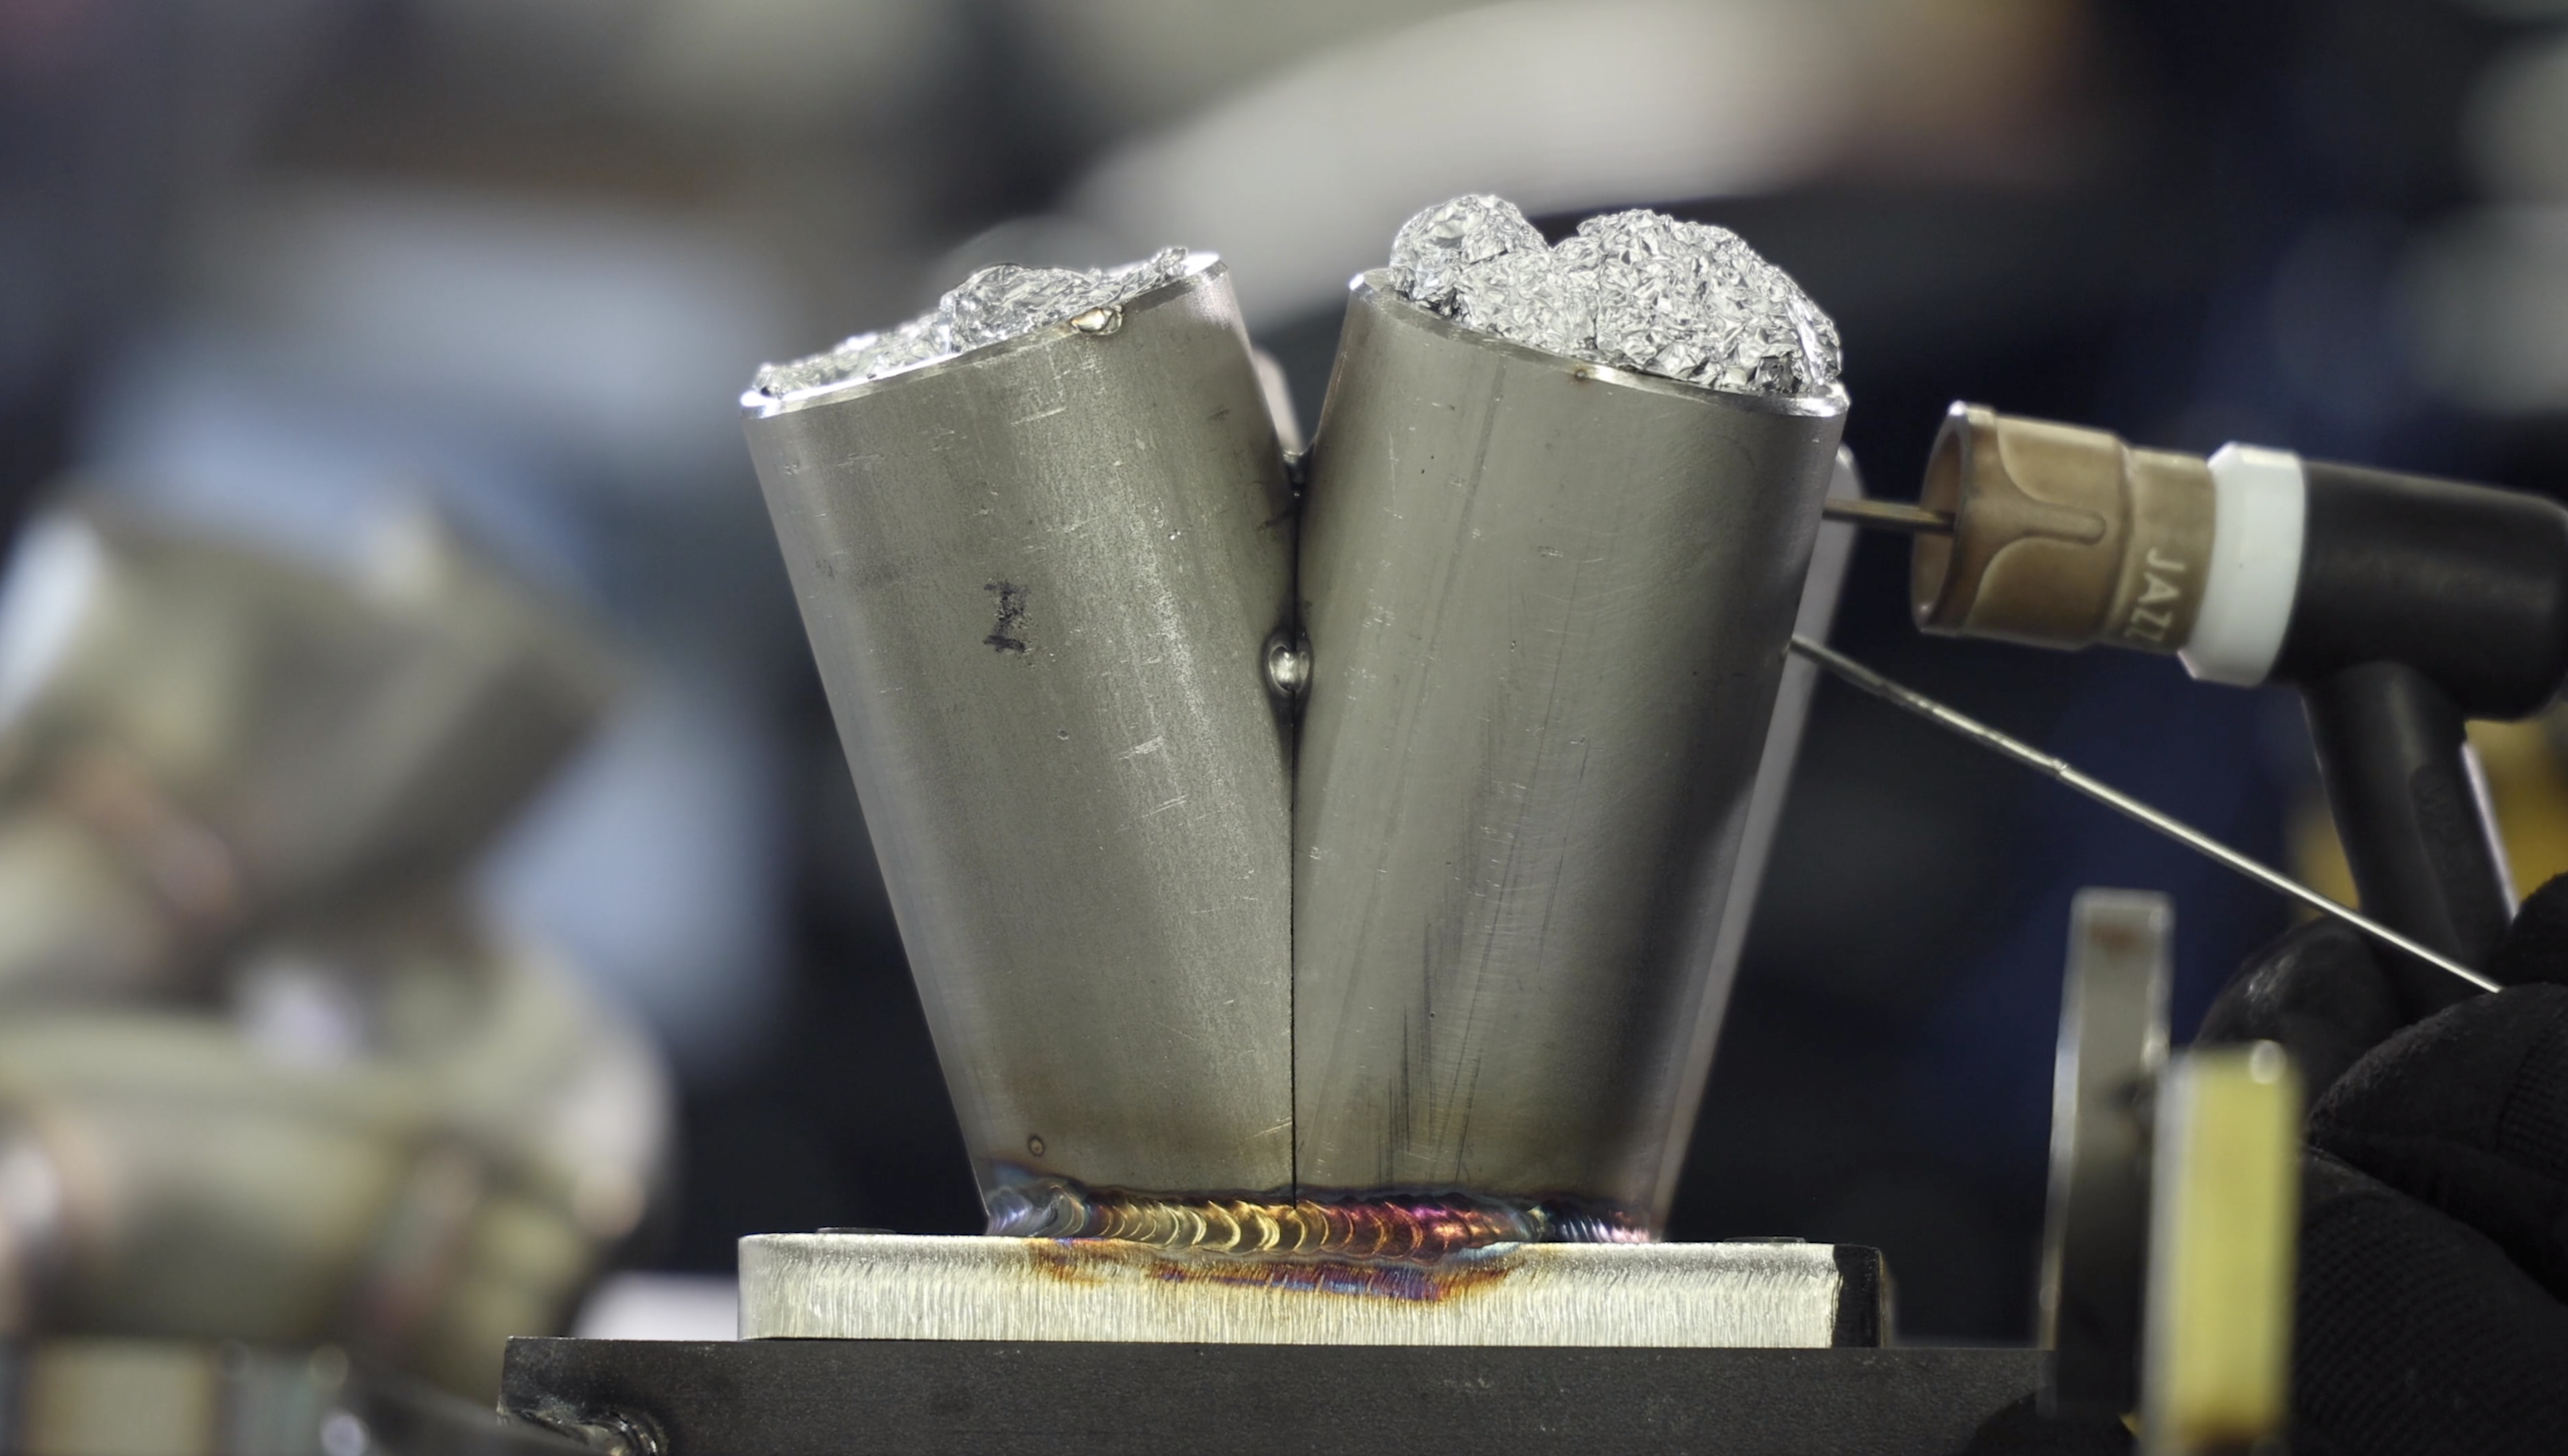
This is where you can begin to get creative, lay all the bends out on the bench and start making noodles! Using the TIG method really help here, we can put tiny tack welds on the bends and break them apart of needed. Once you are happy with the fit, pull it all down and weld it up.
There is a lot to consider in a project like this, I have laid it all out in 38 seperate Processes and you can see it all unfold over its 4 hour duration.
For our subscribers we also have a feature length project that depicts this manifold build from a bad of bends to a fully completed turbo manifold.
Once this was all complete I cleaned the shed, then messed up the shed again with alloy chips flying off the lathe as I turned down the turbo to fit the Wiggins Clamp Ferrule. After that I cleaned the shed and took some photos of the whole deal on the bench.
I am stoked with the outcome and hope that you can take the tips and tricks in this course to produce your very own manifold, its a rewarding experience and something that I am proud to offer.
Thanks for reading.