Well I think it’s time for an update on the BMW Chopper project.
Since getting onto the Born Free invited builder list the pressure on this build and myself has really ramped up.
Lucky for me this isn’t my first rodeo and time management is possibly one of my strong points.

But I do know the scale of this build and it’s not something I am taking lightly.
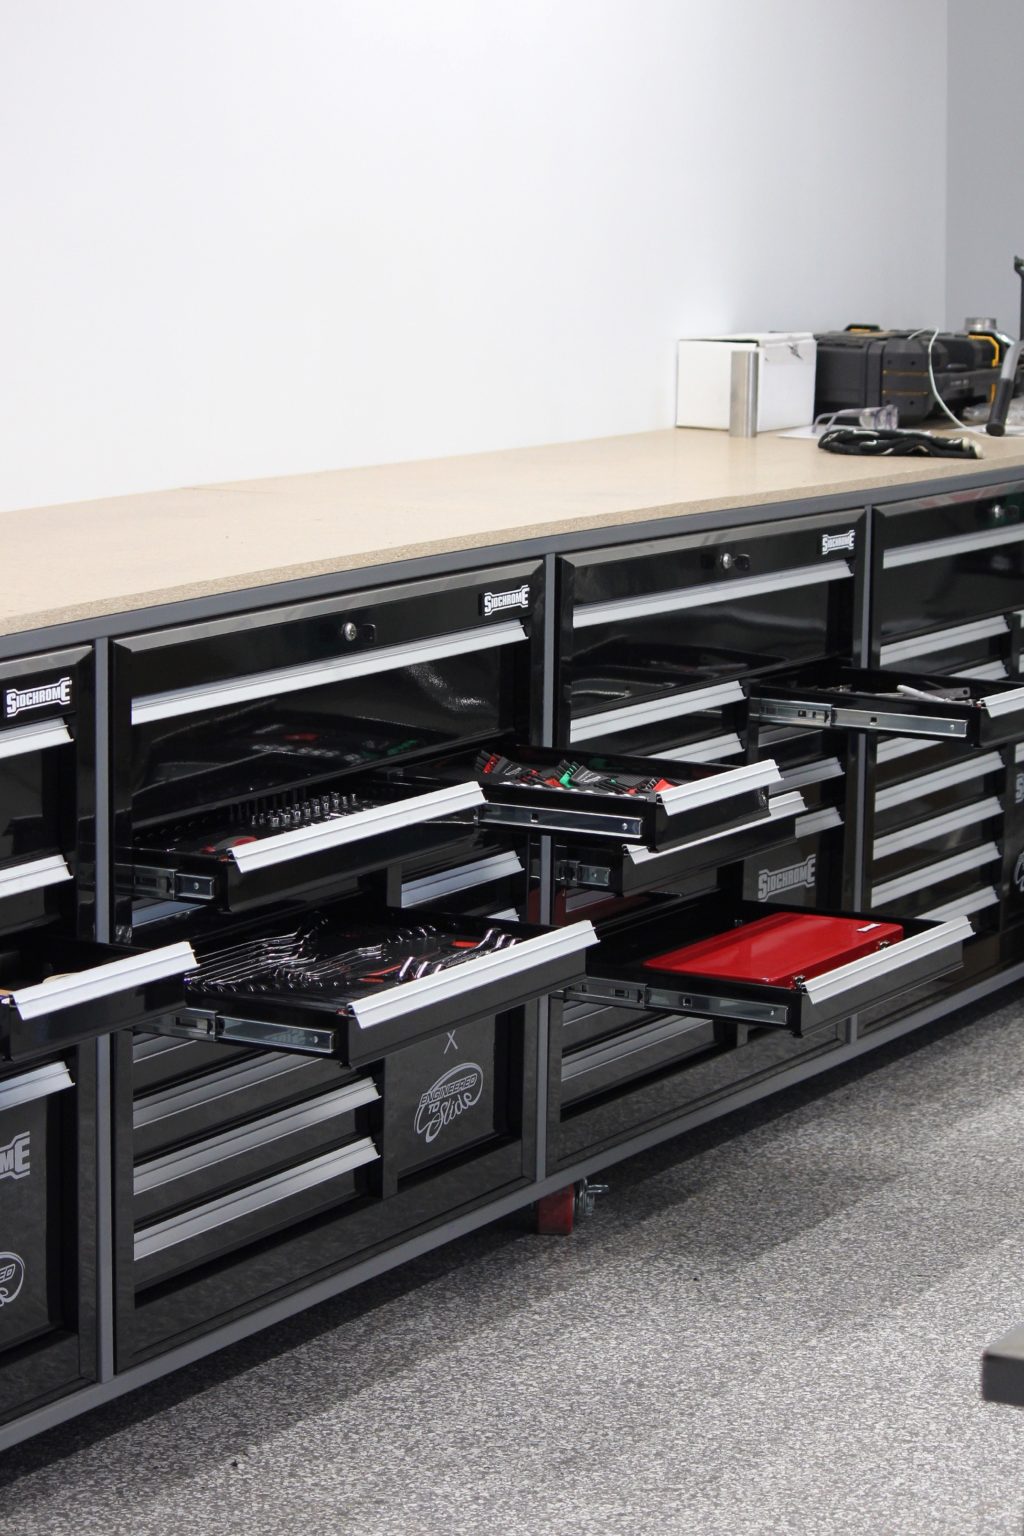
Literally thousands of hours go into a build like this, I am thankfull that I have been in my shop a year now, it’s setup to have everything I need and allows me to be self sufficient so that when I prioritise an afternoon to work on the build I really get to see the progress.
But the clock is ticking and the job list doesn’t seem to be getting any shorter, in-fact I think it’s growing.
But I have hit some milestones lately so I will run you through the process and the last few months of my time on the build.
Visualizing something that currently doesn’t exist is really difficult, I drew some drawings and had a few measurements figured out but nothing beats the ability of seeing something in the flesh and getting to walk around it.
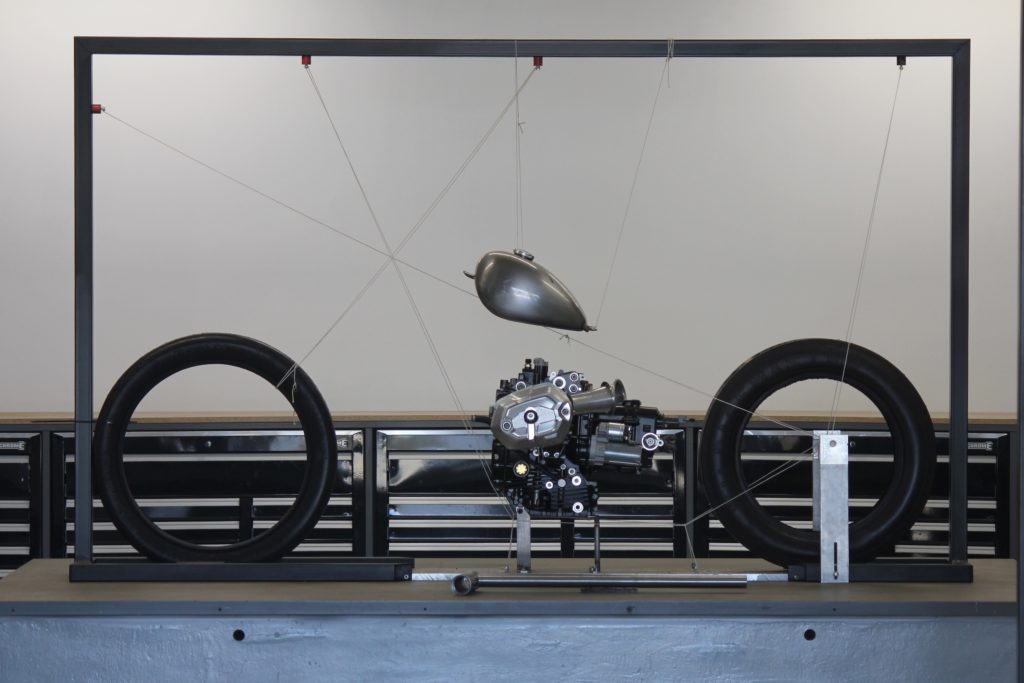
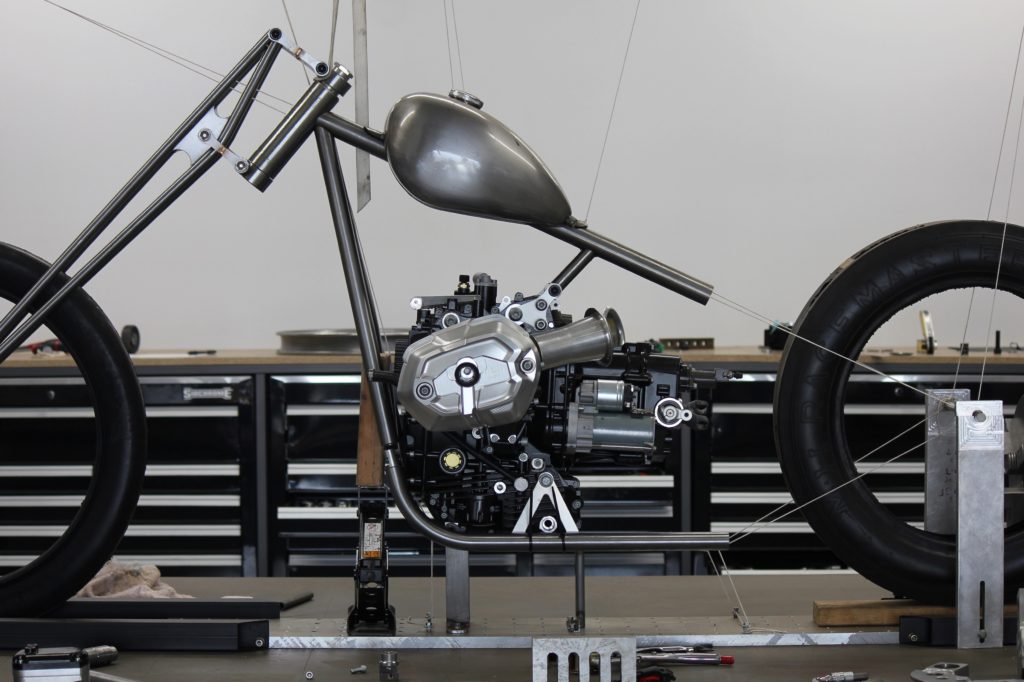
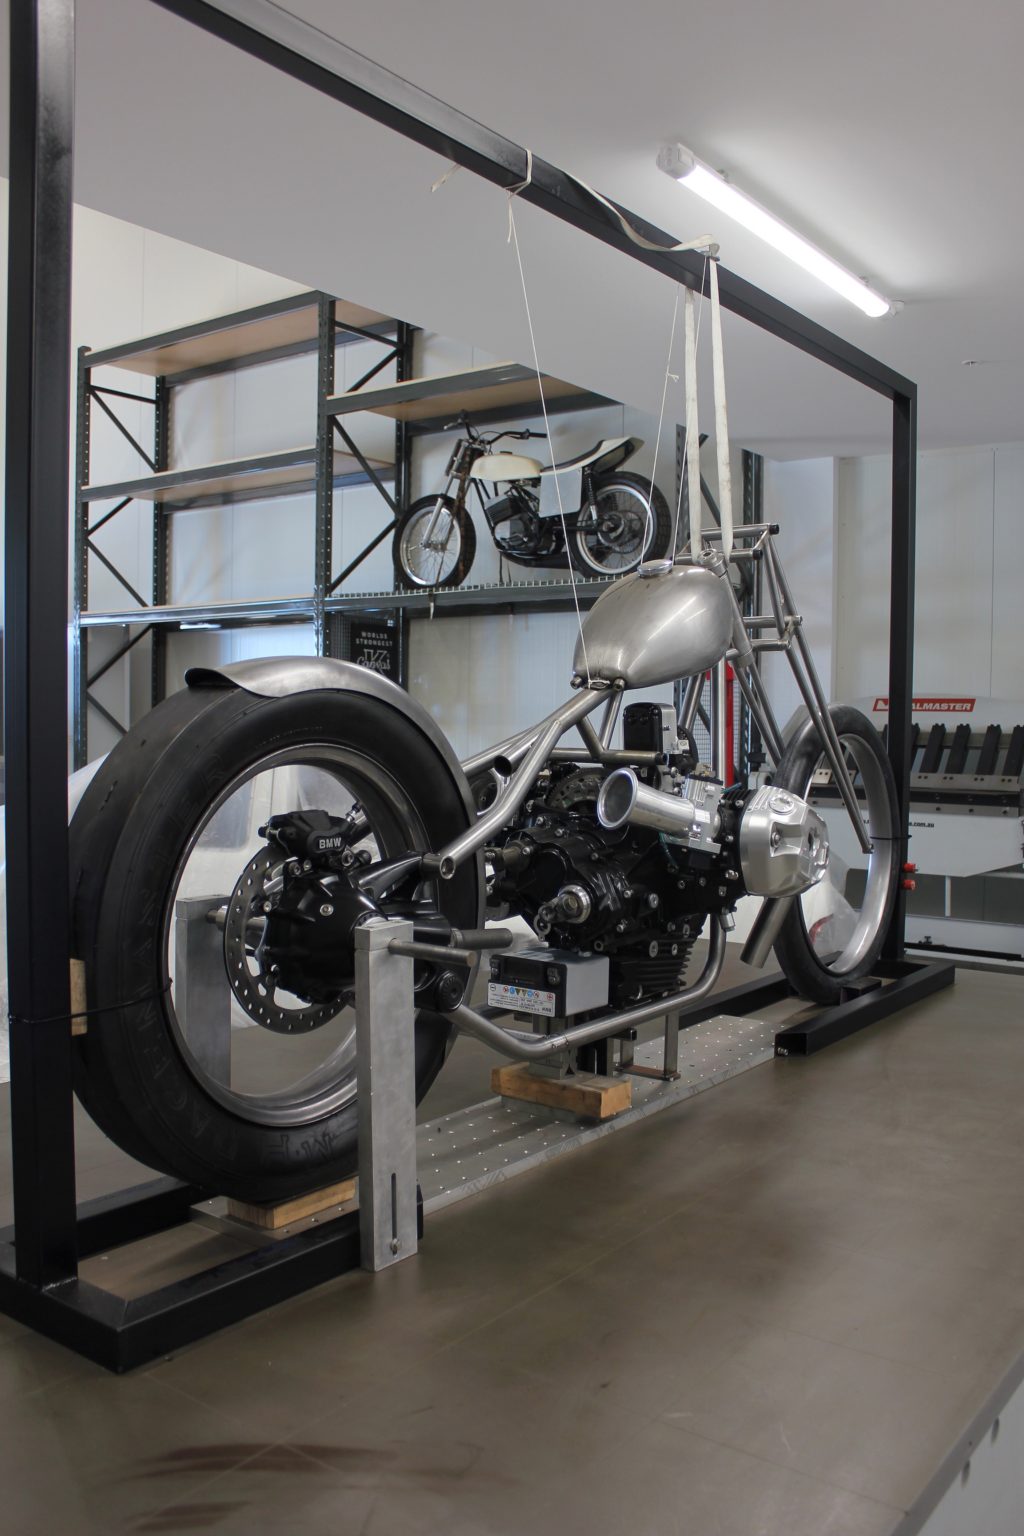
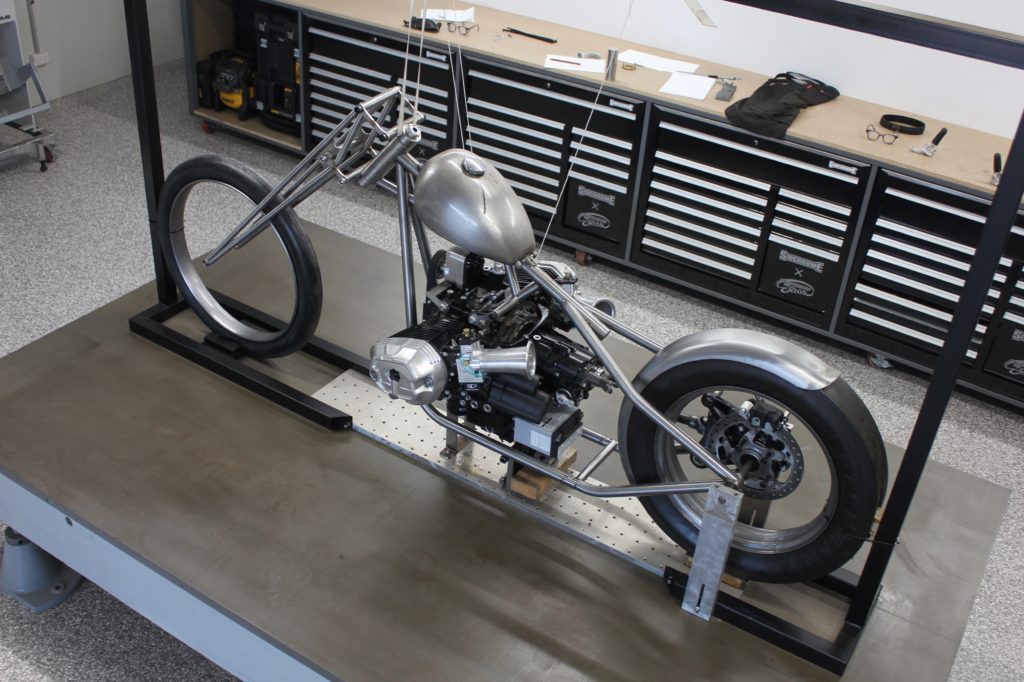
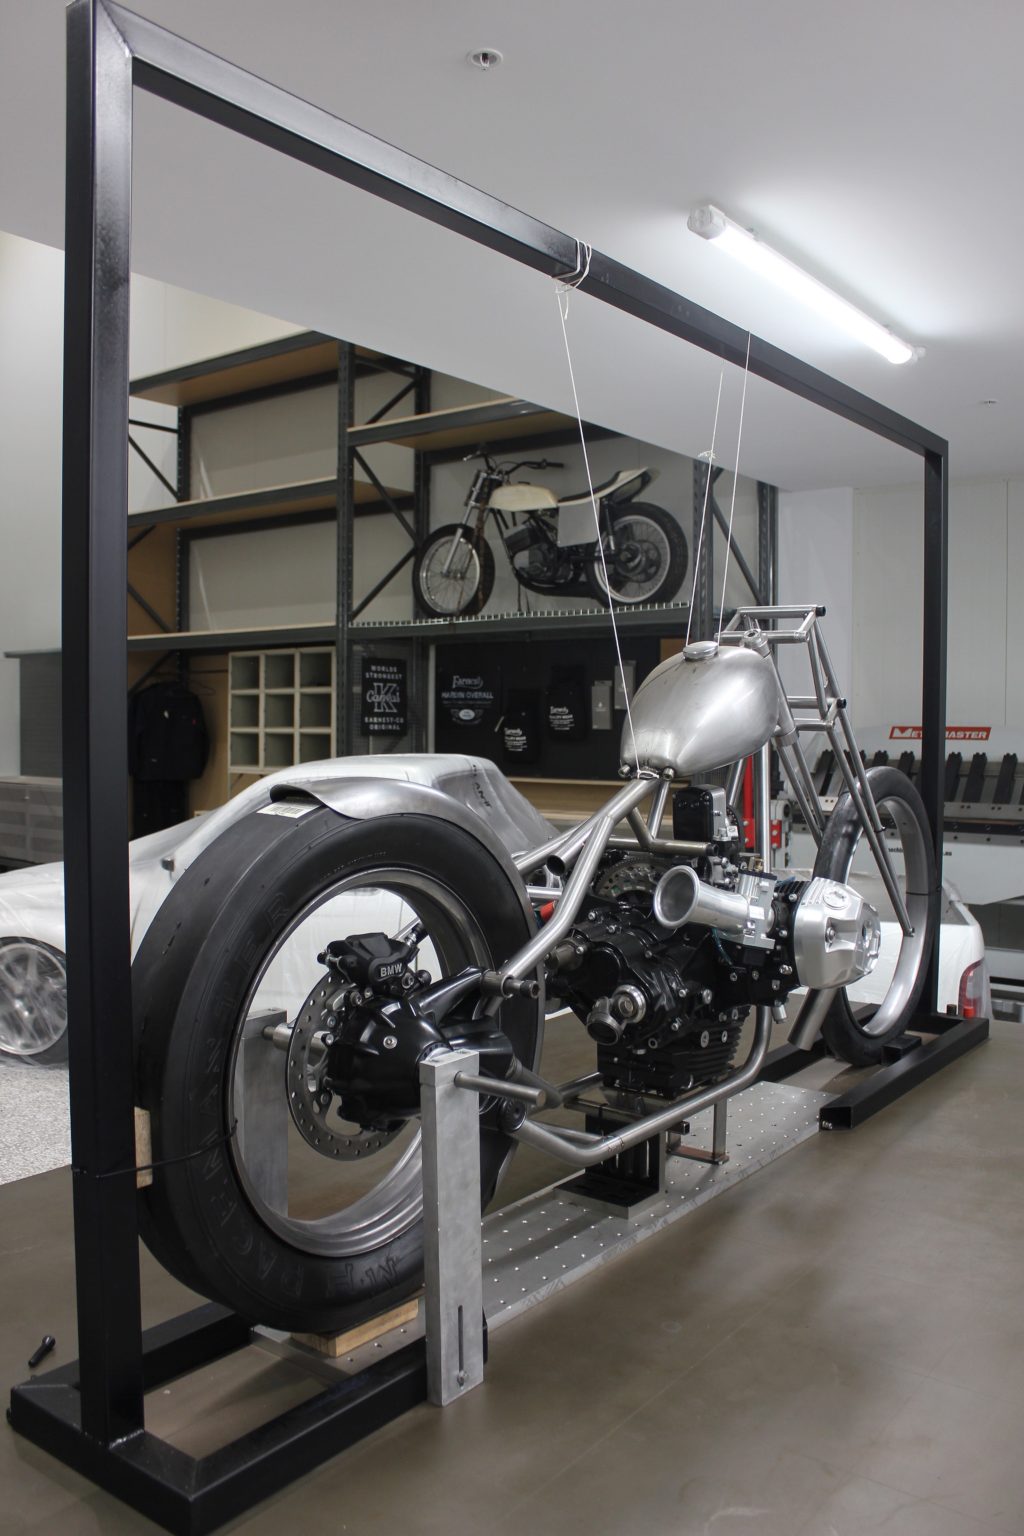
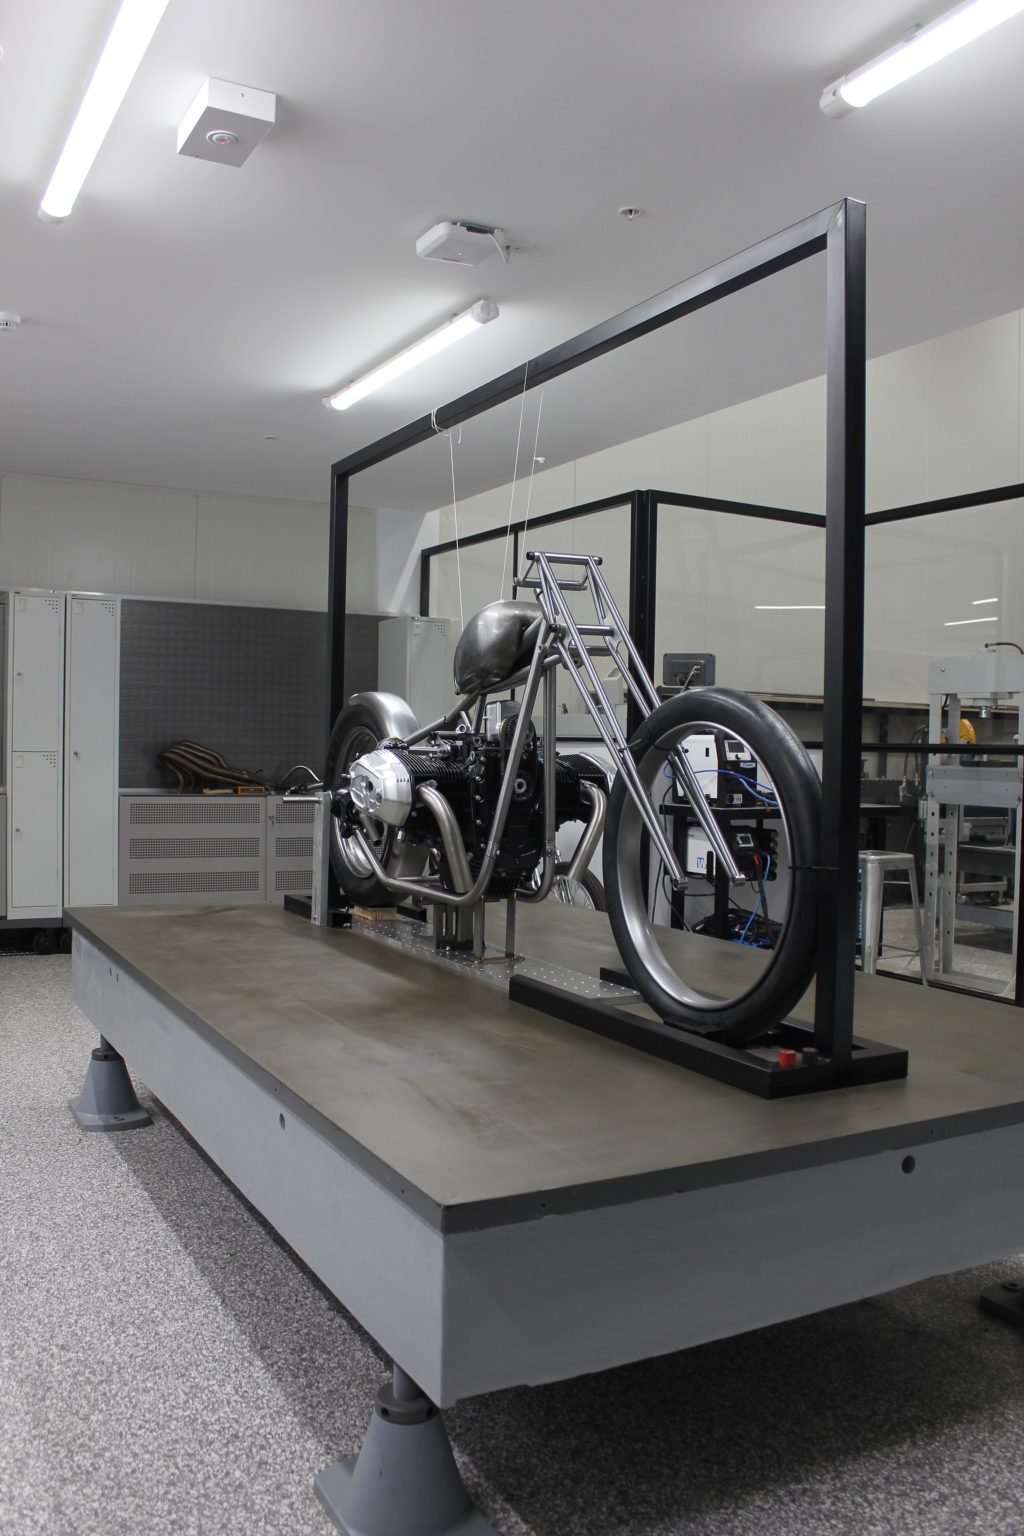
Making a frame around the motor to house the wheelbase allowed me to position and have everything I needed to visualize the stance of this bike.

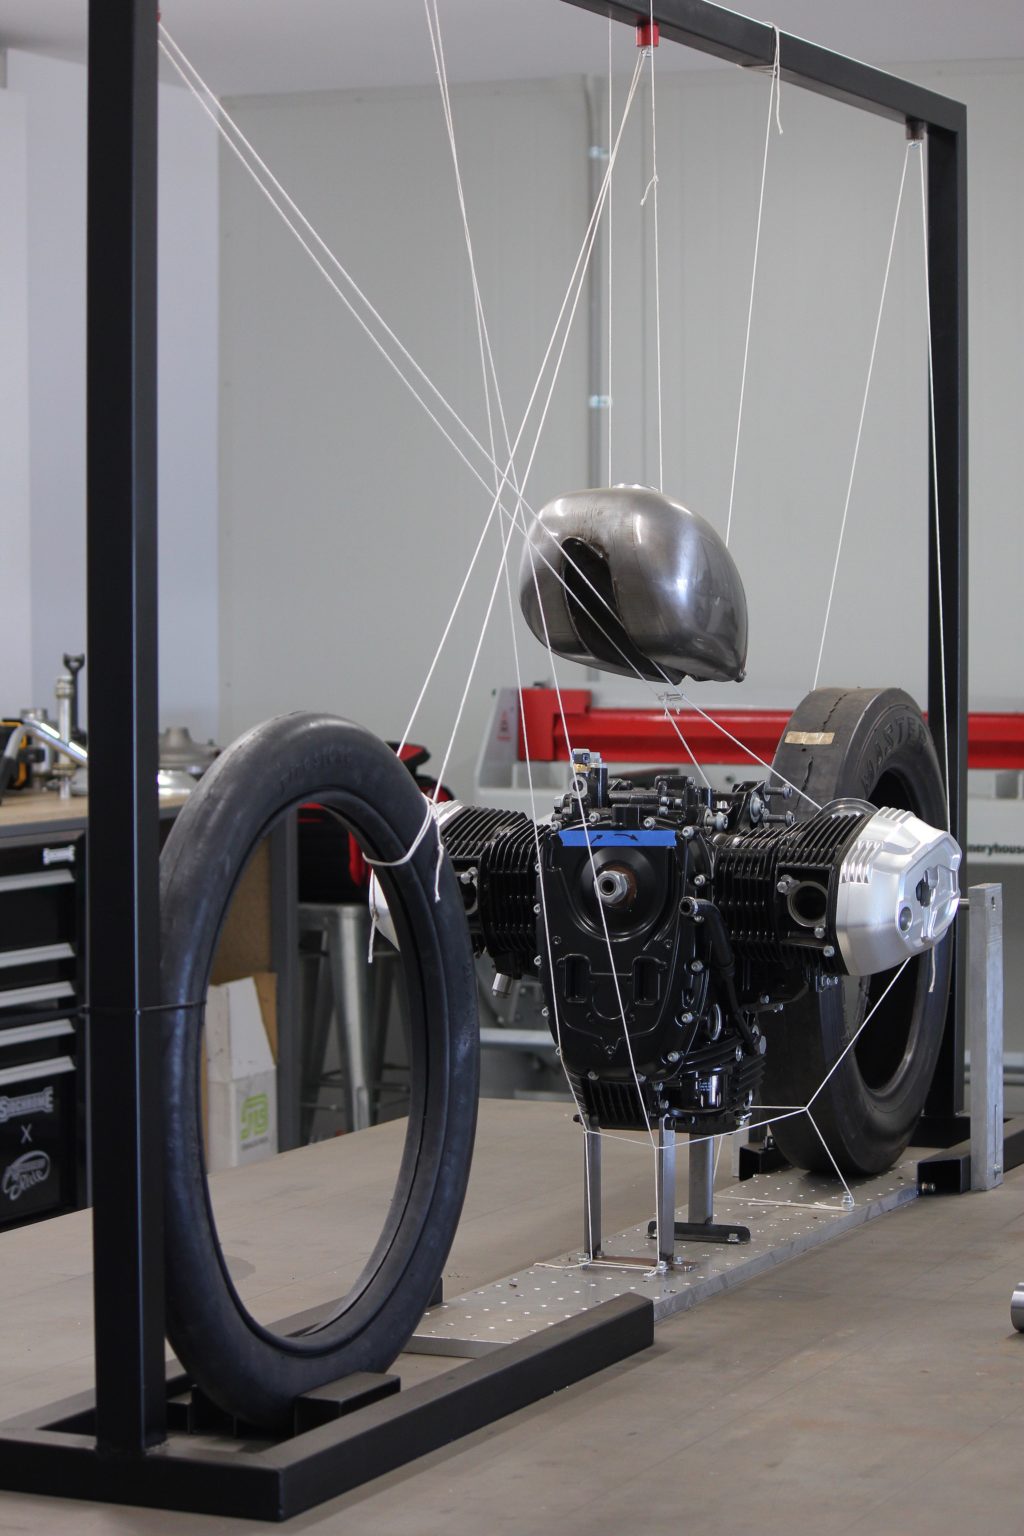
Using stringline and magnets I could trace out the lines of the frame and adjust the motor angle and position to meet these lines.
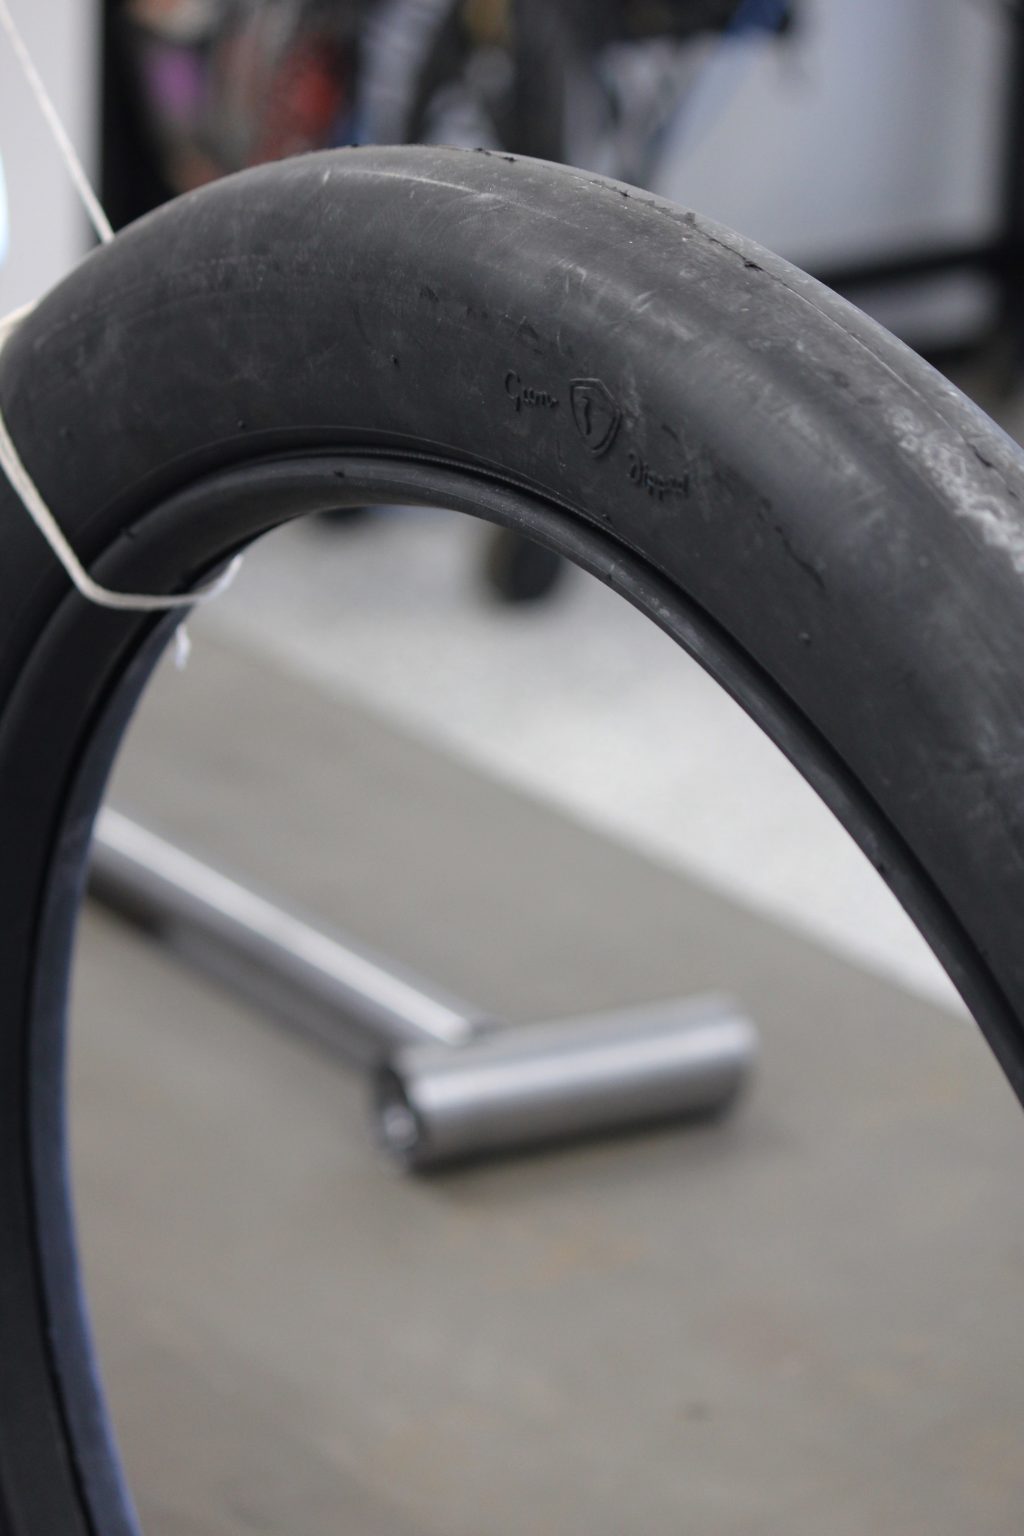
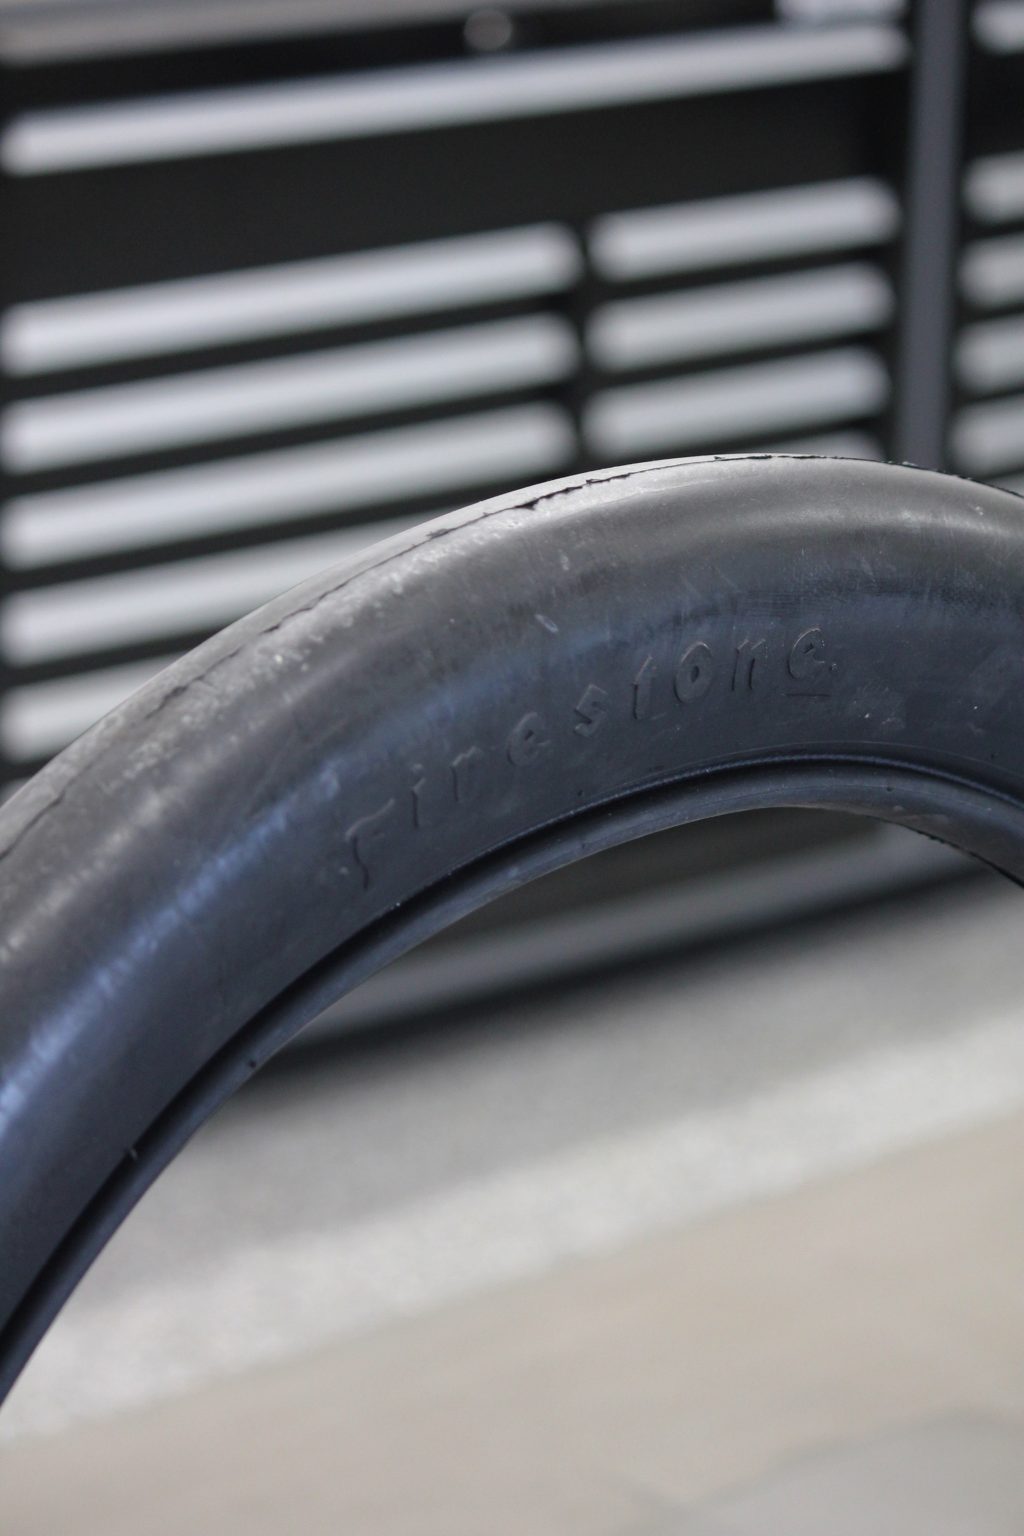
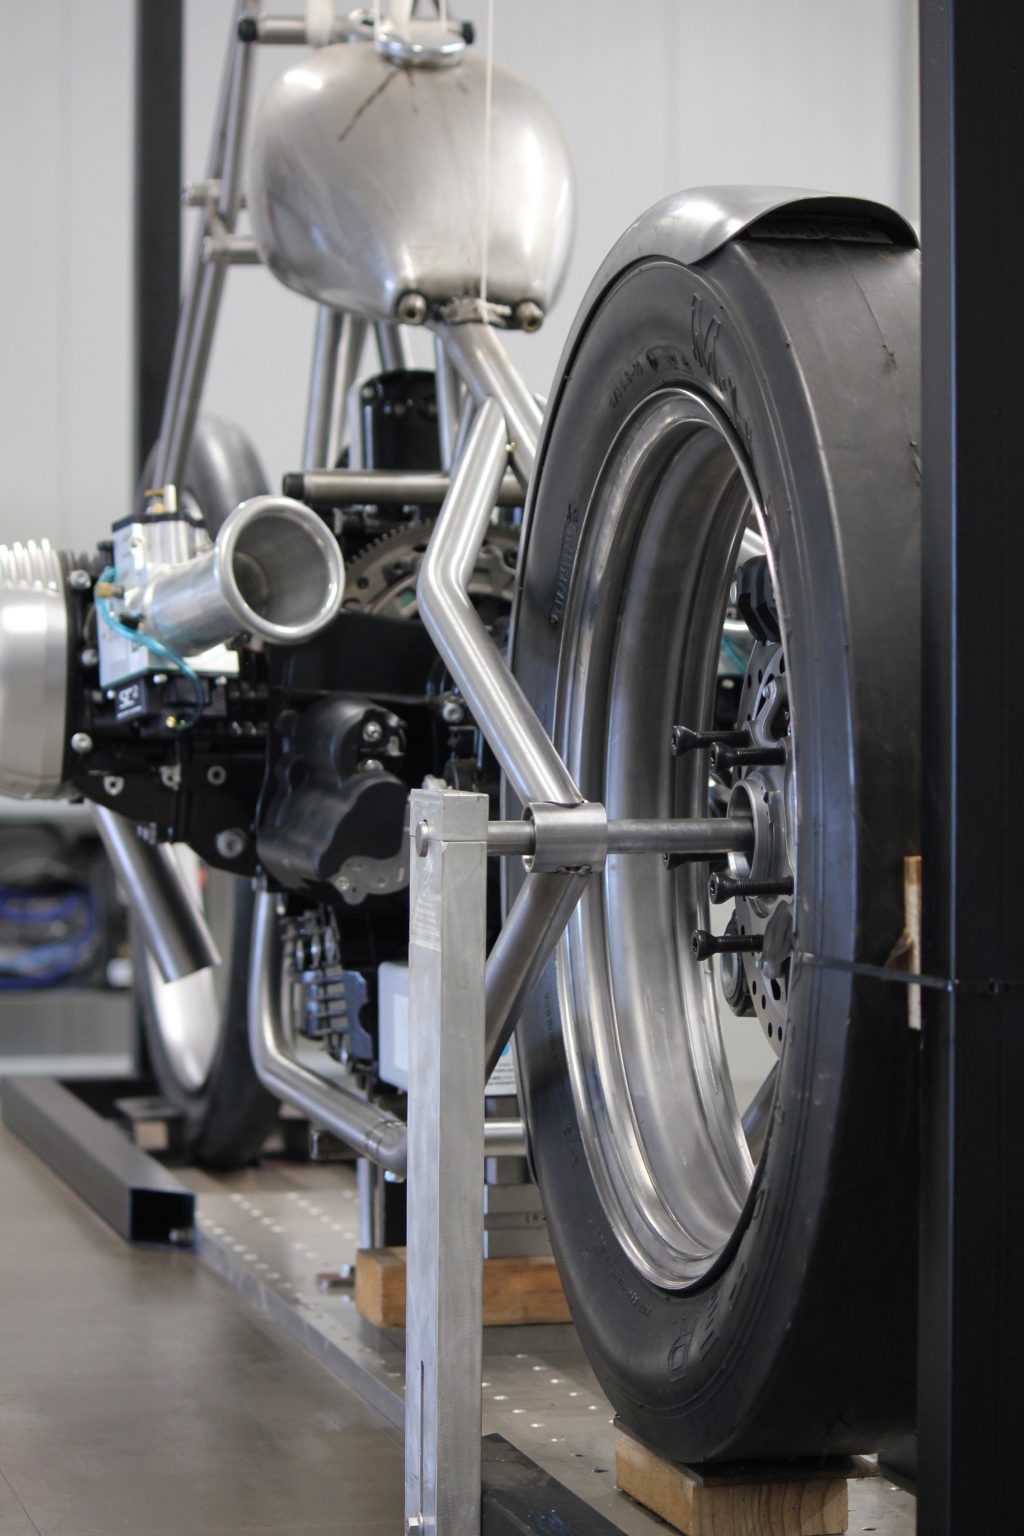
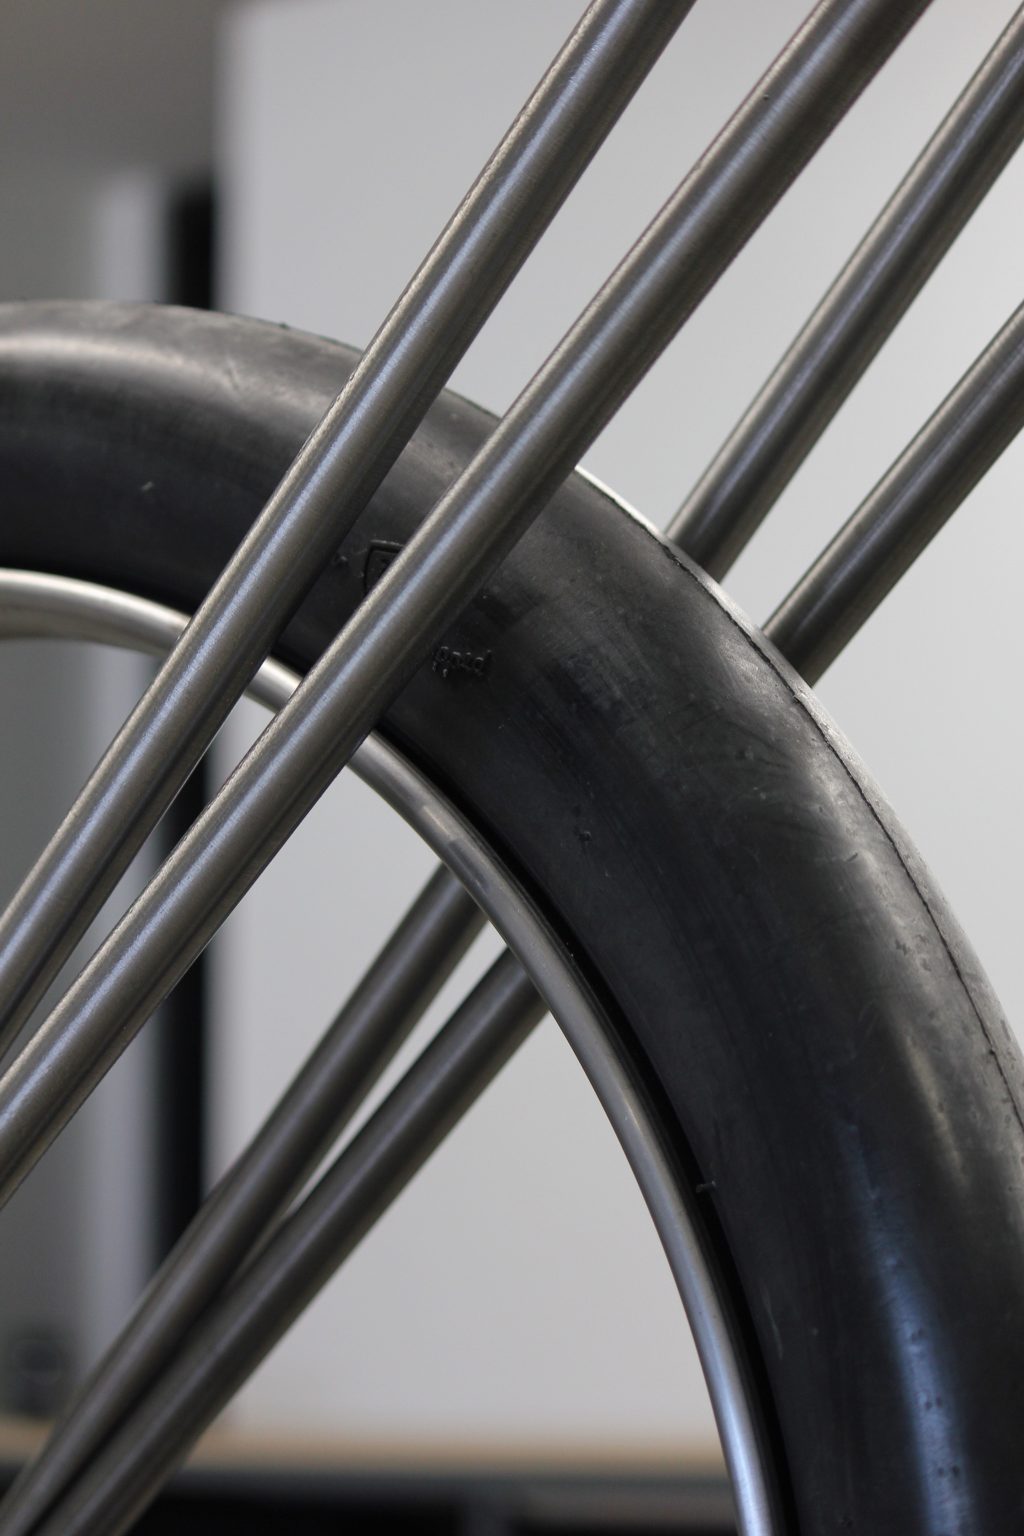
By placing the tyres in position I could get a feel for its length and begin to understand what the bike will become. This front tyre is a clincher style 22 inch (28 inch diameter) vintage car tyre from the early 1900’s. I had wanted to build an even diameter wheel combo for a bike ever since I begun this crazy passtime, to me 21 was too small and 23 was too large, 22 is just right and even though rims don’t exist for these I am excited to see it come to life.
But where do I begin, I had a motor and tyres, thats it! Time to make something structural.
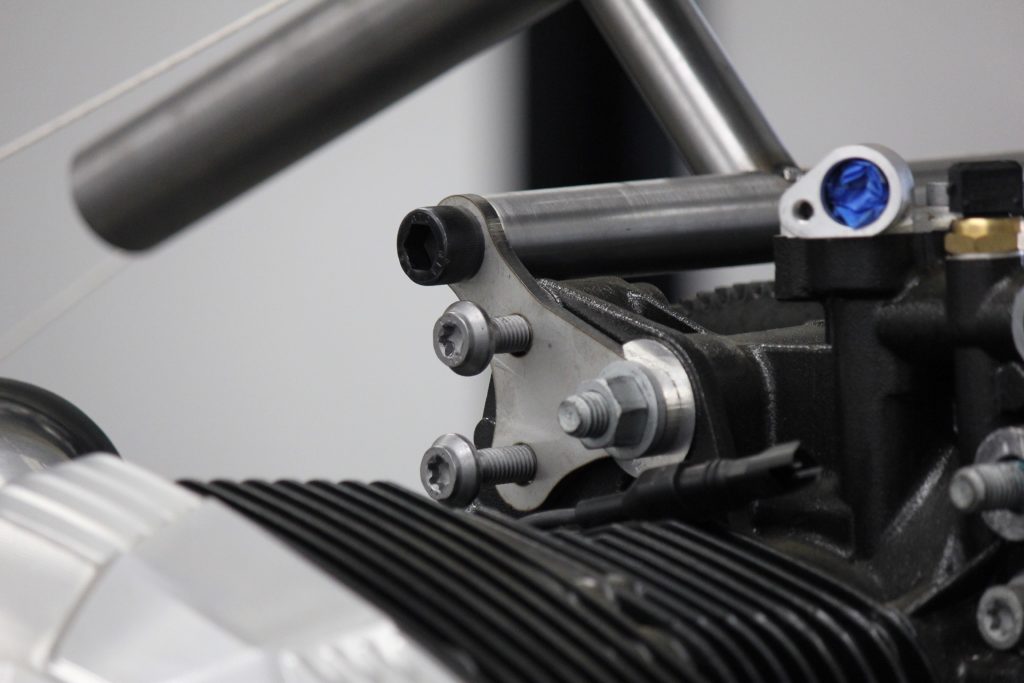
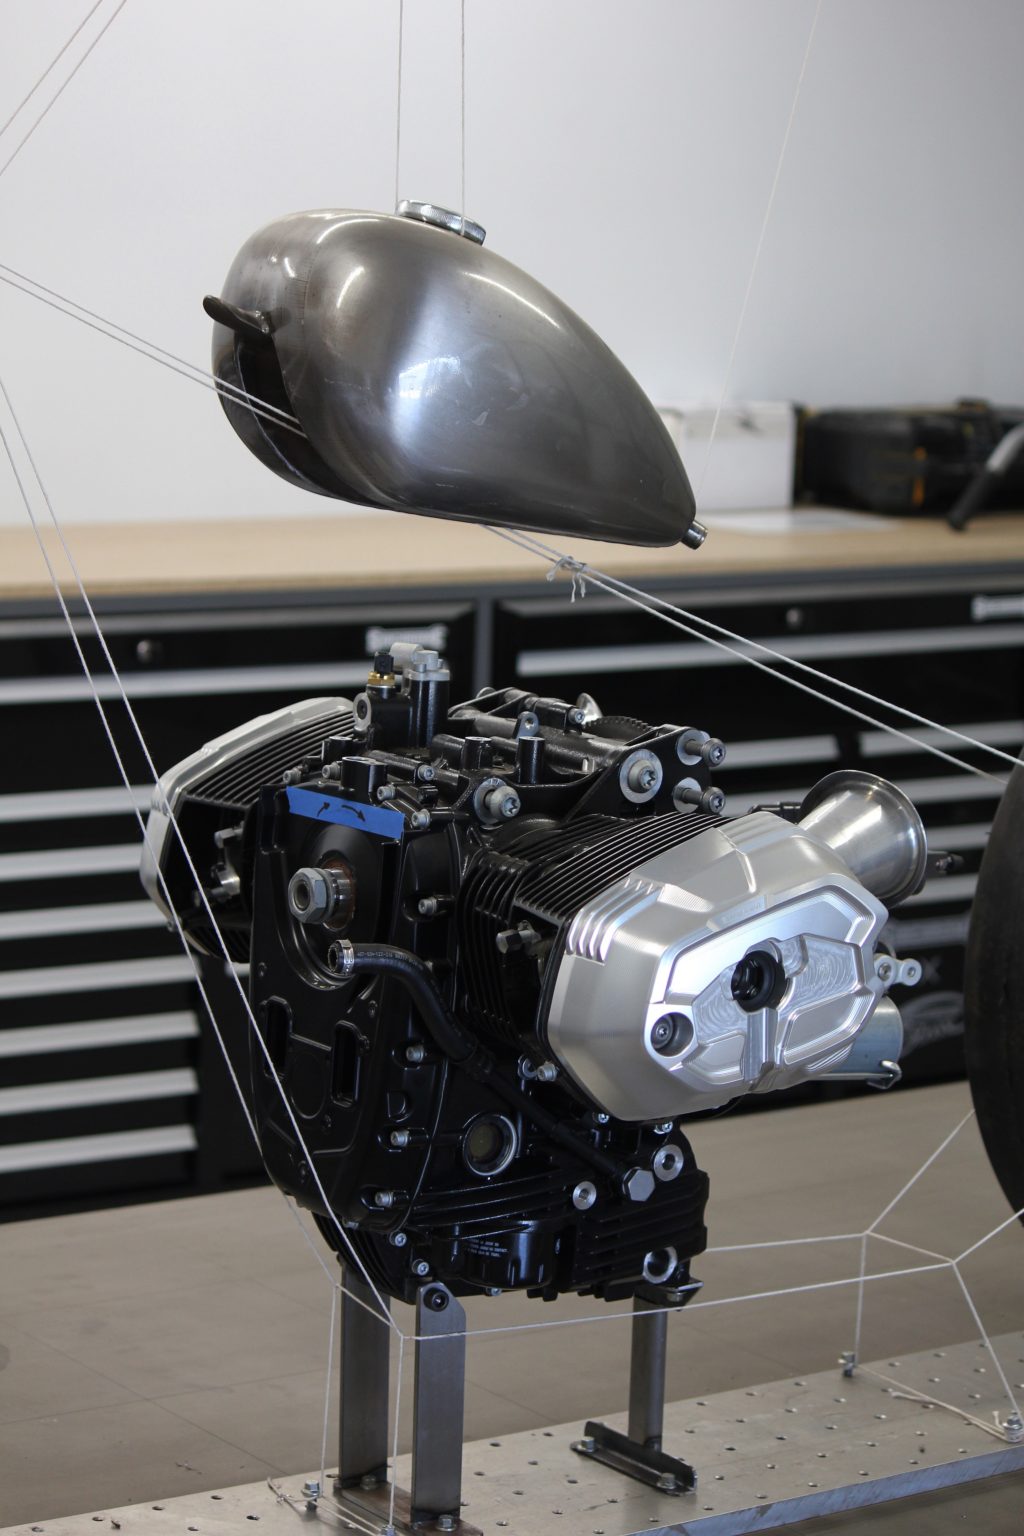
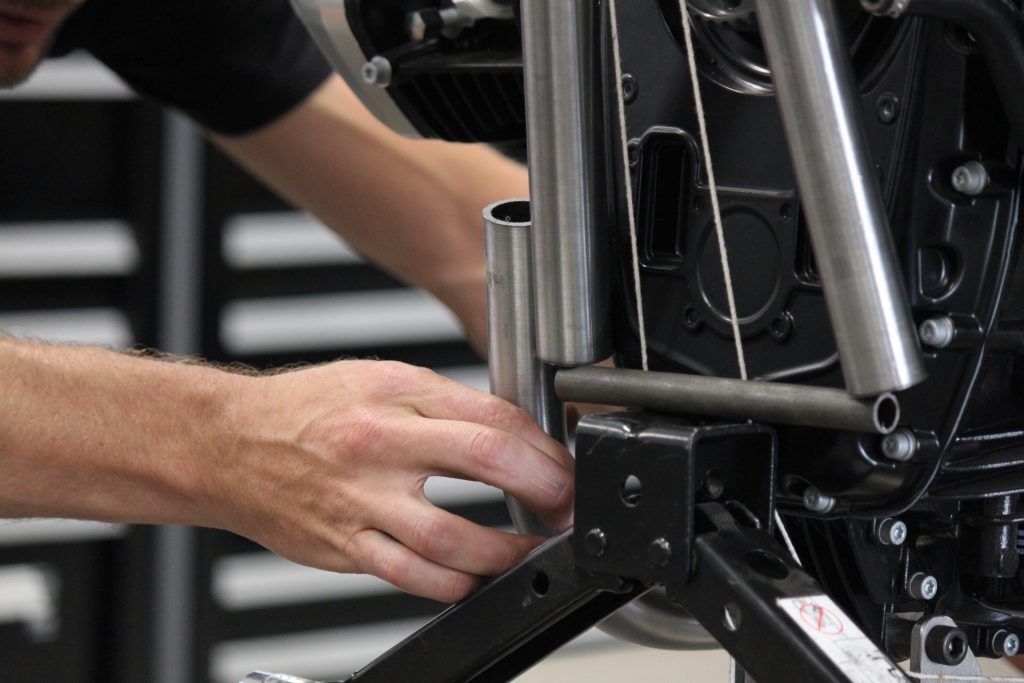
Utilising the factory mounting points for the motor my part time employee Matt Hill drew up some plates to get laser cut.
This allowed me to mount my 4130 chromoly backbone exactly square with the centerline of my perimeter frame and the cases of the motor.

Why isn’t the headtube at the intersect point?

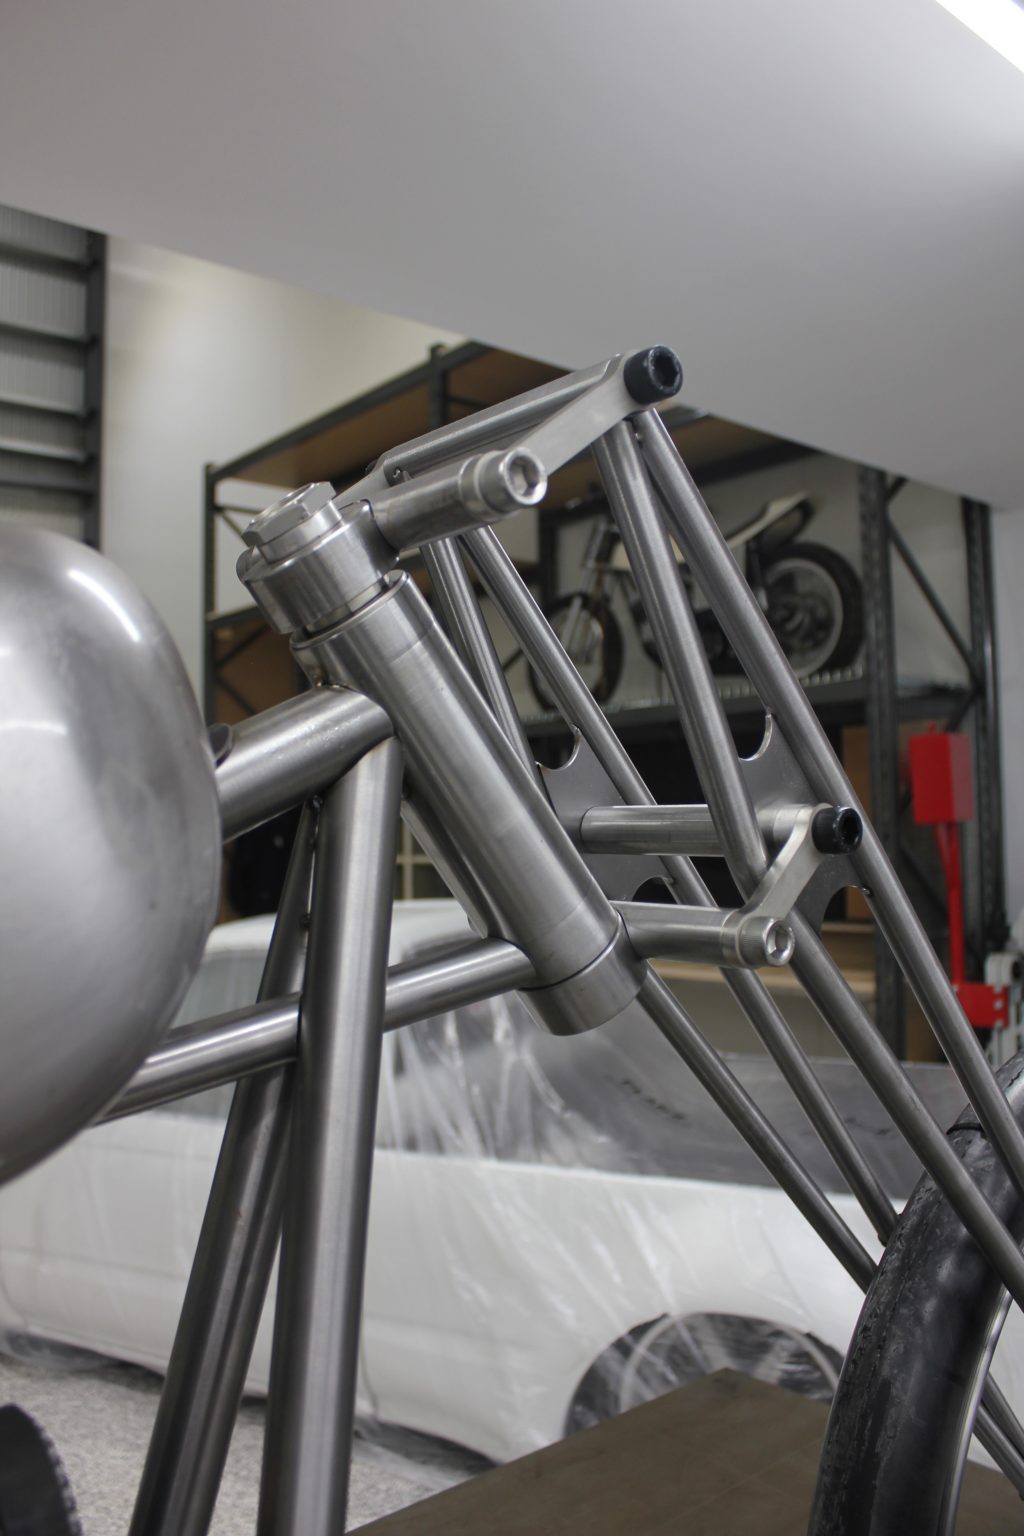
Because I had designed a girder style front end, this uses a pivoting “dog bone” linkage to swing a triangulated frame off the upper and lower steerer tube.
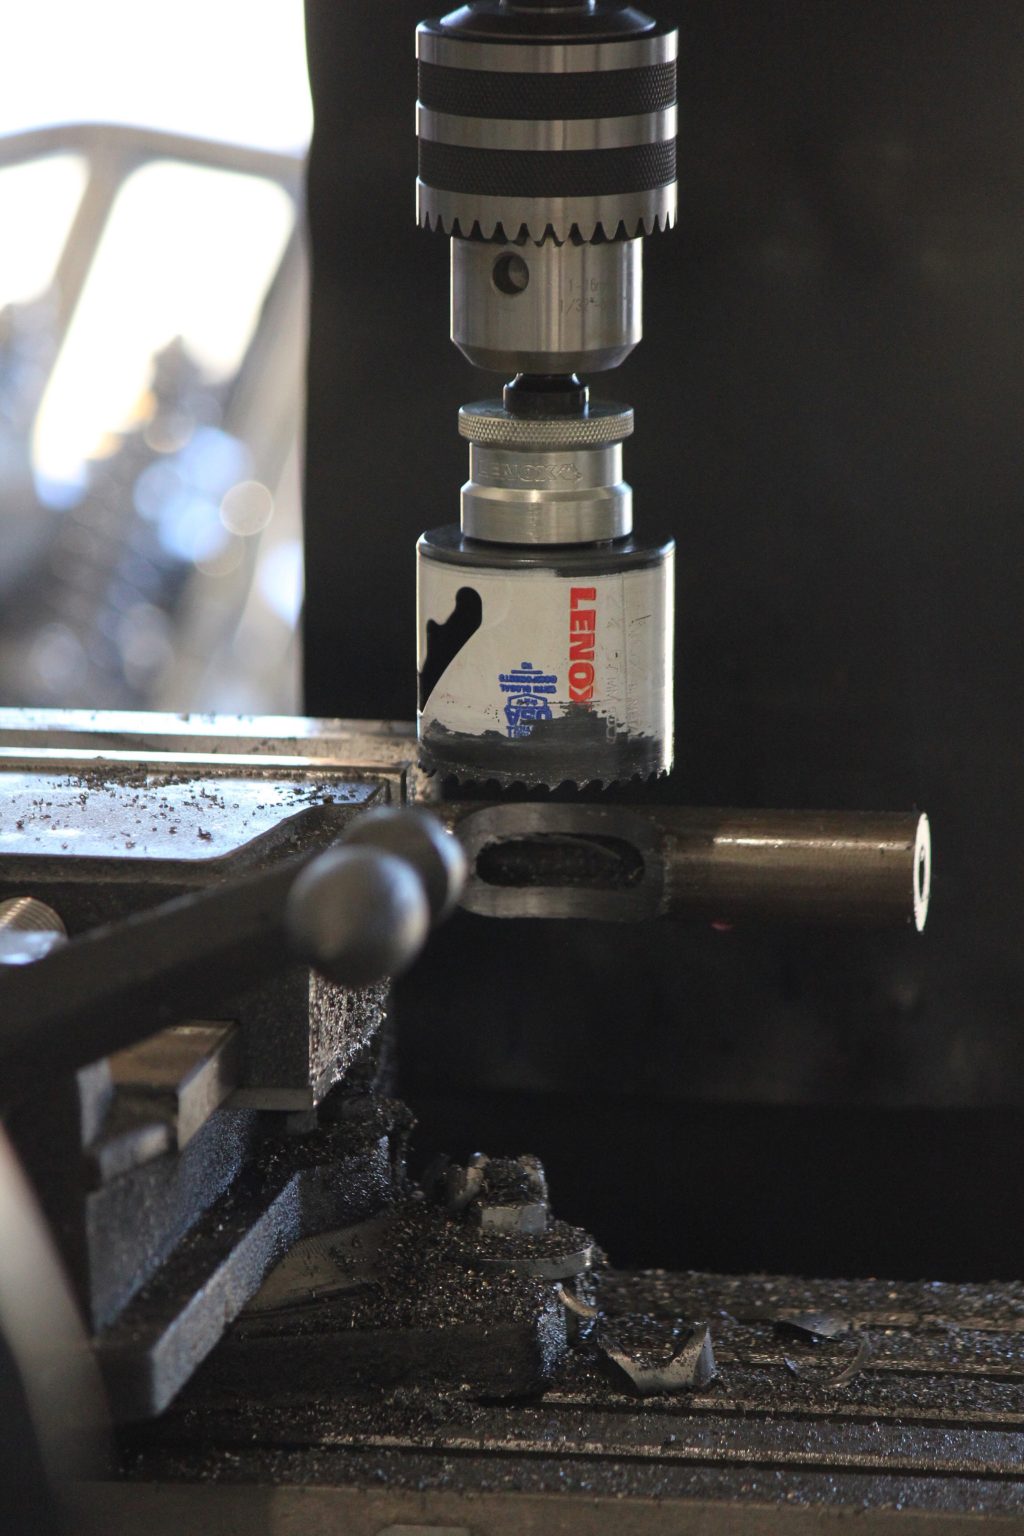
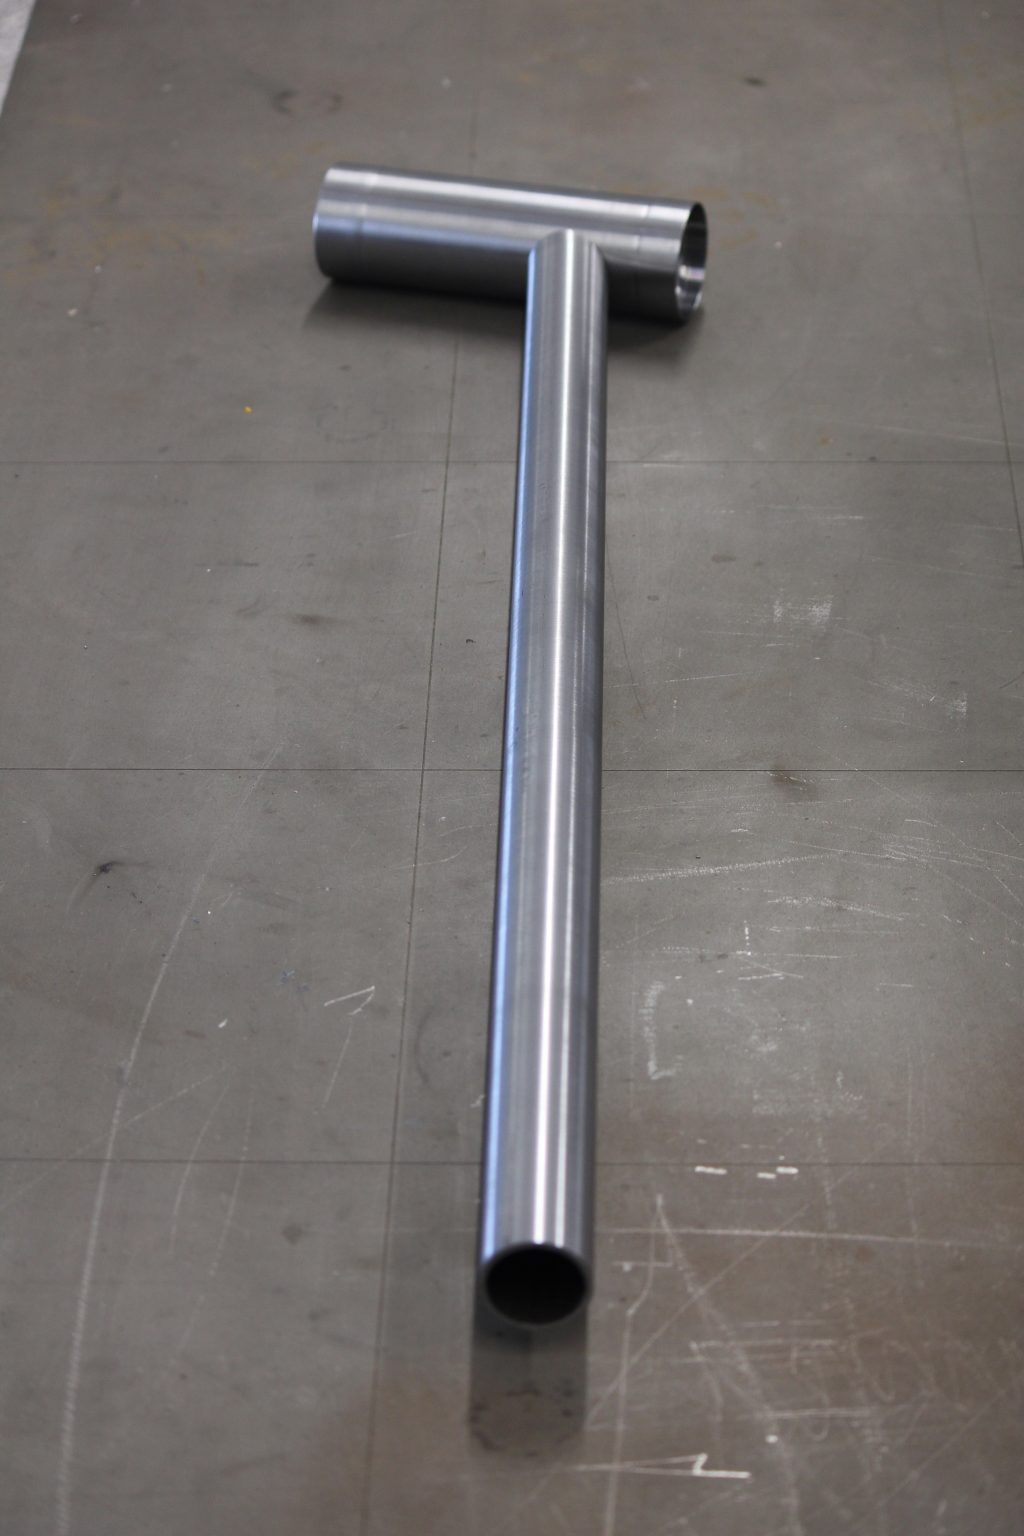
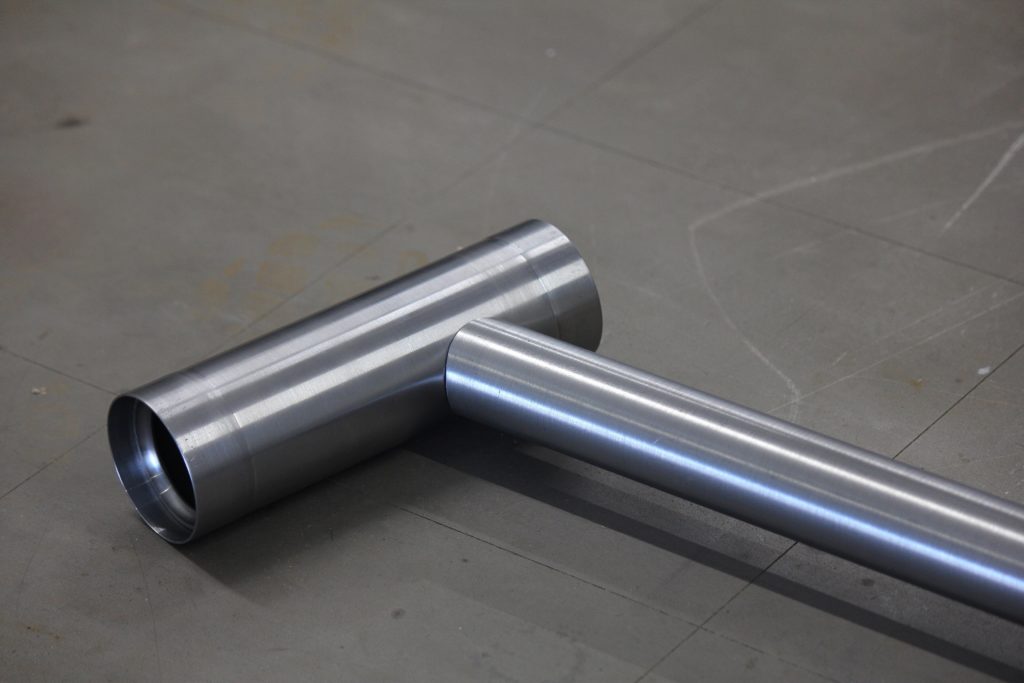
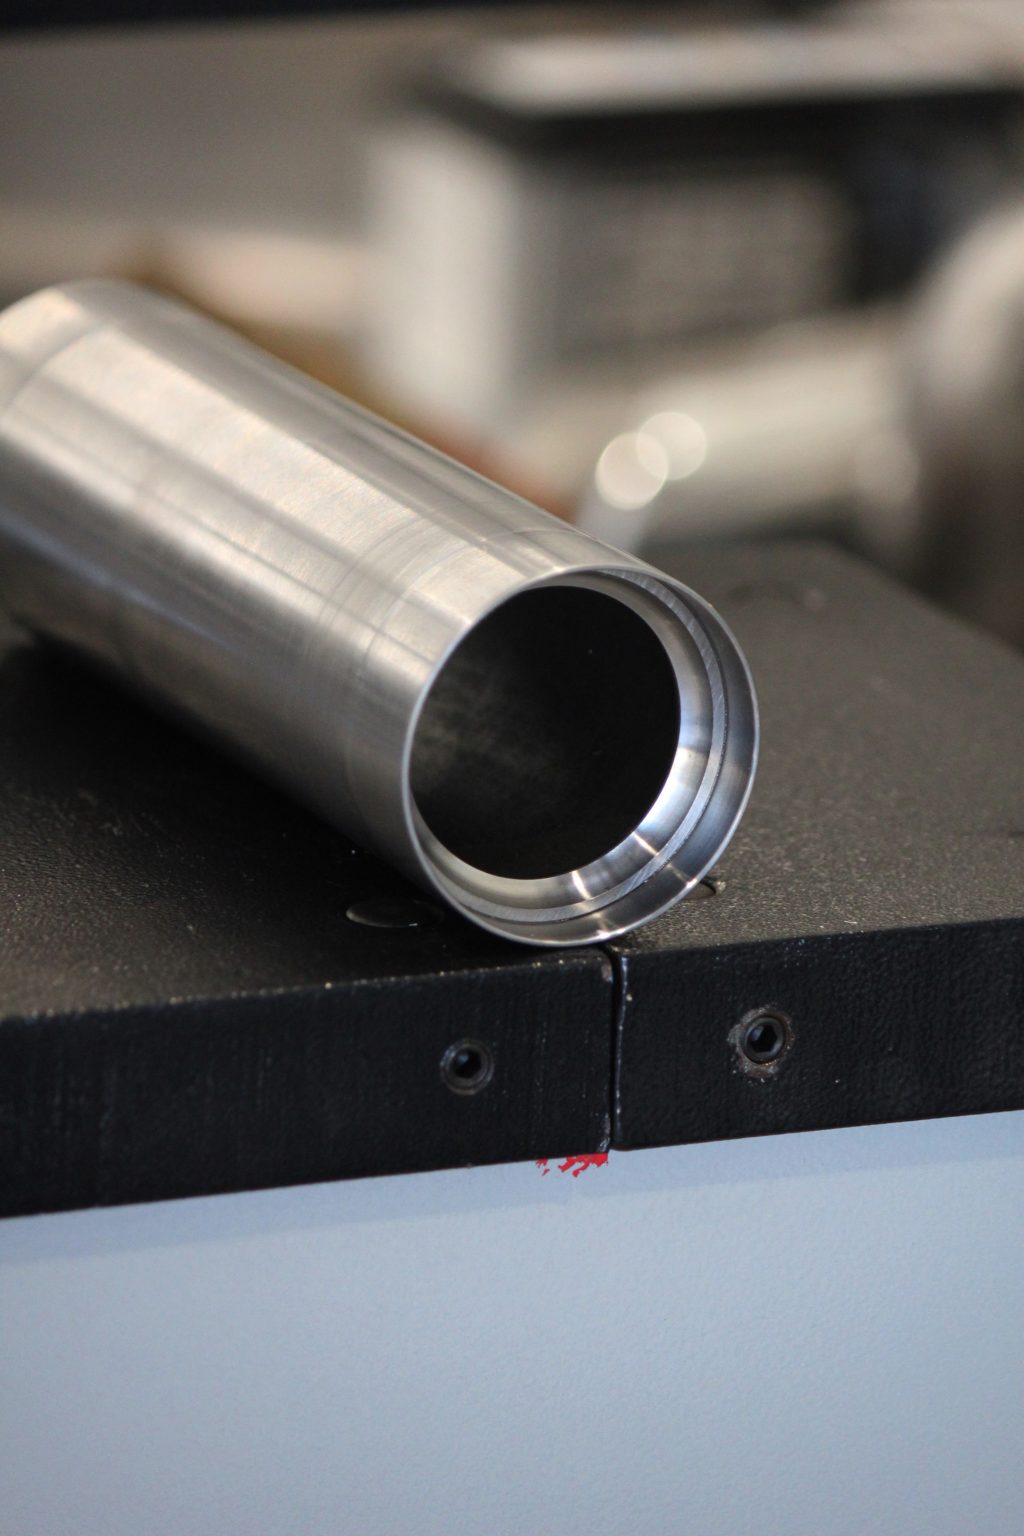
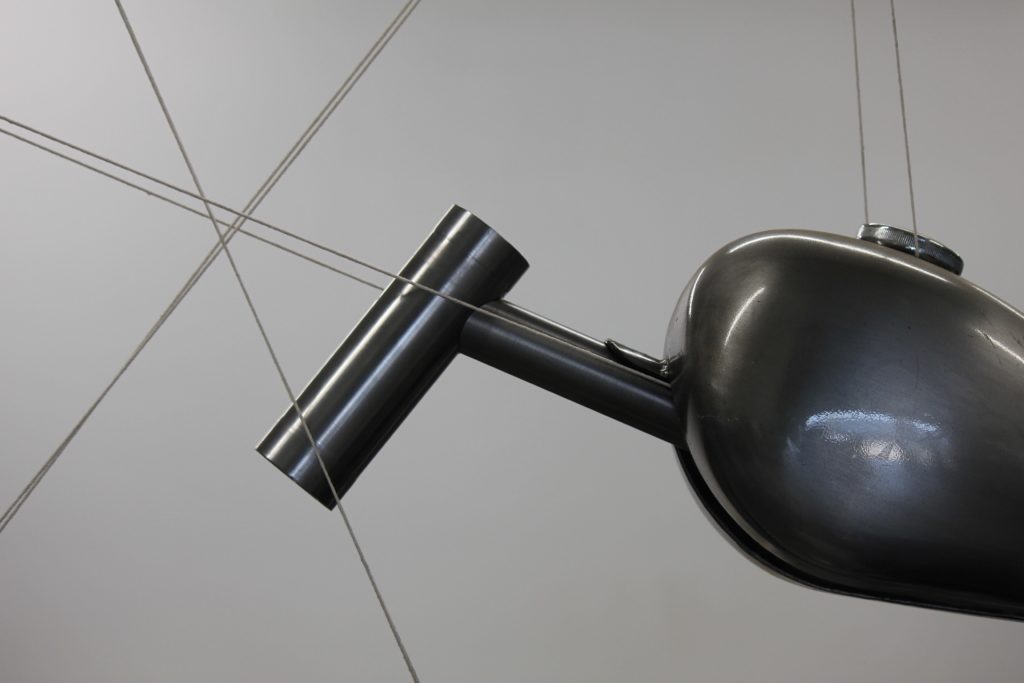
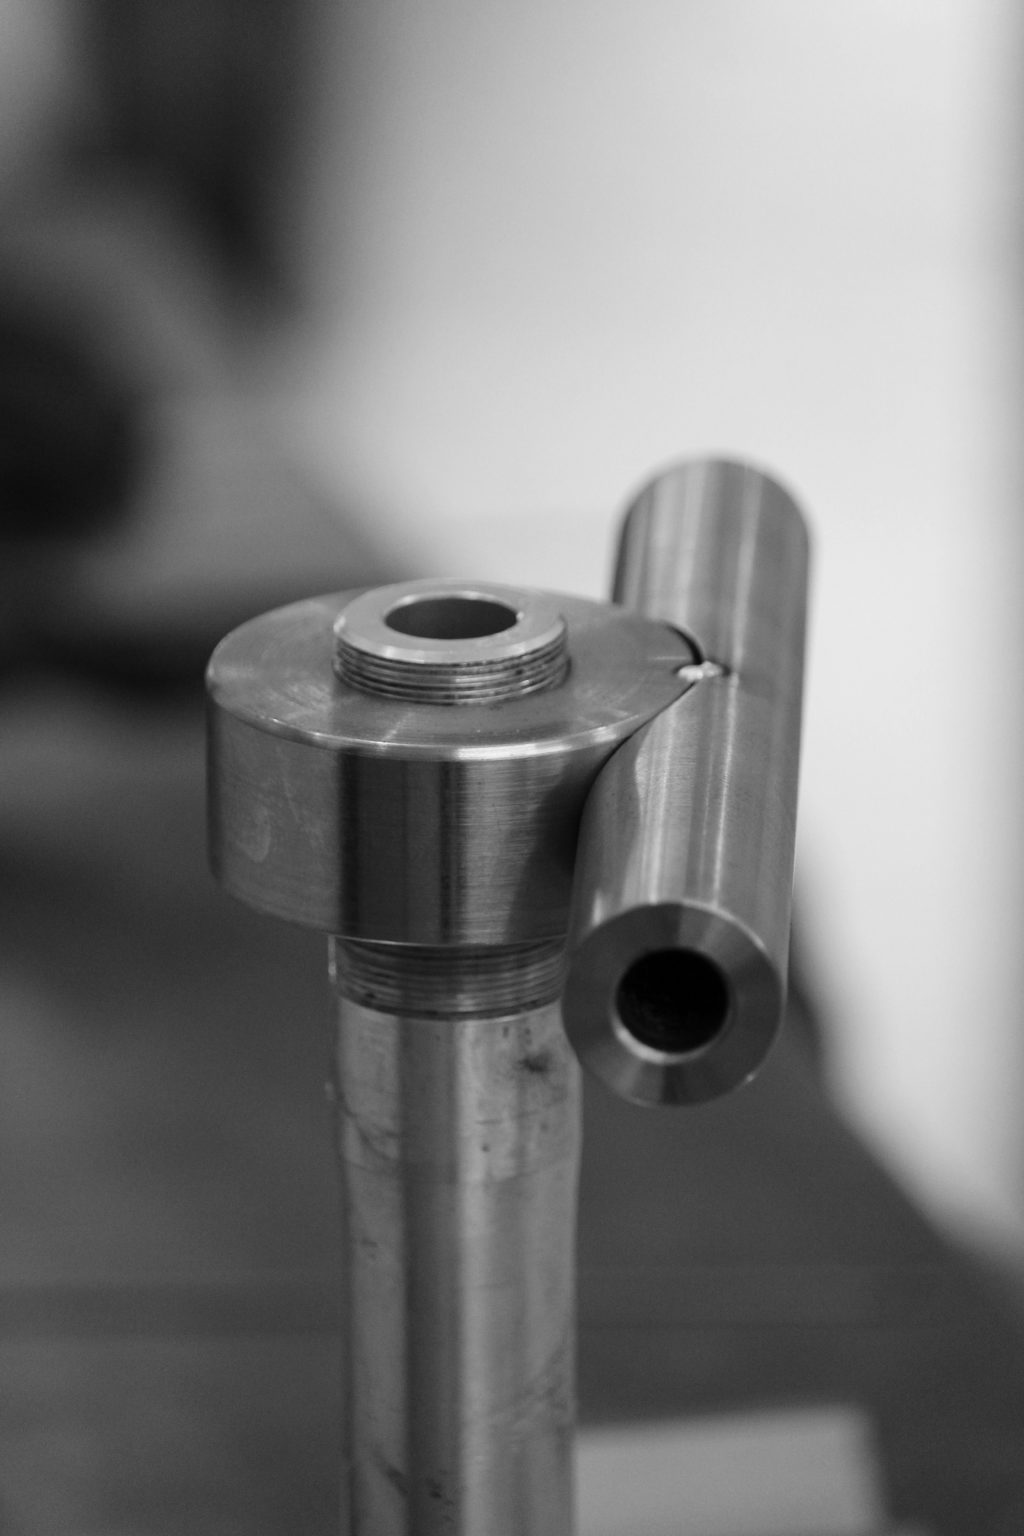
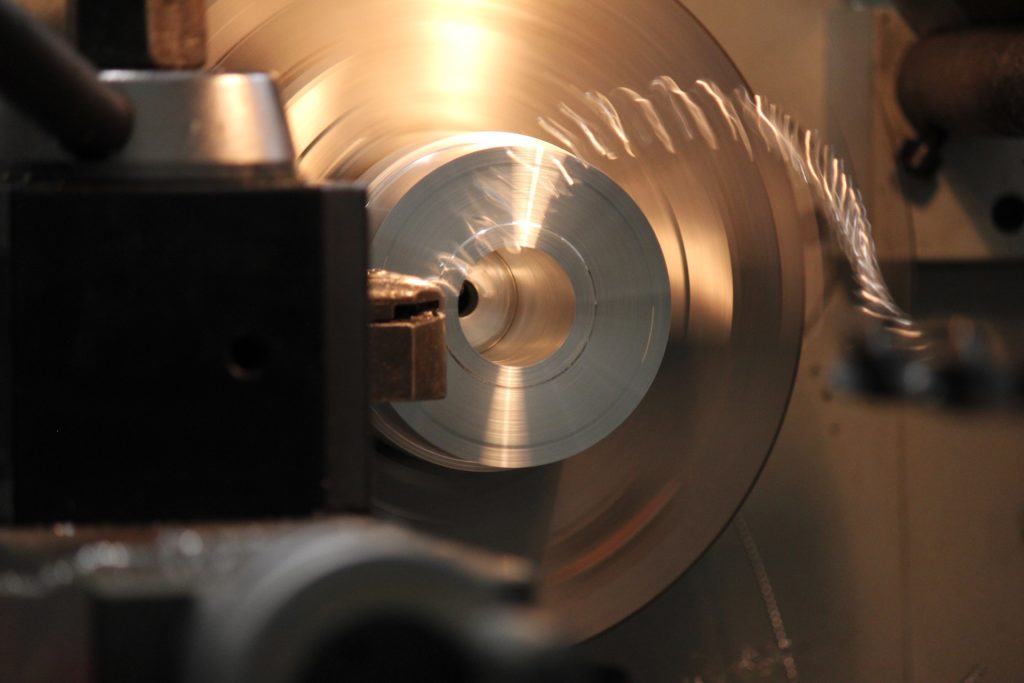
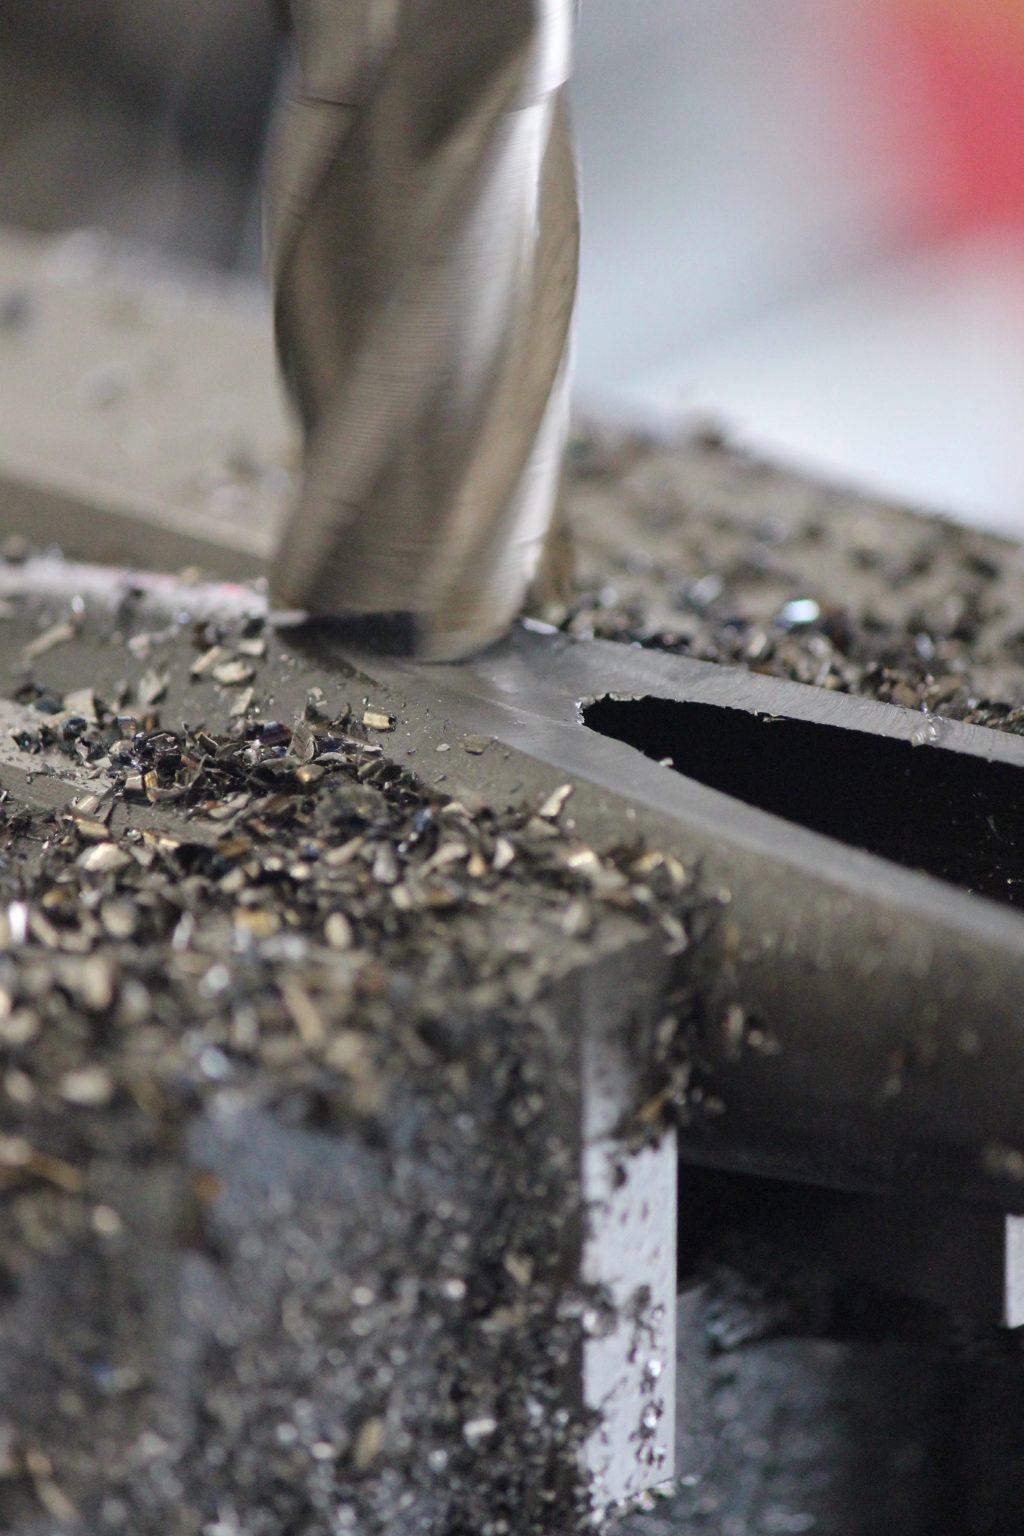
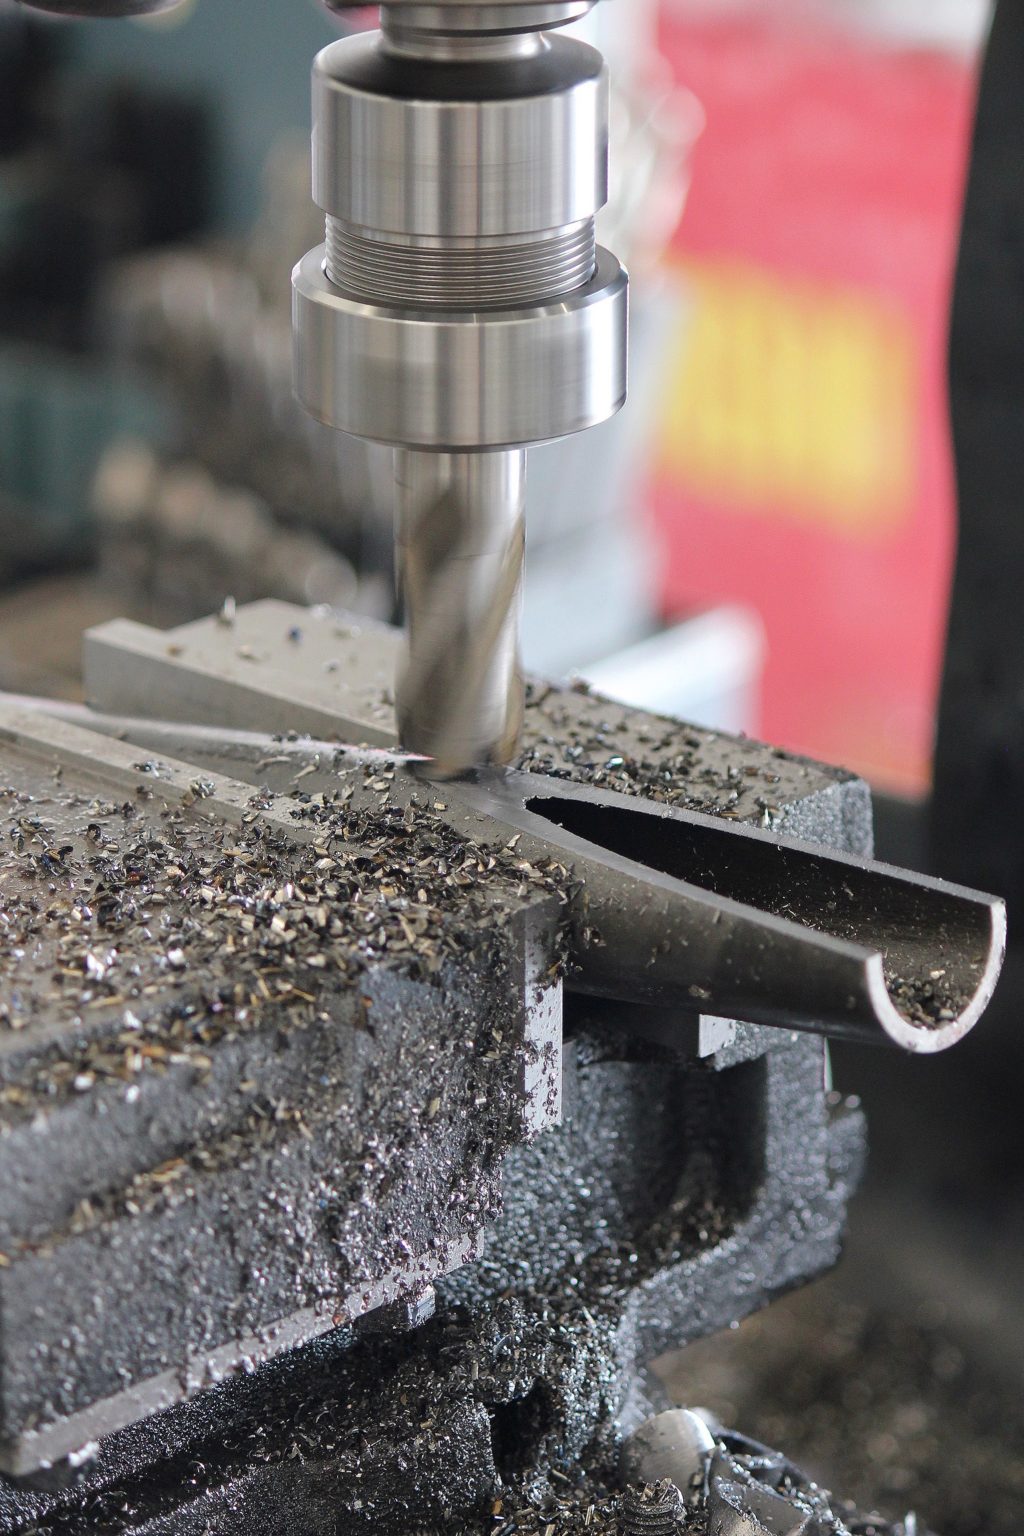
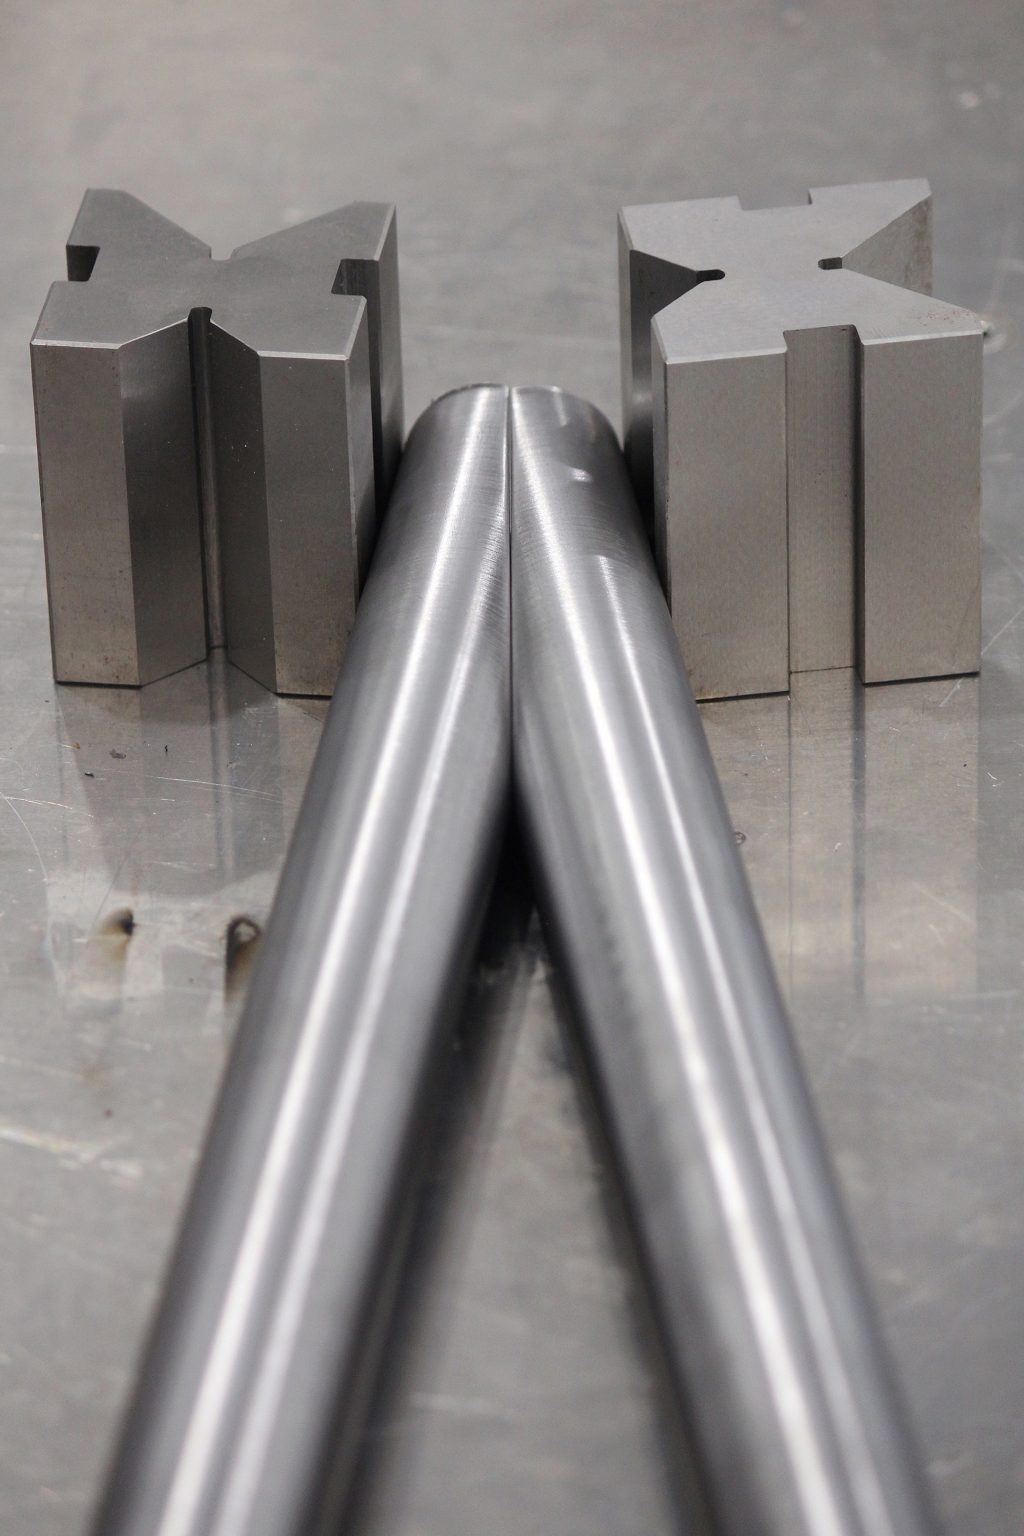
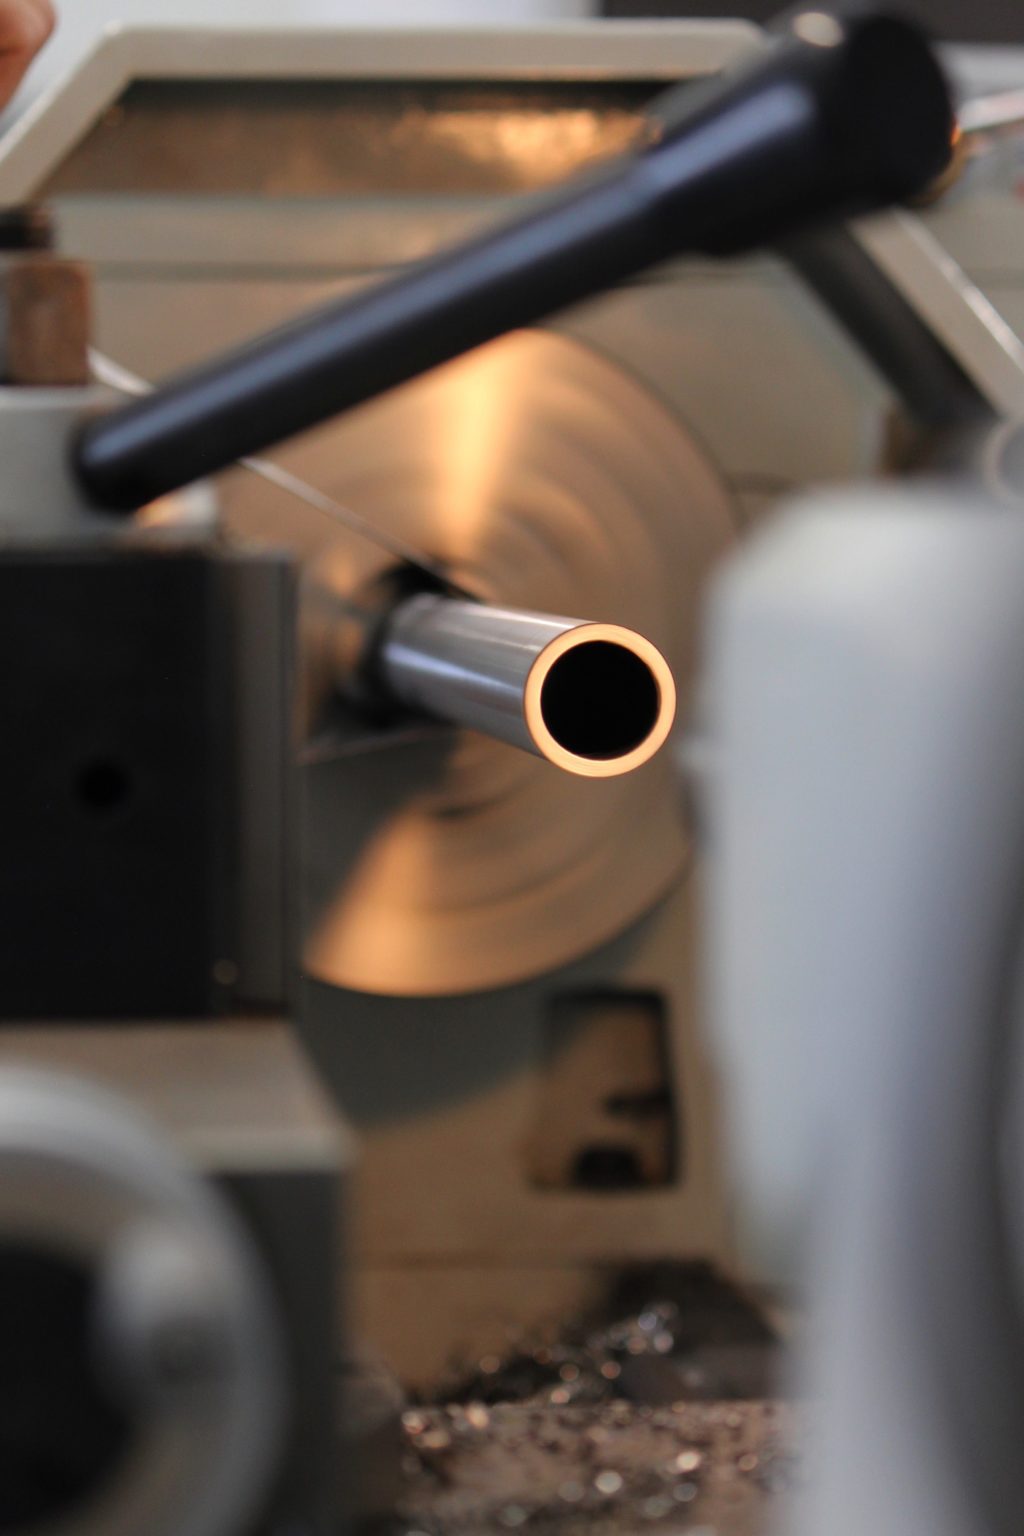
Using some 1″ 4130 chromoly with a 6mm wall thickness and some solid 60mm 4140 steel bar I turned and noched the parts for my lower steerer and also the upper.
I am doing my best to use as much BMW hardware as I can on this build, the stock bolts that come on BMW Motorcycles is some of the best I have ever seen so I want to retain as much BMW threaded hardware as I can.
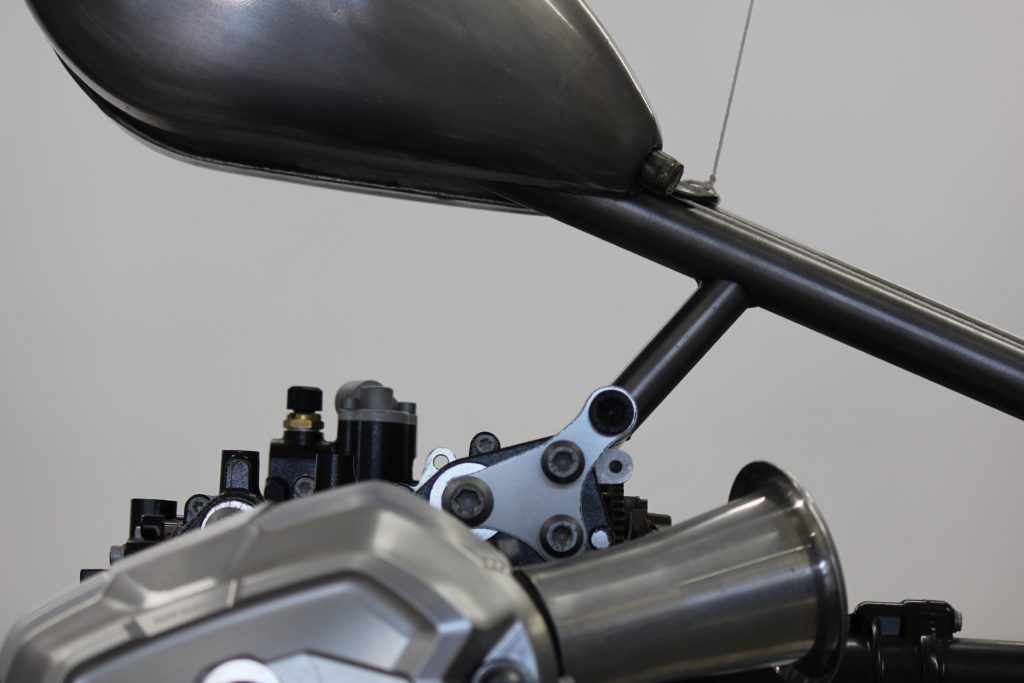
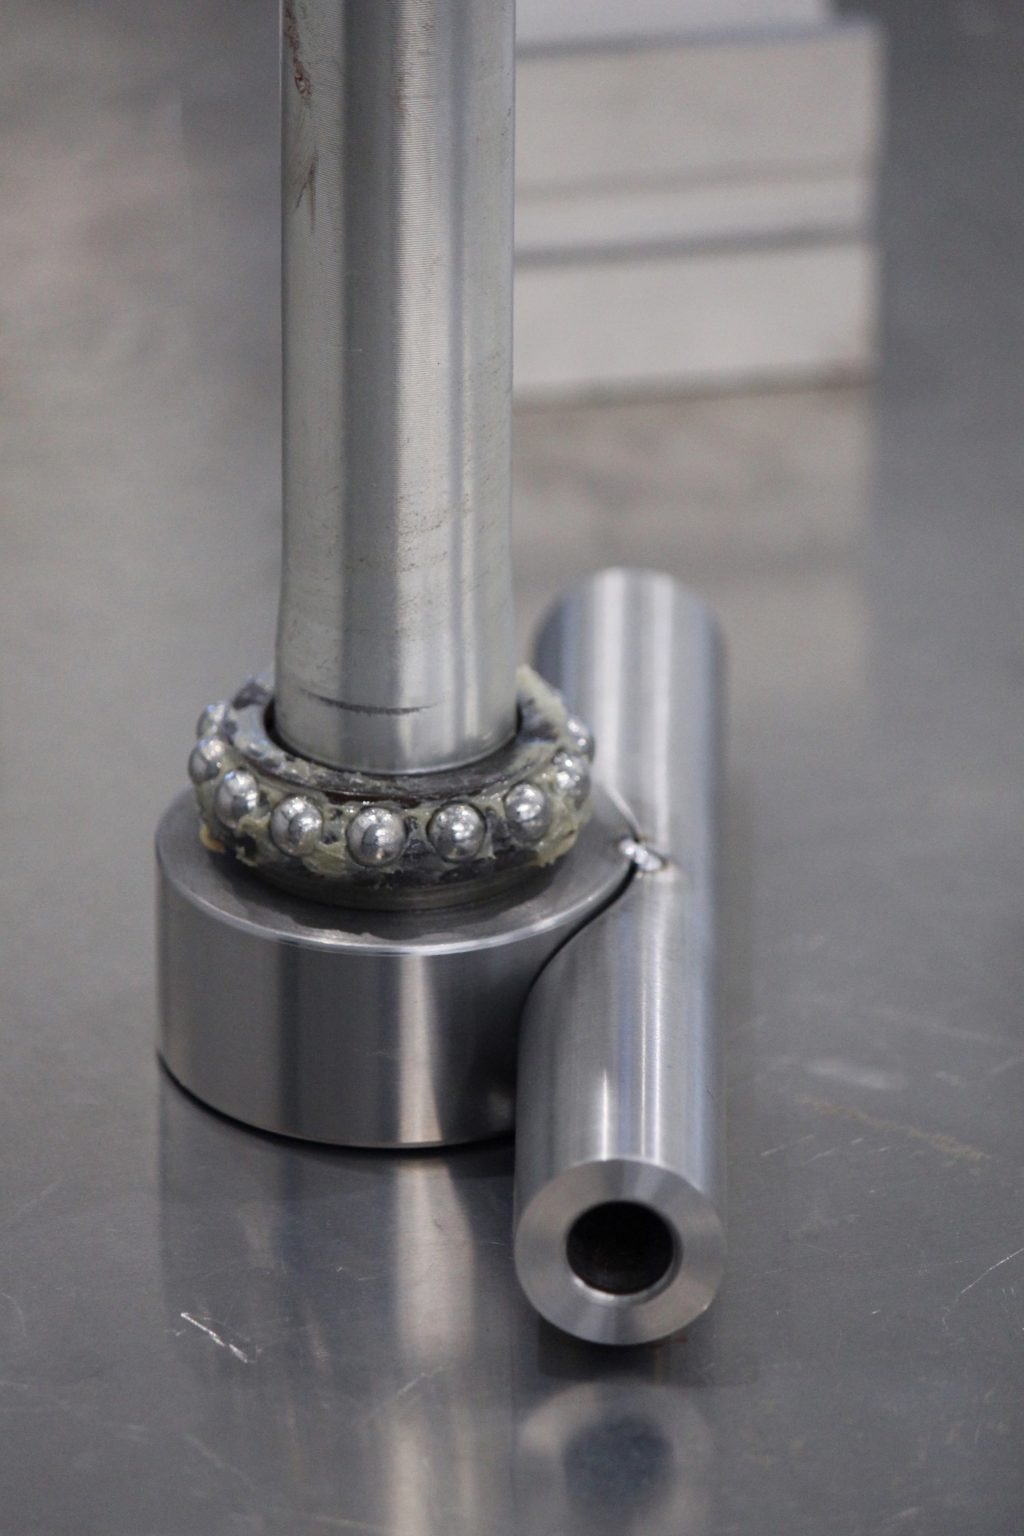
Sitting up on the bike with the original retaining nut, bearings and steerer tube the bikes starting to come to life. Making parts like this takes patience, by doing each step the correct way no matter how slow and methodical it may seem it’s always faster than doing it twice.
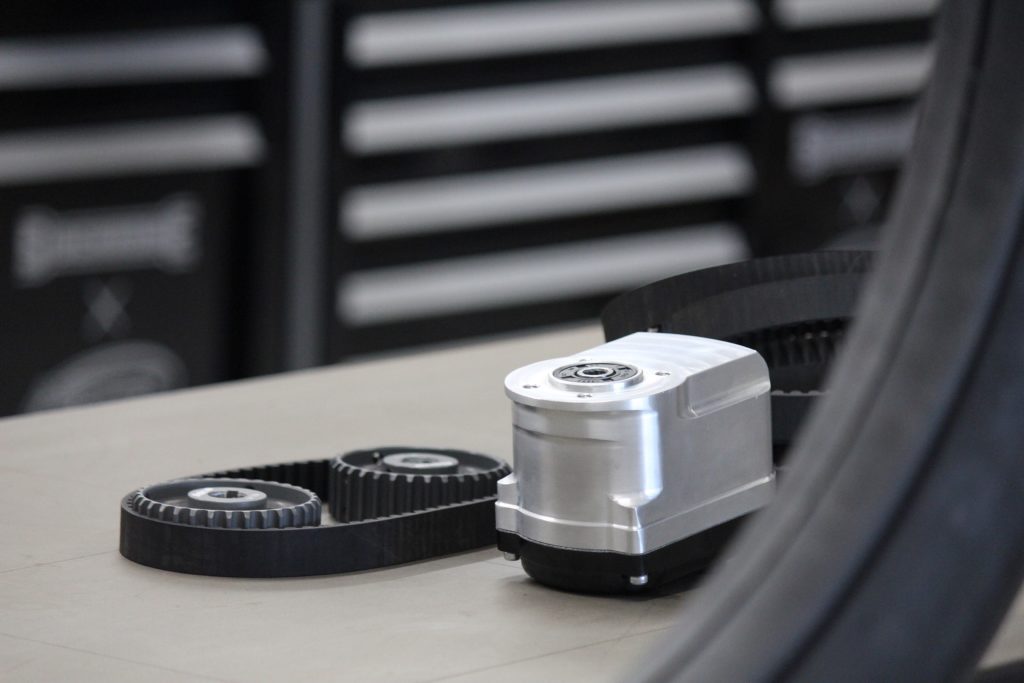
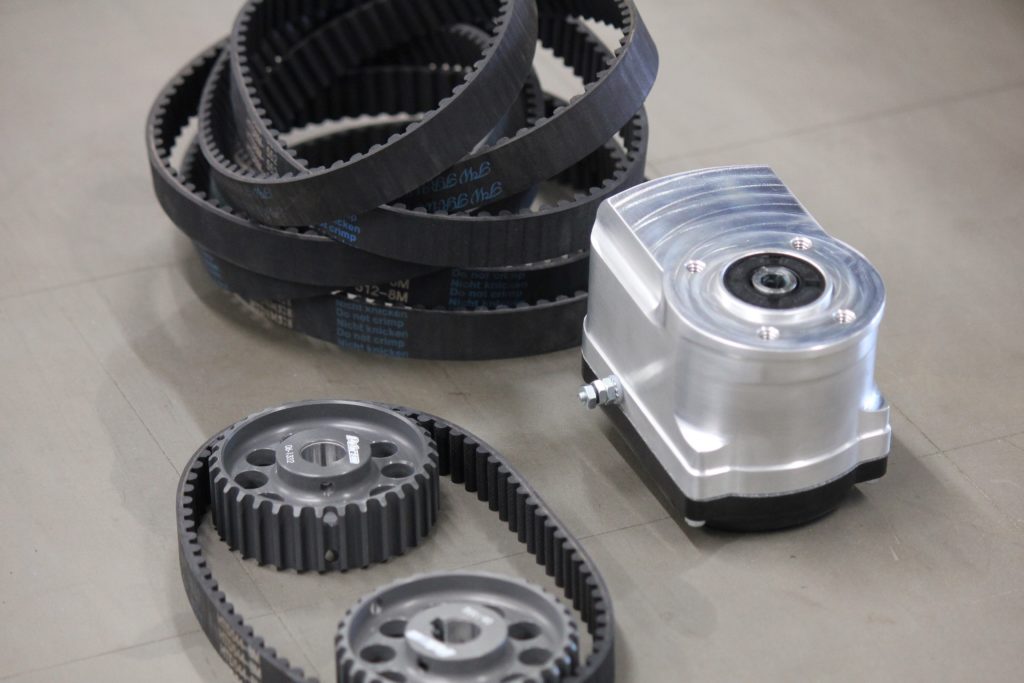
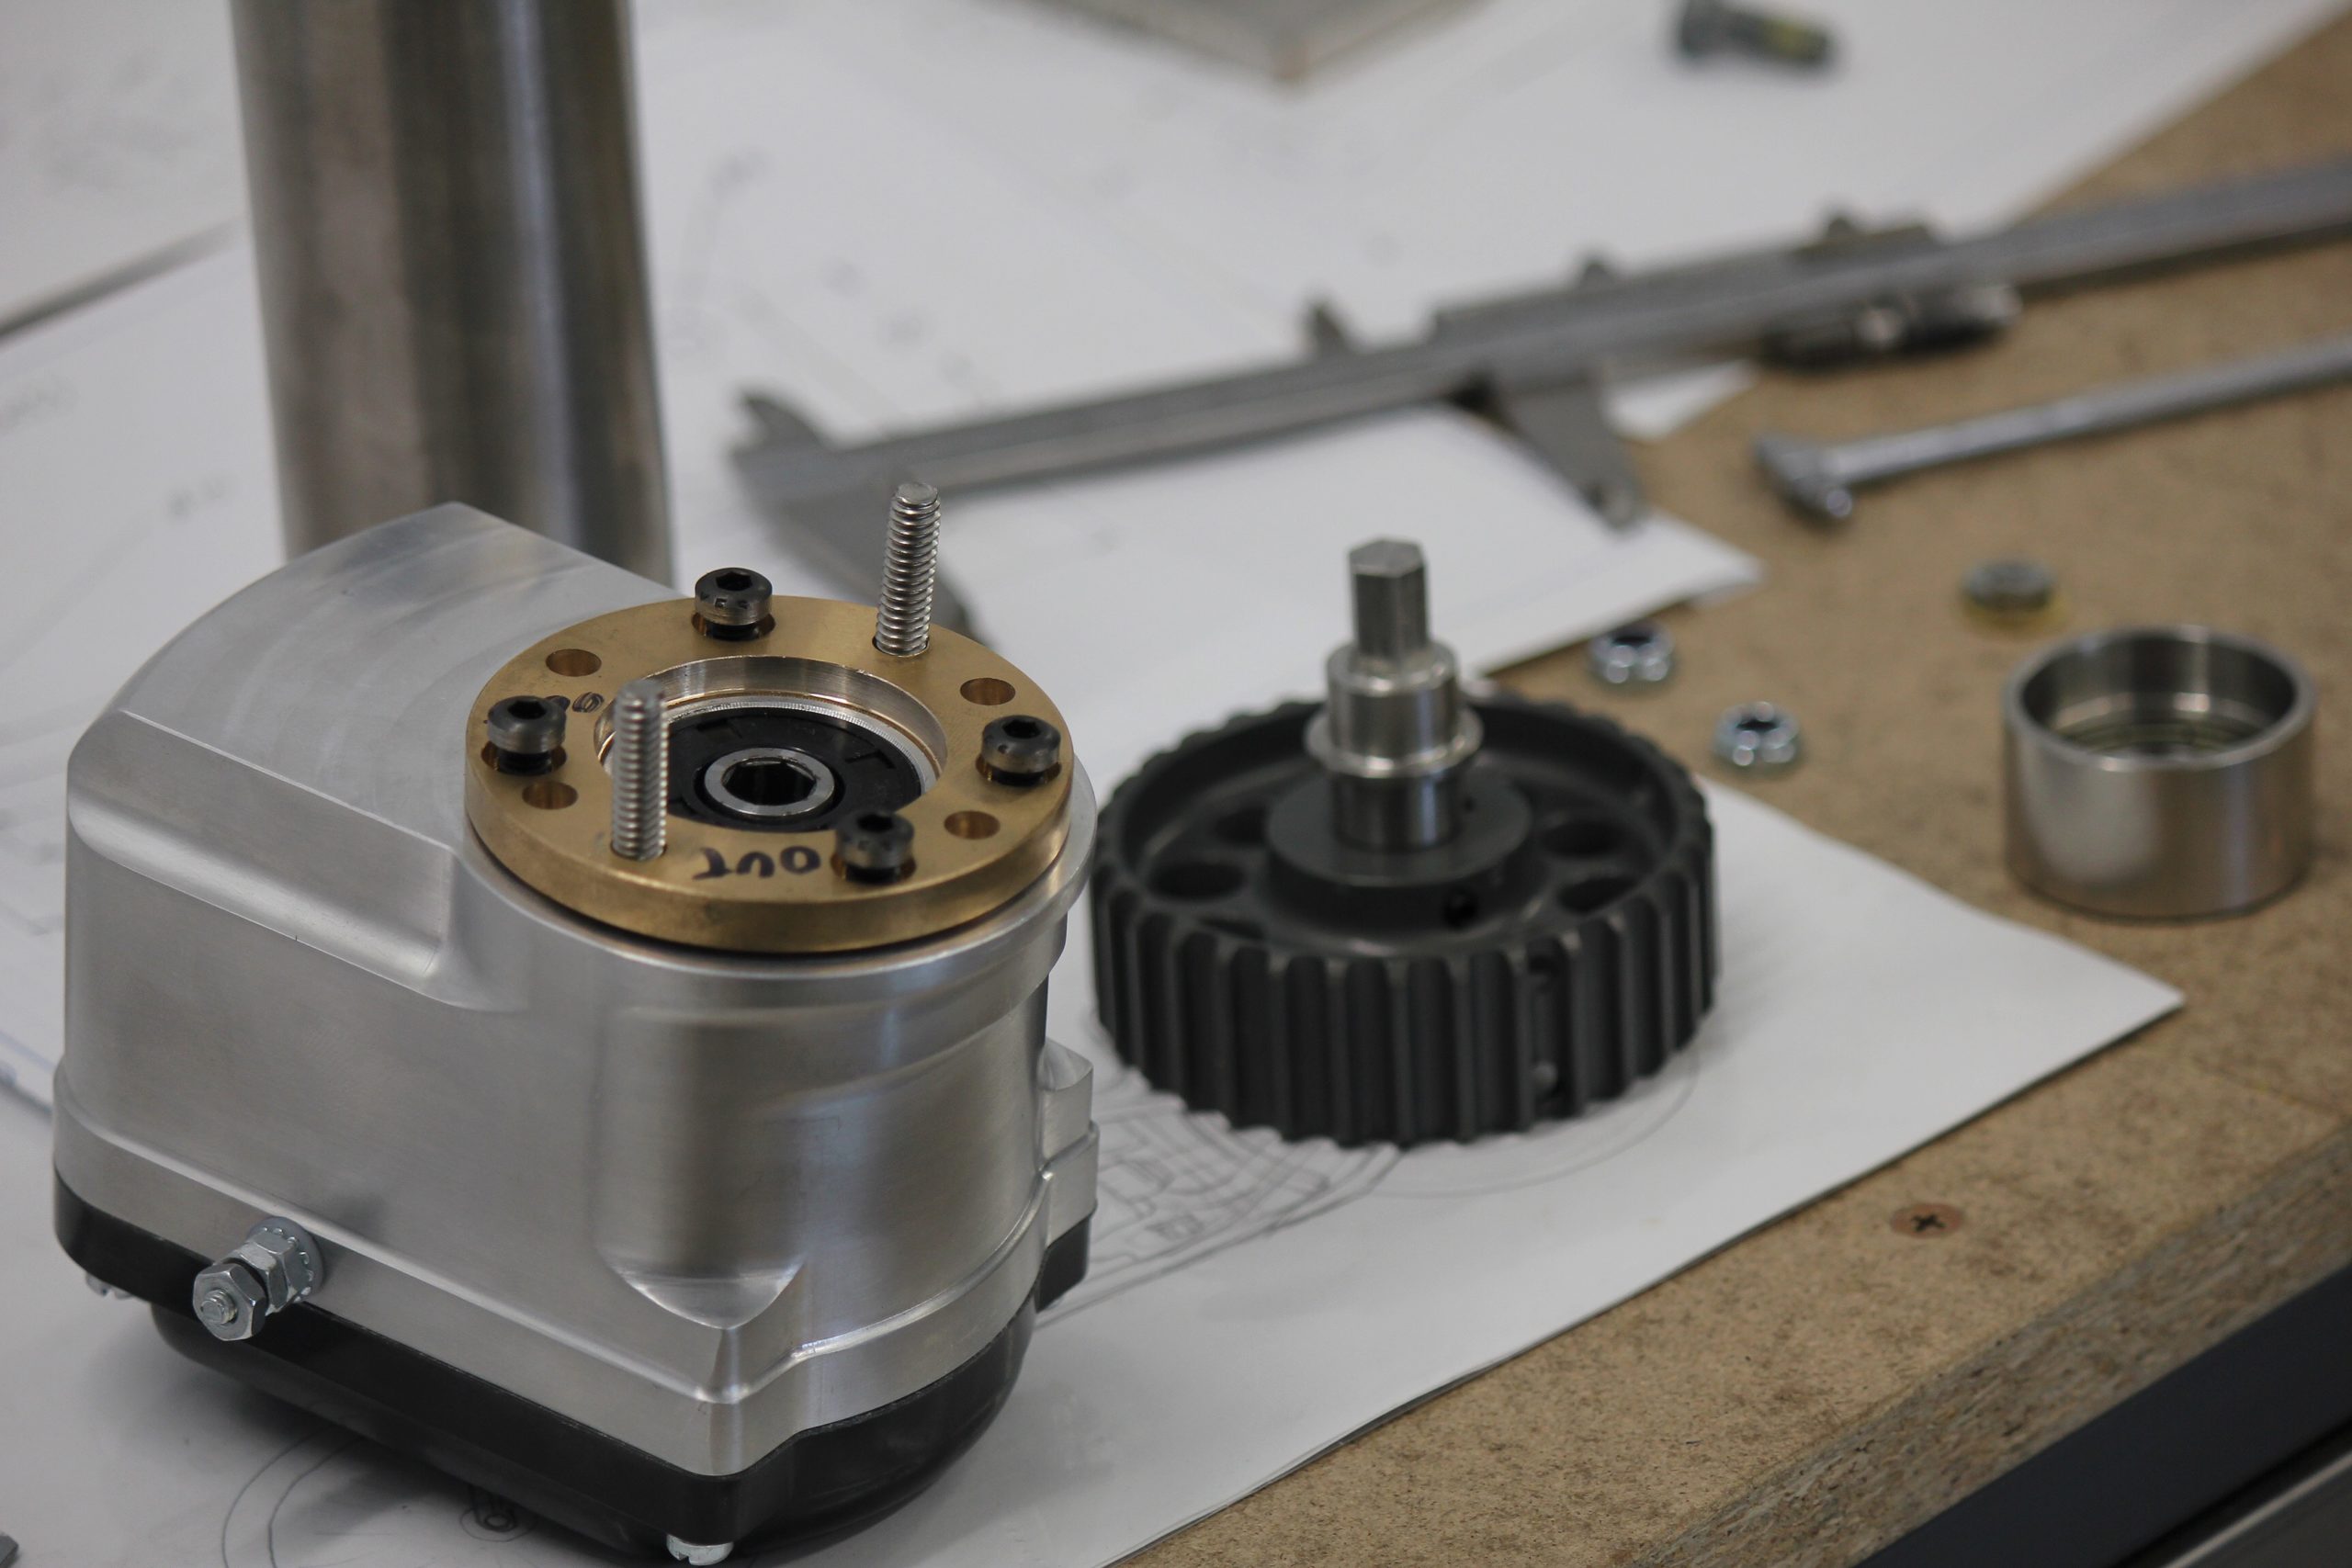
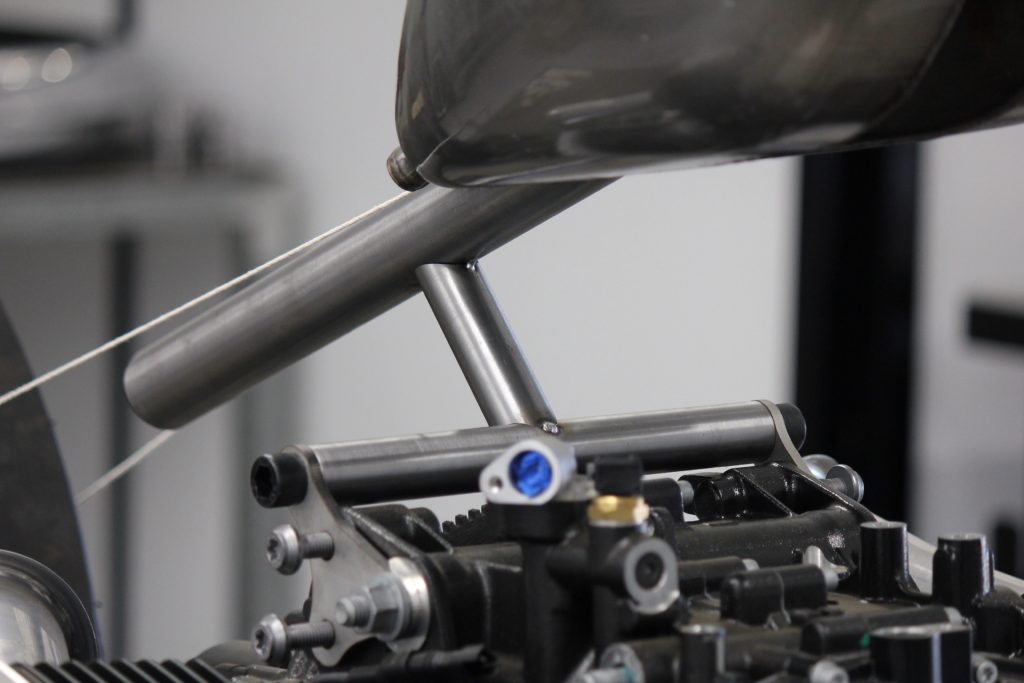
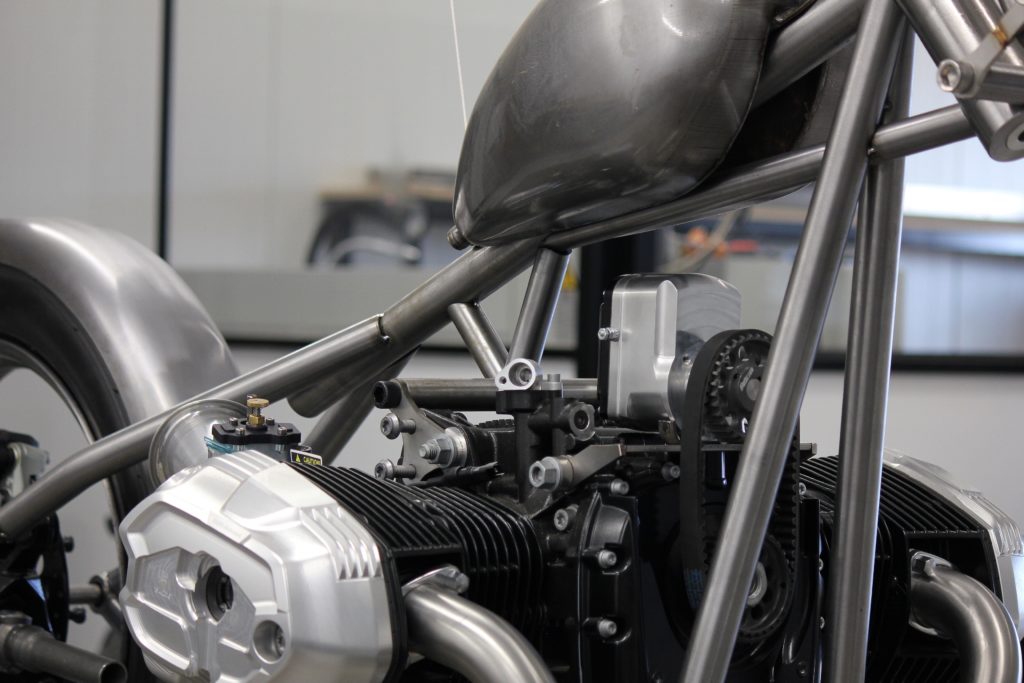
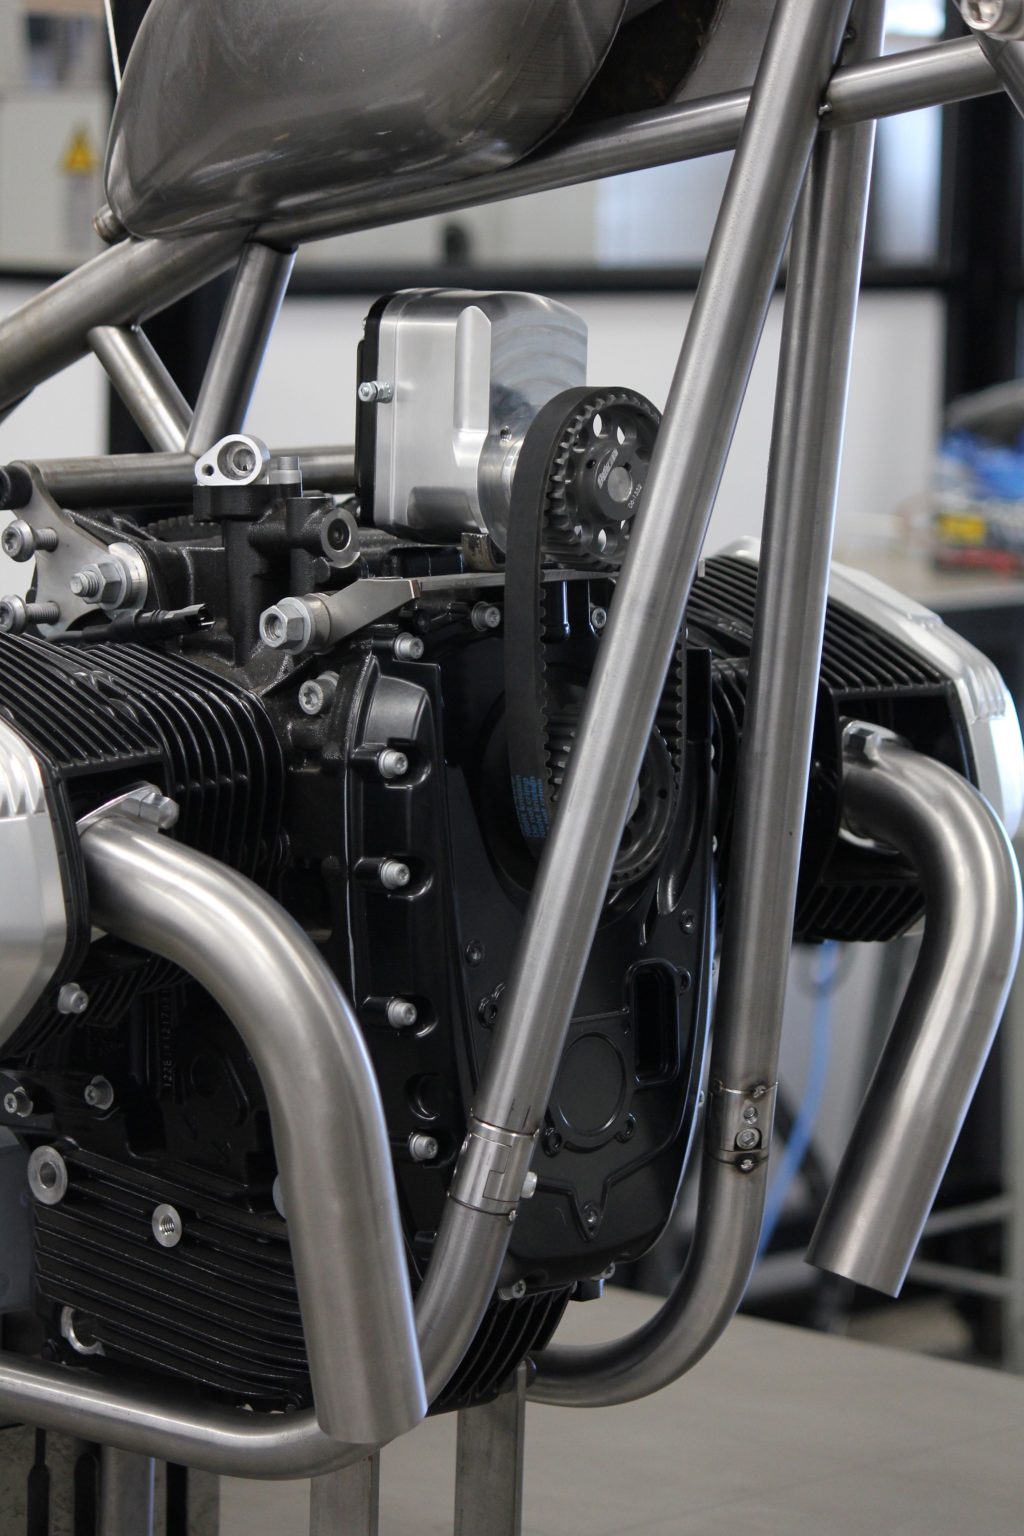
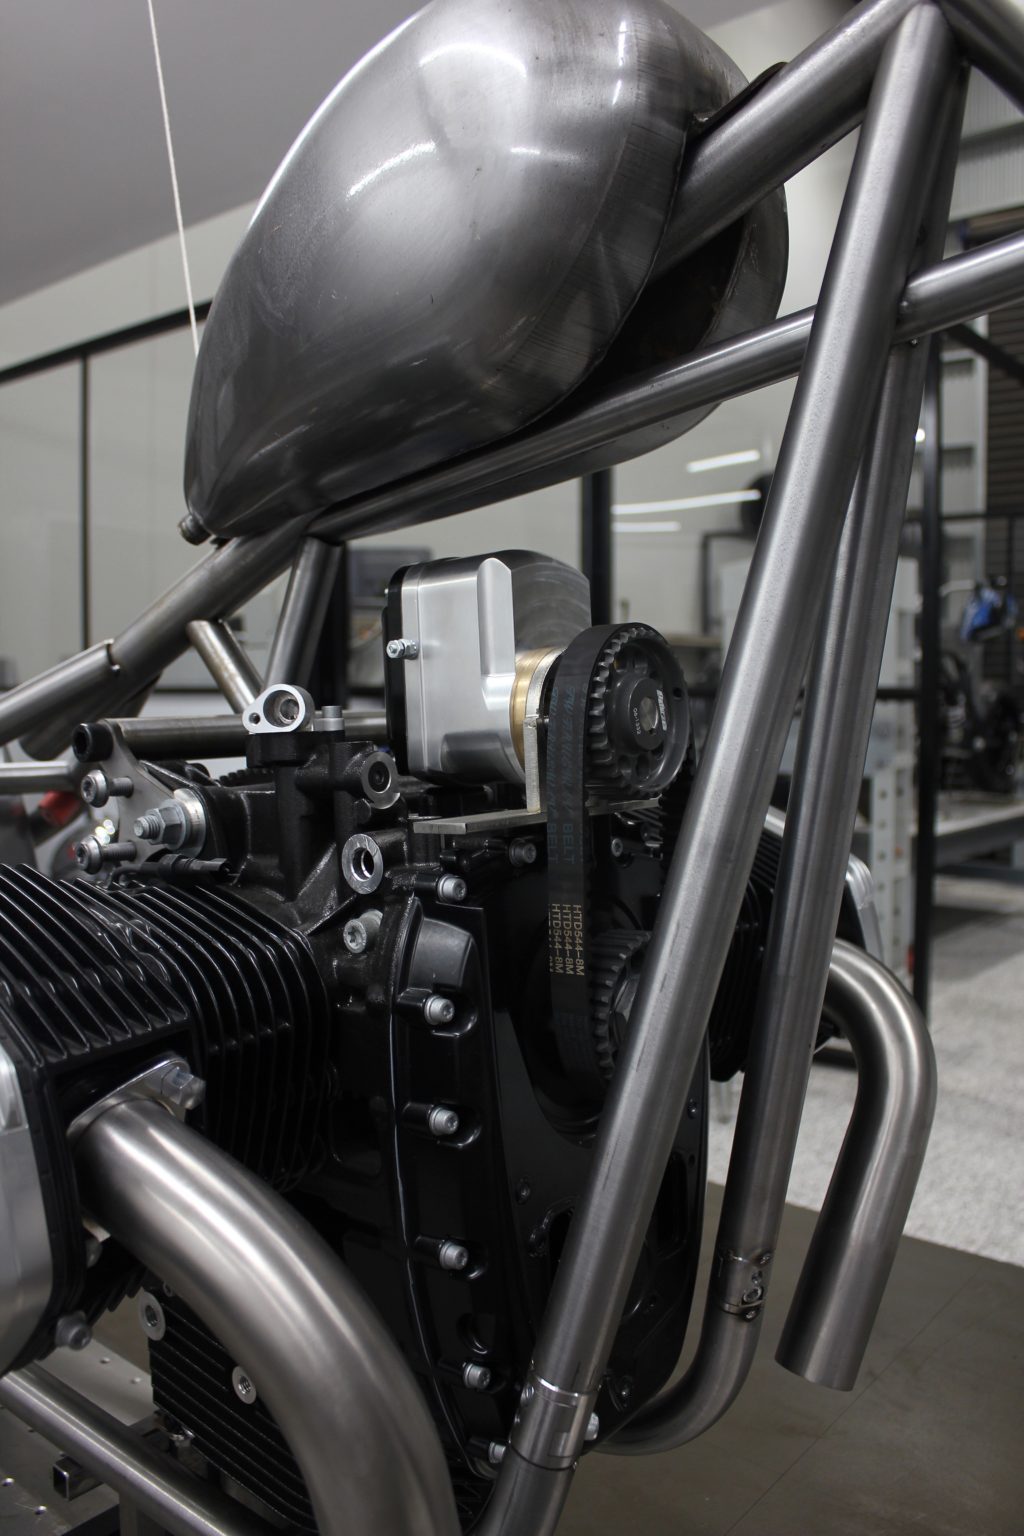
One of my favorite parts of this bike is the magneto, it houses everything I need for the bike to run on only the spark plug wires, 1900’s technology!
Combine that with a drive system that emulates both high level motorsport using a pulley system designed for a dry sump and vintage drag racing style all combined in one.
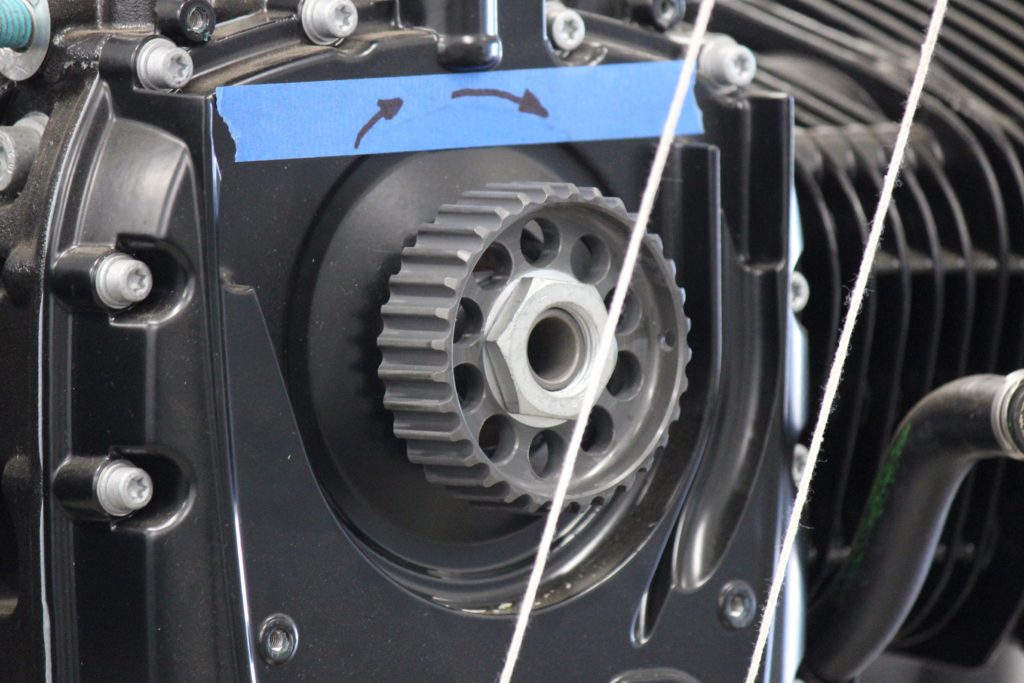
The lower pulley can rotate and be locked up on the crankshaft for simple timing whilst the upper pulley will be locked and keyed.
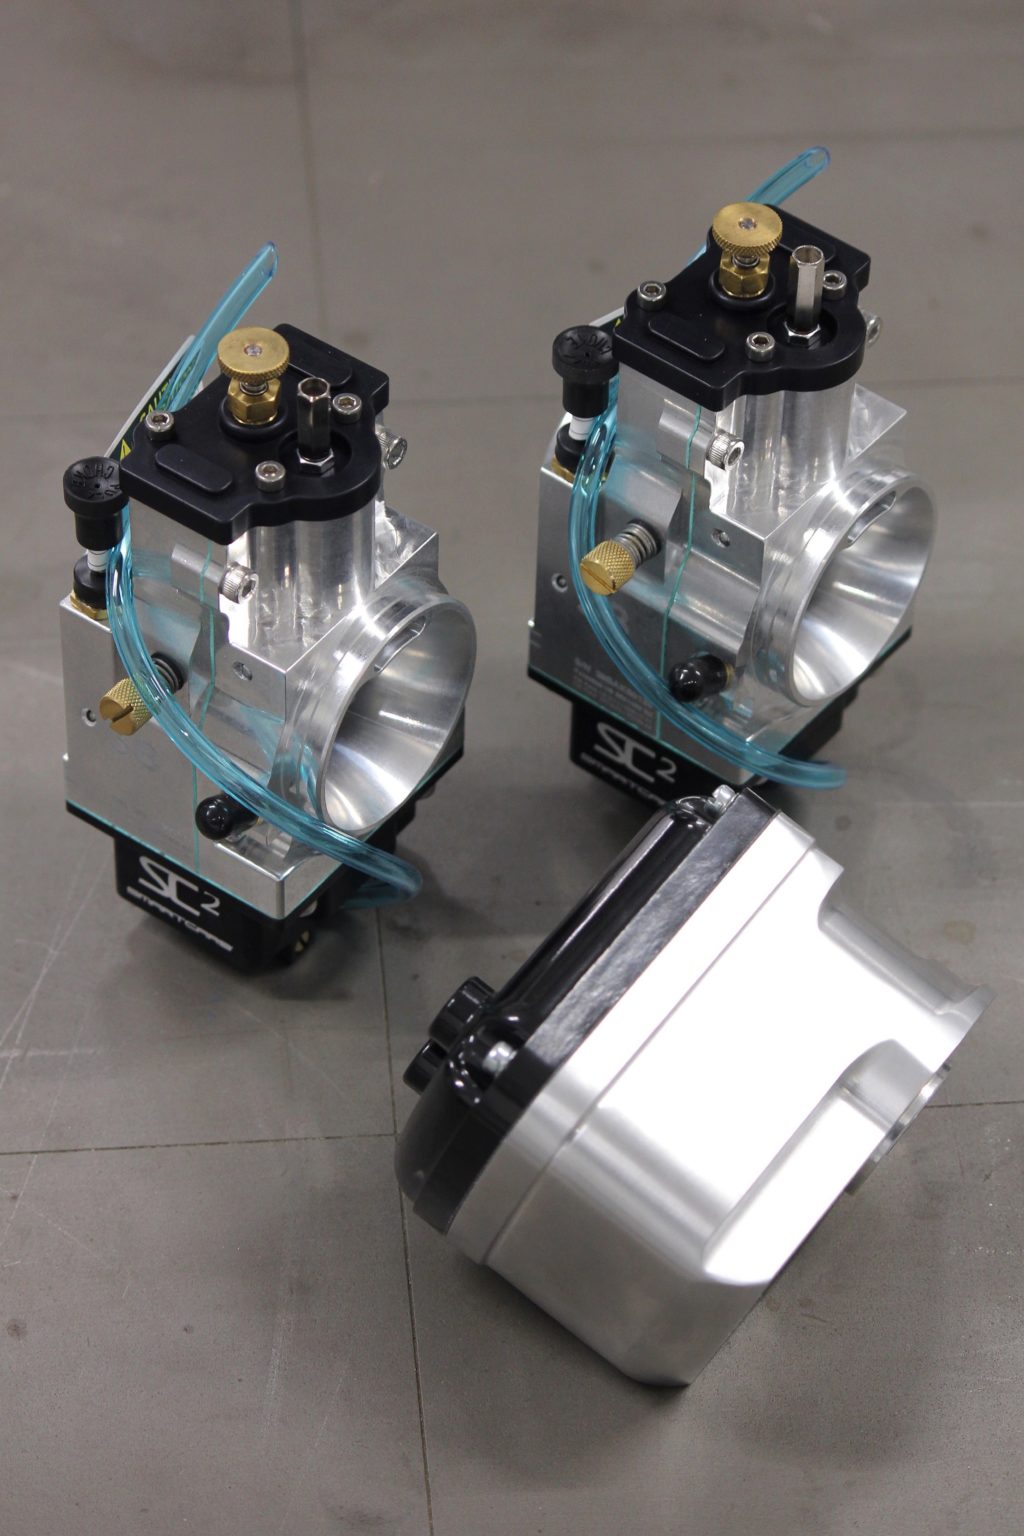
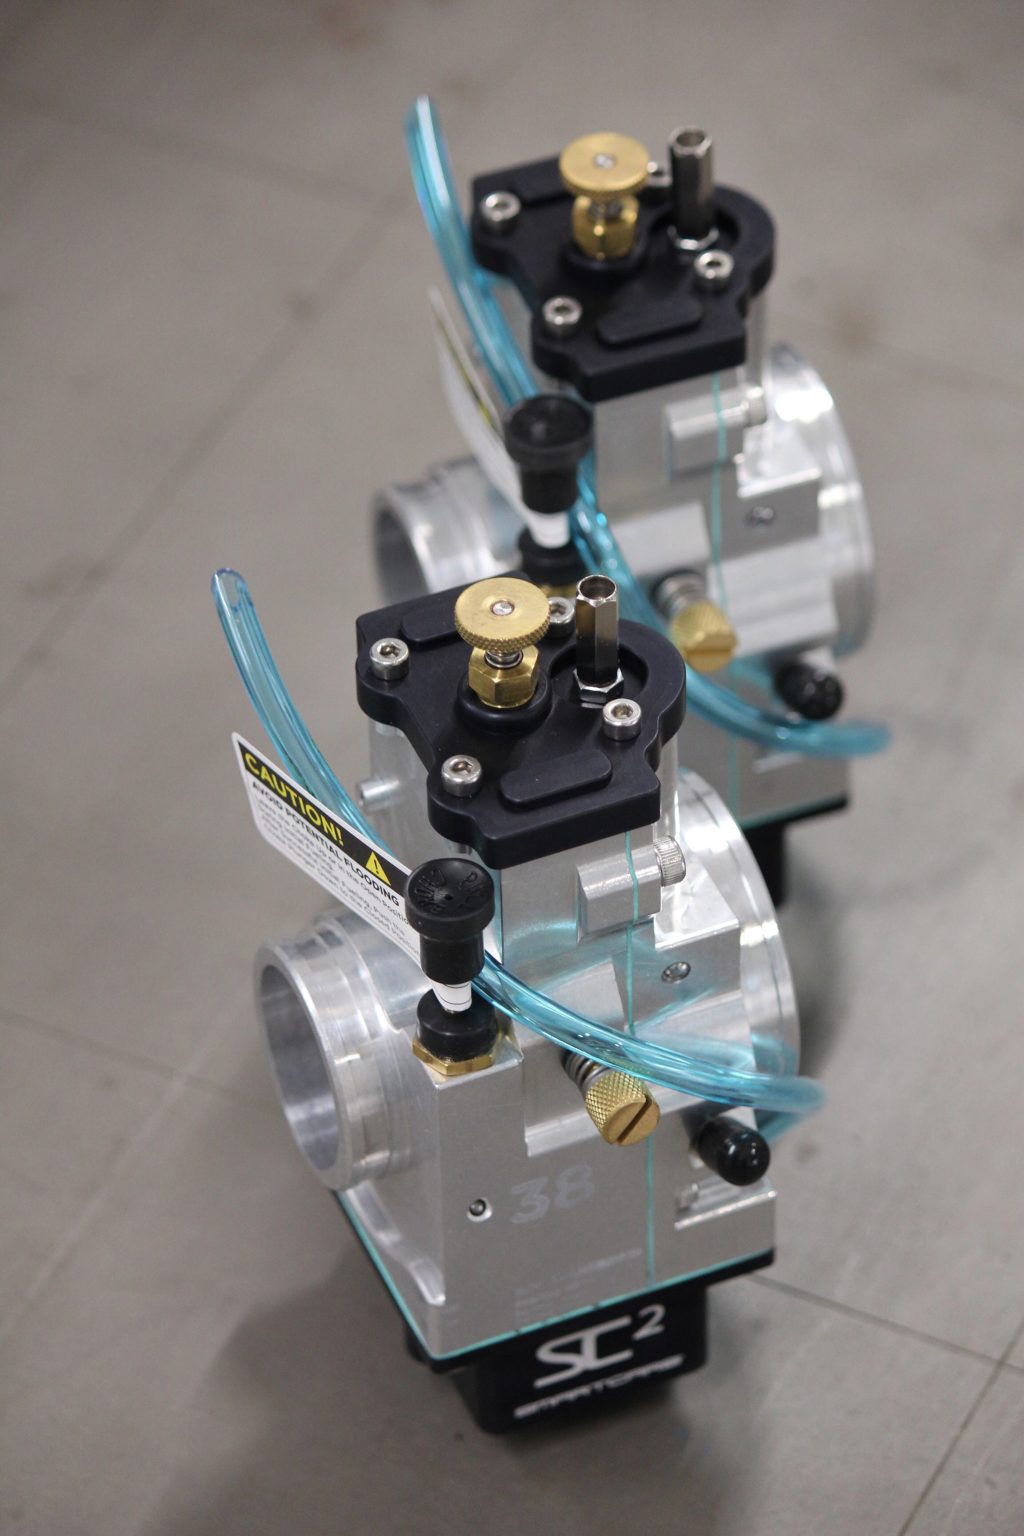
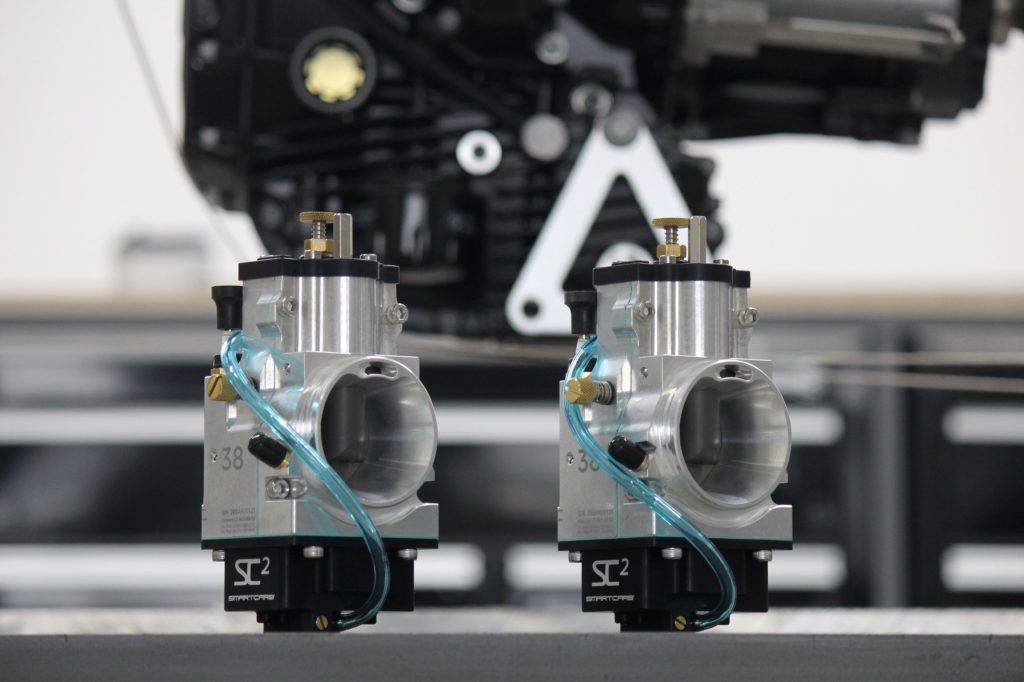
Matching the magneto is the carbs from SmartCarb. When I planned to build this bike I planned to carefully select colours, manufacturing techniques, materials and quality. As soon as I found these carbs and began researching their effectiveness I just had to get them.
It just really helps that the guys who I spoke to from the company were great to deal with, for something like this you need support because your so far out of the normal that you need to have a line of communication should any dramas arise. I spoke to a few carburettor manufacturers who were so ingrained in just doing things normally that they basically had no time for me. These guys however opened up the conversation and had no problem building me what I needed and the quality is amazing!
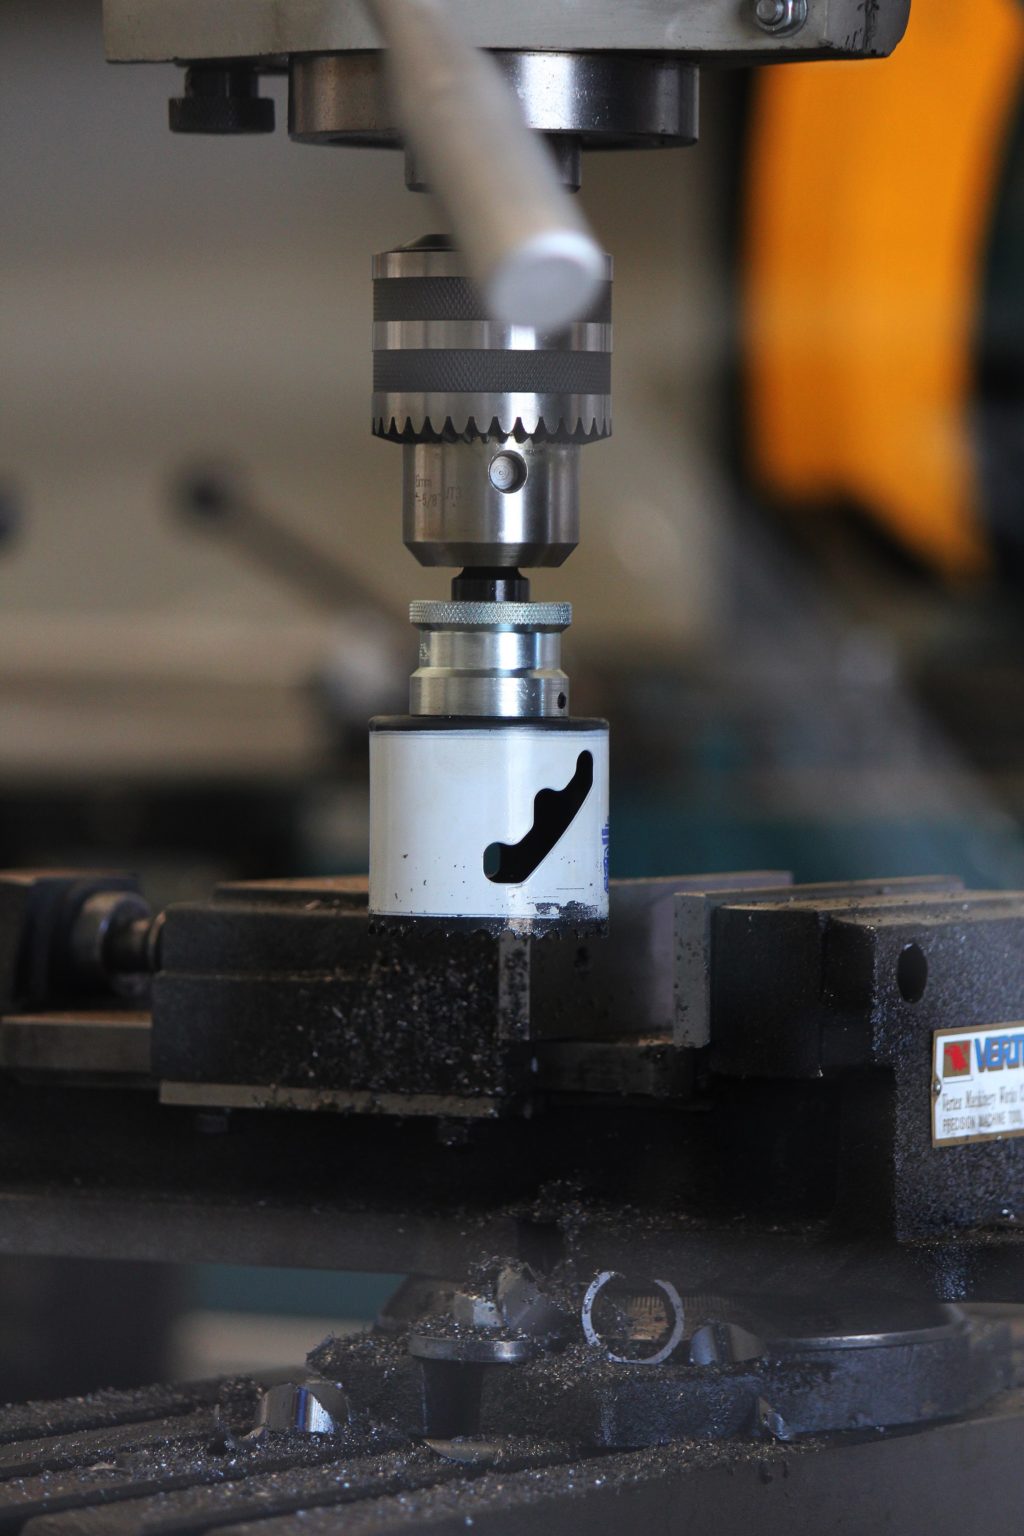
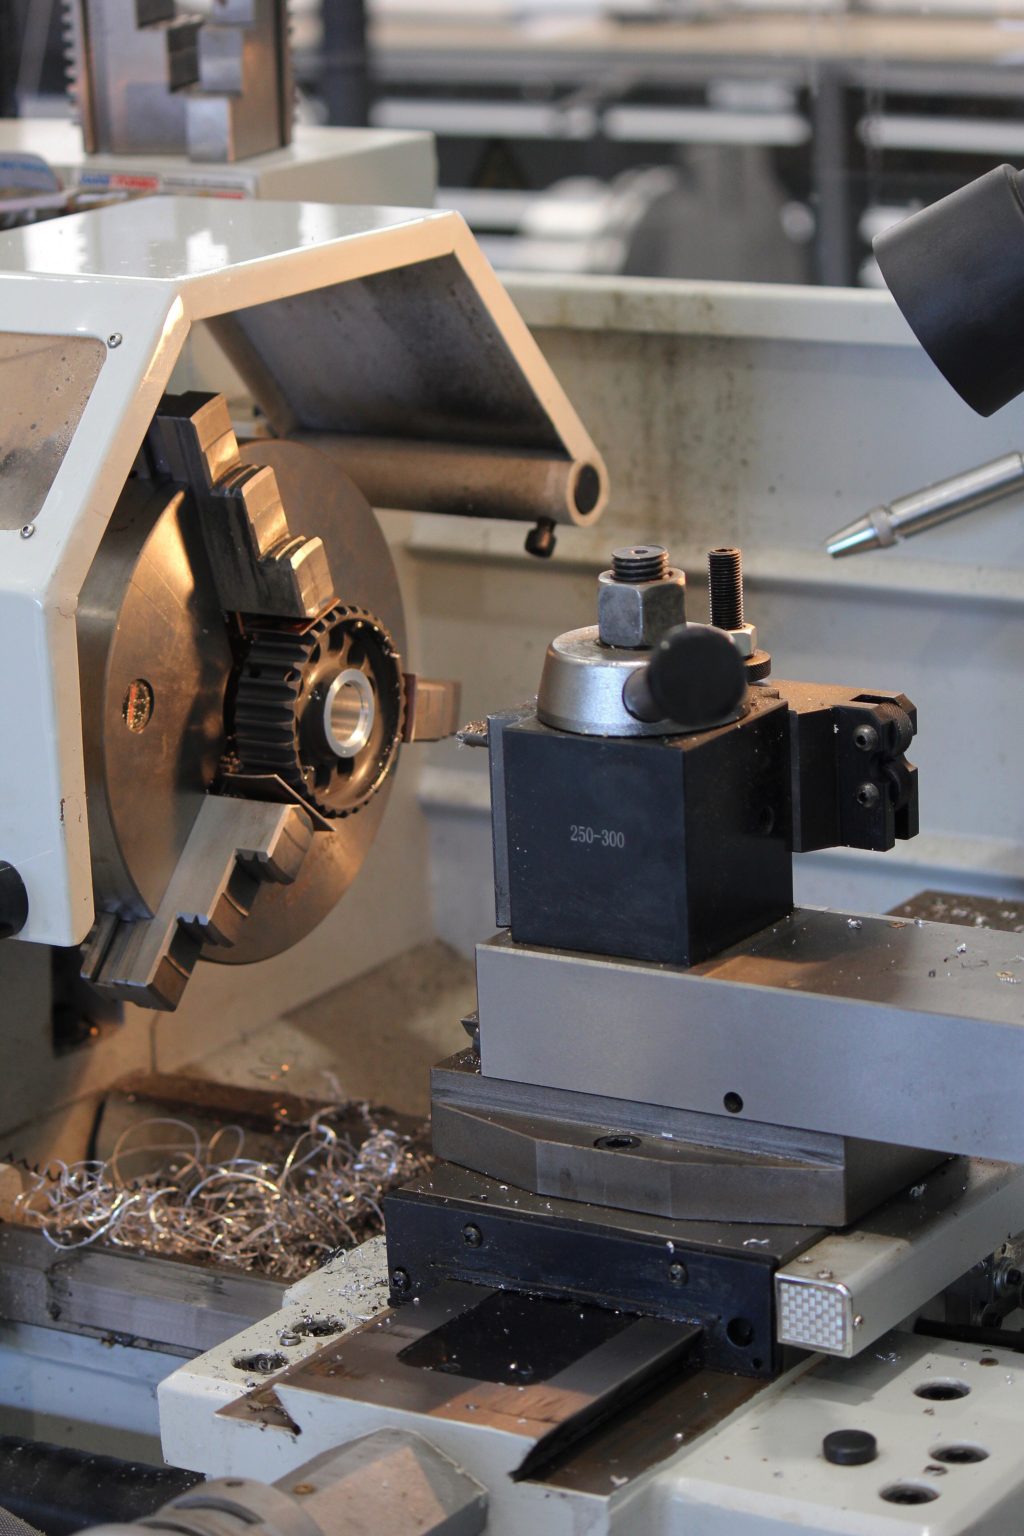
All I had to do was spin up some adapters to get the carbs matched to the BMW ports.
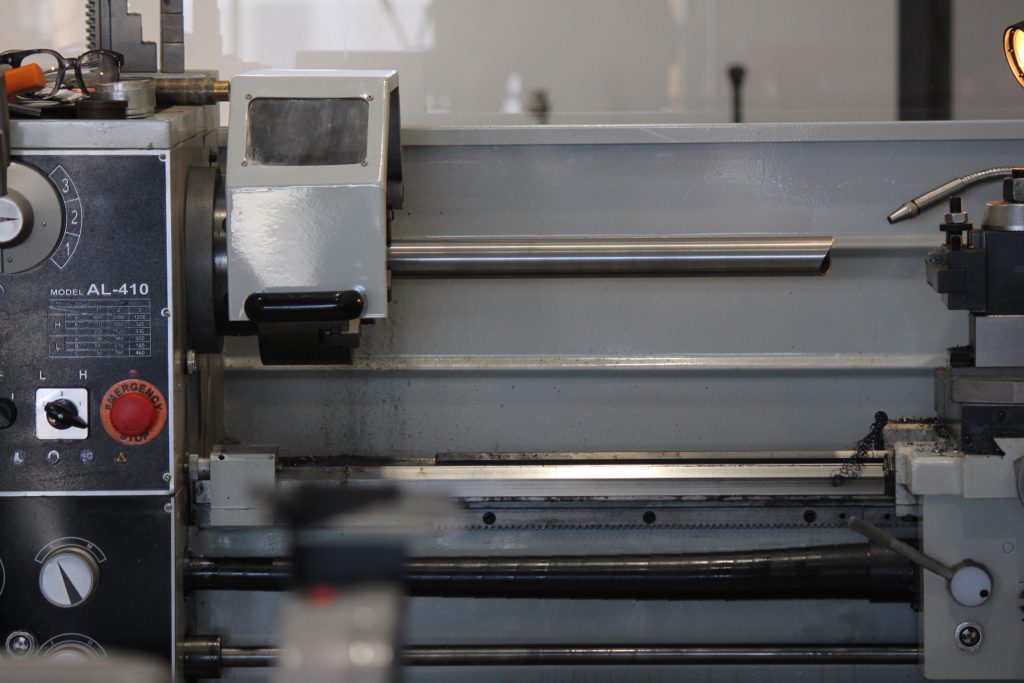
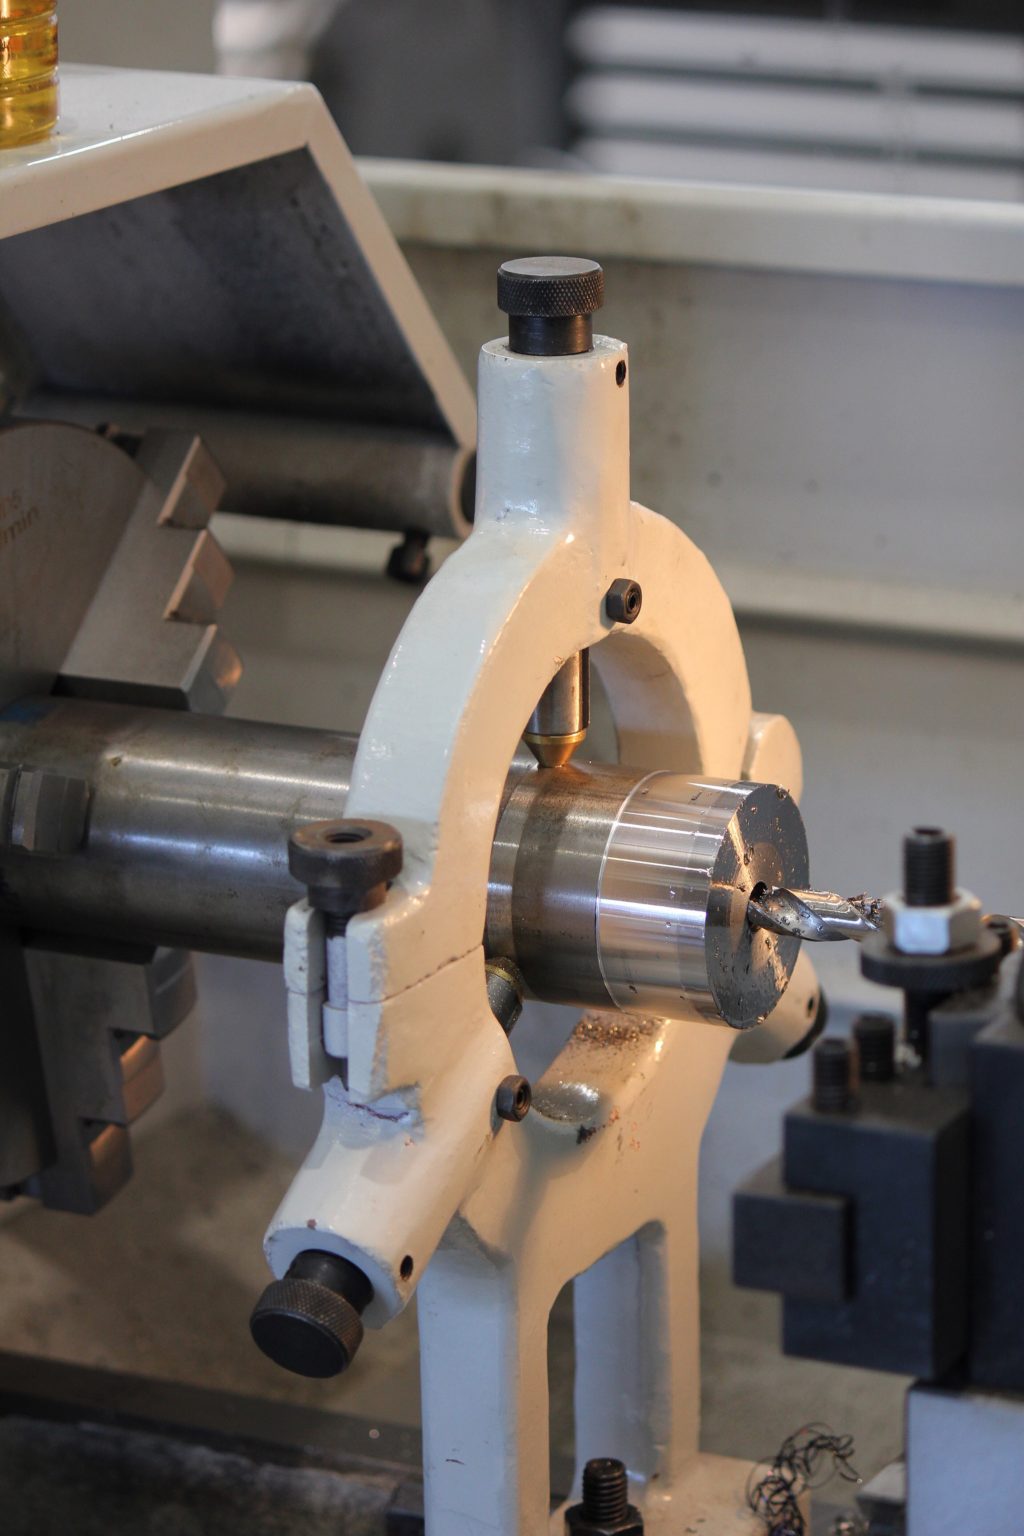
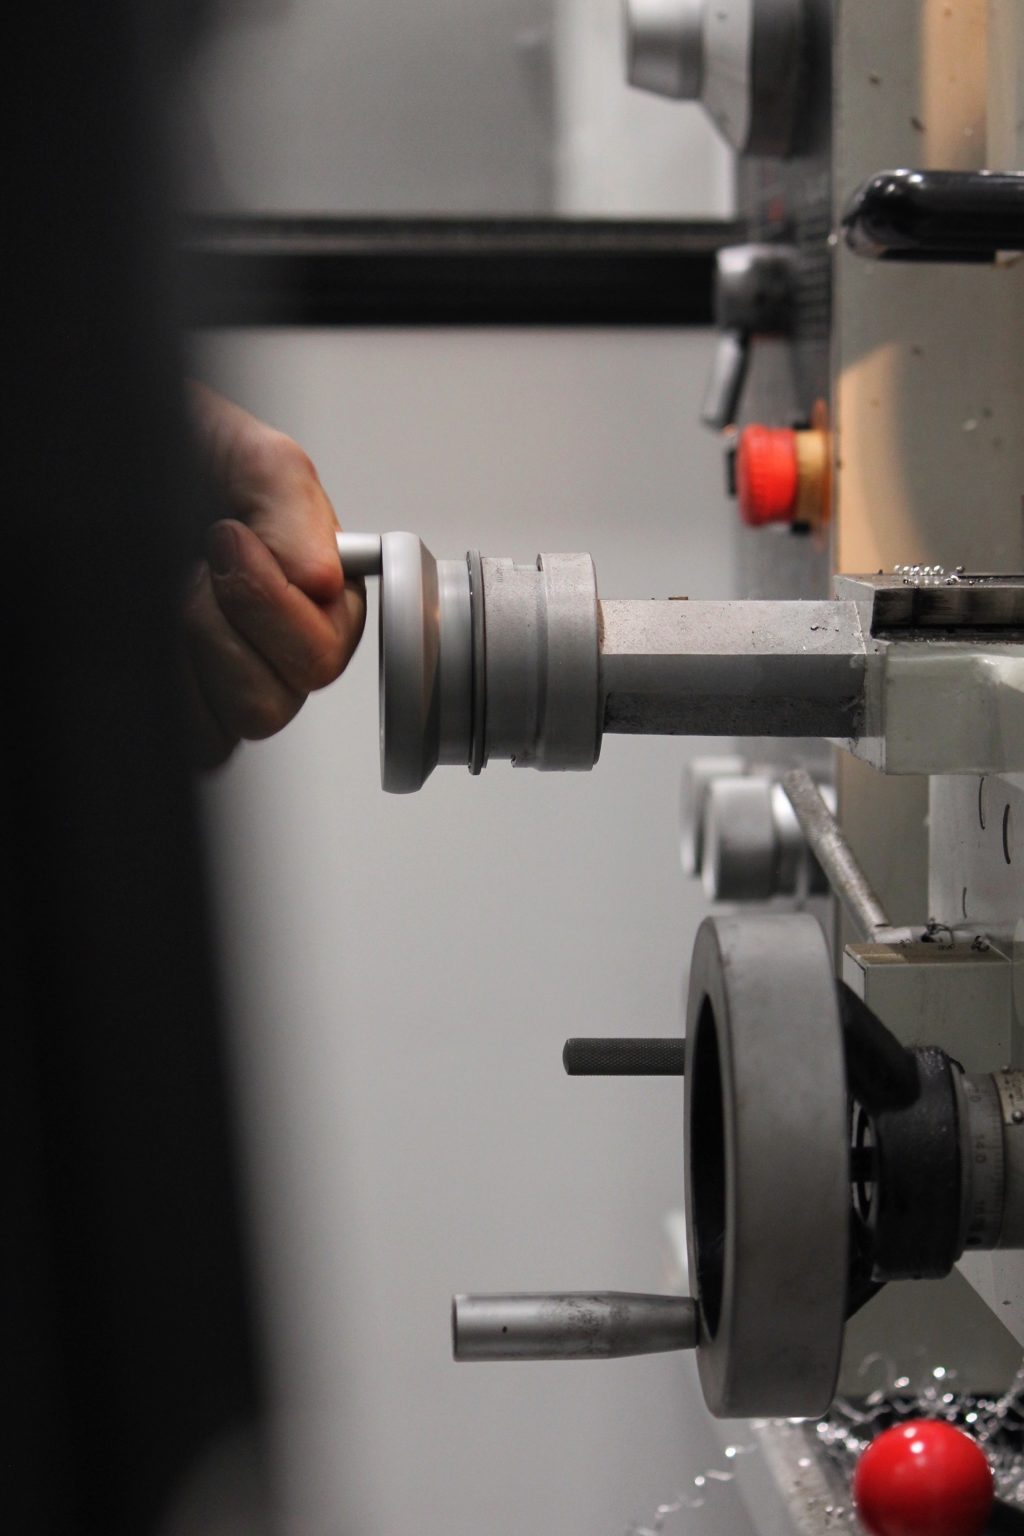
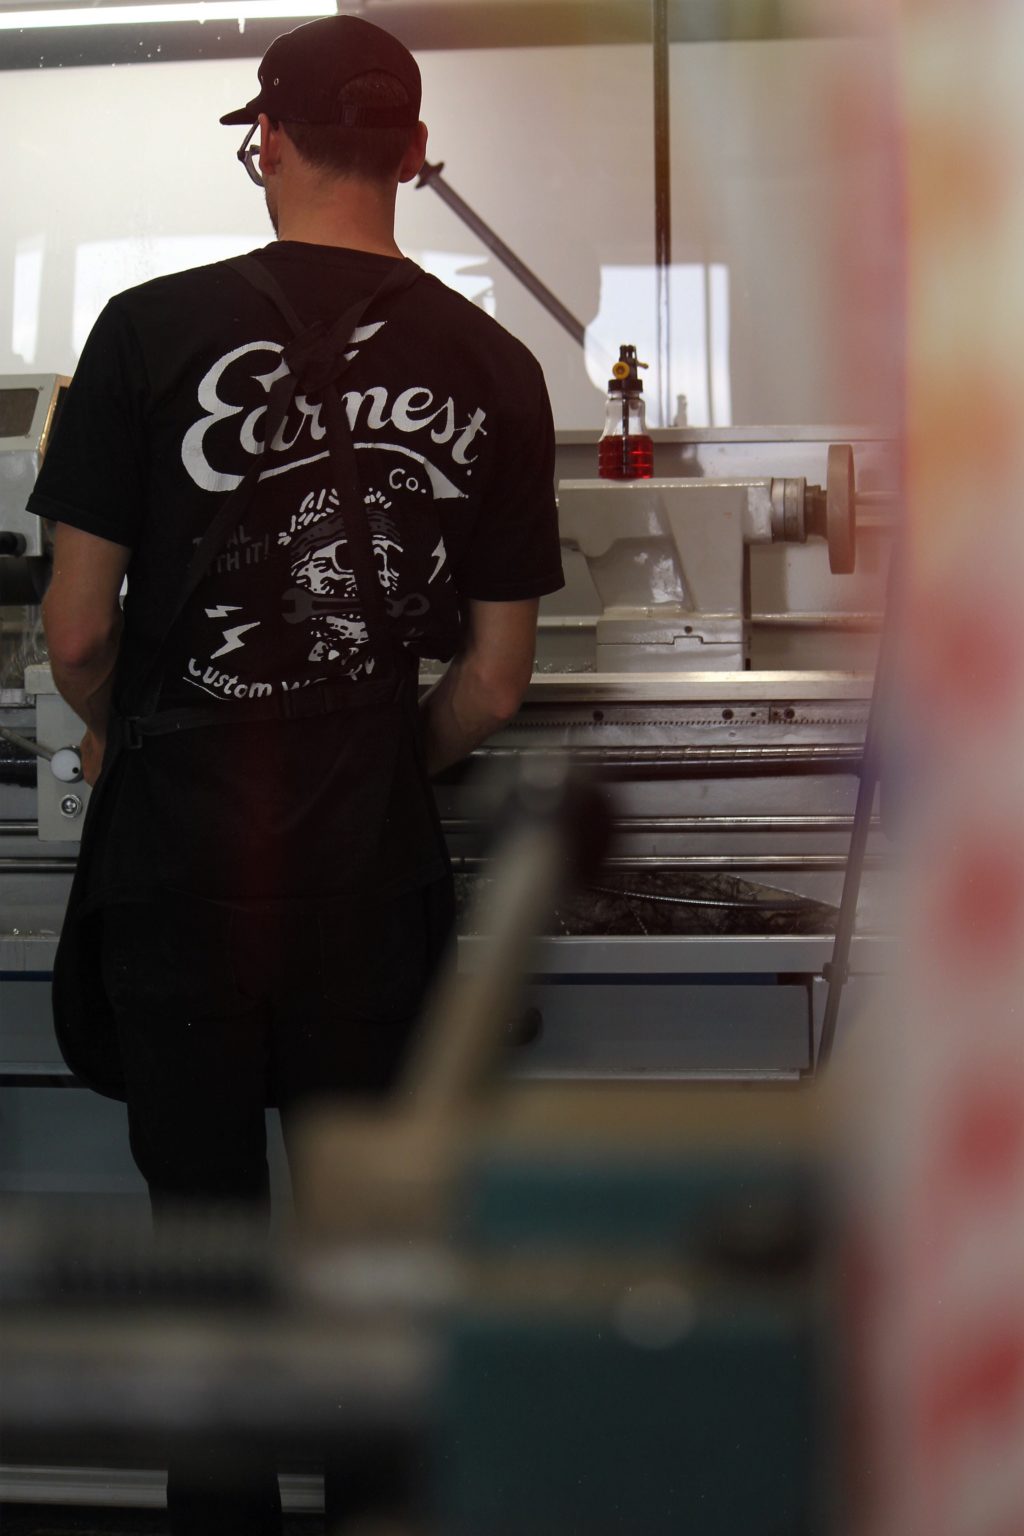
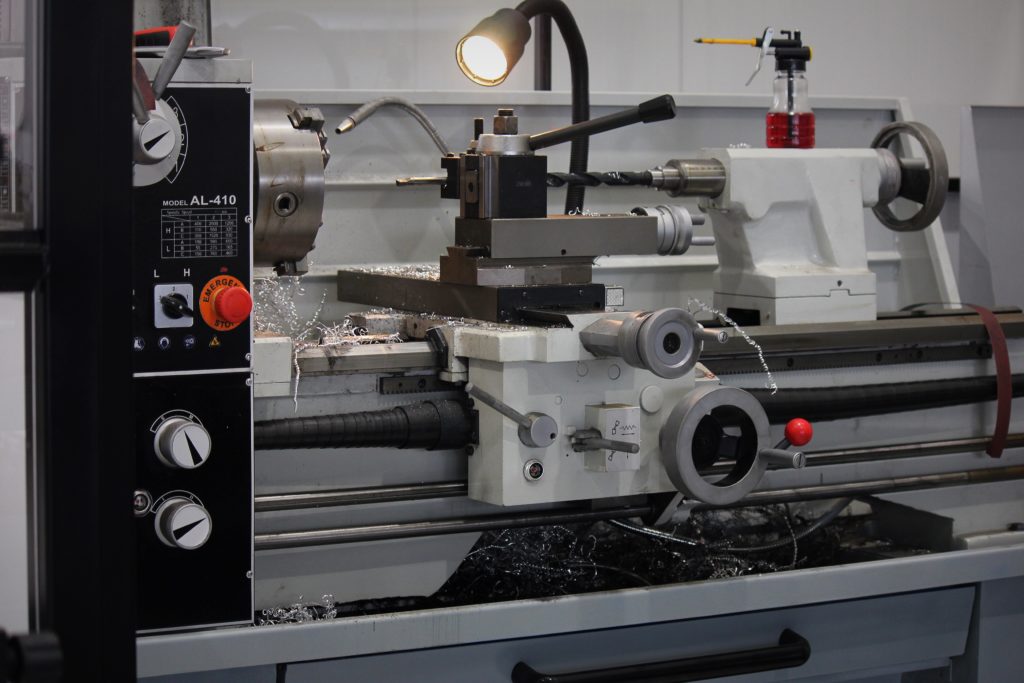
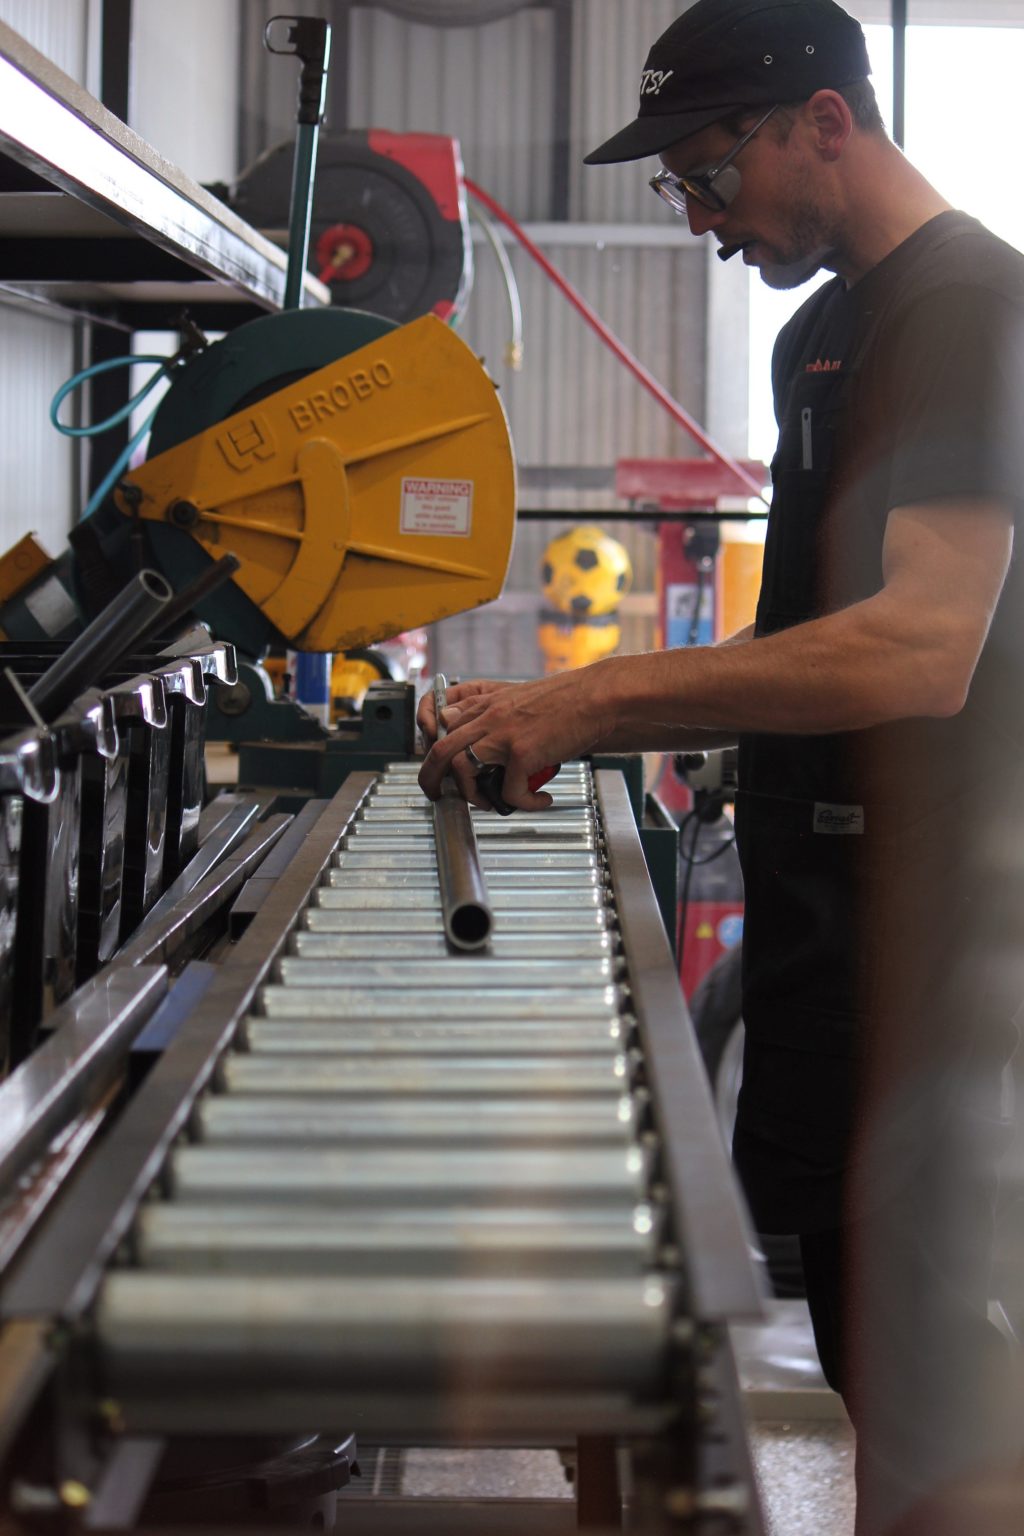
I said it earlier but some things just take patience and persistence, since leaving my work at Ford (I was a prototype machinist) I have really bonded with my lathe and I love spending time on it. Thats a good thing because I can be standing at this thing for half the day from time to time.
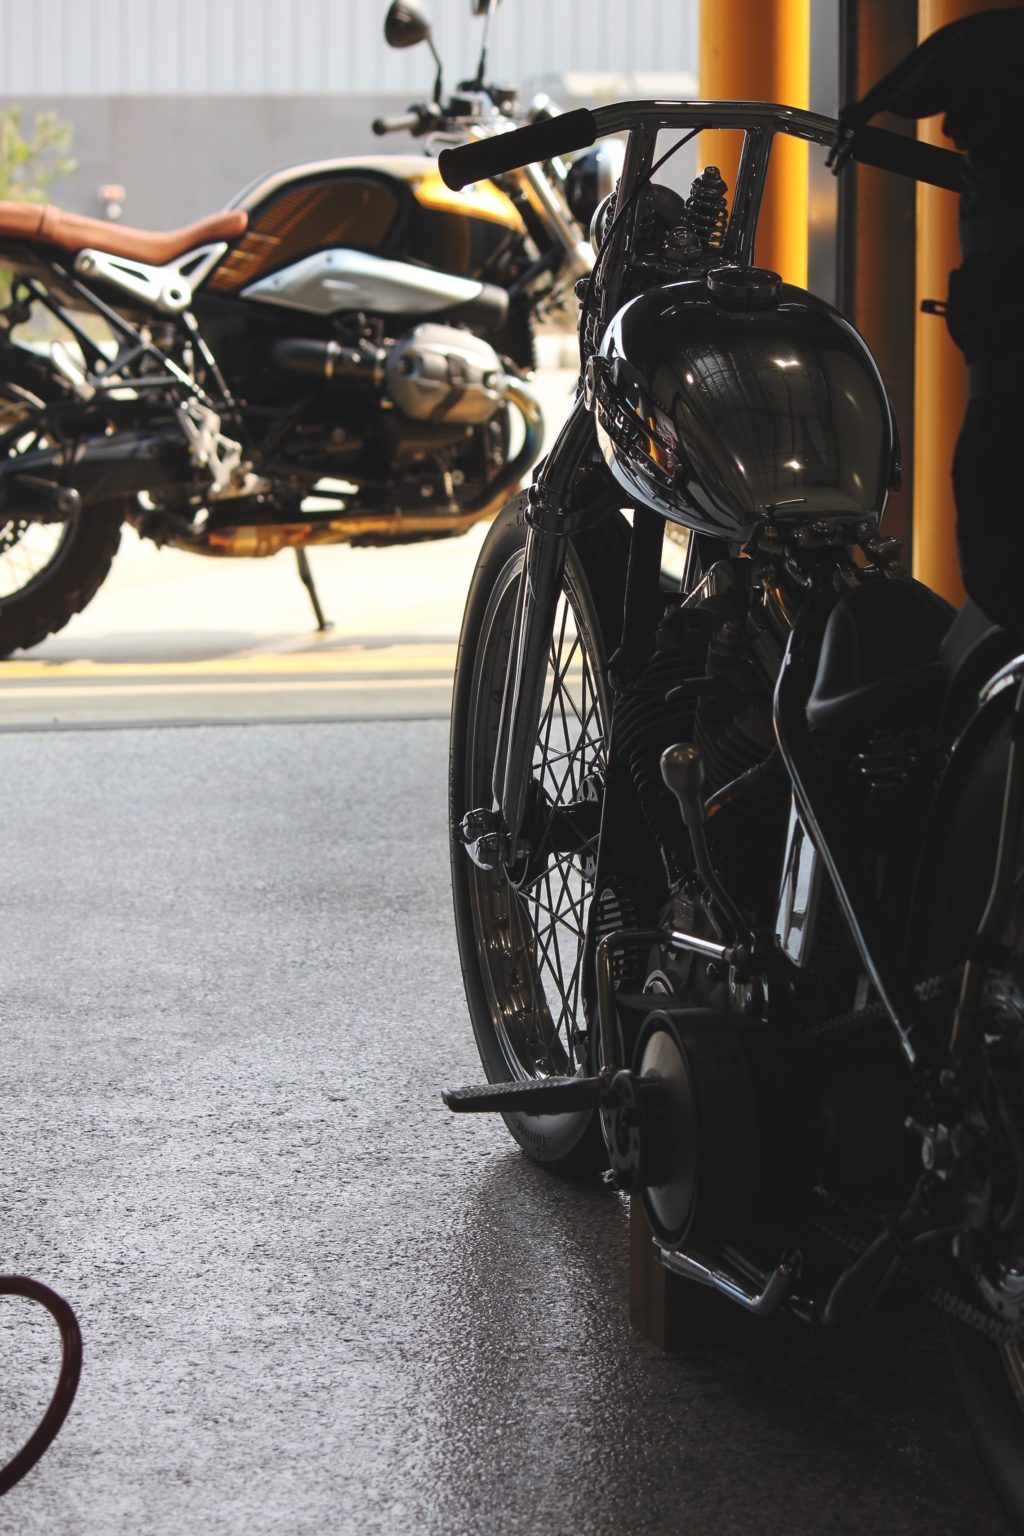
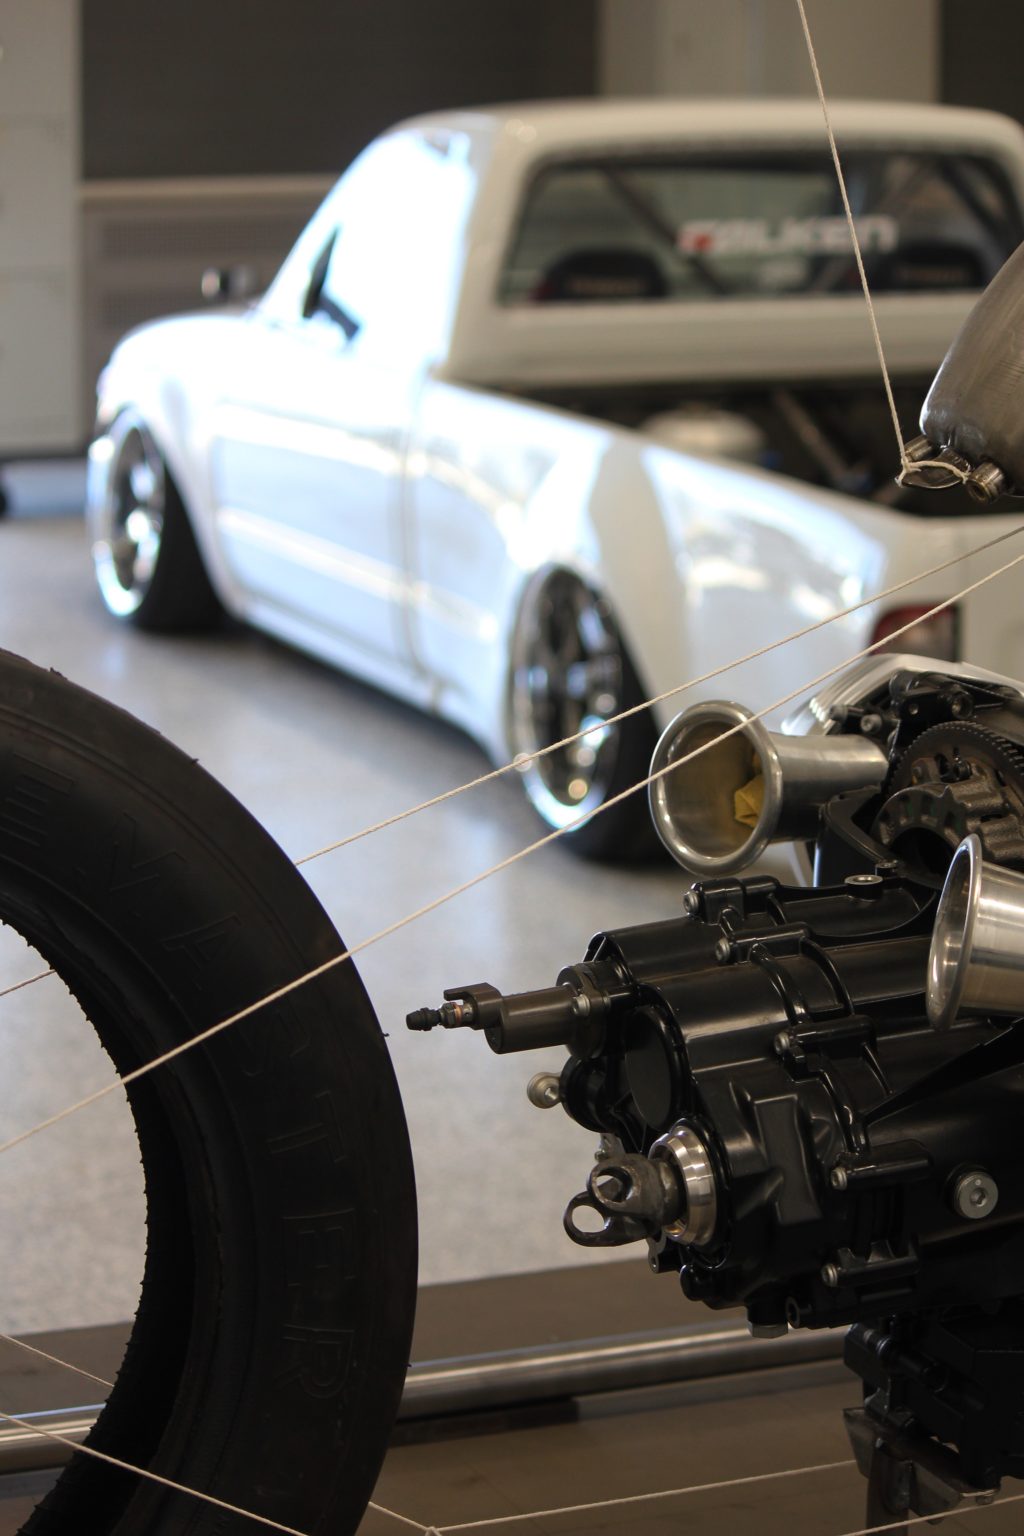
My self imposed lunch breaks are just a question of what to ride and where should I go. It also brings me to the point that both of these bikes have almost nothing in common yet I am building something that will merge the two. Having the ability to ride each daily gives me a really good understanding of how it should be built and what should be incorporated into it. The power of one with the feel of another, the fun inner city torque of the 2019 BMW with that feeling of freedom, rawness and simplicity of the 1955 Harley Davidson.
It was after weeks of shifting things 1mm here, 1mm there that I finally decided my engine, my wheels, my rake and my backbone were all in the right position, next thing to do…… start on the frame and the front end.
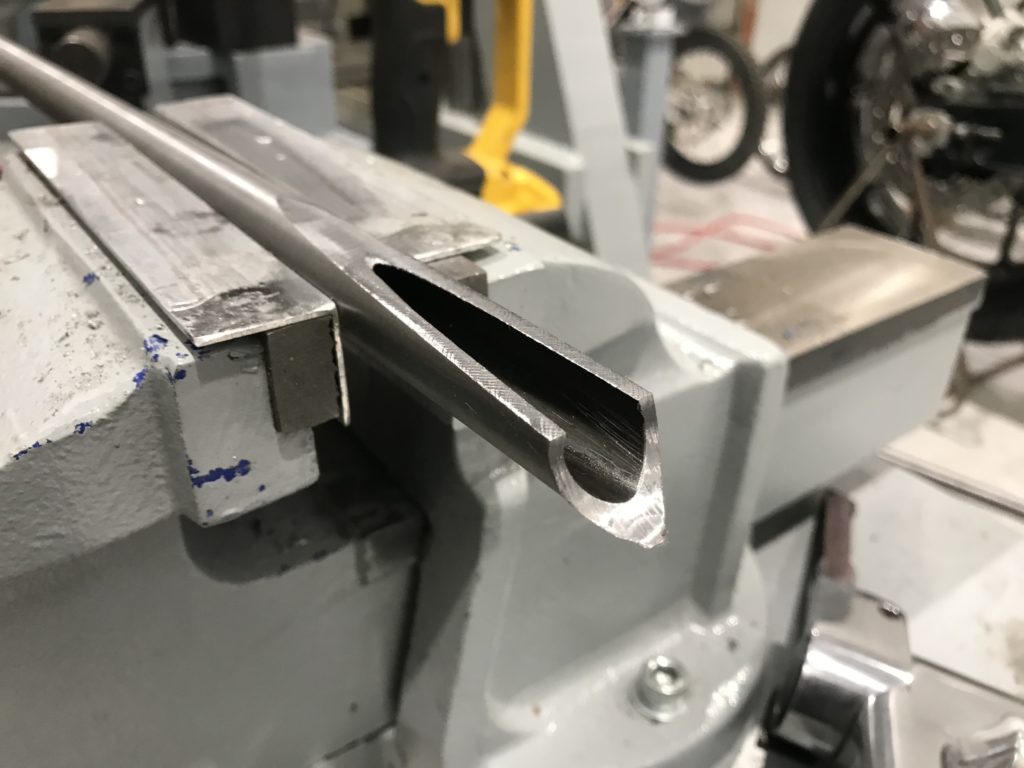

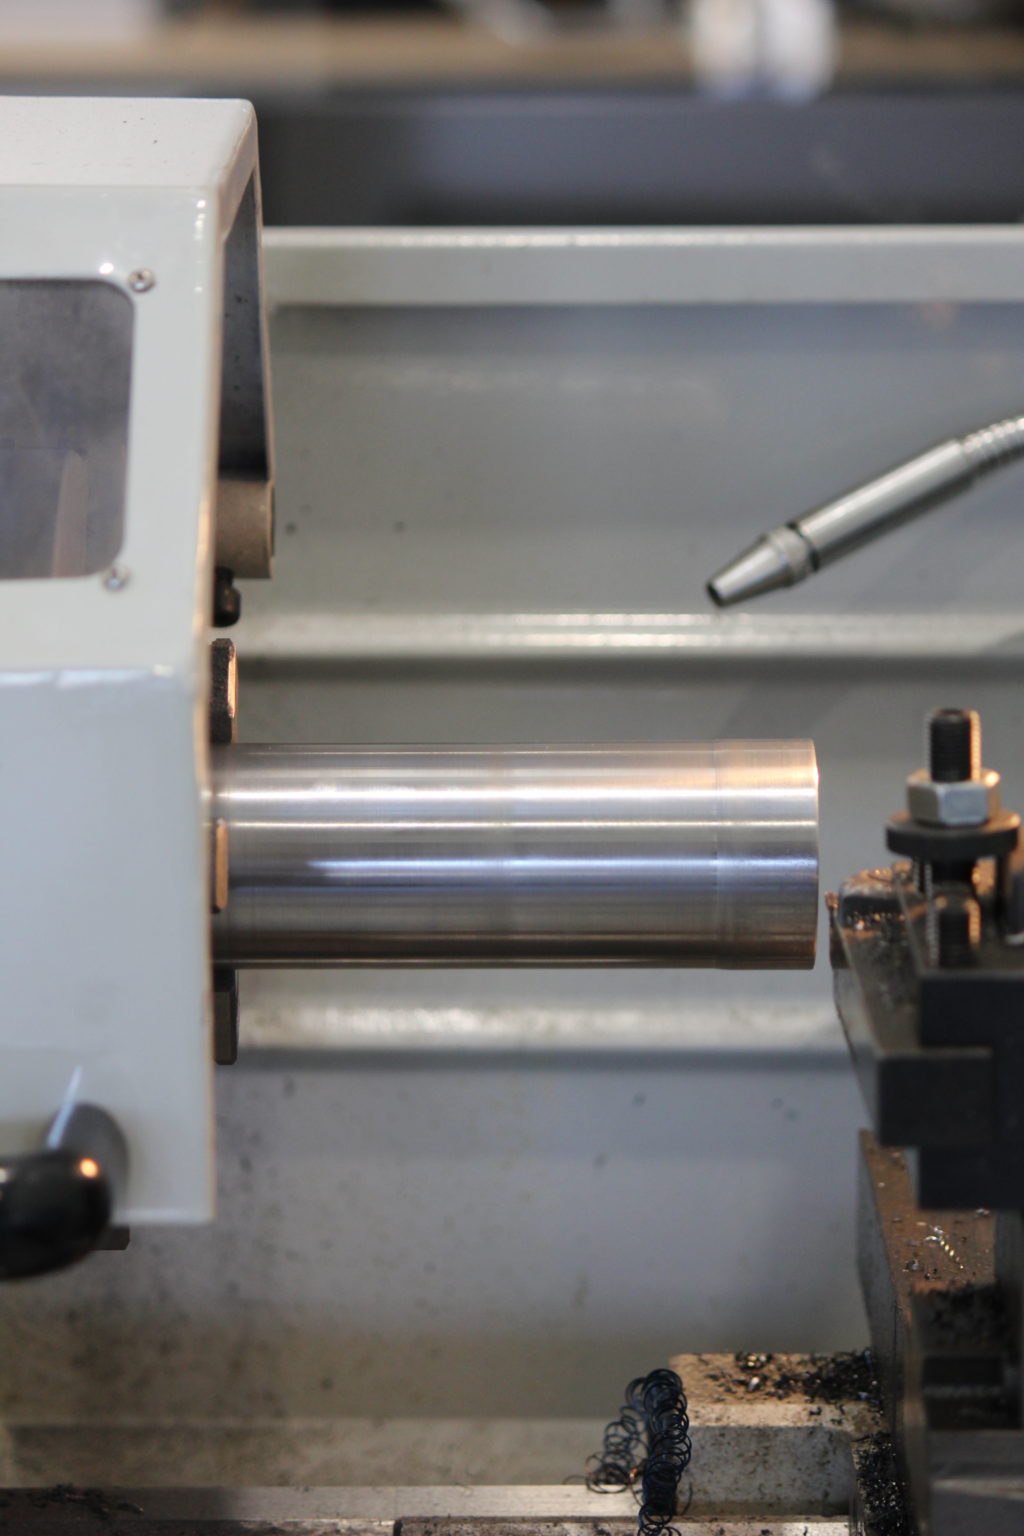
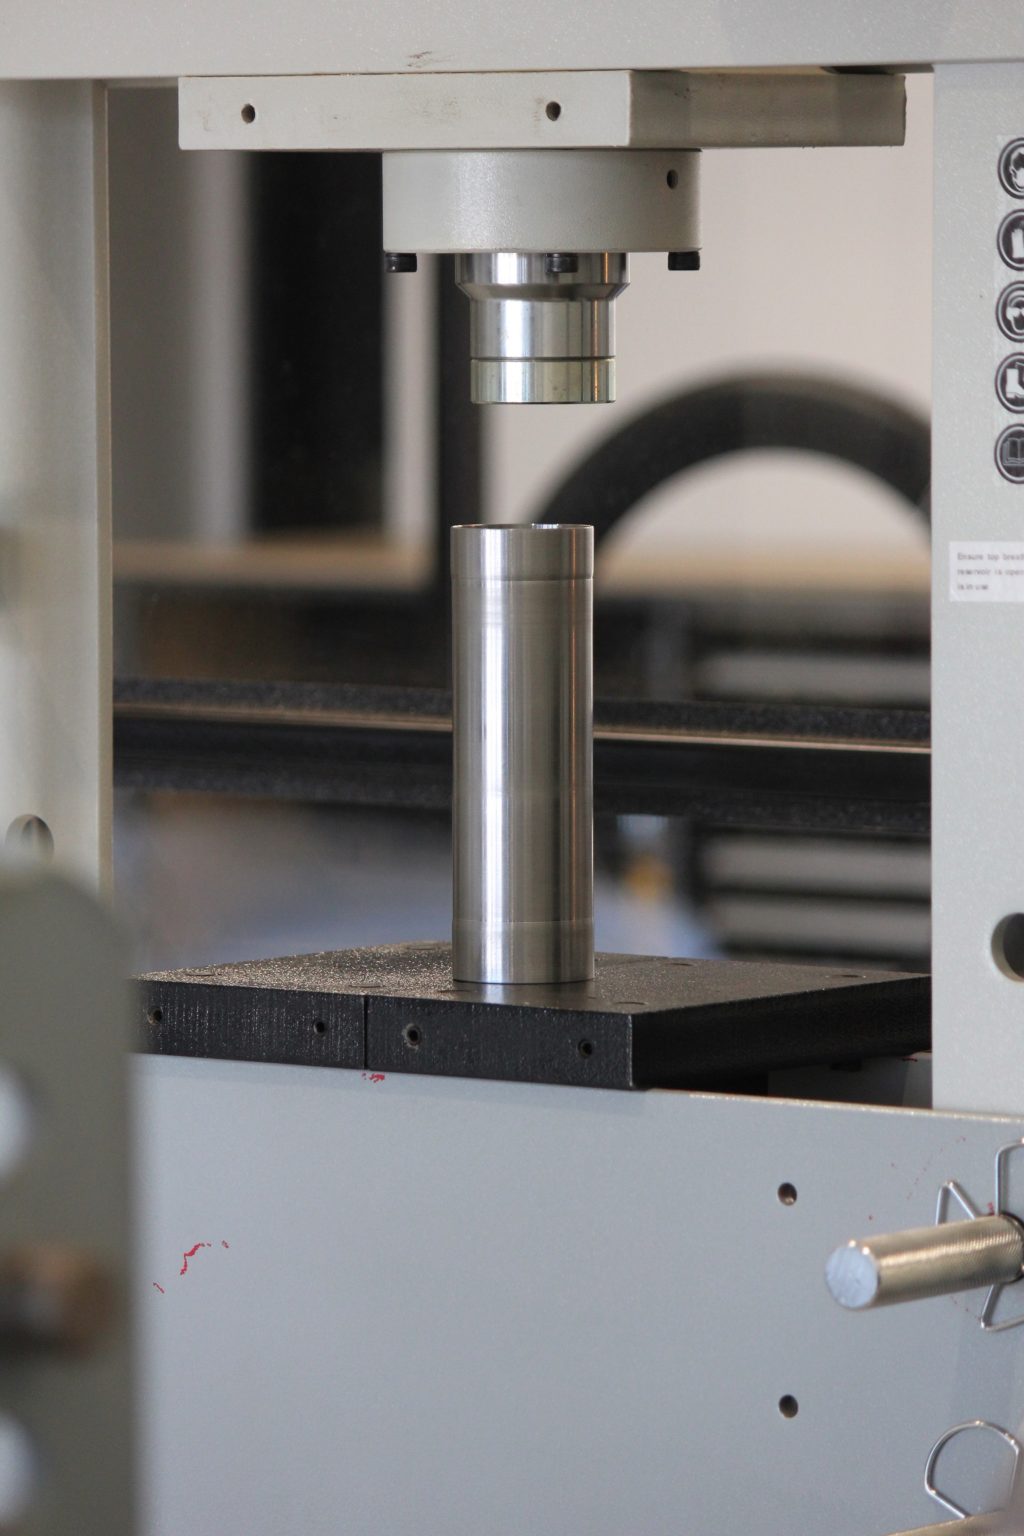
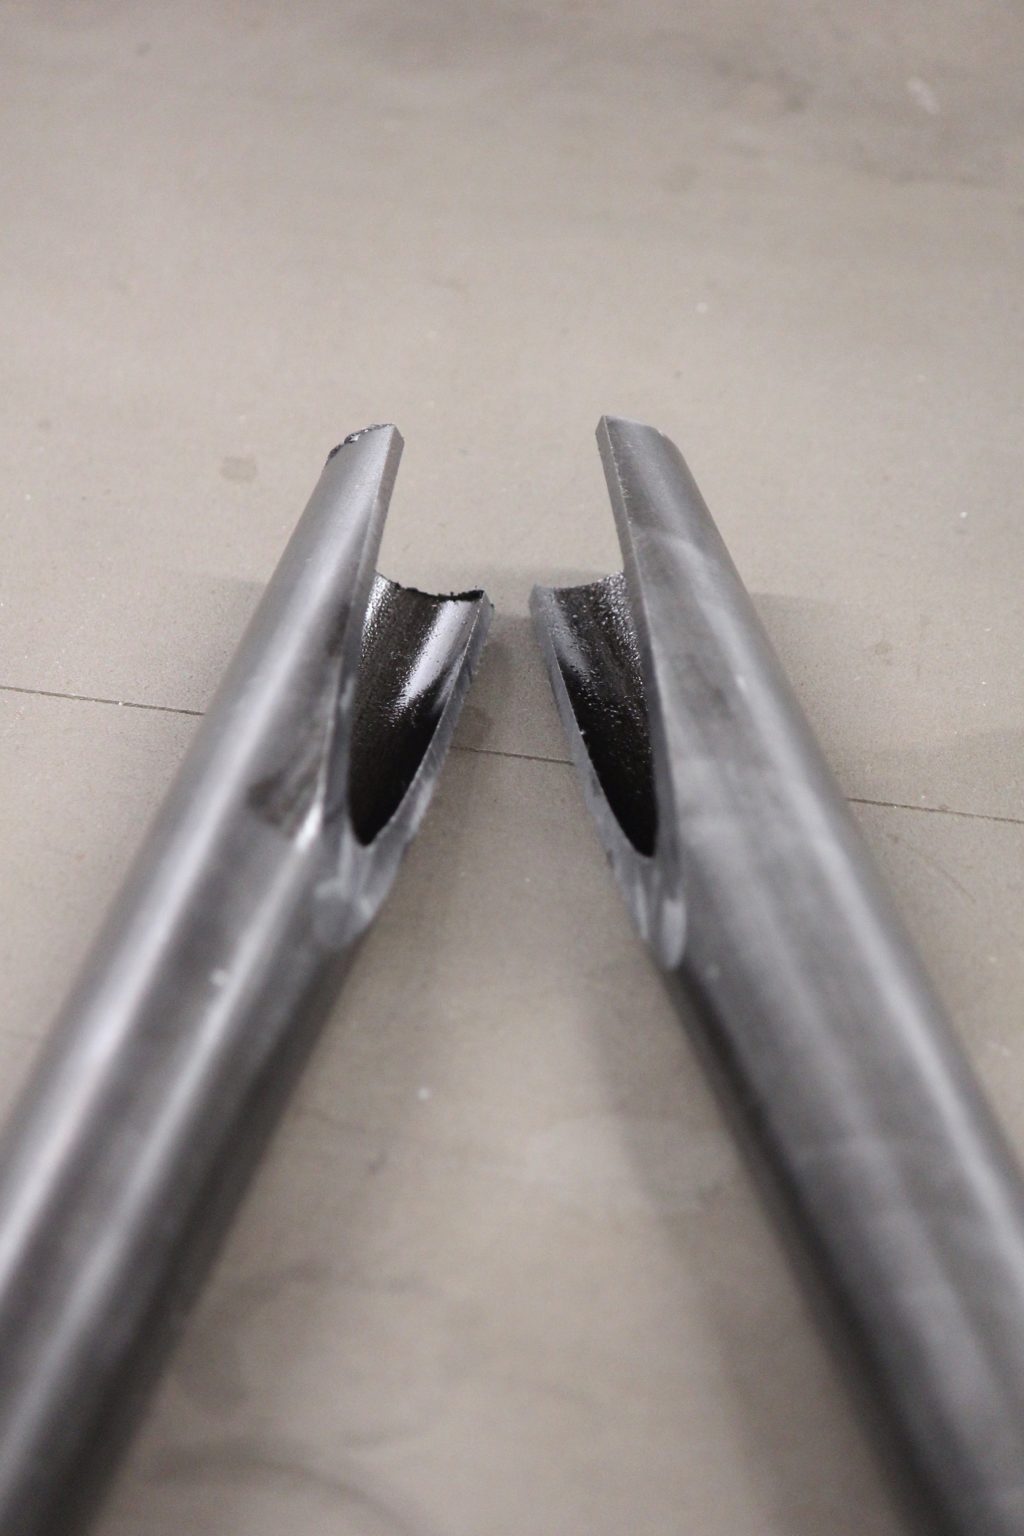
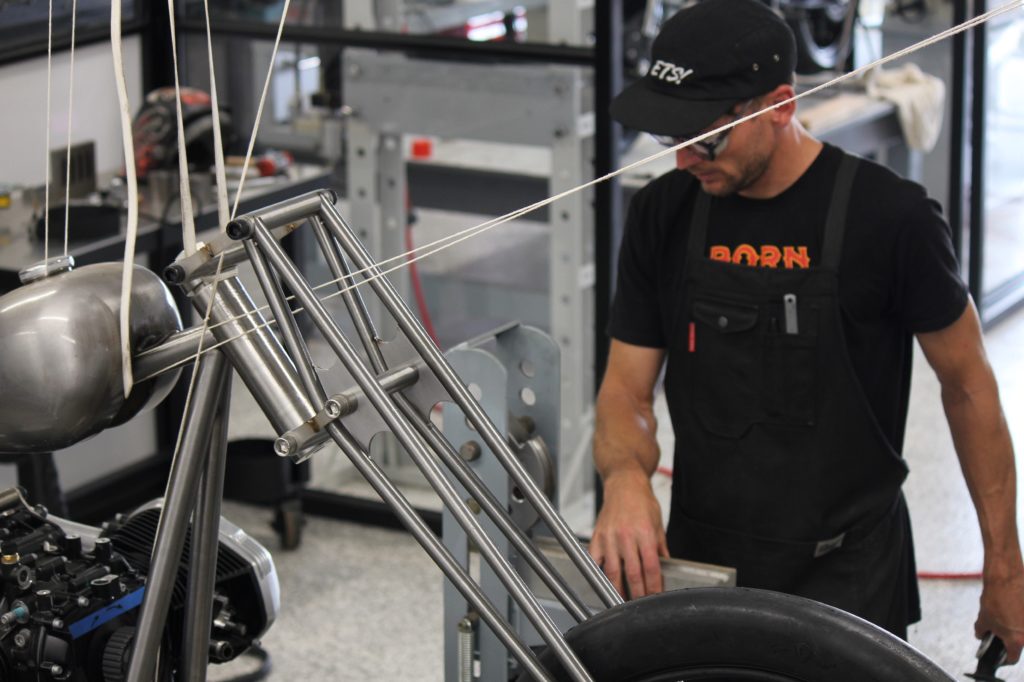
The front end came together with some front axle bosses machined in the lathe out of 4140 steel and chromoly 4130 3/4 inch tube for the triangulated legs.


Although I get nervous on parts like these they actually come together easily, I think it’s because of the extra care and thought that I take in the process.
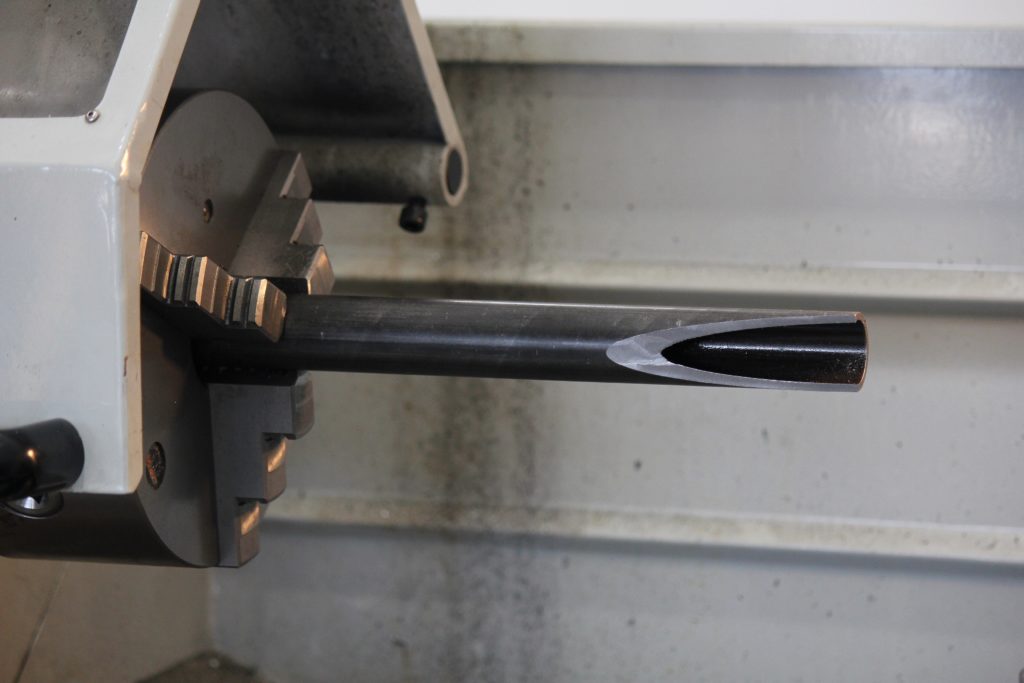
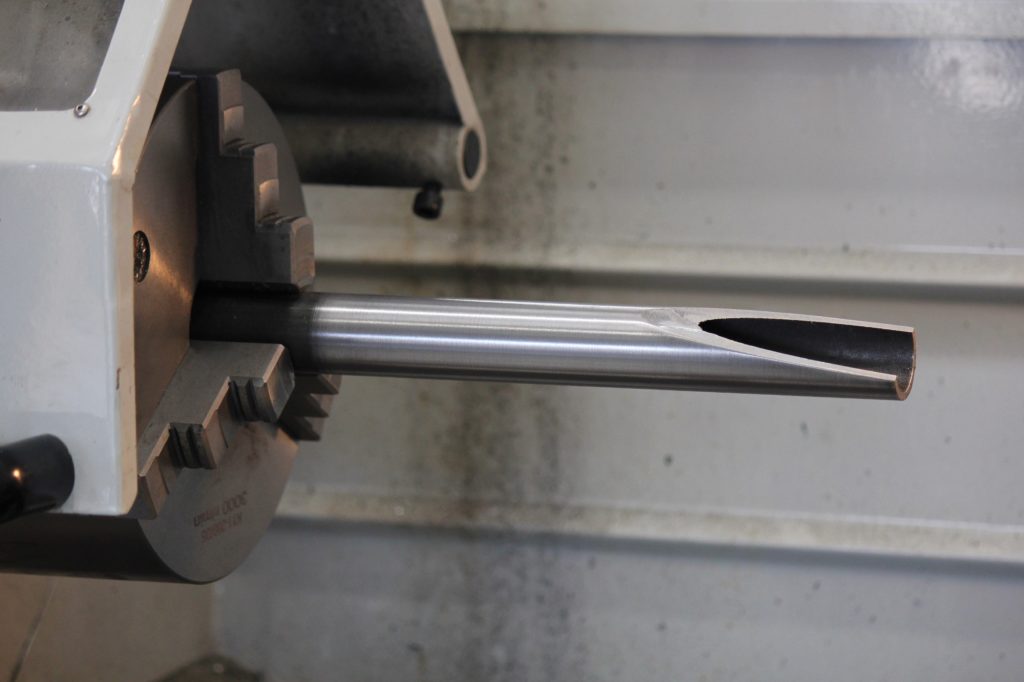
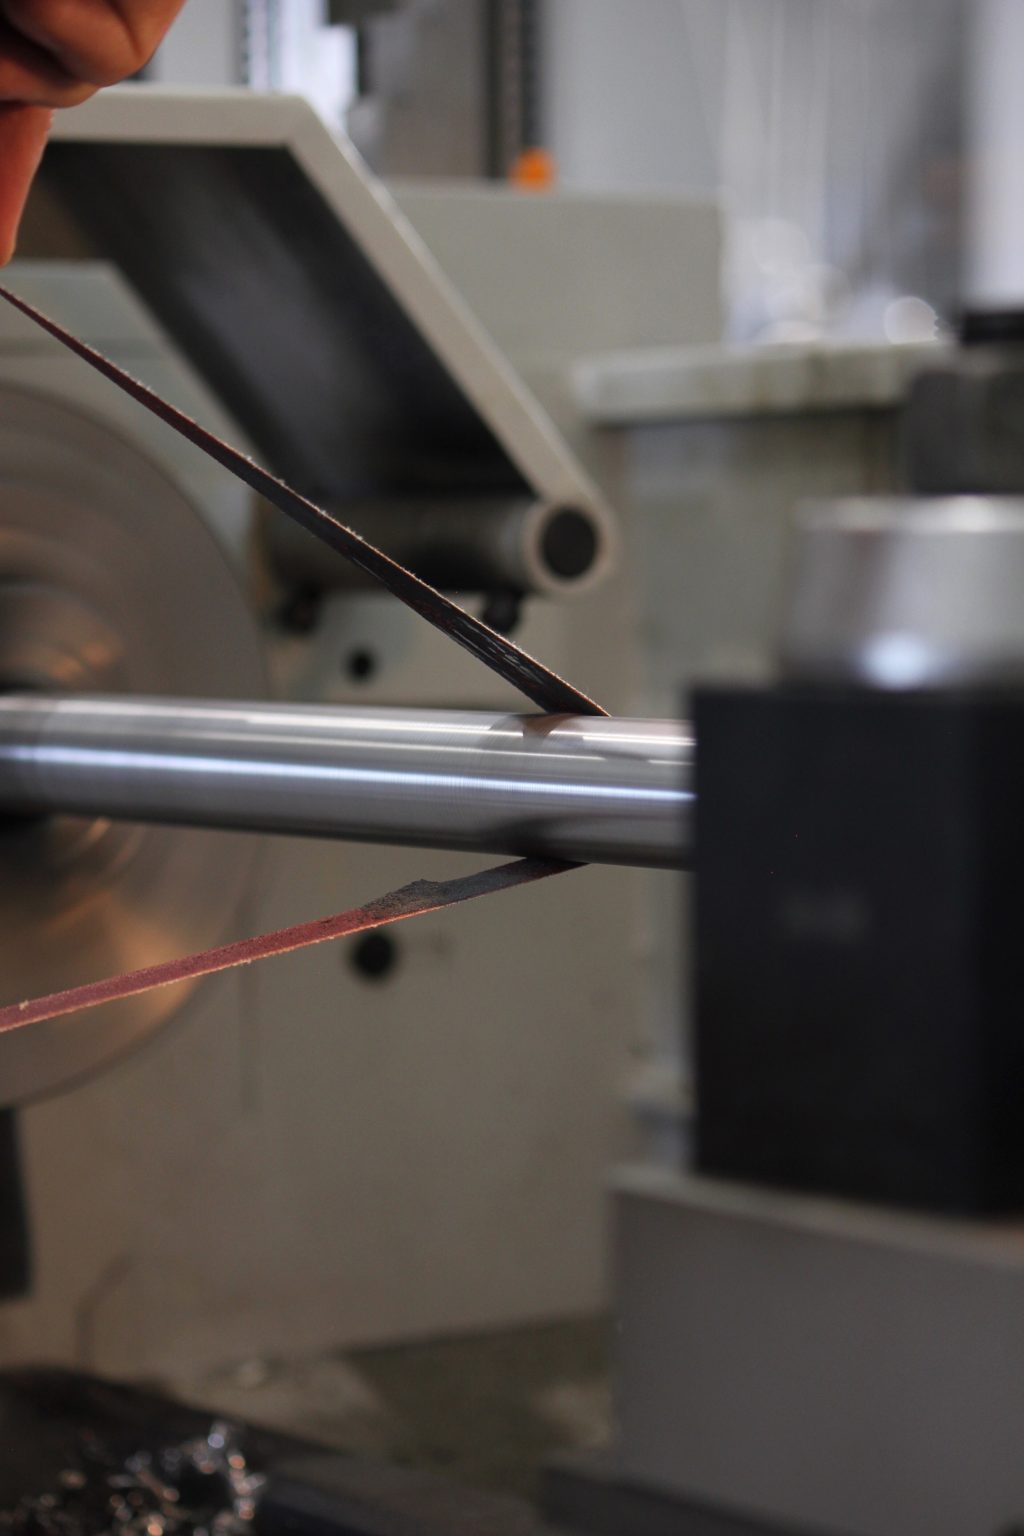
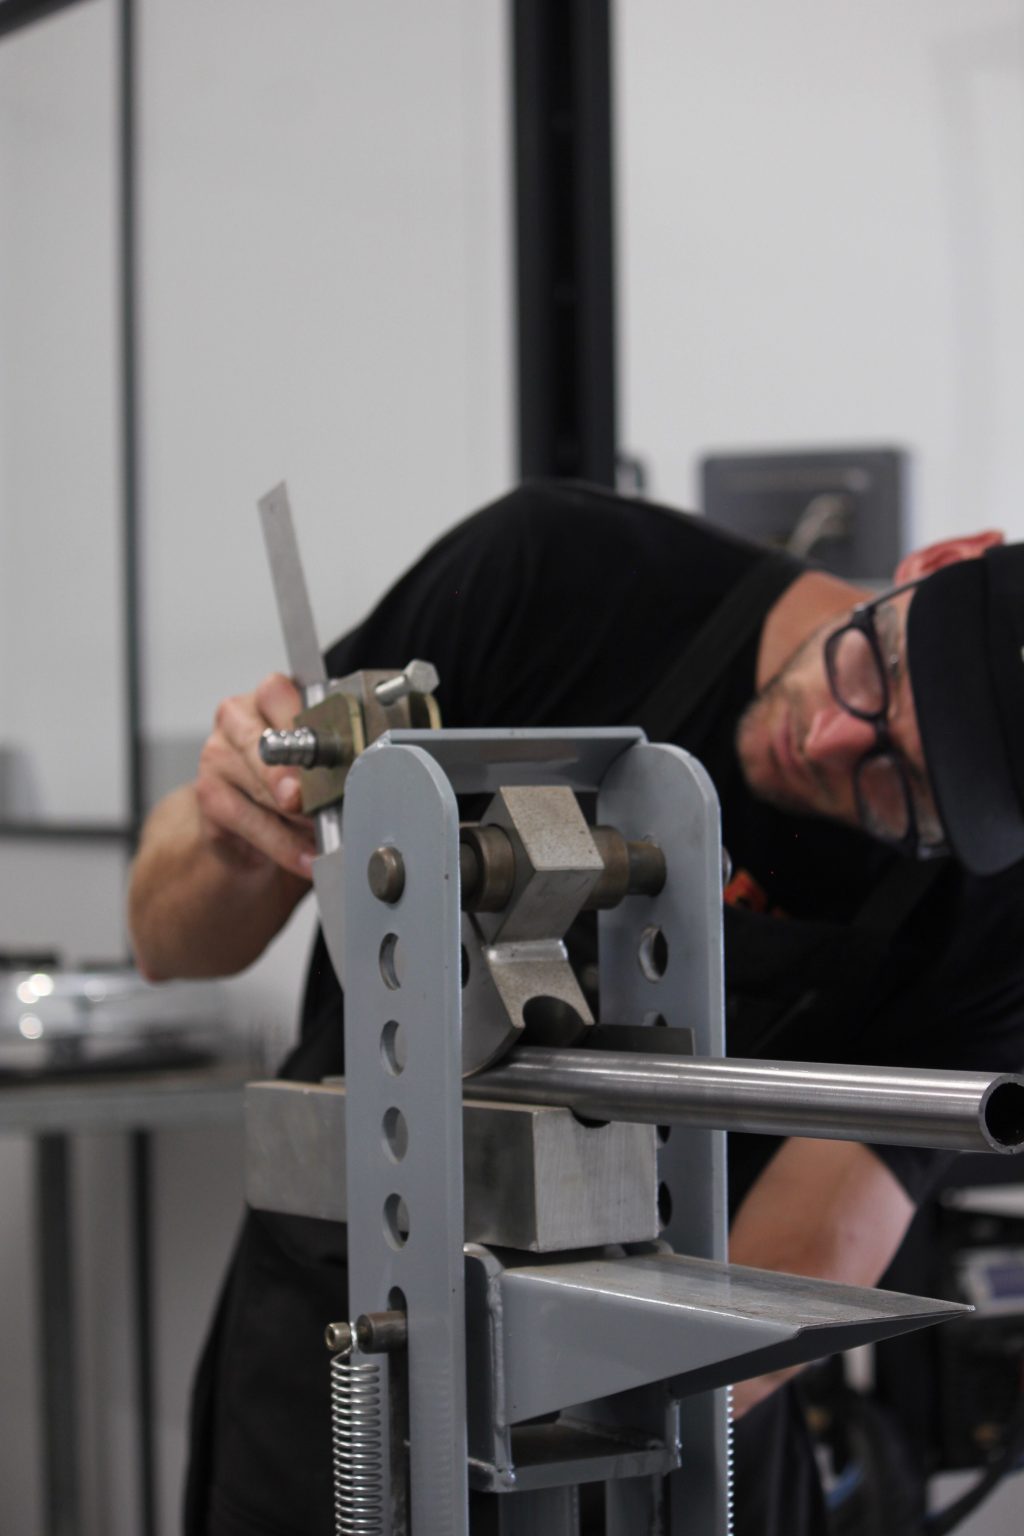
Chromoly tubing comes with a scale on it from the forming process, this protects the tube but before tacking into position or bending I will put in the lathe, spin it at 600rpm and run some alumina oxide sandpaper strip over it to give it a lustre and a nice brushed finish.
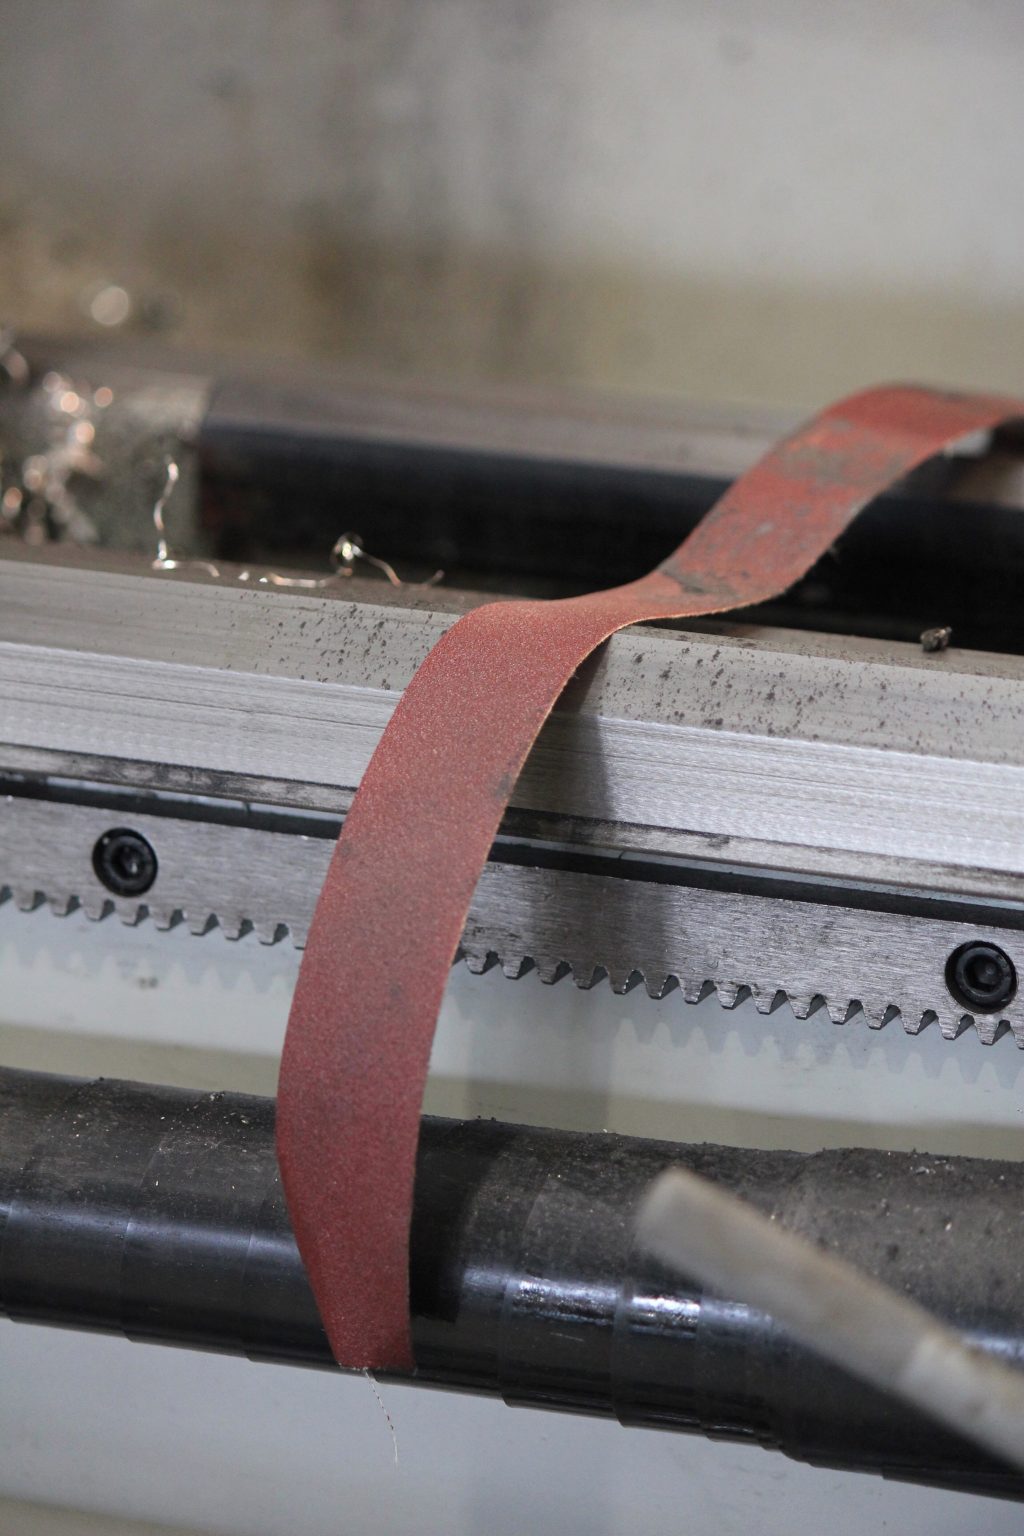
Once notched and polished I can tack it into position.
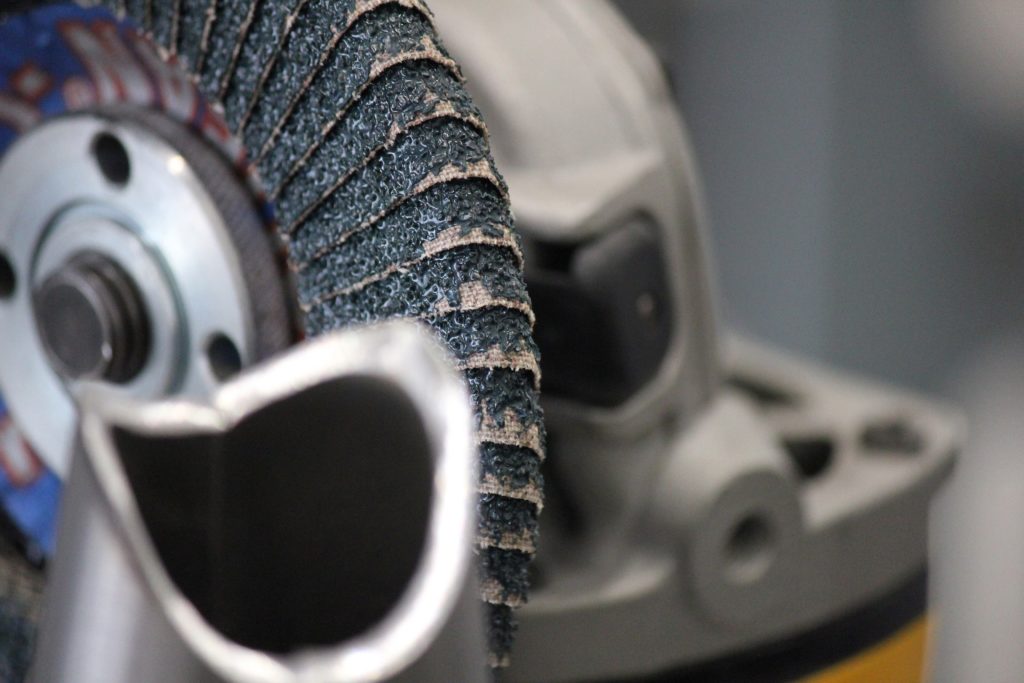

Im a big fan of these radiused buffing disks as they make light work of the chromoly and don’t dig into corners leaving nicely formed notches that I then refine with a hand file.
Always checking that the tube has no deformities, the last thing you need is a slight bend that you wont pick up until it’s too late.
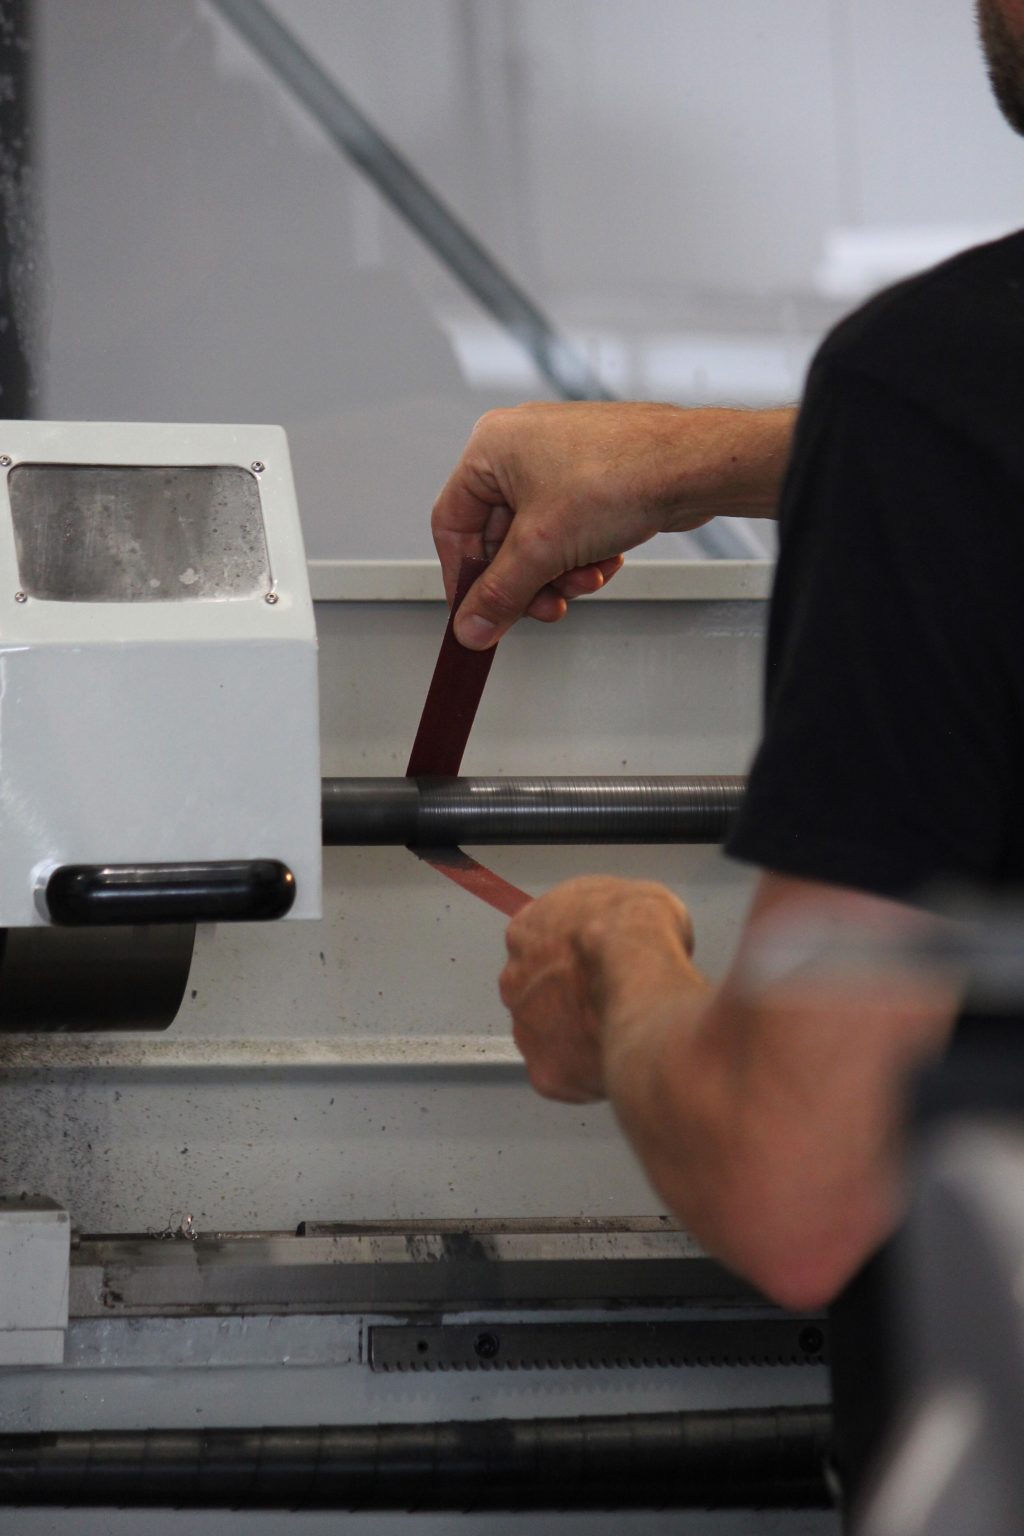
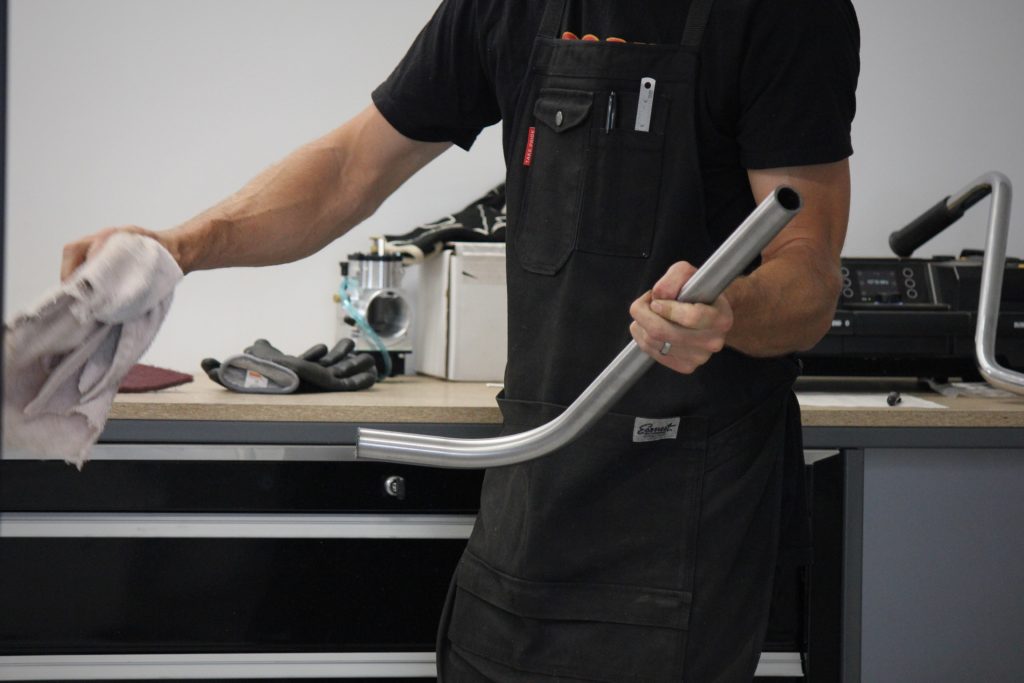
Once cut to length I give it some shine!
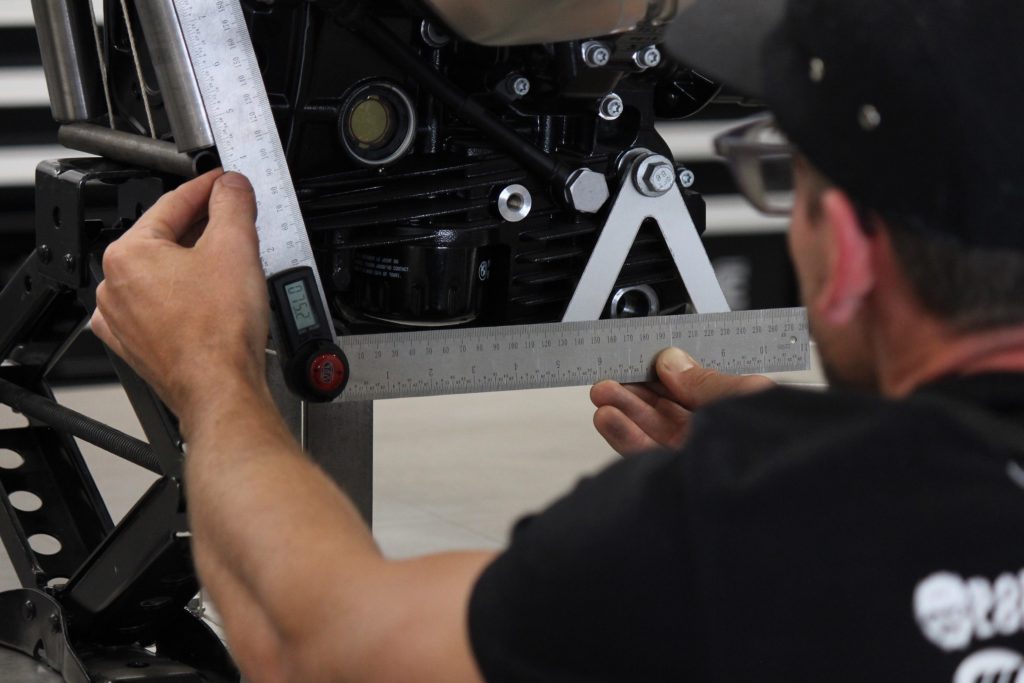
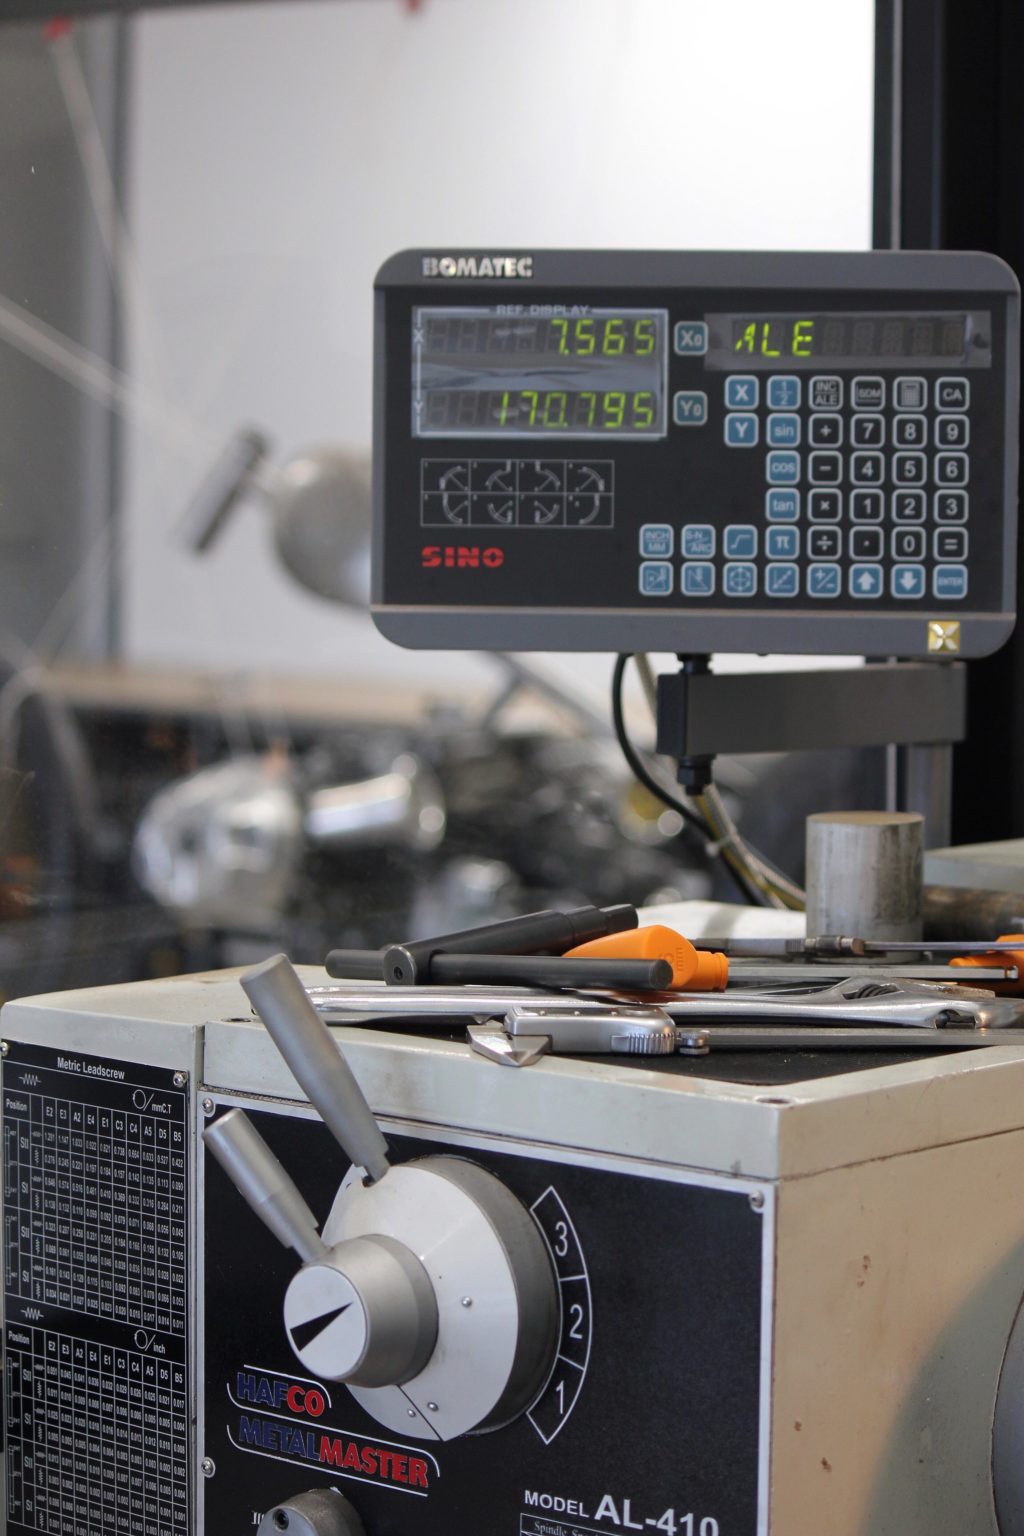
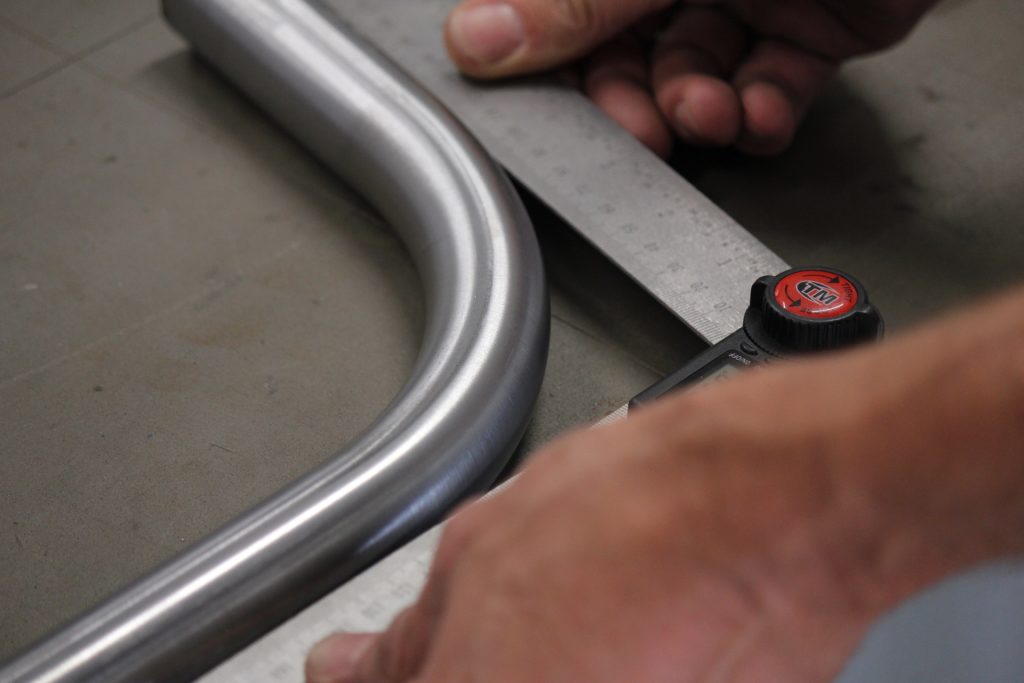
Measure the angle for the lower frame section.
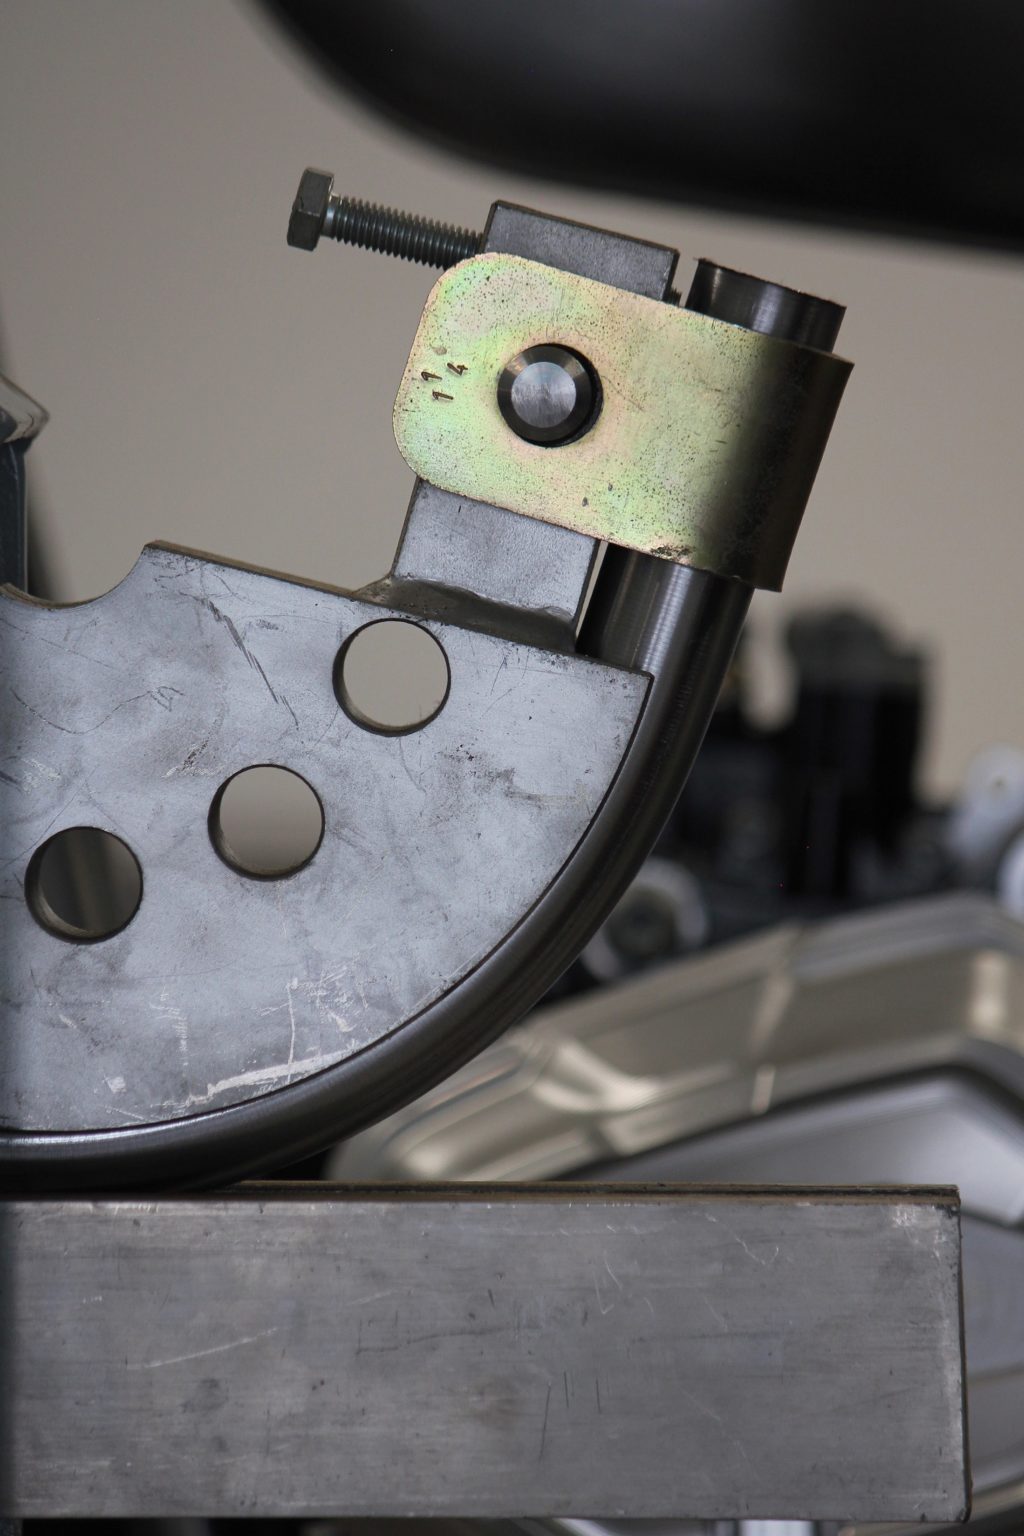
With the bend measured and the springback equated for (in this instance I needed to go 3 degrees over so the tube sprung back to my desired angle)
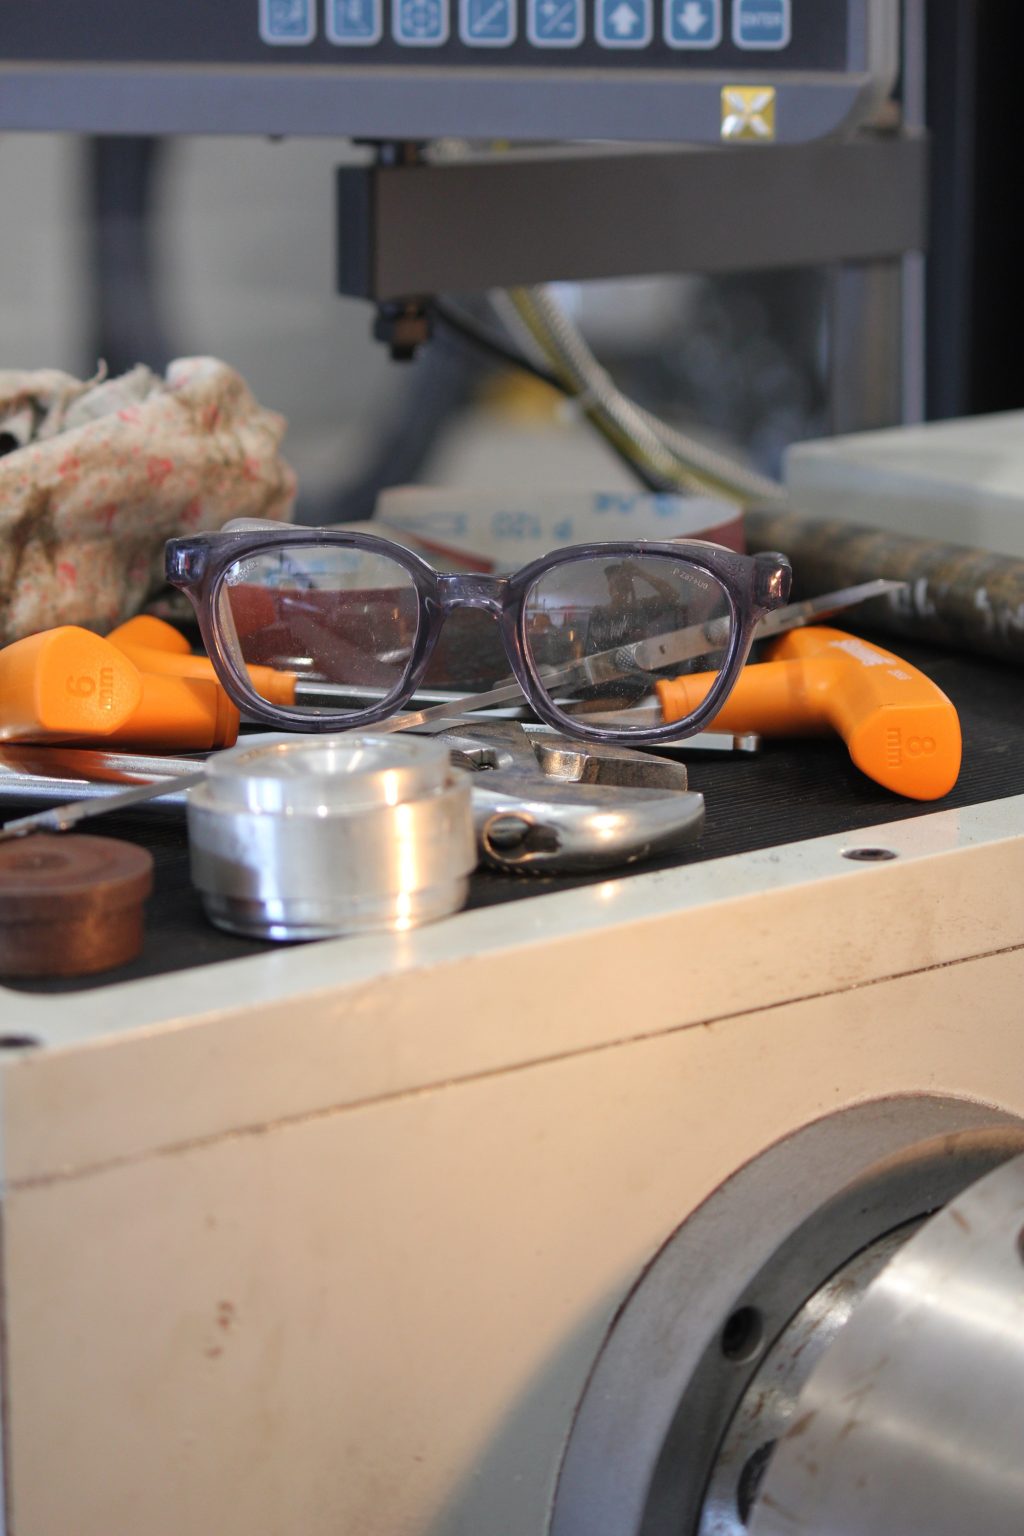
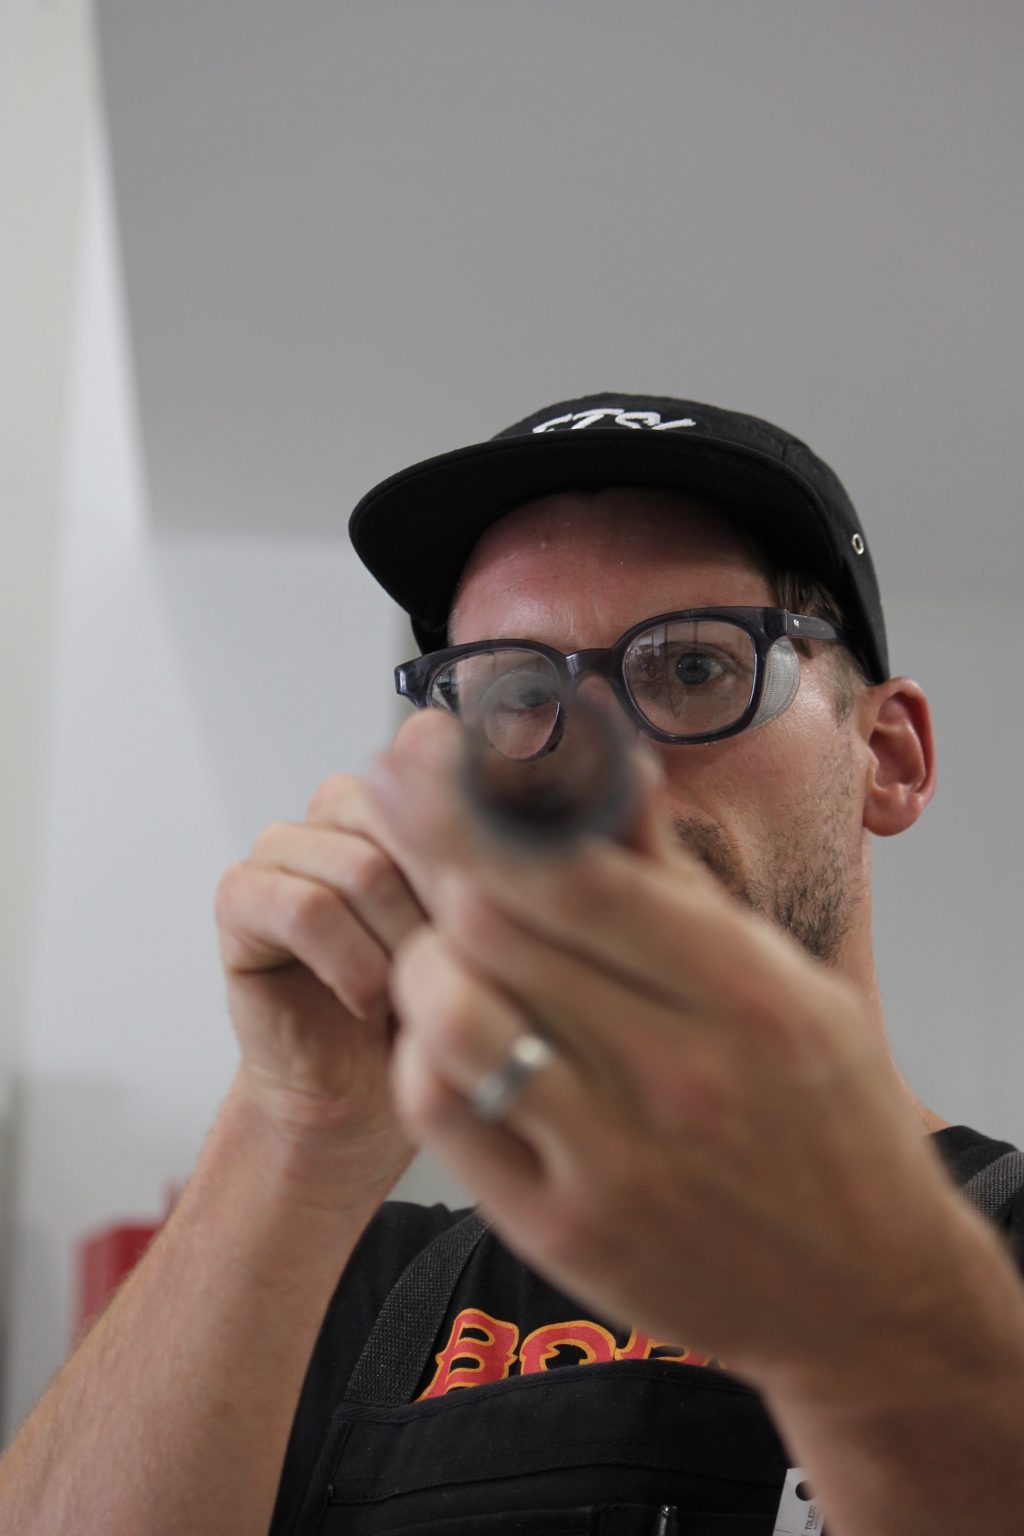
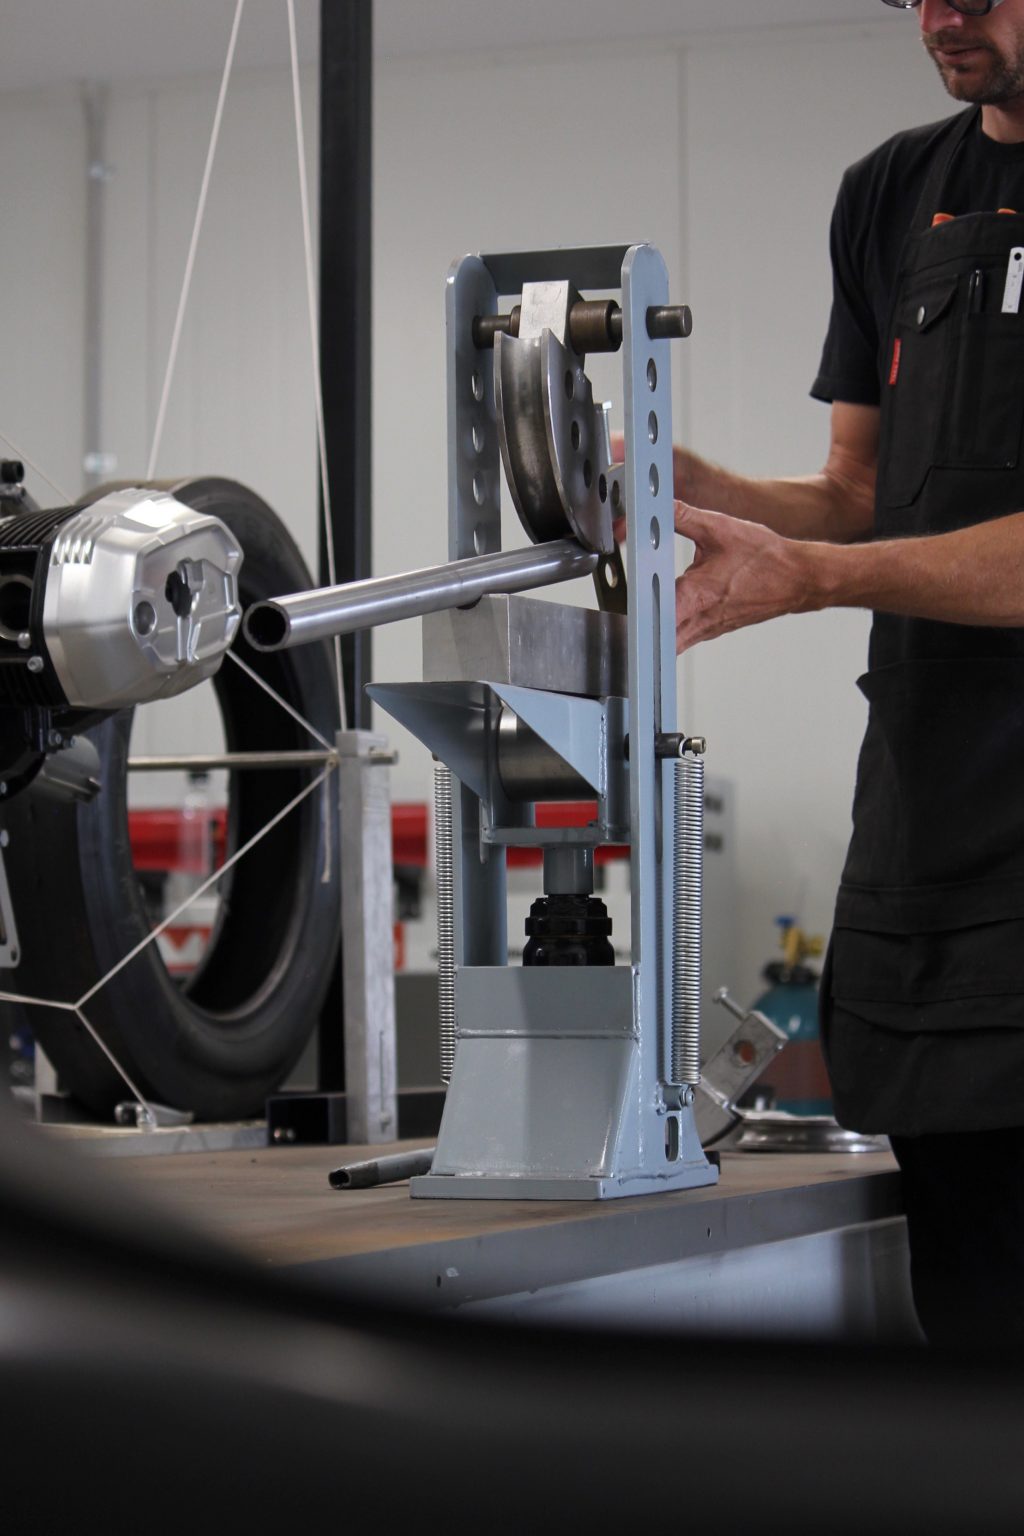
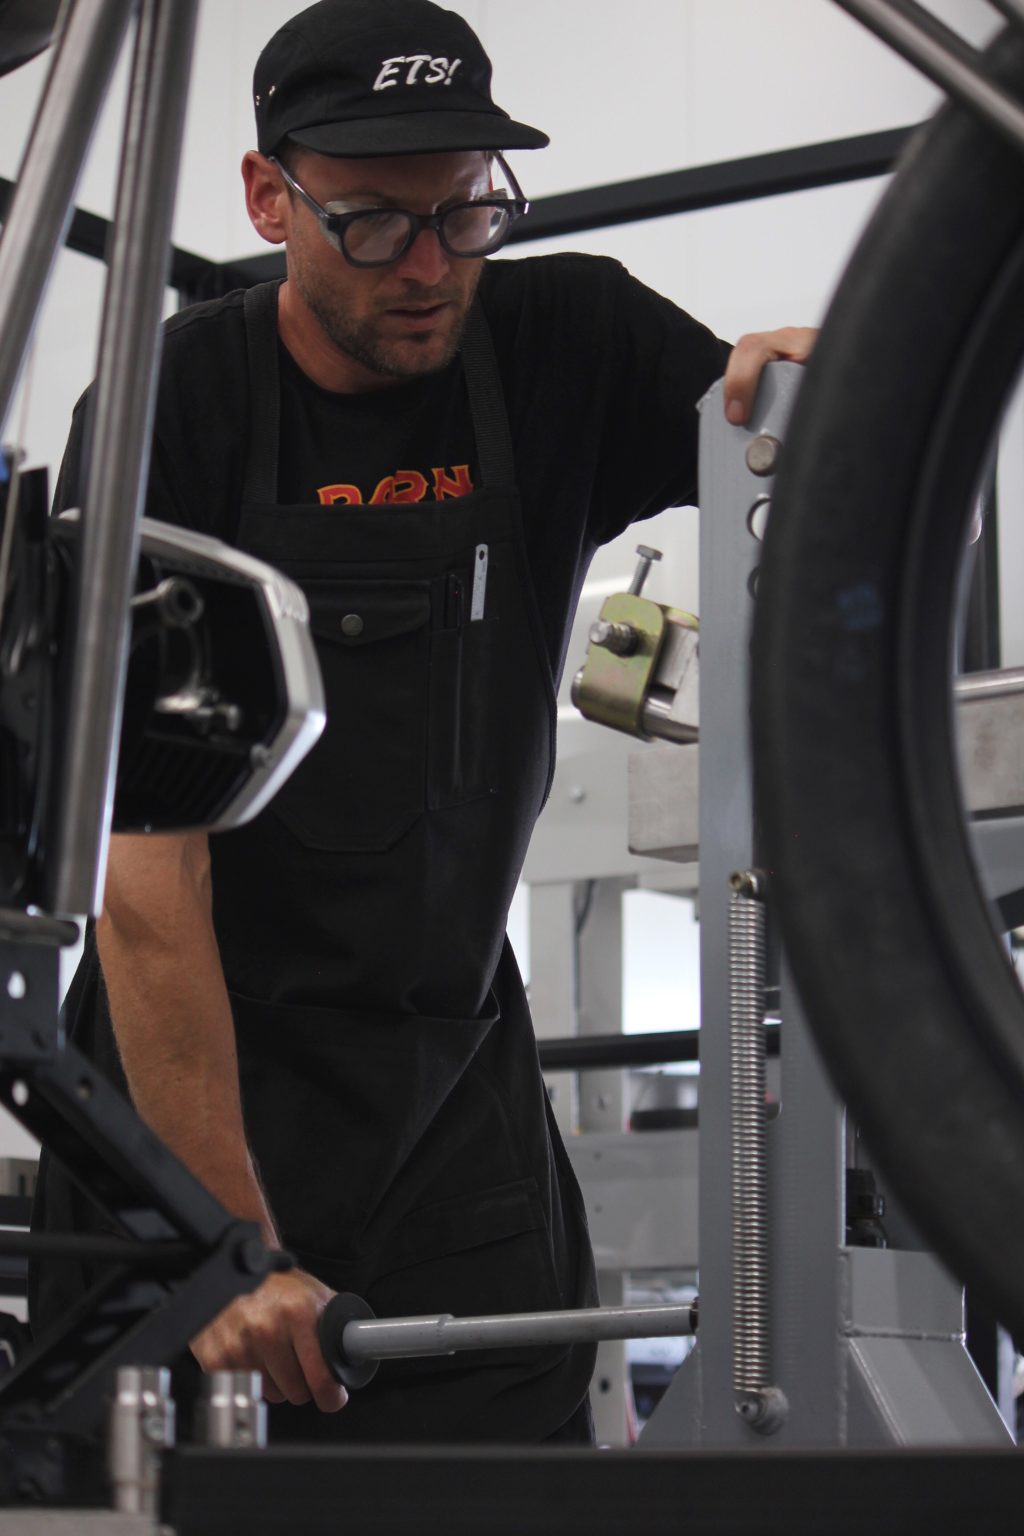
I can then pull it out of the die and see how it looks. If you wanted the plans to this bender they are available here, need these safety glasses? You can get them here too!
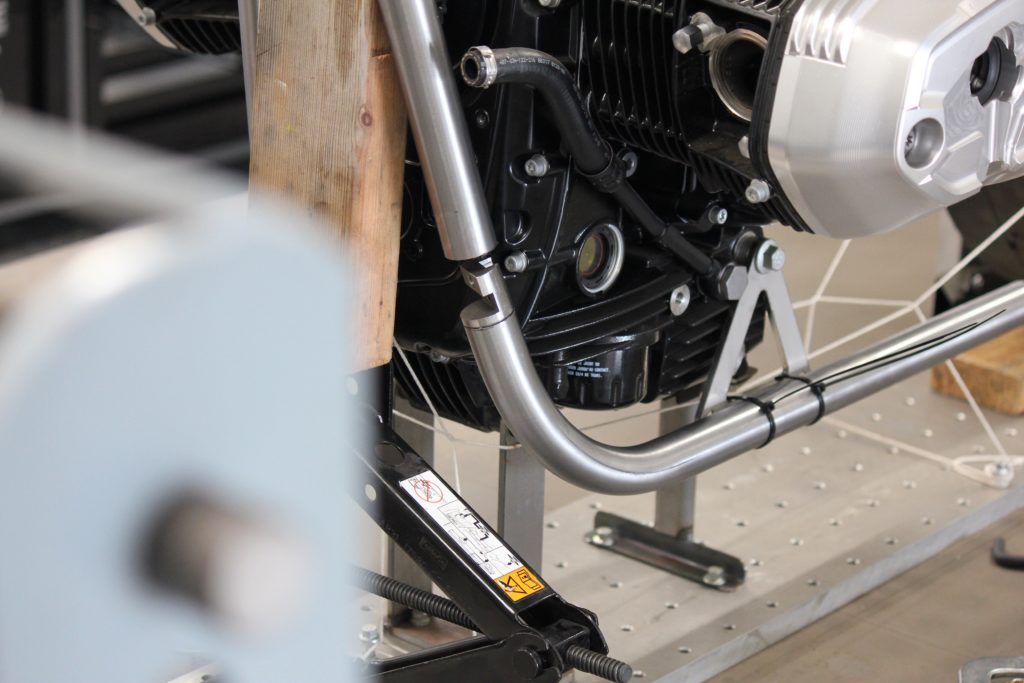
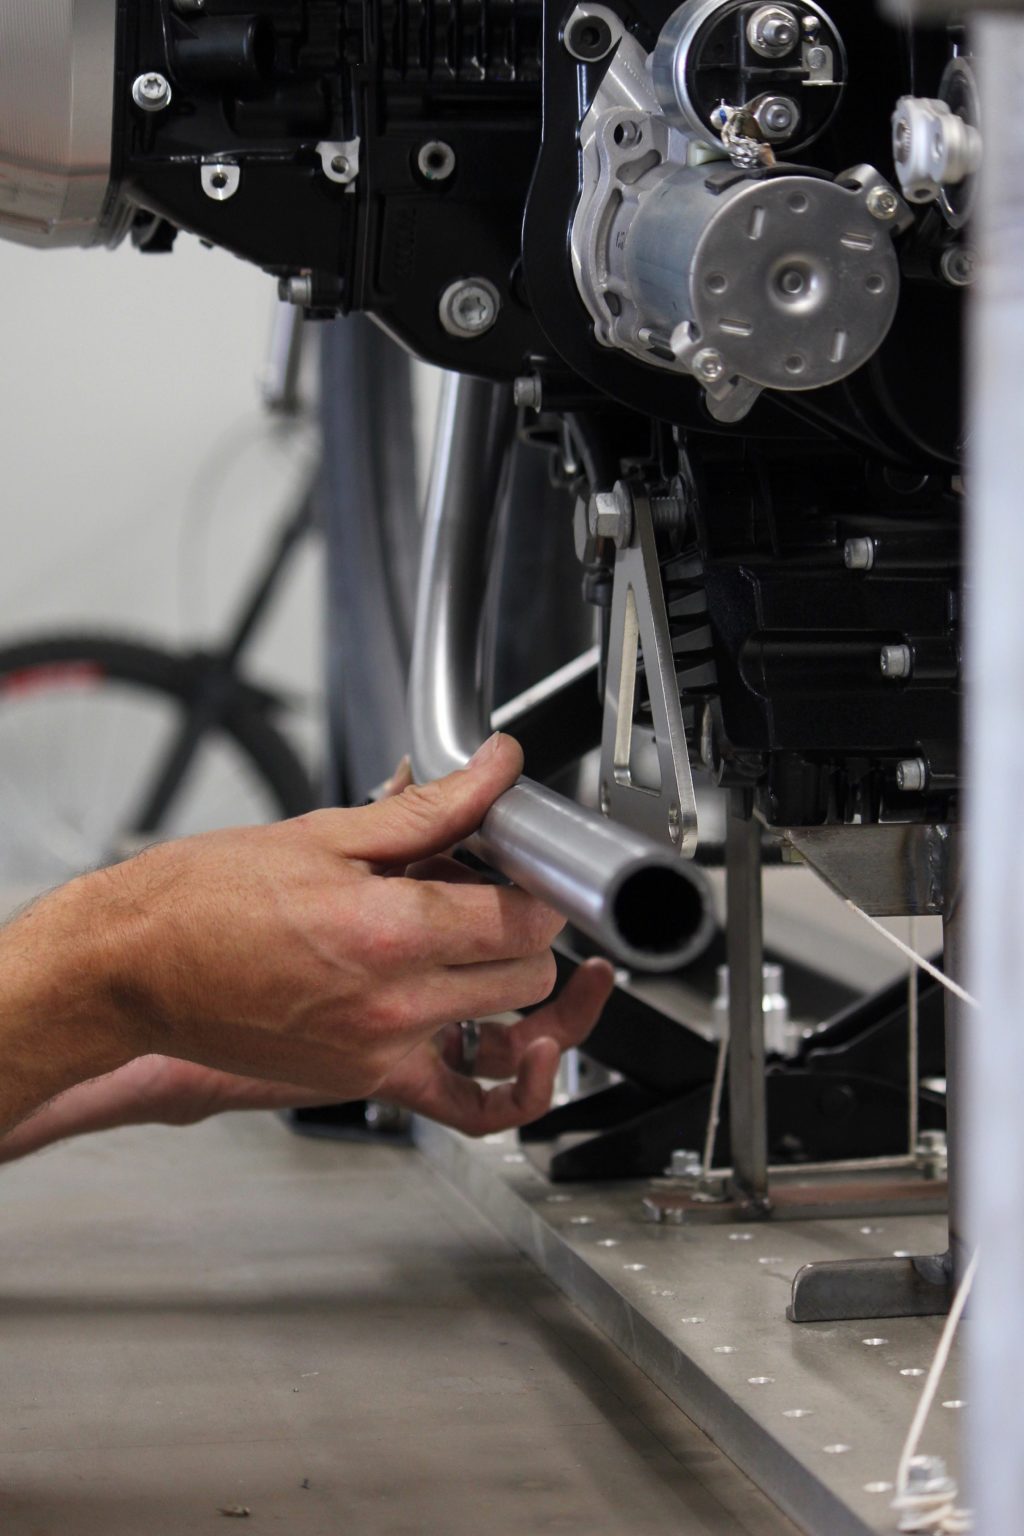
I am making these bottom bars removable with some chromoly camburg joints that I picked up. These press into the tube and offer an extremely strong join thats also well hidden. These lower frame rails are designed so that I can mount the motor to a stand and drop the bike down onto it for easy engine mounting, these motors are heavy and I am trying to think as far ahead as I can to the assembly process.
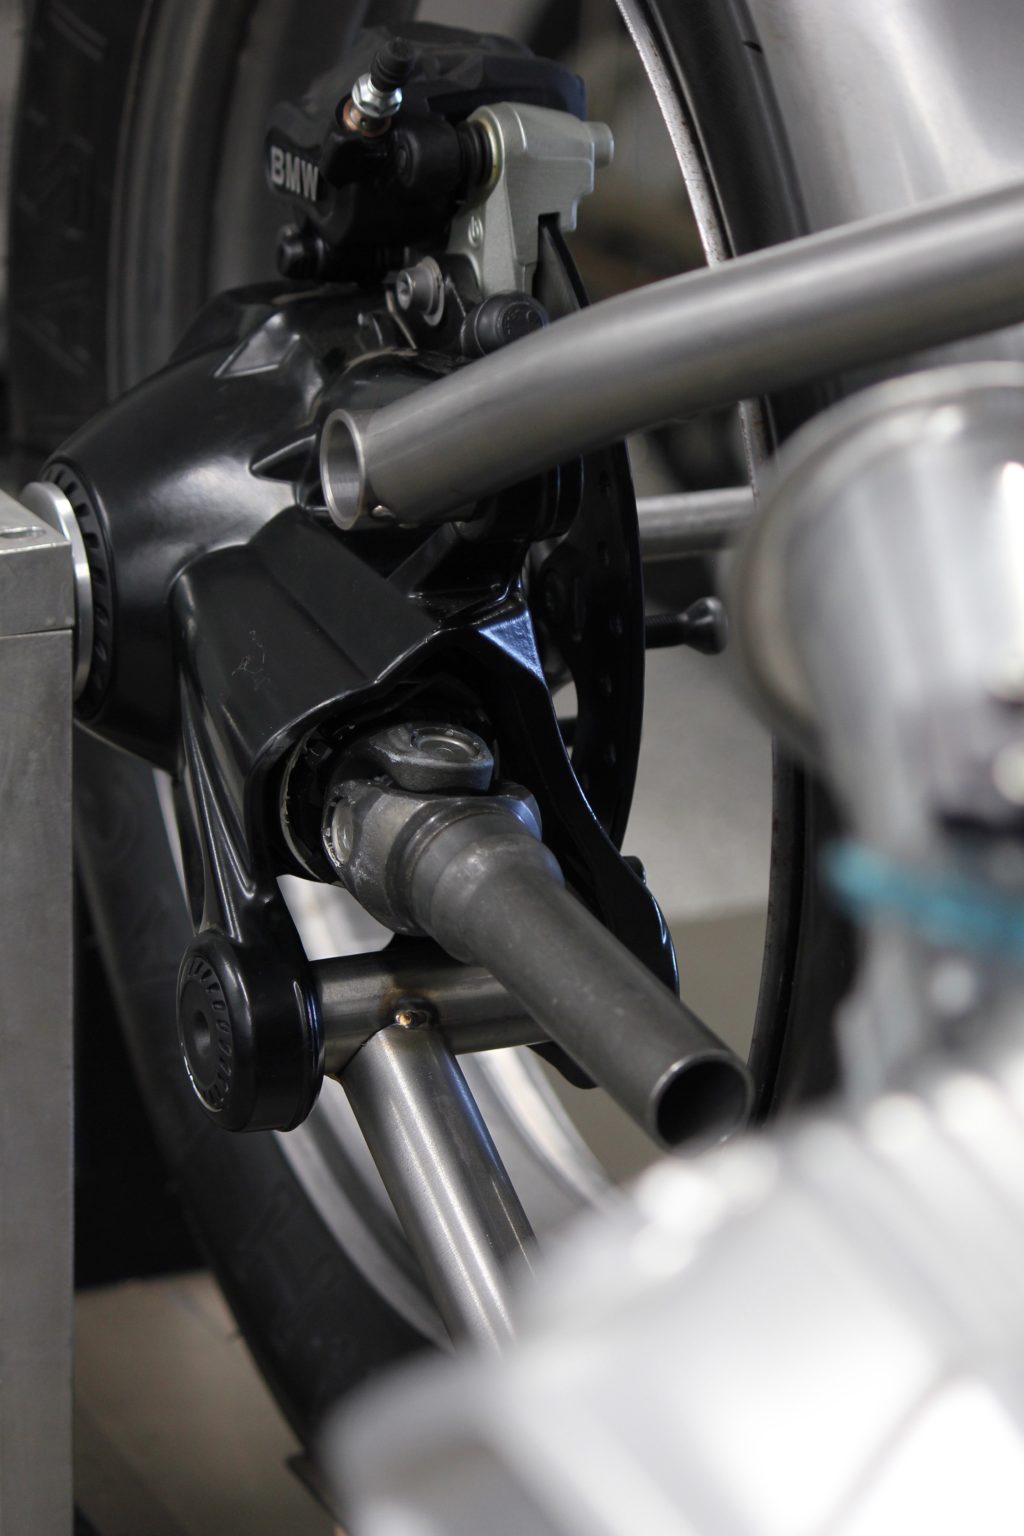
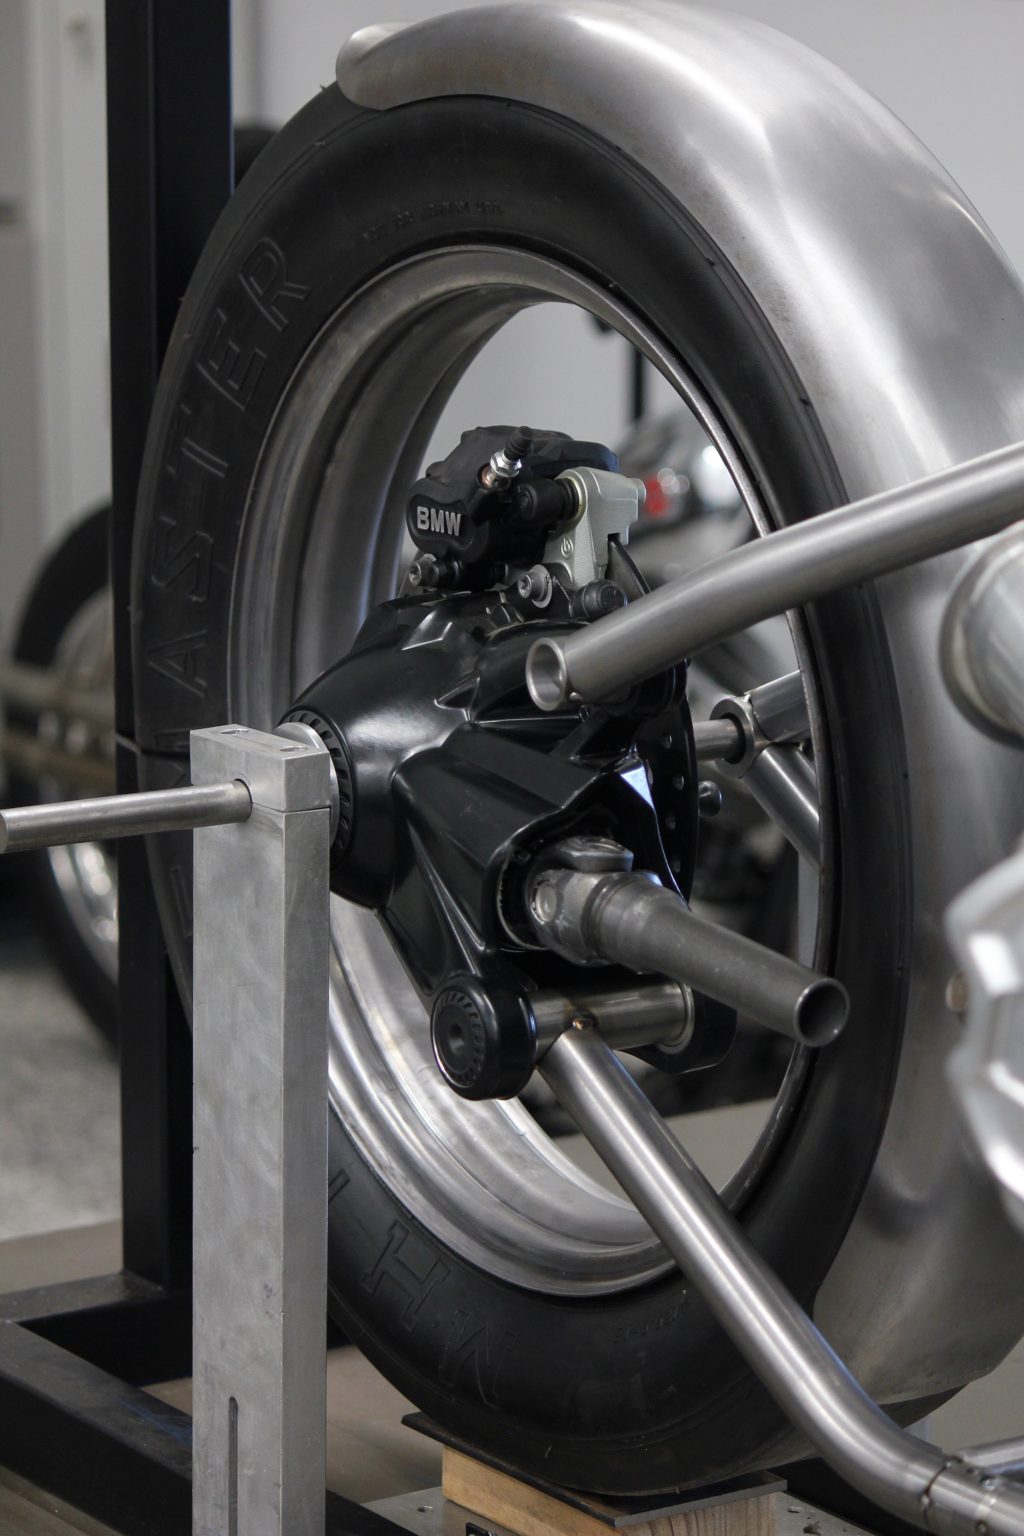
From this point on things got a little wild, I decided to revert back to the 2019 model rear drive unit that came with the bike as I had concerns about the power and grip giving the 1960’s drive unit hell.
With the front end mocked up I changed the rake by 1.5 degrees and then played around with different dog bone suspension link lengths.
After a few weeks of really starting to feel the pinch I knuckled down and made some real headway into the frame and the driveline.
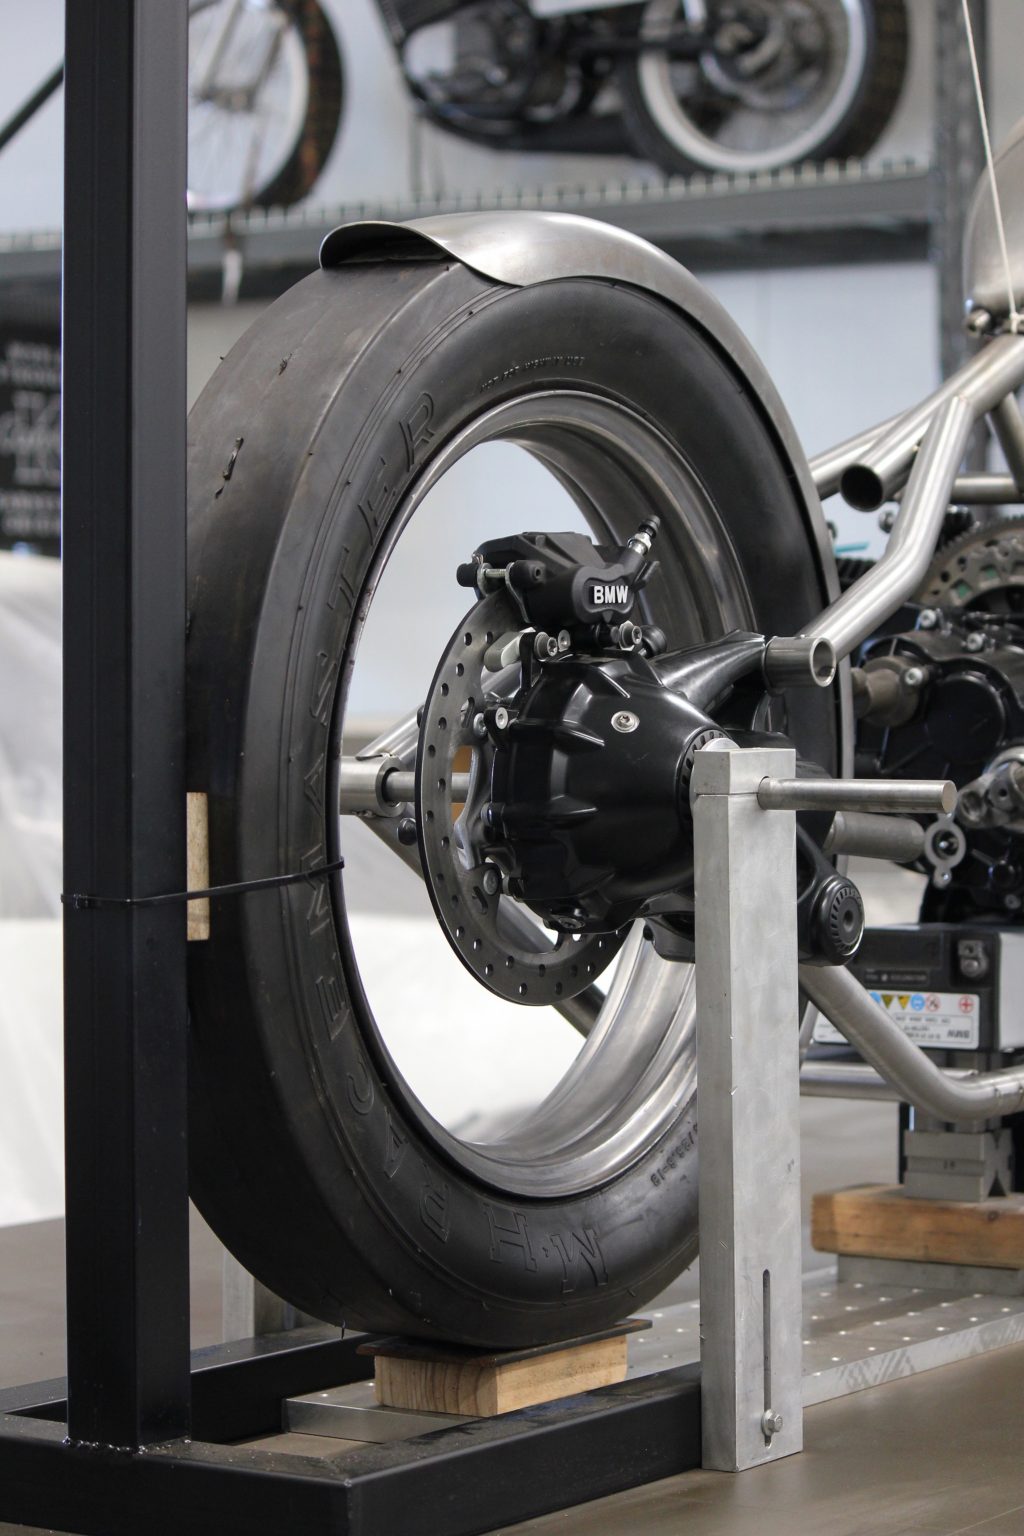
I found a guy named Steve, Steve runs a business called Vintage Rims Australia who rolled up the front and rear wheel for me, I originally had plans to CNC machine the wheels from huge chunks of billet, well I guess my budget did not equate for the 24 hours machine time just one rim would take and the amount of $$ needed to run a 5th axis CNC for that amount of time.
So with Steves help and a little extra brain work these rims are going to take on a very unique design, more on that later but I will be machining the hubs and making the spokes from scratch.
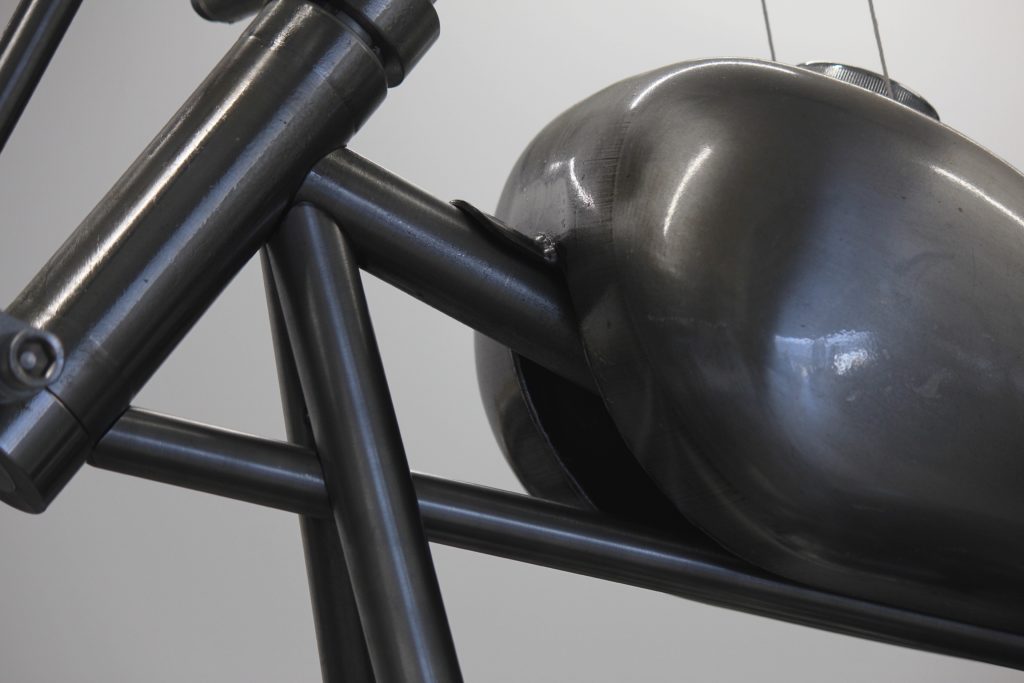
I am also loving the lines of the frame, I don’t know how many hours went into just getting this exactly right but I can’t count them on one hand, the triangulation is really effective and gives great strength.
I often get up on the stool and look at it from above to get a better understanding of what it will look like on the ground.

The titanium exhaust has begun as well, the first bends exiting from the head will add some colour to the bike and emit ear bleeding noises. I carefully selected the size too, its not 1.75 inch, its not 2 inch, its somewhere in the middle and like the front wheel the size is just right!
Im a little drained from the long hours but I couldn’t be happier with how the bike is shaping up.
After all it’s travelling to the other side of the world, my name will be attached to it and I want to stand there and be as proud as I can be of what this project evolved into.

I love building stuff, if you do too and you want to learn about Motorsport Fabrication then I would love your support, I have formulated a heap of courses that will get you fabricating projects like this in no time. It will give you everything you need to know about how to do this type of work including plans for your very own tube bender. Also keep up to date with BMW’s own R18 Cruiser coming out really soon by subscribing here.
Thanks for reading.