
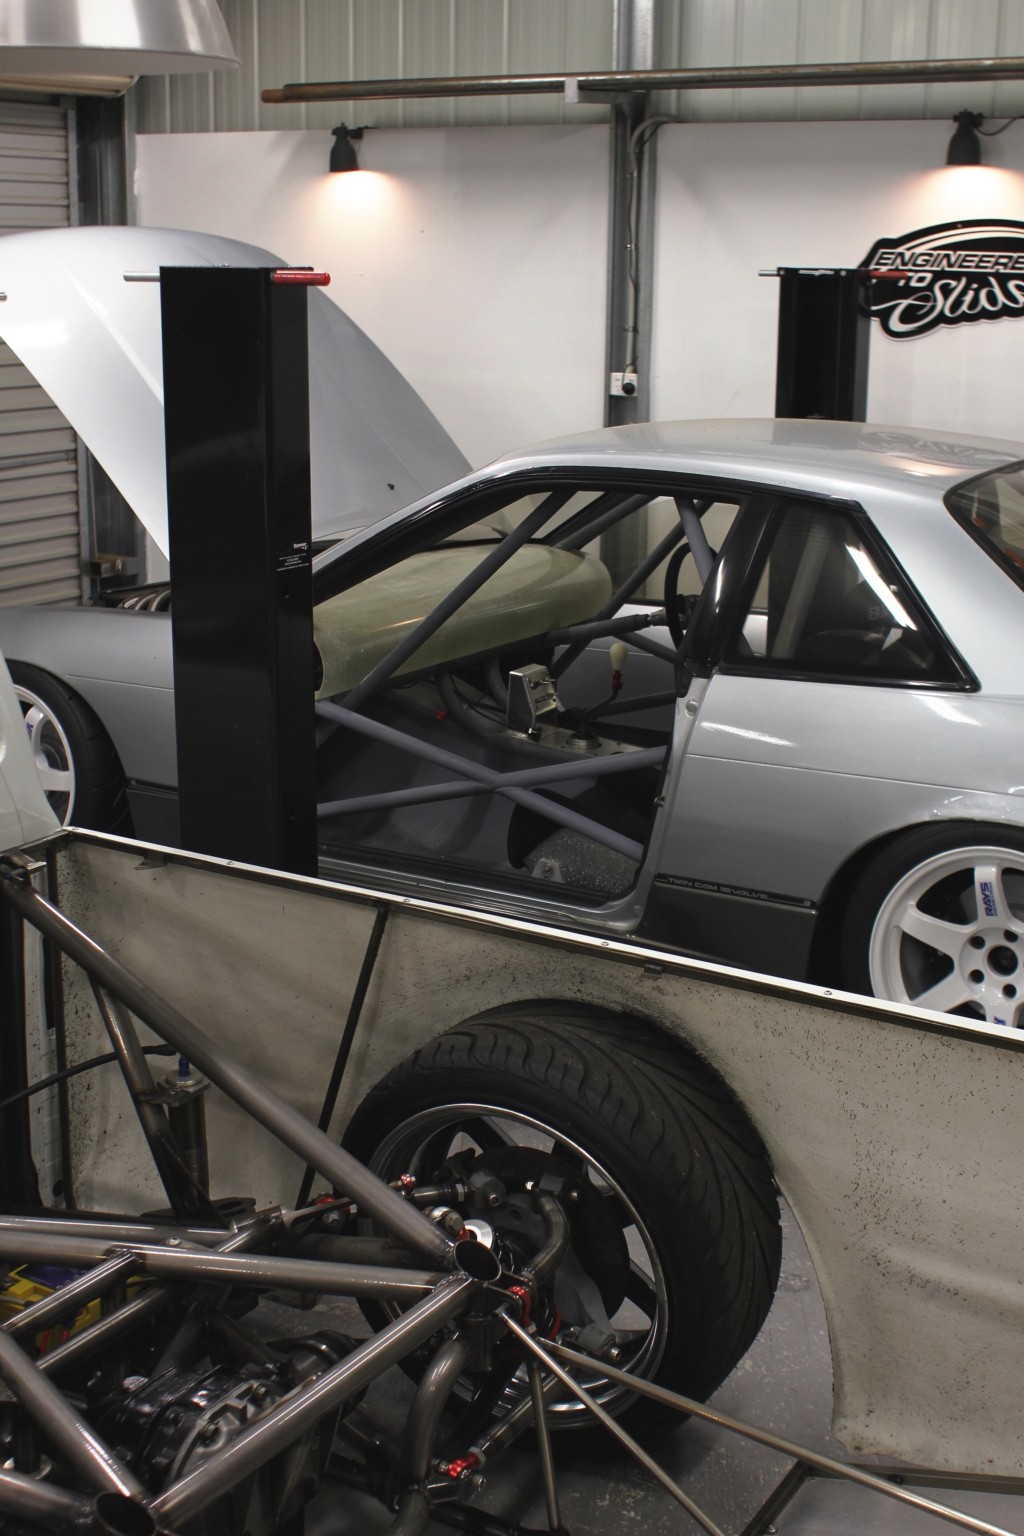
This weekend just gone has been my first weekend in the garage since heading up to Sydney with the Deus crew to judge the Deus Bike Build off. I will post a full run down on that in the coming days but first I want to show you whats happening with the PS13 after that big garage cleanup.
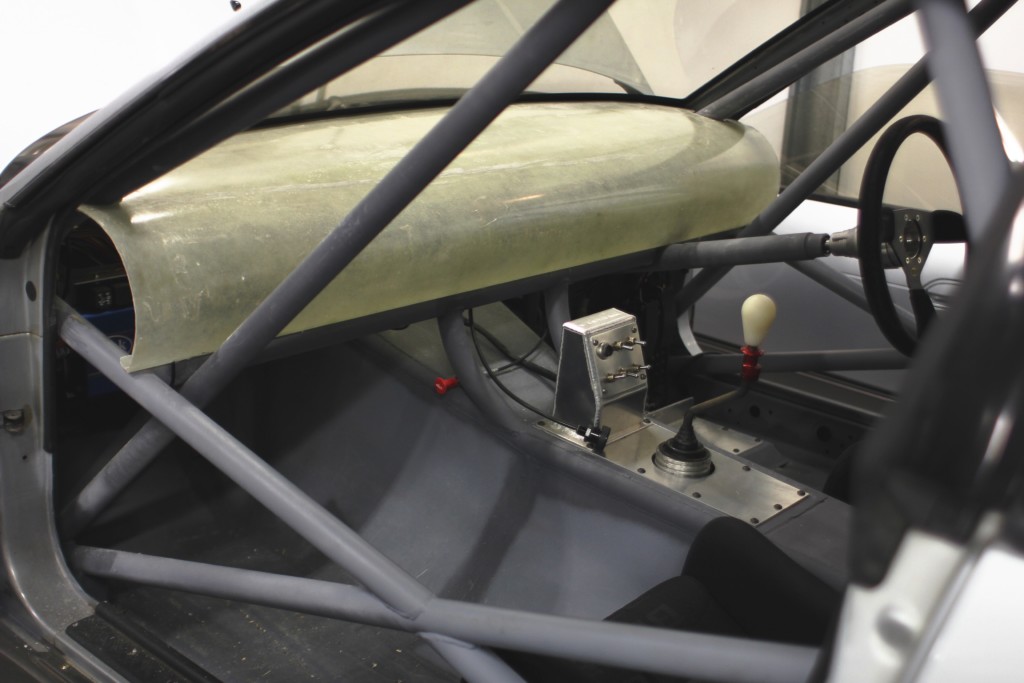
Nothing motivates me more than a clean and organised workshop, the clean up a few weeks ago coincided with the finished dash, made from fibreglass it was a messy job that I hate doing but was necessary to complete the car, there was no other way around it. The three day weekend gave me a chance to look over the car and take up where I left it last time.
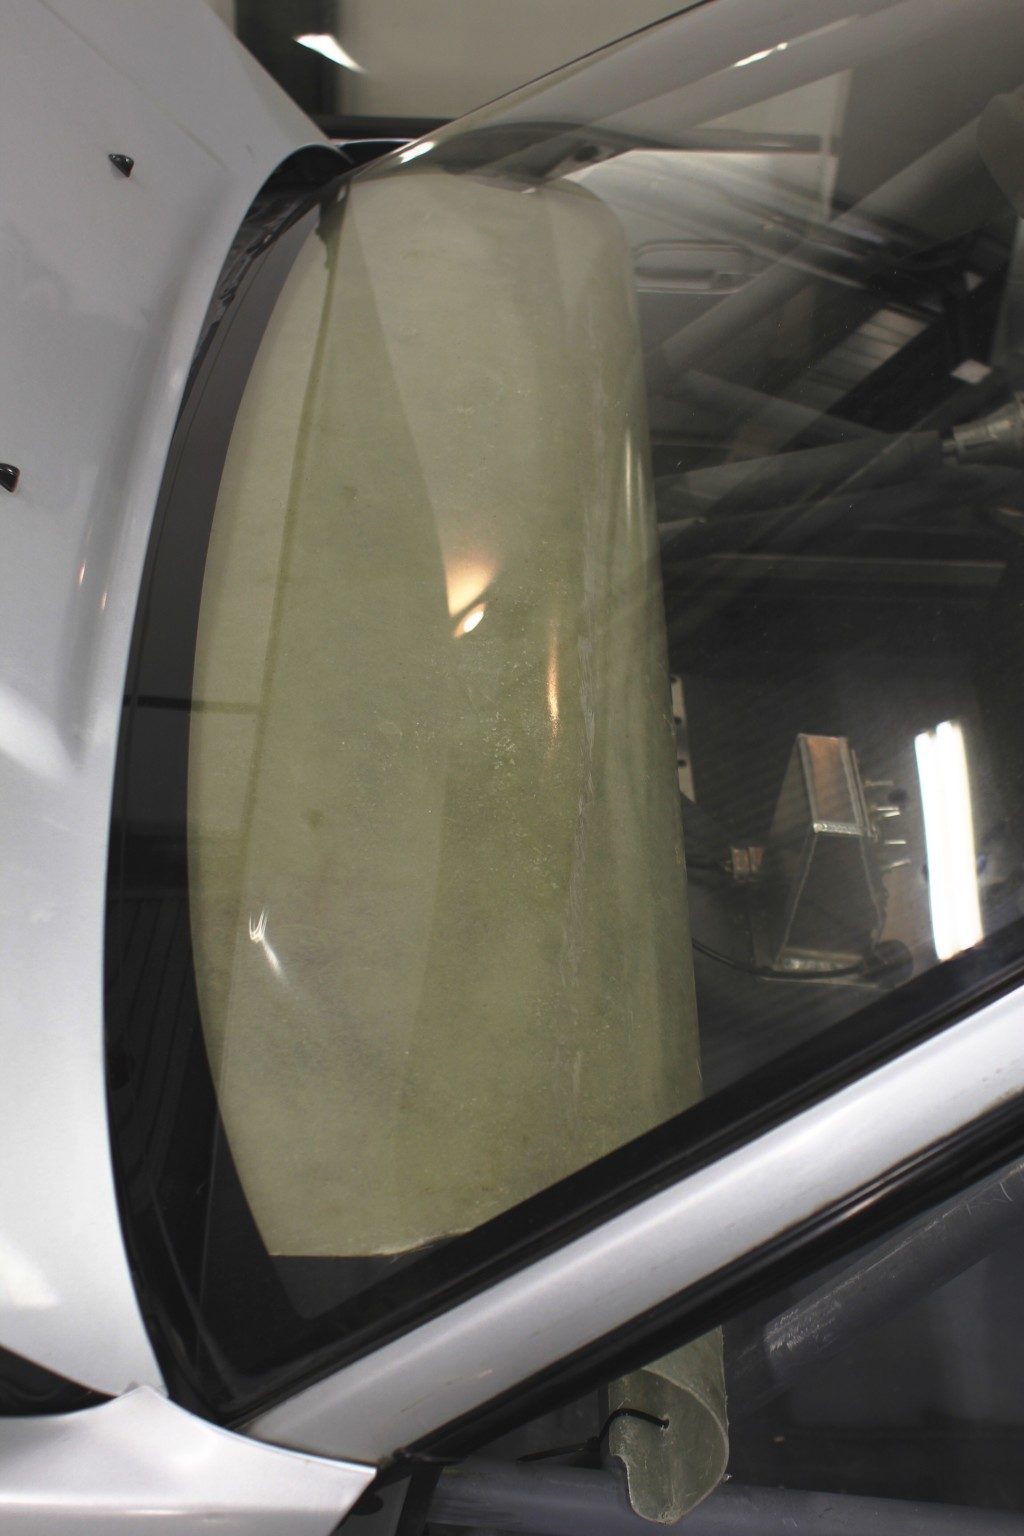
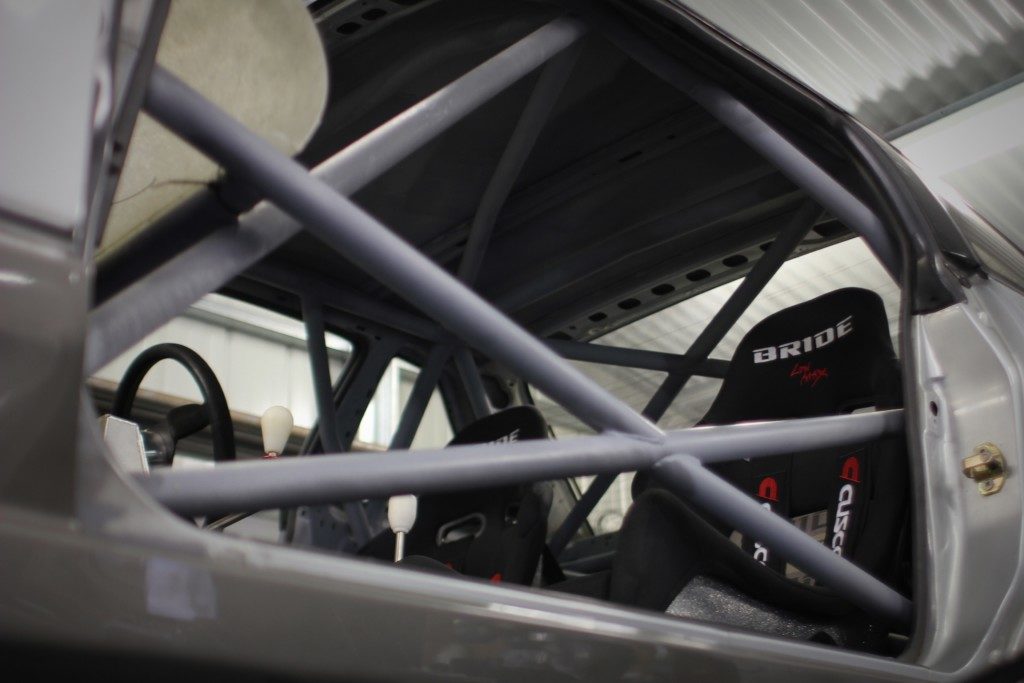
With the dash done it was time to get it in the car, easier said than done, I always look at pro race cars and can never seem to figure out how they have a gapless dash install around the bars, if I did this again I would make it super thin and flexi in the corners so that it could pop in and flex out.
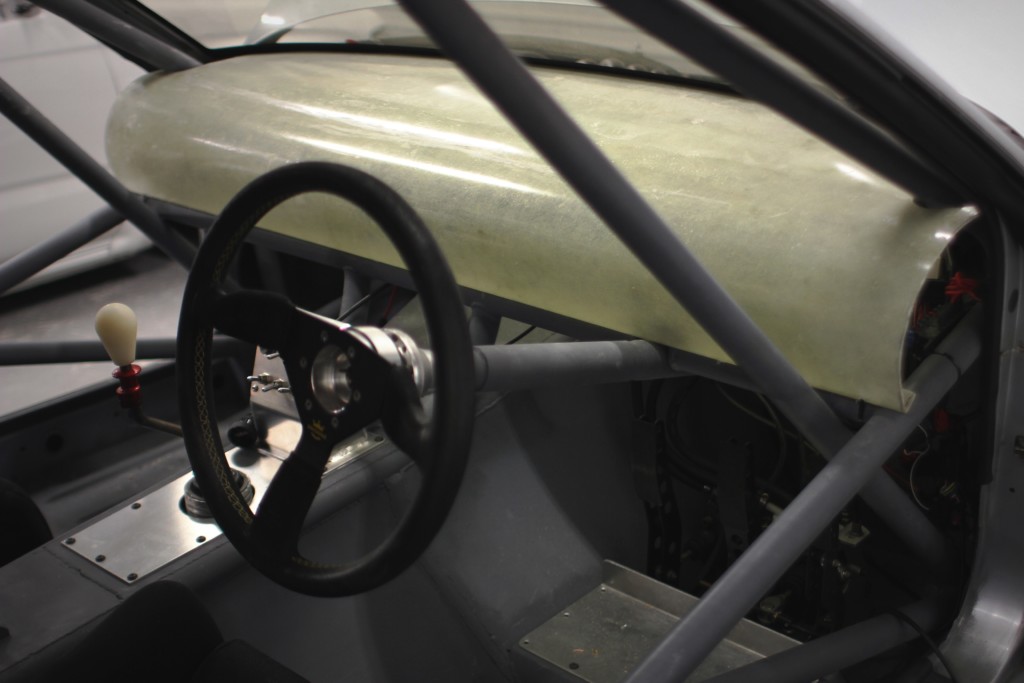
But its in and that is all that matters. The gauge cluster will be a separate piece that mounts to the column, that is next on the to do list.
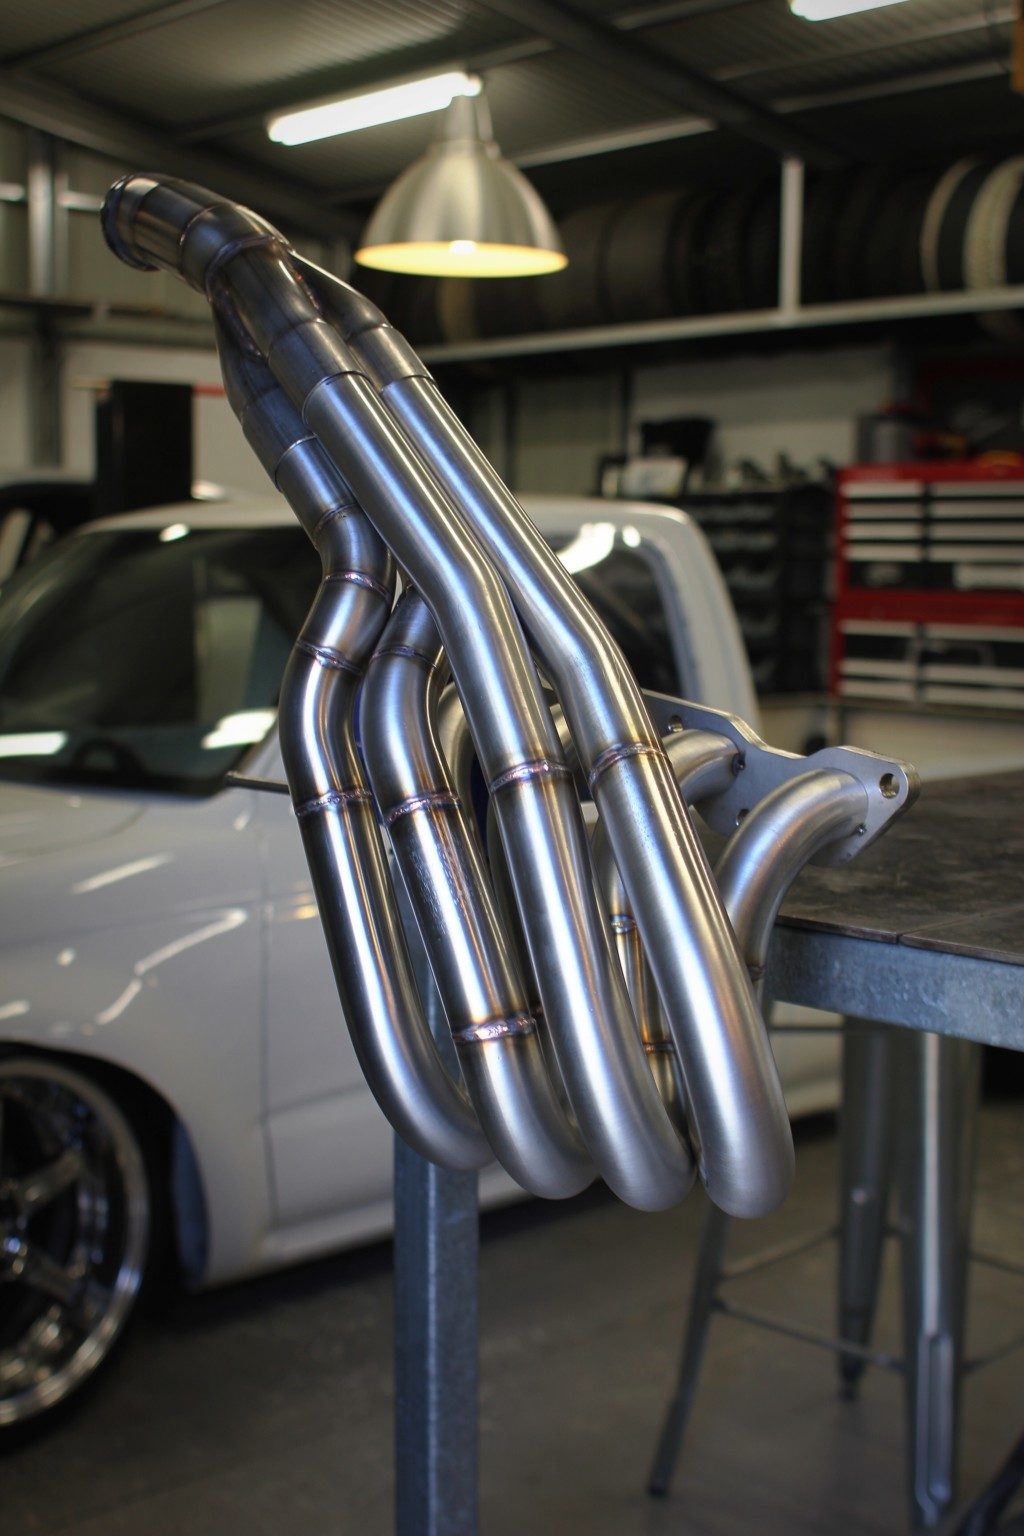
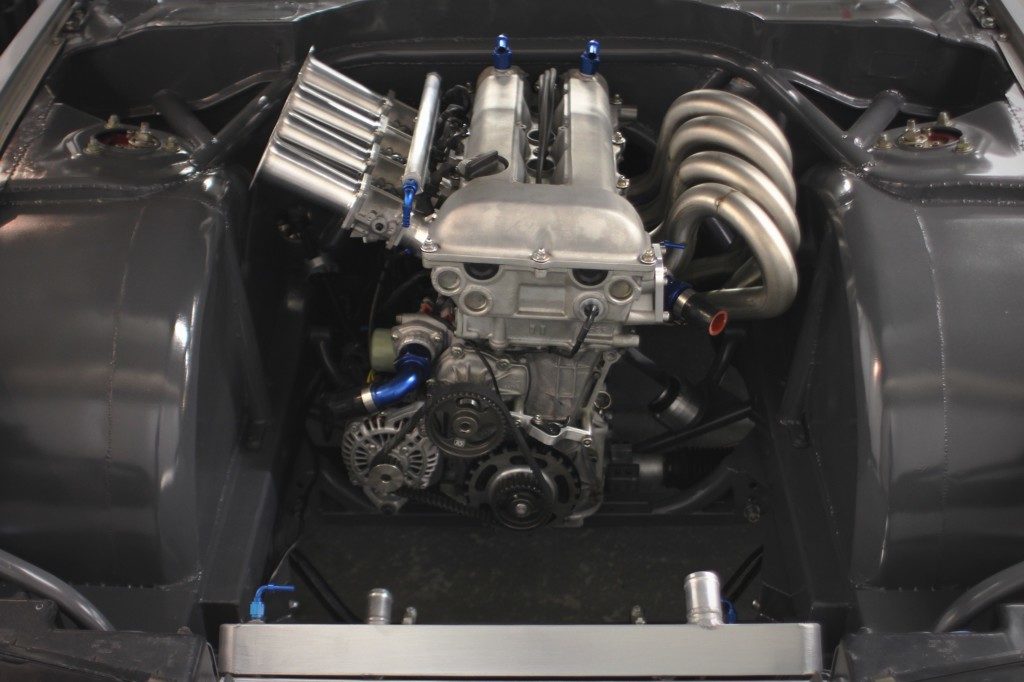
When I mounted the engine in the car and fitted the headers, tacked up the 2.5 inch collector I kind of just left it, I knew it was all just tacked but kept putting it off, so I was going to dedicate this weekend to the exhaust.
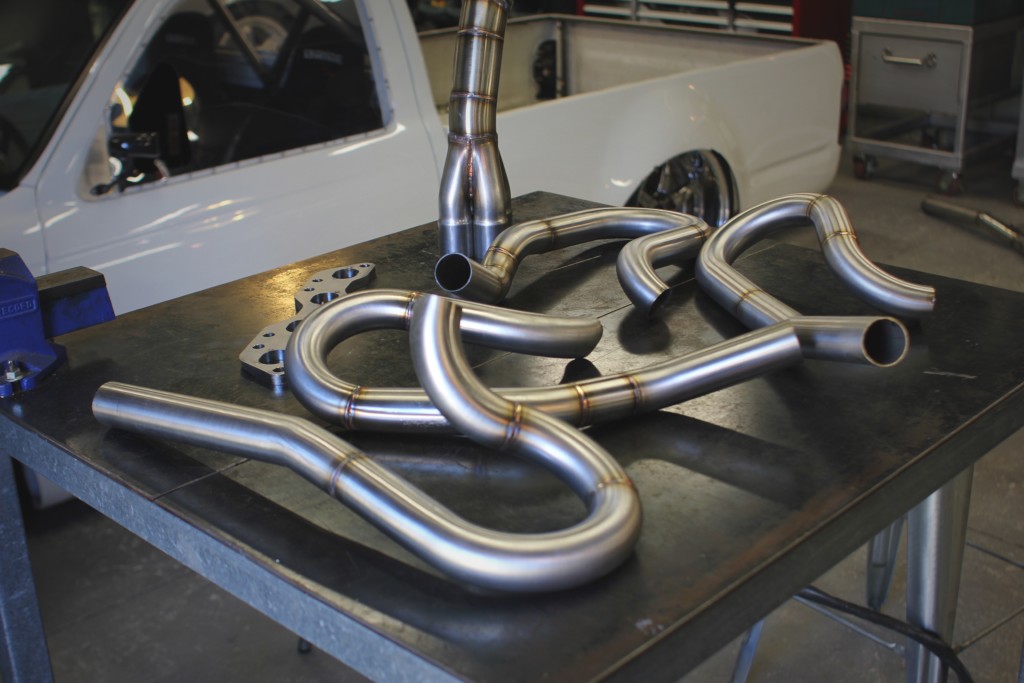
I took the headers off the engine, slipped the collector off, broke each tack at the flange and separated each runner, I filmed a course and a project on this if you are interested in doing it yourself.
I took my time to weld each runner individually, cleaning them down with wax and grease remover, scuffing them up with scotch brite, welding them, then cleaning them down again, inside and out. I have a complete TIG welding course available and I think you will get some great tips from taking this.
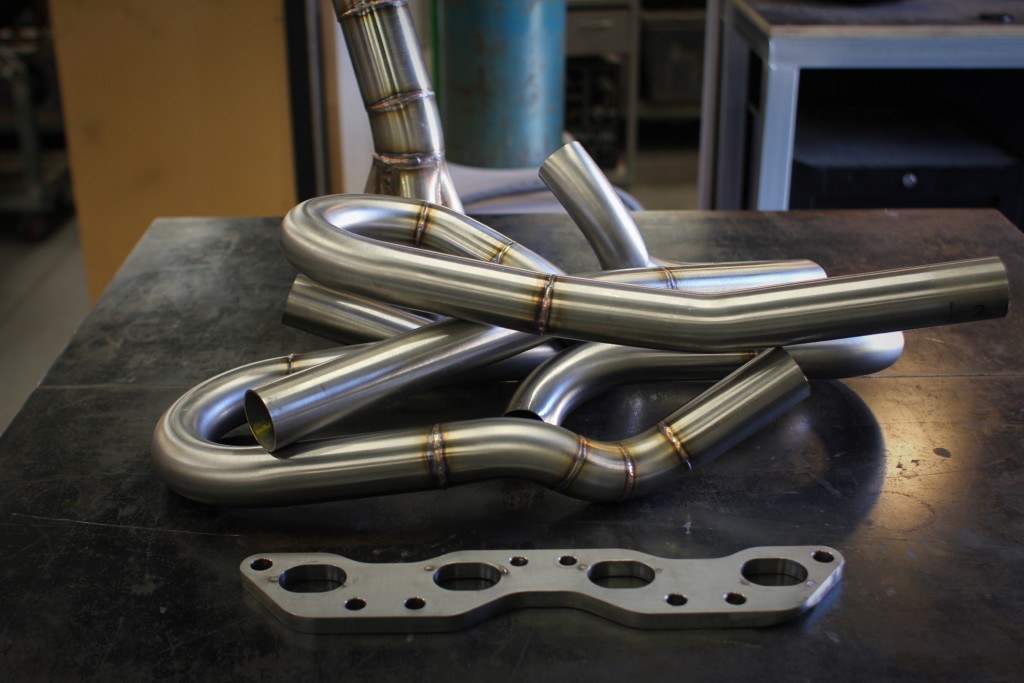
I then slipped the collector back on, lined up the original tacks and re tacked each runner onto the flange.
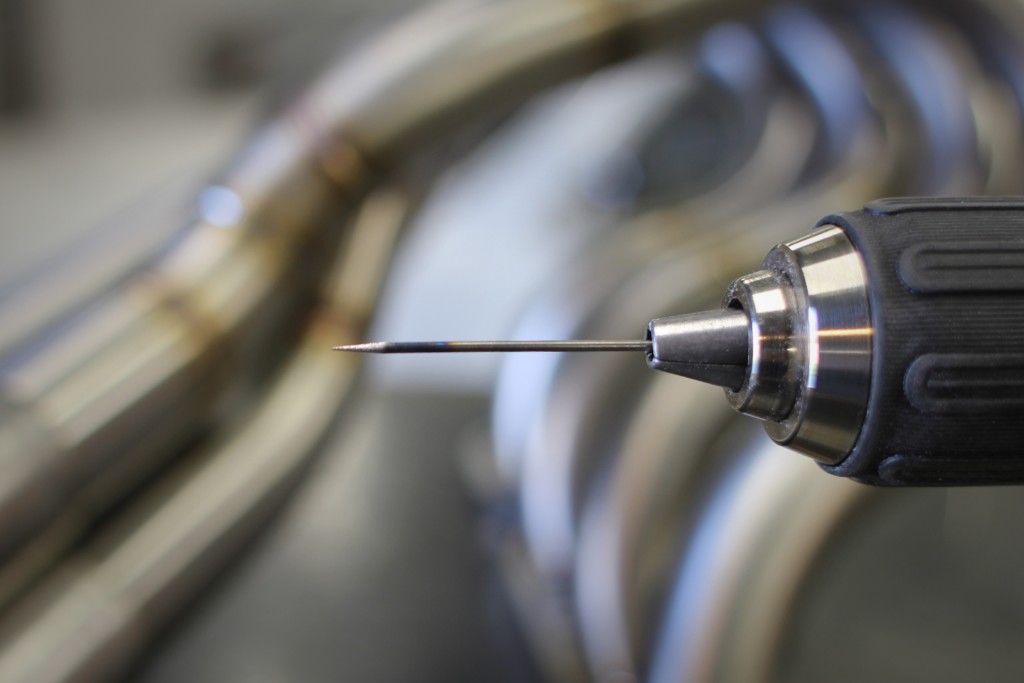
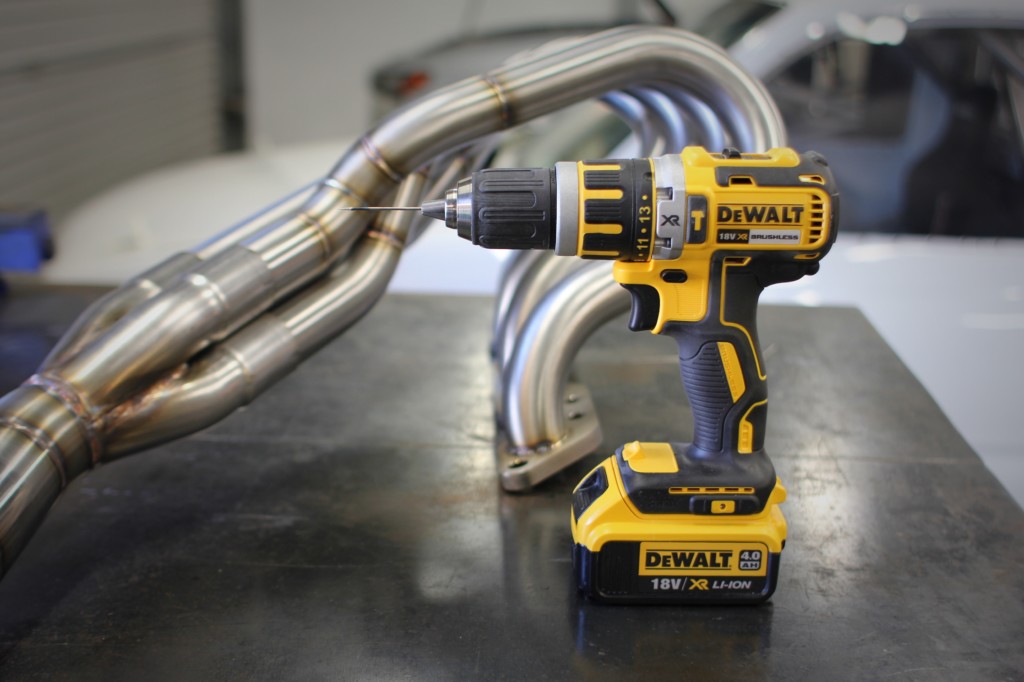
Always concentrating on having the right temp, the right pulse on the TIG, a clean gas lense, a clean Tungsten and keeping it sharp with the drill on the linisher. If you’re interested in checking out these tools our fabrication fundaments course details them.
With cleanliness taken into consideration it makes the job so much easier.
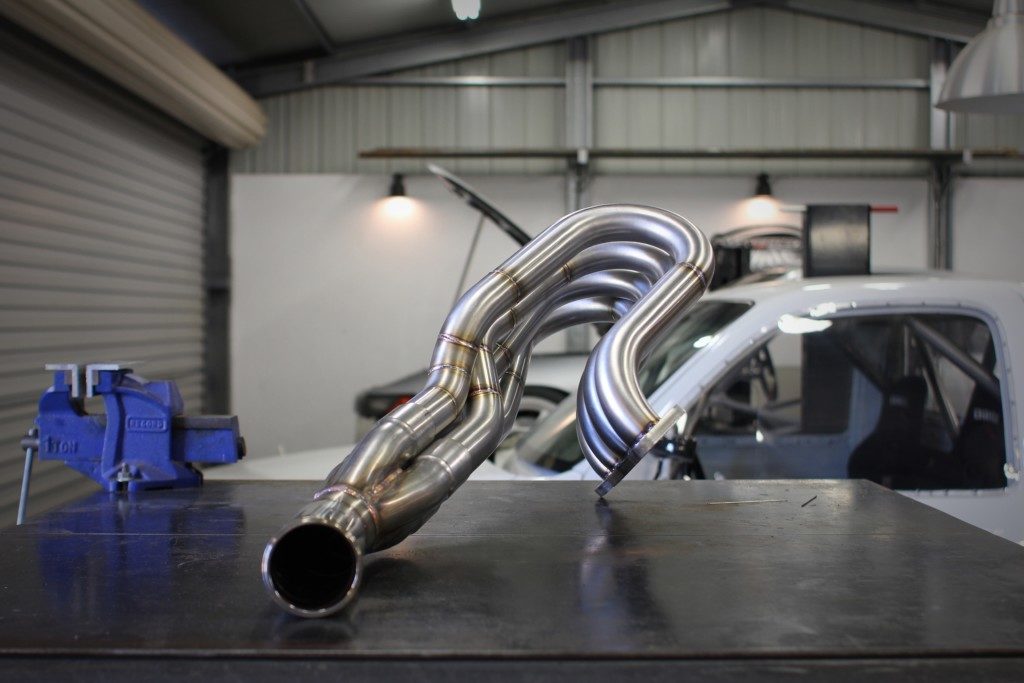
Stainless teaches you that preparation is the most important thing, if you have a gapless join then everything flows, the weld looks good and the heat generated makes for a strong and good looking weld.
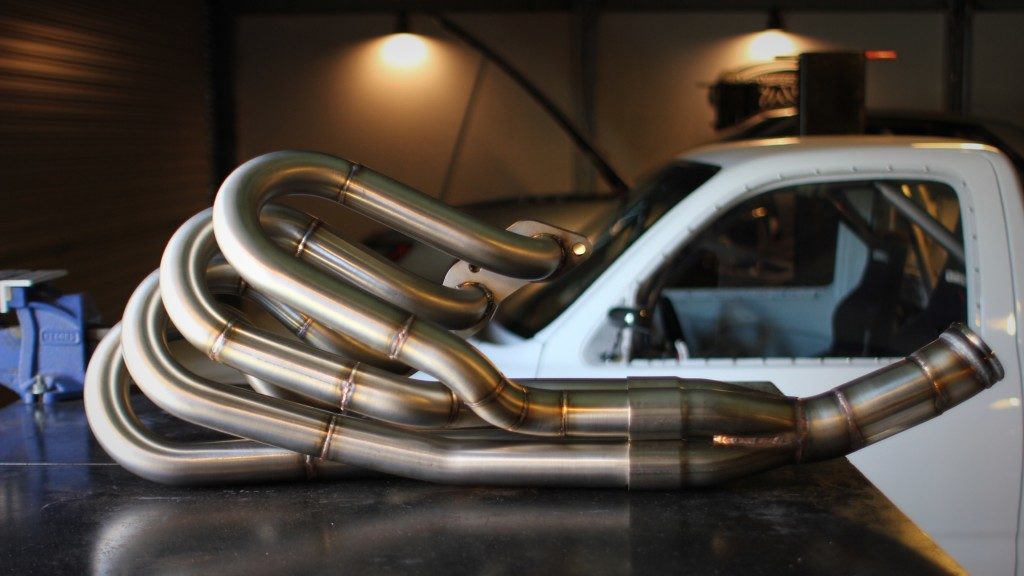
What you end up with is functional art.
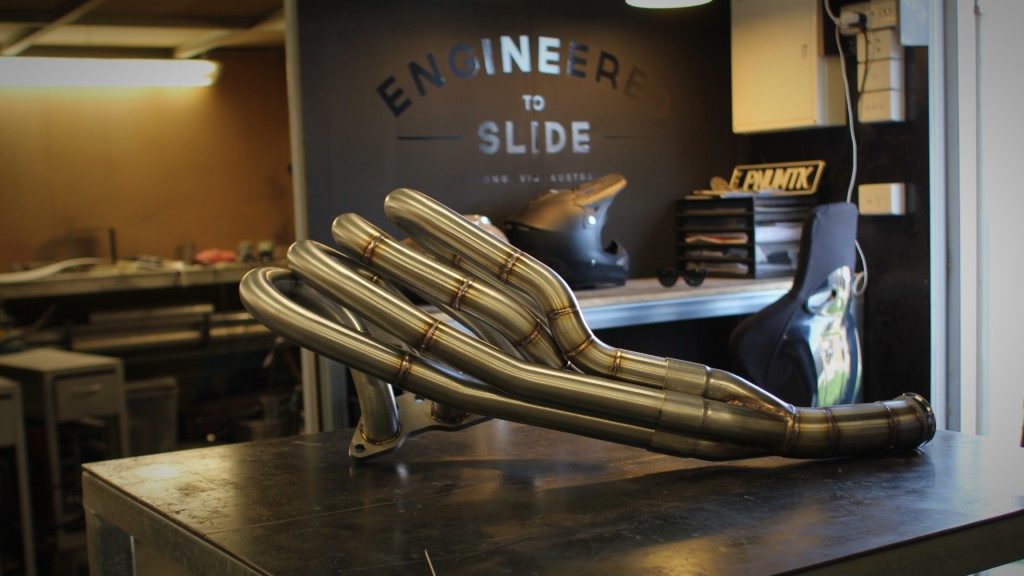
The type of thing I first envisioned when I decided to go NA, it was all about the header.
Back in the engine bay a day later.
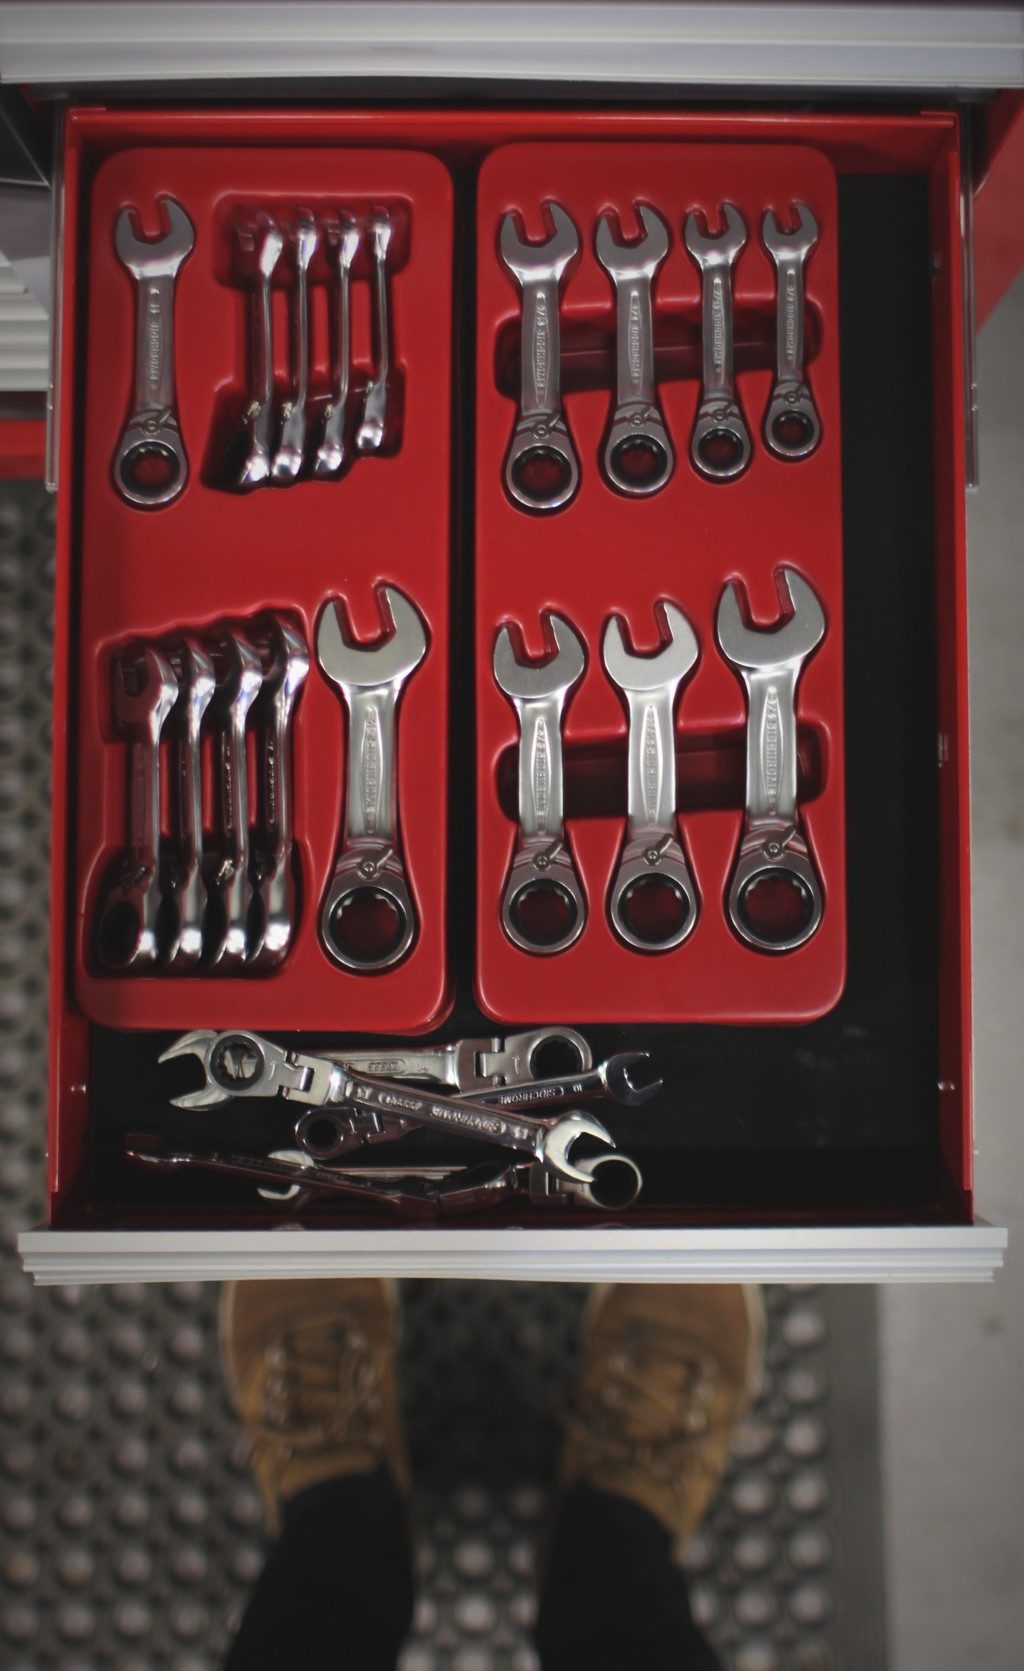
My new Sidchrome tool kit played a vital role, these stubby ratchet spanners made mounting up the headers a breeze.
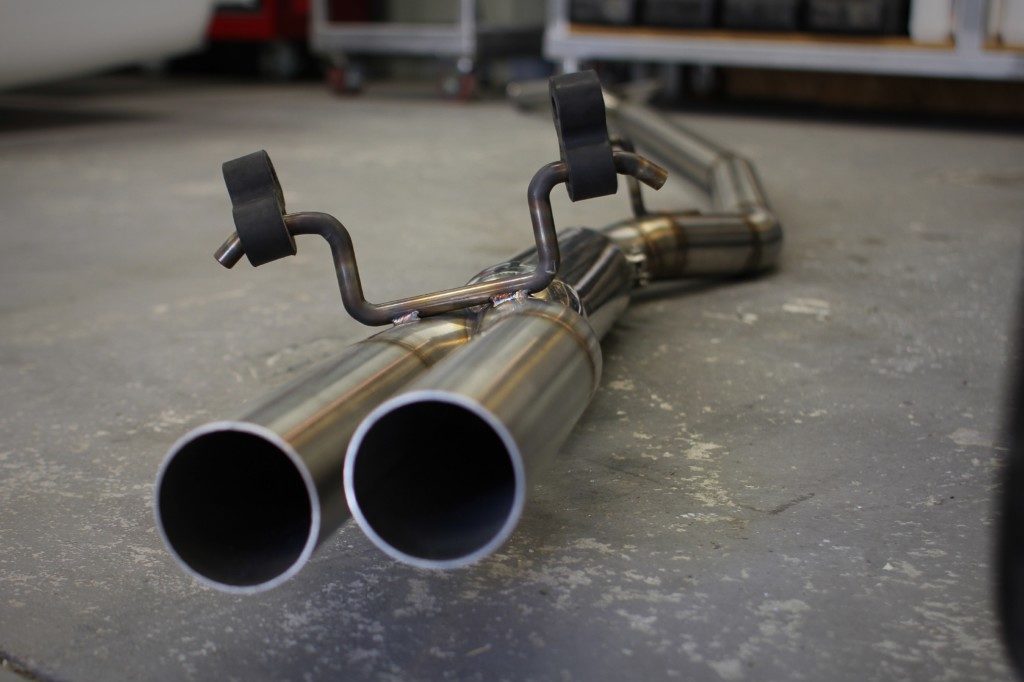
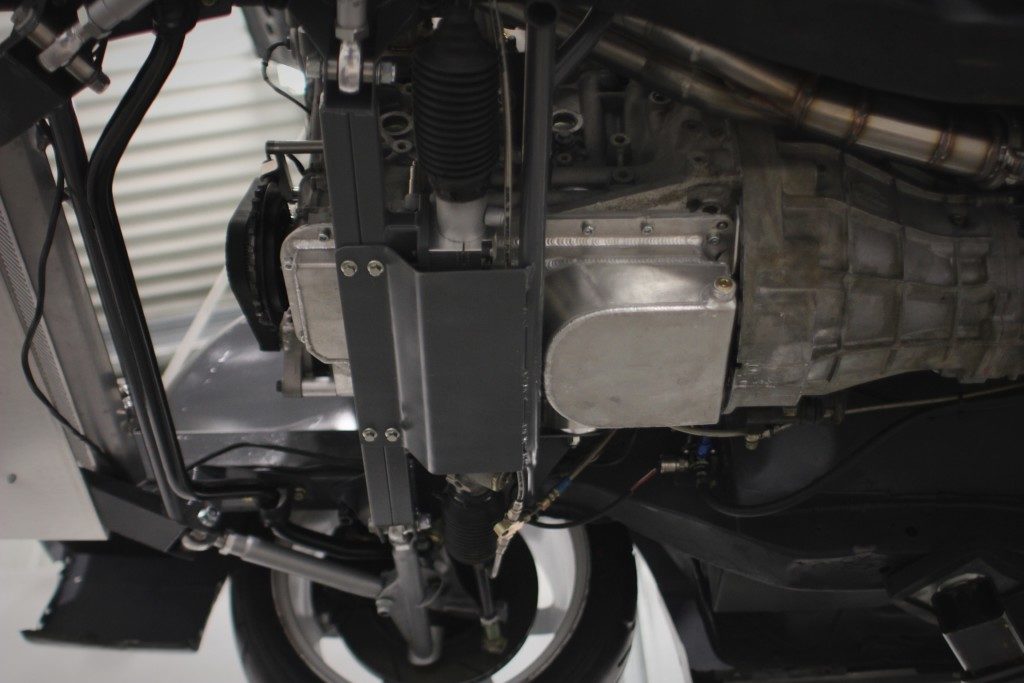
I also paid attention to the rest of the exhaust.
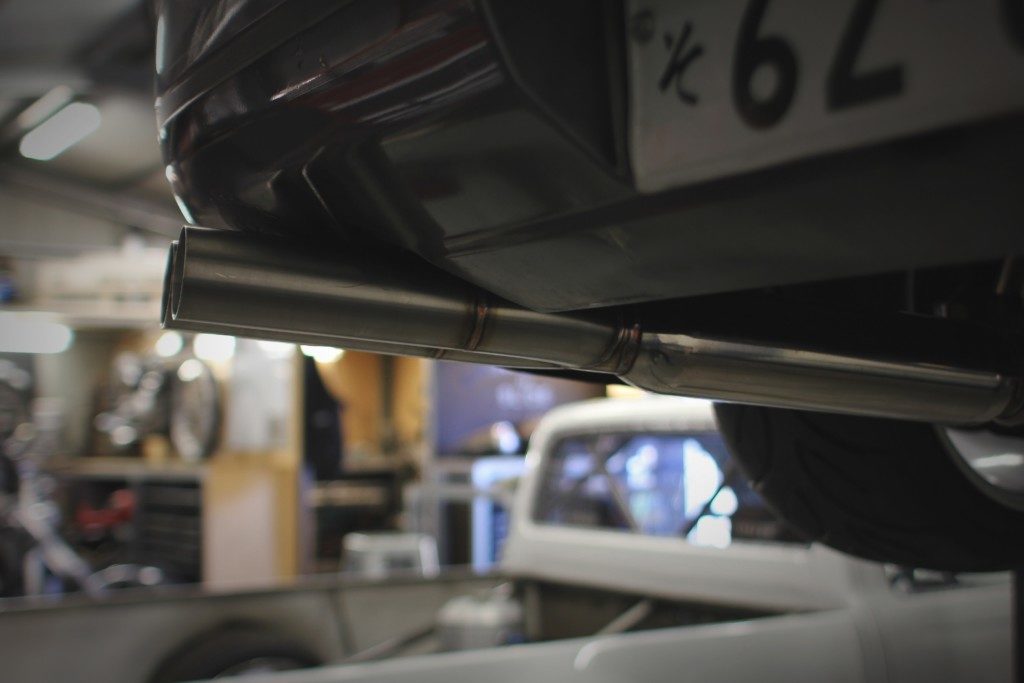
100% finished.
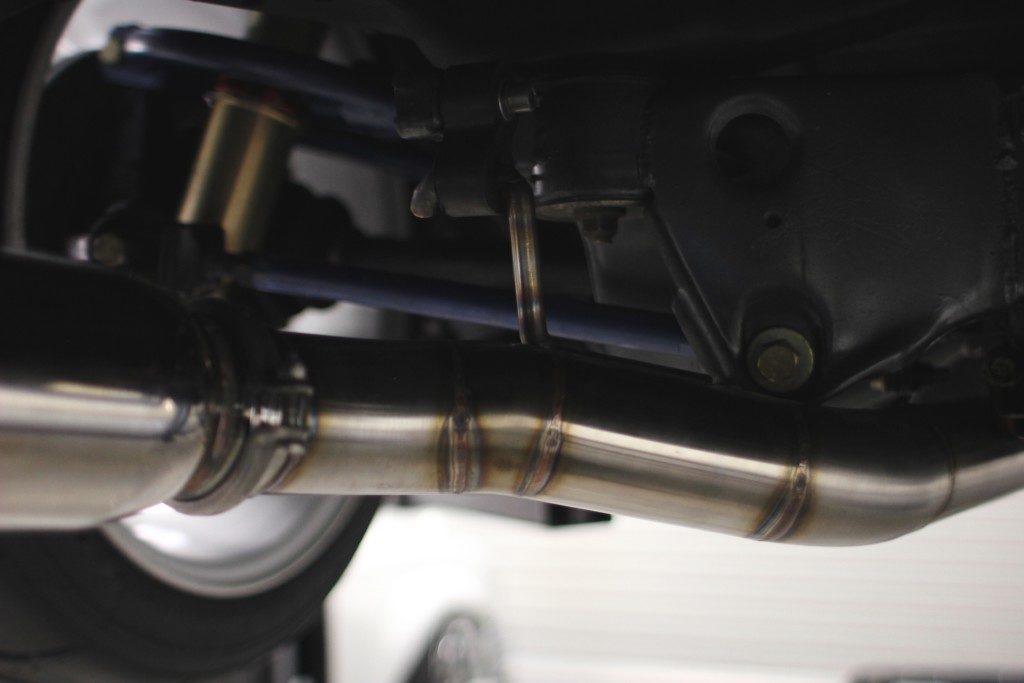
All mounted up to its new hangers.
Snaking through the new floor and all the mounts.
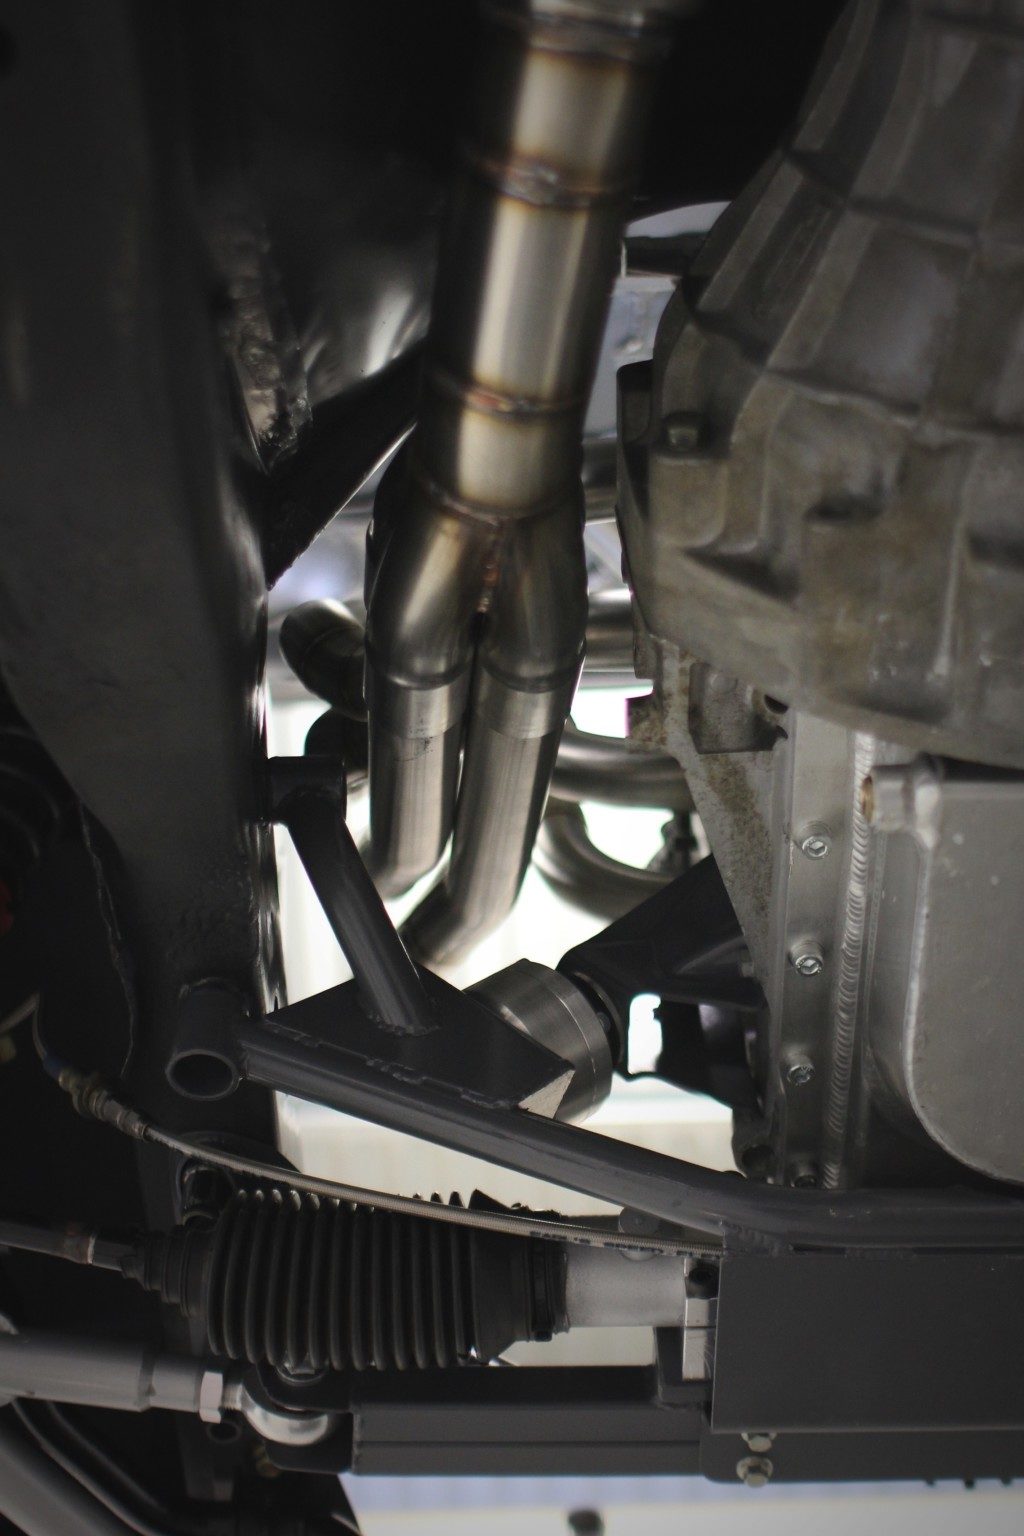
Then joining up to the headers.
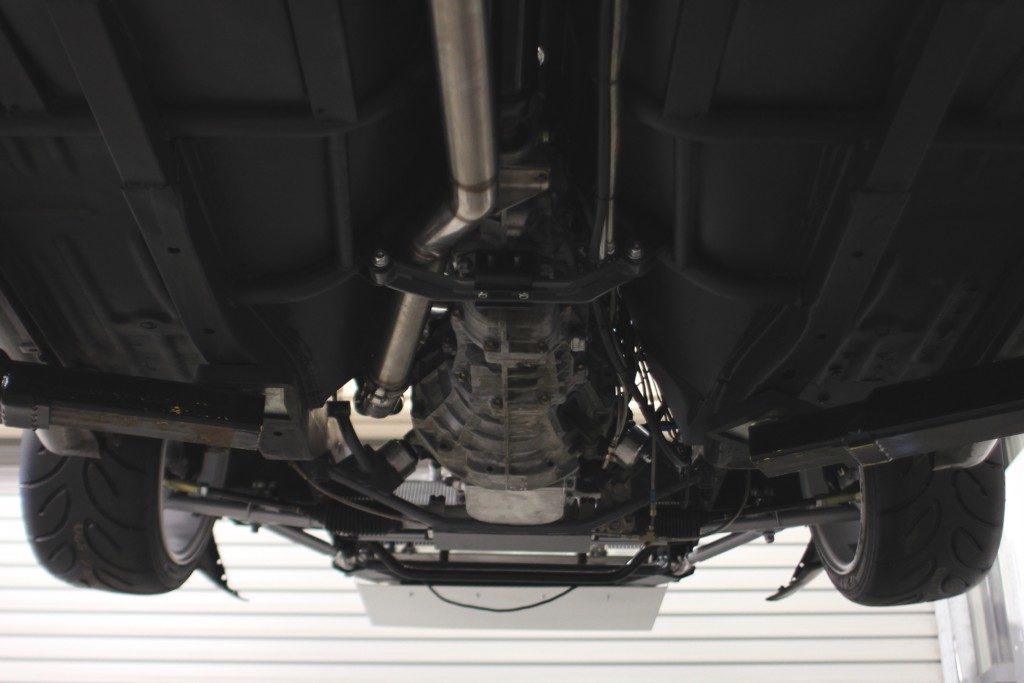
Its just about done under here.
Almost time to lower the hoist and call it finished on the underside.
Stay tuned, that workshop tour I promised is getting edited as we speak, I thought a video would be a better way to explain everything that is going on.