I checked the weather for the upcoming weekend, sunny and clear, I had no plans for two days and had one goal in mind, to finish the chassis and etch prime the interior.
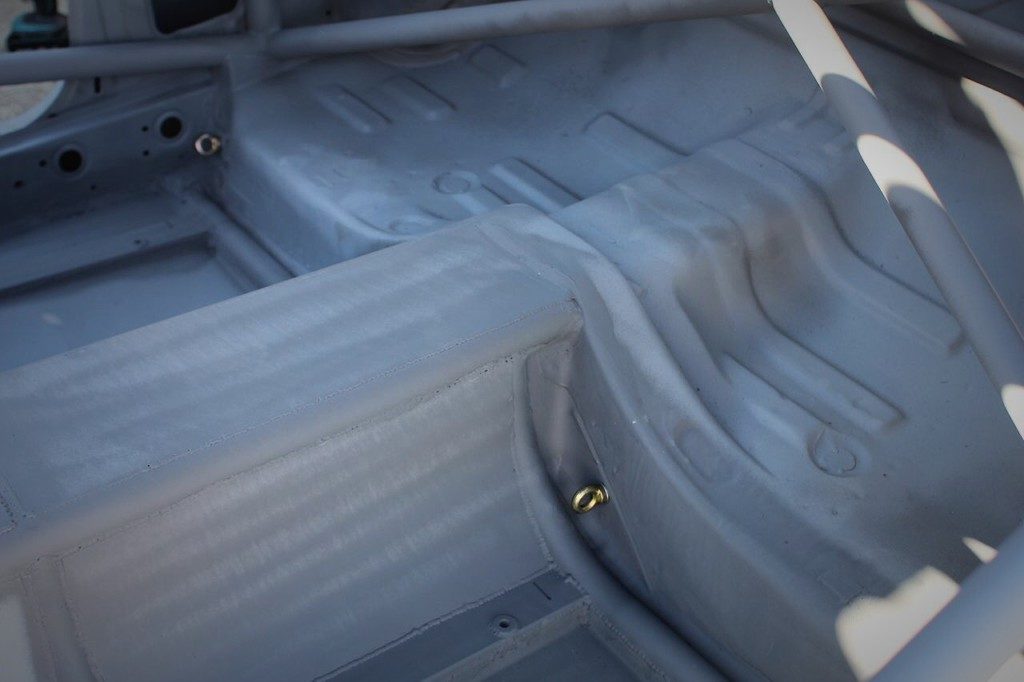
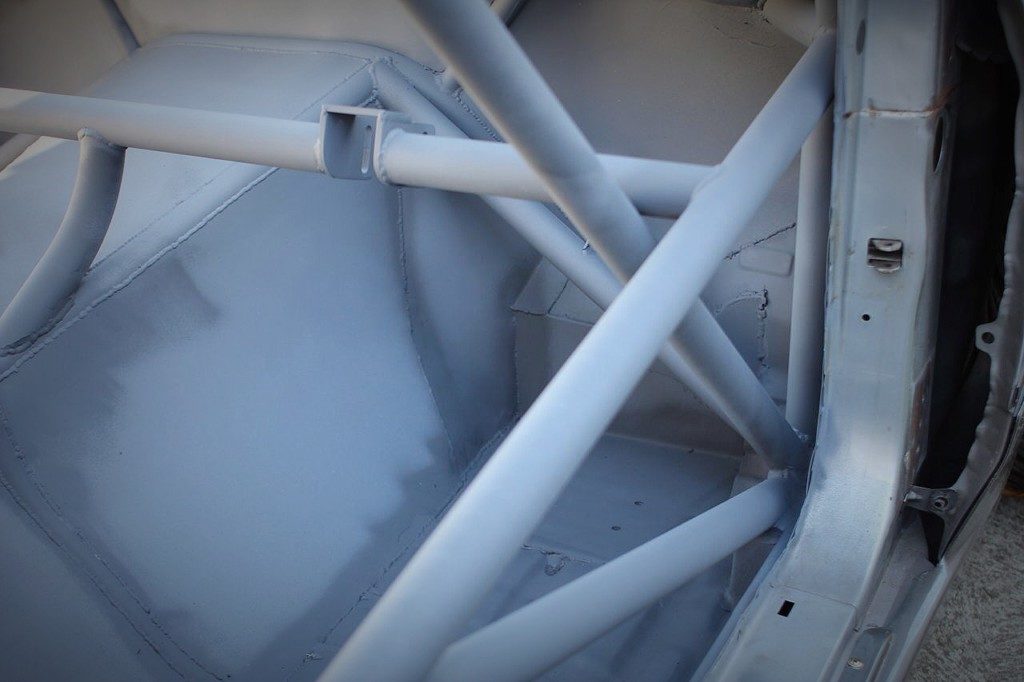
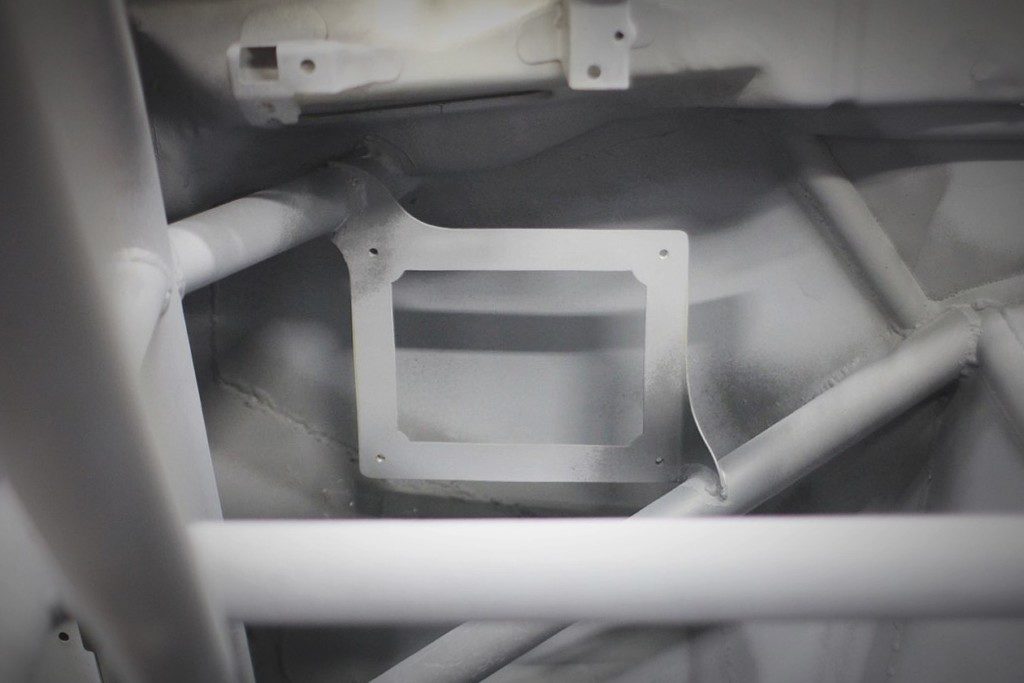
Finishing the chassis involved adding the harness mounts, the last large job on the list before I could get rid of the rust. I welded in some threaded plate and drilled the holes for the eye bolts to run through, these secure the lap belts in place.
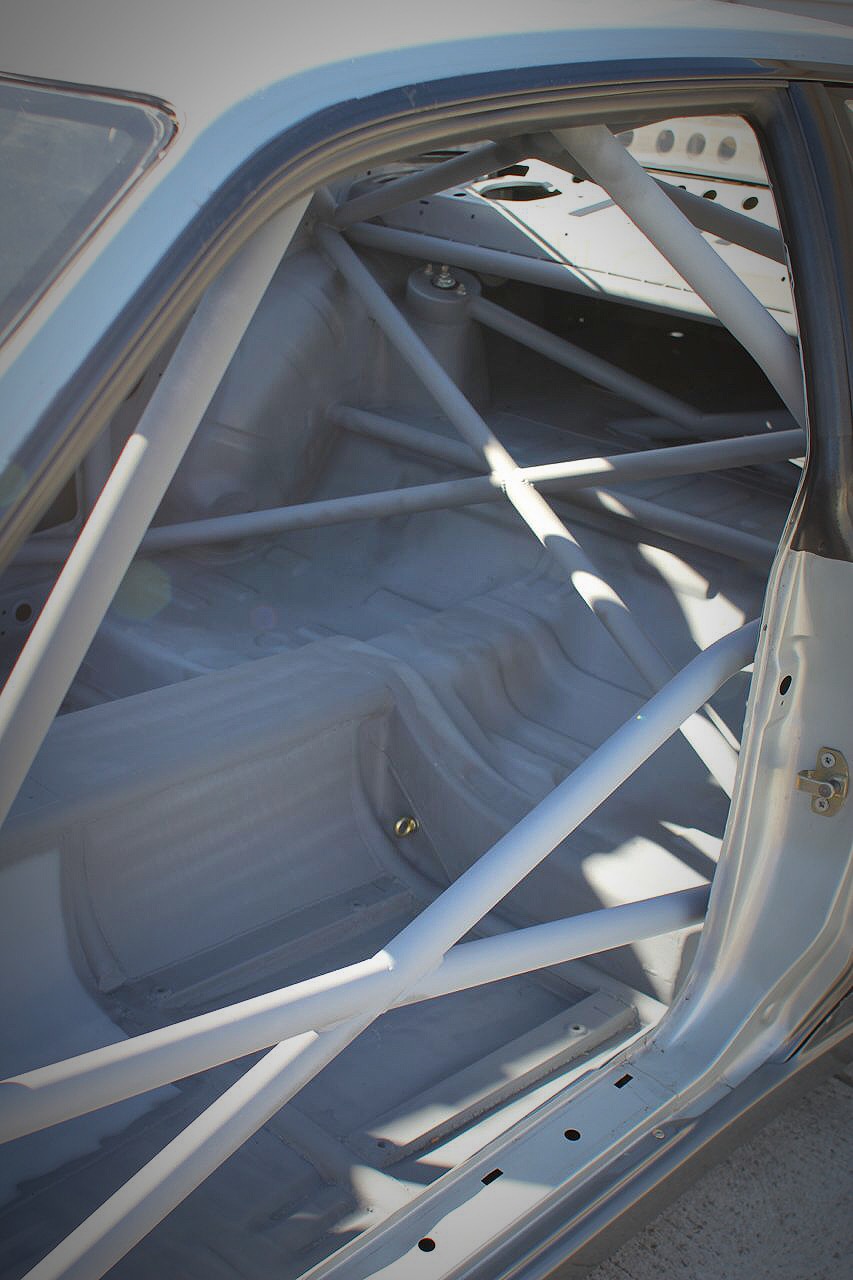
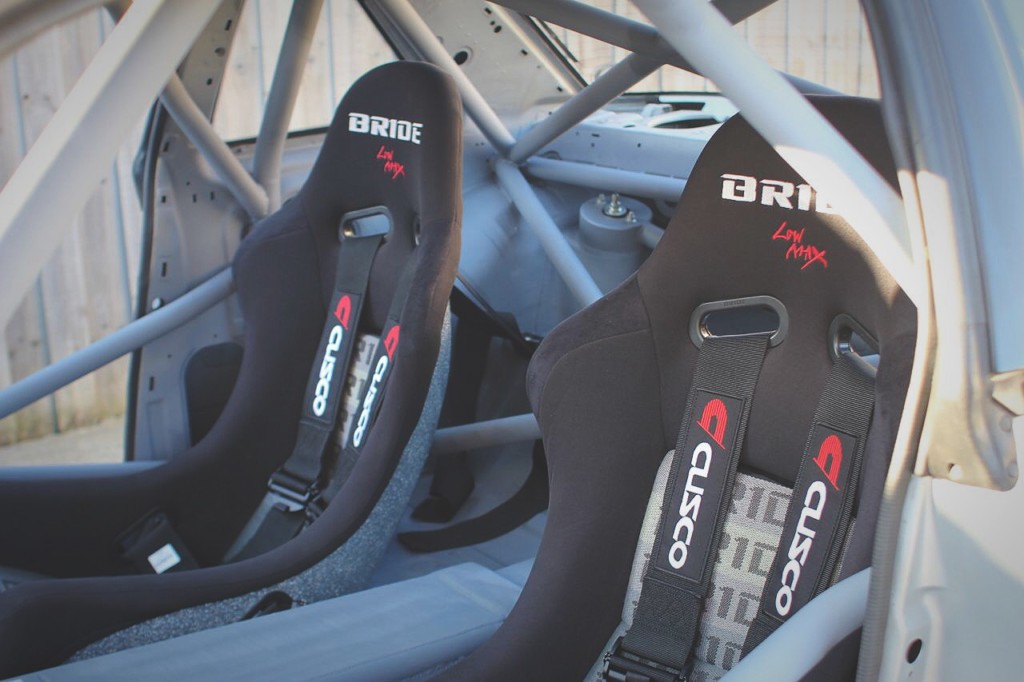
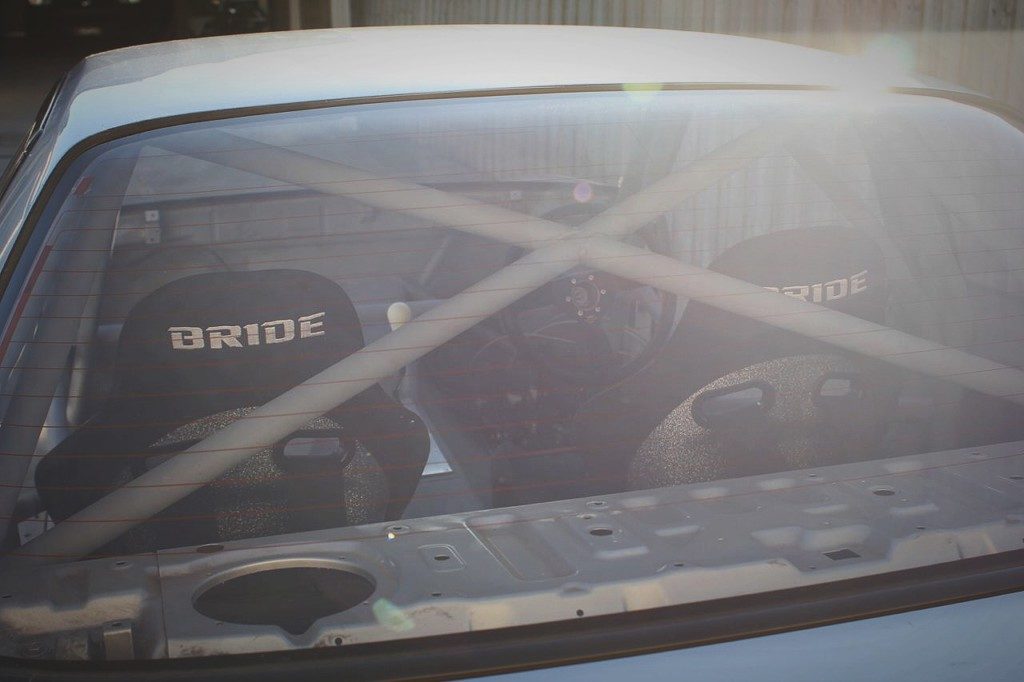
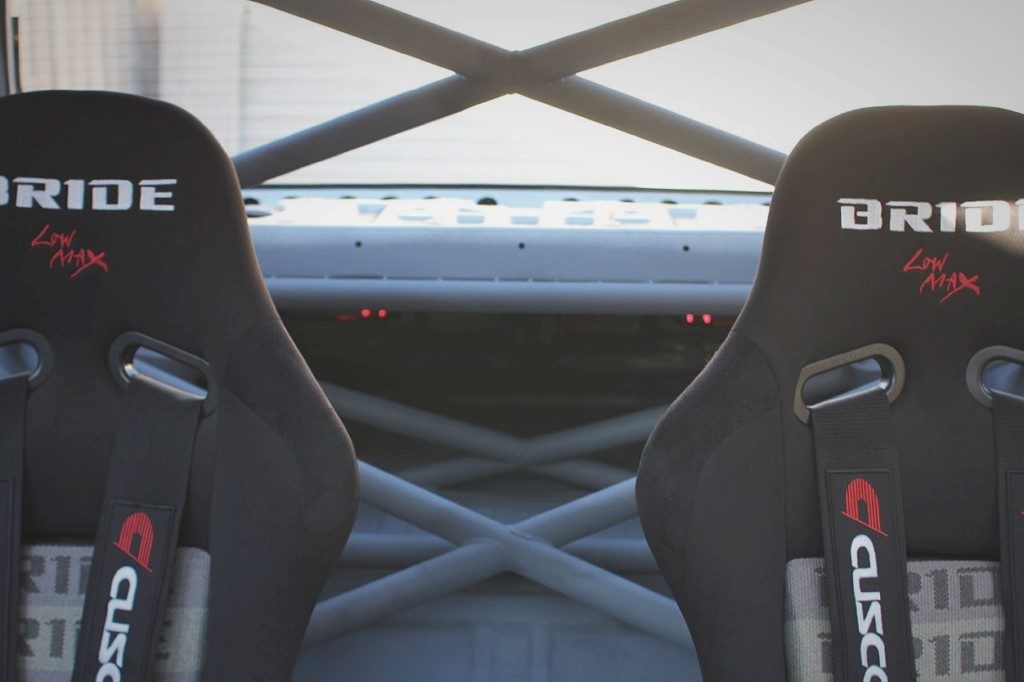
The lower bar between the wheel tubs is for the shoulder straps to run through, these loop over and through to give a nice solid and neat mounting point.
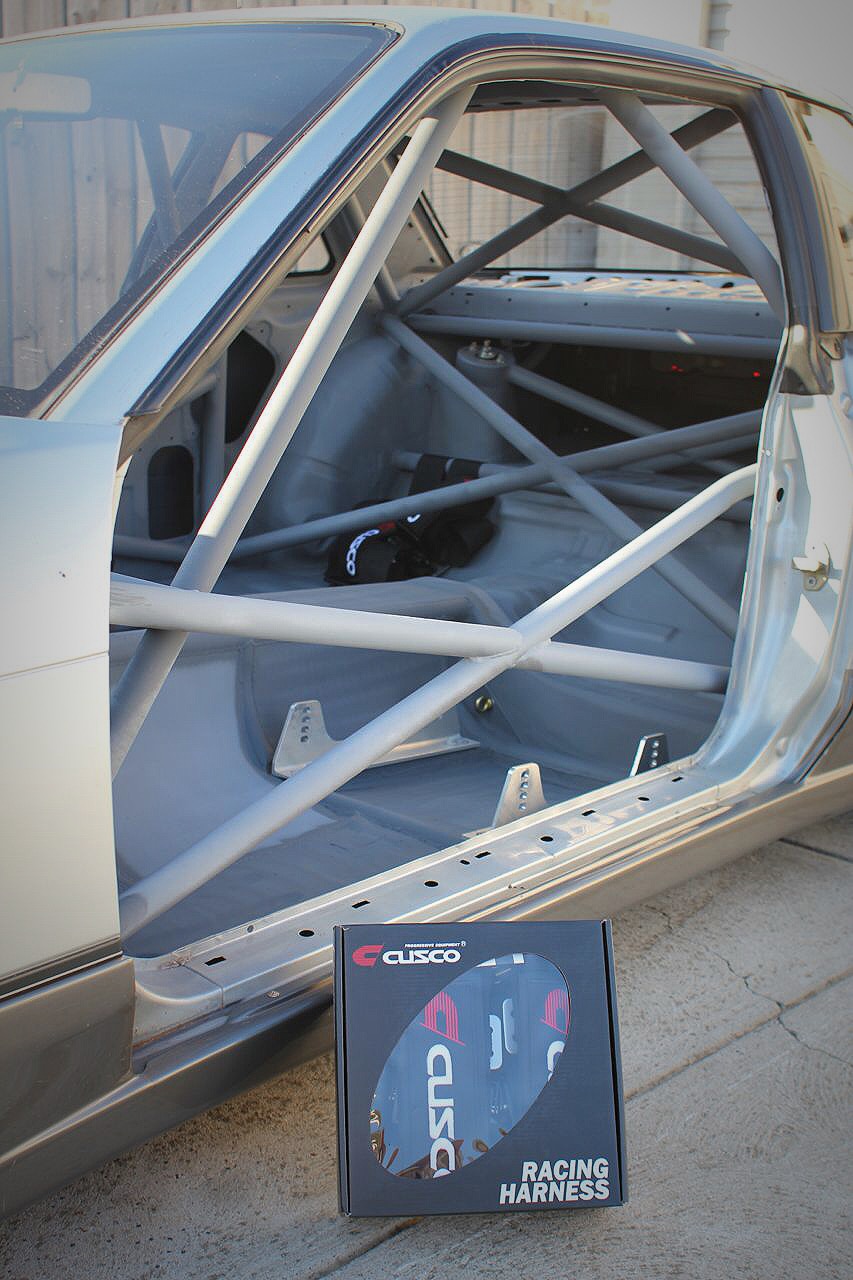
The belts in question are Cusco items, for this build I am being really strict on colour selection, I searched for a long time to find belts that I liked, I found these in Japan and had Jesse Streeter ship them across for me.
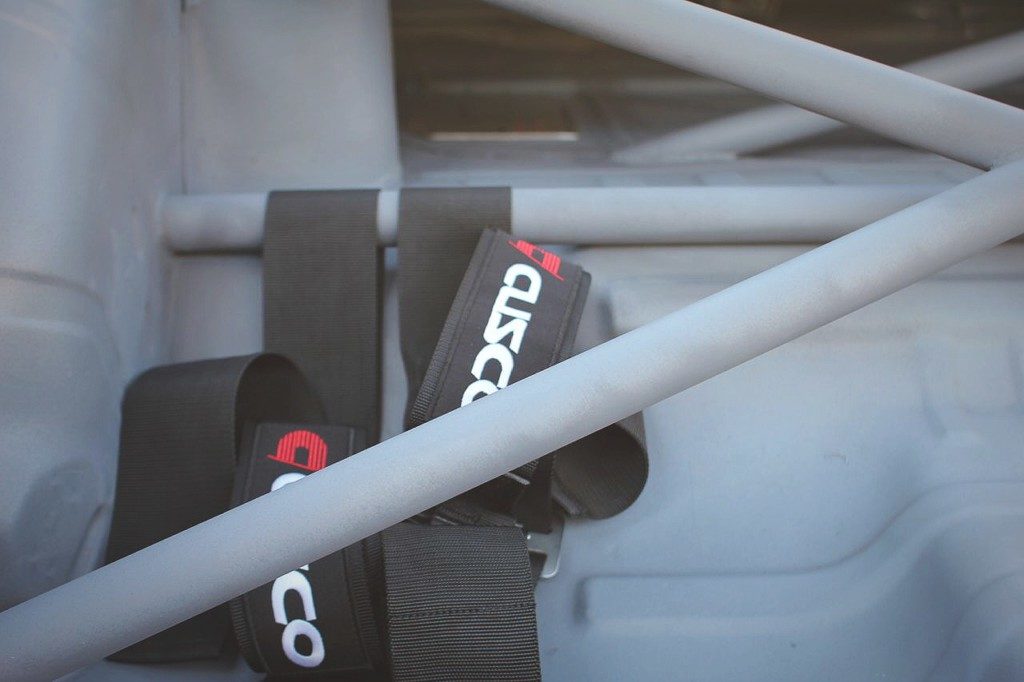
The buckle removes easily and then reattaches once the belts are looped over.
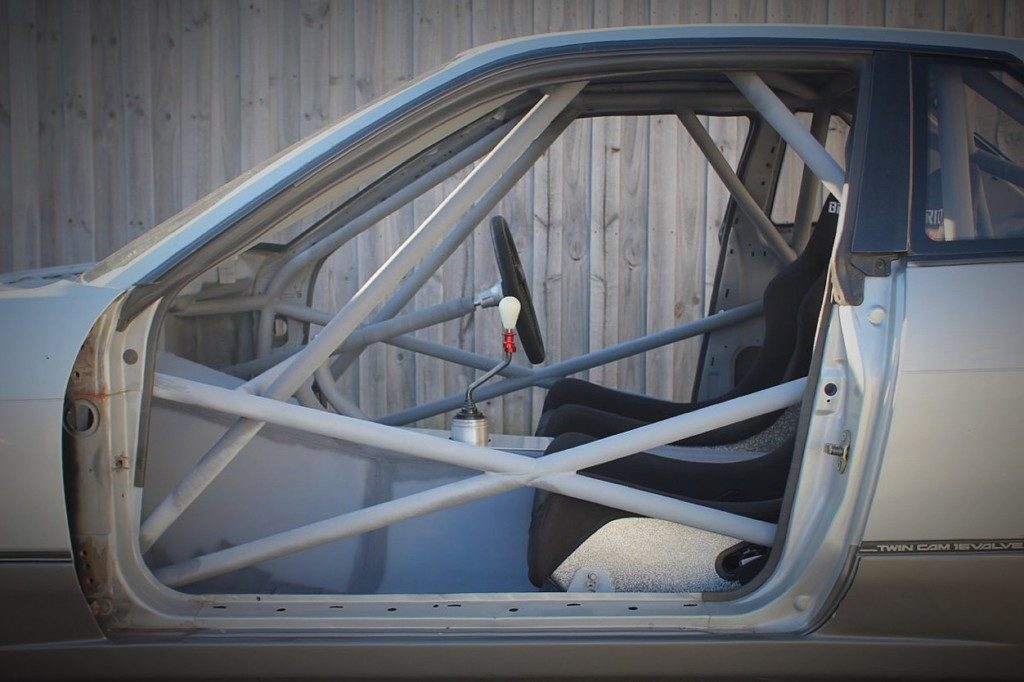
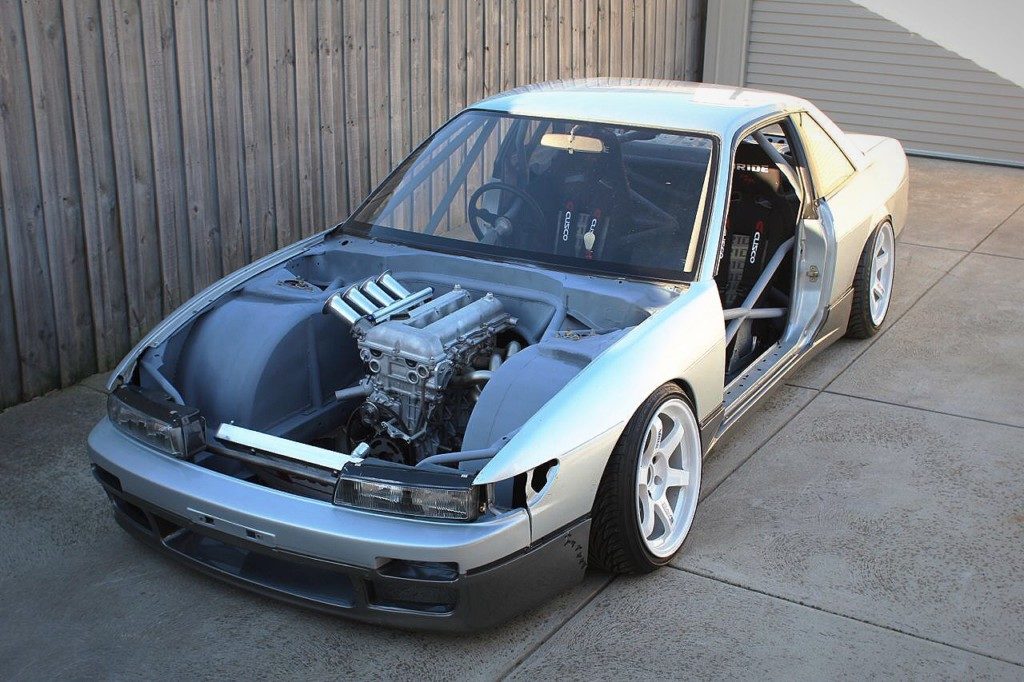
If you have been following the progress of this car then you would have read that everything is moved rearward, the firewall, the engine, the gearbox and of course the seats.

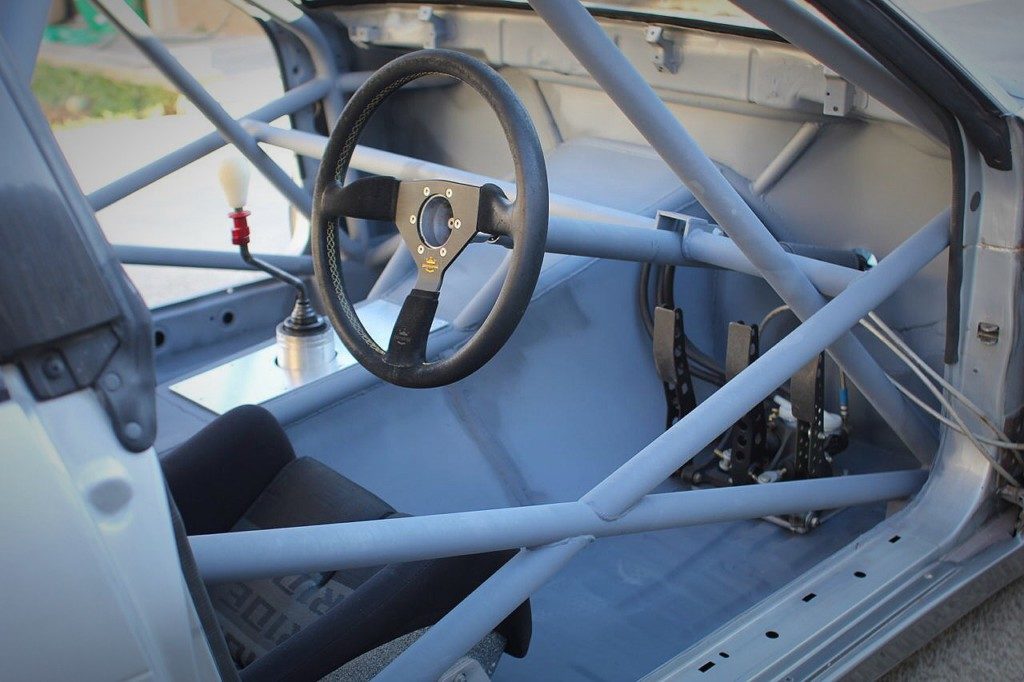
With the belts done and the floor finished it gave me a chance to paint the interior and cage with etch primer, then I could refit everything.
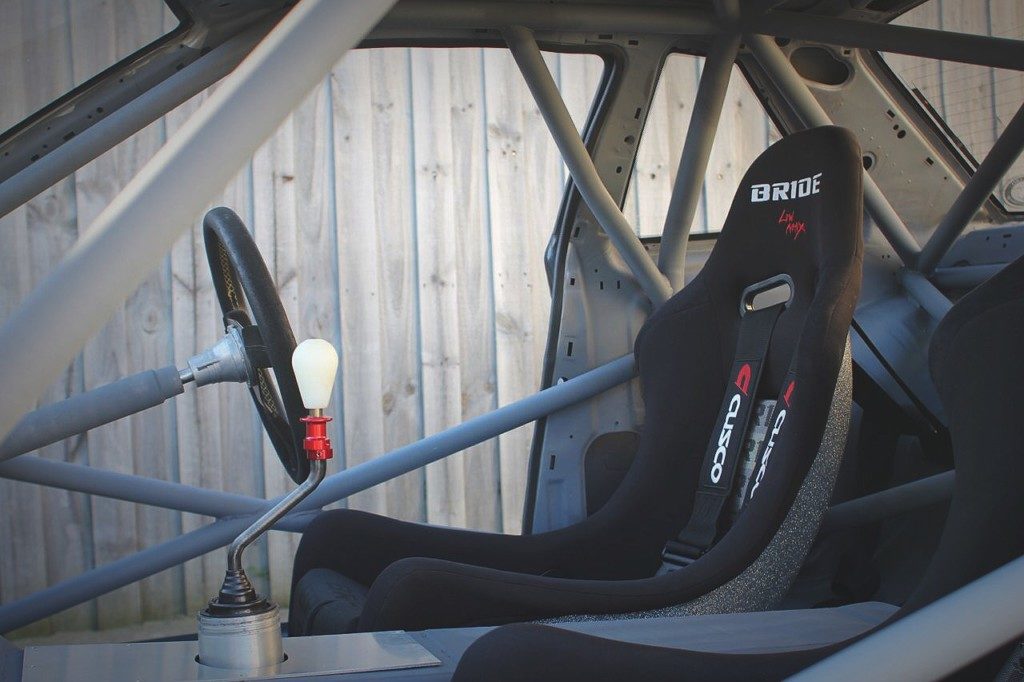
I extended the steering column in a previous post, I still need to attach a detachable boss to the wheel so it will sit perfectly.

The 6 speed gearbox I am running now has a dogleg shifter, I made this up with the original Quaife shifter that came with my Hiluxs gearbox.
The footwell has plenty of room now for the Tilton pedal set, you start to get an idea of the extreme lengths I went to with the sheetmetal mods to this car.
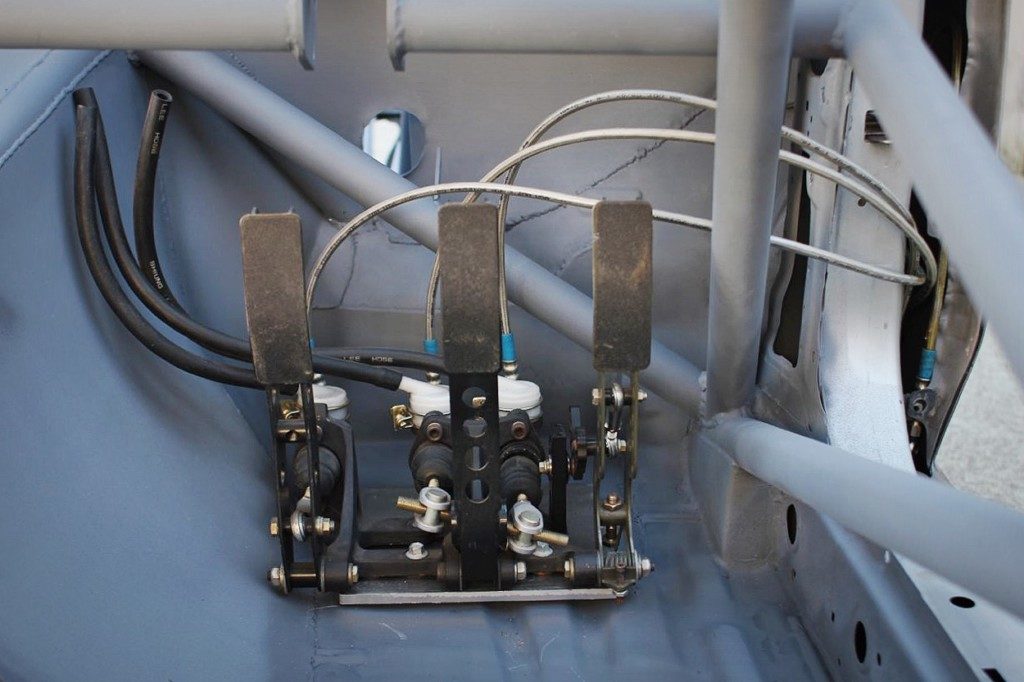
With the pedals mounted I can now plan out the brake reservoir location.
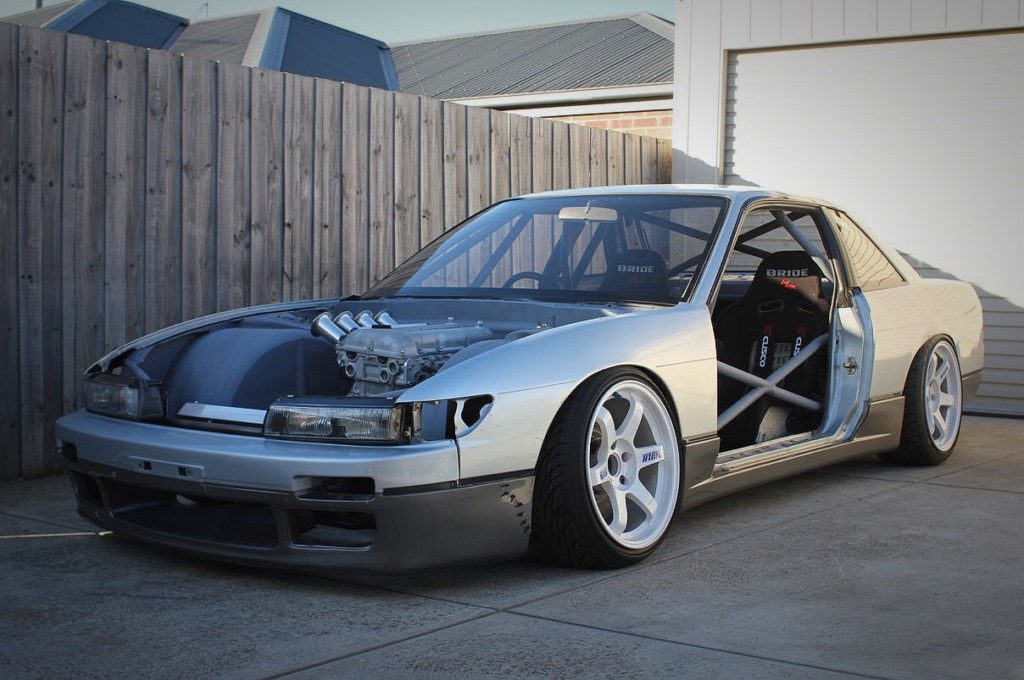
The new tunnel has a heap of room to work on the engine and gearbox.
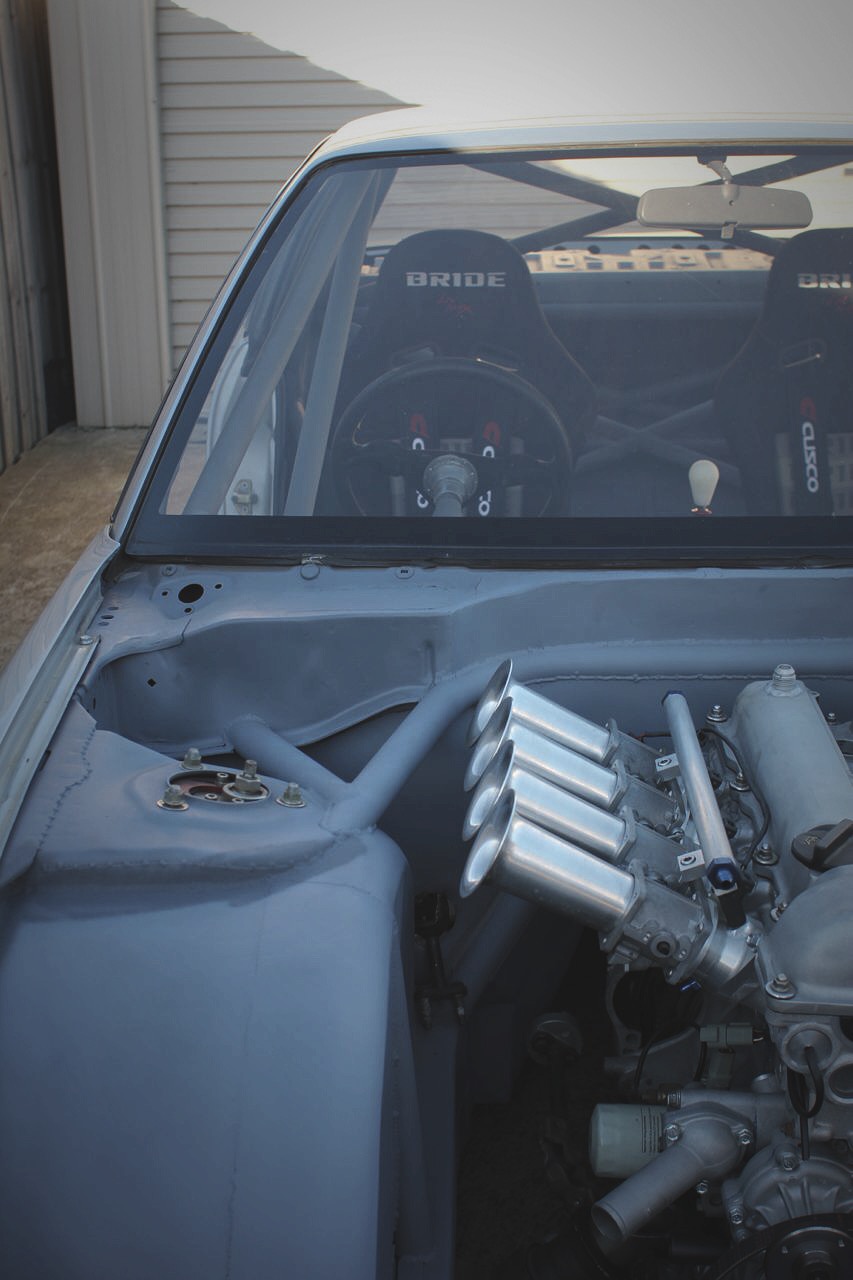
Inside the engine bay things are starting to come together.
I am starting to plan out the engine build, I have most parts but I just need pistons.
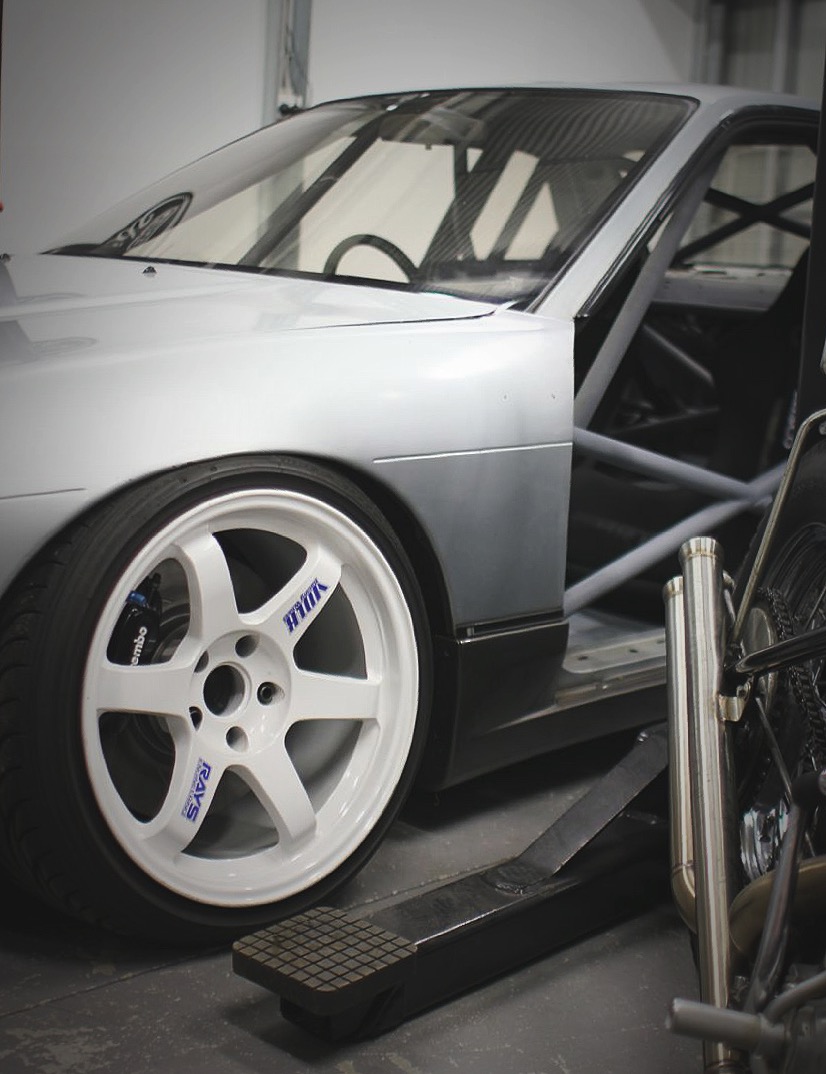
This cars always been a favorite of mine.
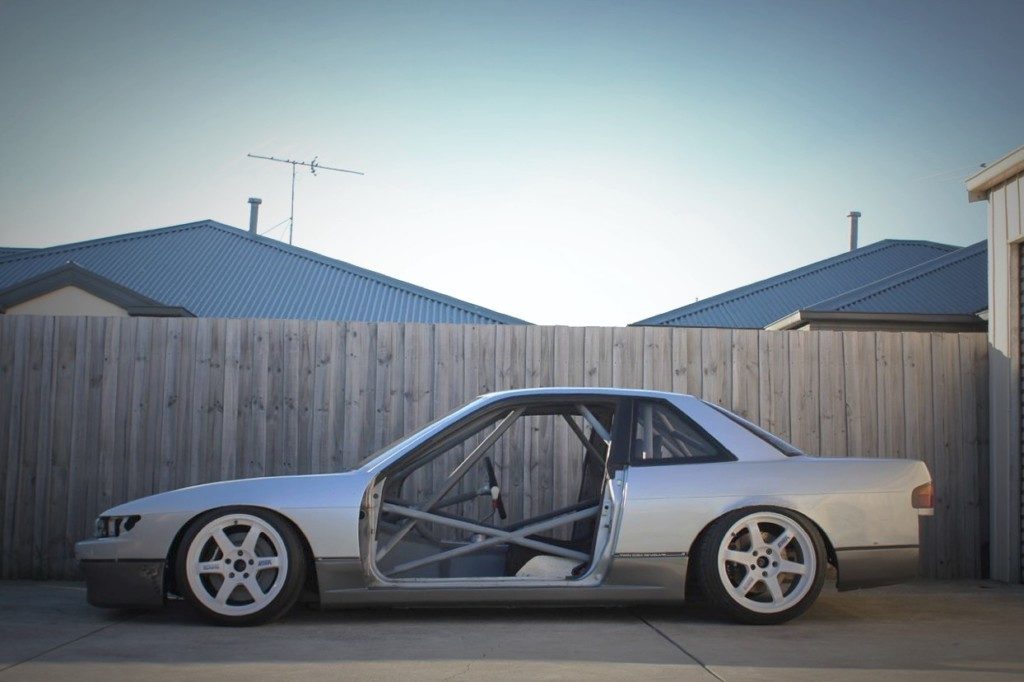
What I am half way through has always been ultimate build.
To have it unfolding before me is something thats worth every minute spent on it.
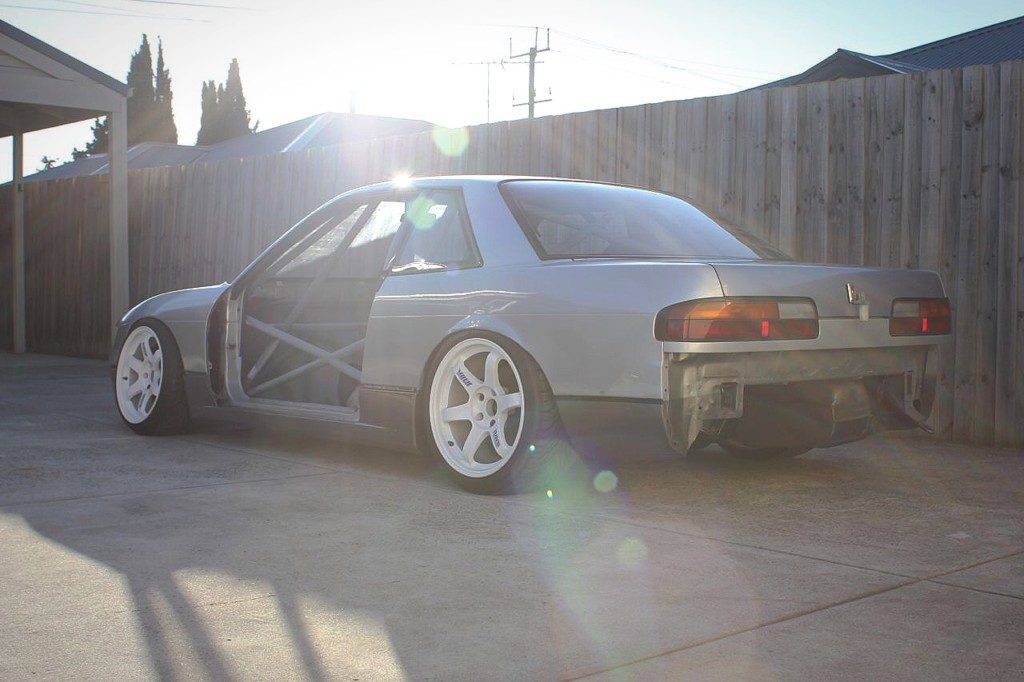
Having the chassis finished is a huge relief.
I can continue now on the fun jobs.
Mounting everything, planning all the accessories and piecing the good motor together.
So the next day I started to get my head around the wiring and the mounting solutions to make it as neat as possible.
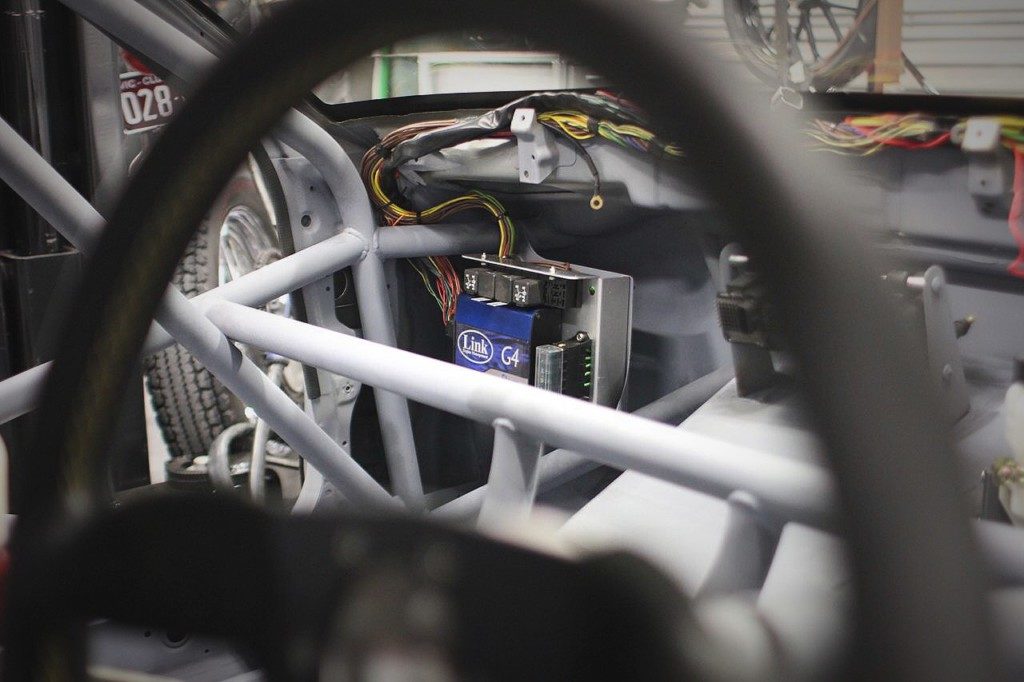
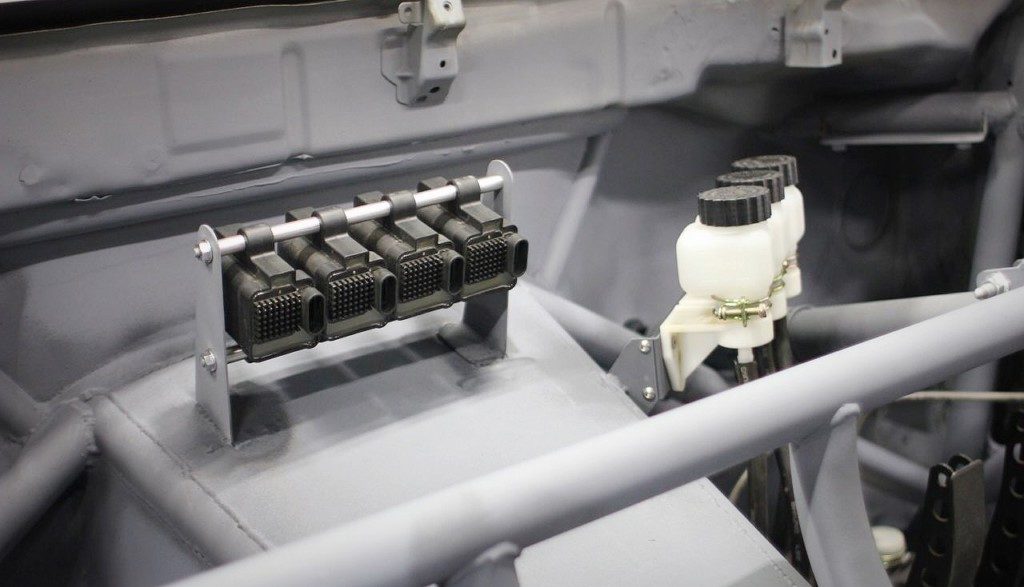
The passenger side houses the ECU and engine harness relay block, this was something that Martyn made a few years ago before I reworked the car.
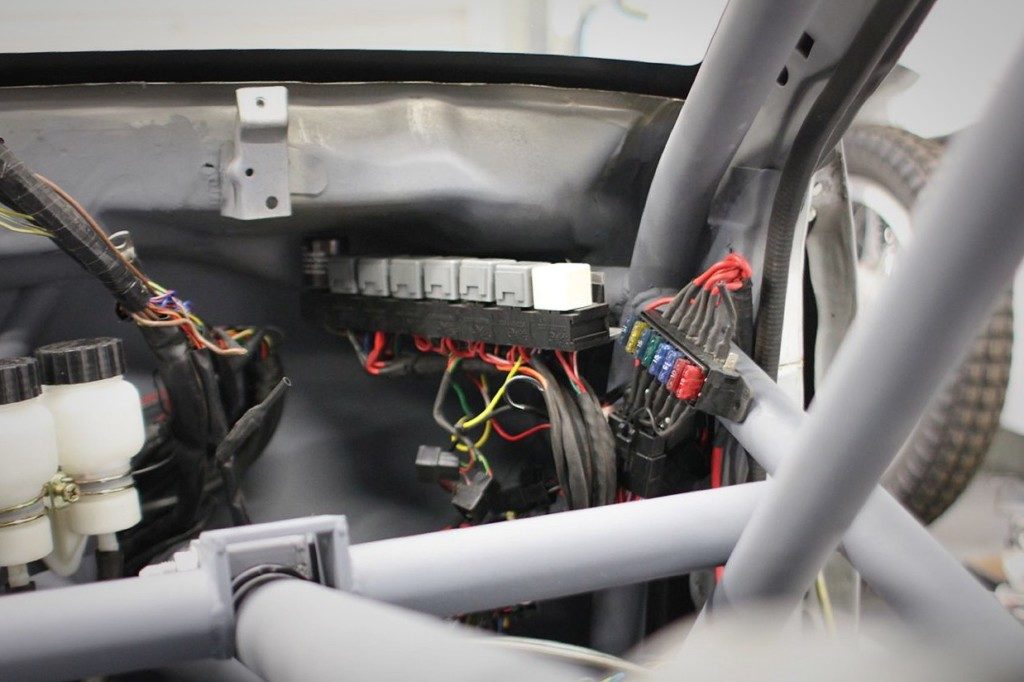
On the drivers side is the body harness relay and fuse block, this loom was originally built from scratch 10 years ago by my friend Luke, he said to never get rid of it because he would never make another one (it was actually made for my original RPS13, the black one)
I made up a mount for the new coils as well, the 4th cylinder is only 150mm away so the leads wont be as long as you think.
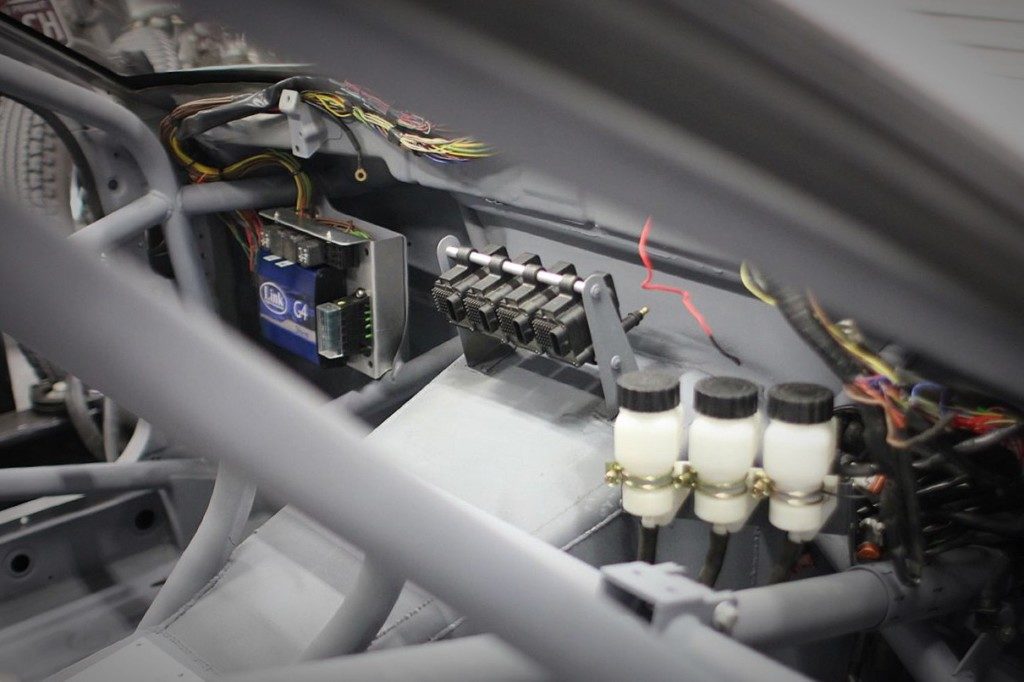
The brake master reservoirs now have a spot too, with the dash shell on everything should be hidden away nicely.

Its organised chaos at the moment but once I wire in the switch panel through the pillar and mount it to the roof there will be no visable wiring what so ever.
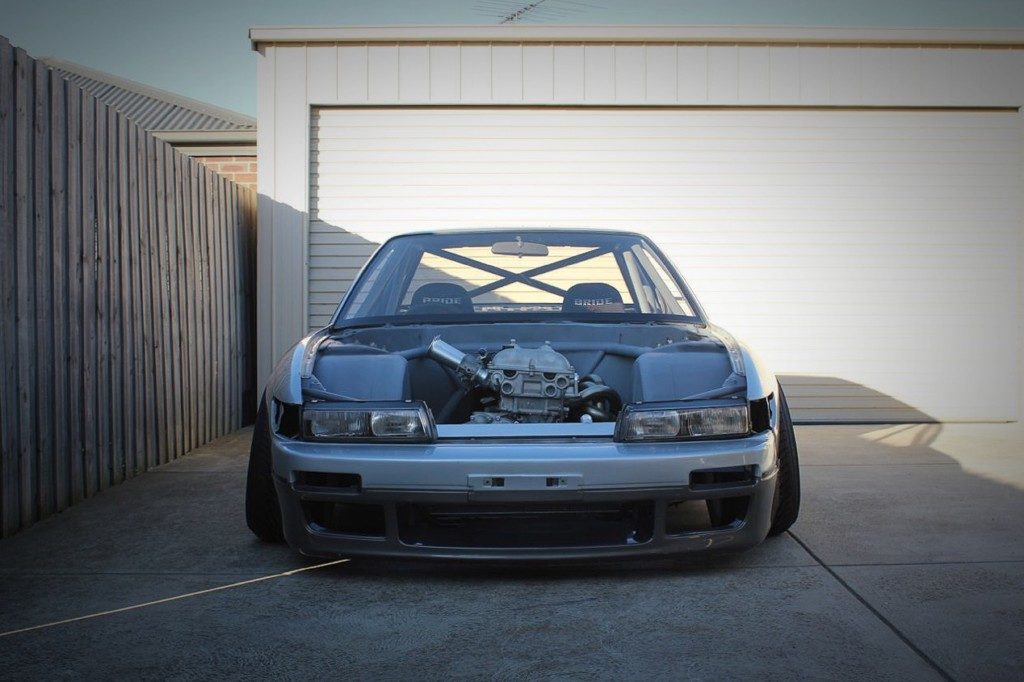
I also mounted the bonnet back on.
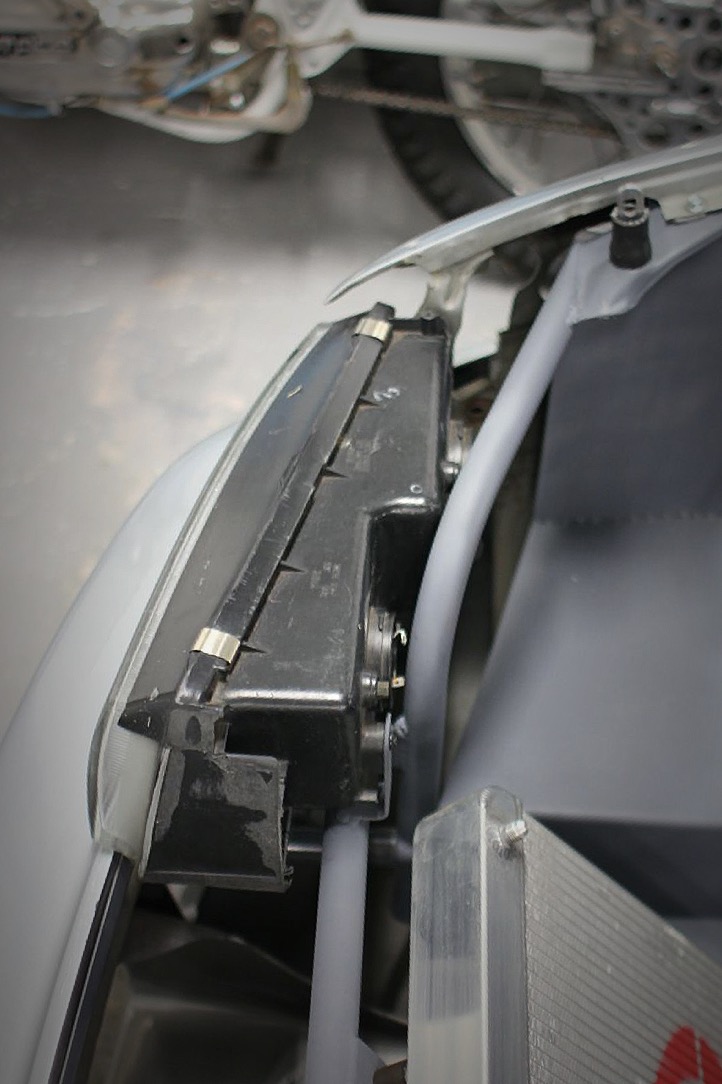
So I could finish the headlight mounts.
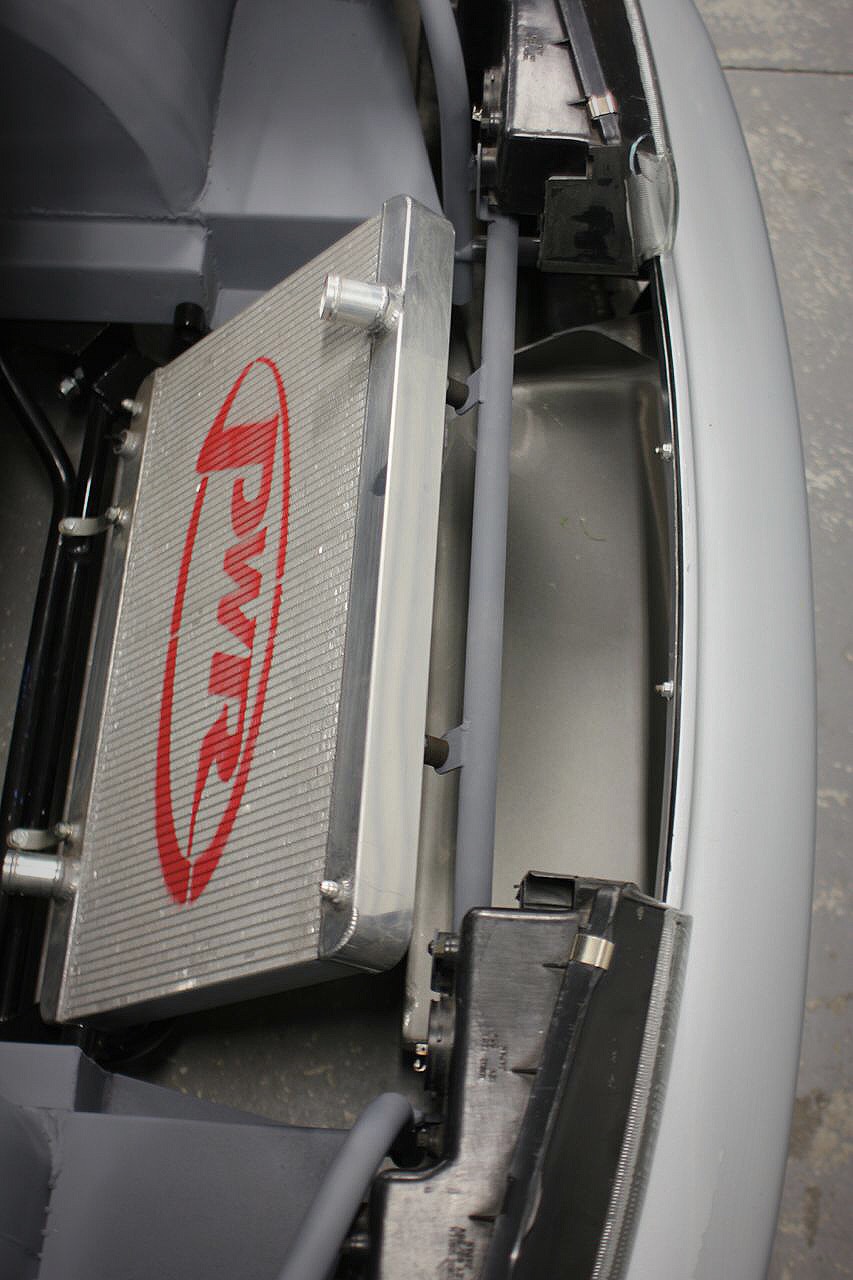
The opening between the headlights will hold an alloy GTR style grille that will direct air down into the radiator.
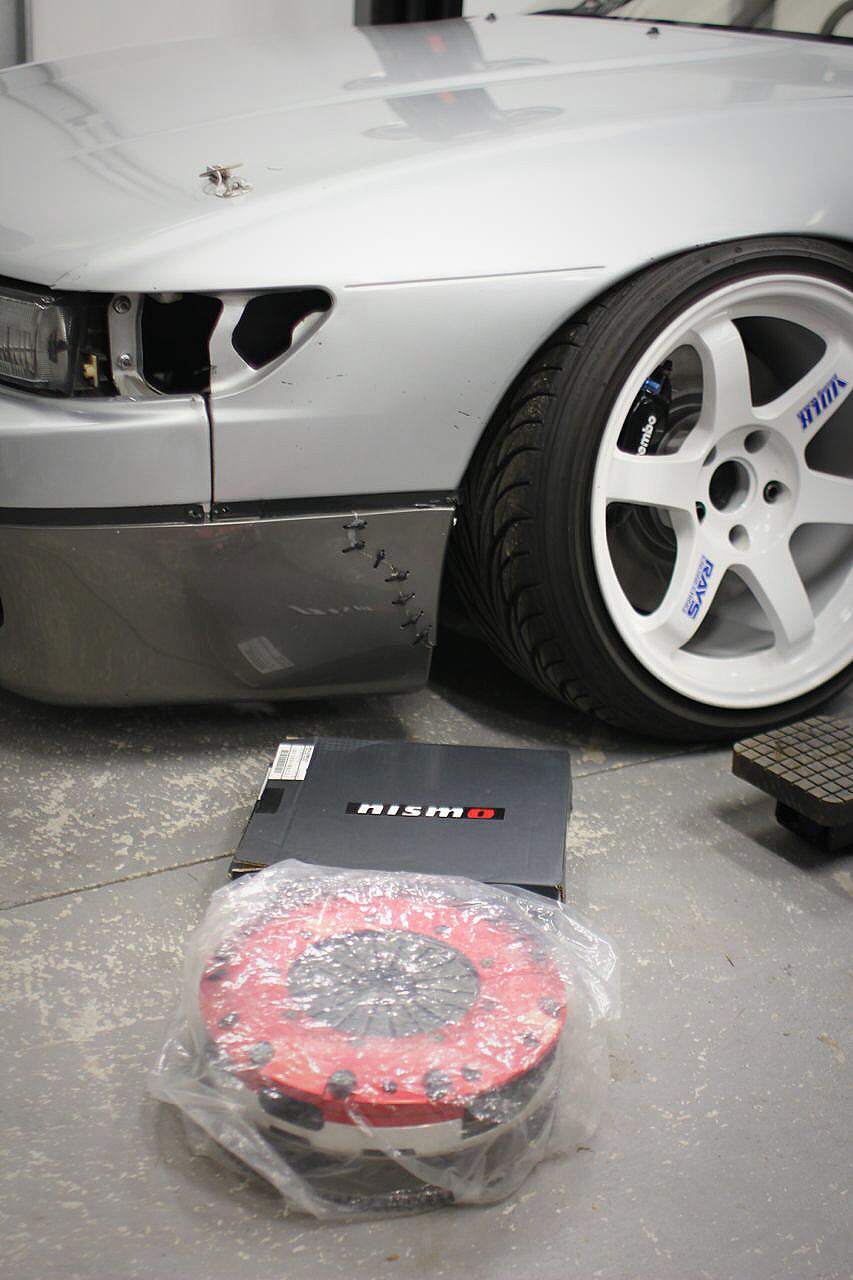
I was also lucky to find the clutch I wanted, I had researched and figured out the best clutch to use with this 6 speed gearbox, I couldnt afford a new one and ended up finding one second hand thats basically brand new, it came with new plates aswell but the ones in it arnt worn at all, I doubt close to 300hp of NA muscle will bother it.
I am so excited that this car is finally shaping up to be the car I always I wanted, I have owned it for 10 years, always knew the direction I wanted to take but never had the opportunity to dedicate my time to making it happen, now is the time!