It all began when I was deep in PS13 build once again, faced with the realisation that I shouldn’t start any new projects; I should finish those that I started, I got a call from Harley Davidson Australia and commissioned to quickly build something out of the ordinary.
What I do out of my backyard has never been about money or focused on corporate exposure, but when Harley Davidson gave me the opportunity to have some fun on their budget then I jumped at the opportunity. They wanted a Hill Climber and they needed it fast!
It began with many hours of planning, researching the history of hill climbing, the heritage that Harley Davidson has in the sport and the parts that I can make to set this bike apart from the rest.
I wanted to remove the engine and build a chassis from scratch, I had so many good ideas that could have made this something amazing, I didnt have the time and Harley didnt want me to go that far, instead I had to work with the majority of the stock bike, sometimes this is much harder than starting from scratch.
Four things jumped out at me.
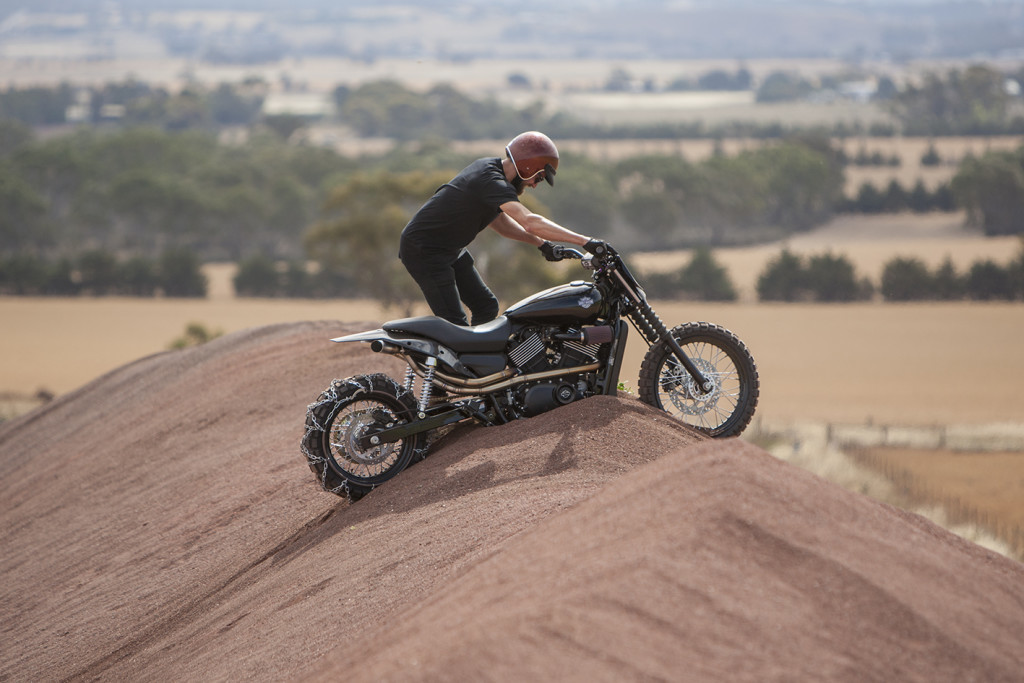
1. The lengthened swing arm, the longer aesthetic of a hill climber is paramount to its performance, the longer the bike the more traction it can have without looping out. I didn’t want to upset any of the factory mounts, controls or hoses so I shifted the rear wheel back 200mm to make the rear brake stay shift from the front of the shock mount to the rear.
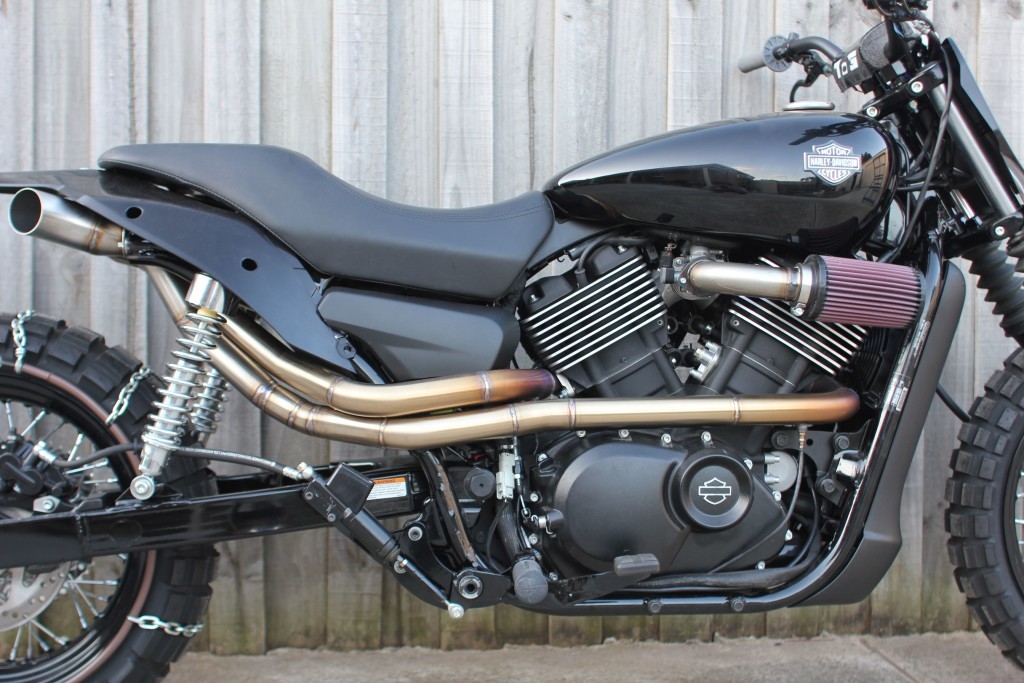
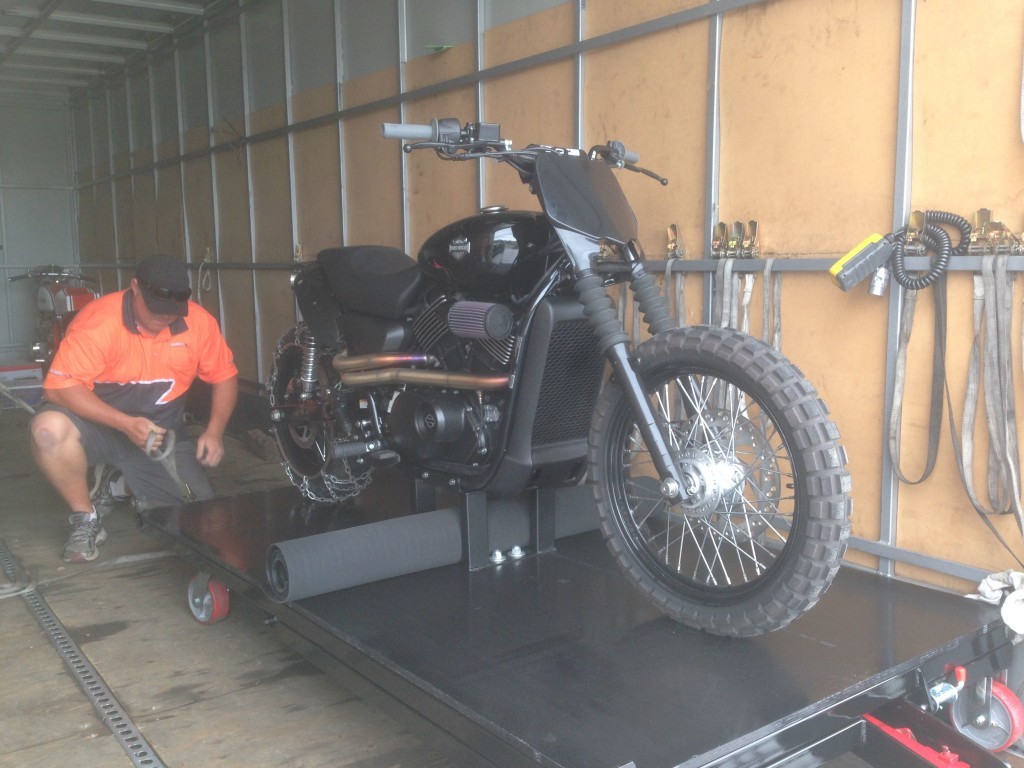
2. Wheels and Tyres, the factory wheel set on a Street 500/750 is 17 inch front and 15 inch rear, its not appropriate for a stretched hill climber, I got HD to send me down a set of 19/17 rims off a brand new Dyna, these rims are the perfect match for my tyre of choice. I really wanted a paddle tyre for the rear wheel but with none available in Australia in a 17 inch I was forced to run the trusty TKC80 thanks to Peter down at Road and River motorcycles.
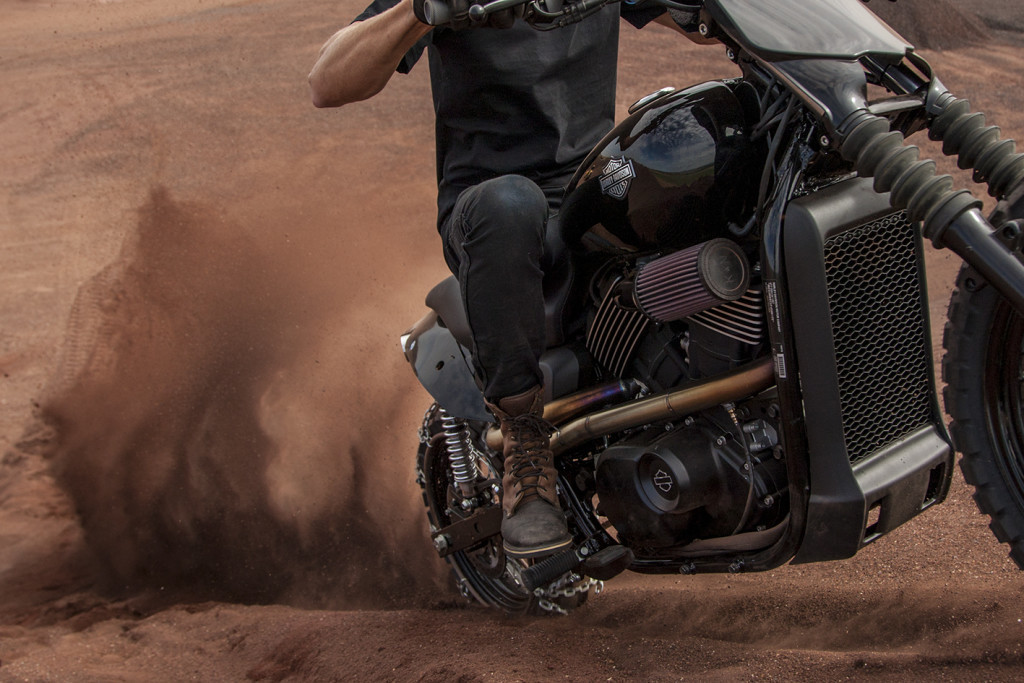
3. Exhaust, this needed to be loud, visually appealing and fitting for the motorcycle, I have made so many 1.75 inch S/Steel exhausts in my time and this one was set to be the longest, more on that later though!
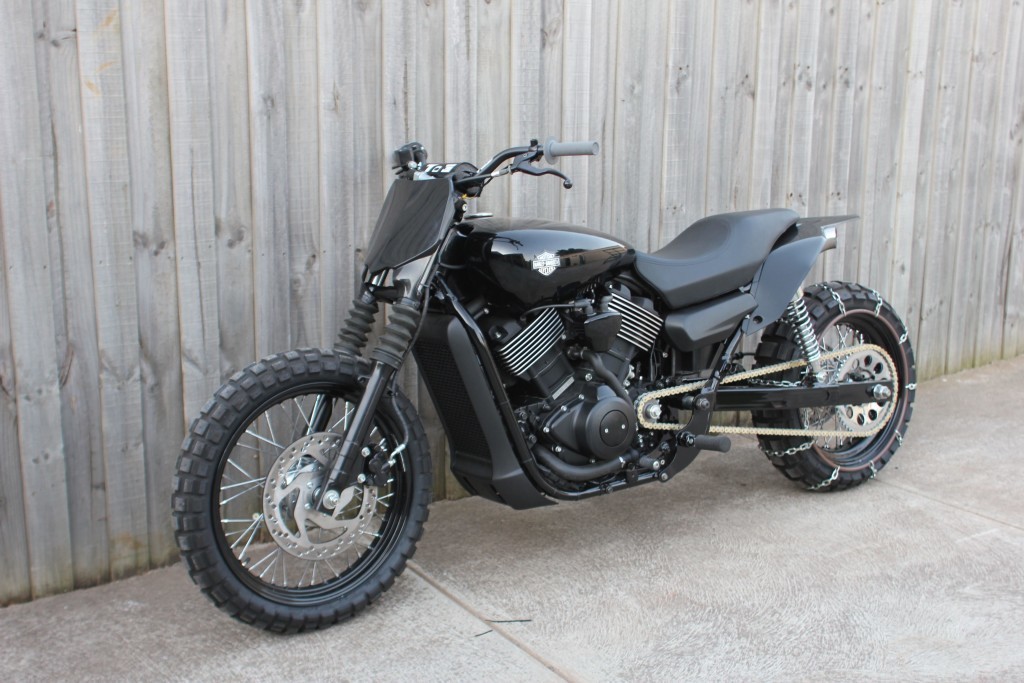
4. Bars and Bodywork, I wanted that motocross feel to this HD Hillclimber, the factory fork gaiters, black wheels, black aesthetics all lent themselves to the late model motocross look.
Making it happen!
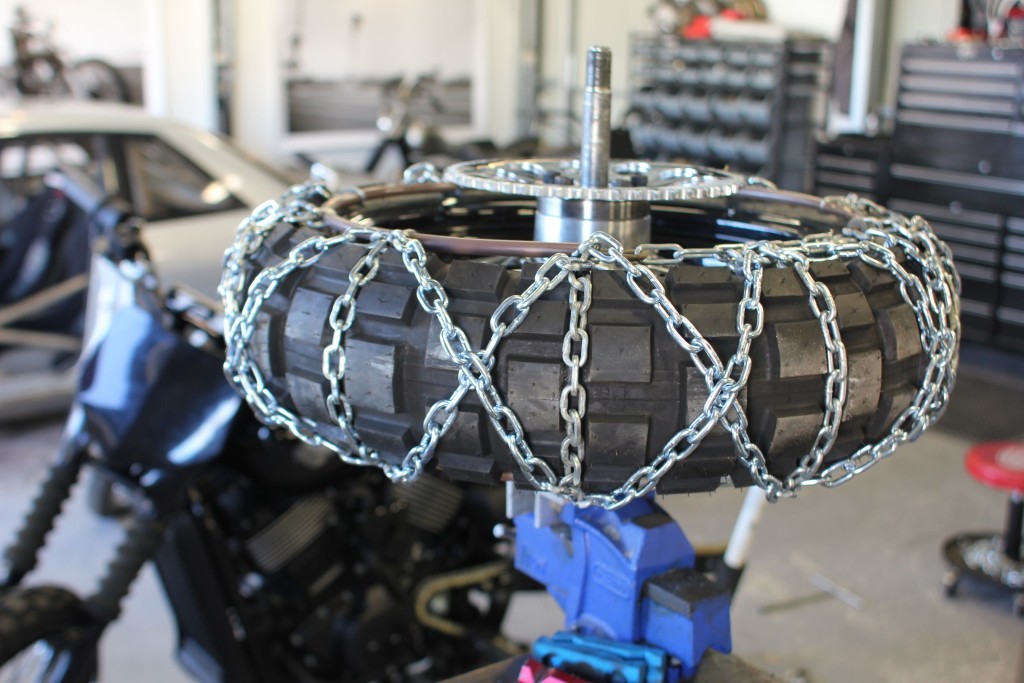
First up was making these wheels fit and converting to chain drive (you can’t stretch a belt 200mm) HD supplied me with the sprockets and two chains, so that was easy but I needed to machine the spacers for the rear wheel and the countershaft sprocket, not a huge job but one that needed precise measurement. The front wheel just needed the hub face to mimic the factory Street 750 front wheel, the disk PCD was the same and in HD fashion there was enough meat to machine the faces down 7mm each end to suit the factory spacing.
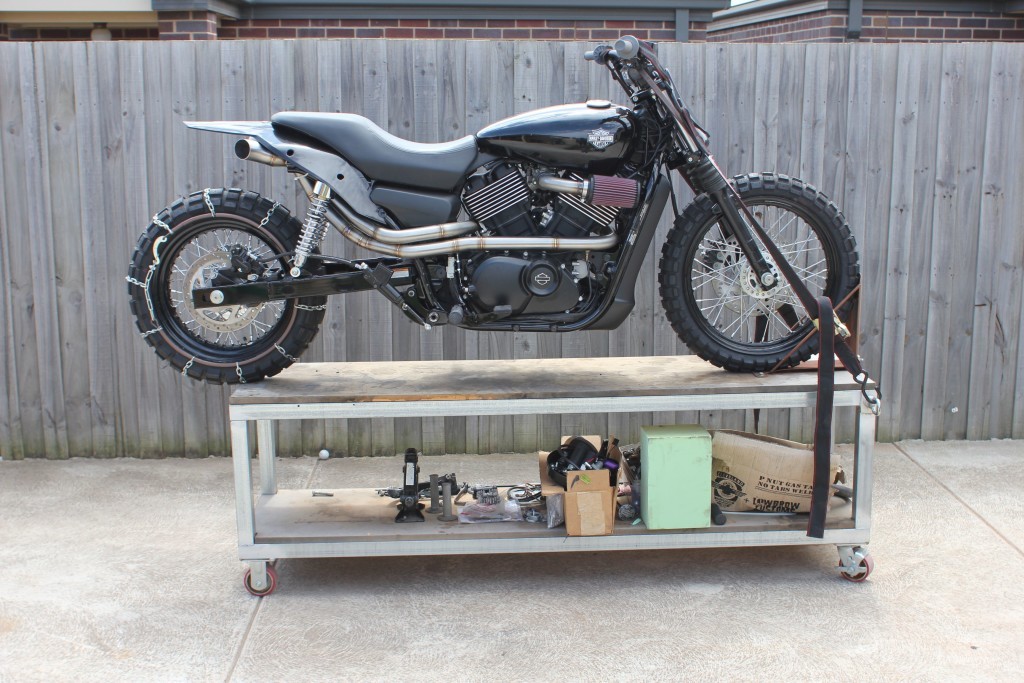
Once the wheels were machined and the tyres fitted up I could put the front wheel in and sit the bike up on the table to attack the rear end.
The factory swing arm was left untouched, I simply made an exact copy of the rear section and then an internal sleeve to press the three together, a few welds for good measure too.
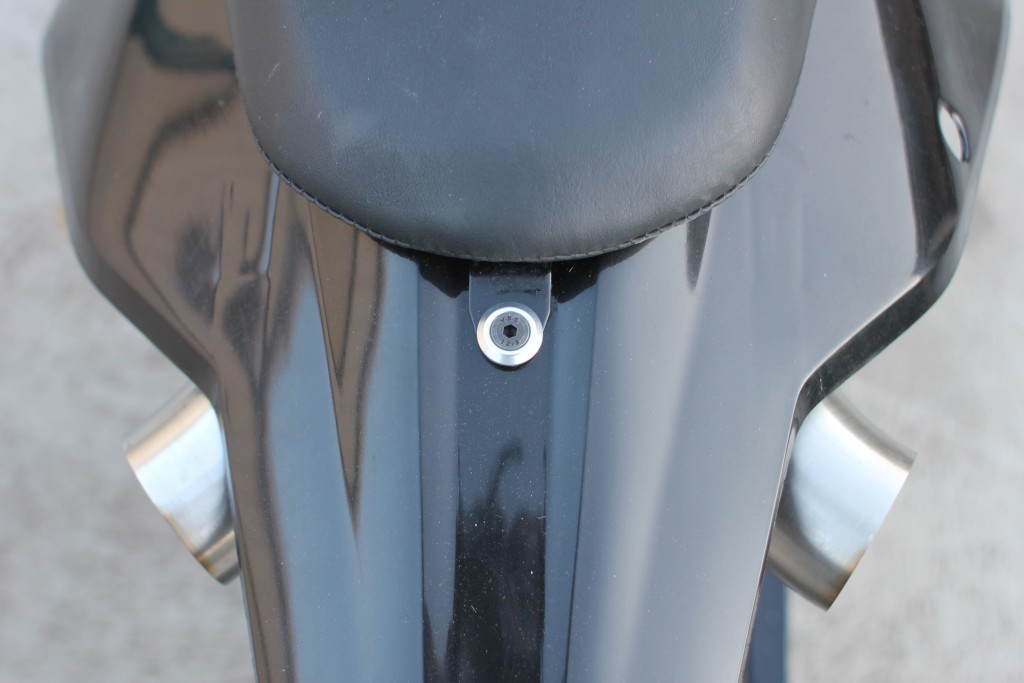
With the rear end together I could plan the bodywork, I had an old KTM rear fender in orange, I sat it on and BAM the length, the fit and everything was perfect, I quickly ordered one in black (for $65) and went to work making everything around it fit.
Now that the rear end was sorted I could make the controls suit the new position of everything, I made mounting plates out of steel plate and got rid of the linkage shift from the factory mid controls, this gave better shift feel and to be honest less is more.

The brake side needed the master to be shifted well back, I incorporated this into the control mount, then made the brake lever to suit, the factory brake line fits perfect and everything works nicely.
The front end was pretty sorted, I got rid of a heap of things, the Street 500/750 is a metric bike so the bars are 22.7mm not 25.4 like all other Harleys, this meant I could order some motocross bars and mounts to suit the factory hand controls, some of my favourite Renthal full diamond medium grips and a stadium plate originally made for a CRF450.
When the rear guard arrived the bike started to look complete, the final job, the pipes!
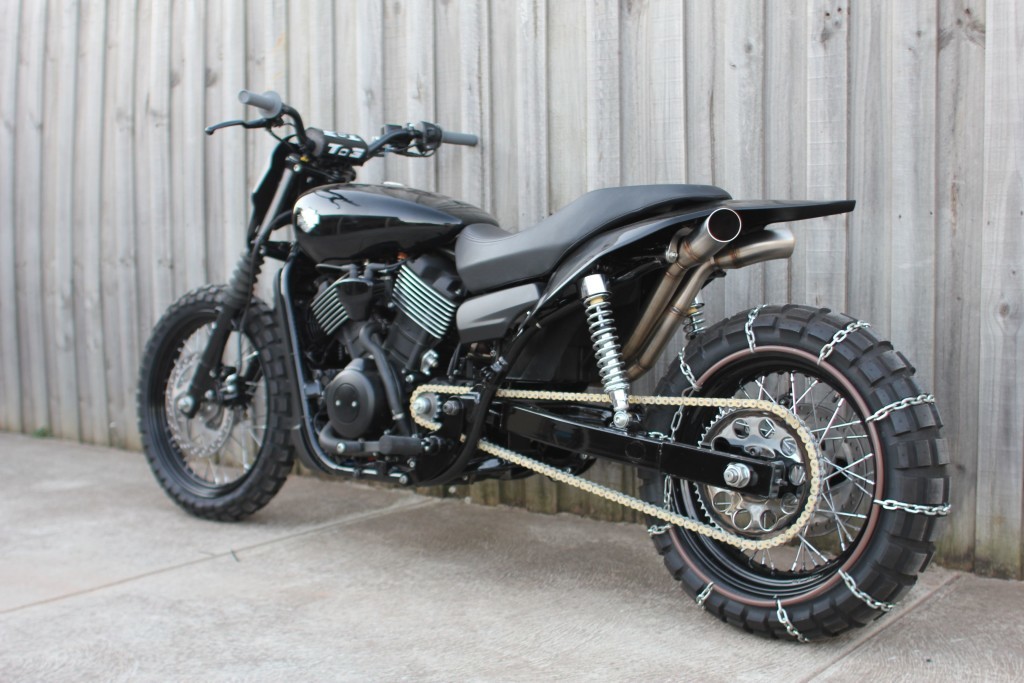
I get in moods all the time, some days I struggle at the simplest jobs then some days I work cleanly and precisely, just ticking away at the job without any worries, its these days I choose to do the important work. You can’t rush exhaust systems like these, they have to be well thought out, the fit MUST be perfect and the finish on everything needs to be flawless.
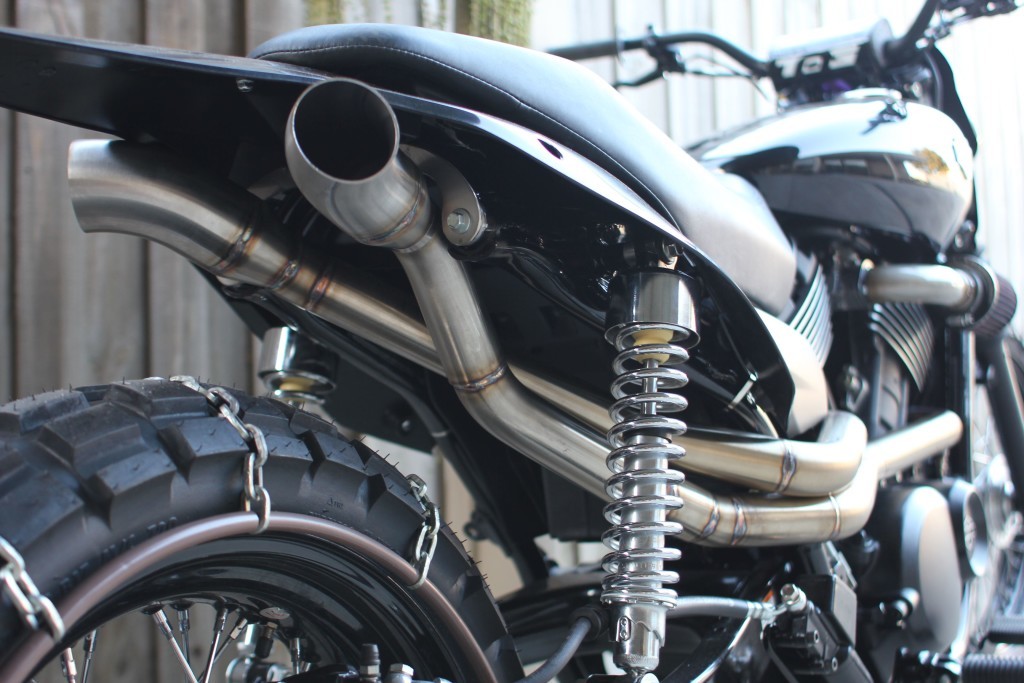
I start at the header and make the flange, then start getting the pipe to take on its path rearward keeping in mind it needs to clear the vital areas of the bike and also stay well enough away from your legs.
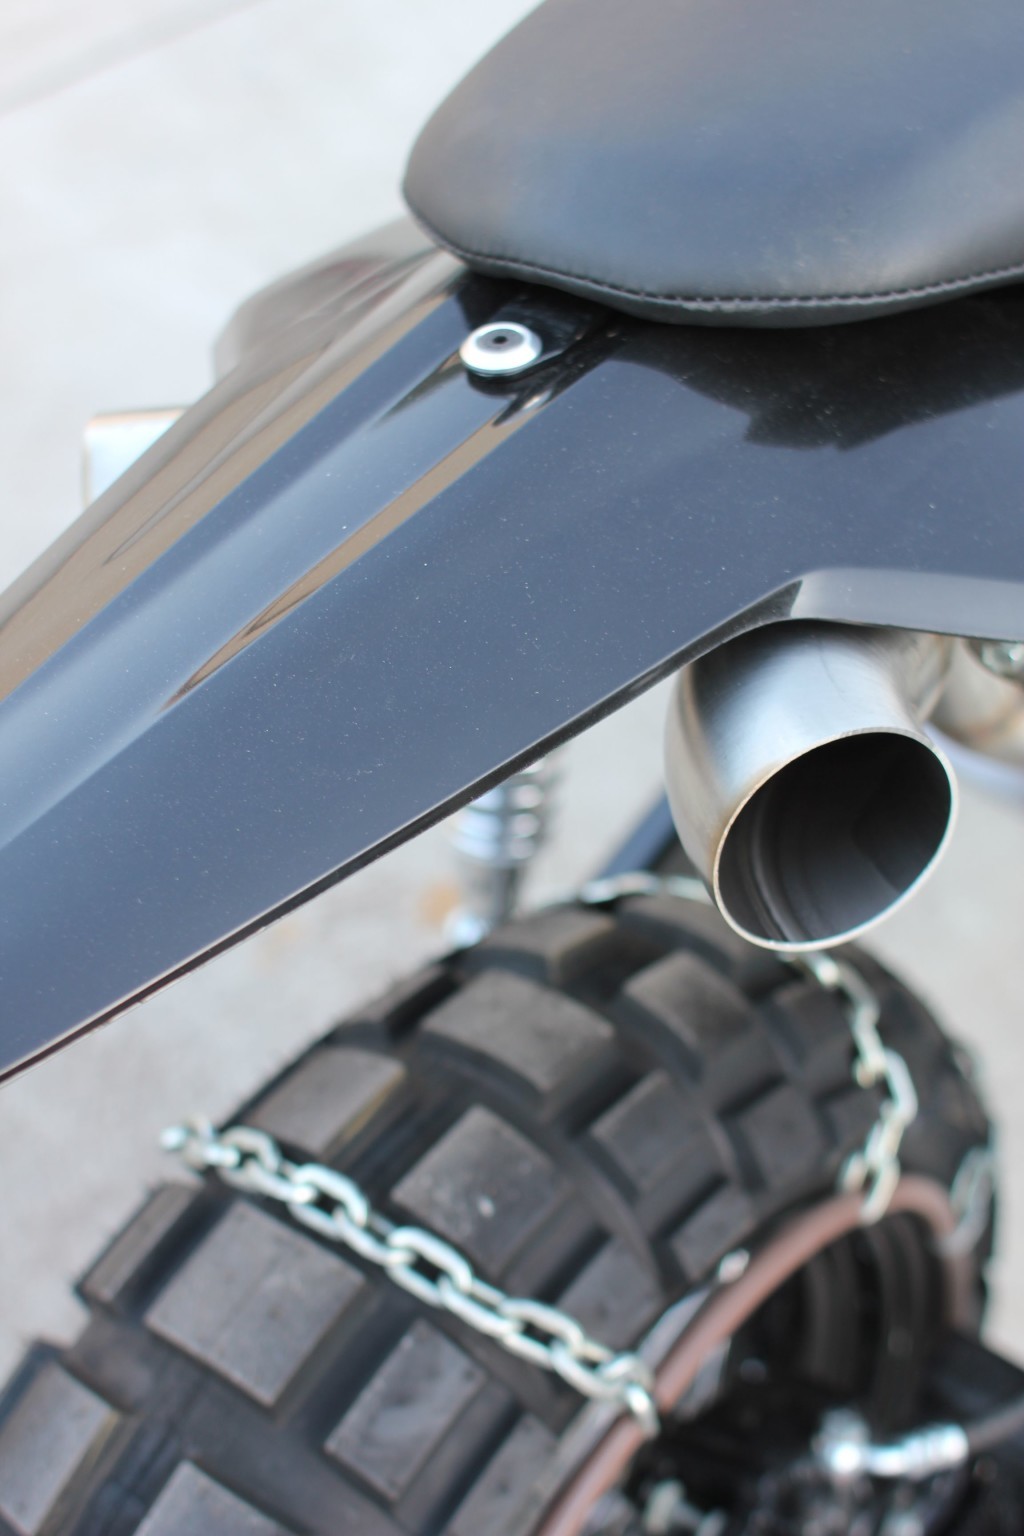
With this setup I wanted to fill the negative space in front of the rear wheel, I made the pipes the focus and then the black bike in the background the backdrop.
I wanted the twin pipes to expand out to twin 2.5 inch 45 degree tips that make a feature out of the well fitting KTM rear fender.
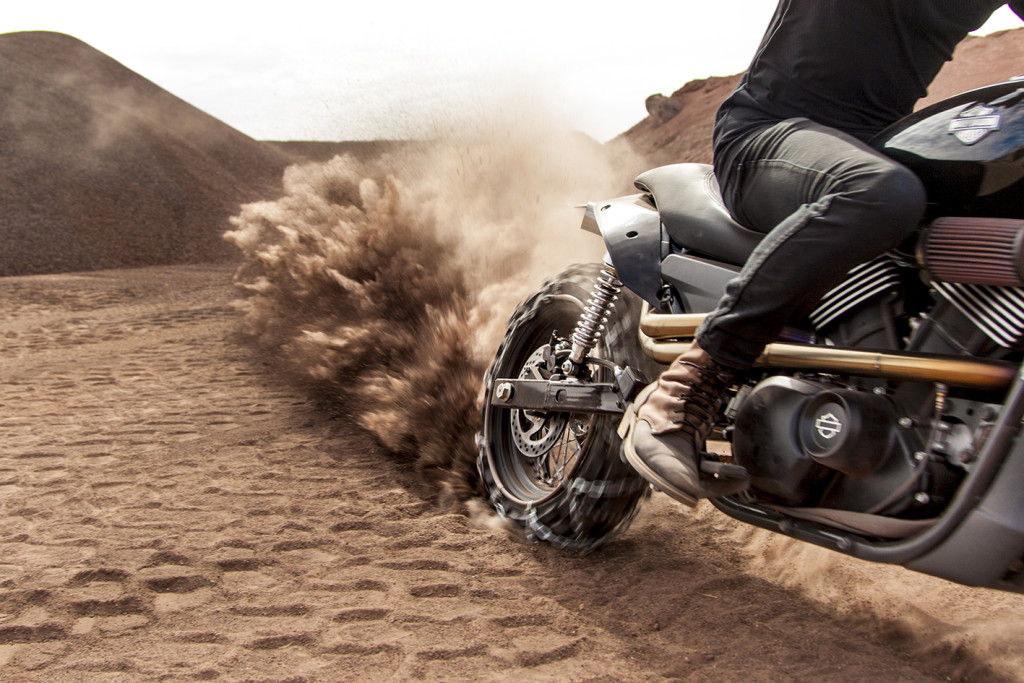
So far its all about looks, so hows it work?
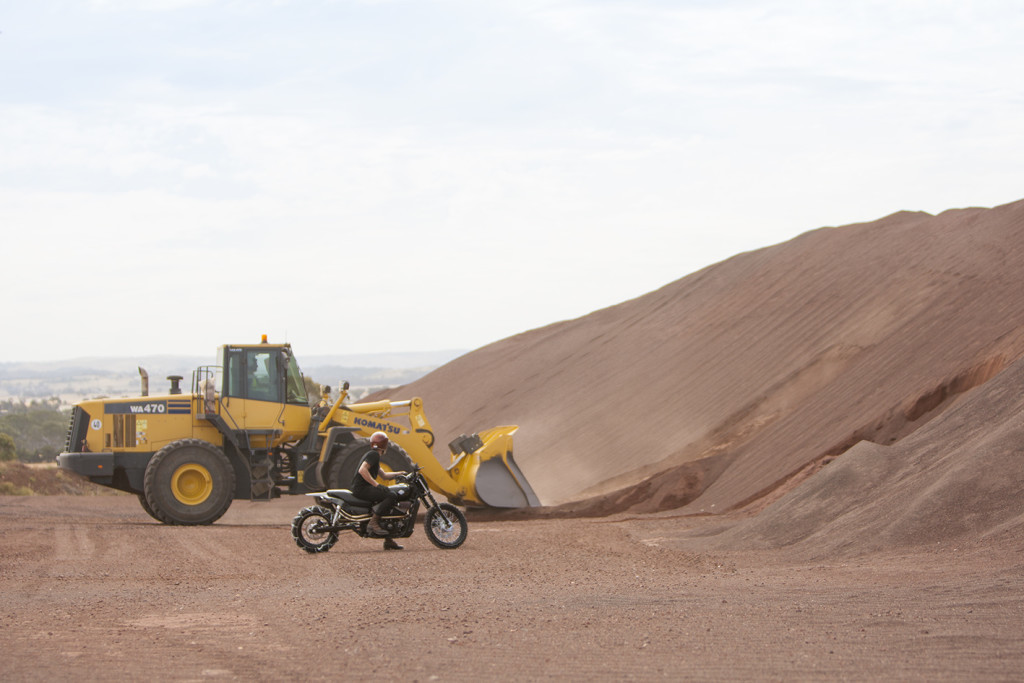
Robbie from RidePark set me up with a little test track, when I say little I mean BIG!
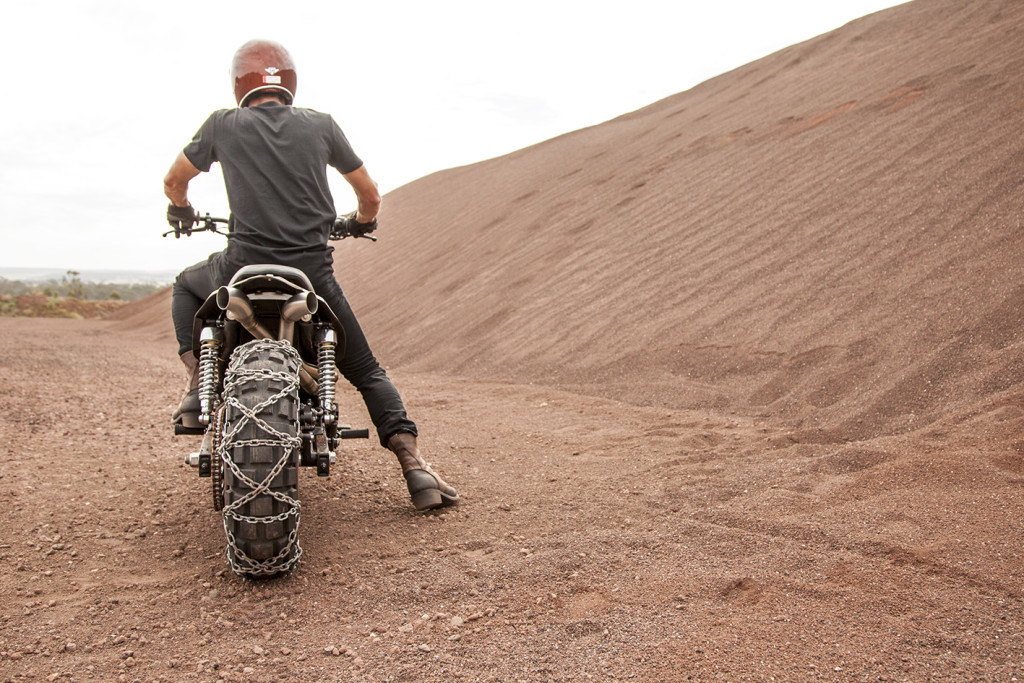
I wasnt sure how these chains were going to go.
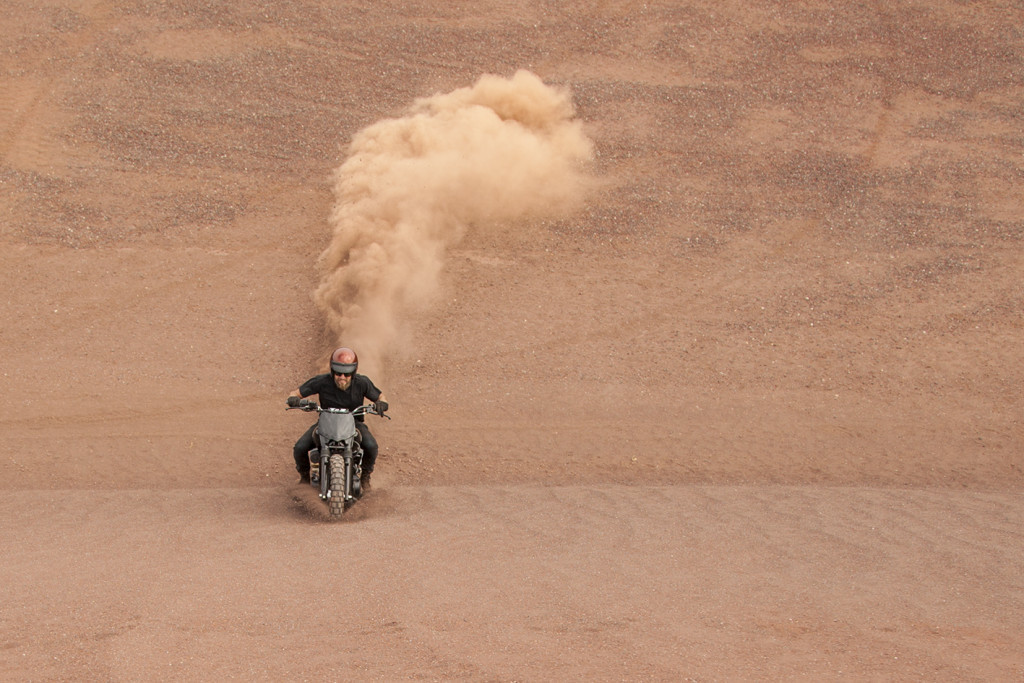
I didnt ease into it, 2nd gear limiter launches proved them to work, check out the puffs of dust from the exhaust pulses.
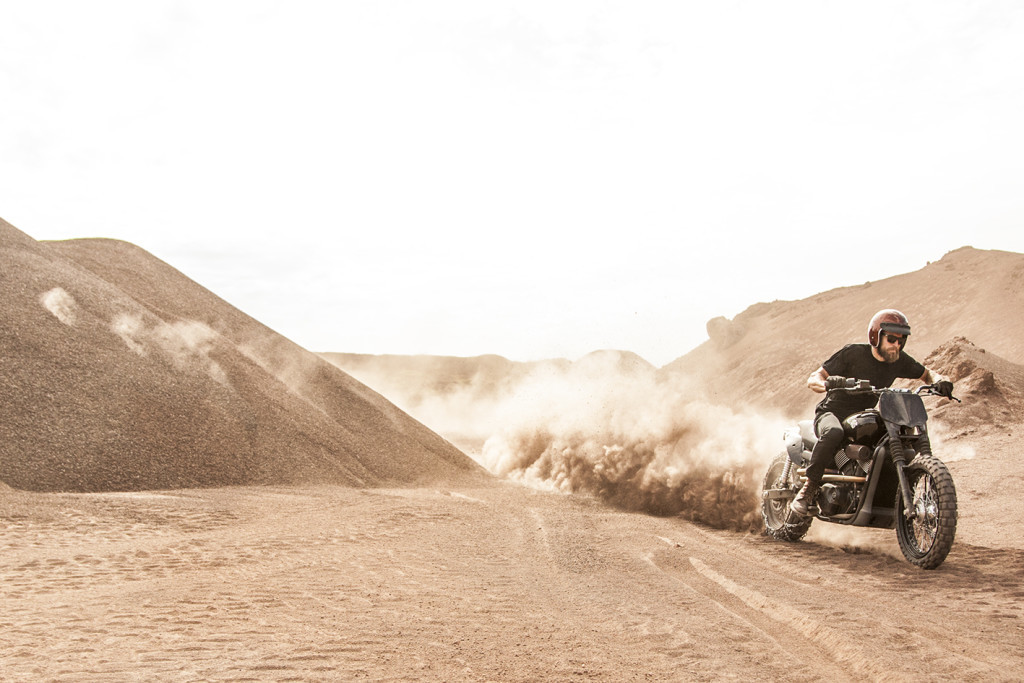
Time to hit the hill, 2nd gear, limiter and then drop the clutch.
It would rocket up the incline.

Throwing the largest rooster tail.
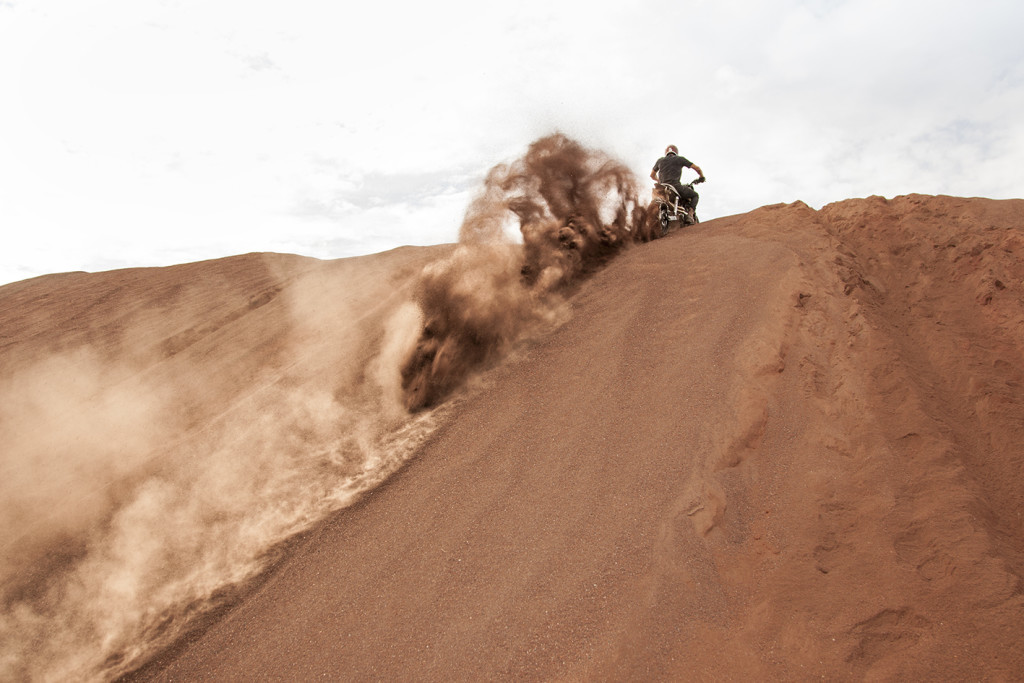
Then backing off because it was a sheer drop off the other side.
Just had to work out how to get down.
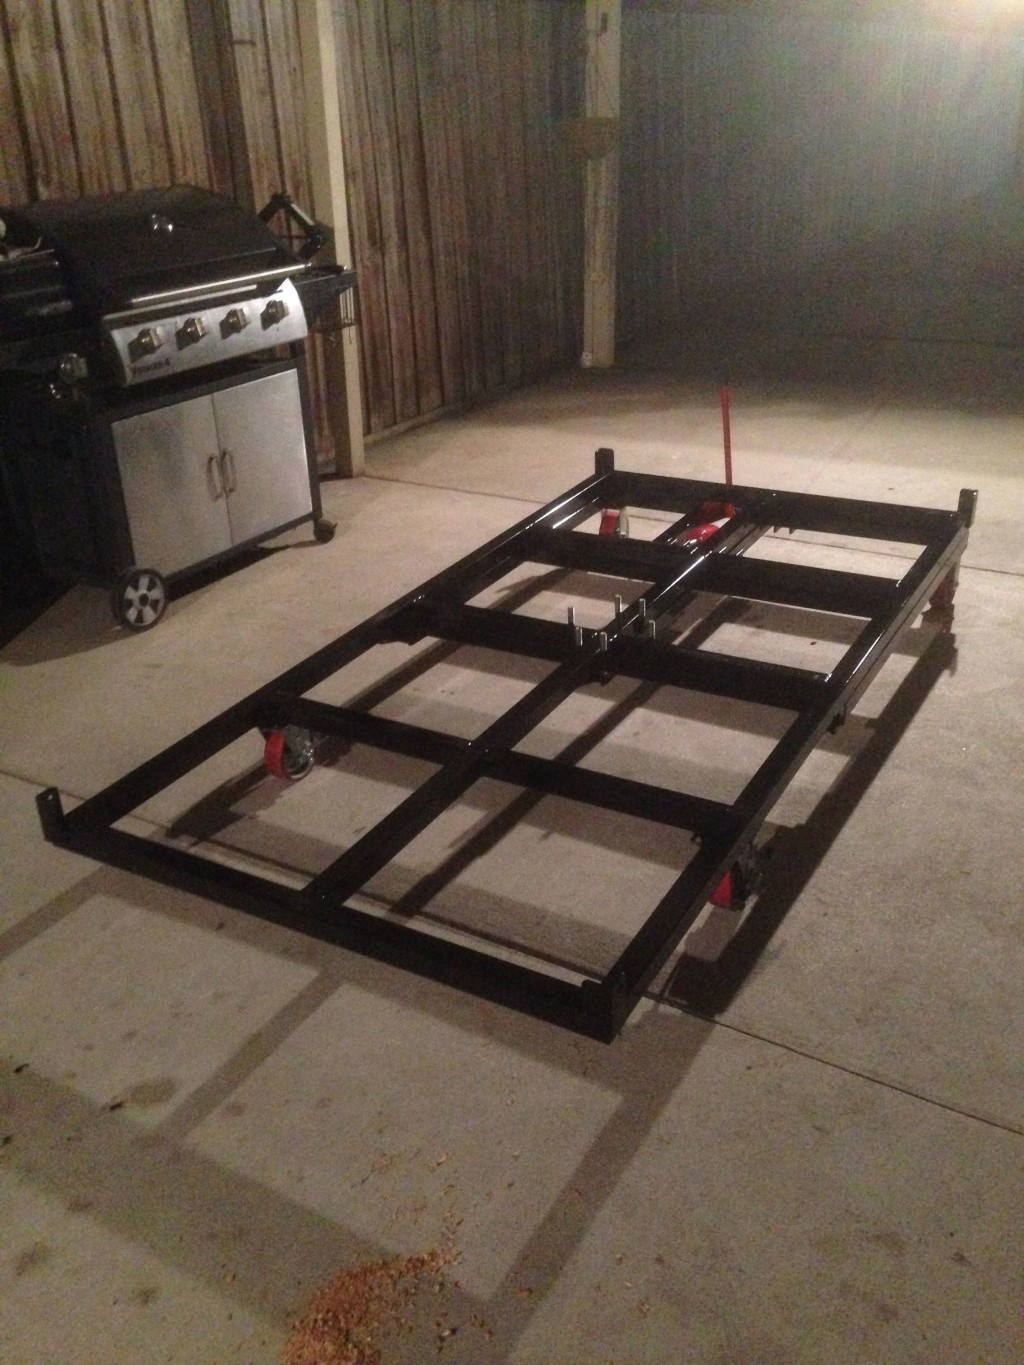
The hard work didnt stop there though, HD wanted a lift table aswell to display the bike on, it went to the Sydney Motorcycle Expo.
I wish I took more photos but I was really stressed out at this point, I would come home from work and do two all nighters in a row to complete this, my brain was fried.

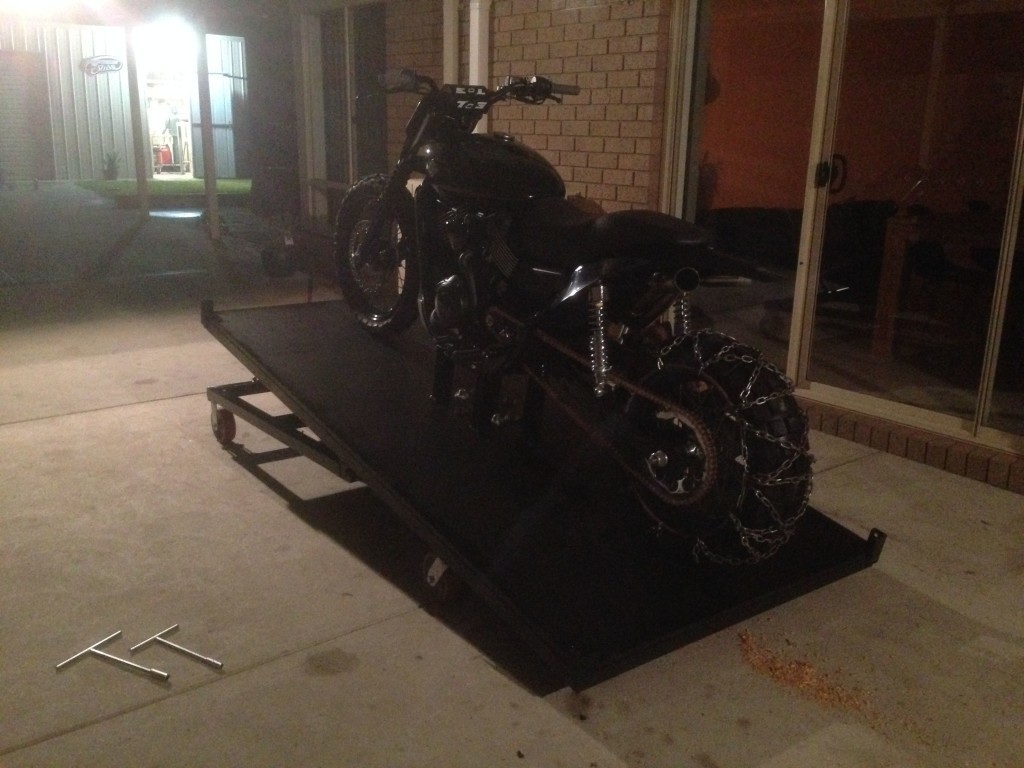
But I got it done, it worked great, was safe and the bike was mounted securely.
Minutes after completion the sun came up and a truck arrived to take it all back to Sydney, I was so burnt out, I didnt have a 10 minute break in almost three weeks.
I learnt so much from this project, it was my first major undertaking for a corporate company, working on a brand new bike on someone else’s budget gave me the freedom to do a lot of things I would have normally never done myself. It also gave me a taste of the real world, having a deadline, meeting others expectations and pushing the limits to meet all criteria.
Big thanks to Marcus at Harley Davidson, Robbie from Ride Park and Dean Walters for the photos.