Flat Track XL1200 Build

This time last week Streetfighter and I took a run up to the Auctions to grab a bike for our next flat track race day, he was searching for a 1200 Harley Sportster.
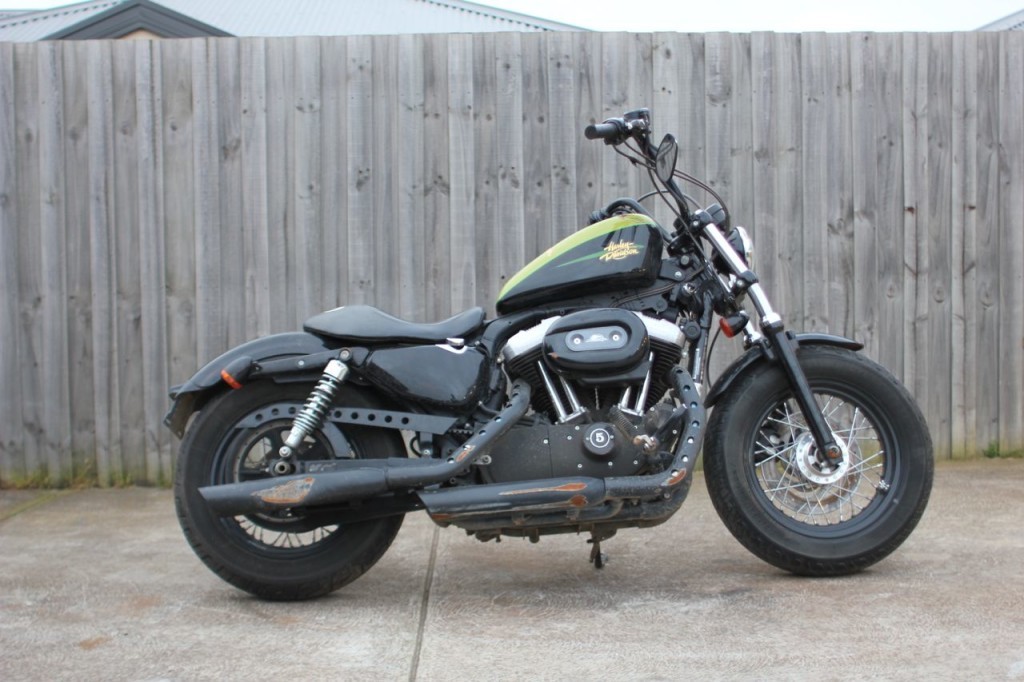
We found one that was perfect, broken enough to be affordable but salvageable enough to not need too much. Streetfighter was the man that made our Flat Track Fundays possible so I owed him some hours, what better way than a motorcycle build.
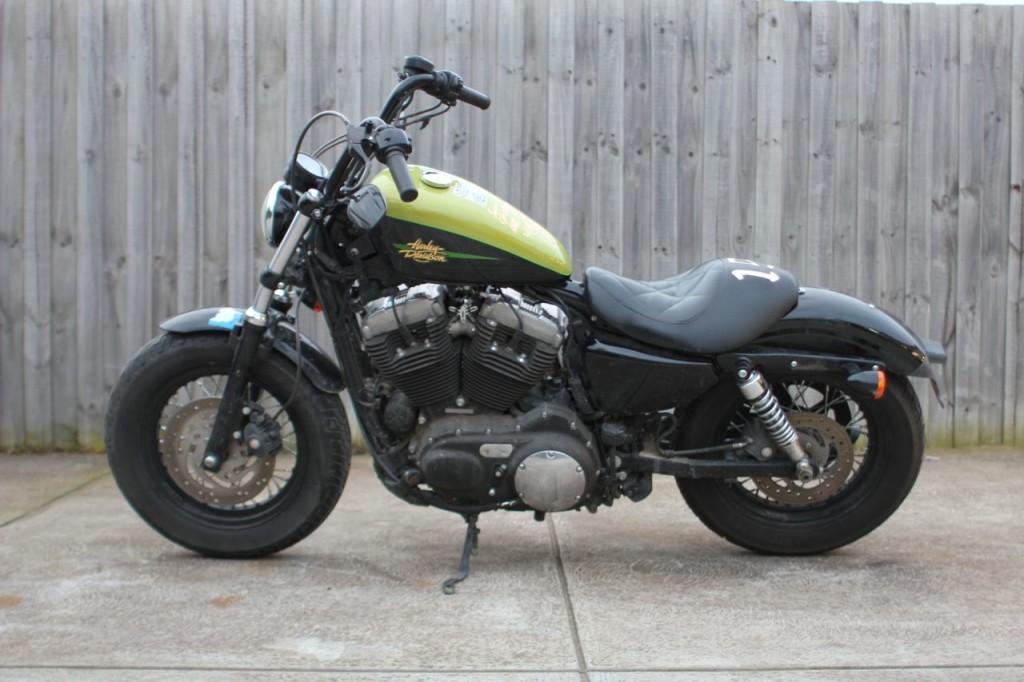
As you can see the forks were bent, the wheel buckled, a heap of small damage on all the parts that didn’t matter to us.
Before the auction even started I bought a Honda CBR1100 Blackbird front end for $250 delivered from NSW, it was on its way and we were ready to go on the build, but we needed to win the auction first.
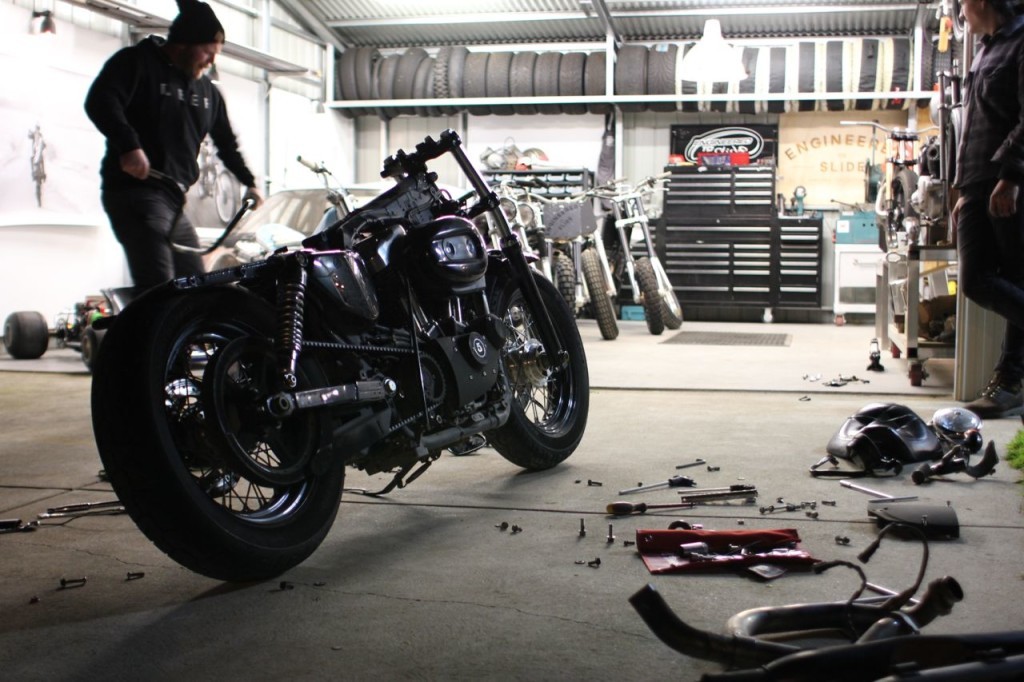
That afternoon we got it home and jumped it into life, it ran sweetly and Ted Hallam came over to disconnect all the crap we didn’t need.
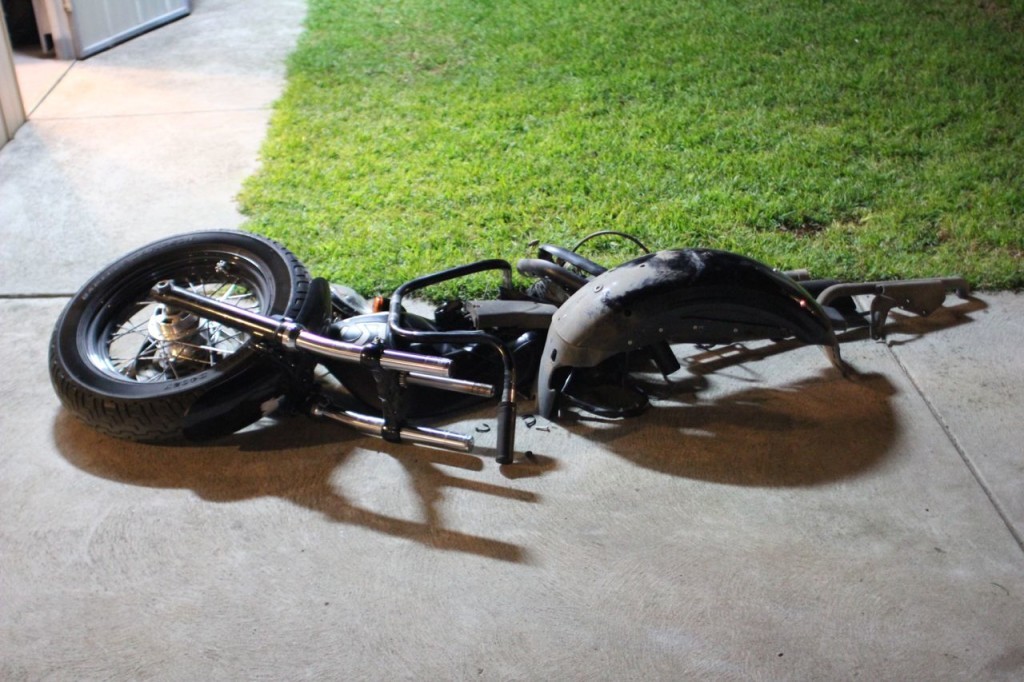
That afternoon we got it home and jumped it into life, it ran sweetly and Ted Hallam came over to disconnect all the crap we didn’t need.
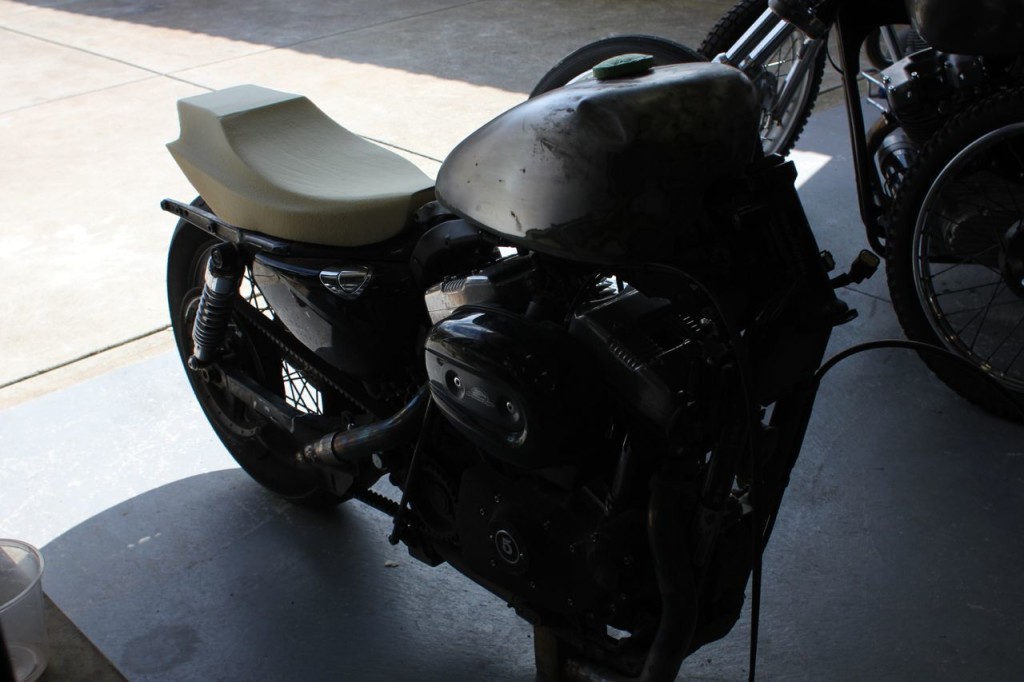
In half an hour I had a mess in my driveway and a motorcycle in the garage ready to be transformed.
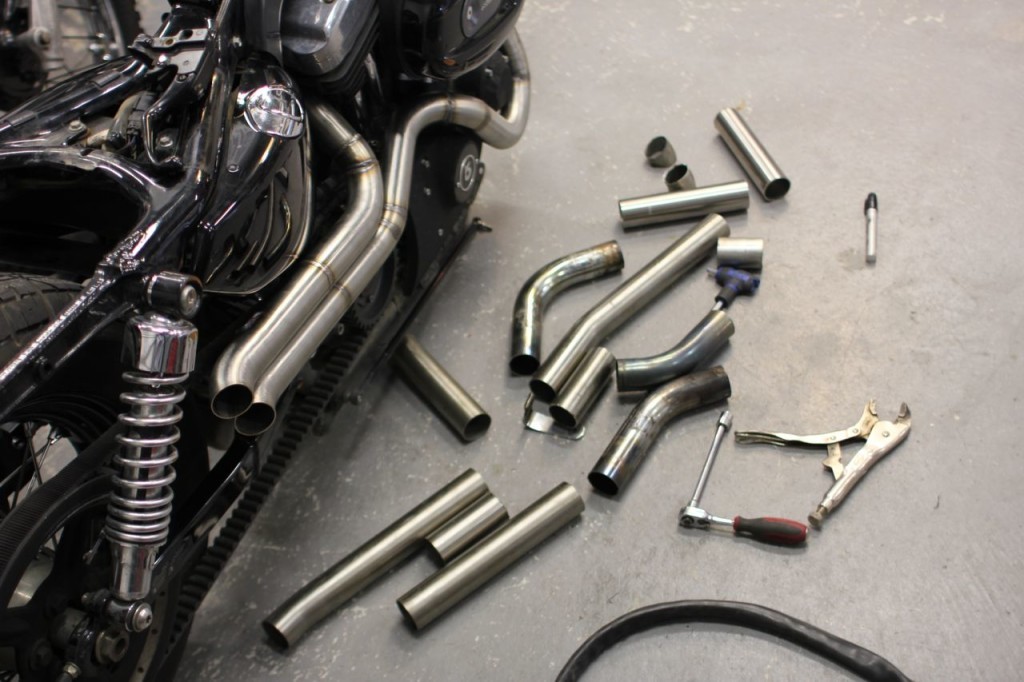
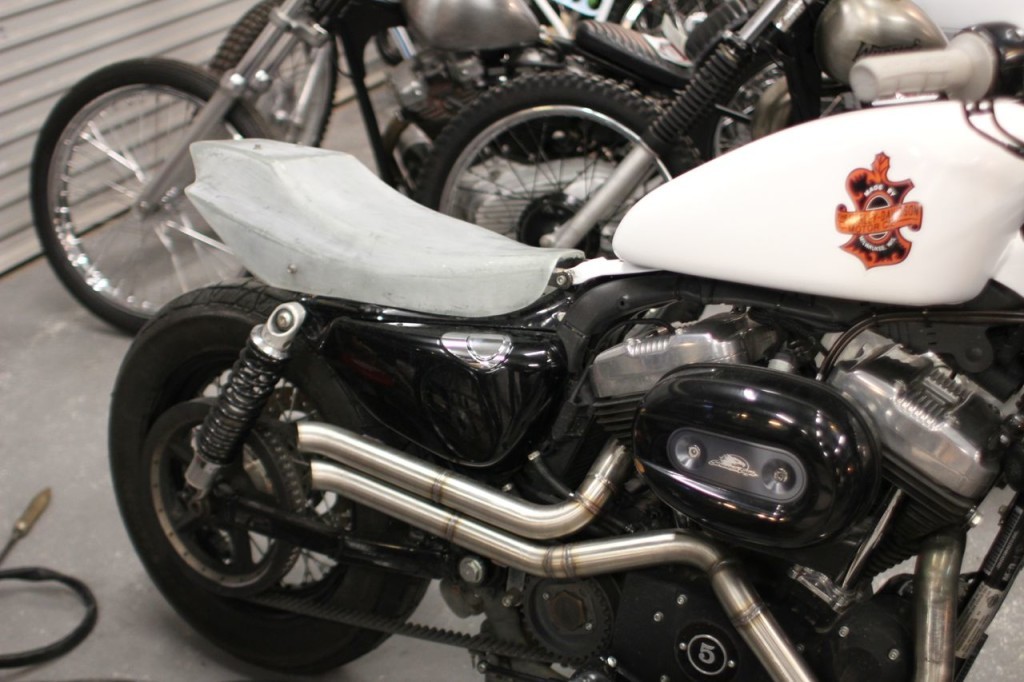
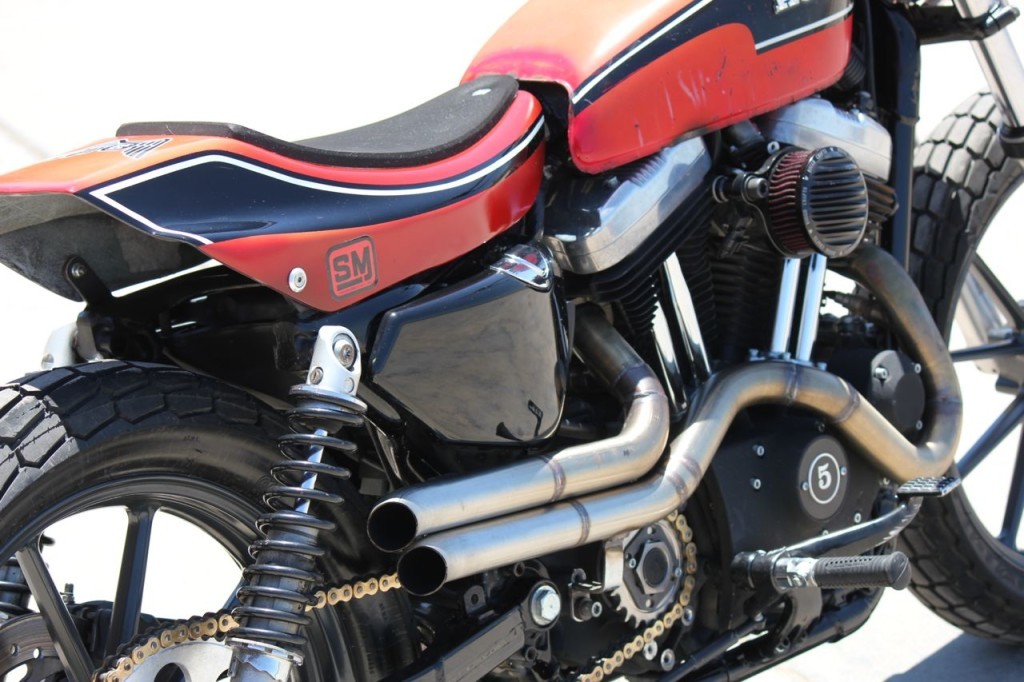
While I was waiting for the forks Streetfighter painted the tank and I built a set of 1.75″ straight out stainless pipes. If you are looking to make your own then I strongly suggest you take my Course on the subject to get it just right. Click here for the Exhaust Header Fabrication Course.
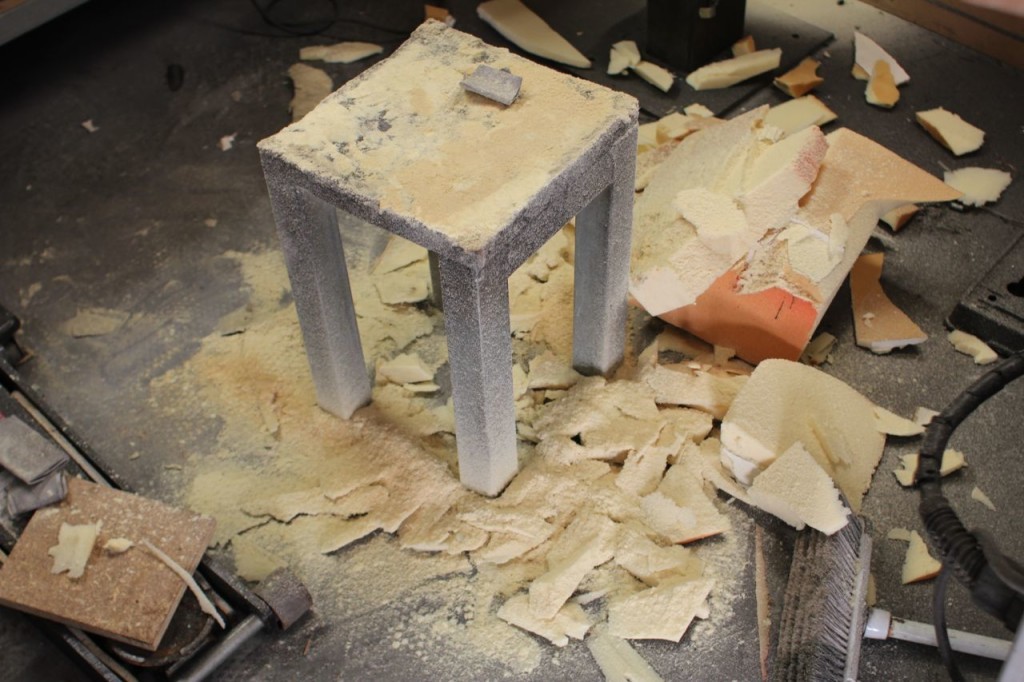
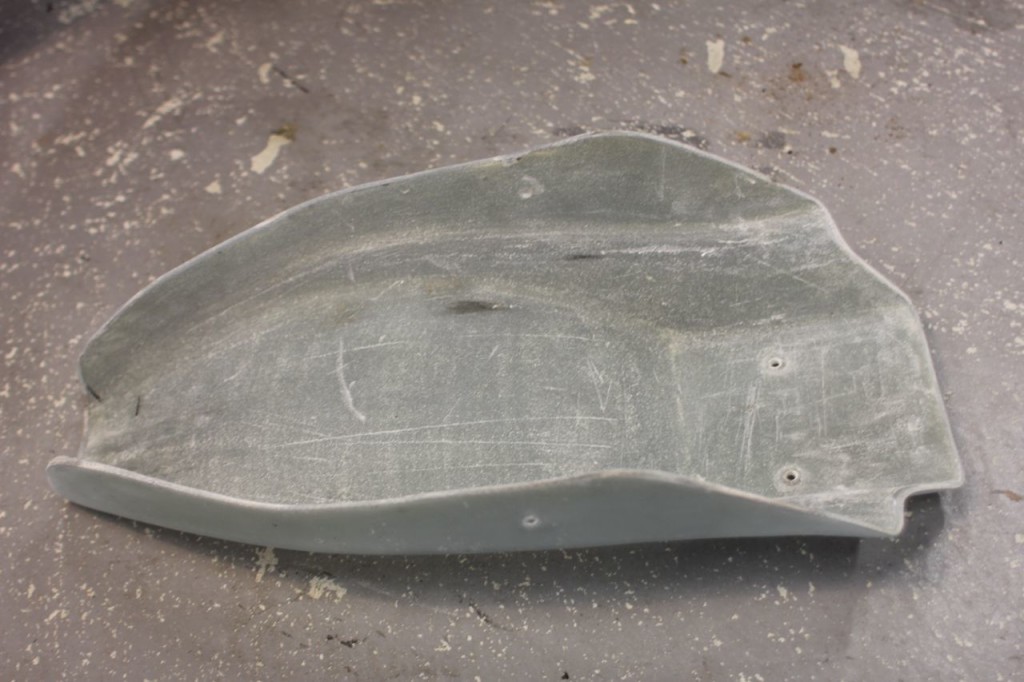
Streetfighter also hand cut the rear wheel and gave it a wash while I shaped some pattern makers foam to use as a plug for the fibreglass seat.
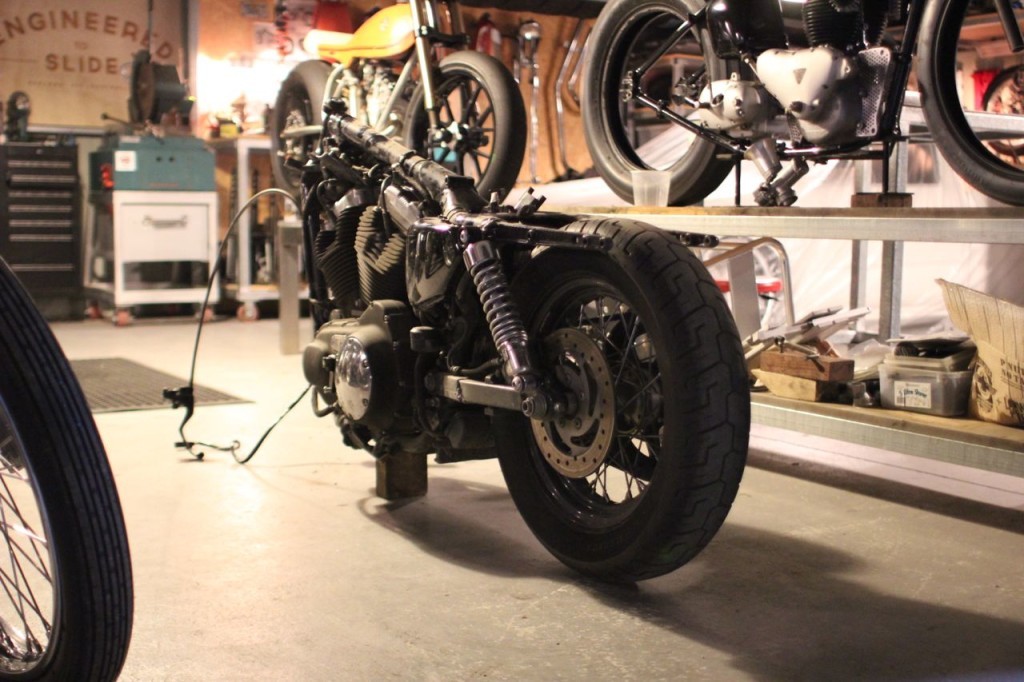
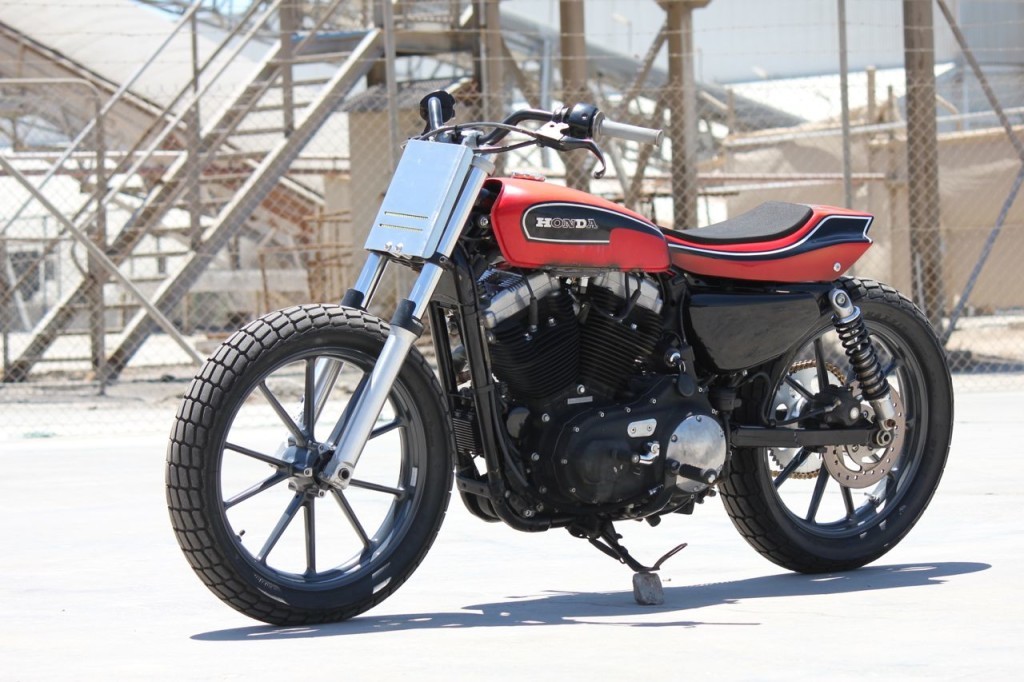
The forks rocked up and I got to work making them fit, first thing I did was strip the legs down and give them to a friend to machine up, flat track bikes don’t need front brakes and they look ugly anyway.
I removed the stock Harley steer tube from the stock triple trees and transplanted it into the Honda triples, it was really straight forward and as soon as the legs were done we slipped it all in.
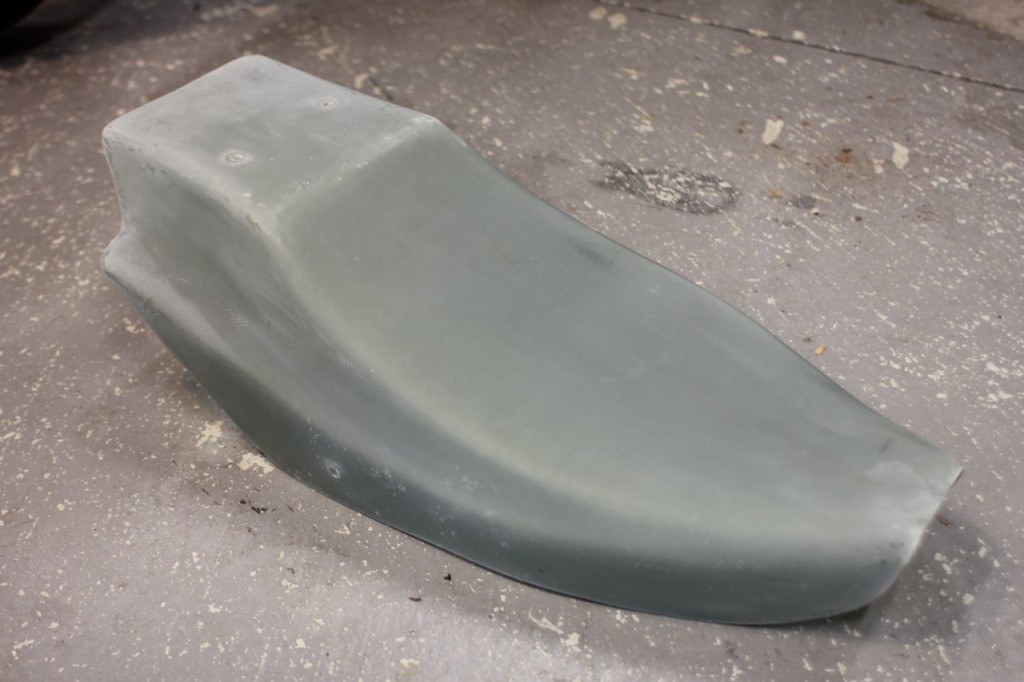
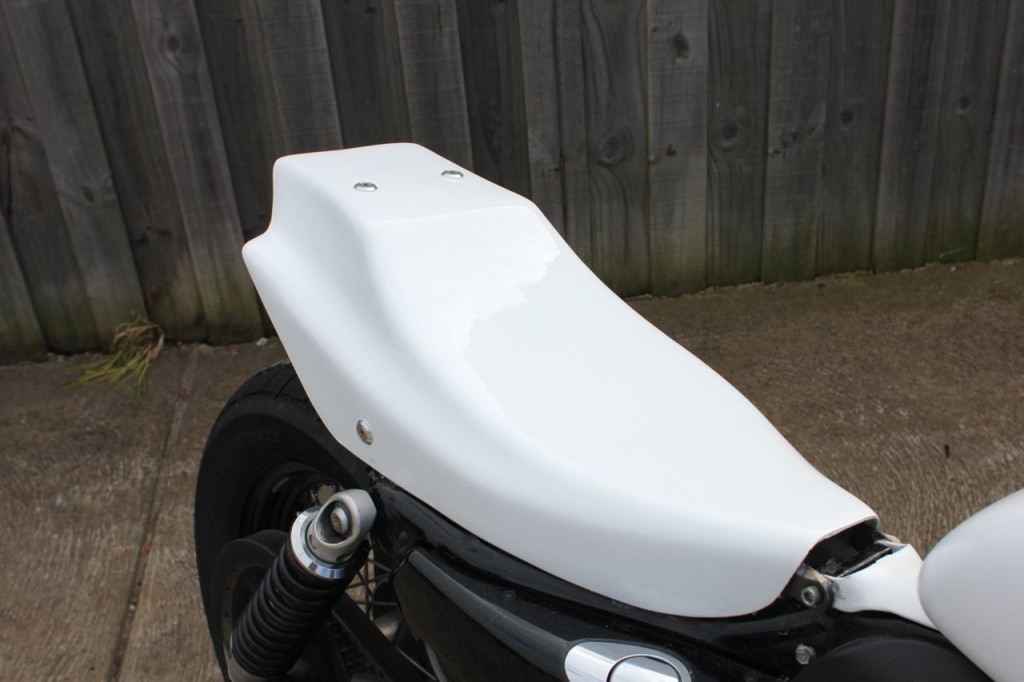
Thanks to Dean Walters for hooking up the fibreglass job by Matty Shay, Matty took a break from making surfboards and covered the seat plug in woven matting and resin.
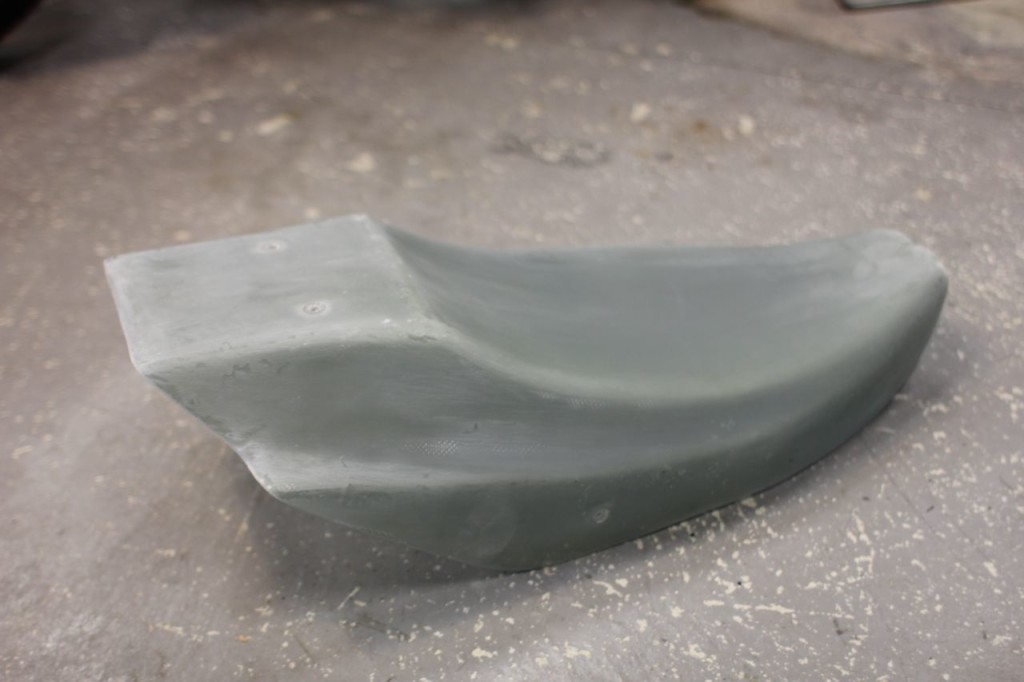
When I got it back I was so happy with Matty’s work, it was thick and strong, makes my life easier to fabricate the seat mount.
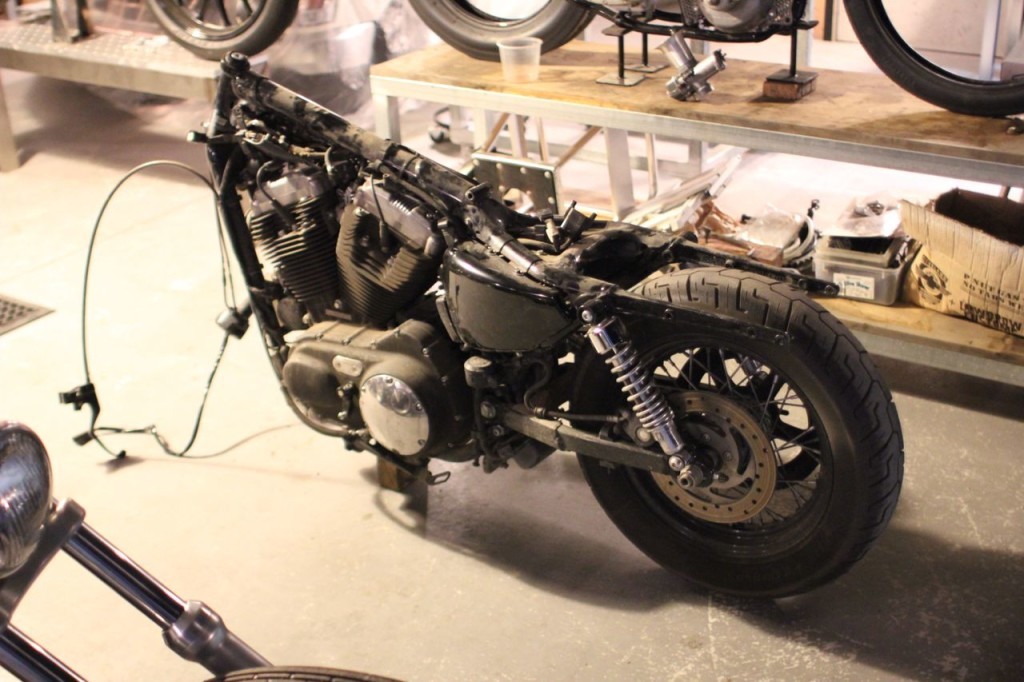
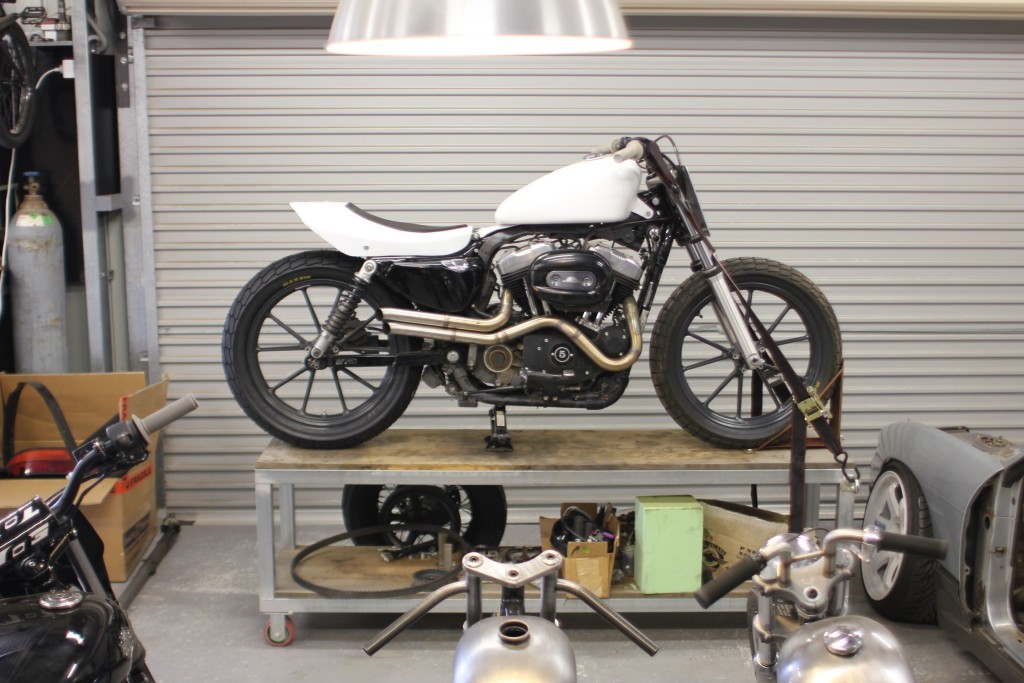
Ted Hallam lent us a heap of parts from his old Sportster, we fitted up some longer shocks and replaced the forward controls with mids, cheers Ted.
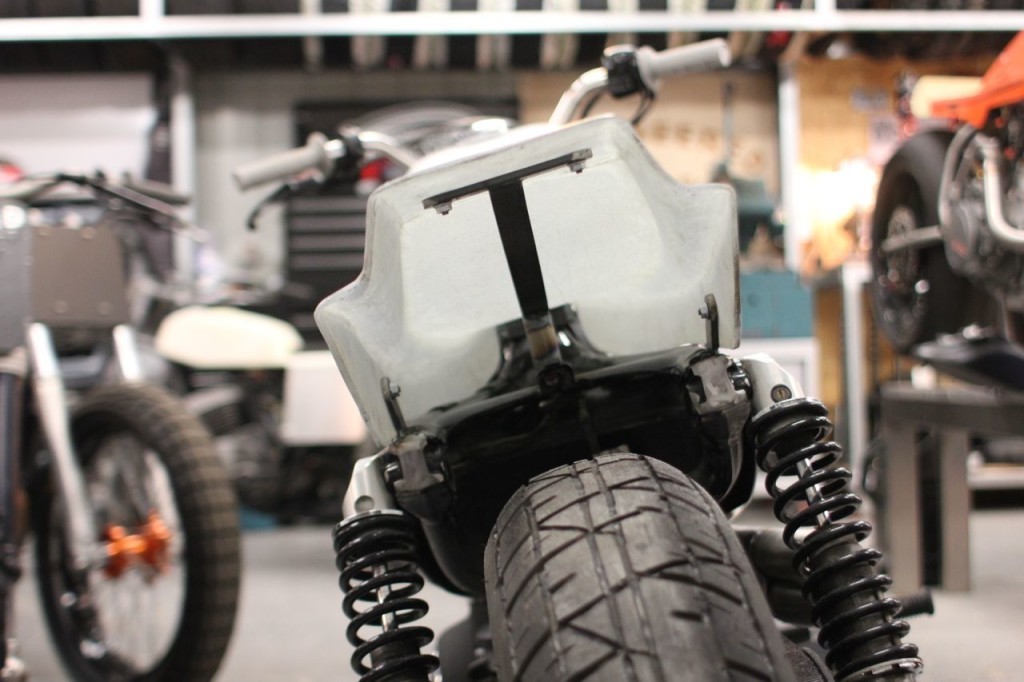
I mounted up the seat and gave it a paint.
Cheers also to the boys at Road and River Newtown for fitting up the Maxxis tyre onto the Triumph rim, Streetfighters borrowing the rim and tyre off me while we work out a new set of 19 inch rims to build, our tight time frame meant we have to make do with the stock rear tyre.
This rim believe it or not cost me 1,000 yen, I found it in Japan and immediately got Jesse Streeter to send it over, I love yahoo auctions Japan, so many obscure bargains.
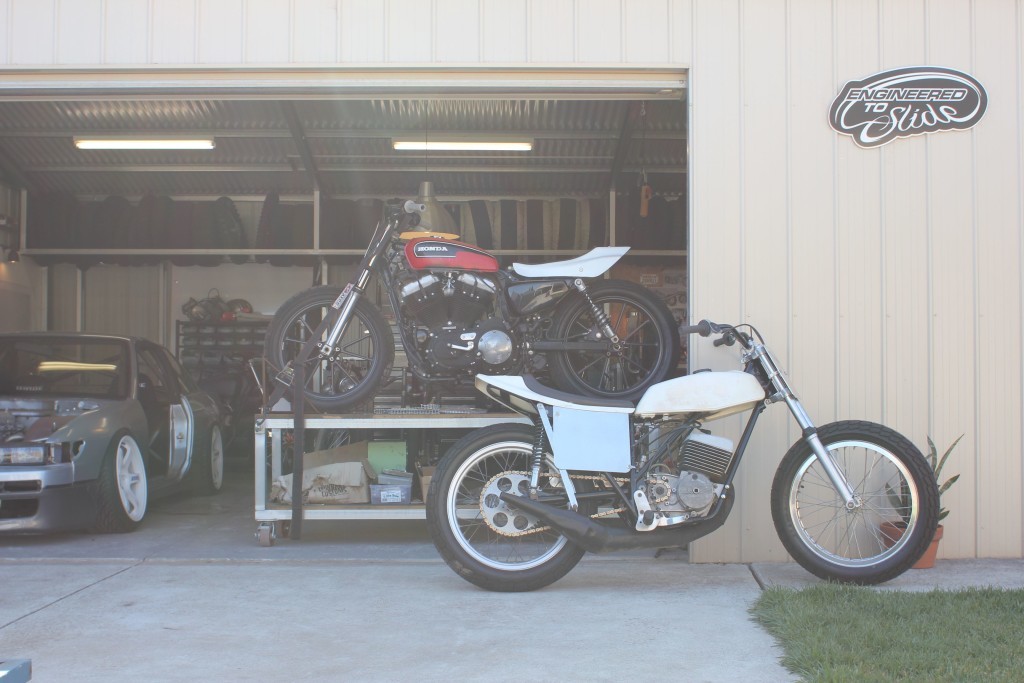
Overall the bike turned out great for a few nights work, I cant wait to see it lap RidePark on Sunday, bring your earplugs this thing will sing!
POST UPDATE: Well Streetfighter was done with this bike and I gladly took it off his hands.
I had a vision for this bike long before we went to the auctions, it frustrated me that it was only a few pieces away from reaching its potential.
So when it arrived back into my garage I went to work on the plans I had in my head.
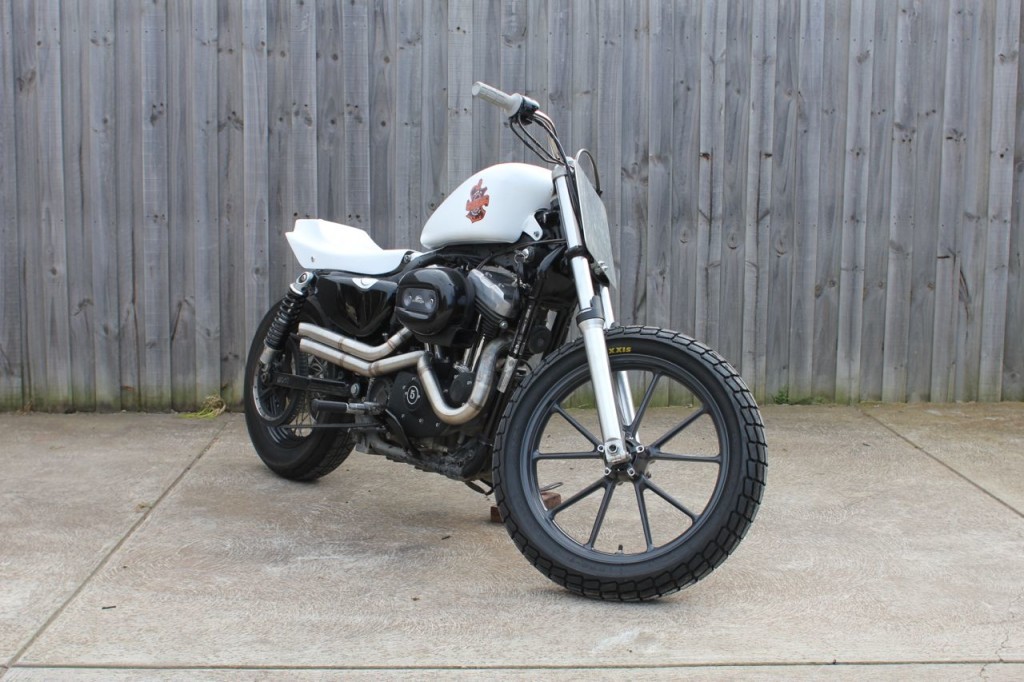
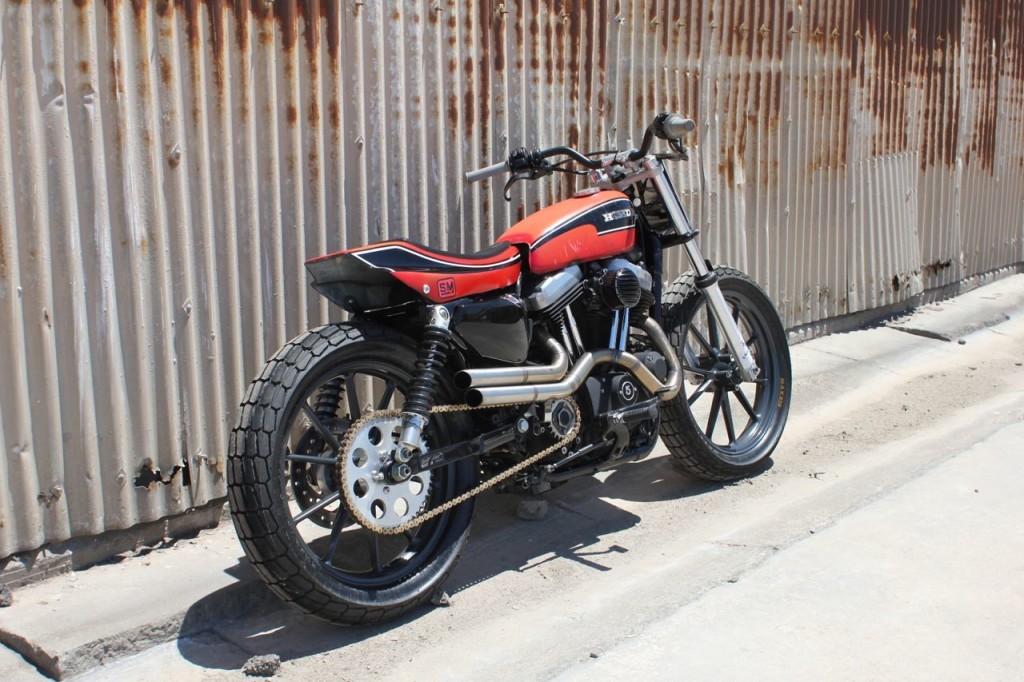
I had a matching Triumph Tiger Explorer 19×2.5 front rim that was always destined for this bike, the factory 16 and belt drive setup really didn’t cut it so I went to work making it fit.
Up on the table I removed the old wheel and belt drive setup and started to see what I needed. with the new 19 in place I could measure the adapters needed to mount the sprocket and brake disk.
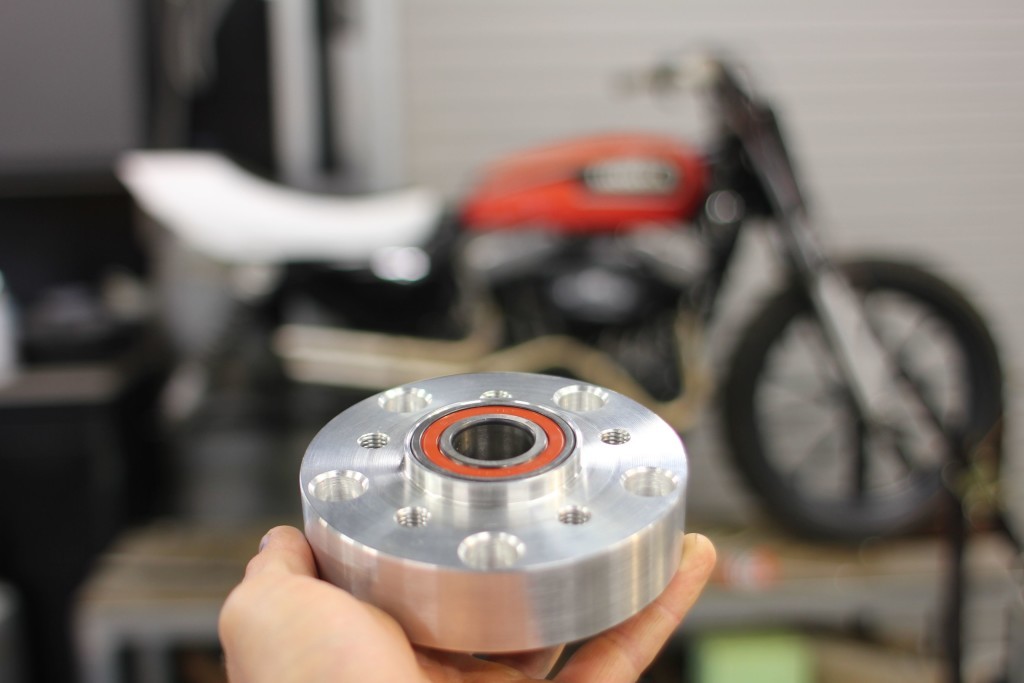
The adapters are made from alloy and locate onto the factory disk hub with the PCD counterbored in to hide the bolt heads.
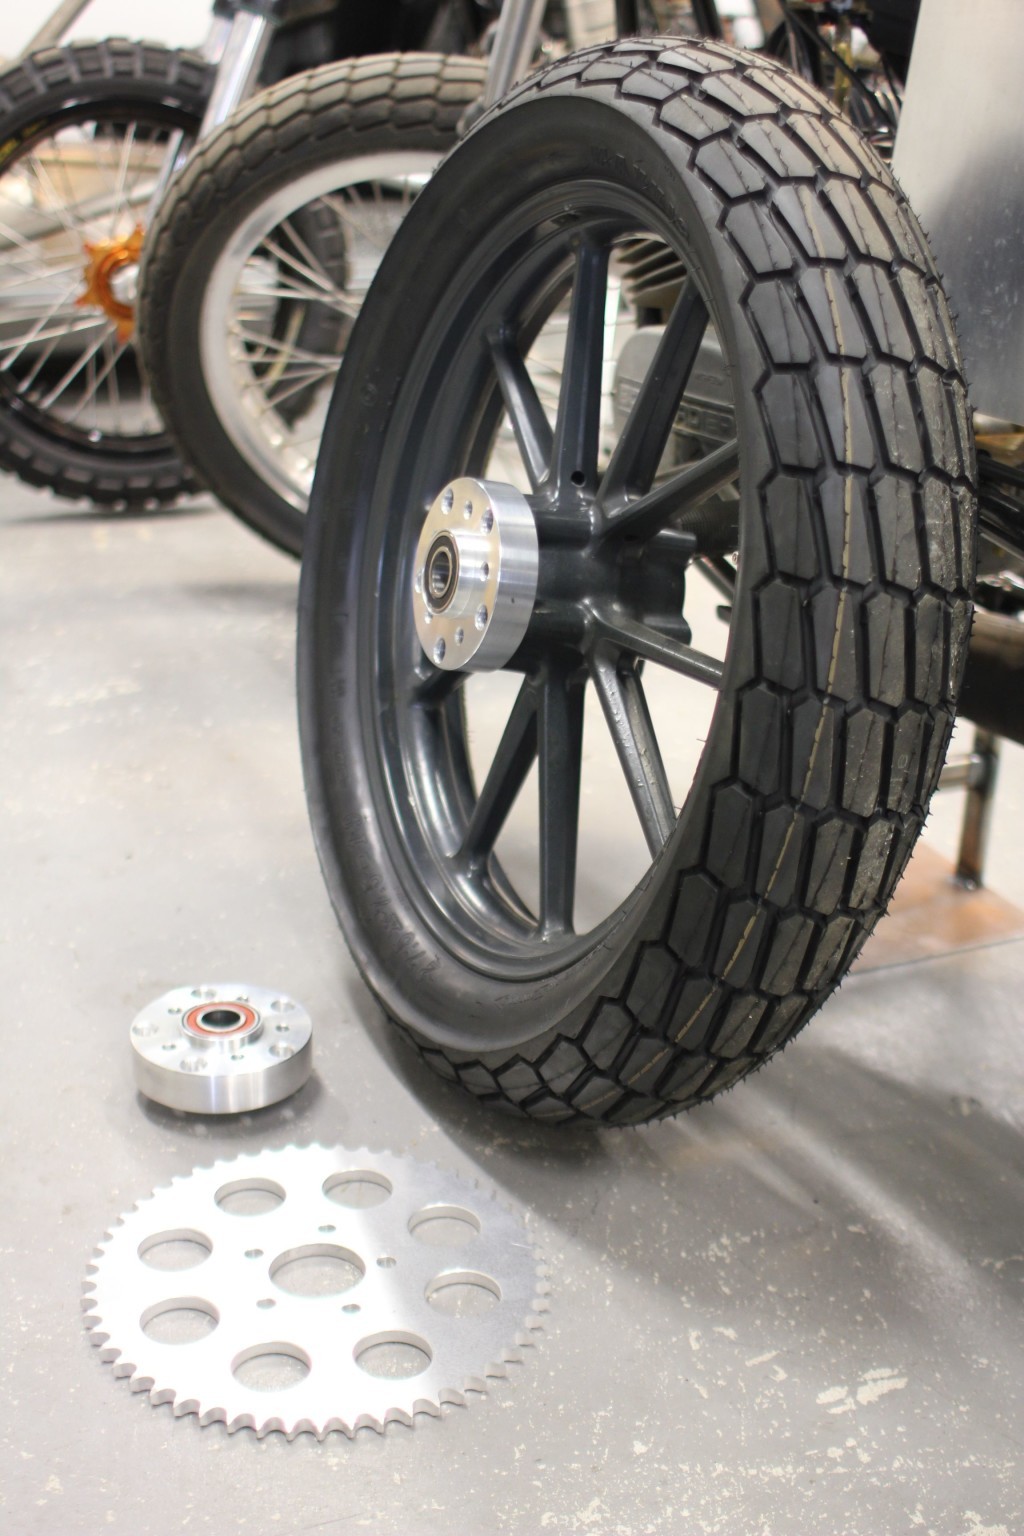
The big harley 1″ bearings match the stock axle and after the adapters are bolted on and loctited the disk and sprocket can go on.
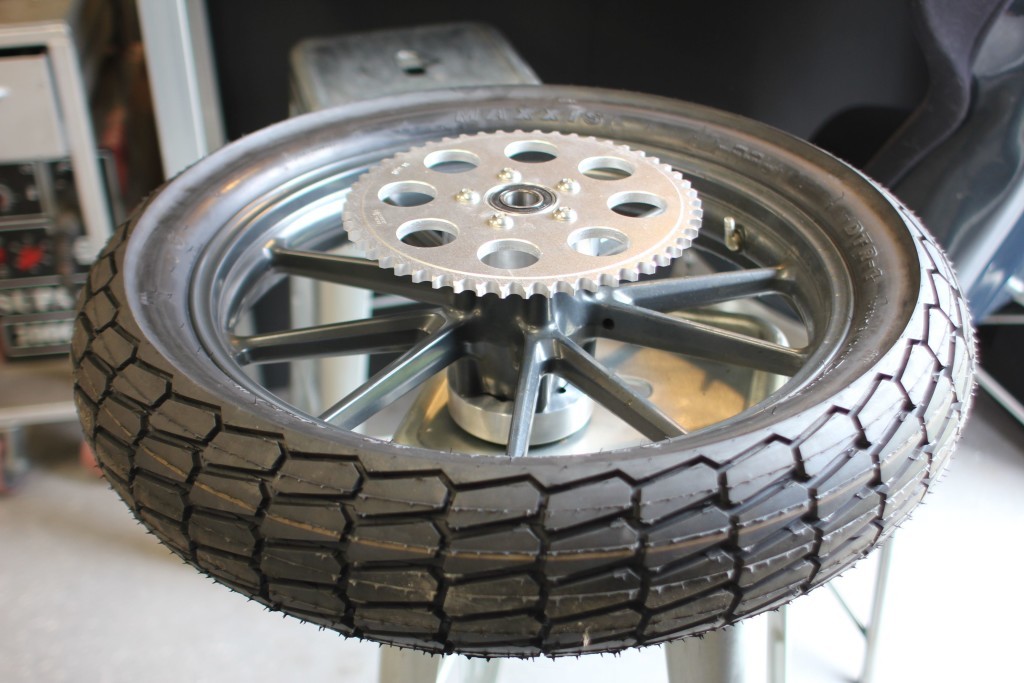
The sprockets are from Lowbrow customs and it was the easiest and cheapest option for the conversion. The rear sprockets alloy which is a welcome change from all the Steel that HD use.
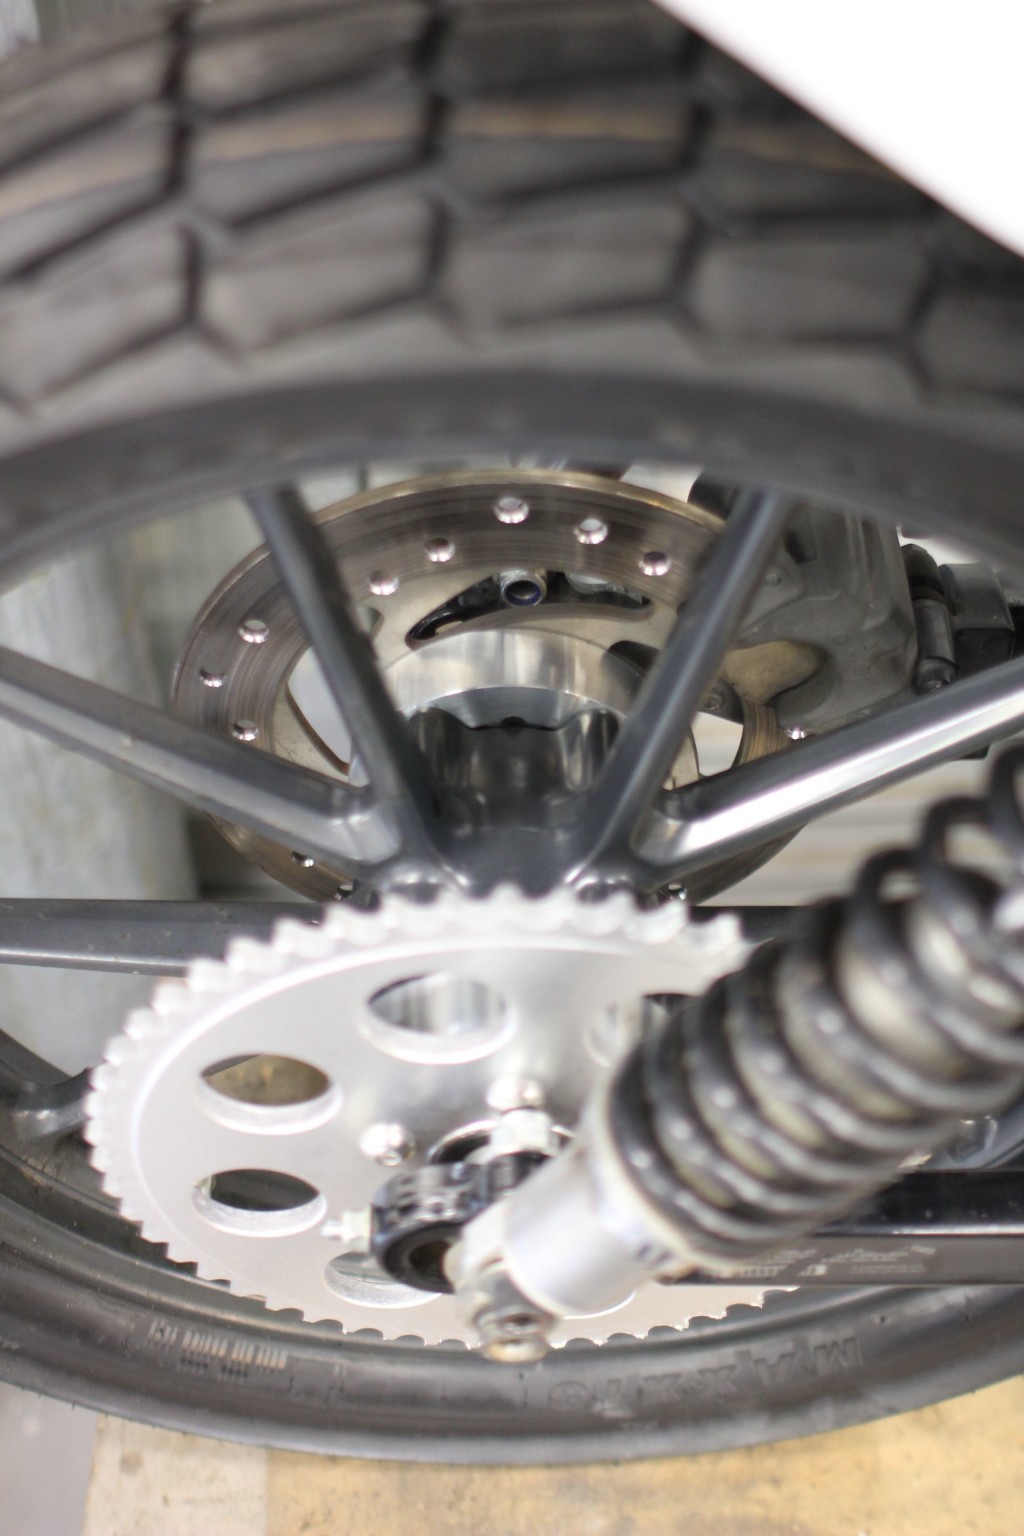
With them bolted up it all works perfectly.
Quick test run to make sure its all solid.
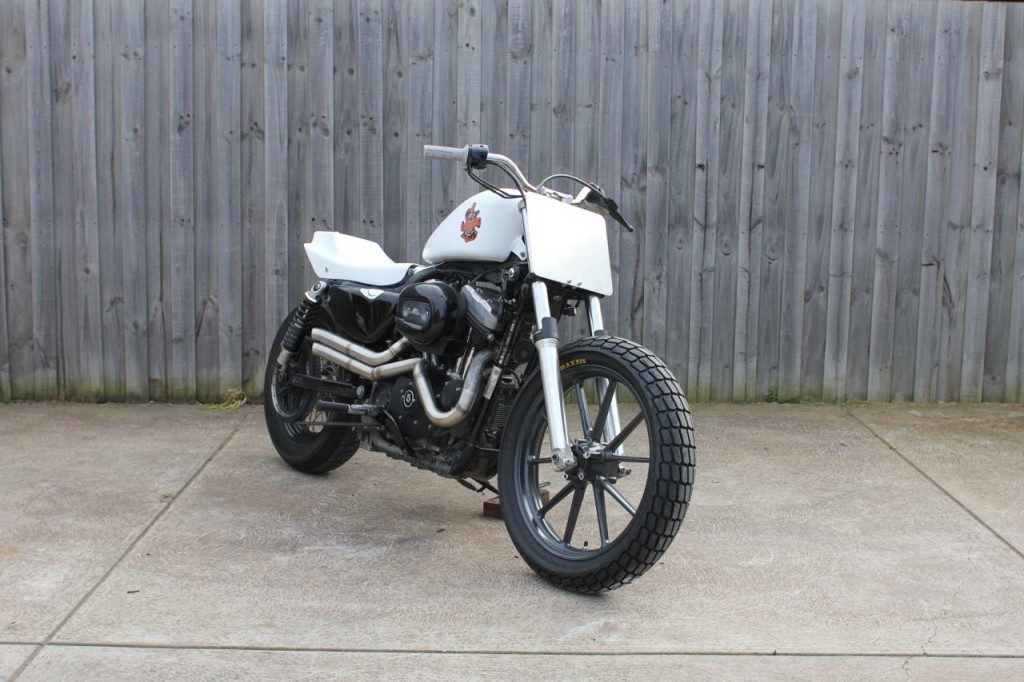
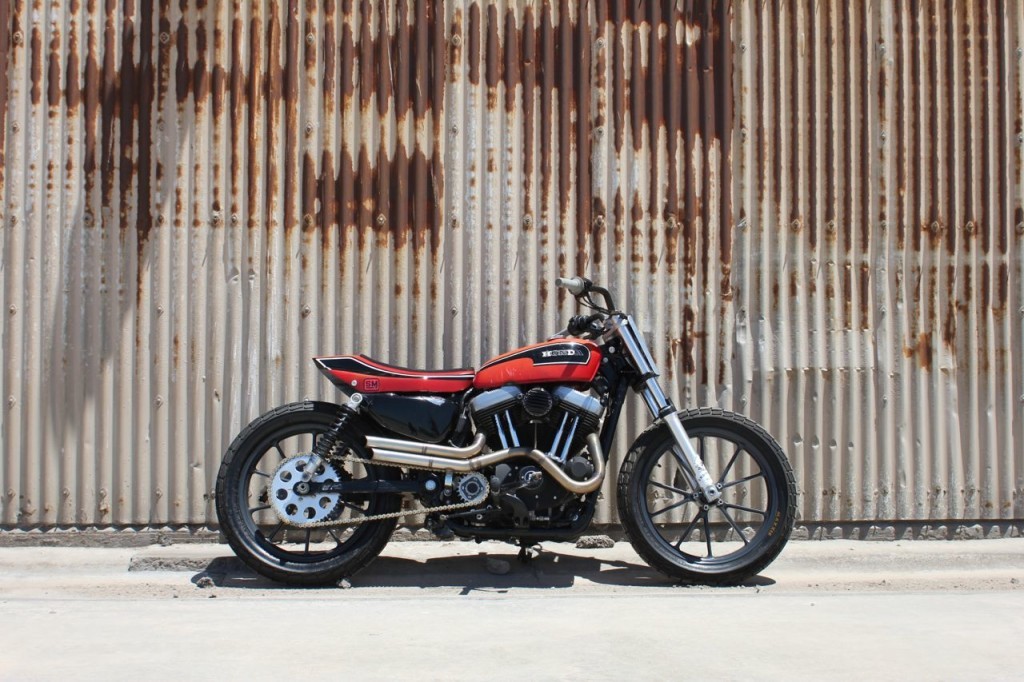
I had always hated the stock hight of the sportster tank, it almost never looks good in any situation so I started trying out different tanks. I bought 8 tanks of a wrecker who ran a shop near my hometown, these things are like gold to people like me.
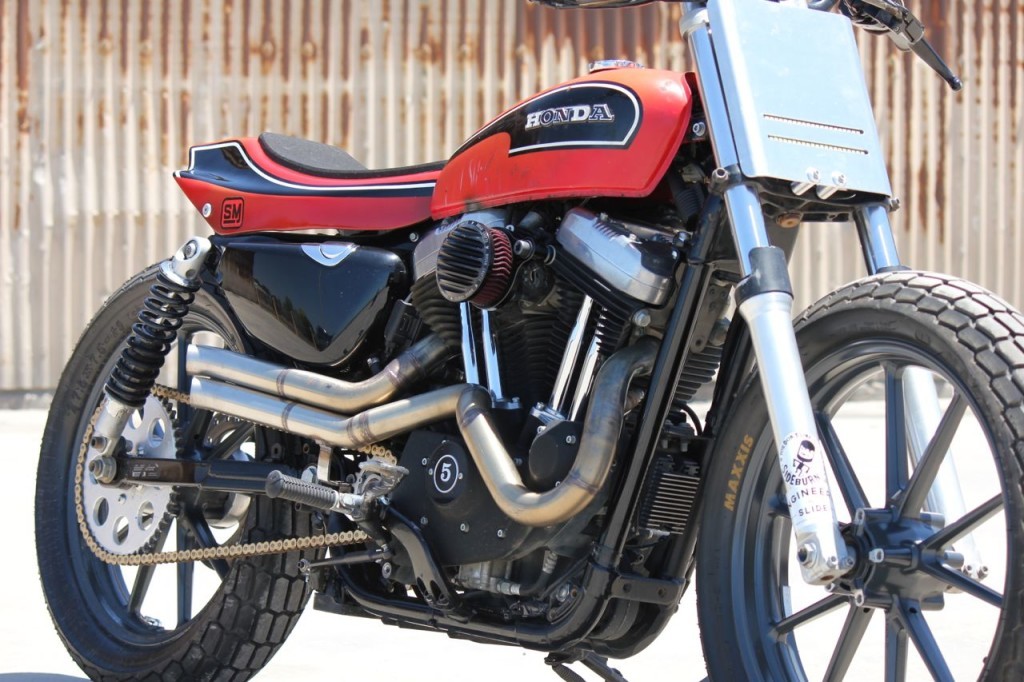
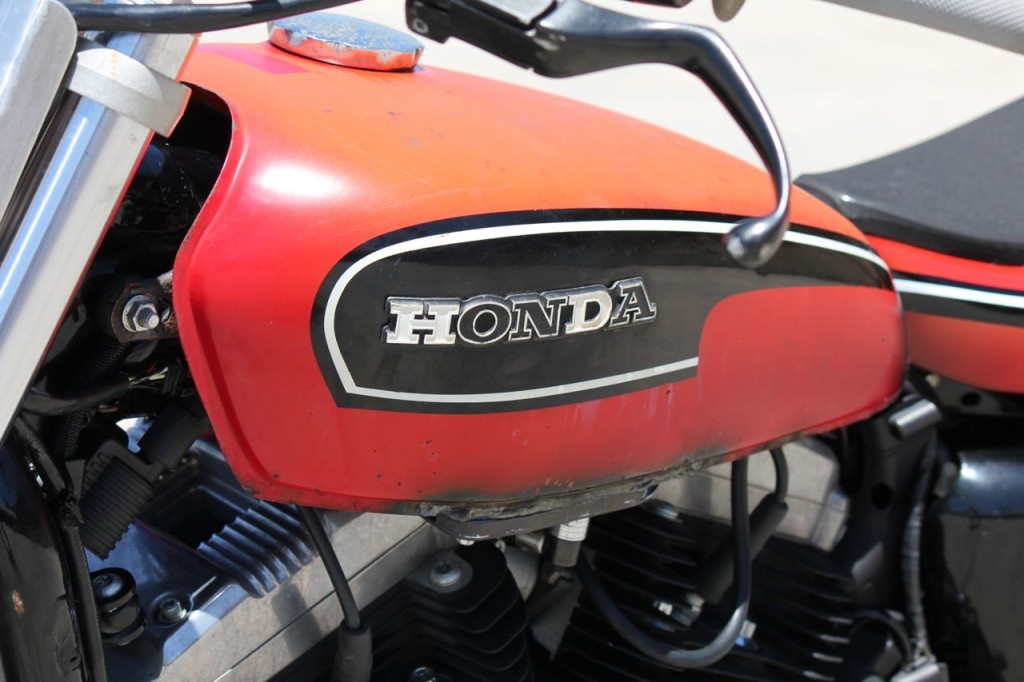
As soon as I sat this tank on the bike I was sold, I just had to retro fit the EFI gear into it, its pretty easy as the harley EFI module flange is nice and big with a decent rubber O ring seal.
I spoke to Karl from KDS Designs, a local Pinstiper and Traditional automotive paint artist, we had a few beers and chatted about a direction to finish the bike, I didn’t want it to be too nice, I have caved in many tanks and I didn’t want this one to go the same path once painted.
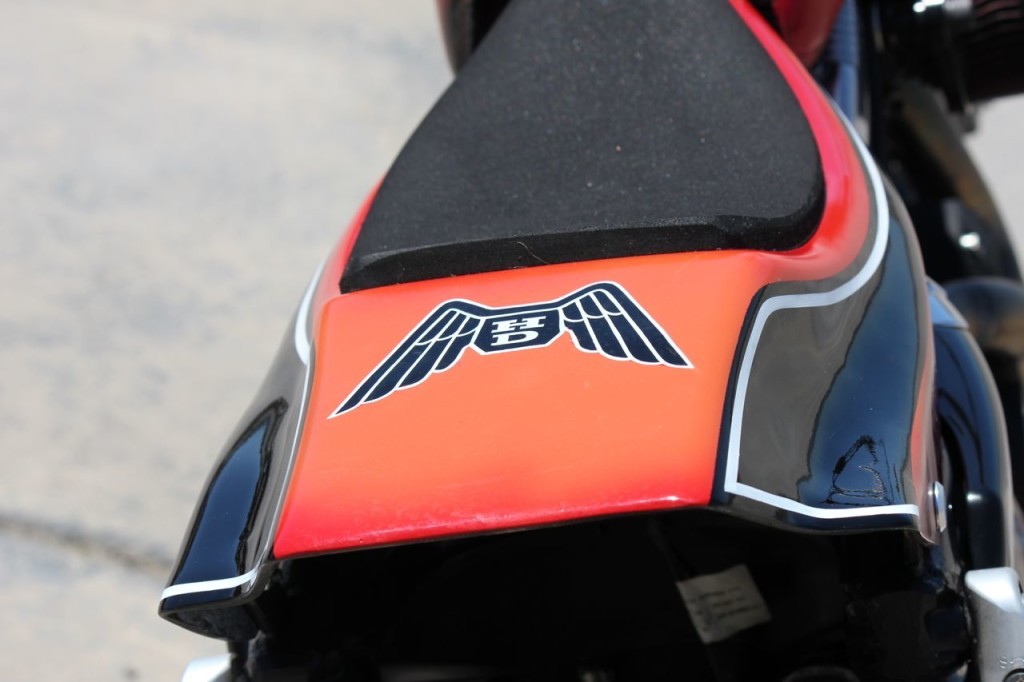
So I left the bike with Karl and came back a day later to see the rear end matching the stock tank, the badge is a clever touch, notice the H-D in the Honda emblem is highlighted? And the HD/Honda wings on the tail, its all meant to finish the bike in a very unfinished manor.
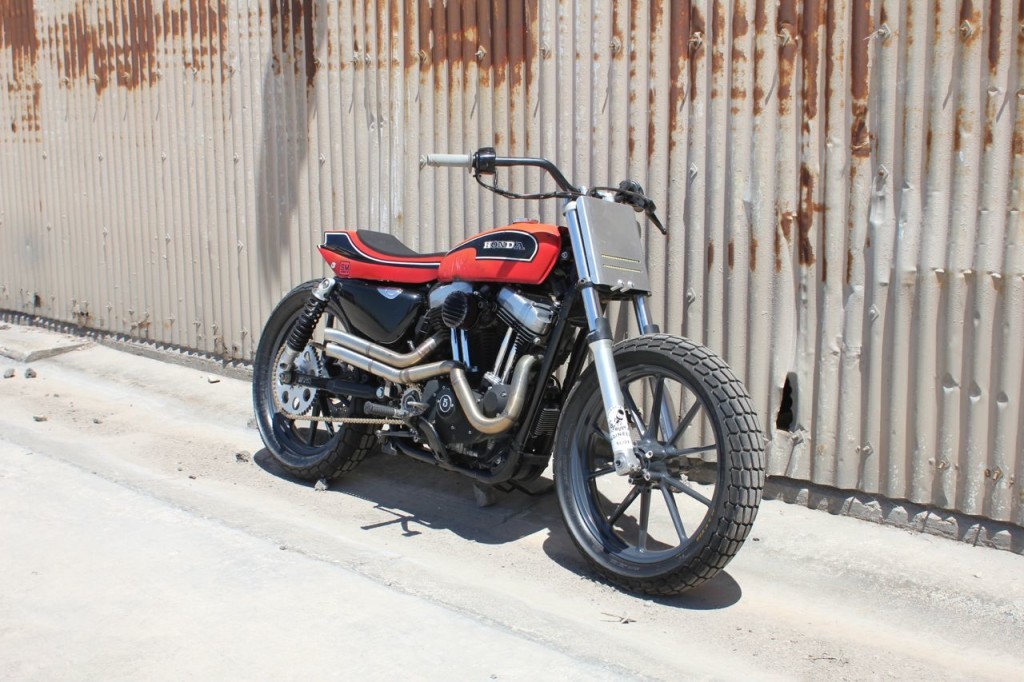
I made a high and low beam number plate using daytime running LED’s just another finishing touch.
I’m really happy with the overall finish of the bike.
It performs faultlessly.
And does it in style.
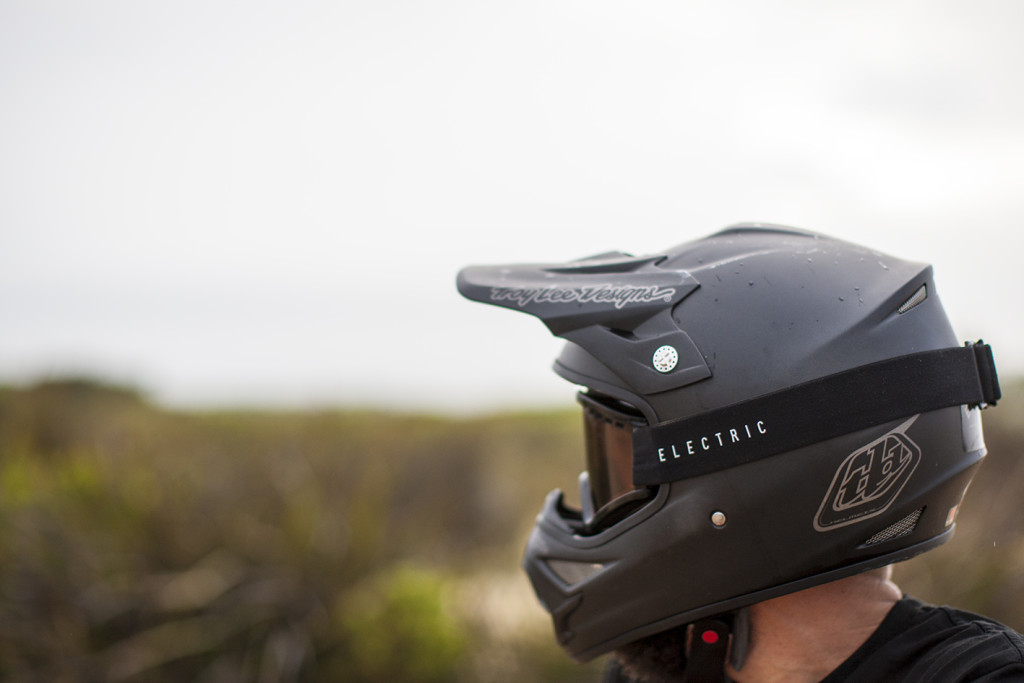
Never a bad time in this blood bucket.
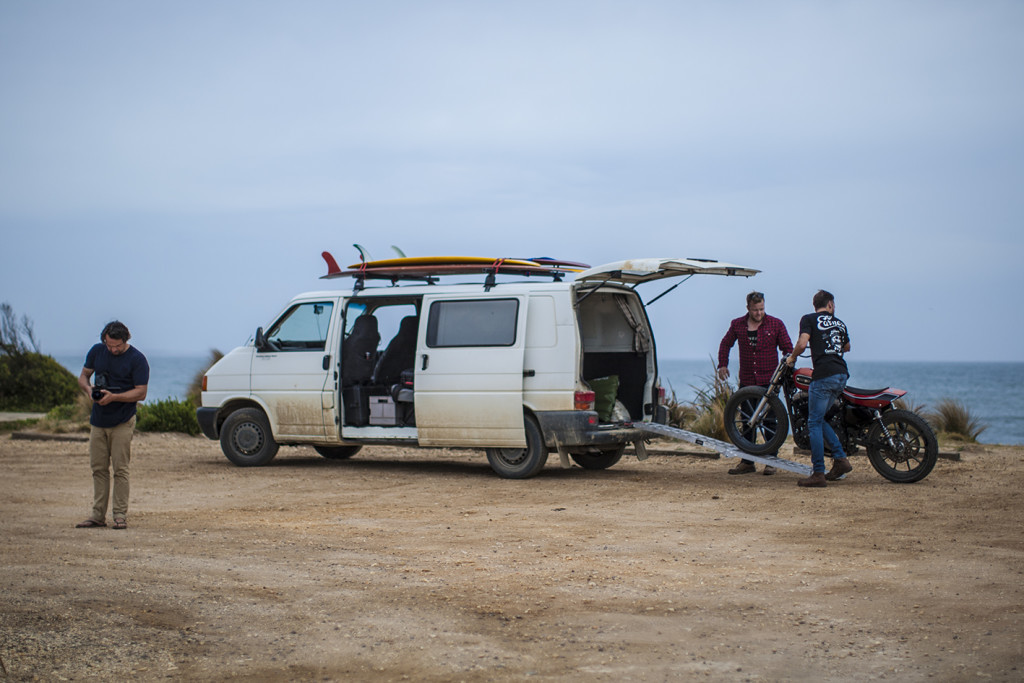
While the boys check the surf I check the carpark.
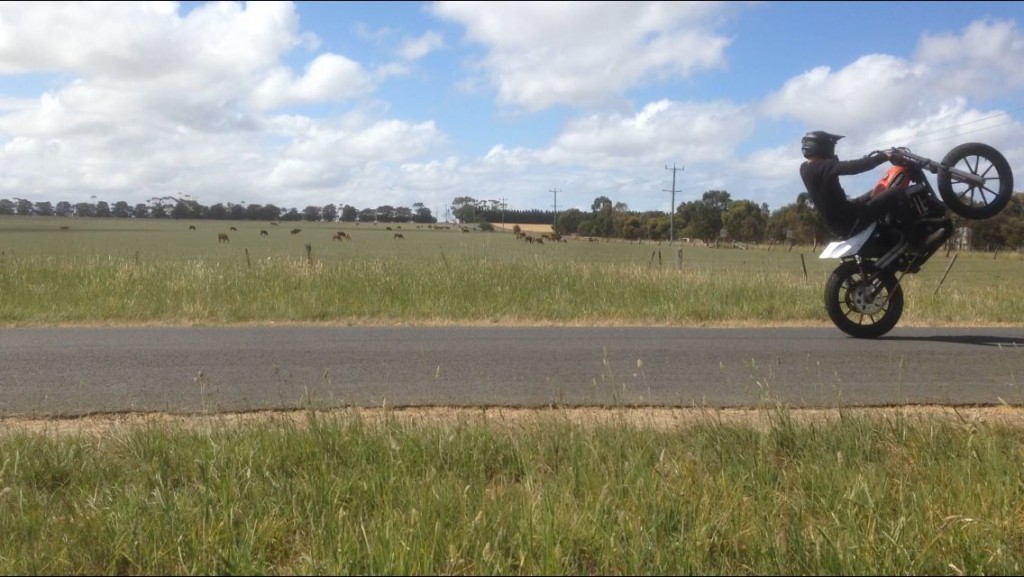
Hooning!
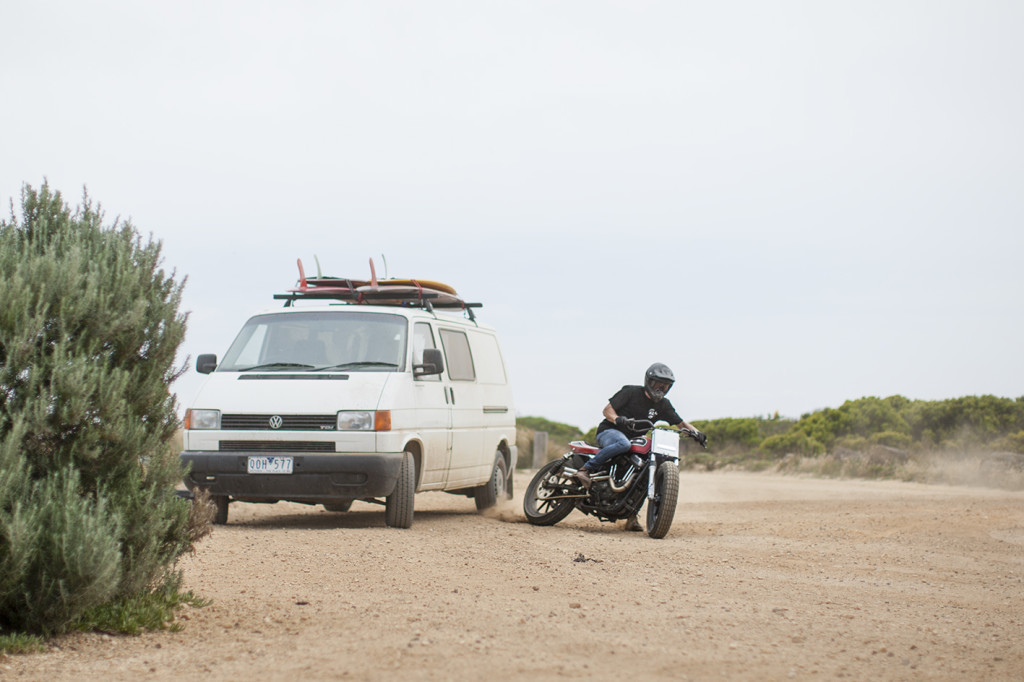
Using Deans T4 as the wall marker.
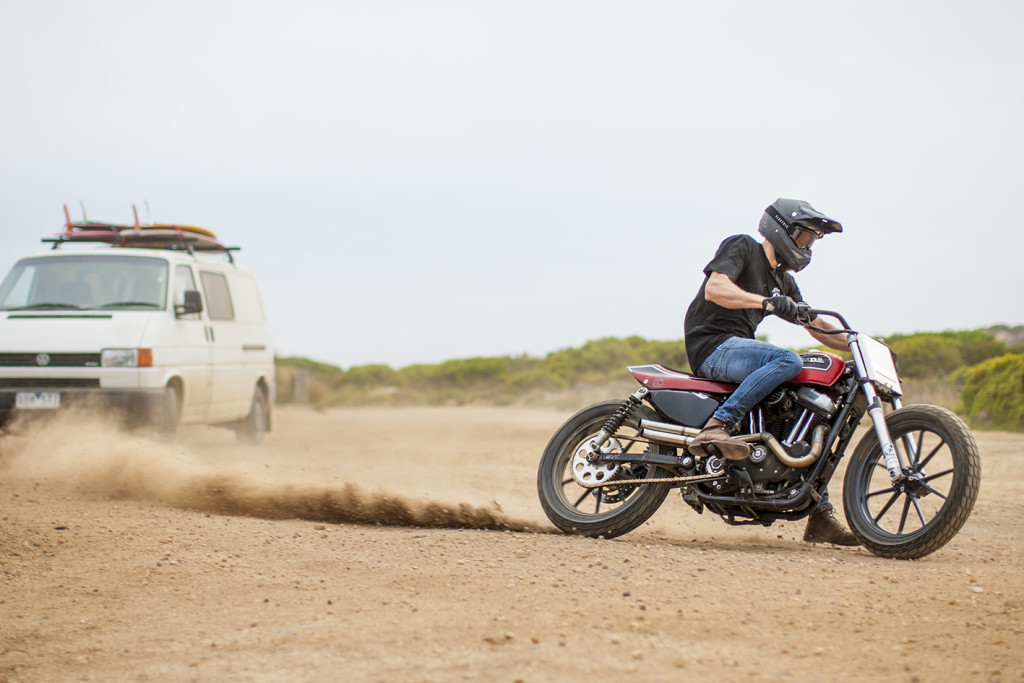
Then Power out!
Thanks Dean Walters for the action images!

Nick
I wish I knew what the rims were and what honda year and model tank cb? Any info would be great building my bike also how did the forks and triples swap with just the HD stem or did you need to machine a new one?