
In part 6 I did the final test ride before powder-coat, in Part 7 its time to get everything finalised and make the final steps towards the race.
6/03/15
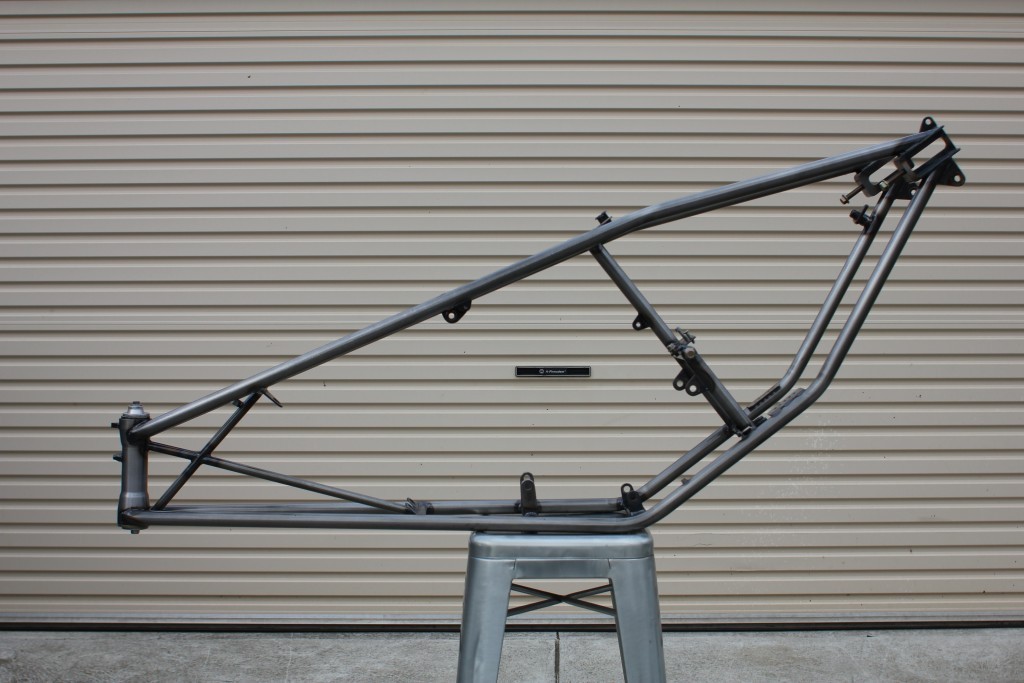
I had to finish early to drop the frame off to Colour Tech to get clear powdercoated, Daniel at Colour Tech is great, he really cares about the jobs I bring in and I am always happy with the finished product. He said the frame would be ready to pick up at 11am the next day, that meant that I had the night off and could then pick up the bike and re-assemble it over the weekend, a whole week before we leave.
So yesterday I got a call from a guy who received my email about his 2014 KTM 350 SXF for sale, up until now I was having a nightmare of a time dealing with people who didn’t seem to want to sell their bikes before the long weekend, we spoke for a bit on the phone and I let him know I was keen to check it out asap, he lived three hours away so I planned on leaving after work.
But I had to shoot home for an interview with the REVIEW a local magazine who took interest in what I do. After that was done I loaded the tie downs in the van and headed off to the bank followed by a 3 hour trip through Melbourne and down the coast.
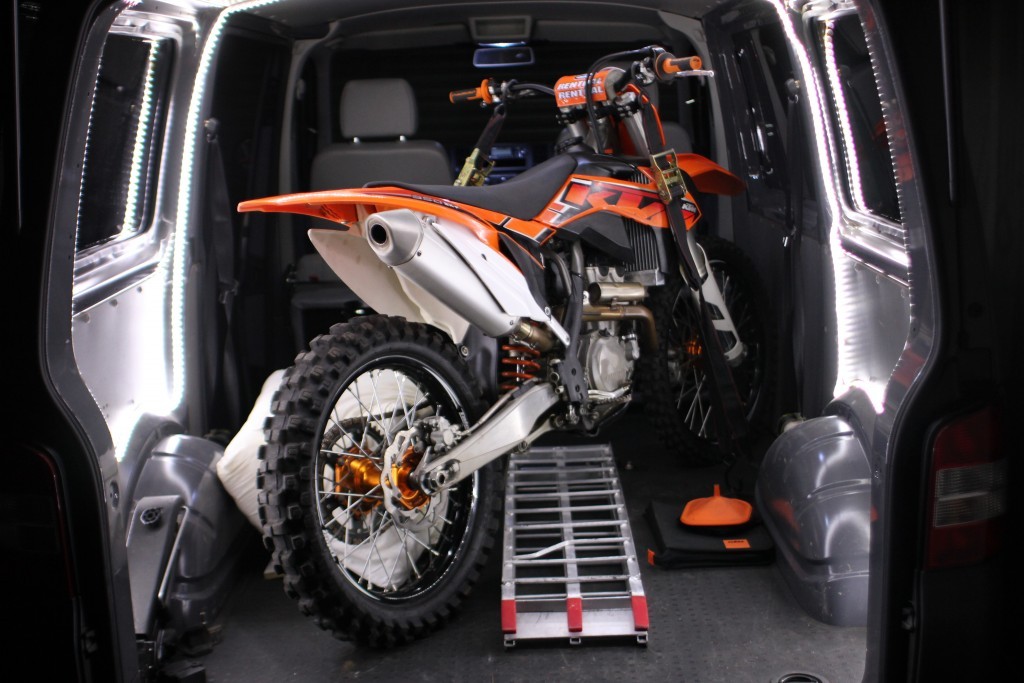
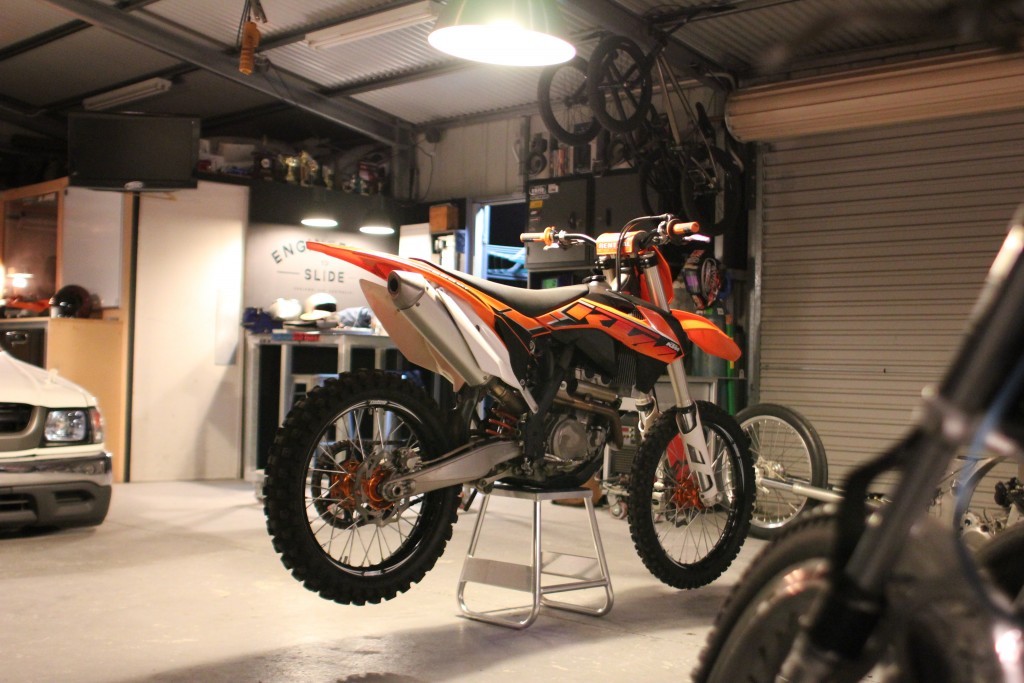
The bike was a 2014, having been only a year old it was bound to be in good condition, finding a motorcross bike that hasn’t been thrashed isn’t as easy as you might think, but when I arrived it was propped up in the drive way and the owner came out to meet me. He was a really nice kid who bought the bike new and couldn’t ride anymore after separating all the muscle off his shoulder after a crash, I could see it was his pride and joy and he was sad to see it go.

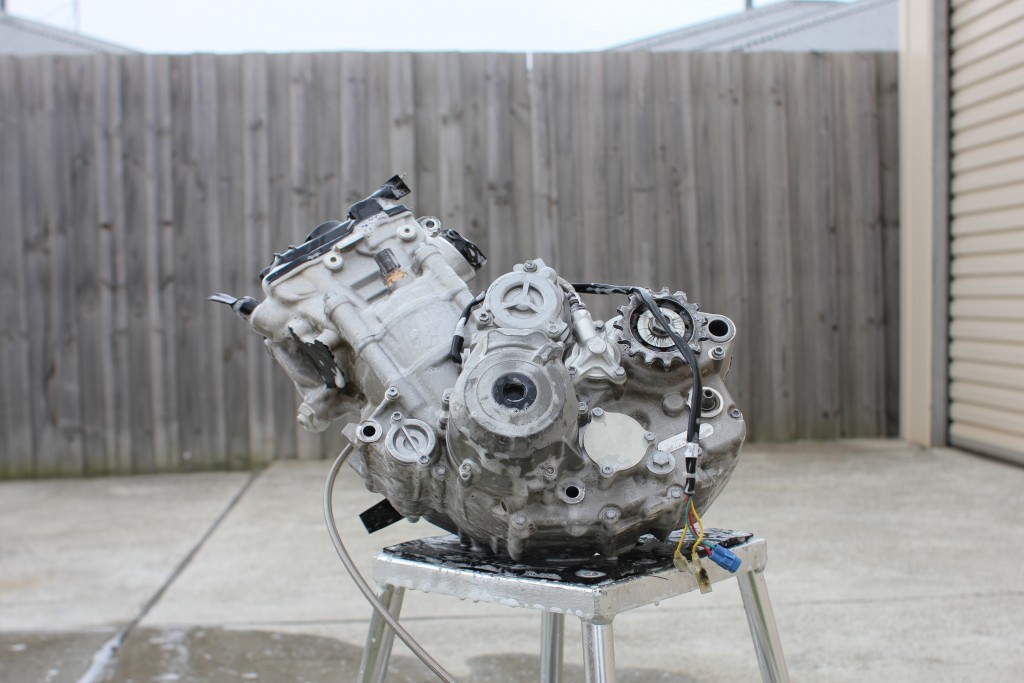
After a ride up the driveway and a little run around I deemed it perfect for the journey, it will act as my registered bike to ride the distance with Dean and a spare should catastrophe occur at the racetrack. It does in fact have about 4 more HP than my 2012 motor in the race bike so I may try changing the throttle body and ECU as I believe the internals are all the same.
So I drove back home $7,500 lighter but happy in the fact that I have now covered all bases and have everything set for the journey, I now have enough spares to sell a complete bike after the trip to recoup the $$ spent on this bike.
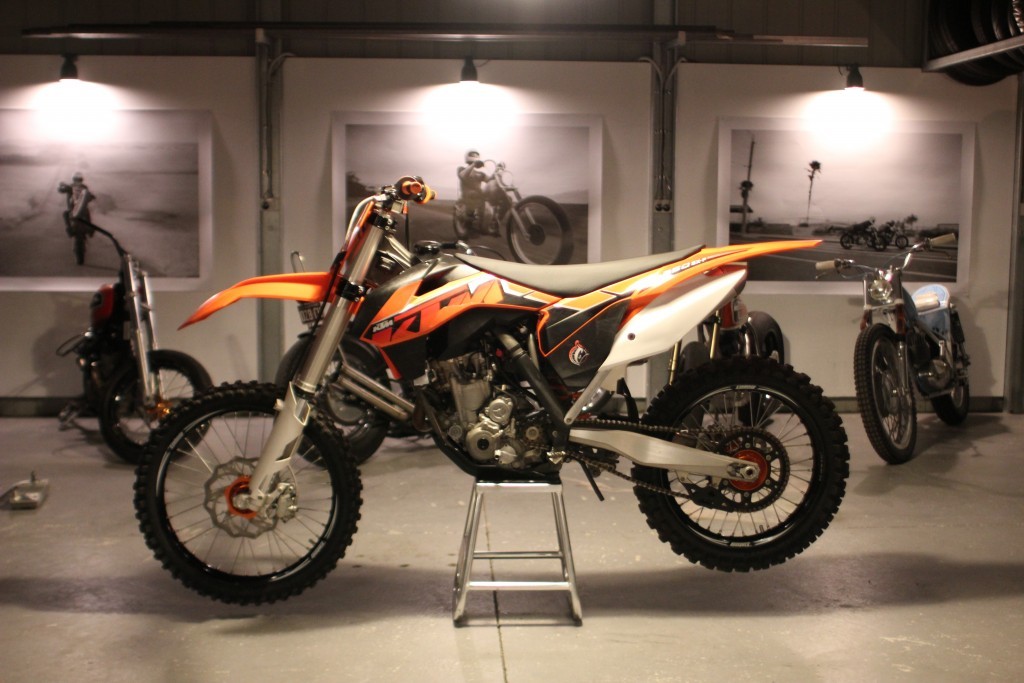
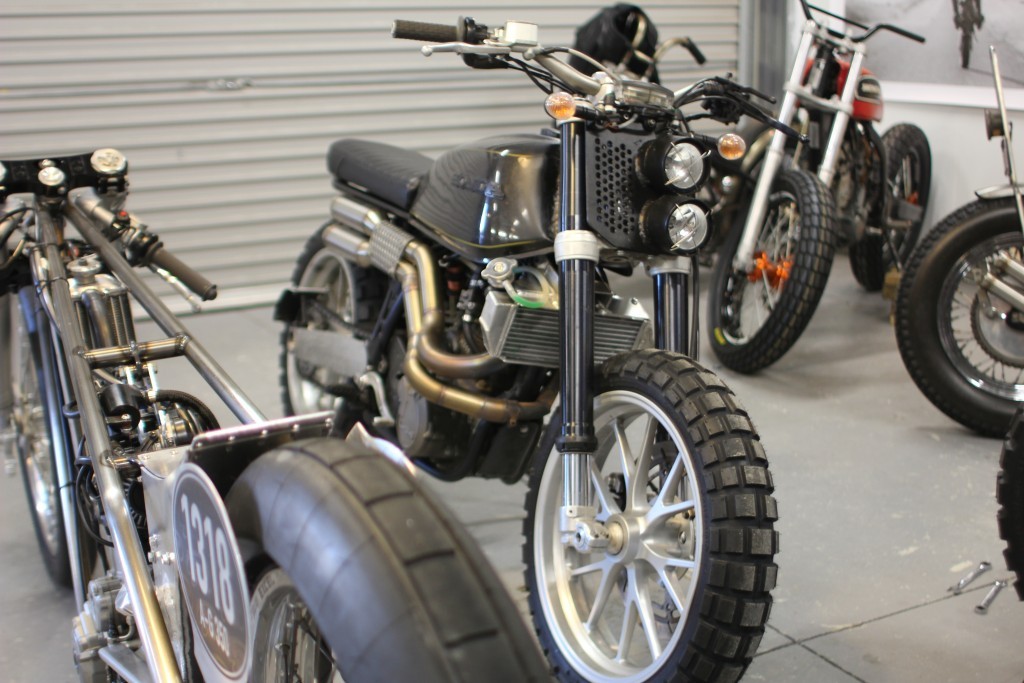
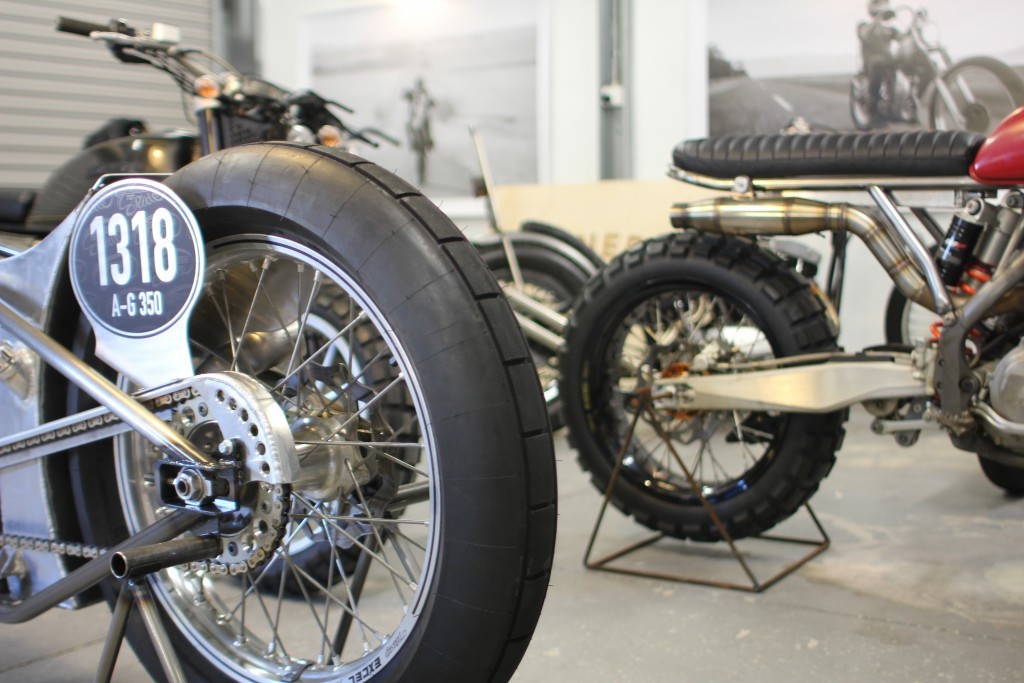
After I got home I unloaded the bike and sat it up in the garage, the plan on the remake for the journey quickly switched and I thought about a flat track inspired theme, I had a set of Maxxis tyres that would need a new rim laced up to the front hub but apart from that not much else. I don’t want to bastardise this bike as its perfect the way it is, but I do want to put my spin on the perfect adventure bike.
Alright I am off to pick up the frame and then start the reassembly of the race bike, getting excited now!
10/03/15
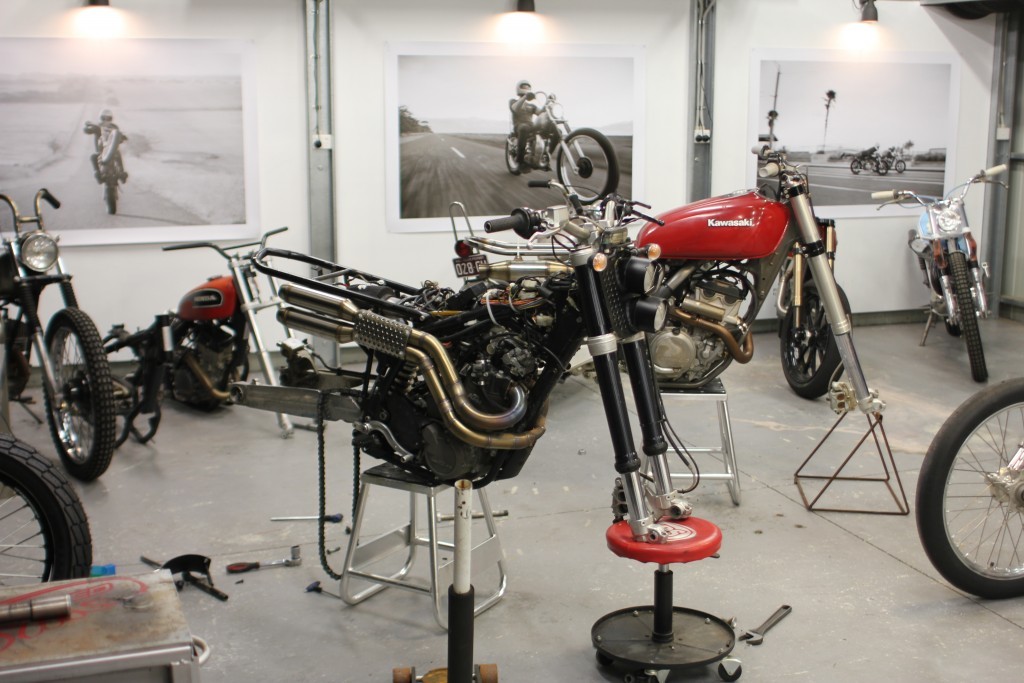
What a massive weekend, Labour day long weekend, I worked from sun up to sun down and then late into the night, the race bike is all back together, the frame powdercoated up a treat, it looks amazing and it was so good to finally screw it all together for good, I was able to clean the engine, all the components and make sure everything was loctited and ready to race.
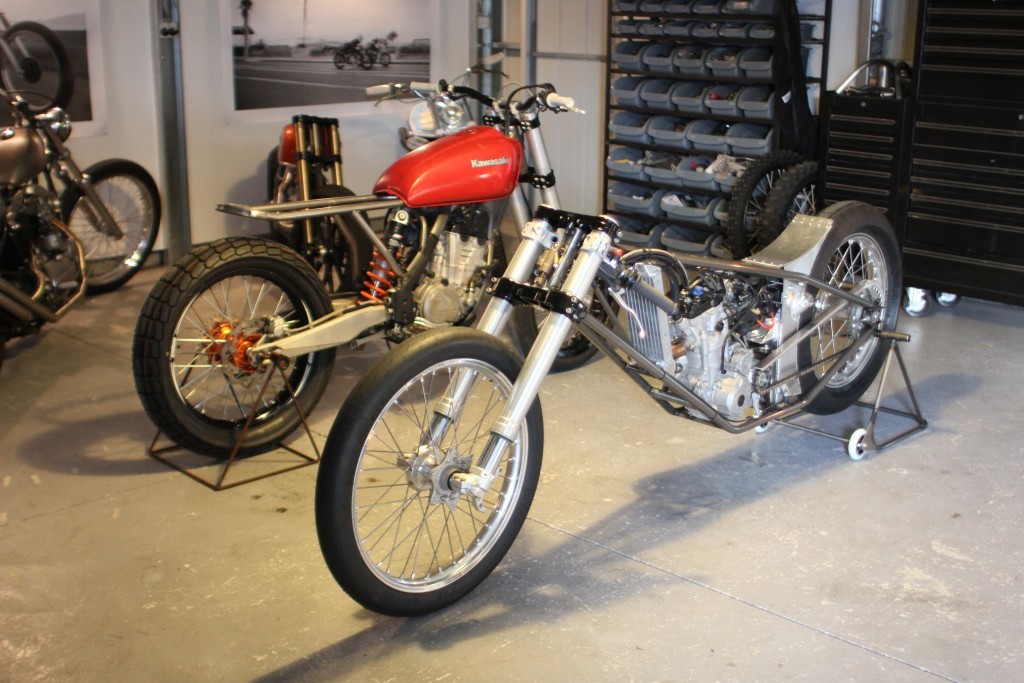
I didn’t spend too much time admiring that though as I had the adventure bike awaiting a heap of work. I didn’t really know where to start so I stripped it down and started from the components that were necessary.
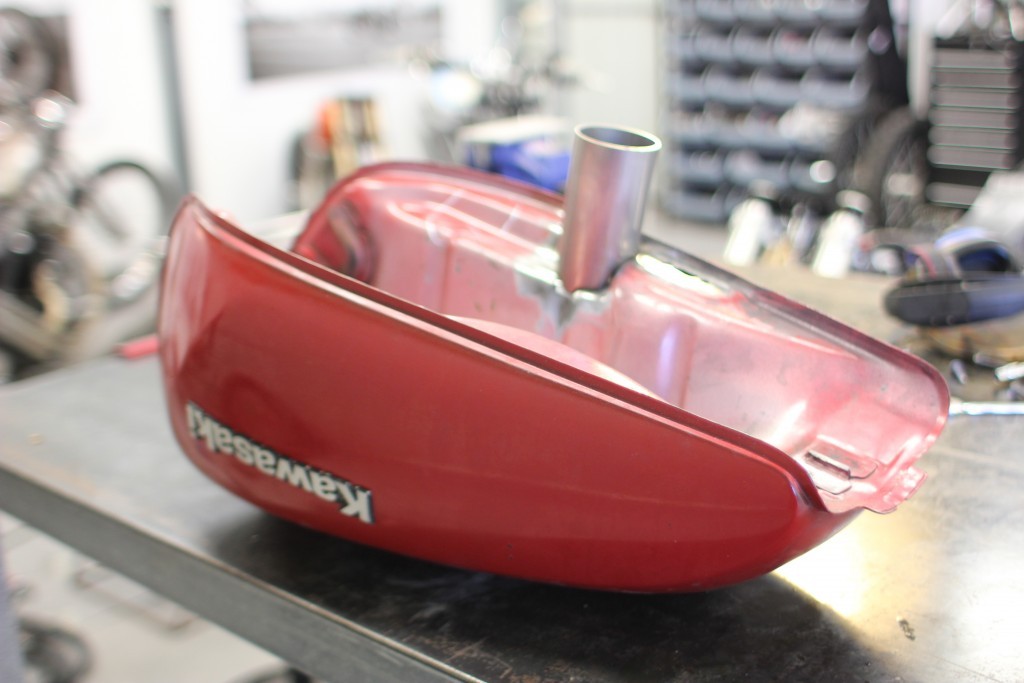
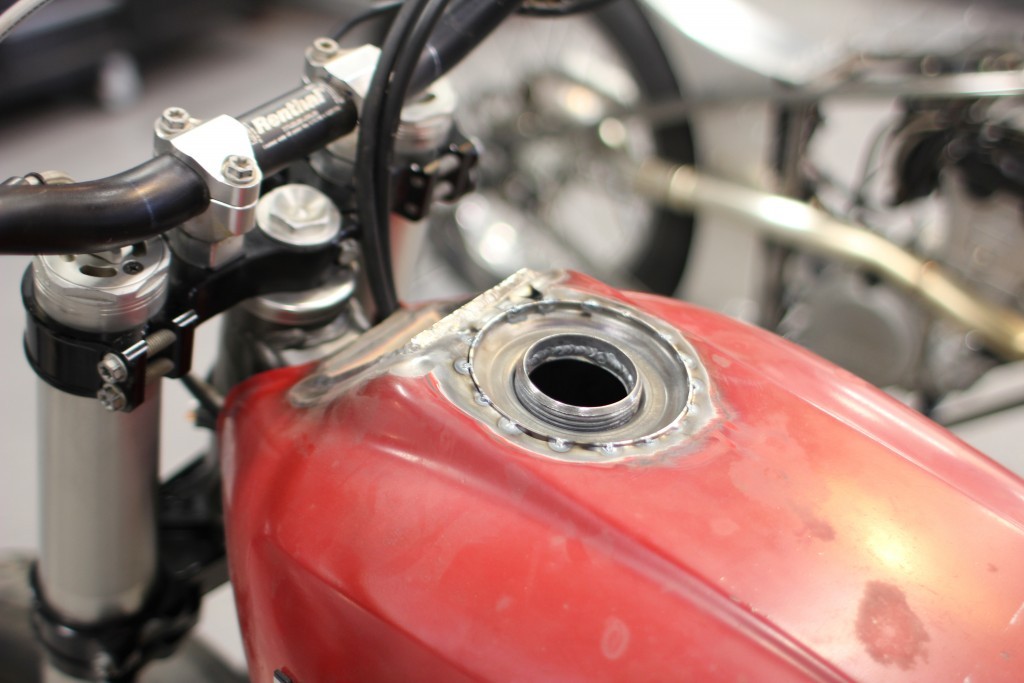
The plastic tank was never going to look good so I commissioned my old Kawasaki tank that I bought from a wrecker for $50 and started to make it fit.

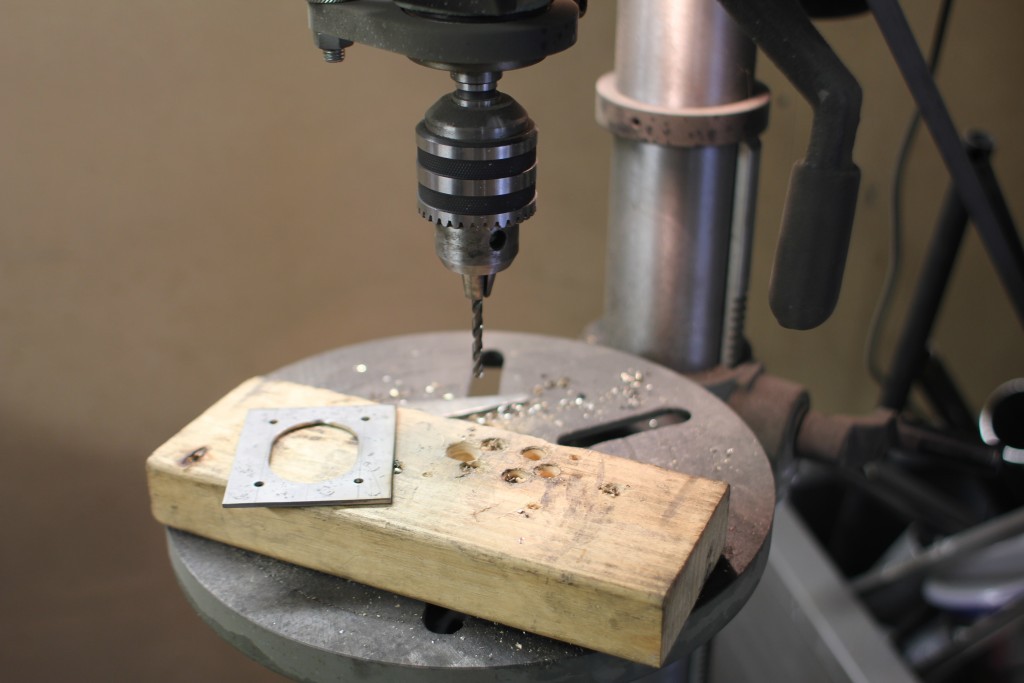
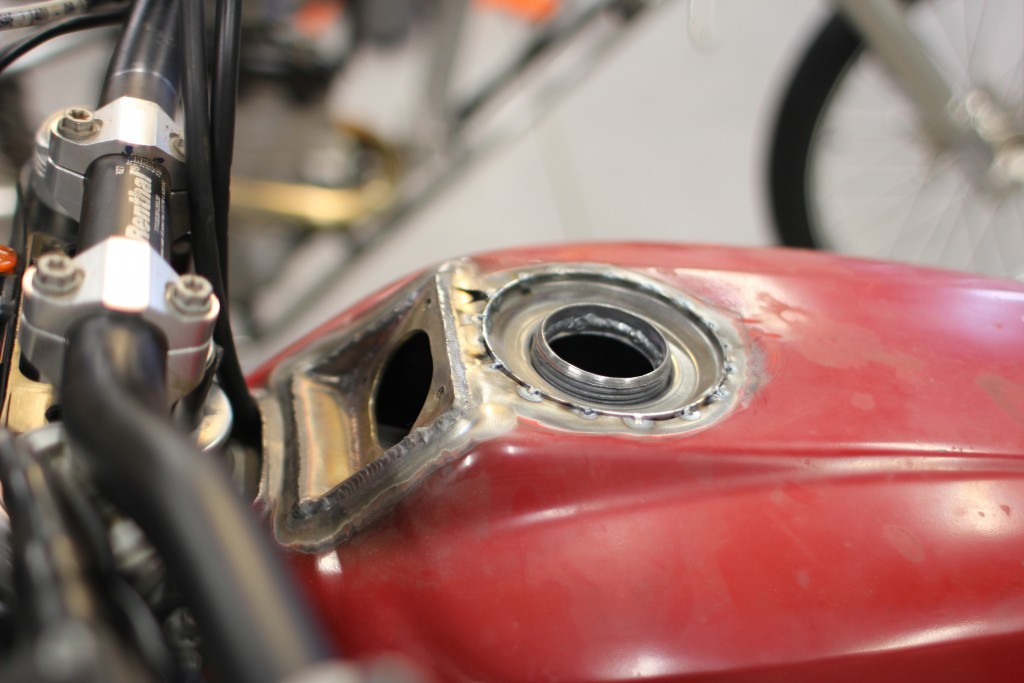
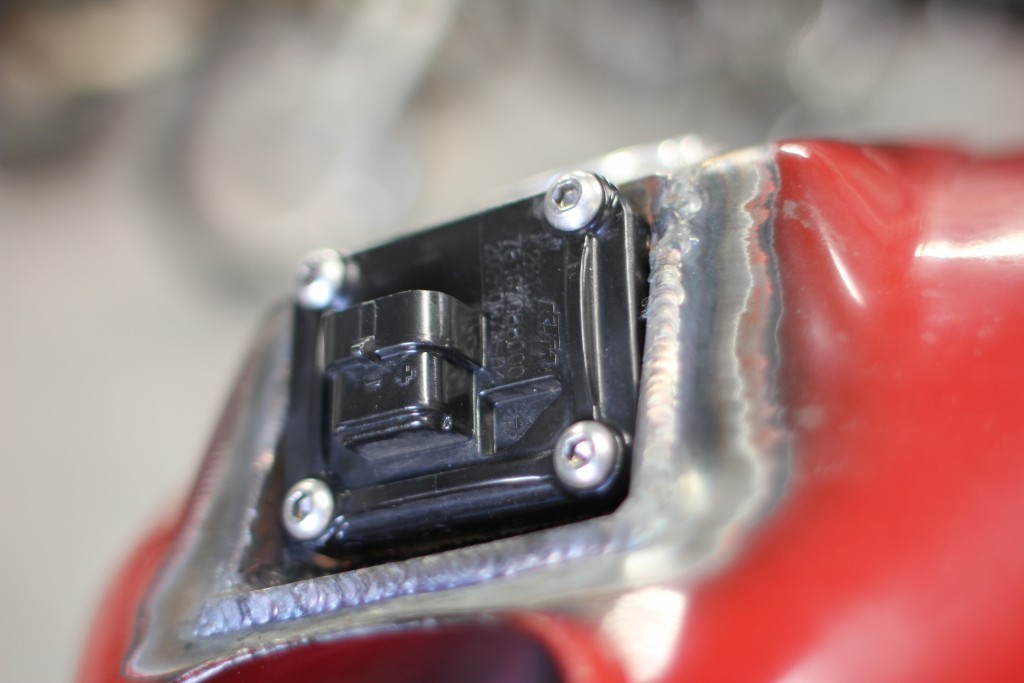
I spent the entire day on Sunday retrofitting all the EFI gear inside of it.
I made a point to do this properly, work cleanly and be a little more precise than I usually am.
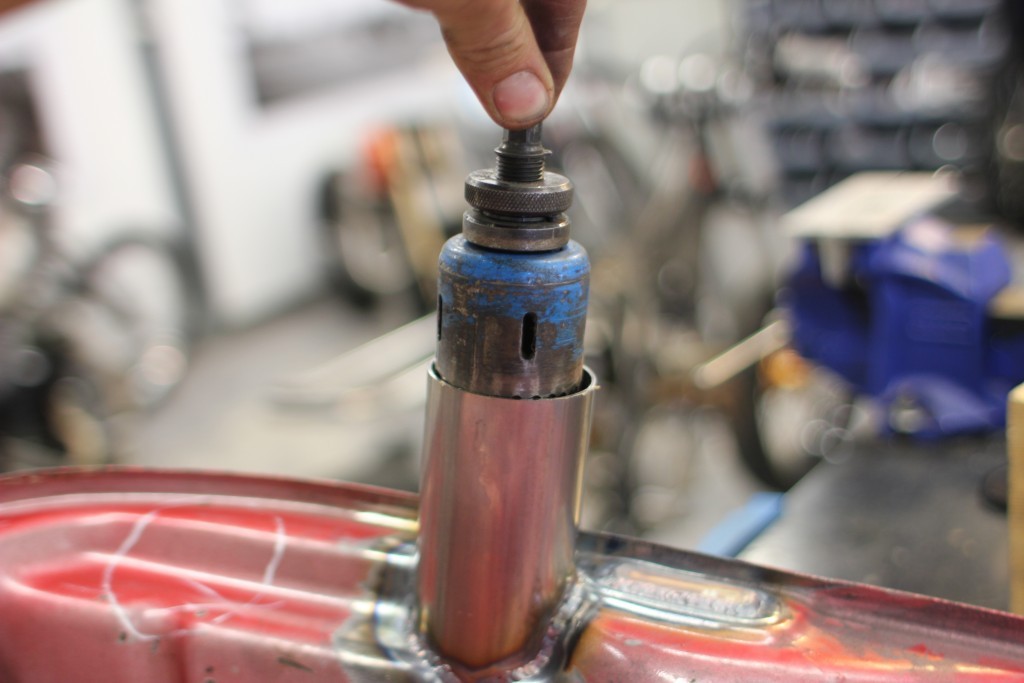
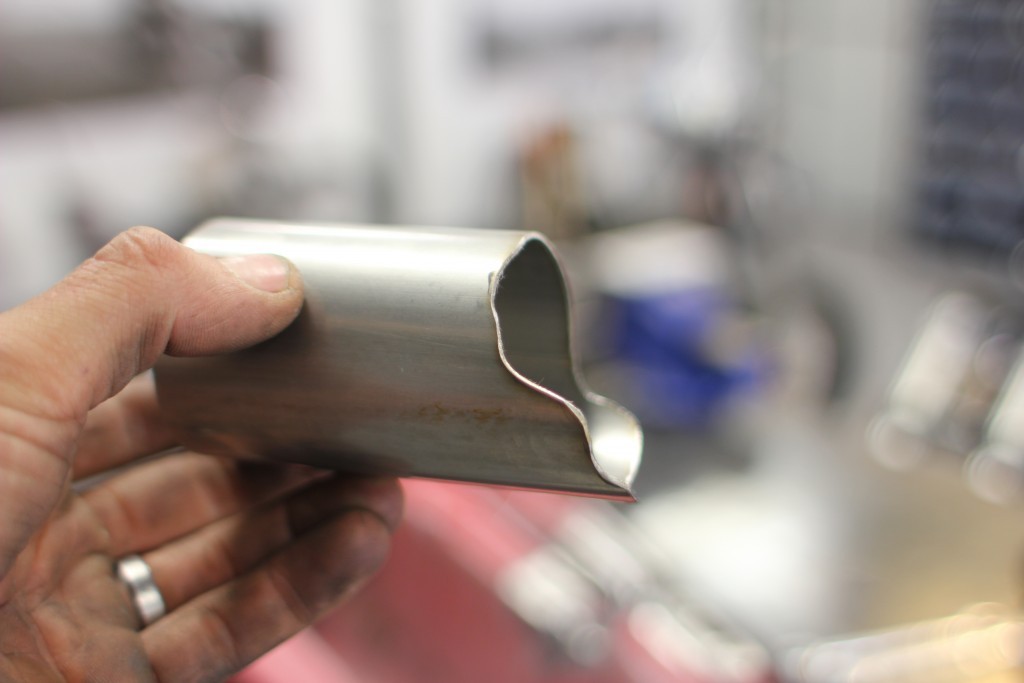
Hole saws are ugly things and if your cutting an angle forget it, this is why I welded the tube on first, then put some tape around the hole saw so it was a neat fit in the tube.
It paid off and after about 6 hours the tank was nearing completion.
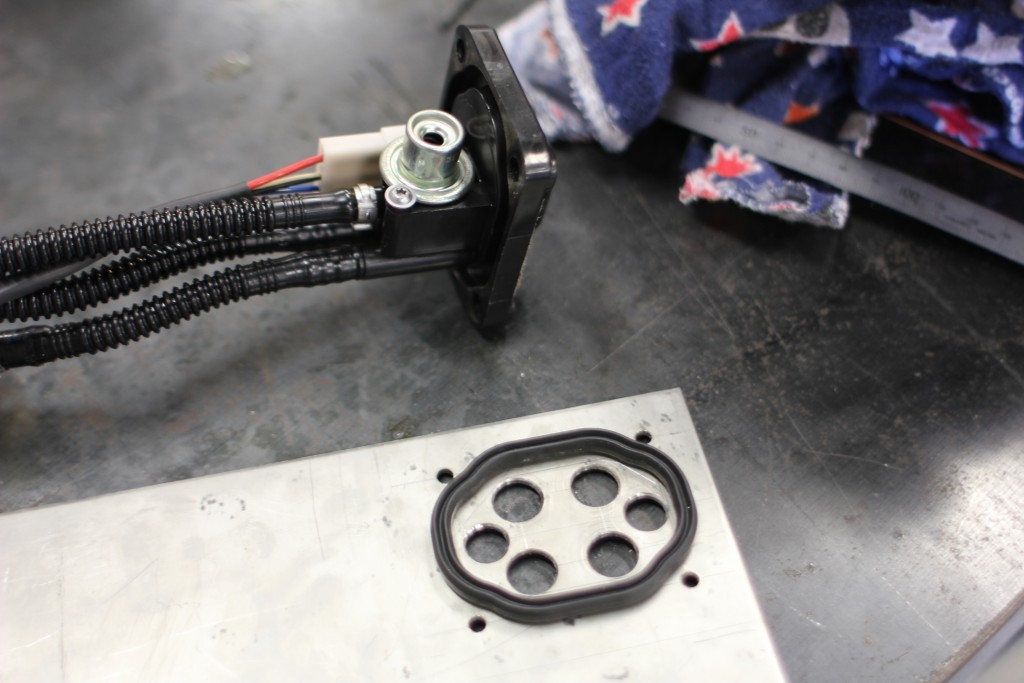
The factory EFI unit is a pretty simple thing.
The regulator and wiring feed sits at the front.
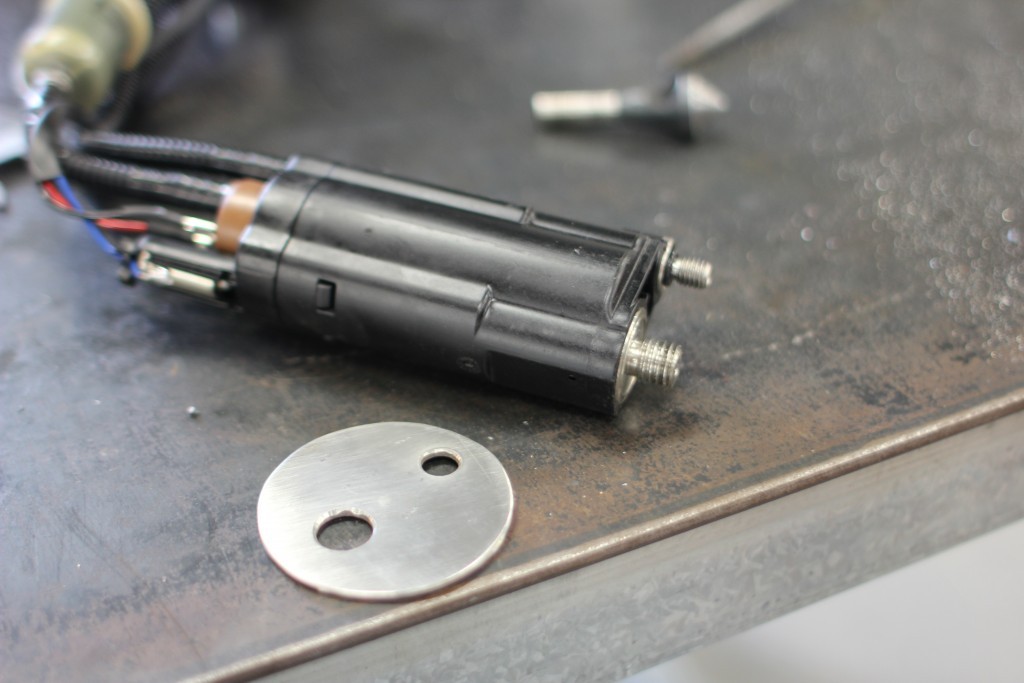
With the pump in the tube that will feed the throttle body.
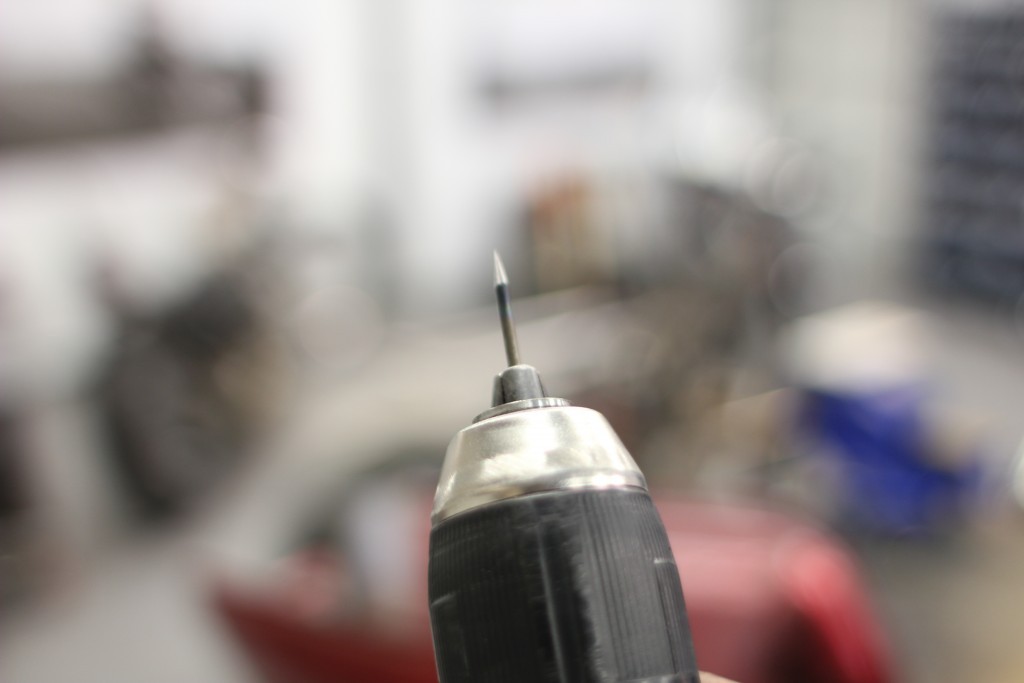
Rule #1 you must always have a sharp tungsten.
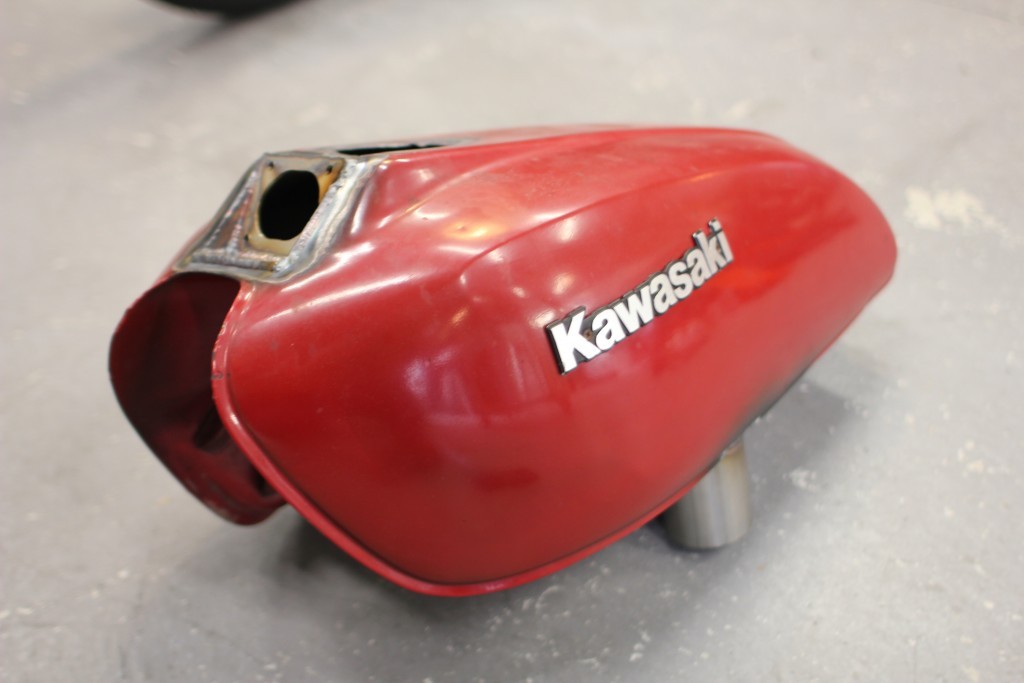
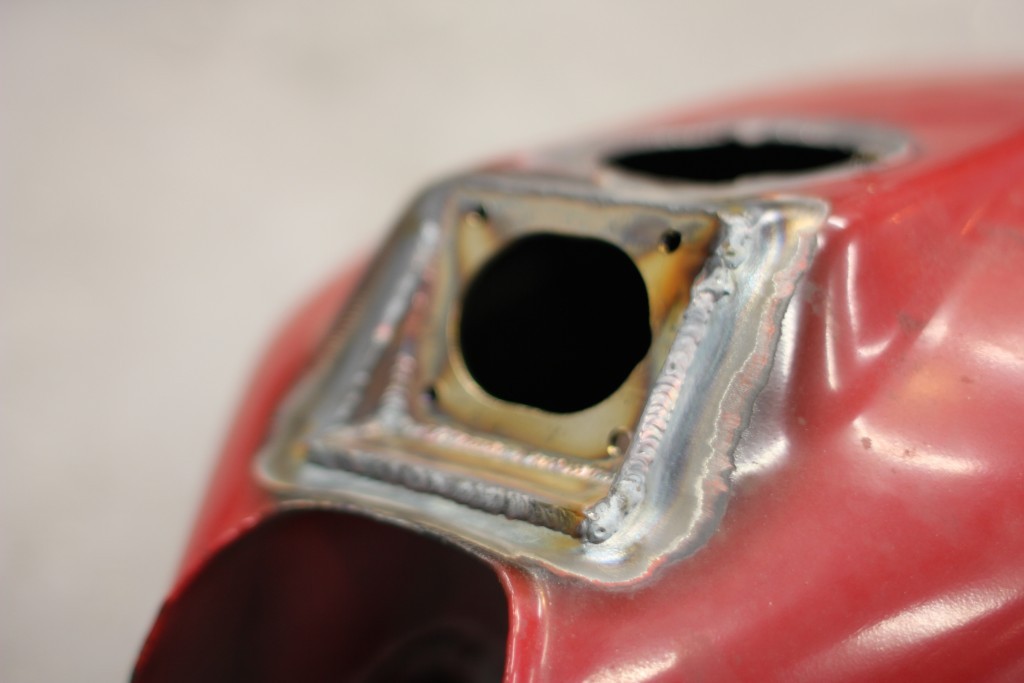
Time to make the filler.
I cut the filler off another tank I was going to use on my Harley.
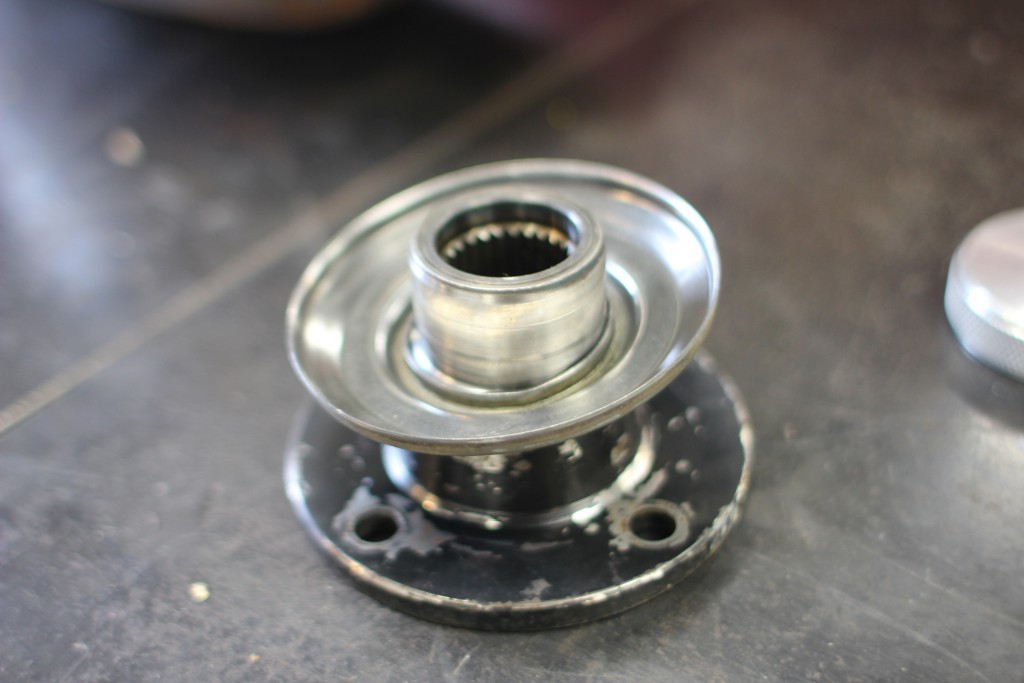
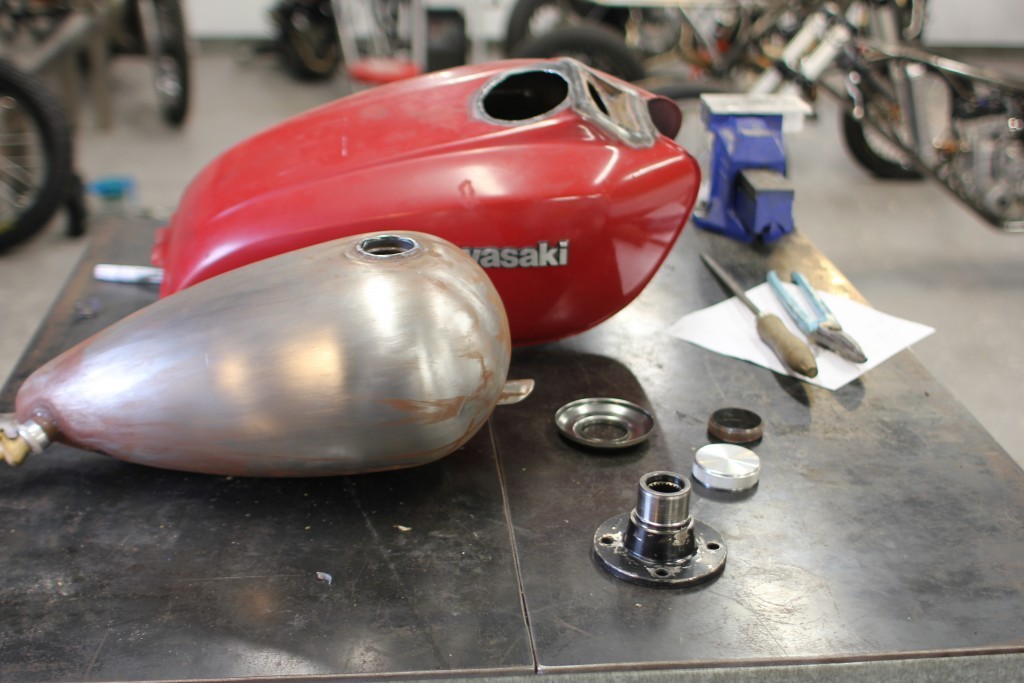
Then stole the dust cover off one of my R200 diffs.
Together they made a neat fit after some trimming.
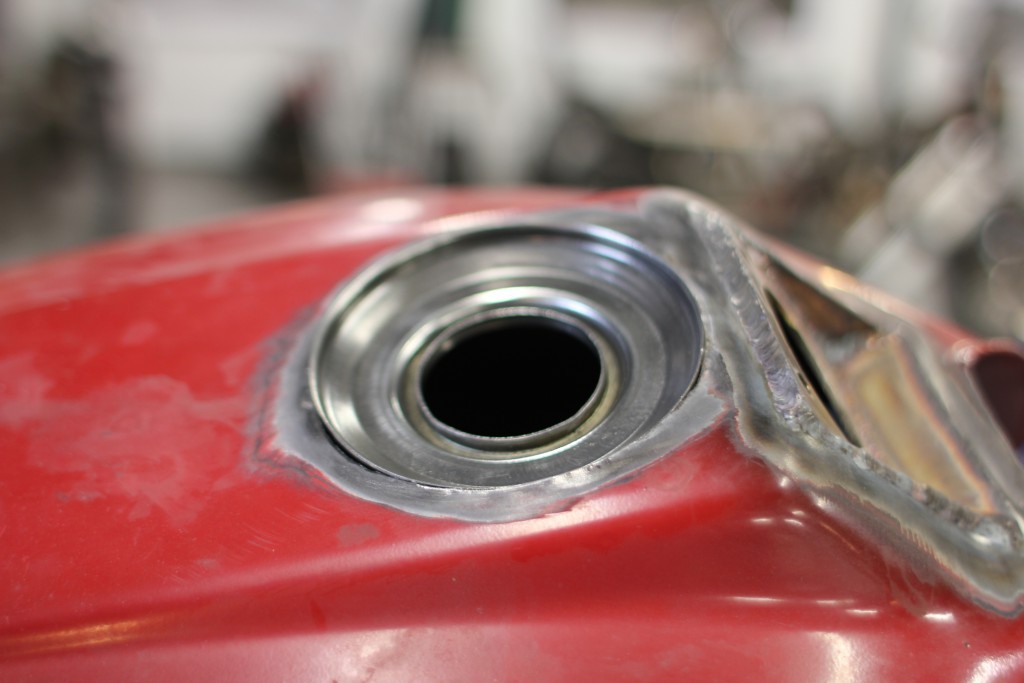
Quick test fit to see if it all works.
Looks neat.
After final welding I fitted all the gear and tightened the fittings.
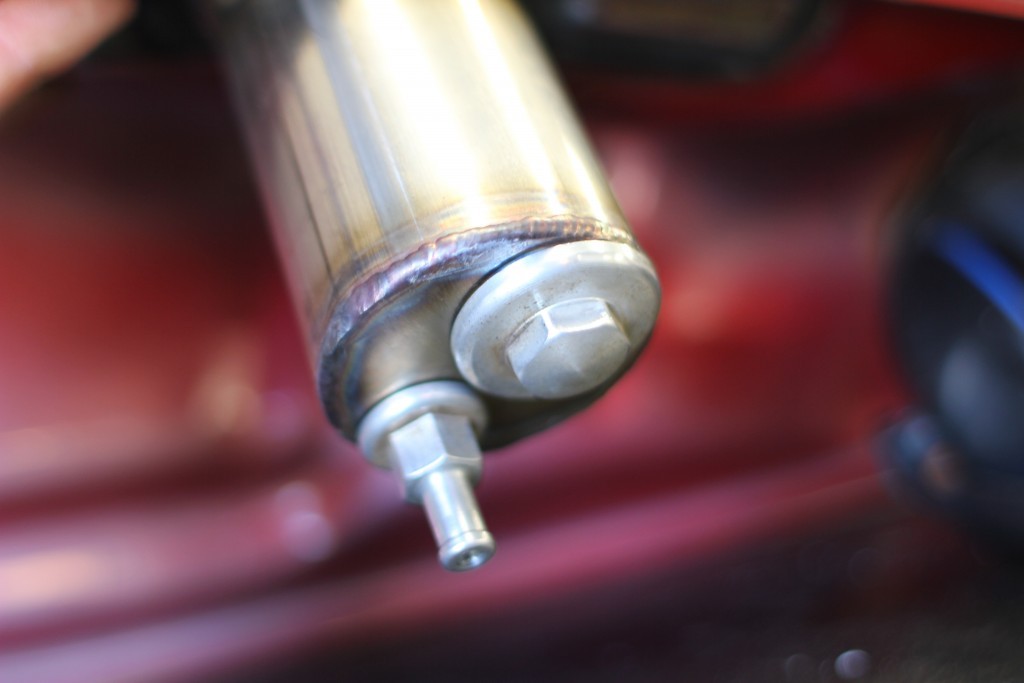
It’s a good feeling when you cut up a tank then once its finished it holds fuel.
Tick that off the jobs to do list.
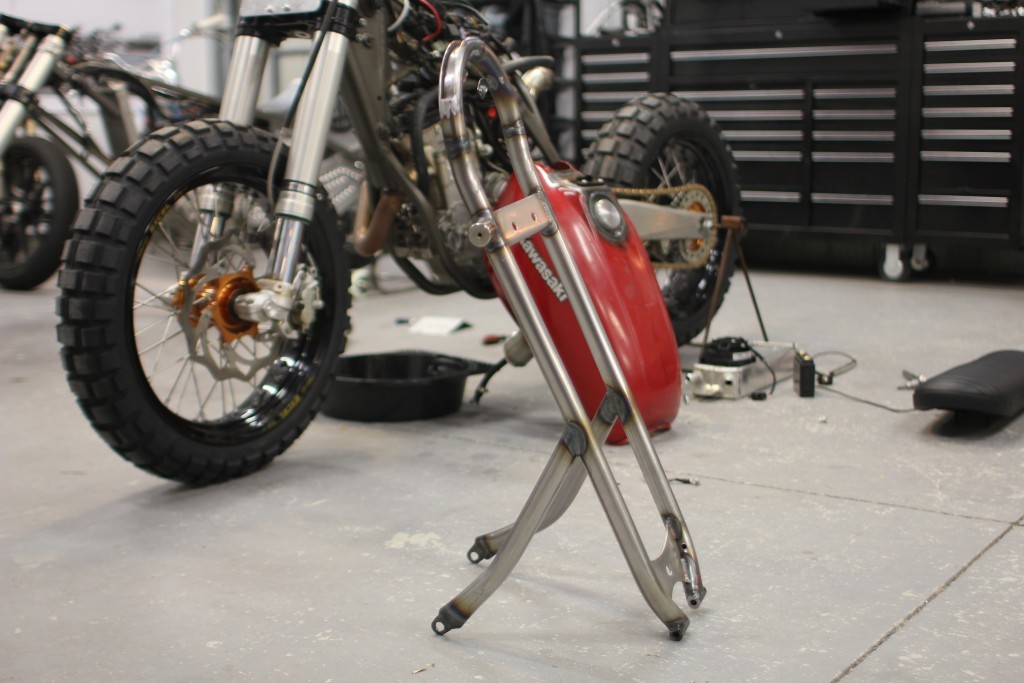
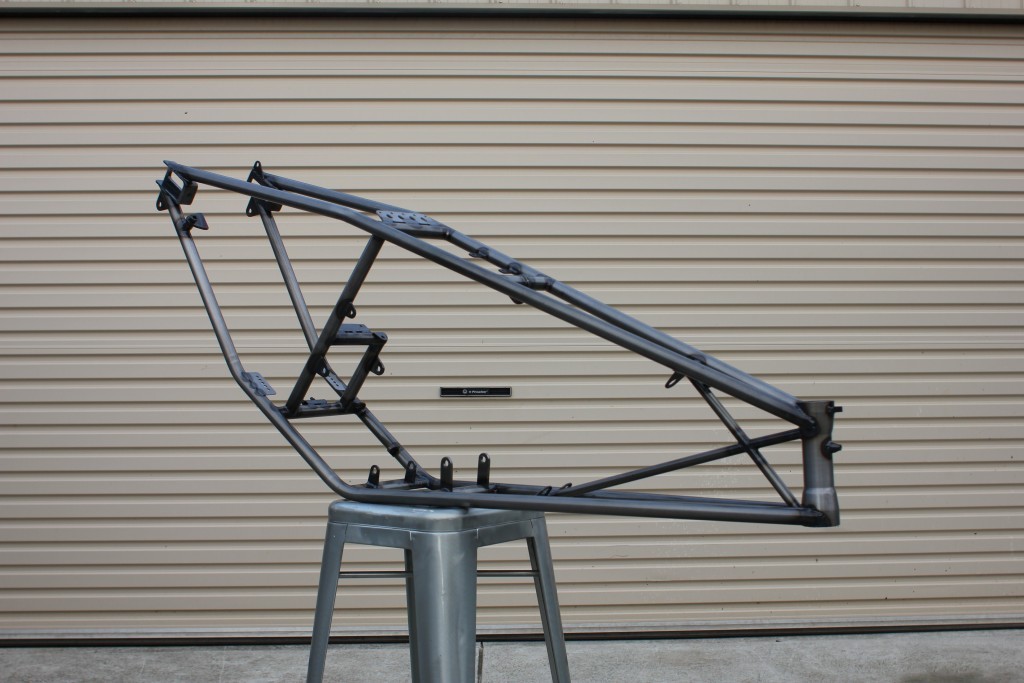
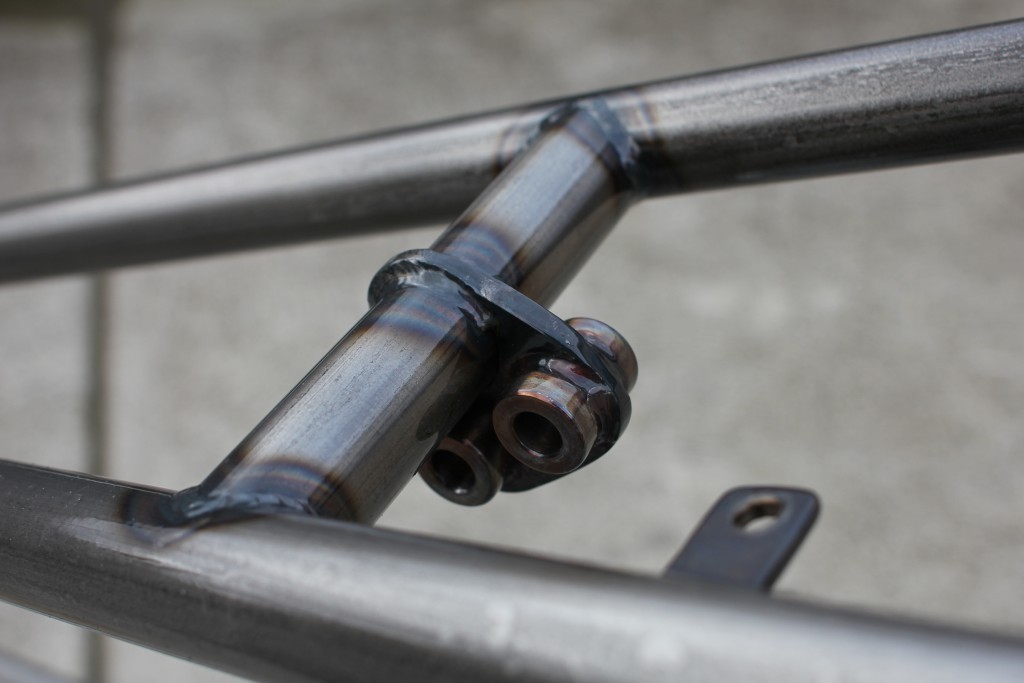
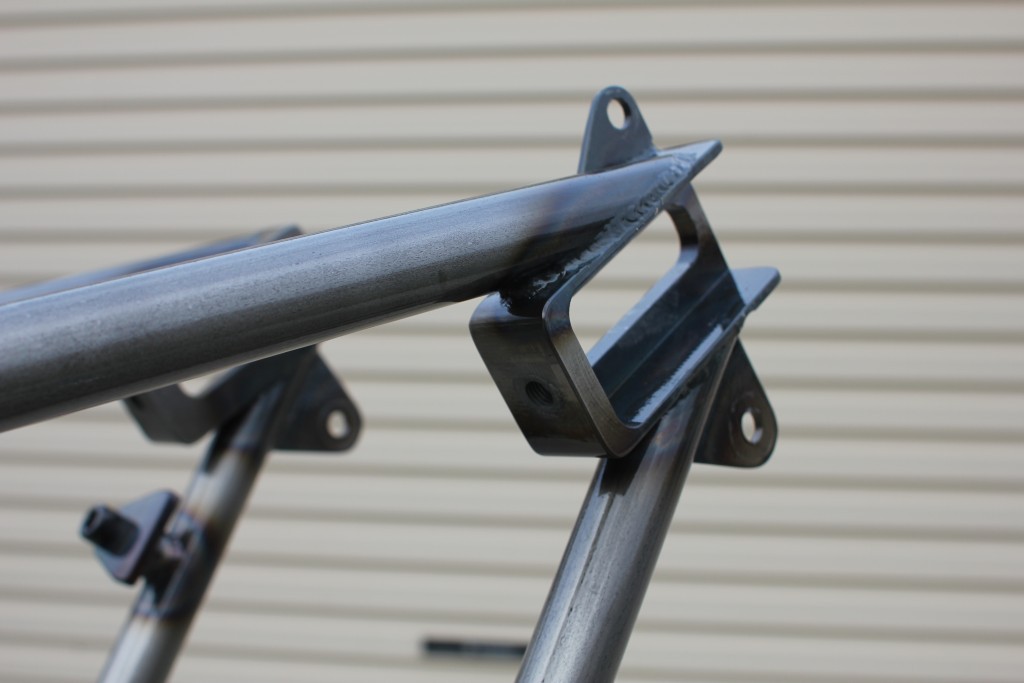
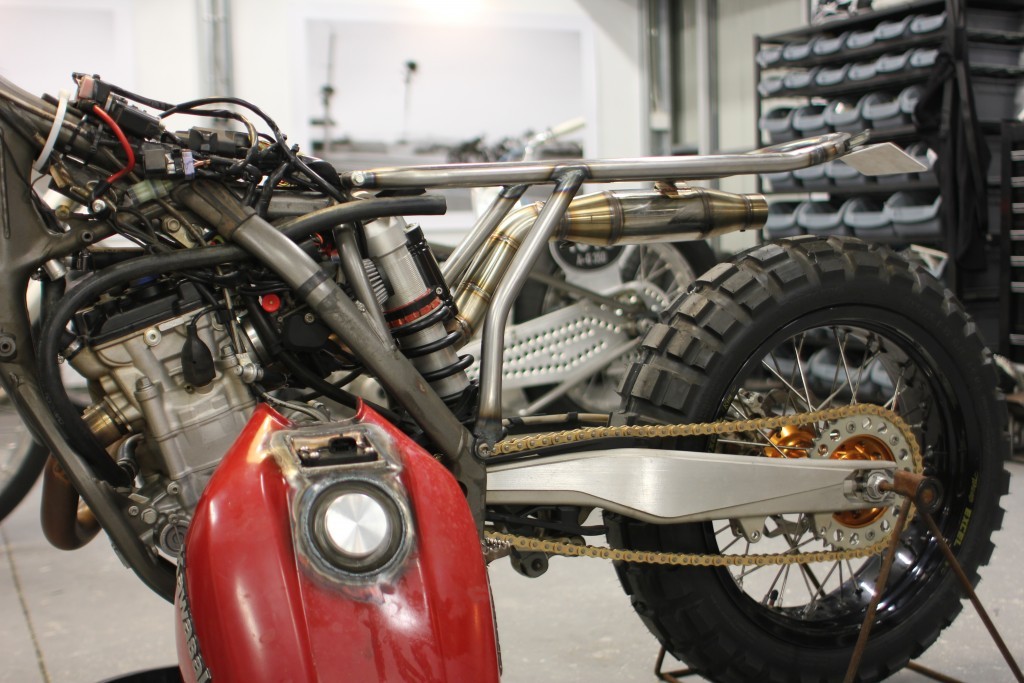
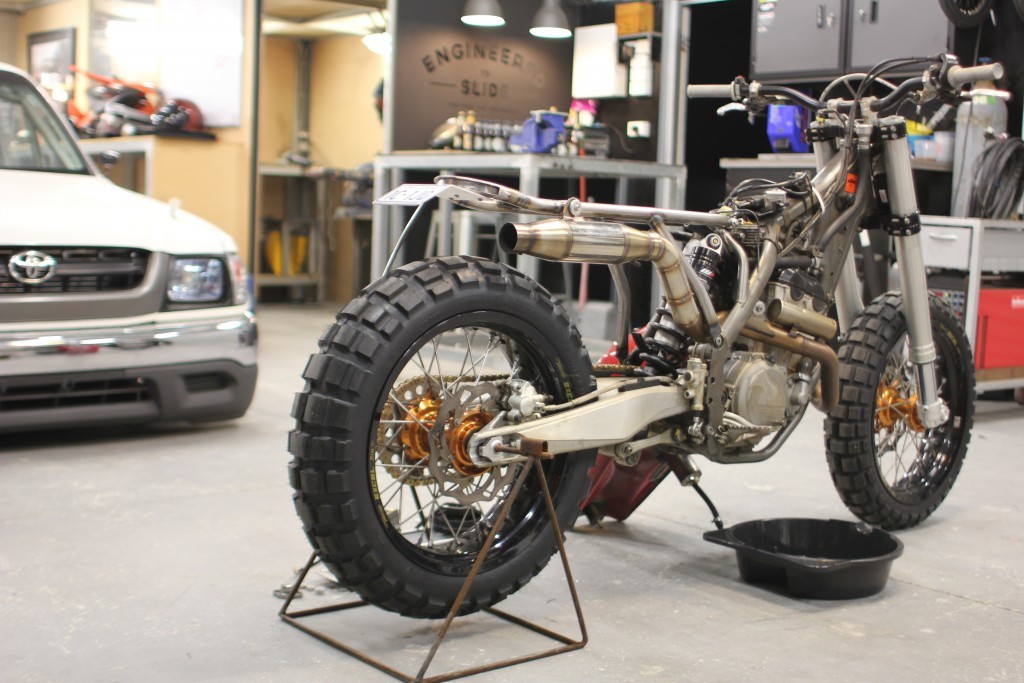
Now onto the rest of the chassis, I made up a new subframe from 1” tube.
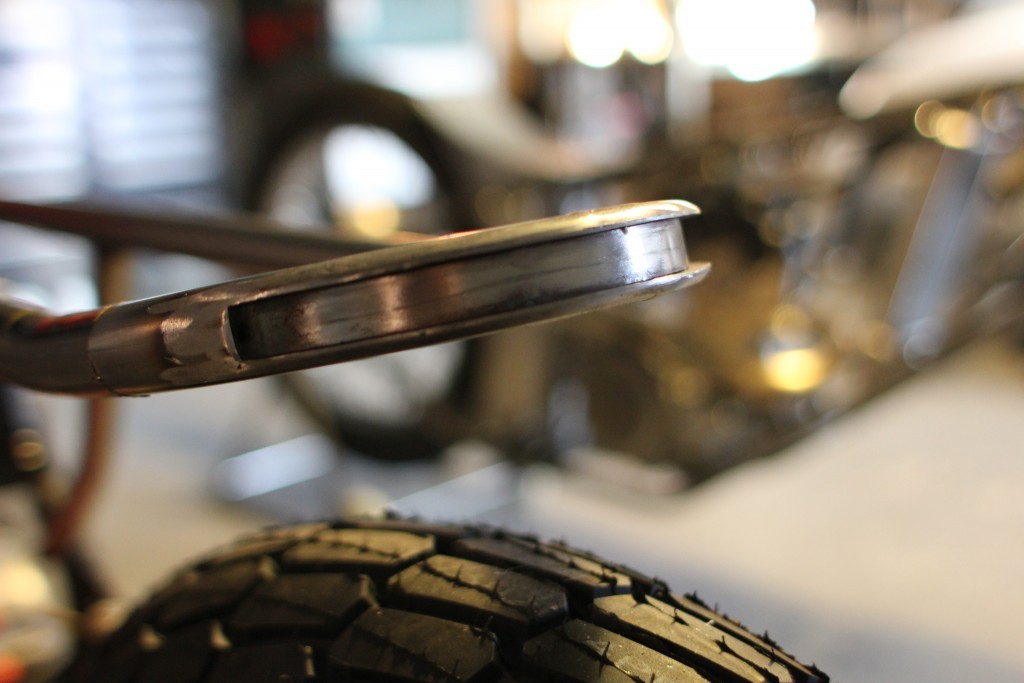
I intergrated the LED tail light into the rear hoop, it was a lot of work but I think the results are worth it.
The wiring runs through the tube so its a neat setup.
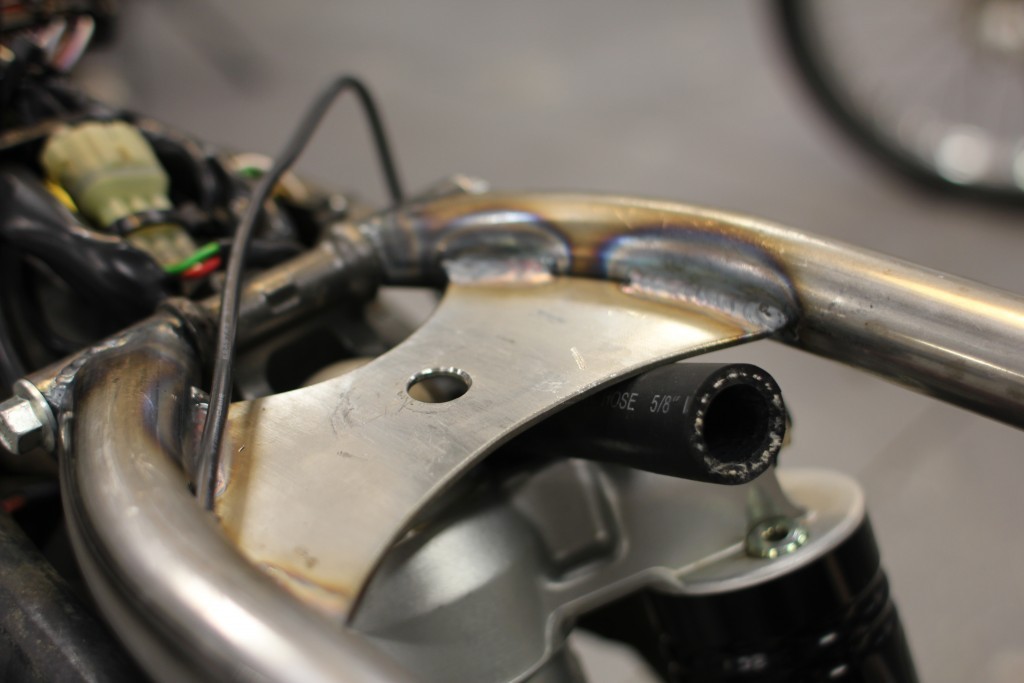
I couldn’t work out how to fit a radiator neatly on to this bike, its an issue that I always have, but with my new skills in AC welding It opens up my options, a quick search on ebay and I found a radiator with a core size that could be cut down to fit beneath my seat, a long horizontal radiator should do the job. So I made up some lines to make sure it would work, the extra water capacitiy should already improve the cooling capabilities. More on that once I pick up the radiator though.
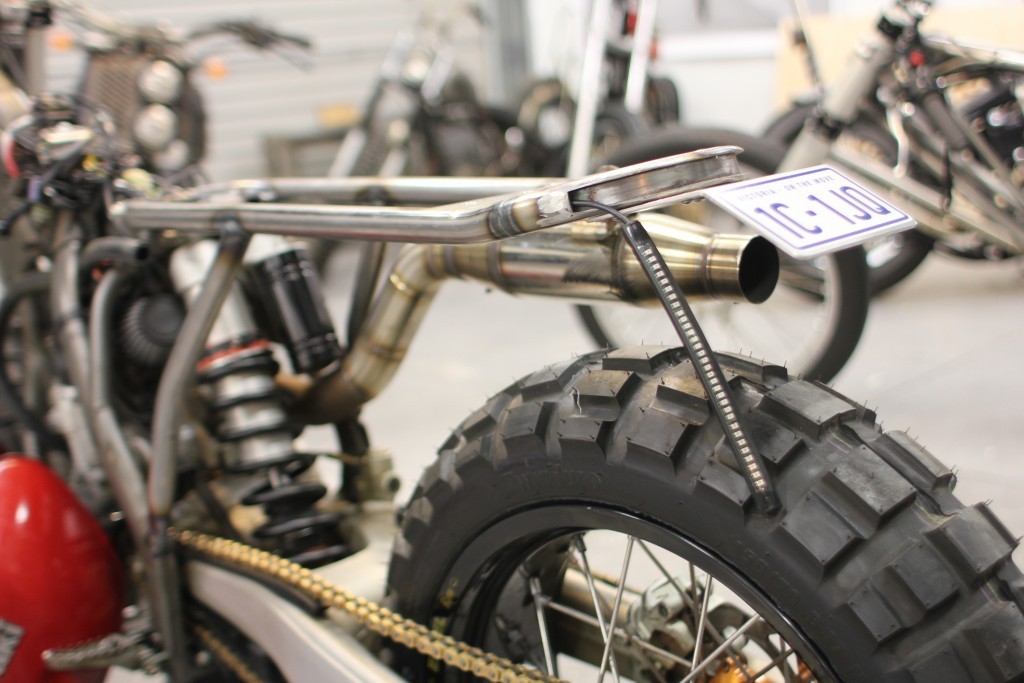
I had reservations about cutting the factory header to make an exhaust, the fact it had a small ding made the decision an easy one though. I used the muffler I made for my old 250 and then remade the header to suit a new line and layout, I welded it all up and can now focus on making an insulated mount to the subframe.

So now I am waiting on my Li Ion battery, air filter, chain and sprocket so while I wait I can give Deans bike some attention.
Deans 640 has been leaking water for a little while, I decided to tear it down and fix it all up for the trip, the tank needed a repair so I drained the fuel and welded up the hole, the radiator on the other hand could not be repaired so I checked out ebay to see if the seller I bought the core for my 350 has one for Deans bike, there’s something close so I’ll pick it up and modify it to suit.
When I think about it I have learnt so much from the build on Deans bike and my old 250 that the 350 build has been so smooth, just by making sure I work cleanly and precisely makes the world of difference to the finished product. I can wait to ride it, its looking like the first ride will be the day before we leave on our 3,000km adventure, im confident everything will be fine though.
12/03/15
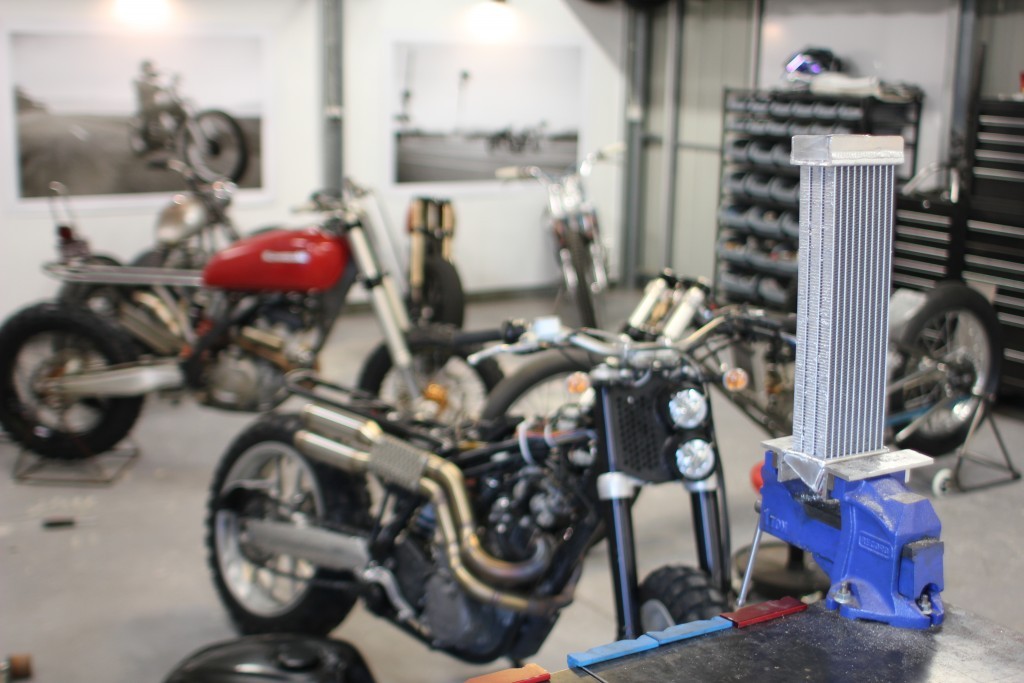
Im tired, really really tired. After picking up a radiator two days ago I cut it down and made an underseat setup for my 350 adventure bike, the first one didn’t go as planned, somehow I must have earthed the core onto the bench and a pin hole arose in one of the fins, it wasn’t until I had spent all of Tuesday night making it that I pressure tested it and found the hole, I tried to repair it but just made the issue worse. I tossed it down the driveway and was just about in tears, I had wasted a whole night and now I was back to square one. Im glad that the radiator I bought was twice the size than what I actually needed, so I cut the rest up and started work to replace the stuff up. Sometimes I rush things and nearly always ends up costing me more time than actually doing it methodically and correct the first time. So fresh from my lesson the night before I got stuck into my new radiator. Everything went smoothly and it turned out really nice, I was starting to get the hang of switching my welder over to AC.
Once I pressure tested my radiator it was time for Deans, I used a single core that came off my 350 from factory, I remade the end tanks, mounted the fan, then made a pretty elaborate isolated mount, in no time I was pressure testing this one and the results were leak free, it’s a big relief to have the radiators done.
On the way home from work I picked up the Li Ion batteries and got to work making battery holders for both Deans bike and my adventure bike, I am also working a seat pan and a few other little things so its all happening at the moment.
Its really hard to stay on top of everything at the moment, I haven’t had a 10 minute break for over a month now, I wont stop until all three bikes and the gear is all packed ready to go.
Sign up to www.flatsmovie.com to be notified of the finished product, the build and the journey in the upcoming film.