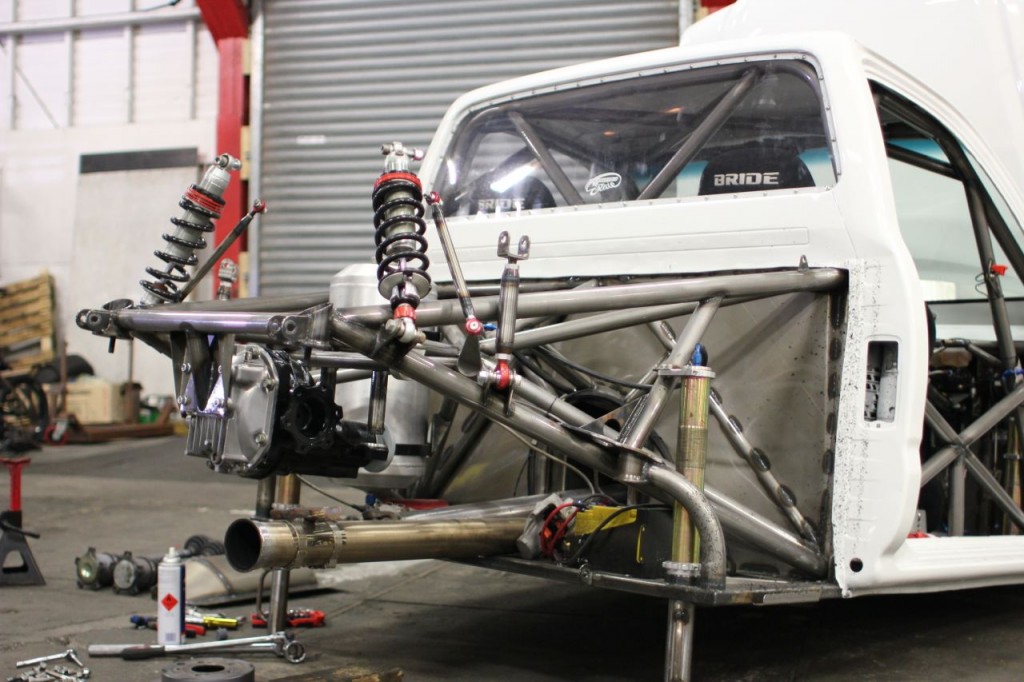
As I flew out of Melbourne AUS bound for Wellington NZ I knew what work had to be done on the Hilux that was sitting in the STM workshop. There were three major jobs that needed to be done.
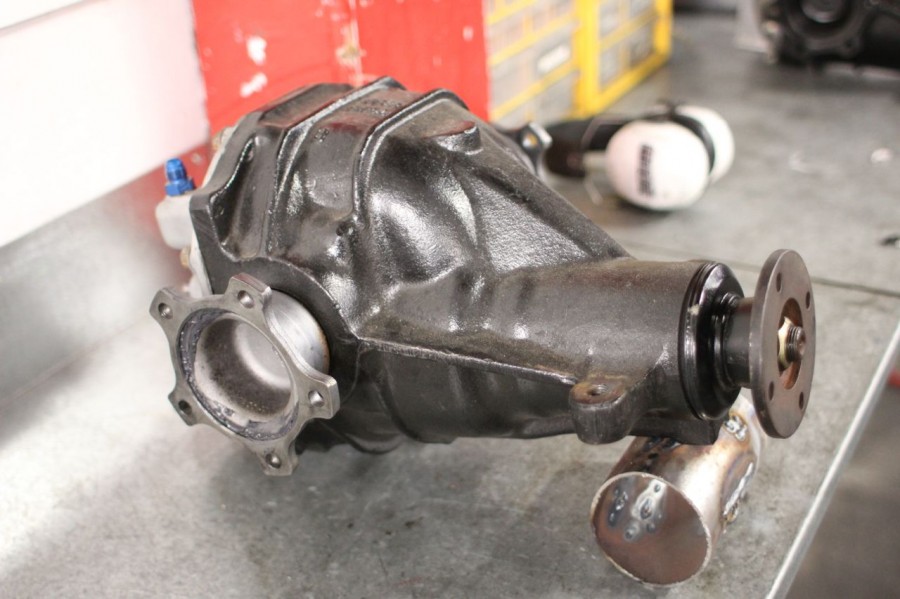
The diff: After breaking a driveshaft during the filming of Dream Build Drive at Hampton Downs a month ago I decided to upgrade the rear end to something that would bolt in and increase the strength. Aaron Lawson campaigns a V8 S15 in NZ and had a spare diff for sale, he agreed to supply me with an R33 GTR diff, 4.3 gears, 2 way, axles and hubs all rebuilt oiled and ready to bolt up. Id like to thank Aaron for his time taken in doing this work properly, he supplied everything and made my life easy when it came to bolting everything up.
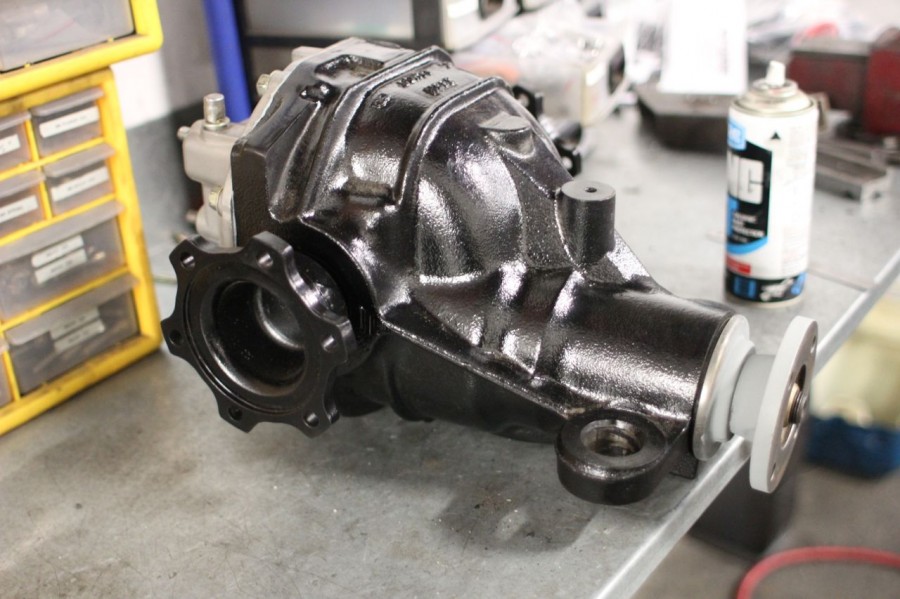
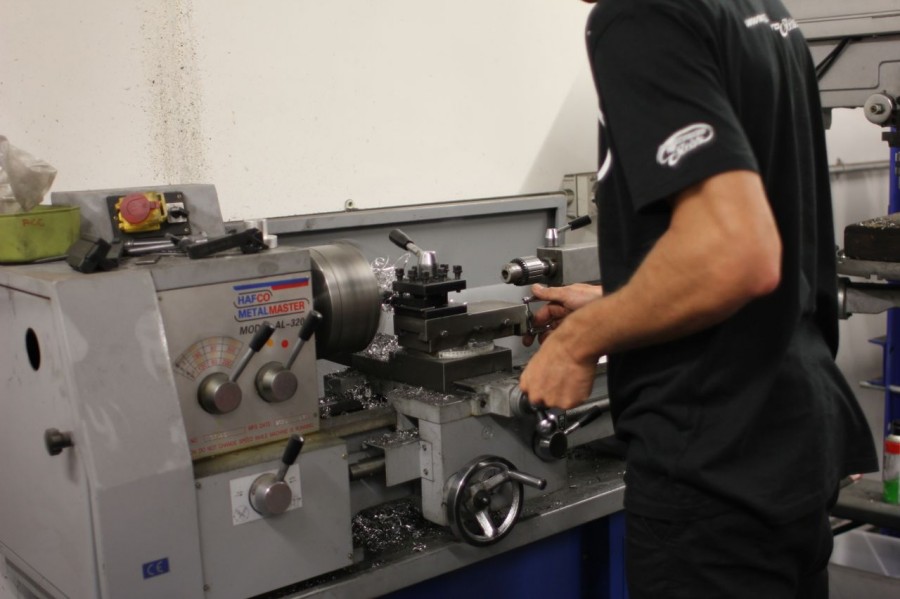
Because my rear end uses a different mounting pattern I had to modify the solid alloy bushes, this is where the STM lathe came in very handy.
I took the thickness down to make the diff sandwich into the frame like the old one.
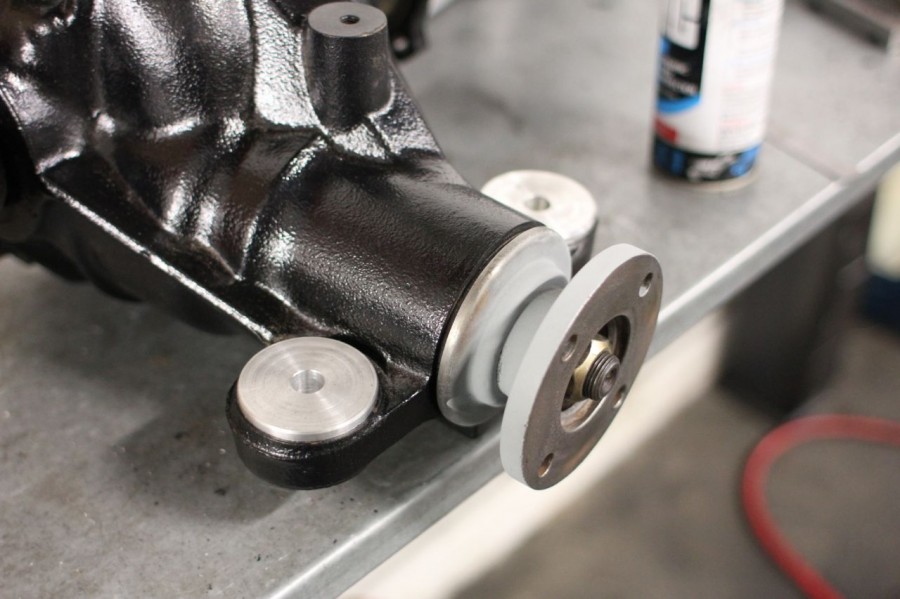
Nice tight fit.

With the old diff out I could swap the unique yoke over onto the GTR diff.
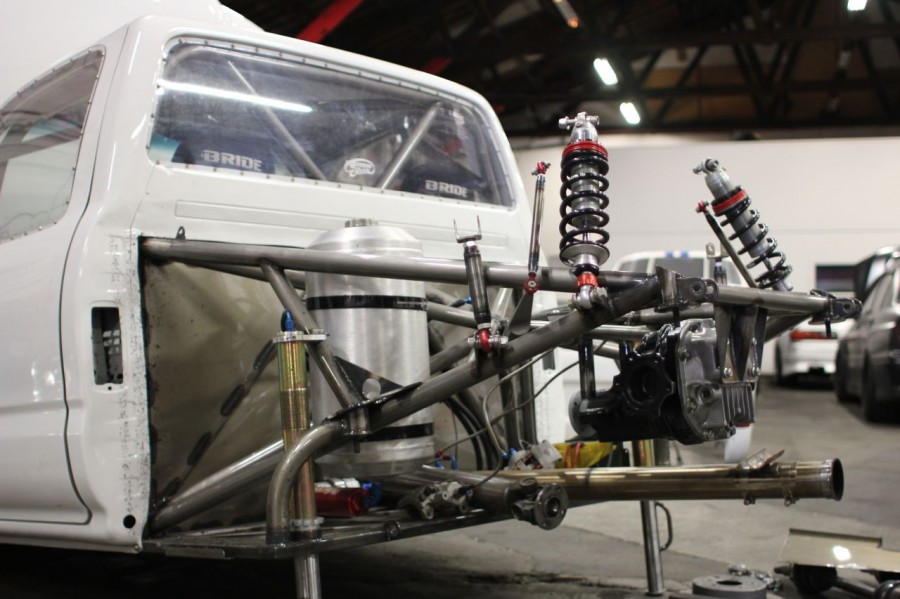
Once the GTR diff was in the chassis I could start to refit all my suspension.
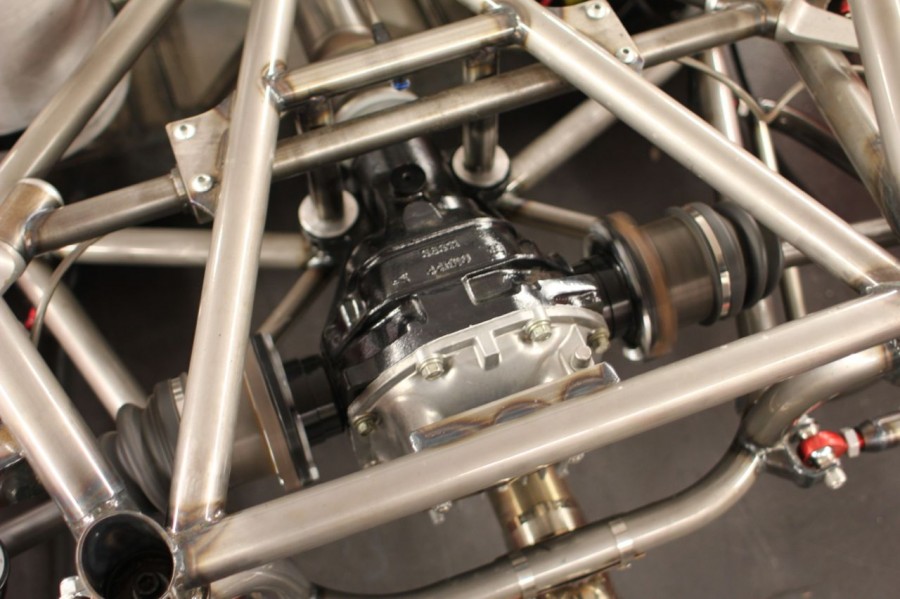
The new axles are much much larger and my confidence with the drive line is now at an alltime high.
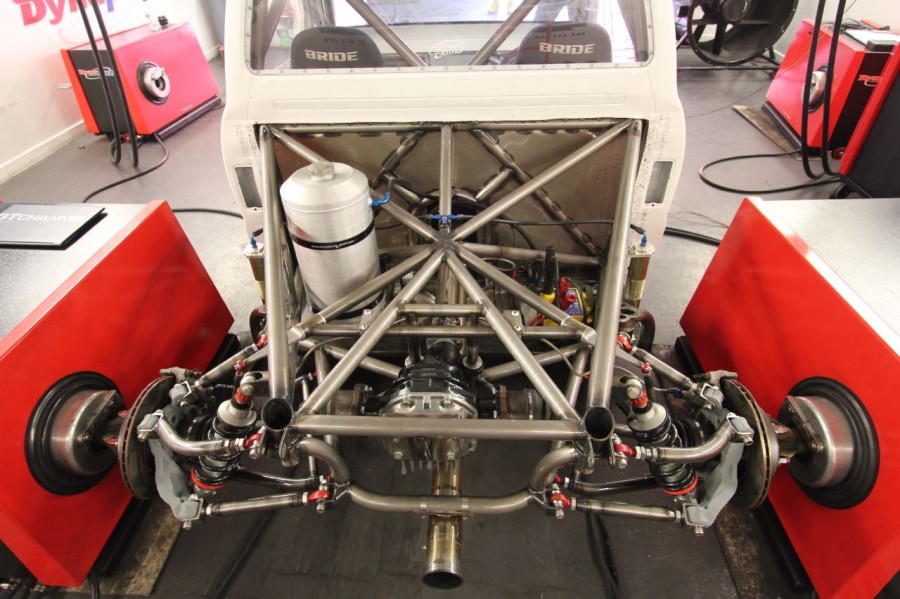
We used the dyno to make sure everything was working as it should.
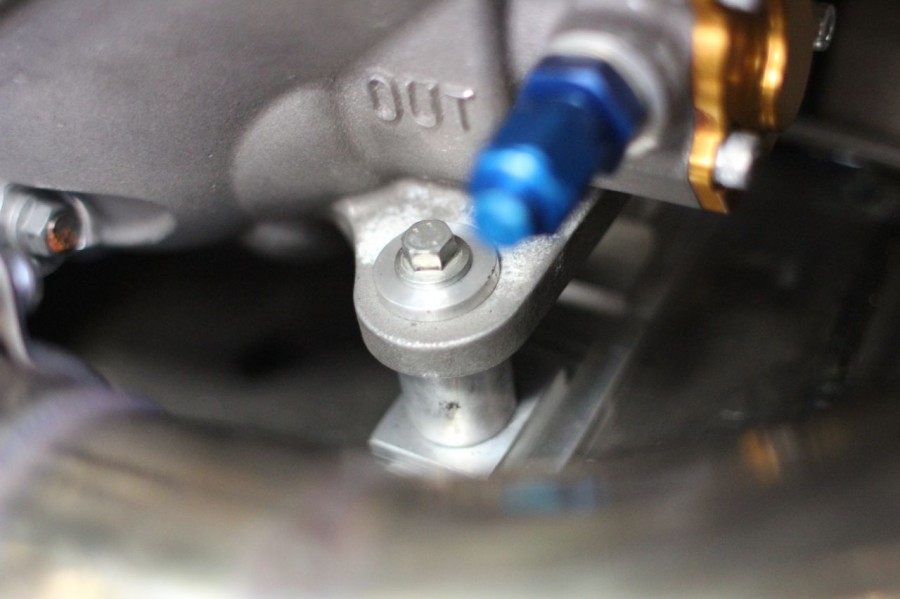
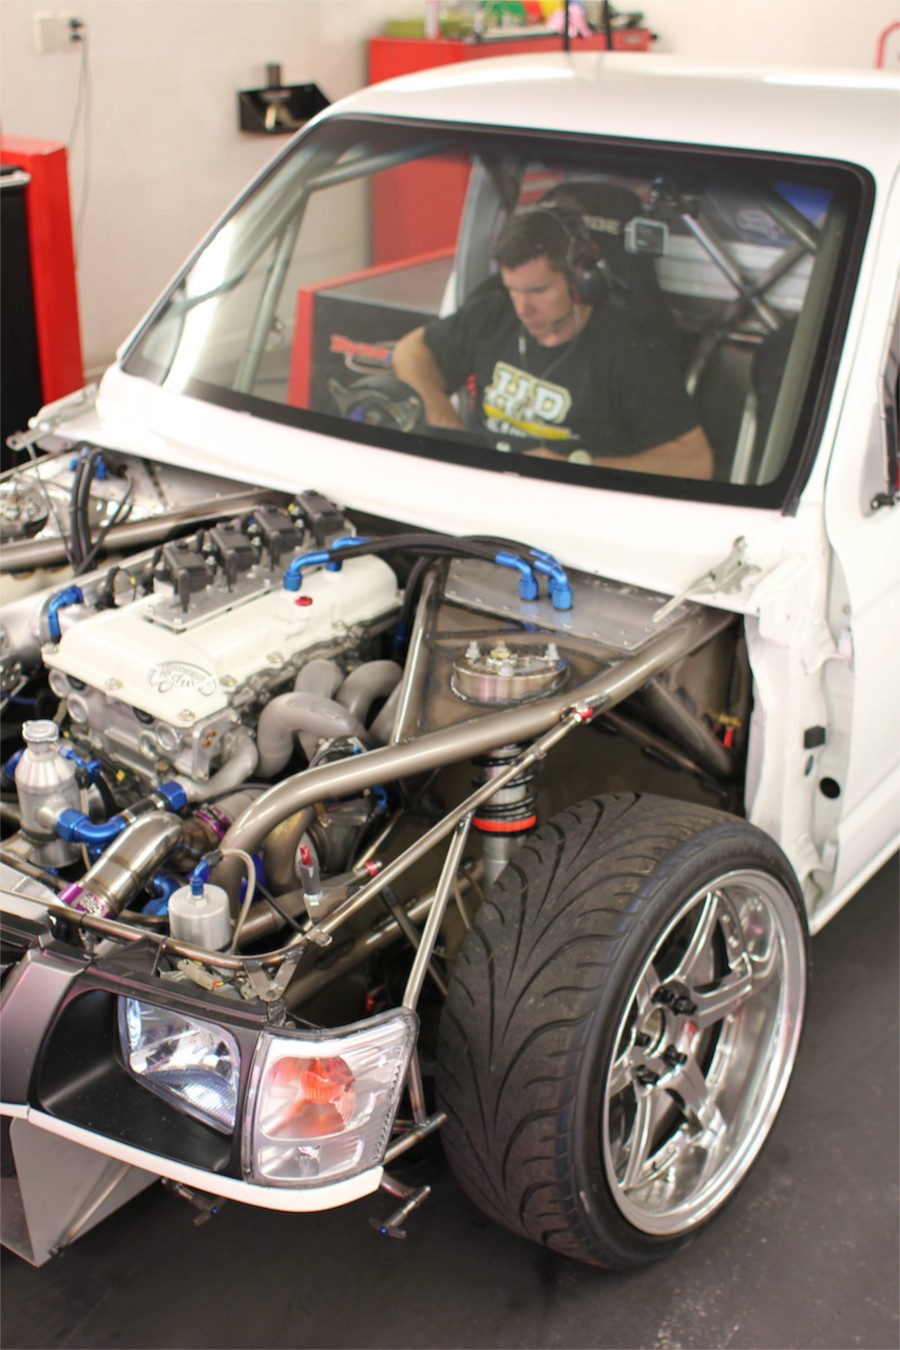
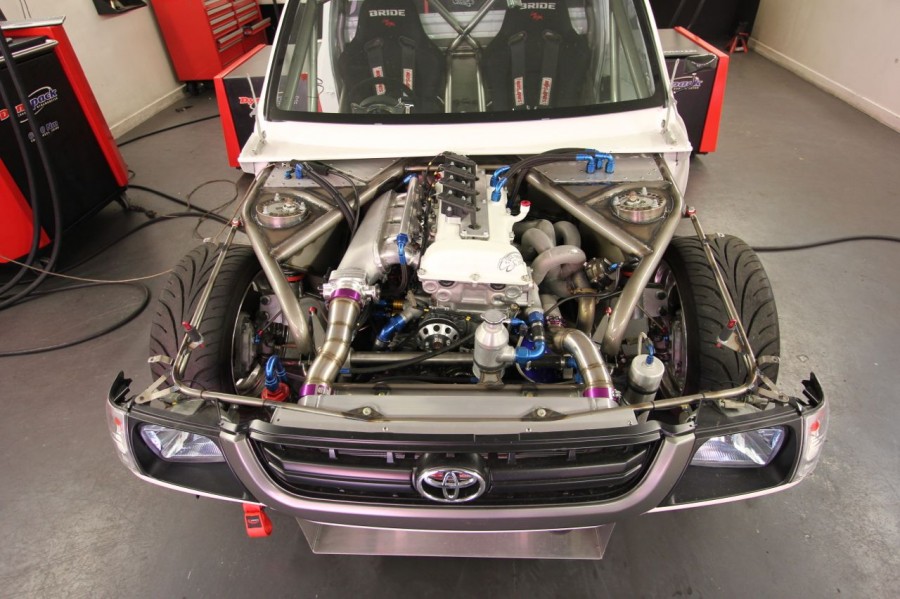
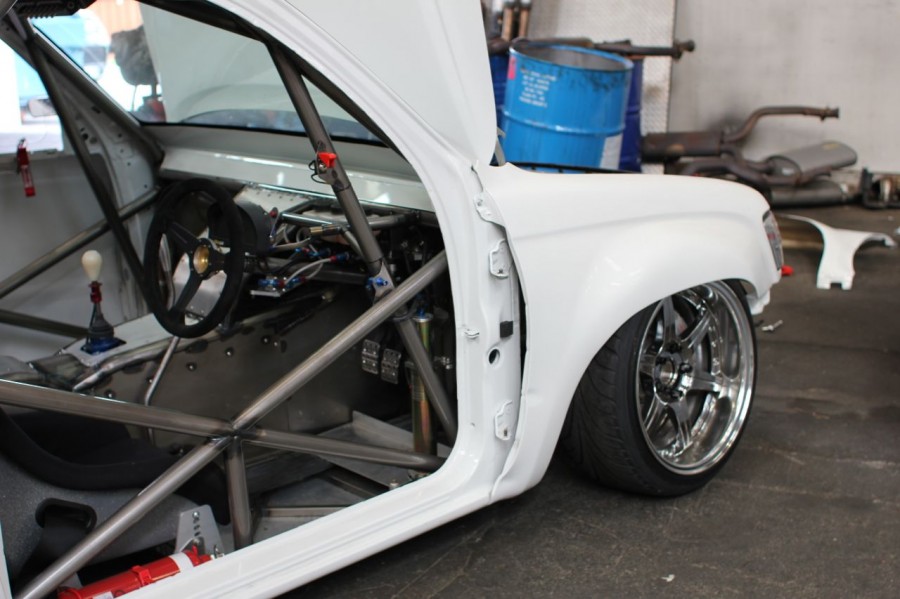
Another issue that arose at Hampton Downs was the motor had seemed to move back on its mounts, I pulled the covers off the tunnel to find the gearbox rubber mounting bushes were flogged out and the gearbox had dropped 20mm making the engine lean back and create a lot of stress on everything that connects to the chassis. I believe this was the reason the inlet manifold cracked so I drew up a neat little fix and created some solid alloy mounts that lifted the gearbox and made the engine sit up allowing all the piping to have plenty of room to move.
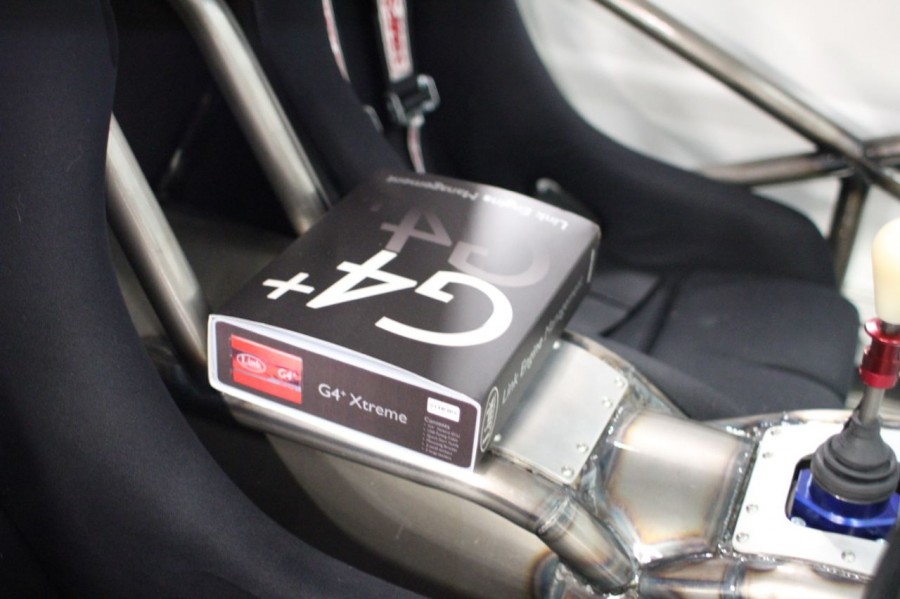
Speaking of the gearbox LINK ECU upgraded my Link G4 Storm for a Link G4 Extreme, this gave Andre some headroom for extra inputs that he was able to utilize on the dyno in the way of knock detection input and gear position input. I would like to thank Link for producing the best ECU I have ever used, I highly encourage that you look into the Link product if your in the market for a new ECU.
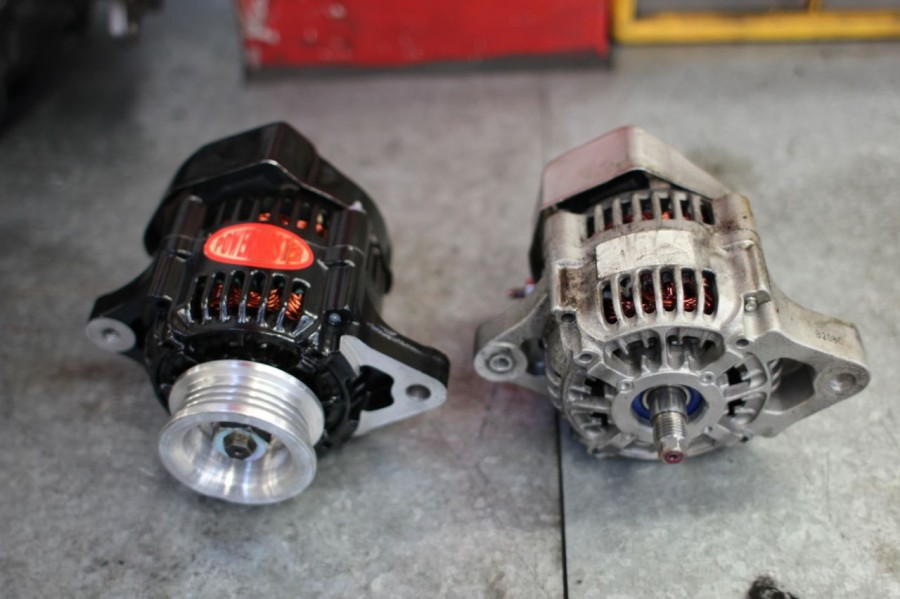
One of the biggest issues I have had from the very start was charging, the first alternator I bought died on the very first dyno session back in Australia and cost me an entire day of wasted dyno time and about $400 for a new alternator, that new alternator lasted only marginally longer, with the Hampton Downs session only just having enough charge to get me through the two days an upgrade was in order.
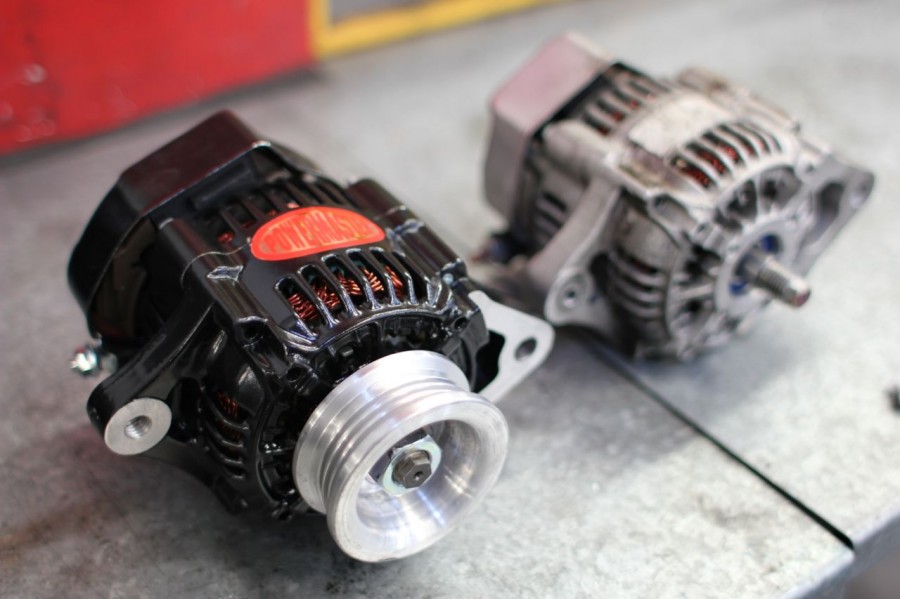
The upgrade was a 75Amp Powermaster mini alternator, its true single wire hookup meant all it needs is the battery wire to complete the fit up, I am really impressed with this alternator and its so good to have a constant 14.8V from idle to redline all the time.

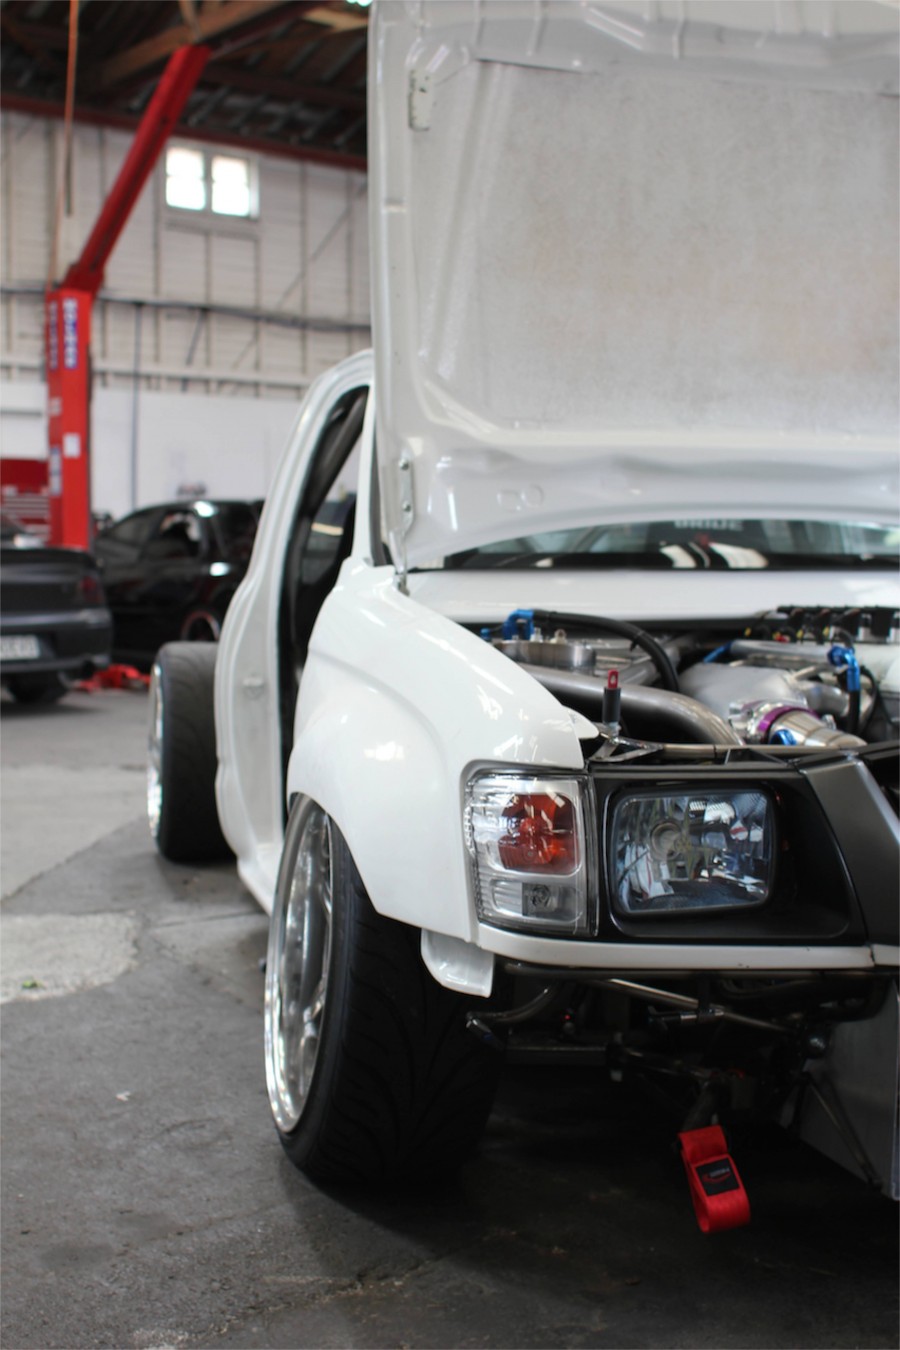
The time came to push the Hilux into the STM dyno bay and hook up the Dynapack dyno.
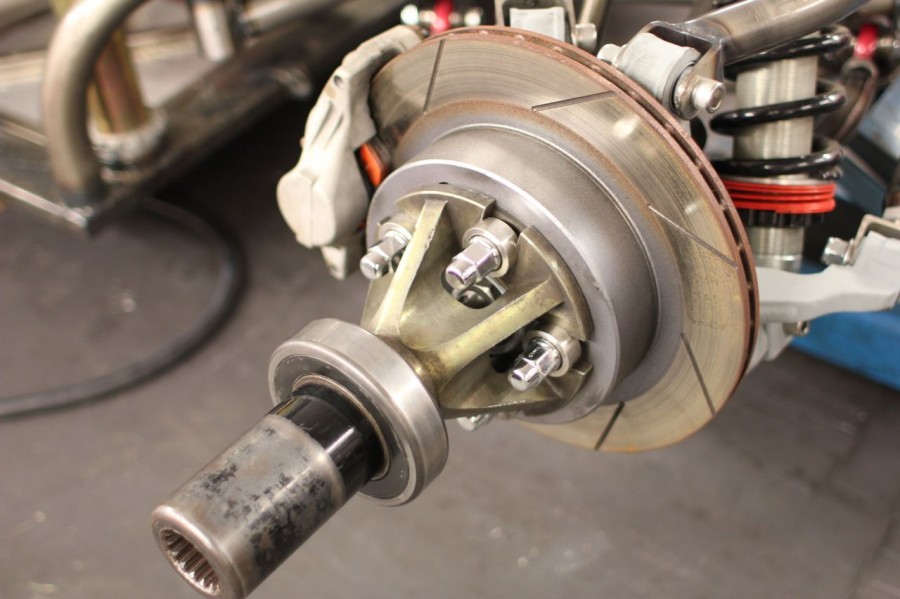
This is the first time I have used a hub dyno, once the hubs are bolted to the rear axles you slide the dyno over the splines and lock everything up.
Its very easy to do with the rear bodywork and undertray off and Andre got behind the wheel and started to weave his magic on the new Link G4 Extreme.
In a little over half an hour Andre managed to extract around 330rwkw from 18psi of boost on 98 pump fuel.
I was more than happy with that result, when the Hilux arrived at STM it was making 194rwkw on the same boost with a triggering issue, that issue is now sorted and its transformed the power productivity to levels I have never experienced, driving this will be amazing!
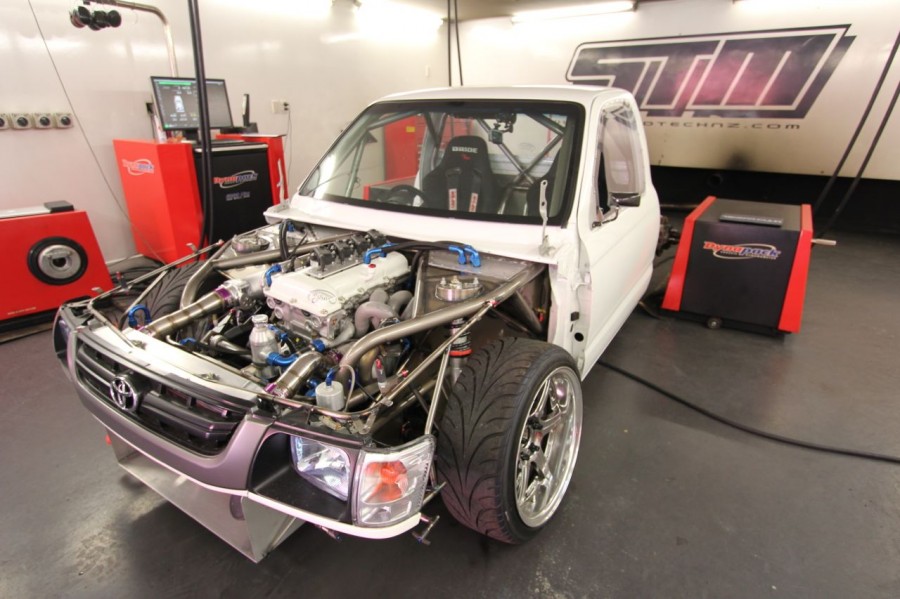
A few further tweaks to the cold start tune, idle quality and off boost drive ability has transformed the Hilux, I have to thank Andre for putting the time and effort into this as its performance all over the rev range is now more than incredible.

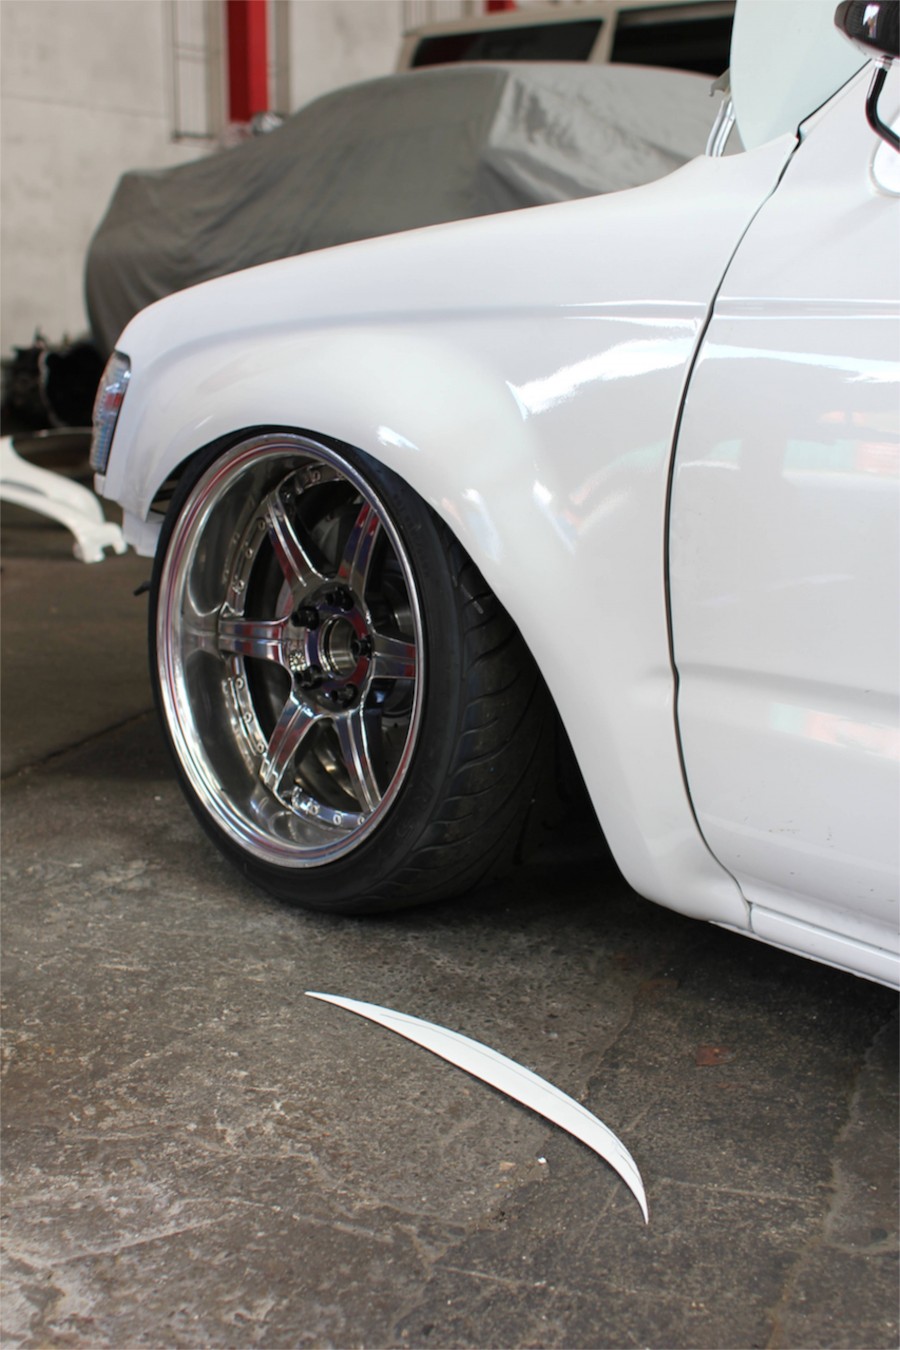
I removed the dyno from the hubs and fitted up some fresh rubber, now onto the guards.
I brought over a new set of guards that Timmy from Breakwater Panels had sprayed up for me, after drilling the holes and fitting them up I marked a cut line to radius the fender gap.
Its about 55mm up the arch.
I just use an angle grinder and cut out the section.
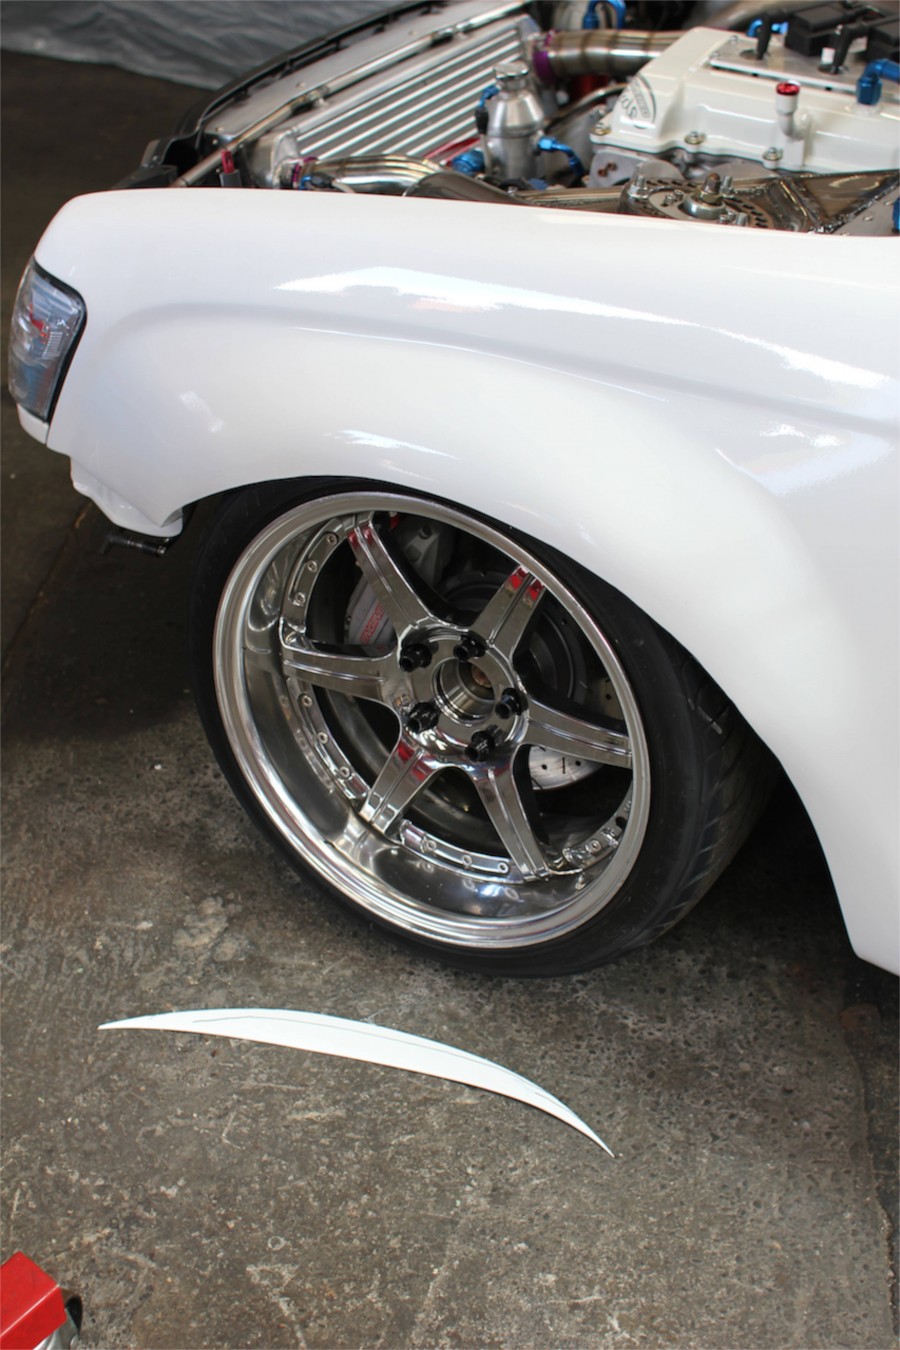
Then some emery paper to clean up the cut.
As we load up and head to the track the next post will have some actual driving footage 🙂
I would like to thank
SH
Good ol’ NZ, making things happen with no fuss. I have huge respect and admiration for all your work with this build NIgel, can’t wait to see a video clip with 330kw!