It probably comes as no suprise to you but I love metalwork……… I dont love the burns, the mess, the noise, the taste of steel, or the gritty feeling after I have finished a night in the garage, but what I do love is seeing my visions come to life and the amount of strength and rigidity I have just created.
I took a deep breath last year when I started cutting up my beloved PS13, knowing very well that it had to go right back to the beggining to be recreated into something I would be happy with. I initially had thoughts about removing the entire floorpan back to the sill panels and then recreating a tube floor, it would have been easier, stronger and neater but I feel I would have lost the soul of the car in the process.
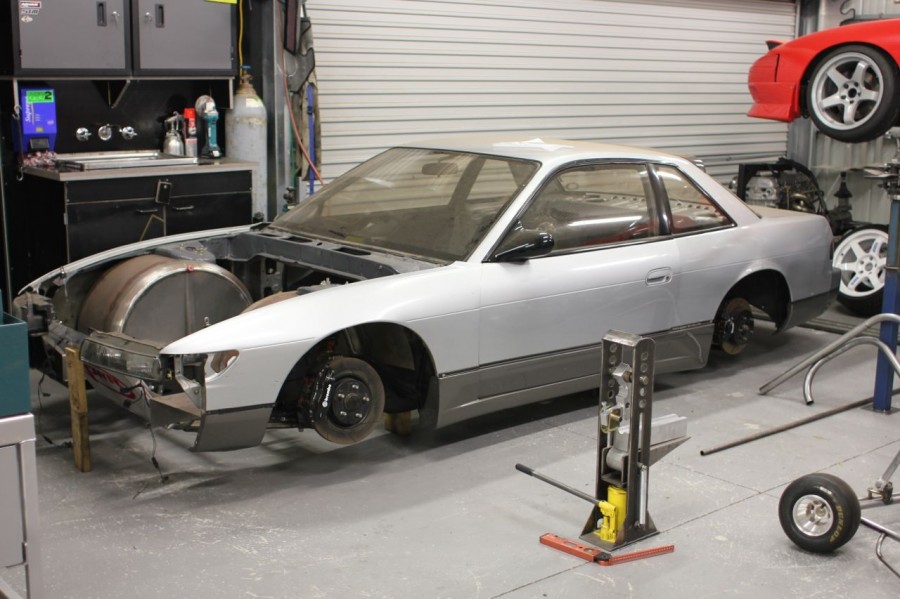
I wanted to keep its shape but accentuate everything I love about it, the car will visably be the same from the outside, simple factory lines and simple factory bodywork all coated in the factory paintwork. The rusting steel on the inside will be all coated in the machinery grey that I originally painted the car in many years ago.
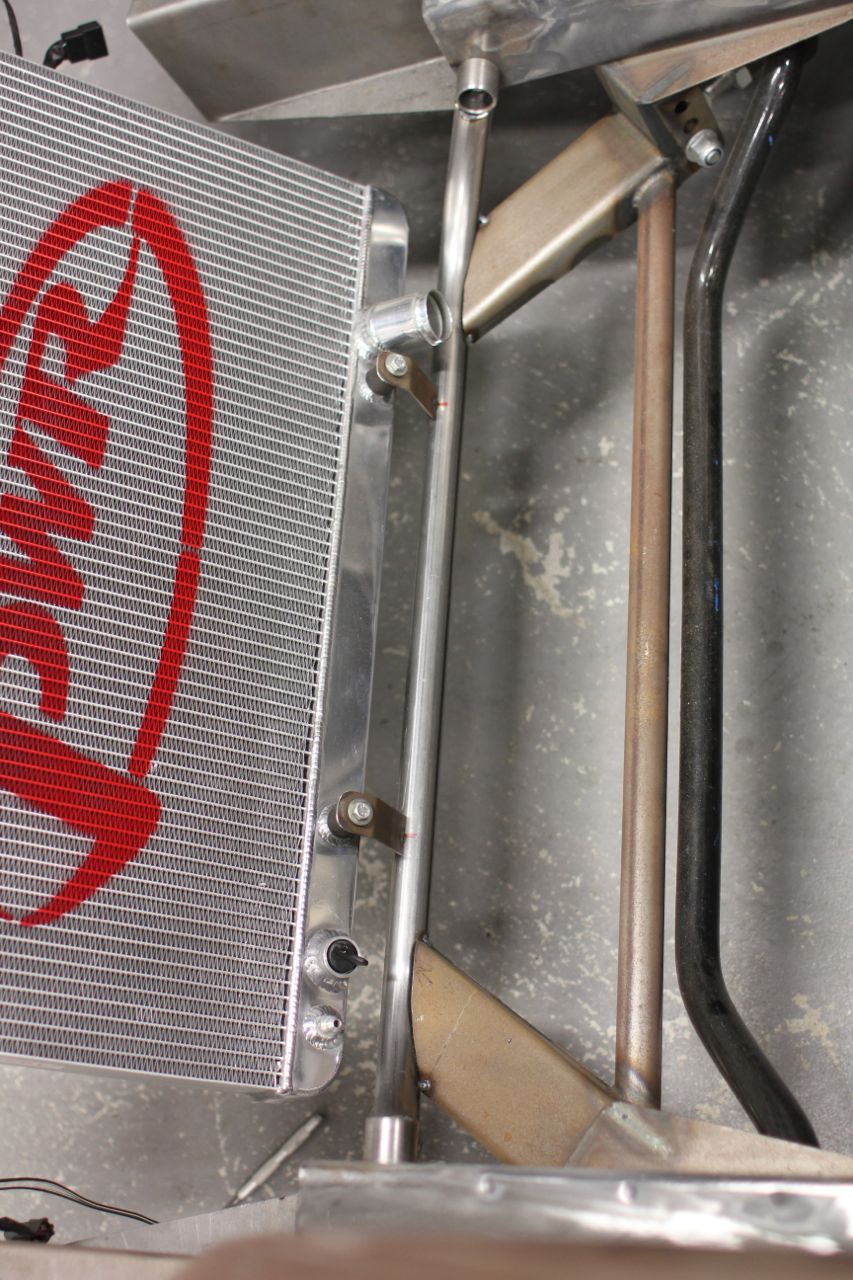
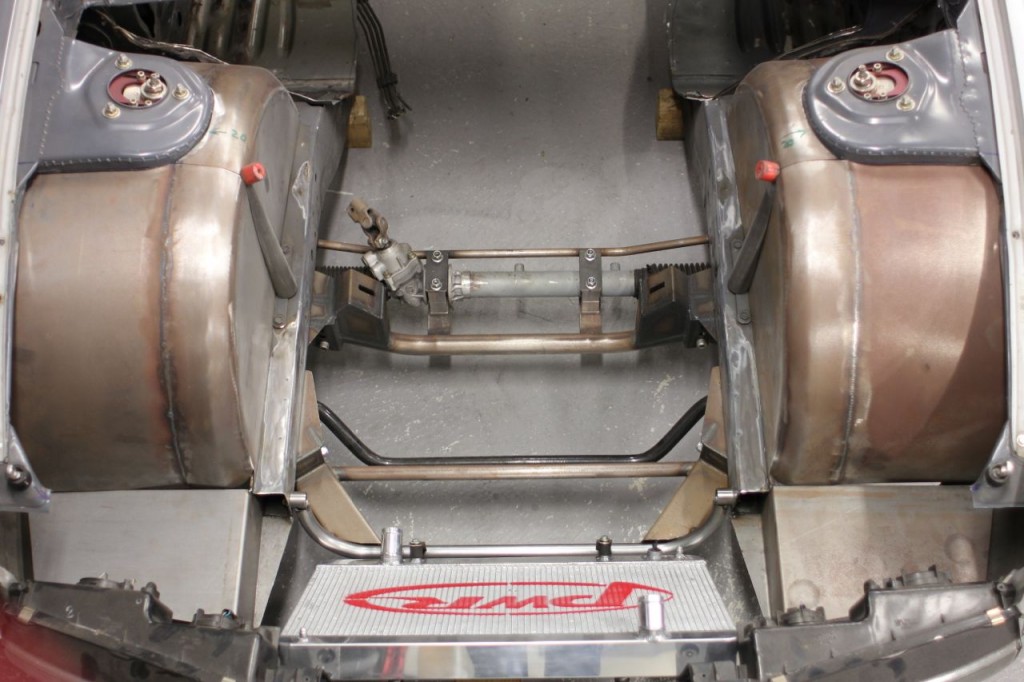
My emphasis is on weight reduction right now, Im making everything as light as possible and to achieve that I want to think as many steps ahead as I can to make sure what I add onto the chassis is both light and practical, the more roles a part can play the less amount of weight you need. For instance the bar that runs across the chassis rails and supports the caster rod mounts also incorporates the lower radiator mount, this was a product of mocking everything up in the engine bay and trying to solve issues at once. Because that bar runs from either side of the chassis rail and is the last structural role that the chassis rail has meant I could cut 200mm of the chassis off.

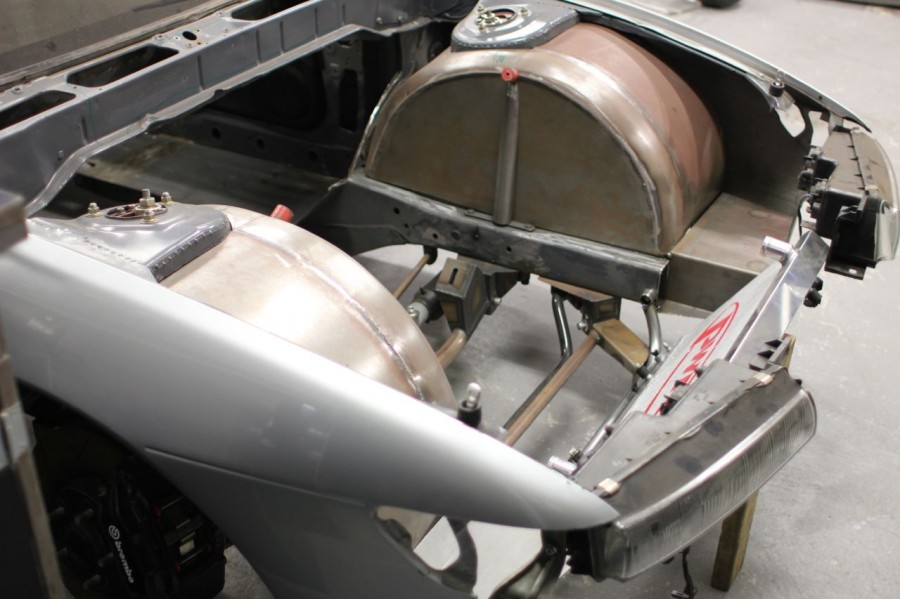
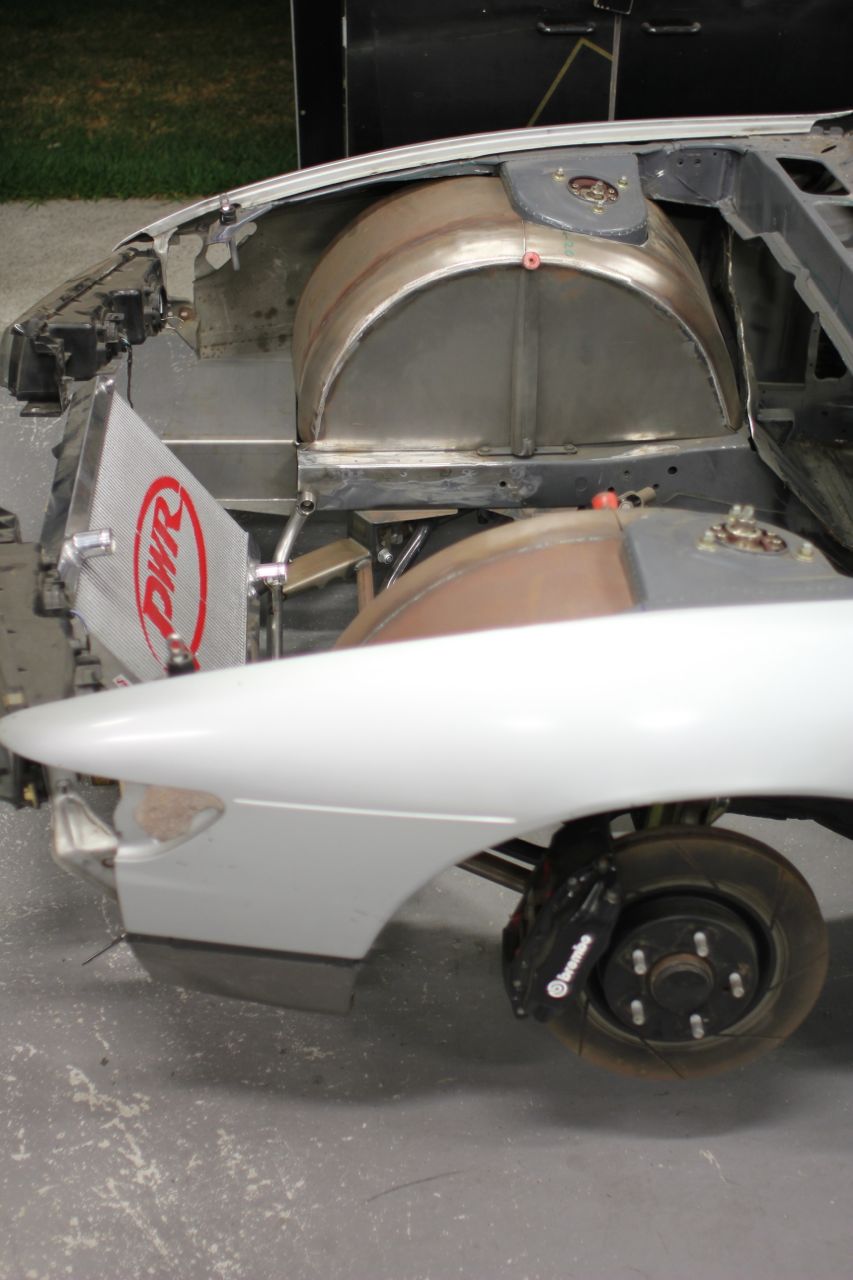
The tubs themselves are 0.9mm sheetmetal, the strength will come in the way of tube that passes through the non exsistant firewall, I have planned out a pretty interesting tubular support for the strut tops that encases the engine and then gives me something solid to build the firewall off. At this stage I plan on giving the engine another 200mm of rearward room, I really want to move the engine back this far aswell helping the weight distribution and also the shifter position.
Its a busy little garage at the moment and I am looking forward to starting on the rollcage. In the next post, the bender, how it works, how I made it and where I get my dies from.
Andrewj191
Will be good to see how you set up the bender I am just about to make one for myself.
Good to see this NA coming together.
steveg
Love love love this project already….!
Alexander
oh my gosh that jack is amazing
Nick
This is without doubt the best looking S chassis in the world!
JamieH
Nigel I applaud your efforts and the lengths you’re going to with this S chassis. It’s a very new school approach and the engineering efforts you’re going to will make this an awesome circuit car.
But if this is staying true to the NA theme that you want, (& considering all the things that’s on your wish list for this) why try to recreate the wheel with the now very old & low tech SR20De which will cost you a small fortune to modify to get any decent HP figures from?
Why don’t you consider something a lot more high tech to meet the standard of your build and use an engine that was designed to make NA HP and put a F20C in it?
mr taco
or sr16ve head with high compression.
Derick Kuipers
Hey Nigel. You’re an inspiration to all diy and fabricator enthusiasts. Can’t wait for the next post!