Whats my ideal situation?…………. Its basically a motor that produces good power, a sequential gearbox, a neat wiring loom, some really nice rims with race rubber and a vision to do the rest myself.
That is how all my projects have come to life, the Hilux although very much more complex was the same deal, I already had most of the expensive bits and it just needed a heap of steel, time and effort put into it which I see as my normal pass time.
To add some sums up on this bike I found a running 08 450exc that the owner was wrecking, I got the entire running gear and electrics package enough to get it working straight away for a little over $1500, the wheels I found in Japan on Yahoo auctions while looking for the spare Driftmasters on the Hilux, I couldnt pass up the opportunity to be one of a select few in the world to have this wheel combo, they cost a little more than the engine after being shipped to Aus, as for the rest the total cost of the project should come in under the cost of the stock 450 EXC the motor came from.
So I was finally ready to start making the chassis and swingarm, I have this thing where I get super excited about something then rush through it as fast as I can then when its over wonder why I didn’t take my time and enjoy the journey, I have taken this as slow as I possibly can and its paying off.
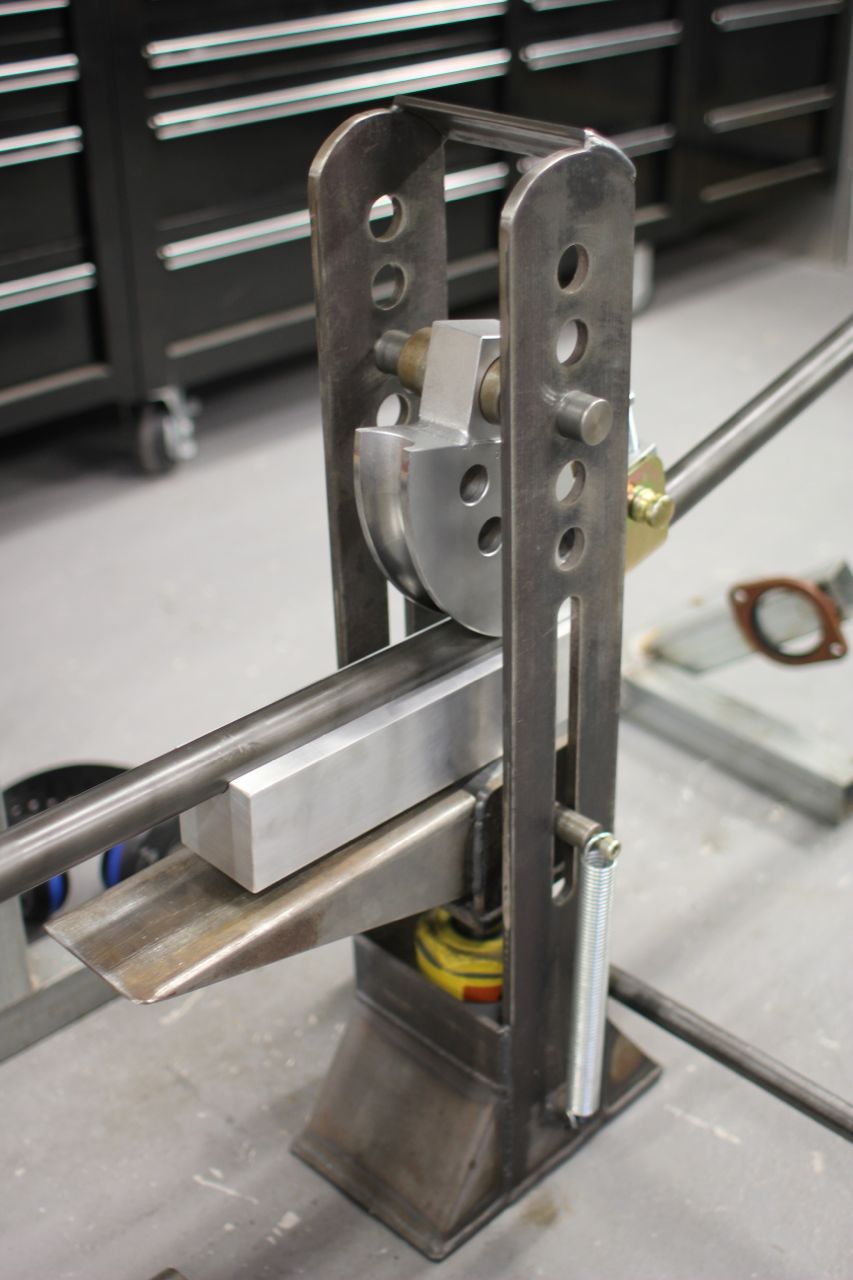
Once I bent up the 1.25 inch chromoly tube for the main downtube I took my time on the notches, I havnt worked with much chromoly before, its strong, really strong, the bender has a hard time even bending this tube and its the thinnest wall I could get. I do all my notching now with a buffing disk on my angle grinder, I prefer to do it this way as its a lot more controlled than using a hole saw, if I had a mill I would do it on the mill but slowly does it and getting a visual on the finished product as you come up to the last few buffs its a good feeling knowing your on the money.
The swingarm is also 1.25 chromoly and the rear wheel is non adjustable, why? I will be running a small adjustable chain roller to get the tension spot on, plus its not going to have more than an inch or rear travel anyway.
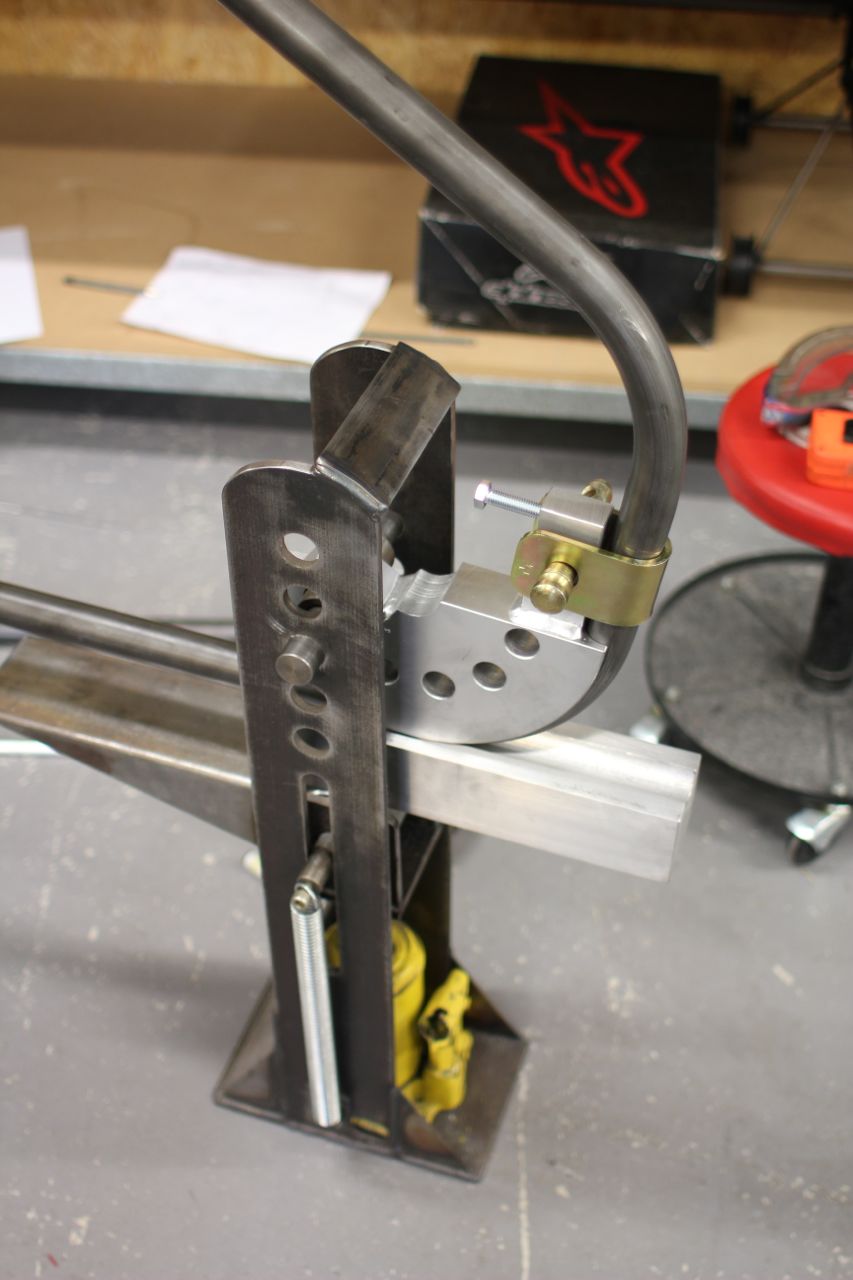
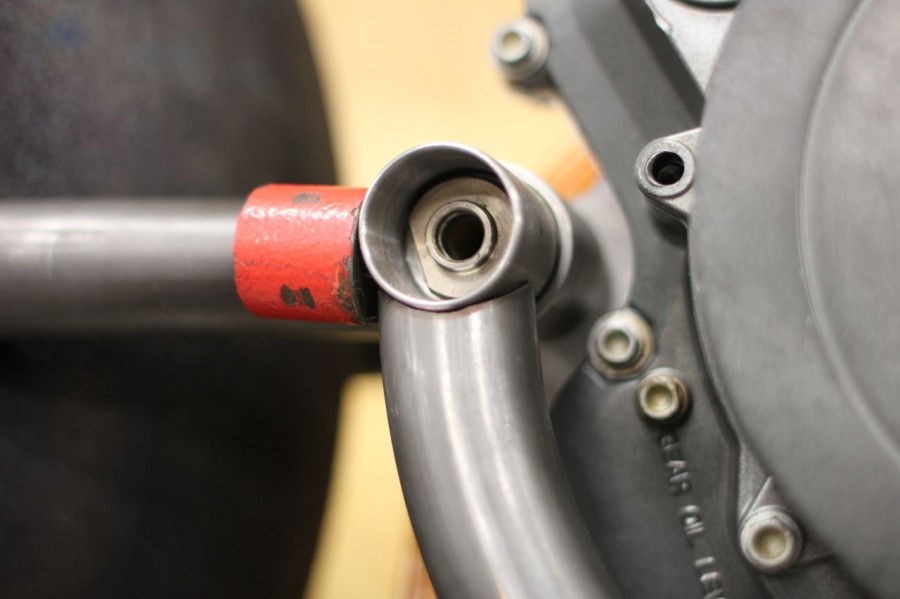
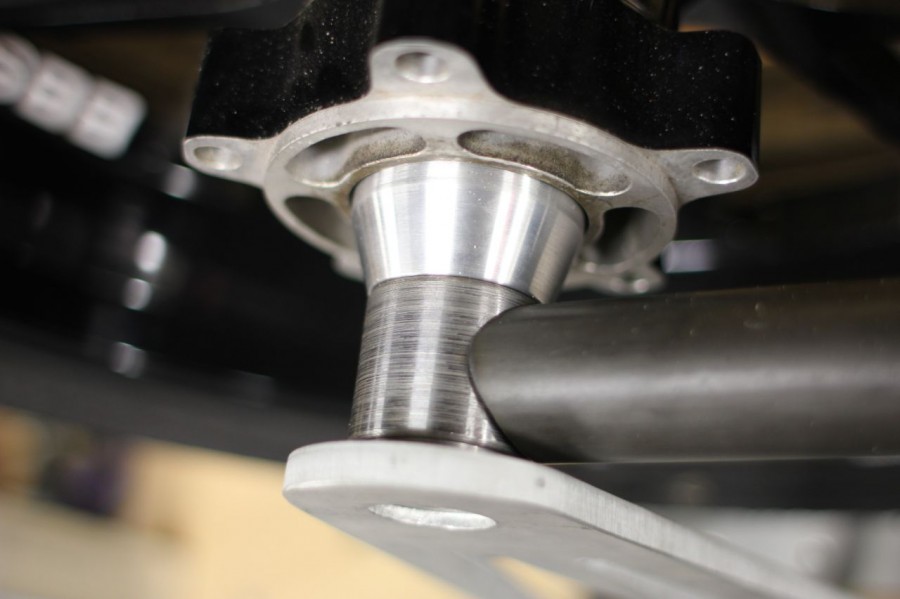
The head tube is set up on a 23.5 degree angle, with twin downtubes notched in it looks great, this area will be gusseted but I will be doing my best to put down the best welds I can all over this.
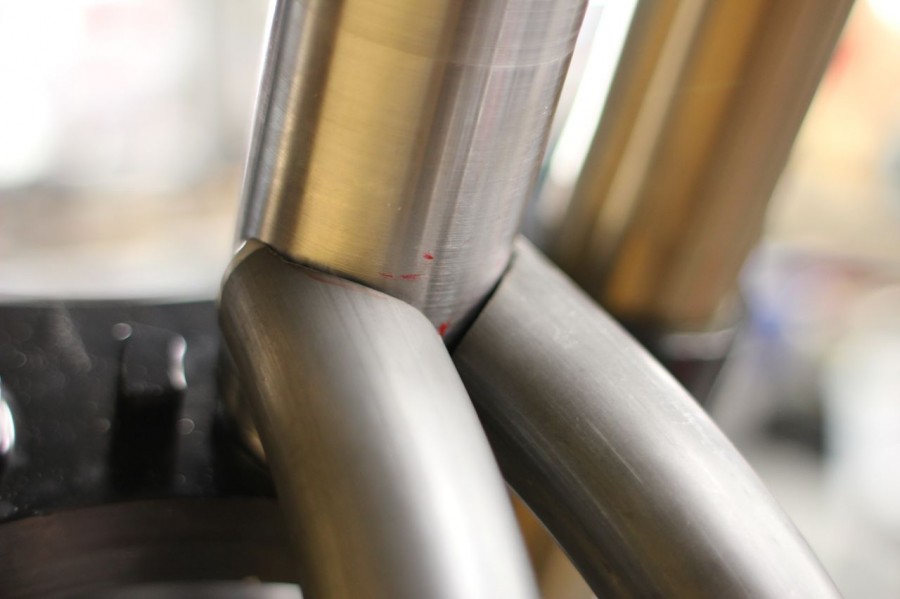
Its a slow process to get the notch spot on, I took my time and had these down tubes fitting in nicely in about 15 minutes each.
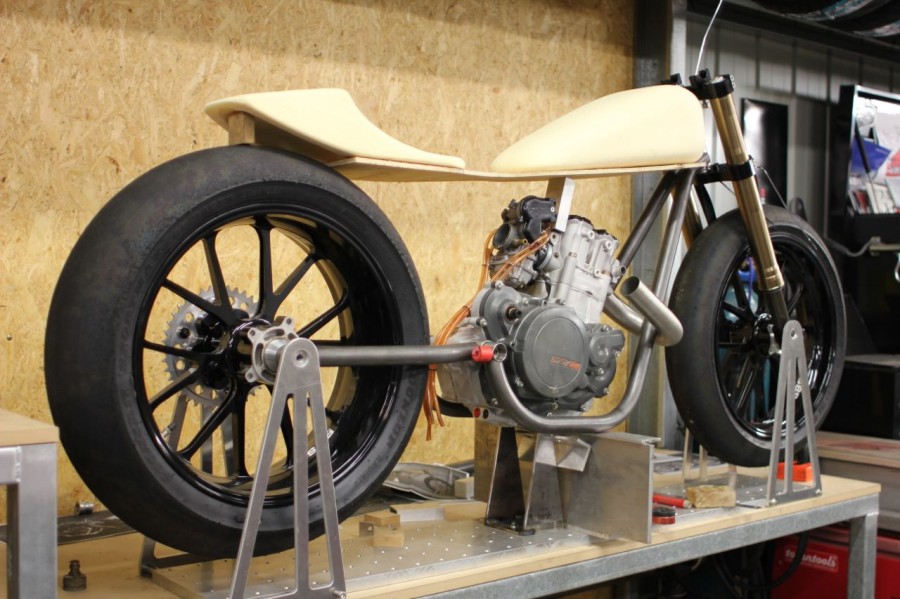
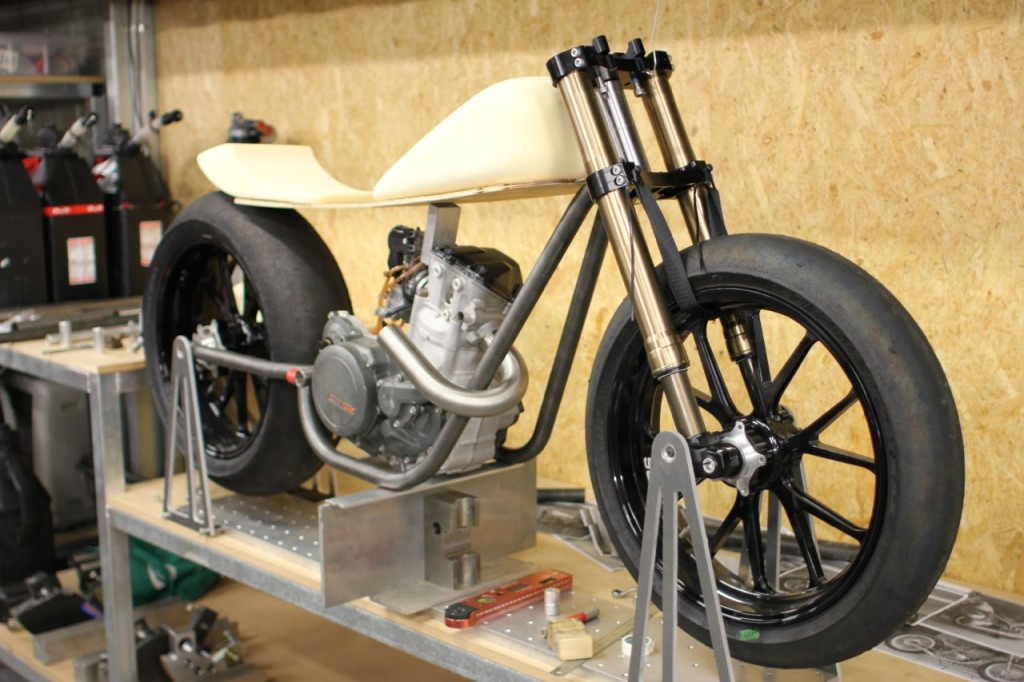
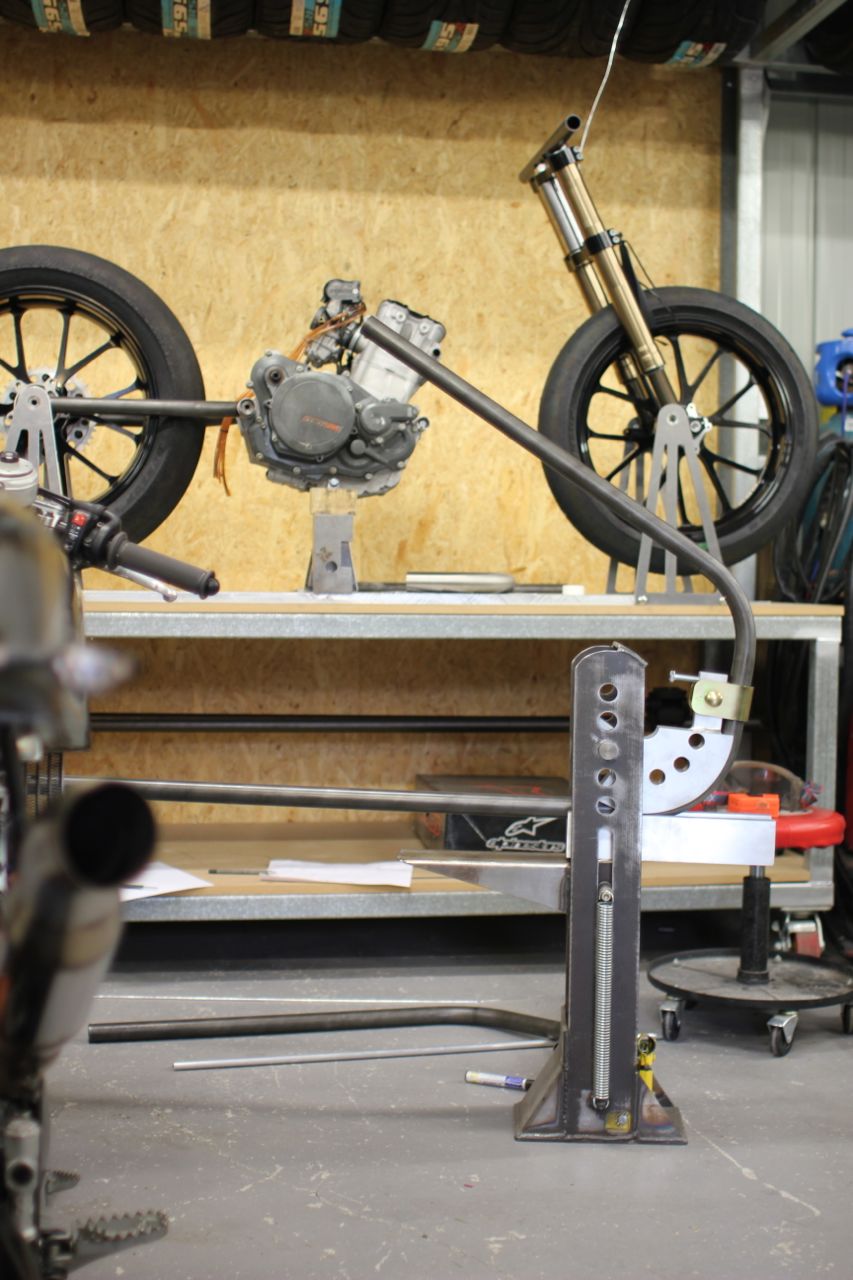
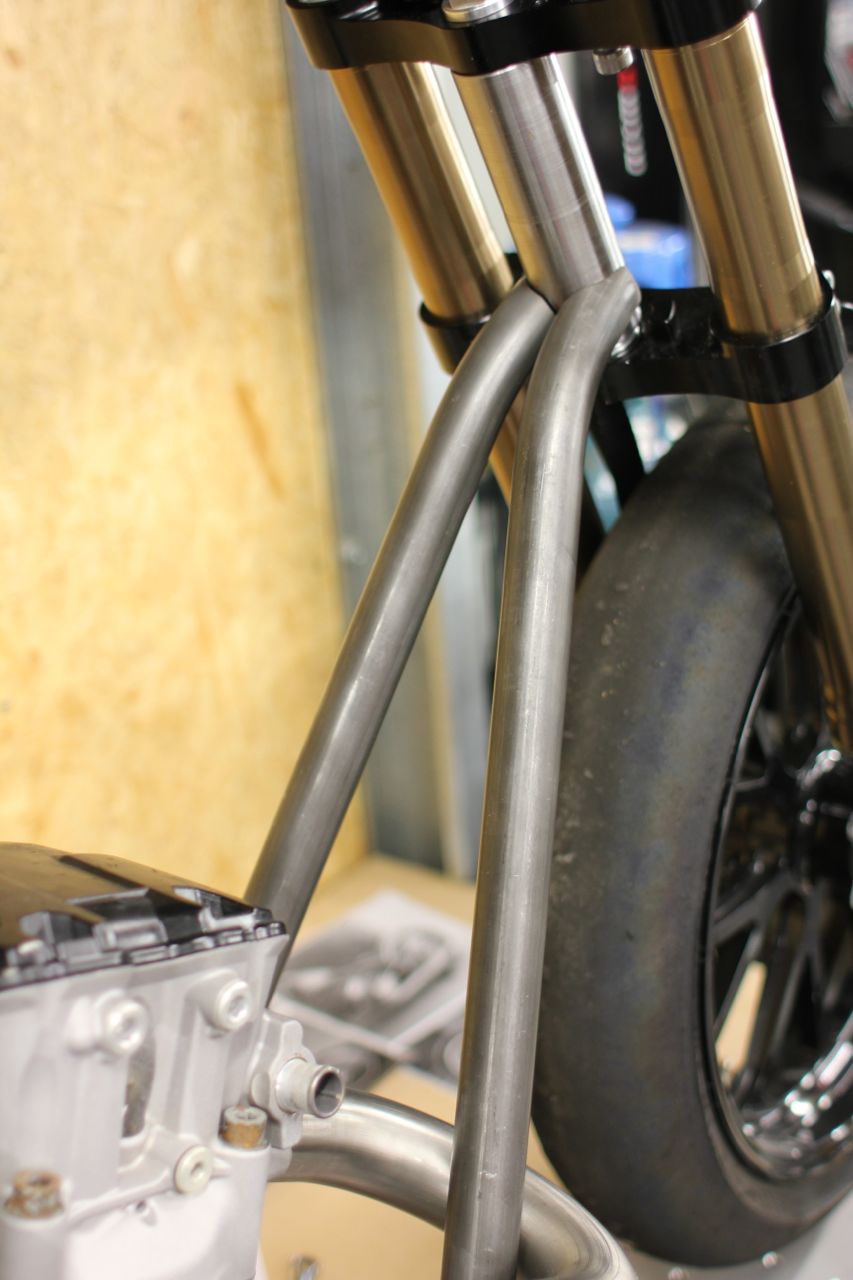
With the downtubes mocked up and the mock up bodylines installed I can finally see how things are going to look.

Now I have to research brakes (I am super keen on some forged CNC Brembo Moto 3 calipers) rear suspension, radiator and the bodywork.

Thoughts of a dry carbon 1 piece body cover over a small aluminium fuel tank, hidden radiator with thermo fan and a few other interesting additions are on the cards. I think this will work out to be a really nice and unique bike.
pumpy
your bloody amazing
Carl Mamawal
Awesome blog man! You’ve inspired me to start on my own projects. Keep it up!
Song
would be good to see more photos of how your notching now vs your previous notcher?
Nick Curwen
I’m getting a chair… this is going to be good.
Márk Gázser
Damn. That will be pretty awesome from what we can see now, I really love built bikes!
Jesse Hodgson
Loved the video mate, always wanted to build a motorbike, especially watching guys back home (nz) clean up on their tigcraft 450 powered F3 bikes, one day I’ll get there. When you say that its the thinnest tube you could get, are we talking .9mm or thinner again?