This car has a fair history, its been through a lot of stages in its in 8 years with me. When I retired my black RPS13 to the scrap yard I bought a silver AE86, the SR20 and the IRS from the RPS13 were destined to go in the AE86. I didn’t rush into cutting the 86 apart, in fact I didnt really want to, they are such a nice car in their simplest form, before I did anything too crazy I kept an eye out for another S chassis, something I could transplant my engine into and get on track straight away.
After I found this PS13 I quickly sold the AE86 and got to work, from CA18DE Auto, to LS1, to SR20DET to SR20DE its been through it all. I remember 8 years ago when I attacked this car with the grinder and tubbed the front arches, it was a nervous time for me, doing this for the first time, it wasnt a popular thing to do back then but it turned out really nice and those tubs lasted for a long time. Late last year I decided to build this chassis into the S13 of my dreams, this meant reversing all the work that I had done over the past 9 years.
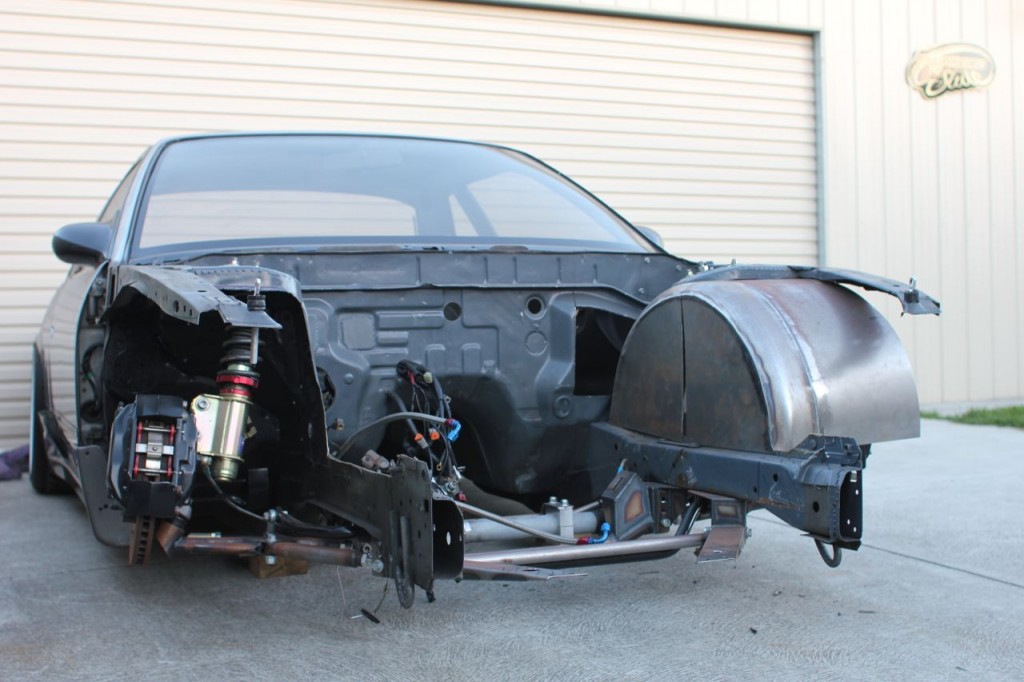
I cut away everything that I had welded into the car, from the cage mounts, the pedal box mounts, the seat mounts, the tubs, the fill plates everything, it all needed to go to give me a platform to build from. Now I can start work on the new sheetmetal, my emphasis is on keeping everything super light then strengthening it with the roll cage that I will build.
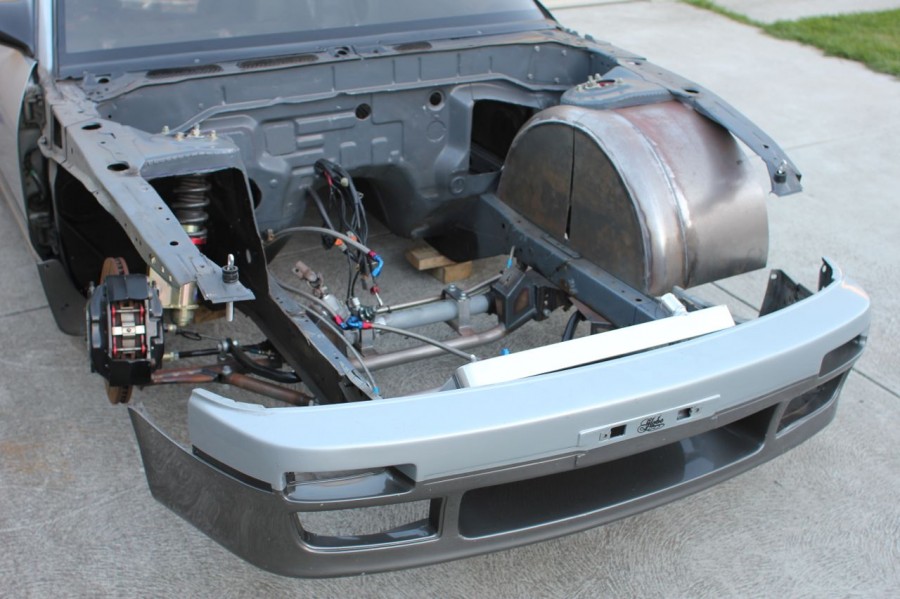
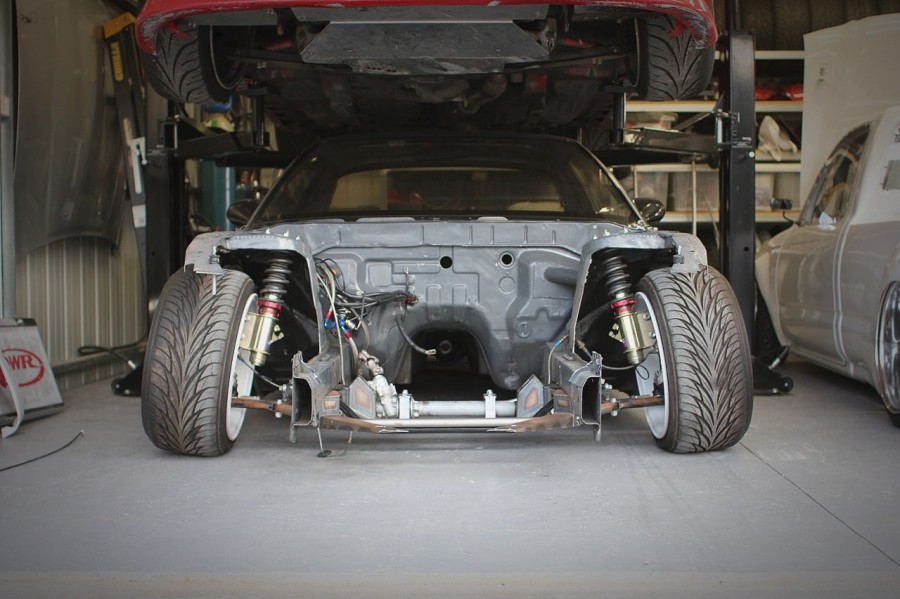
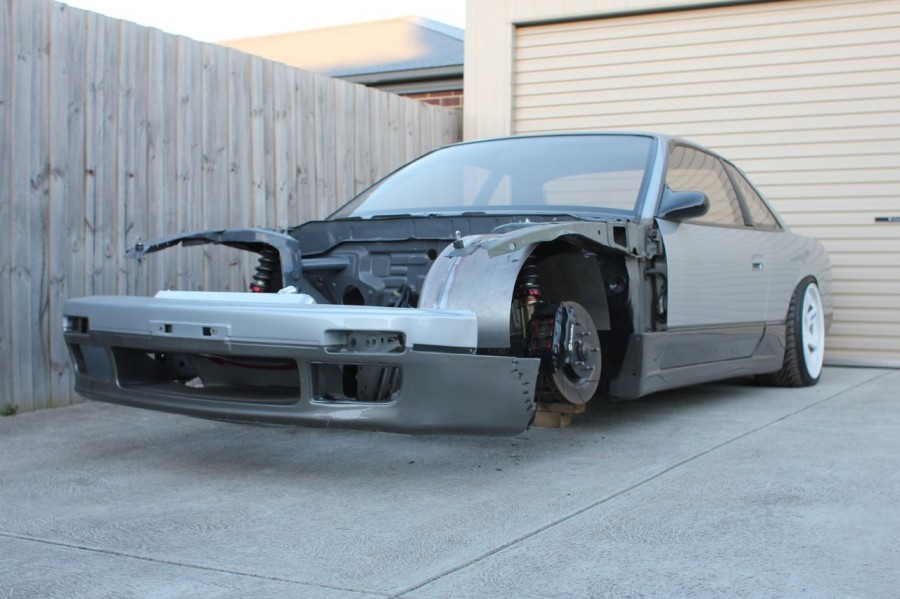
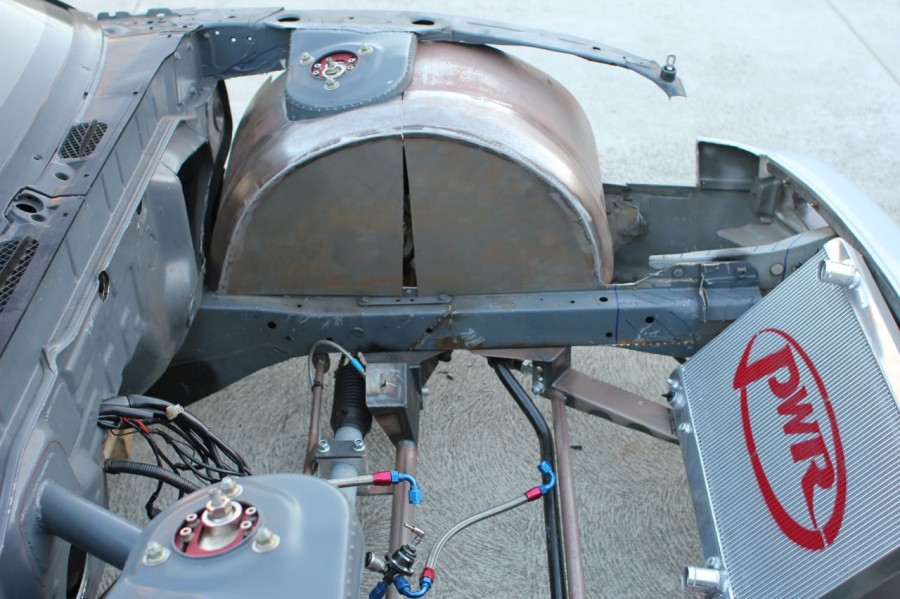
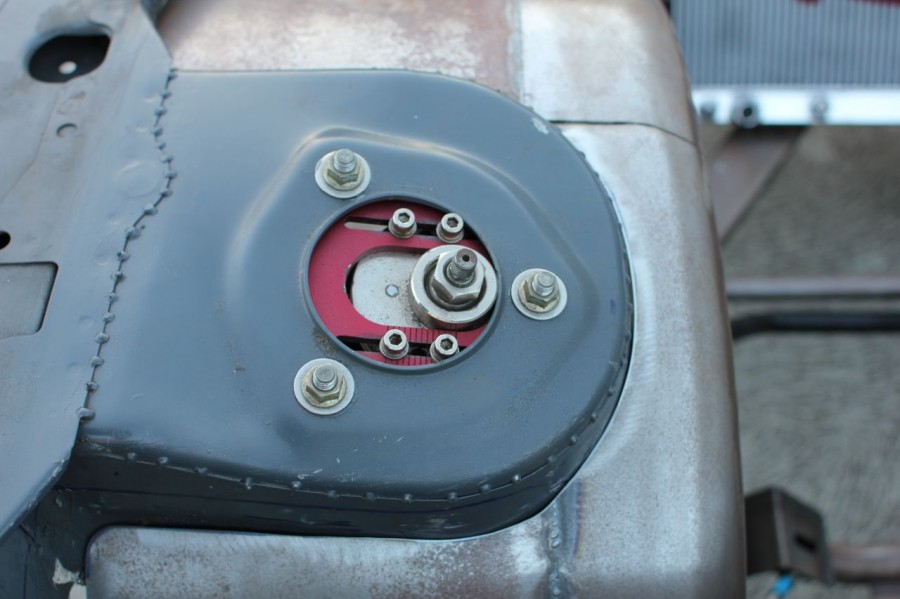
I have always wanted to do full front tubs, mostly from an aesthetic point of view you just cant help but admire those huge inner arches. I dont have any large plenum or turbo in the way so I want to make the engine bay a real spectical while making everything simple and easy to work on.
Im not too worried about the firewall as I think ill replace it all with new sheetmetal. Once the barwork comes through to restrengthen the towers I can then fill in all the gaps.
I took a little by little approach to fitting the sheetmetal, the split will be filled with a strengthening tube from the rail that then extends up to the tube that will come from the cage.
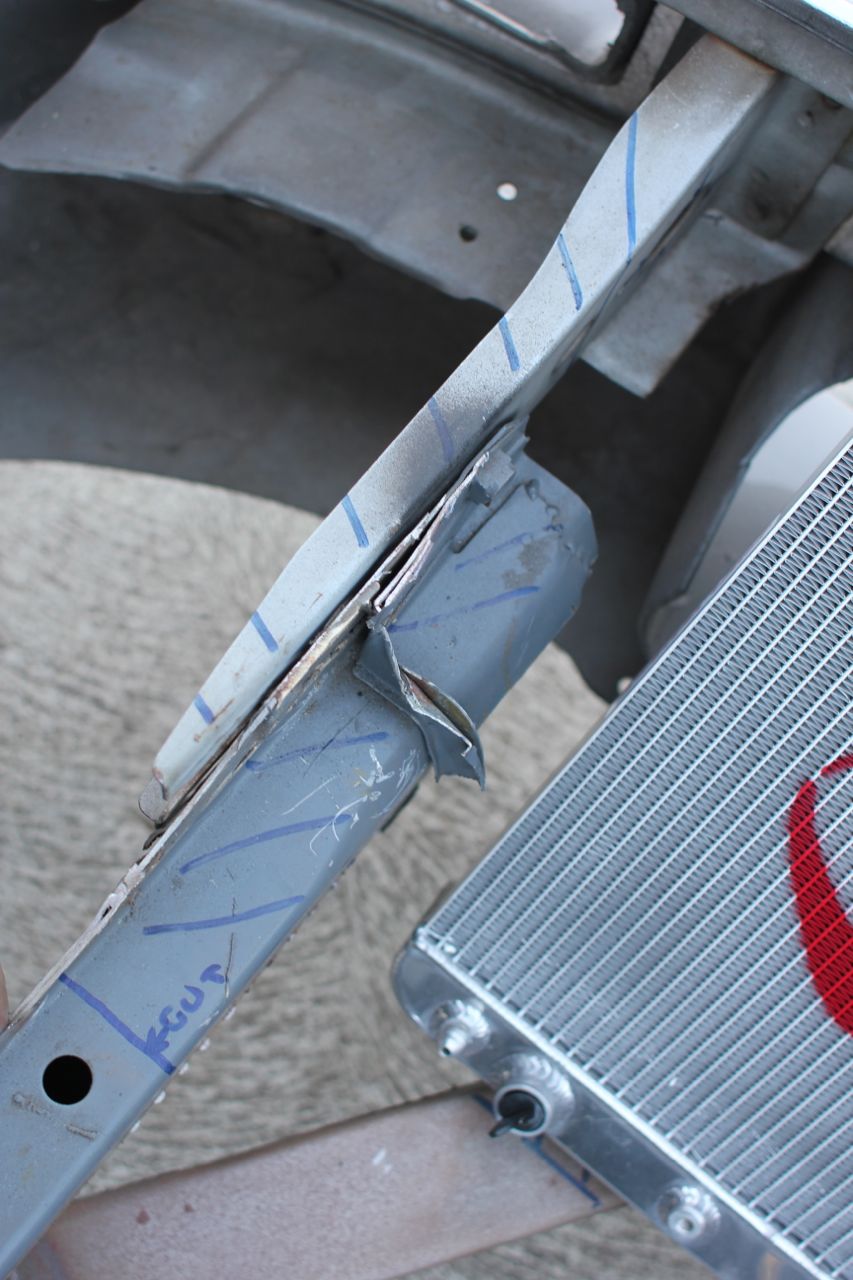
The rails will be cut of an replaced with tube and then a removable cradle made that hold the radiator, headlights, caster brackets, bumper and guards.
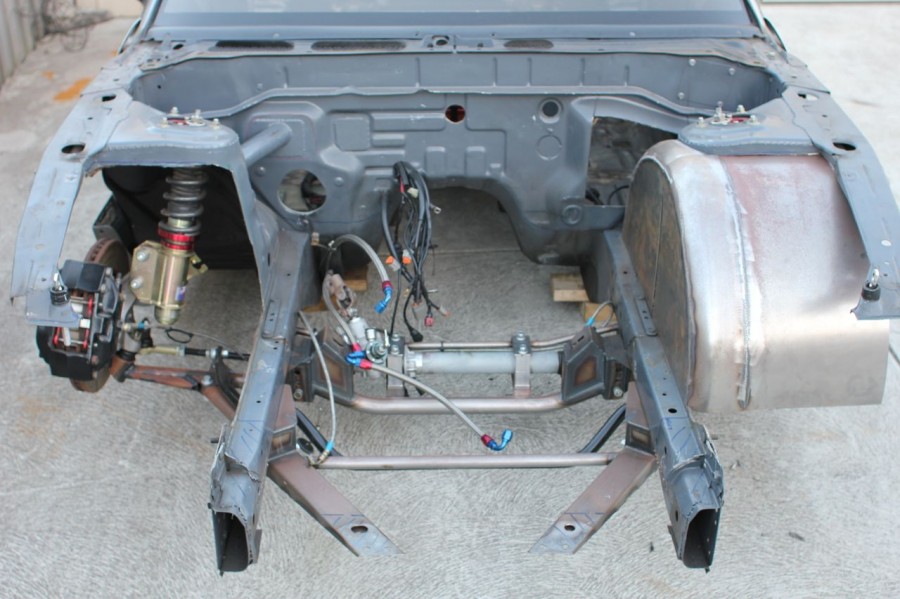
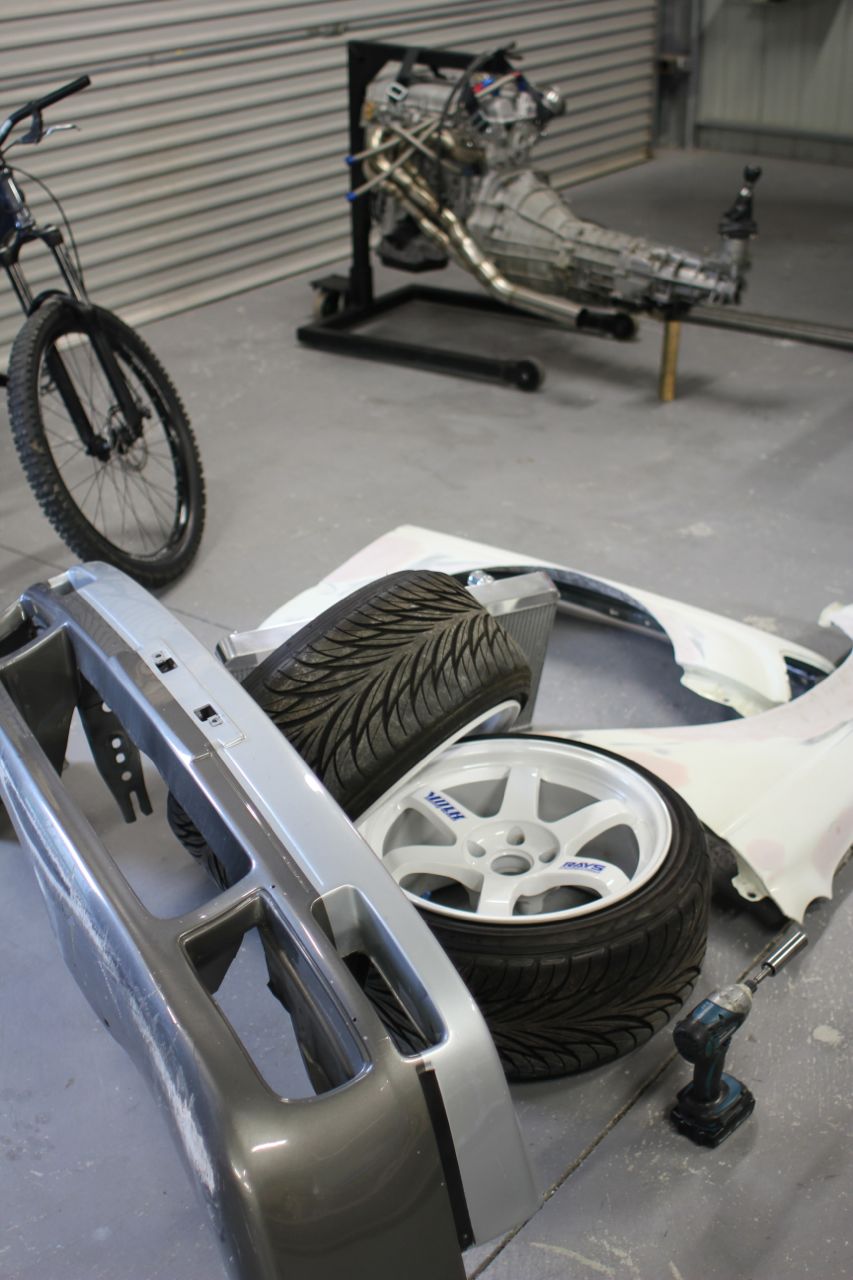
There is a lot of weight saved in here.
I will concentrate on getting the front tubs in, then the tube work to hold everything where it needs to be, then ill move to the interior and start work on the cage, extending that out into the engine bay, then some seat mounts, pedal box mounts and then start prepping the body for a respray. I have a habit of rushing things but this I will just cruise along on and get it done when time permits. With the Ute in NZ its giving me a good chance to get the majority of it completed.
John Smith
Cuse us nigel does your original blog cover making all the tube and custom front suspension? Is there similar work in the rear?
Nick Wedd
thought about going to upper a arm suspension in the front similar to the Cootes TA car, and maybe even lower a arm, then you can get rid of the tension rod brace to neaten the front end up further
Guest
Can you put up a photo/Video of your workshop? and dimensions 🙂