So the job list is being demolished lately, i credit this to my shopping spree, i ordered nearly every part and fitting that i would need to mechanically finish this off.
To be honest i feel like this build has cost me basically nothing, this isnt the truth but its no high budget build and stretching it out over a couple of years helps. I hate spending money but i also have an eye for quality, research means i get the best quality parts for the most reasonable dollars.
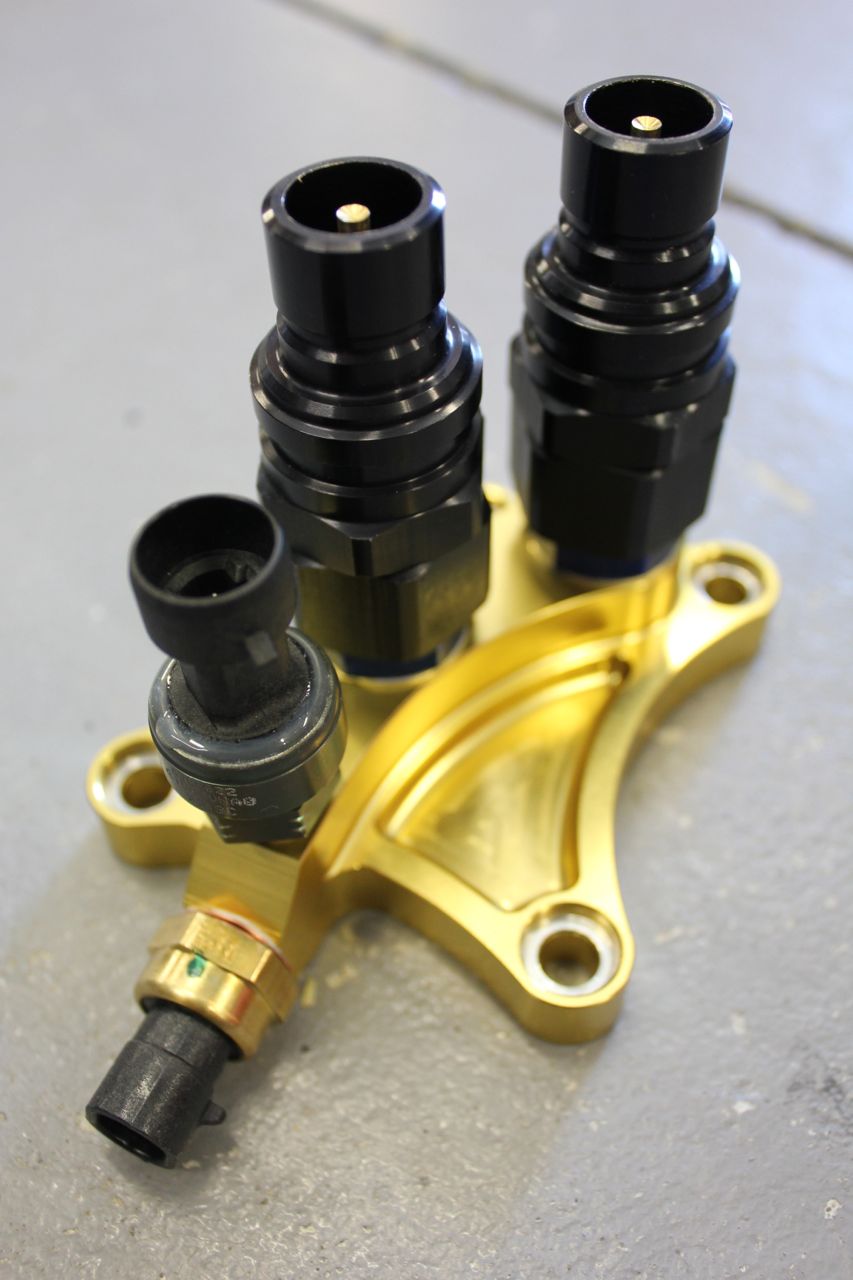
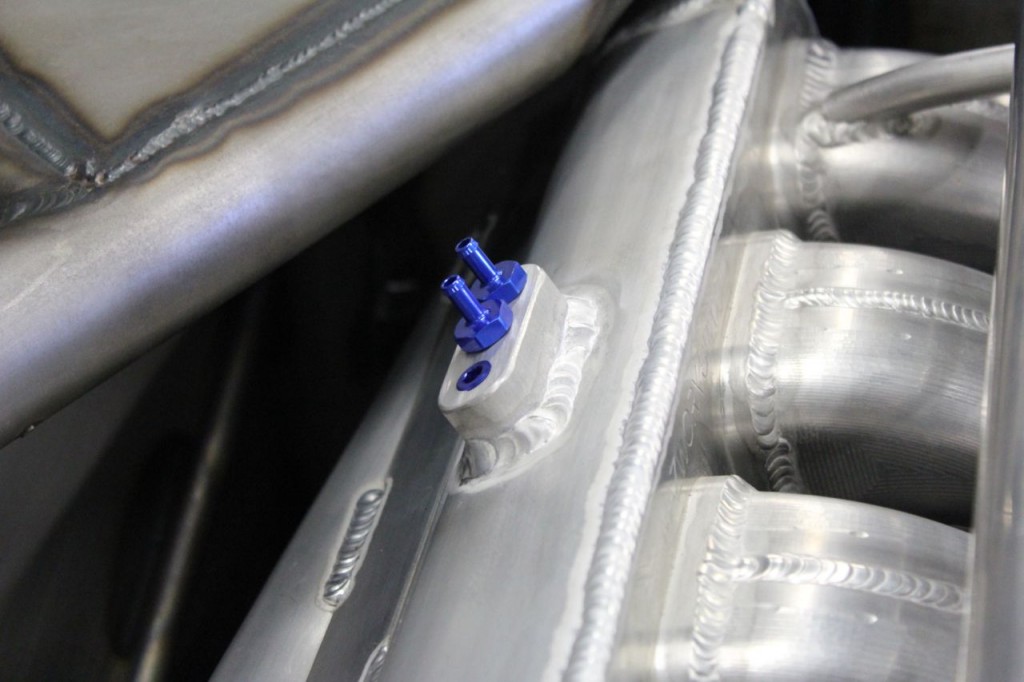
The above picture is the Tomei oil block, sure i could have bought a rip off item but after visiting Tomei i feel companies like this deserve to ask a little more than the cheaper rip offs, sure they work the same but the time and effort that companies like Tomei put into their products deserve payment for their handwork.
The fittings on it are Jiffy Tite AN10 quick release, why quick release because race car……… no mostly because i want to be able to remove the engine out of the chassis with little mess, waters easy to clean up, oil aint!
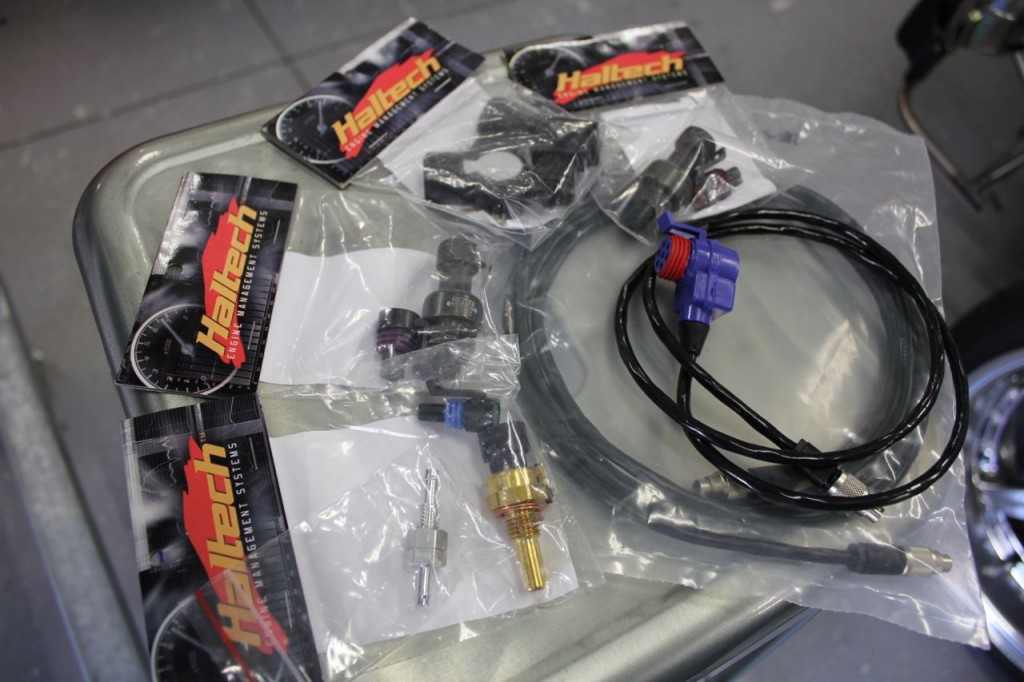
The electrical side of the oil block is care of Haltech, yes i have paid full price for everything on this build, here i ordered a Haltech Oil and fuel pressure sender, oil temp and TPS sensor.
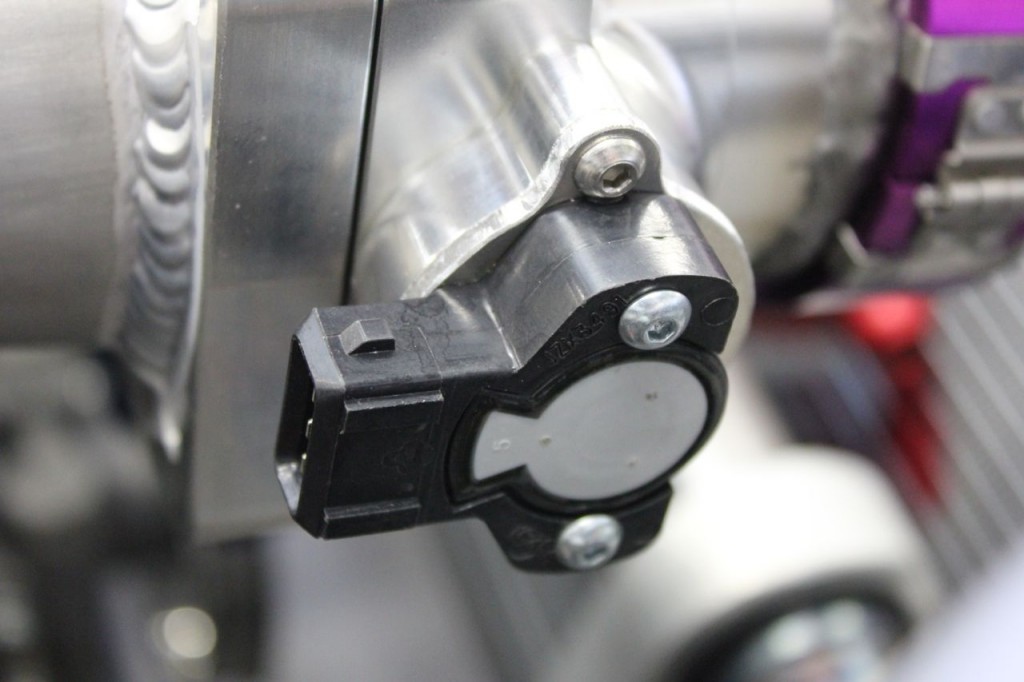
The TPS was a pain to fit, i ended up having to tig a small sleeve and rod onto the throttle shaft and then file a D shape on the end, after that was done i needed to make an alloy adapter plate to attach it.
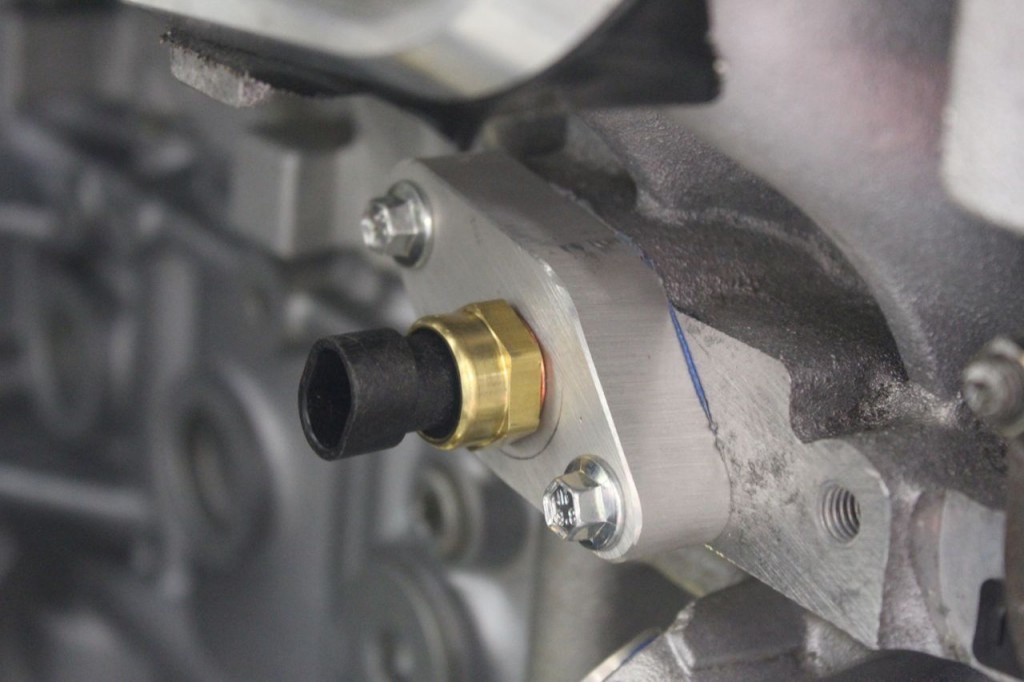
Water temp sender for the ECU comes from the head, i think this will give an accurate temp reading for the combustion area.
With the same bit of alloy block i made a 3 port vacuum block and welded it onto the plenum, i suck at AC TIG but i think it will work.
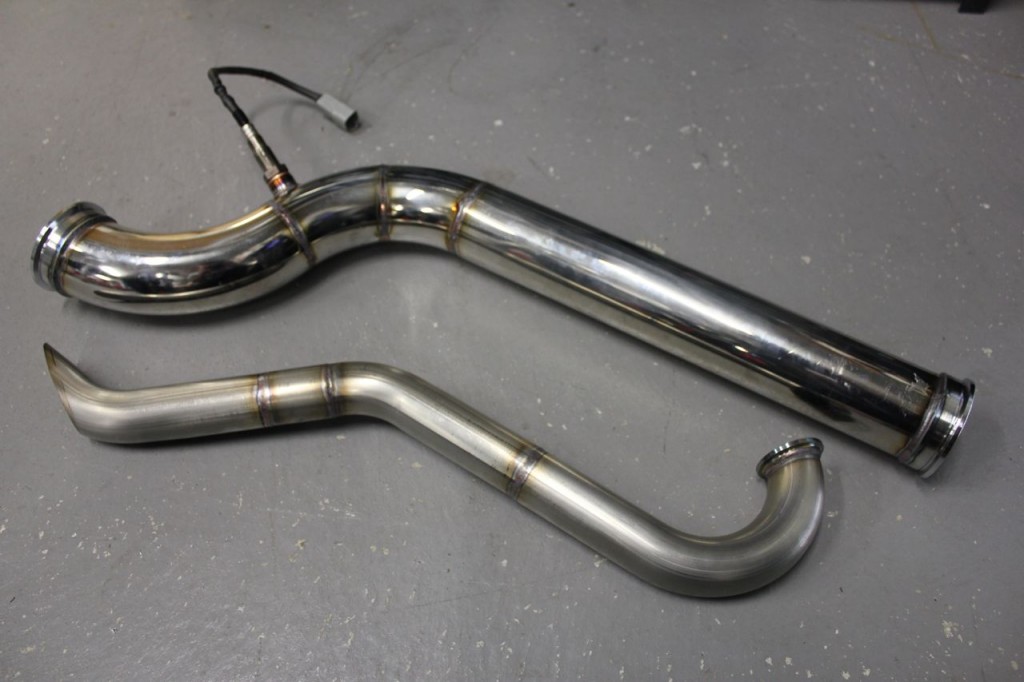
Switching the TIG back to DC and turning down the amps to around 40, switching the tungsten and sharpening it to the sharpest point possible i welded up my exhaust.
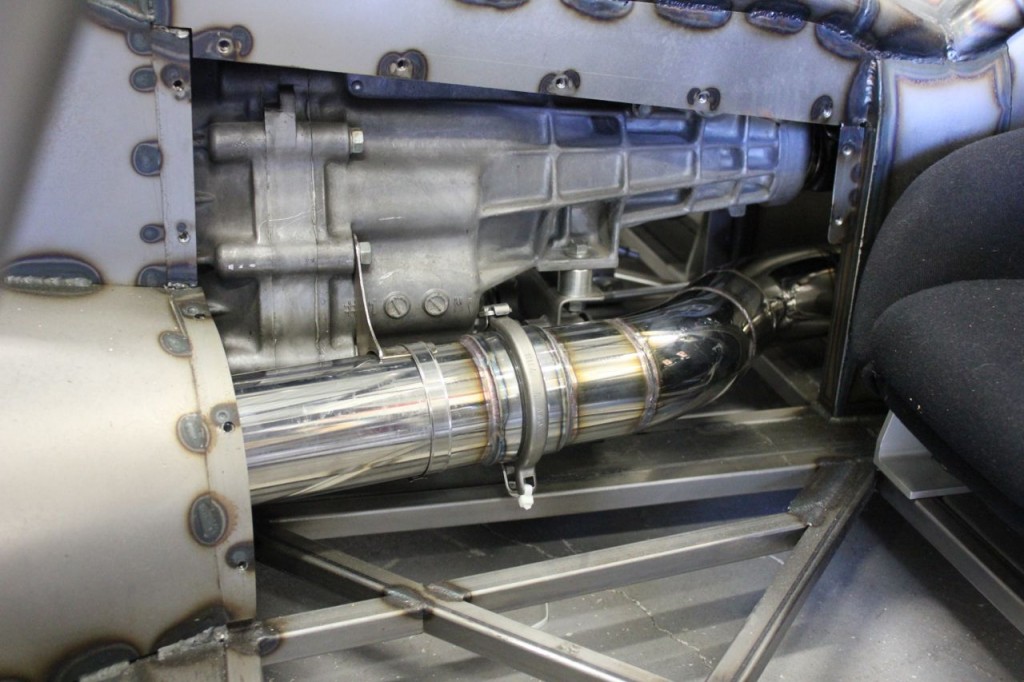
The dump pipe and “front pipe” go on through this hole in the panel work, and snake their way around the gearbox.
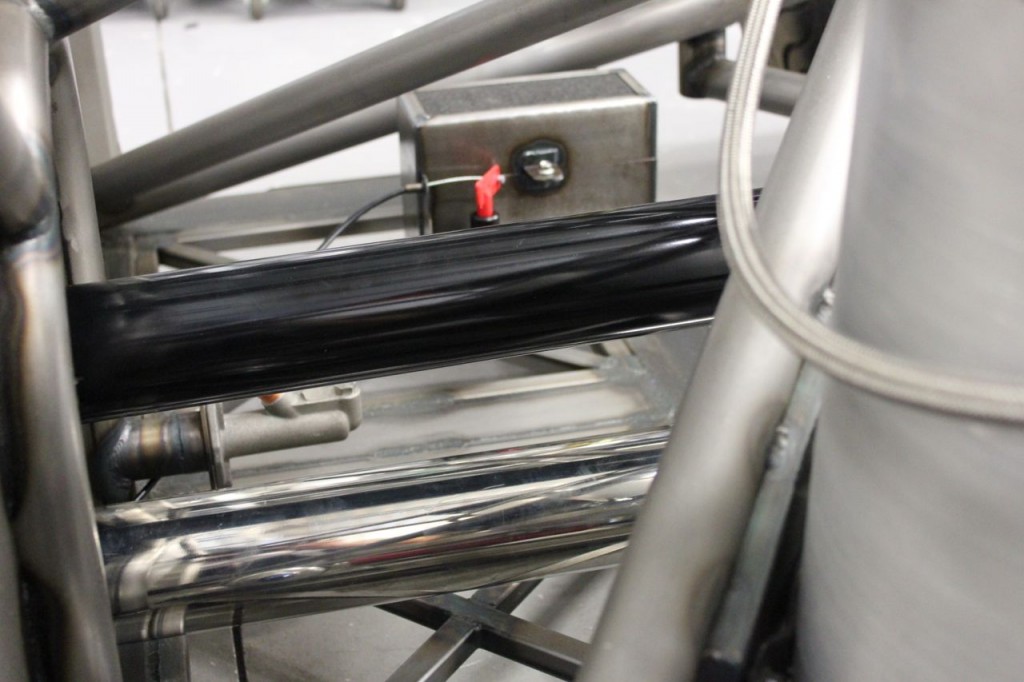
Then pass out through the rear tunnel into the exposed rear end, notice the 1.3m long taishaft? I got it made through my local shop and $400 later it slips straight in.
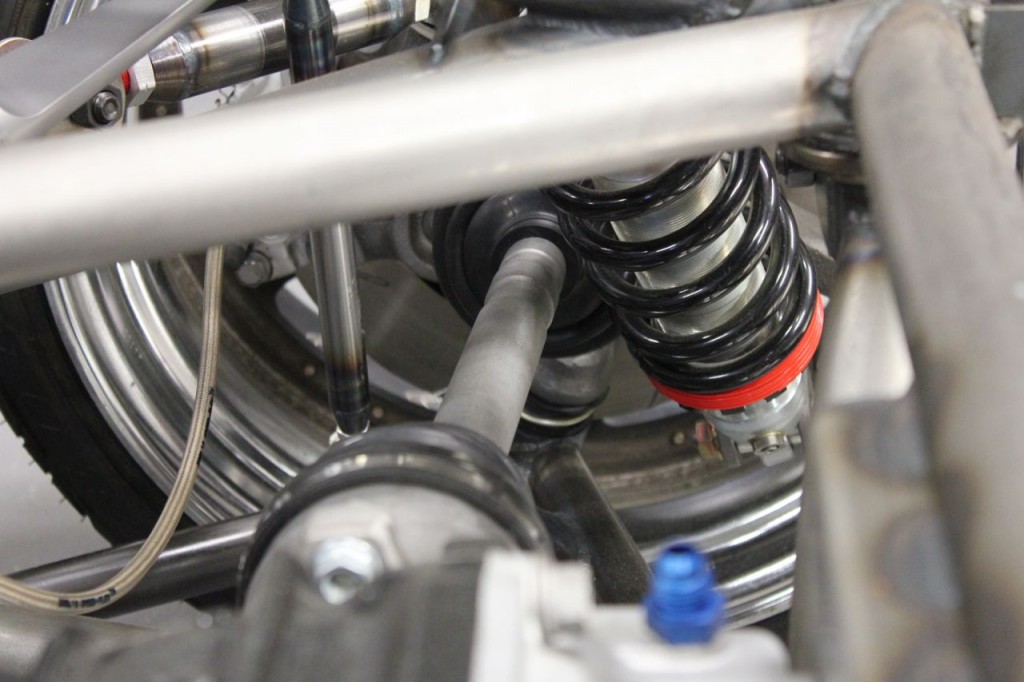
The drive is passed through the 4.11 ATS “Carbon Pack” 2 way diff and into the 5 bolt driveshafts from an R33 skyline, these i pulled apart, ordered new boots, sandblasted the shafts and then regressed and assembled them. I had never done this before and it was actually pretty easy.
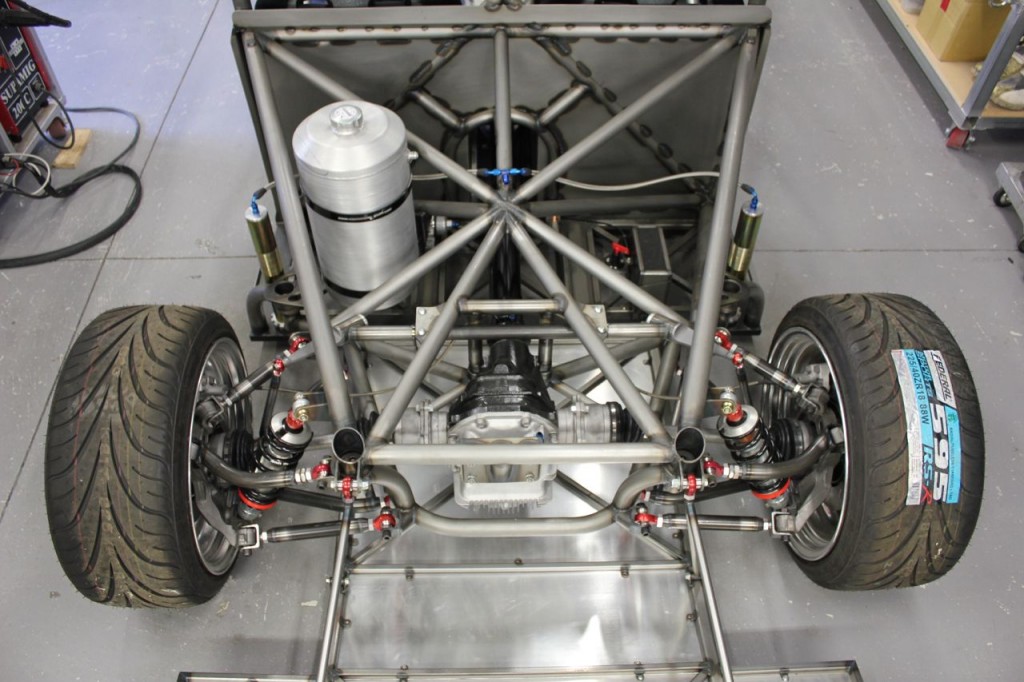
So the rear end is a nice view for me, i dont look at this like you do, i dont stand back and appreciate what ive done, i think of what i have to do next, the day i have nothing to do will be kinda odd.
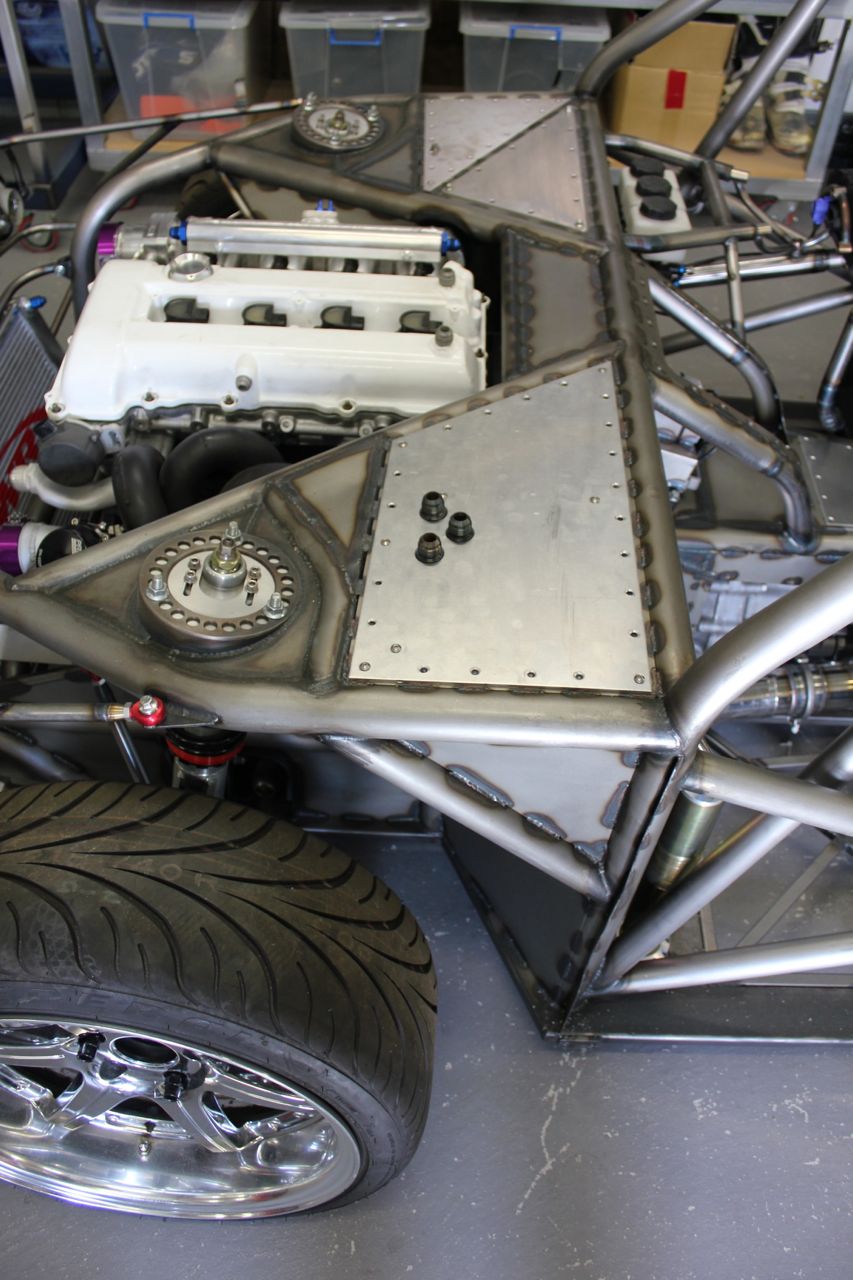
I made a super neat catch can that sits in the tower provision, the three fittings will be to the rocker cover and the sump breather, there will be a drain tap incabin and a vent under the alloy plate, ill get pics of the underside soon, you will love it!
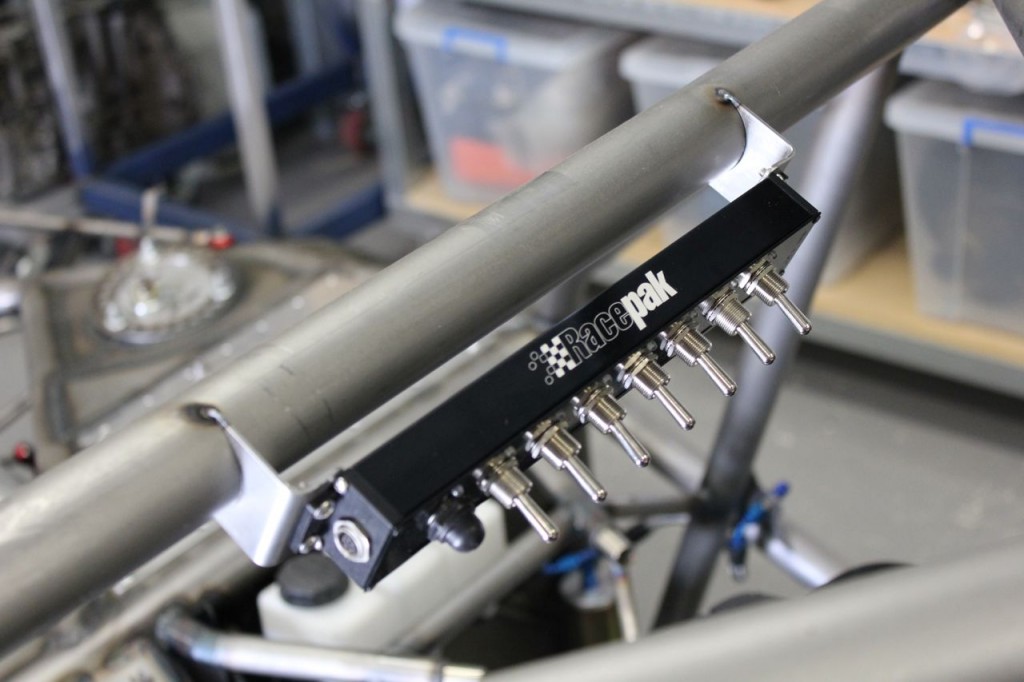
I ditched the clamp on mount and made these sheetmetal brackets for the smartwire switch panel, it looks so much neater.
So things are happening fast, hold on the next few months should be fun.
Dahopro Kent
I CANT WAIT TO SEE THIS AT A DRIFT EVENT GREAT JOB HOPEFULLY MY PROJECT WILL BE THIS NEAT AND GREAT