Im sorry that things have been so quiet around here, last week i hit a wall, i didn’t feel too well, i still kept heading to the shed and trying to keep going but my heart wasn’t in it, i took a few nights off and waited to get back into it.
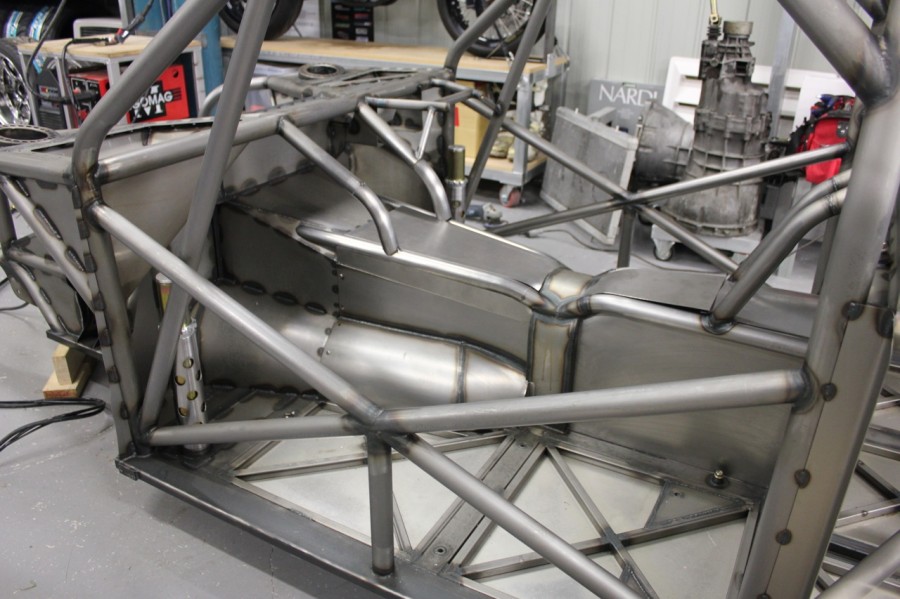
I kept looking at the two bars that had previously ran from the dash bar down to the tailshaft loop, i began to just hate the look of them, so out came the grinder and then a few hours later I’m much happier with the new tunnel.
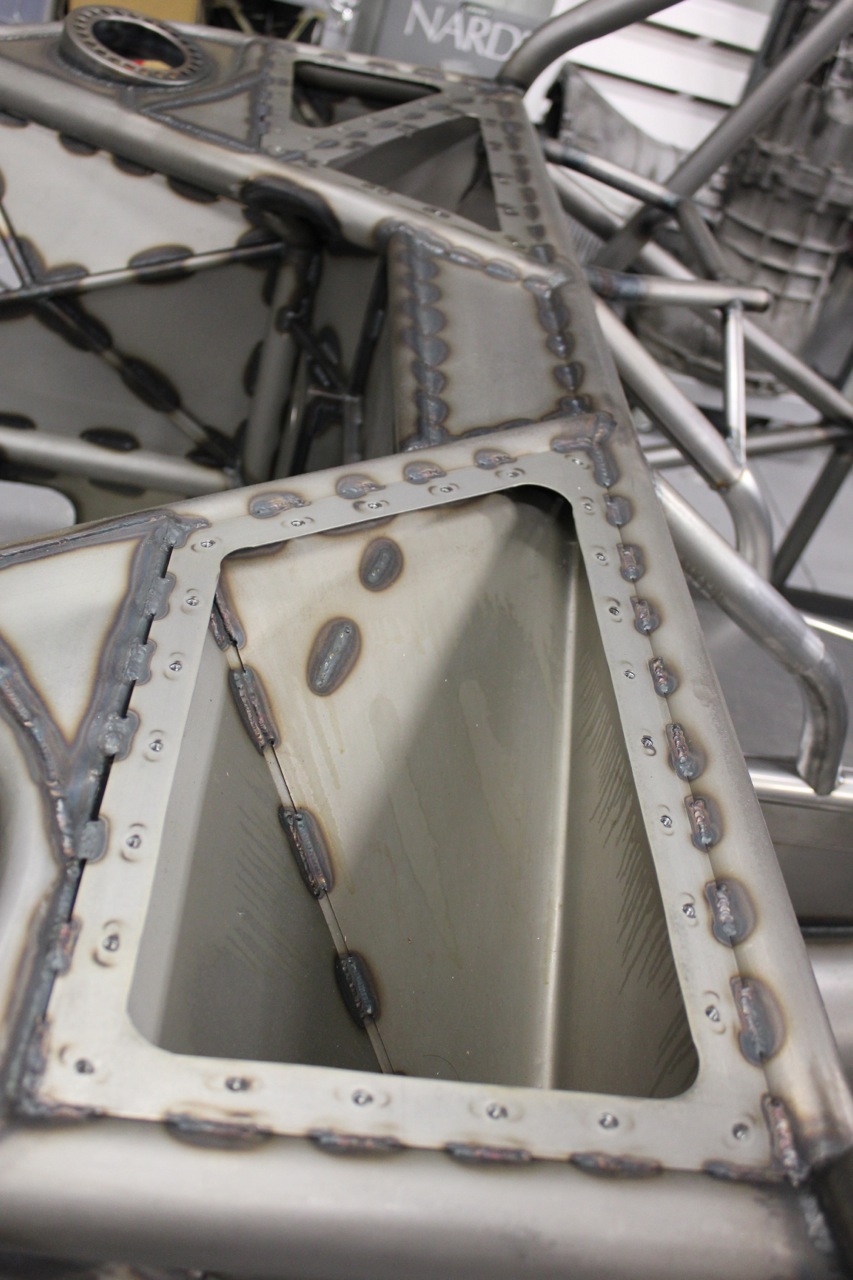
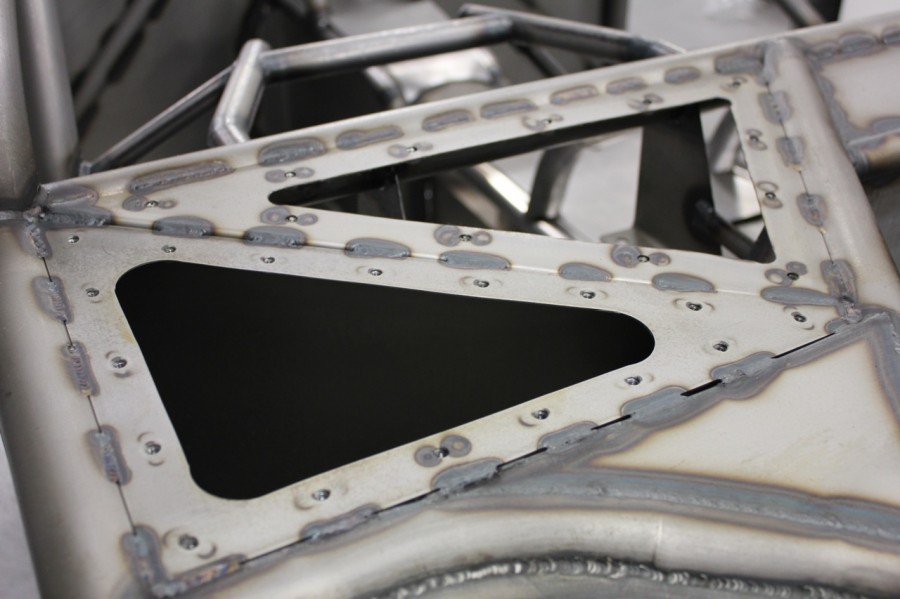
Now it was time to sheet everything in, that wouldn’t be such a big job if it didn’t have to be removable. Above is where the oil catch tank will sit inside, and over the other side its the water/header tank, the entire trans tunnel sheet work will all be done like this aswell, it all has to be removable.
It requires a lot of time spent on doing plastic templates, then cutting the sheet, holesawing the corners, drilling all the holes, making the cover plate, bolting it on then tacking on the nuts. Yep its a heap of work but will be worth it in the end.
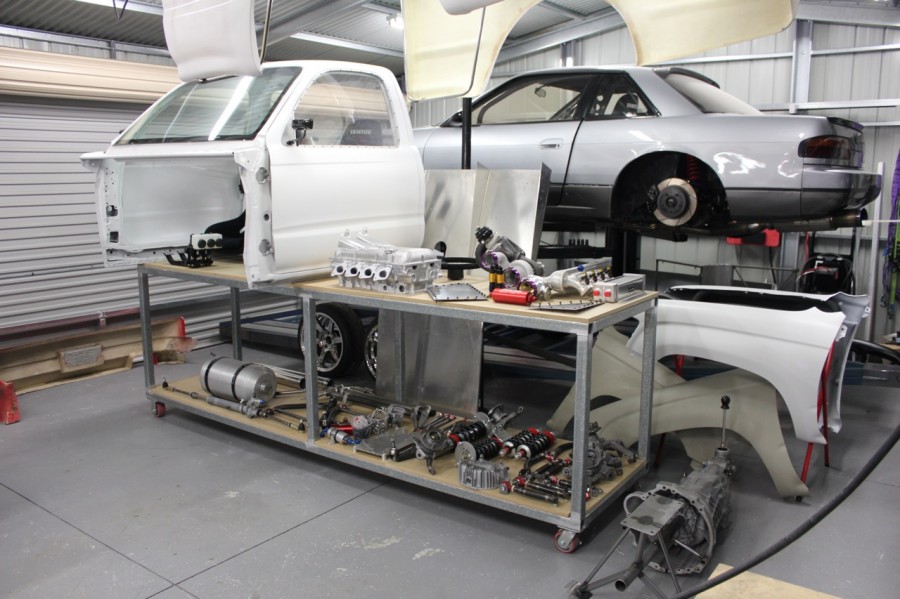
The jig that the chassis did sit on has made itself useful again, a quick call to Mitre 10 with a cutting a list and $68 later i had a nice solid bench to lay everything out nicely and off the ground.
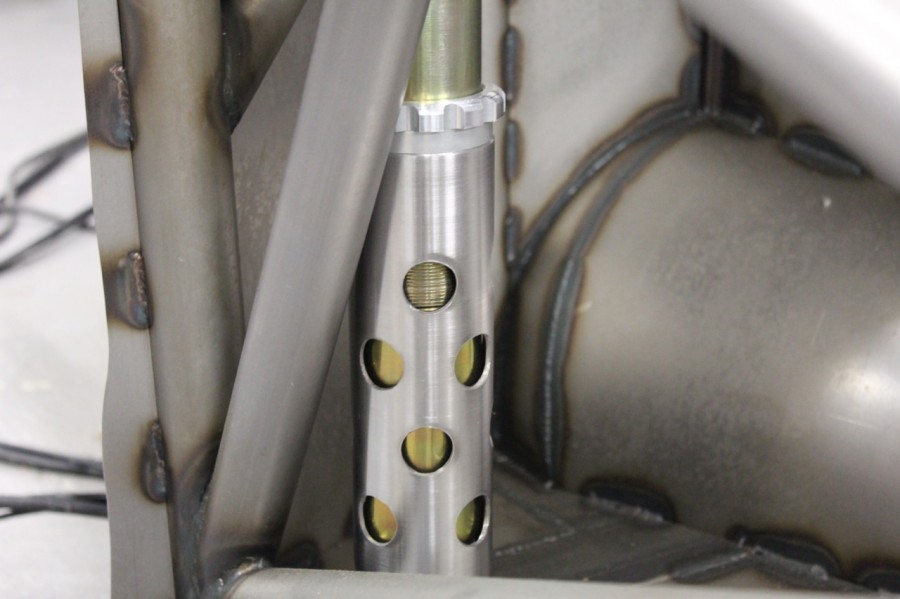
I made up some air jack tubes and wrecked a 22mm hole saw in the process.
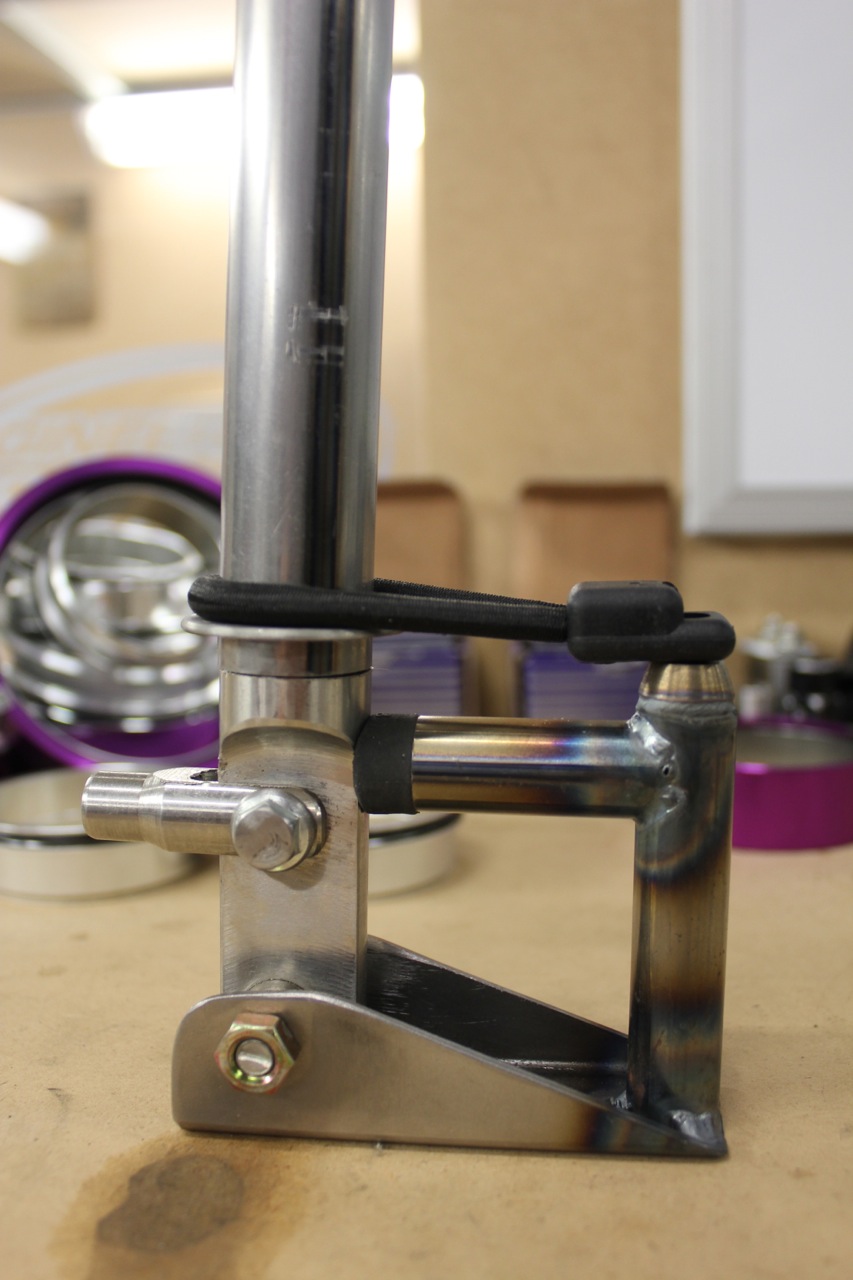
I wrote a massive list of “things to do” on the whiteboard and I’m starting with the ones that don’t require wads of cash. The handbrake was next on the list, i made this handle up a while ago so i just modded a few things. It has a nice return “spring” and rubber stop.
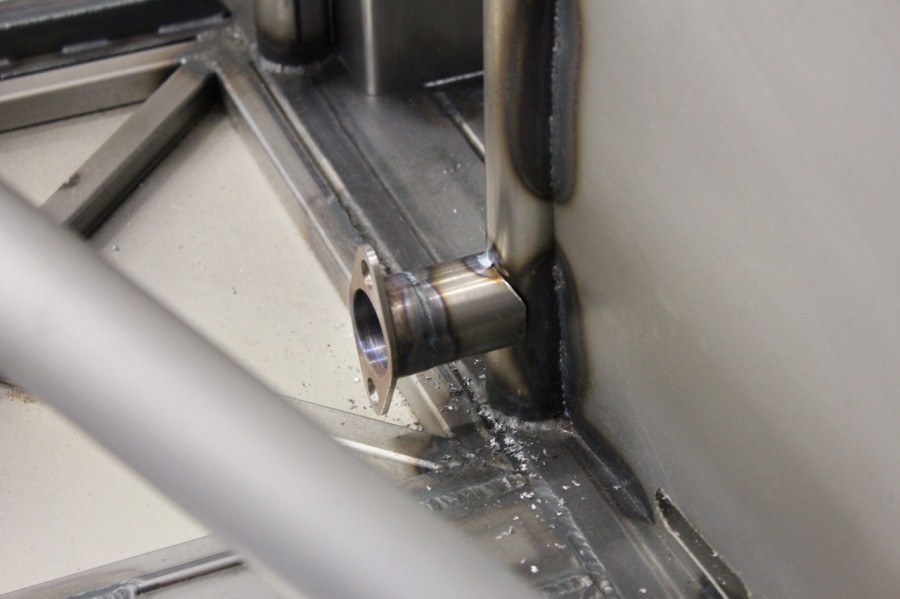
The 750mm long rod runs all the way through the cabin and into the 3/4 inline master on the rear firewall, the mounts just tacked on for now but will be welded soon. Ive never had an issue with inline “shared” handbrake/ rear brake setups and i love the ability to shut off the front brake with the handbrake and then use the handbrake to slow the rear wheels independently to the fronts.
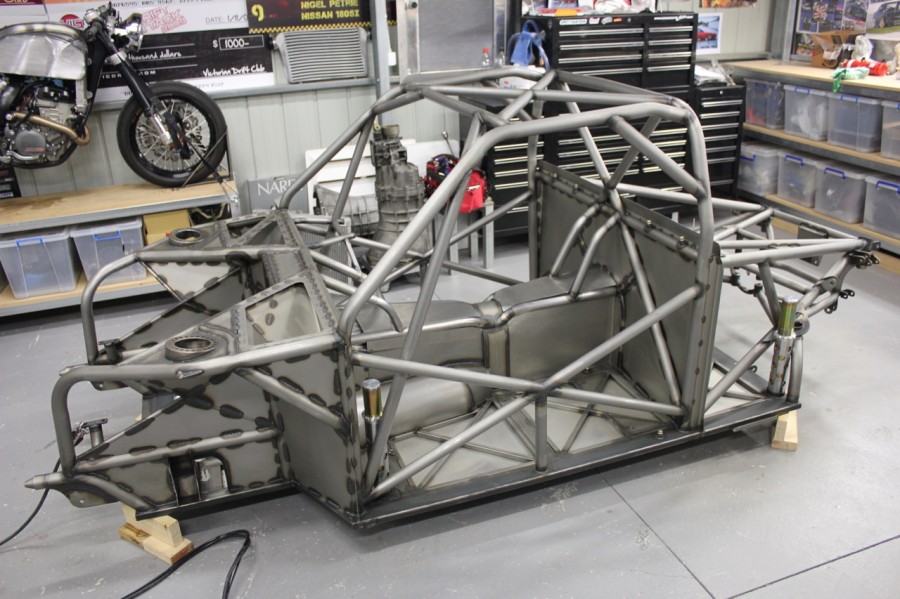
So now its time to keep going with the sheet metal work, i would say its going to take me at least another week to get all that done. As always thanks for reading.


Tristan Deall
Don’t push yourself too hard Nigel!
Stuff like that handbrake is what I love about this build, insane attention to detail so that the closer you look the more clever little details you find, I hope one day I can be as skilled with metal as you are. I spent my whole English lesson today looking back at your older posts instead of writing an essay 😉
Neal
Hy Nigel, Great work as usual.
Can you PLEASE show some more pictures of the tube bender and nother you made at the beginning?
Many thanks!!
Neal
tom
Take it easy man, you’ve been killing it on a whole new level with this build for so long now!
Julian
hey nigel,
why don’t you use riv-nuts instead of tacking on nuts. would probably save you some time, and energy/effort.
Nigel
I find rivnuts to fail sometimes and just like doing it this way. Plus i dont have any rivnuts haha
Dano
I think he does use nutserts, but then tack them aswell to make sure they don’t spin free later.
A very good idea if you plan on removing a fixture into a nutsert more than once.
Ben King
Hi Nigel
As a lover of cars,im just blown away by your dedication and attention to detail.But your skill level in working with metal and doing this all on a budget is very inspirational.Im 43,a dad of two teenage boys(both wannabe drifters) a builder by trade.I pride myself on on my ability to deliver a perfect result for my clients,but like you find immense enjoyment in teaching myself the art of Mig and soon to be tig welding.
I will be following your progress with keen interest.Keep up the fantastic work Nigel!!!!!!!
Kind Regards
Ben from Auckland New Zealand