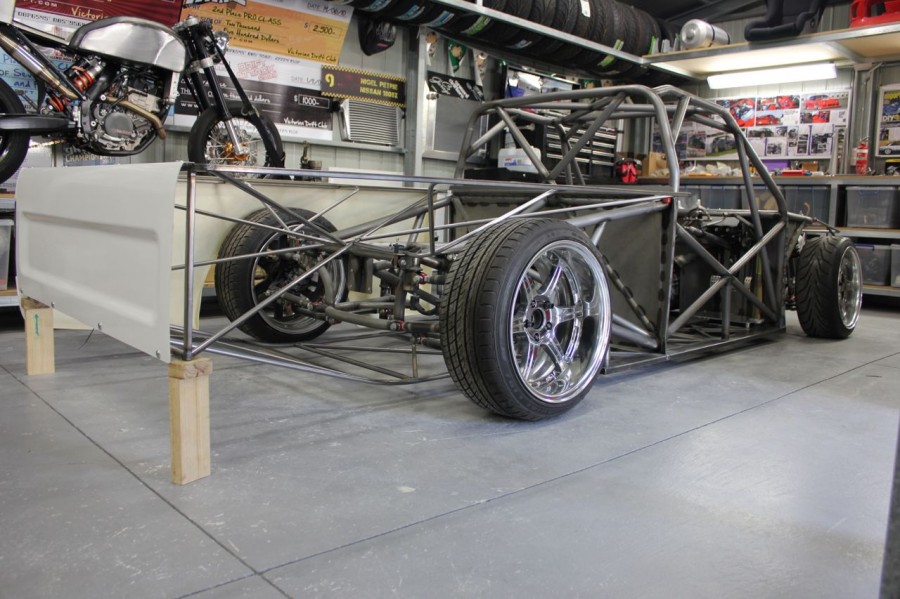
Well its been another massive week working on the Hilux, it started off with the idea of prepping the body and getting some panels finished and into primer, what ended up happening was constant 5 hour sessions a night sanding, bogging, sanding and more bogging to get the doors, and body straight and ready for the good people down at Bodytek to lay on the primer. I didn’t get any pics as it was messy hard work that really didn’t “excite” me enough to get the camera out. The finish result will be well worth it and i am excited at the prospect of the Hilux being a full car in less than a months time.
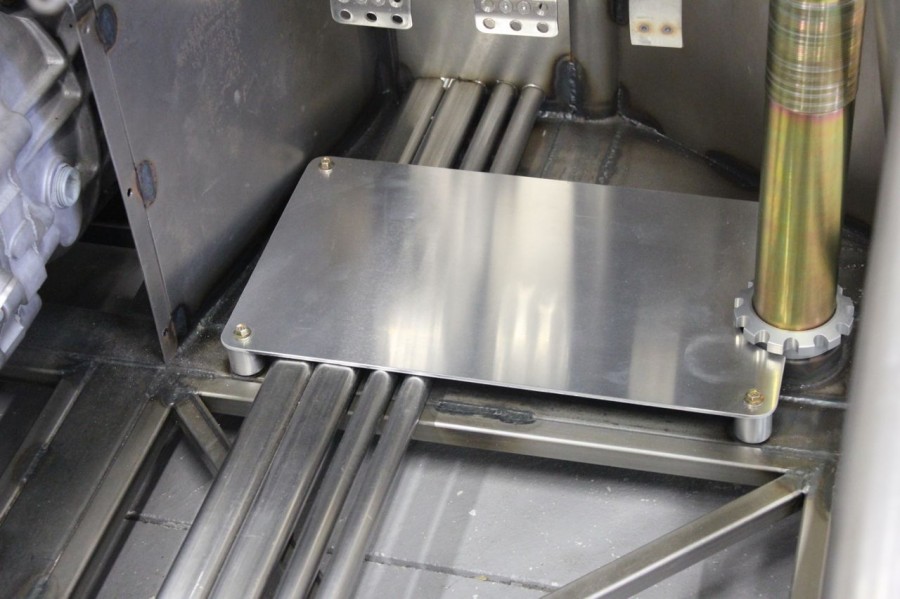
I have to thank Shieldsy for his help here, he took over the sanding and allowed me to get the more “glamorous” jobs done. Like this alloy footplate i made to raise my heels up and get my seeing position right. I still have to put a heel stop on the plate but i have to refit the seat to work out the position. The fuel and water lines will remain in the floor and the water lines will be used for some wiring or something down the track.
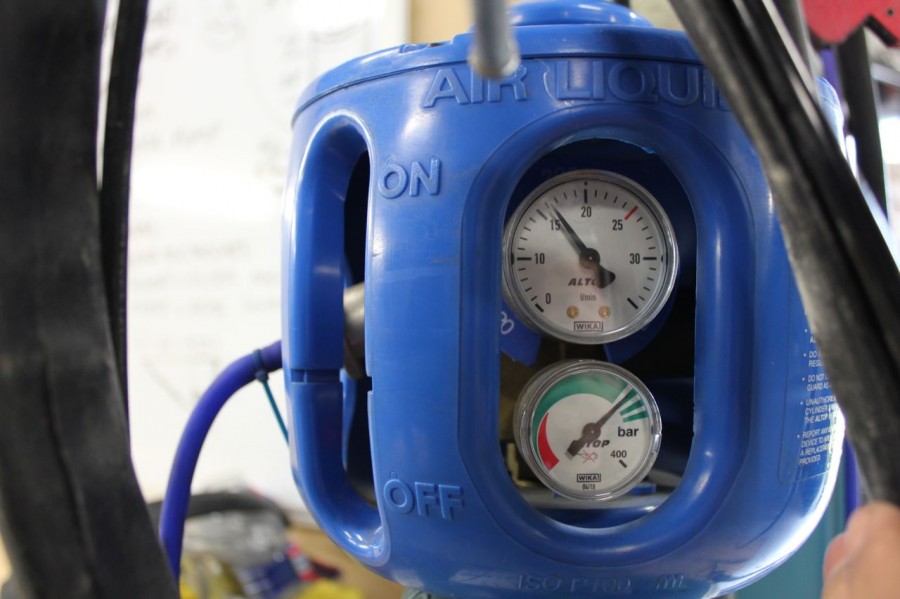
I ran out of gas mid week so i tried to do as many “other” jobs as i could, after payday i shelved out another $330 for a fresh bottle, that brings my gas bill on this project to a little over $1000 excluding bottle rent. These new bottles have over 300 Bar of pressure and are super heavy.
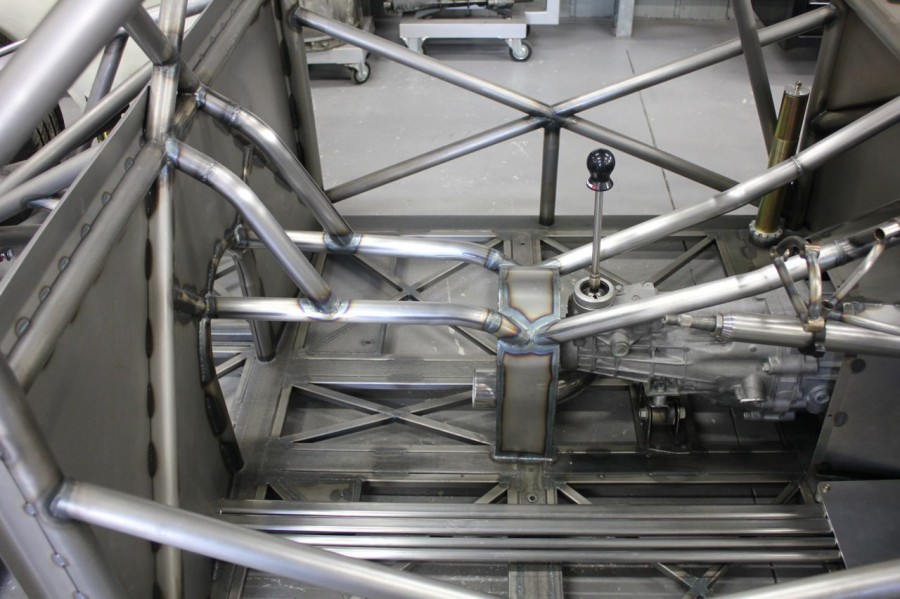
With the fresh gas in TIG trolley i fixed up a little mistake, i hate cutting or grinding anything that i have done on the chassis, if everything is thought of before you weld it on then there shouldn’t be a need to cut it off, i could probably count on one hand the amount of times the angle grinder has left the cutting room. I had to cut off the bar that ran from the centre console up to the shoulder area in the rear of the cab, it interfered with my elbow when shifting gears, something i didn’t even think about. Oh well its all fixed now and looks even better than before (except for some misplaced welds)
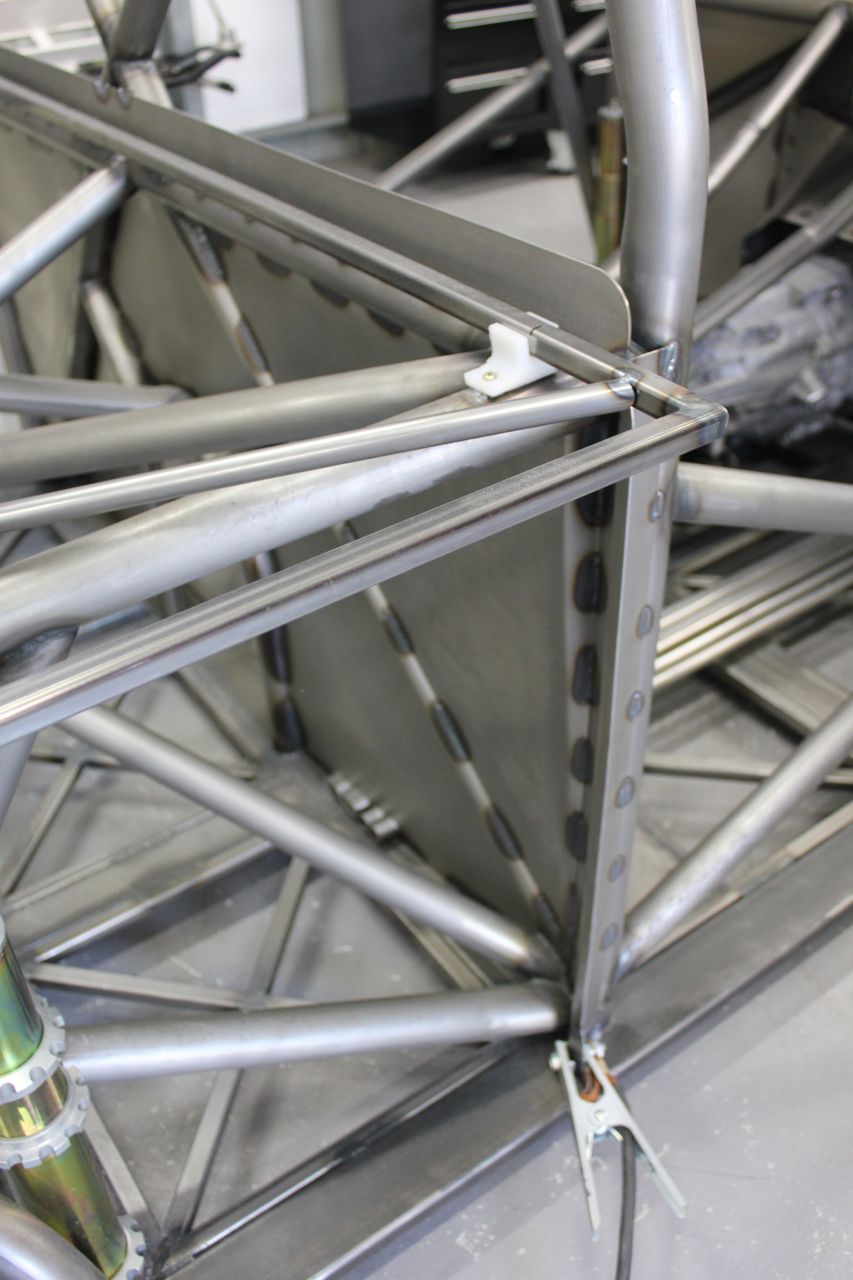
With the cab off i could finish the welds on the “filler” plates that stop some of the smoke entering the cabin, i don’t know how much smoke there will be but we will find out later in the year.
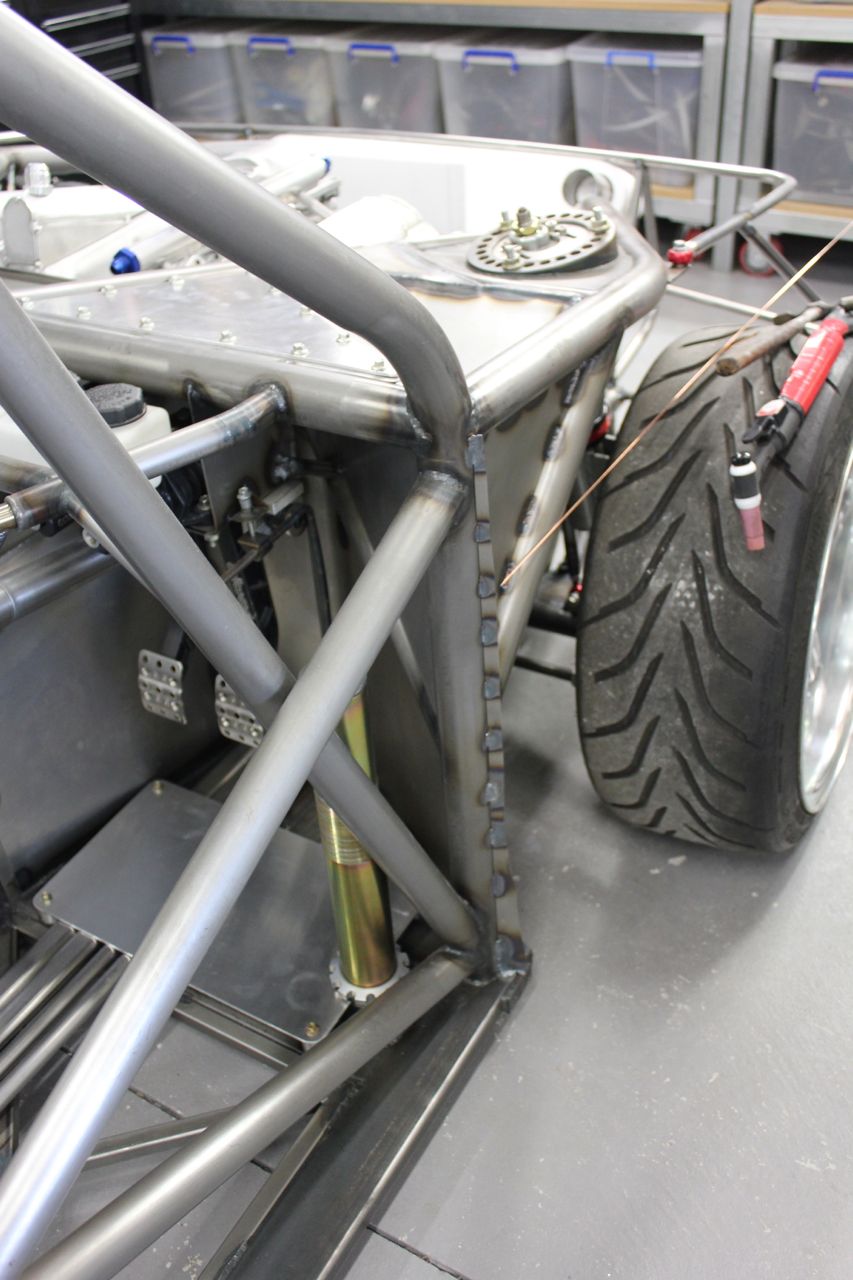
The front has these panels aswell, there will have to be a rubber strip ran down the filler panel to prevent rattles as they are a nice close fit.
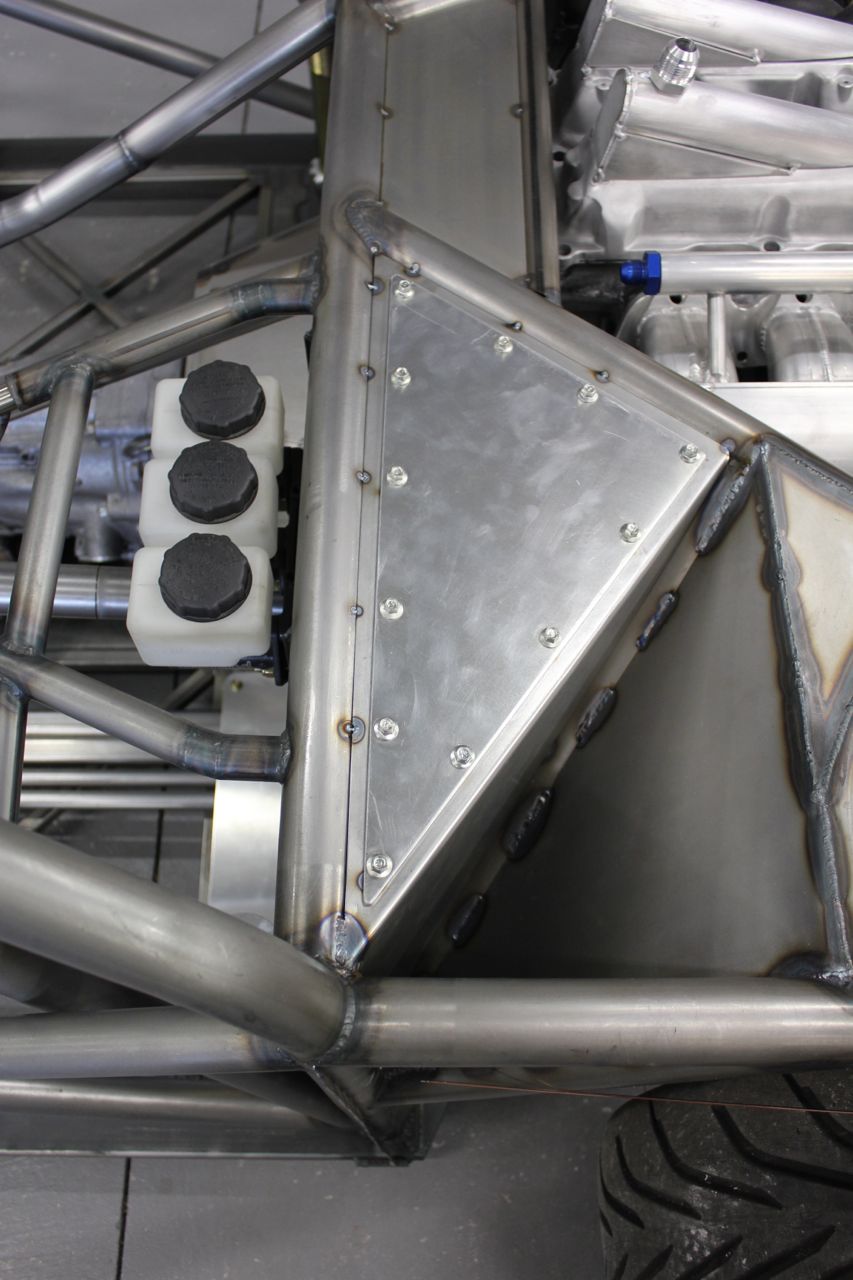
I held off doing this panel above the pedals to think about how i can make it removable and also seal, i came up with an alloy panel drilled into the steel weld on panel, the nuts on the back are tack welded on so i can remove the panel, adjust the pedals and refit it. Ill be test driving this with the body off to get everything working right, that will be an experience 😉
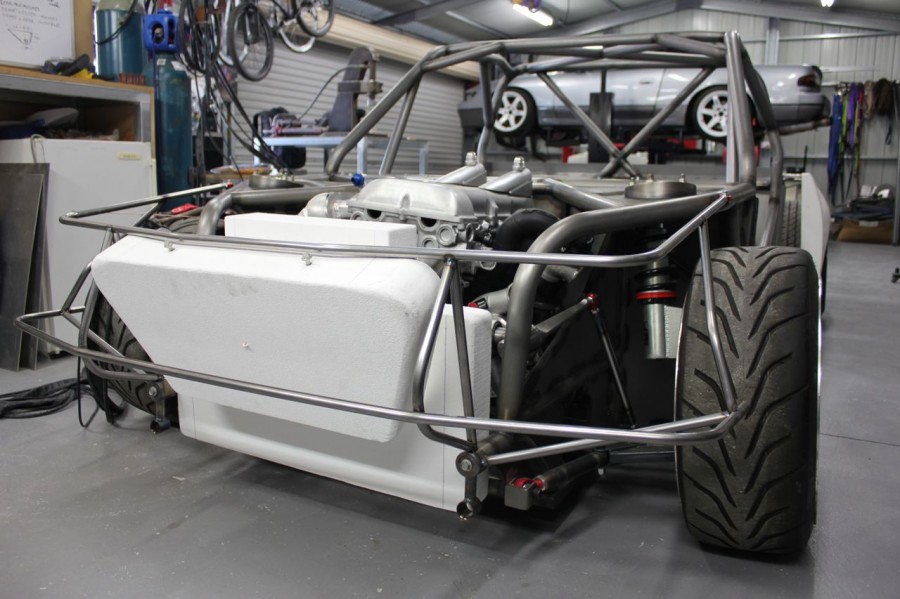
I talked to PWR about building my radiator and intercooler, theres nothing off the shelf that satisfies my needs so they will build them for me, i ordered some Wiggins clamps to use on the whole intercooler system so i have to wait for those to arrive before sending everything up to PWR to be made.
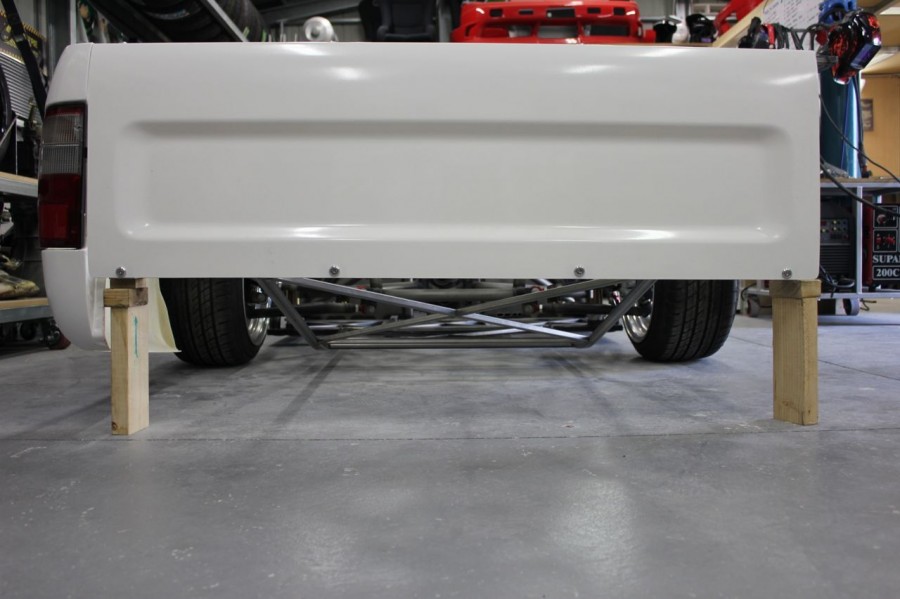
After the long week of work i spent saturday morning cleaning the shed, filler dust was everywhere and over everything, i pretty much shifted everything out and vacuumed the entire shed clean, once that was done i could start work again. I started on the under tray frame. Its built out of 31.6mm x 16mm x1.6mm oval ERW tube. How did i bend it? In my tube bender with the 1.5 inch die, i did 5 bends 50 mm apart at about 4 degrees each to get the desired radius.
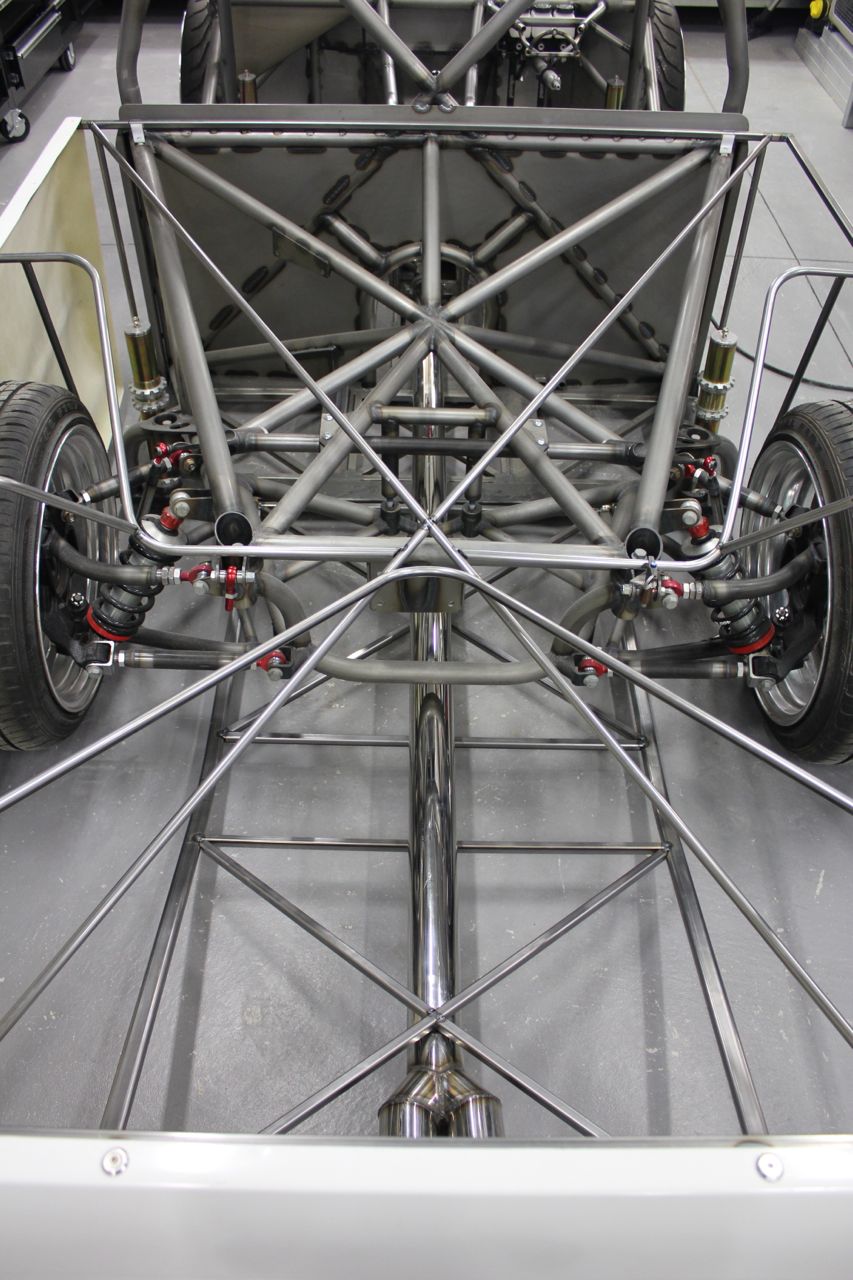
The under tray will be bolted to the chassis and has 2 jobs to do, 1 hold up the rear of the frame that mounts the panels and 2 hold the exhaust up. This weeks job will be to get the alloy sheet to mount to the frame. it will also act as a diffuser for the flat floor but i don’t expect it to work super well as an aero aid.
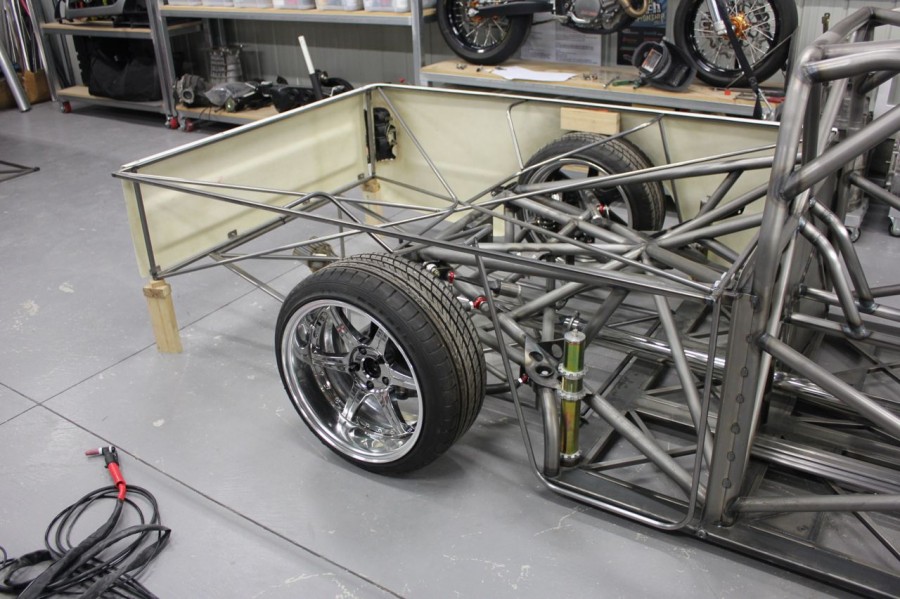
This time next week the rear panel frame will be complete, the under tray will be complete, the exhaust will be semi complete, the intercooler and radiator will be in the build, the front end frame will be fully welded and then its time to remove everything off the chassis, roll it over and then fit all the alloy floor and finalise a couple of welds.
I really have to start thinking about brakes and plumbing now….


Matt
I want to thank you for this inspirational build. You are making me itch to get out and work on my build (just need my schedules and funding to settle out a bit before I can begin).
I am amazed at how expensive it is to exchange a bottle of welding gas. Typically here in the US, I pay around $60 ($57 AUD) for 2000psi (137 bar)
William Black
Looks great Nigel! What brakes are you looking at?
Ben
this is a WORK OF ART , i love this man, i just can’t wait to see the tyre smoke from this mental creation, you’ve inspired me in so many ways and changed my way of fabrication.
Matthew
Do you think that the tray supports are gona be strong enough to hold the tray without any flex, they look like at speed and hitting bumps that it might flex and hop around. any way sick build.
Stefan
How is nothing dirt?. I just don’t get it. Beautiful work.
anthony
Willowood brakes?
Evo/gtr brembos??
Lookin good mate
JDMized
Nigel, you deserve props for the outstanding work!
However, this truck is overly engineered. The rear portion of the frame alone is overly complicated, and looks very heavy, much like the extra tubing you added in the cabin.
I highly doubt this truck is gonna be light. Not to be a d!ck or anything, you’re doing an incredible job, but I’m very curious to see this truck on the scale once you finish it.
Good luck.
Nigel
The tube is 1.2mm thick in the rear, it weighs absolutely nothing mate. Id rather too much tube than not enough.