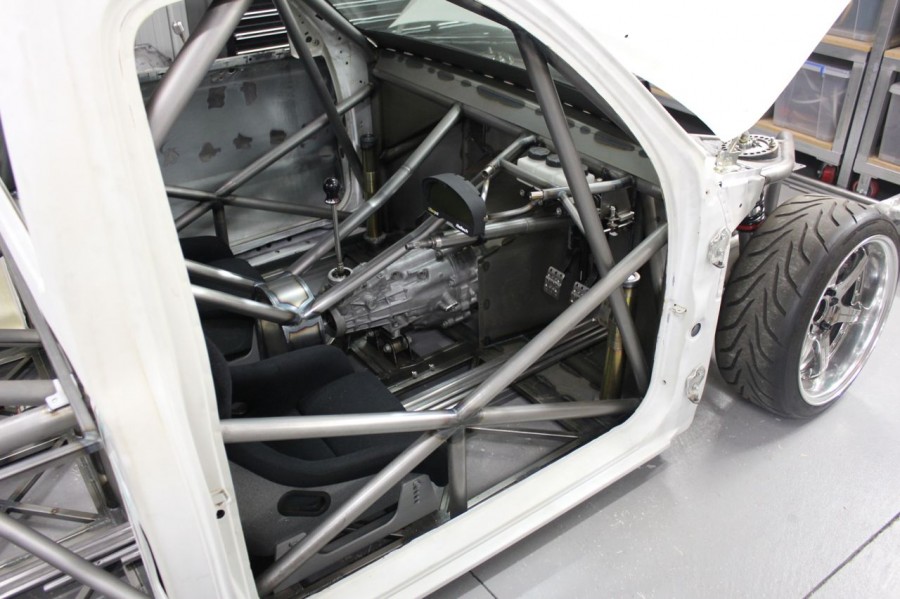
Its been another long week on the build and things are really moving along now.
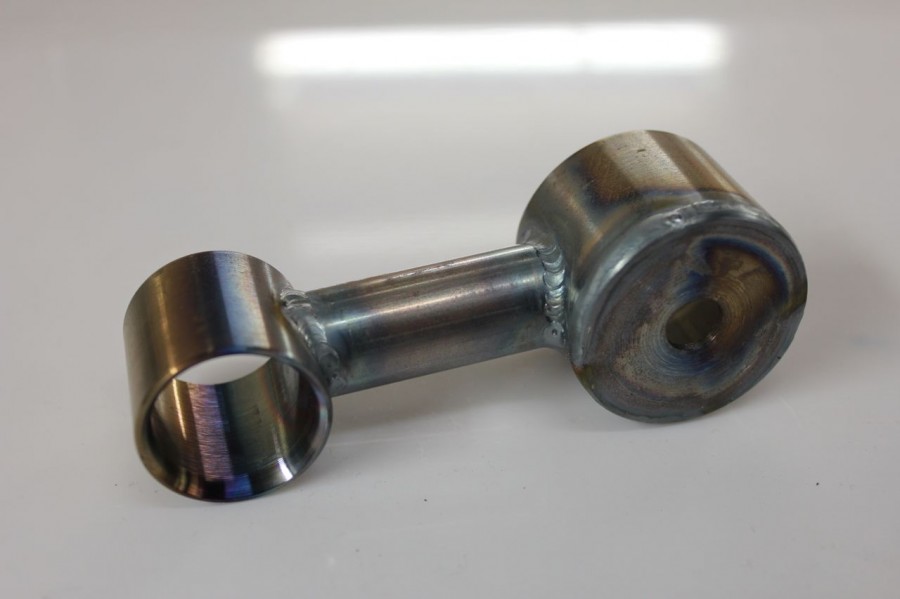
I will start on the smaller items first, take this front bar mount for instance, it bolts onto the chassis and will hold the headlights, corner lights and grill once i weld some tube to it to hold those items. The smaller bit of tube is where the front bar pins will slide into, i really don’t want to have to use any tools to remove the front bar as it will be on and off very often.
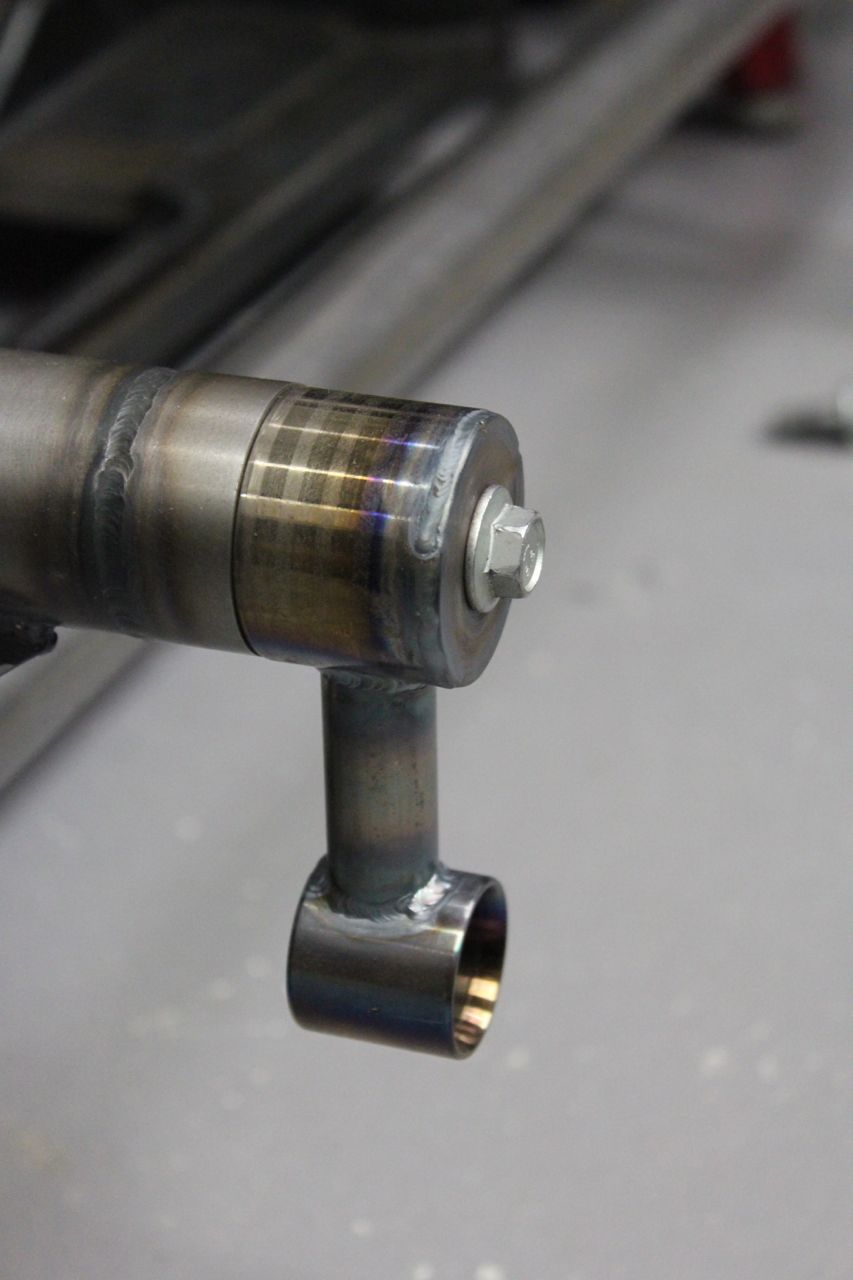
This is where it bolts too
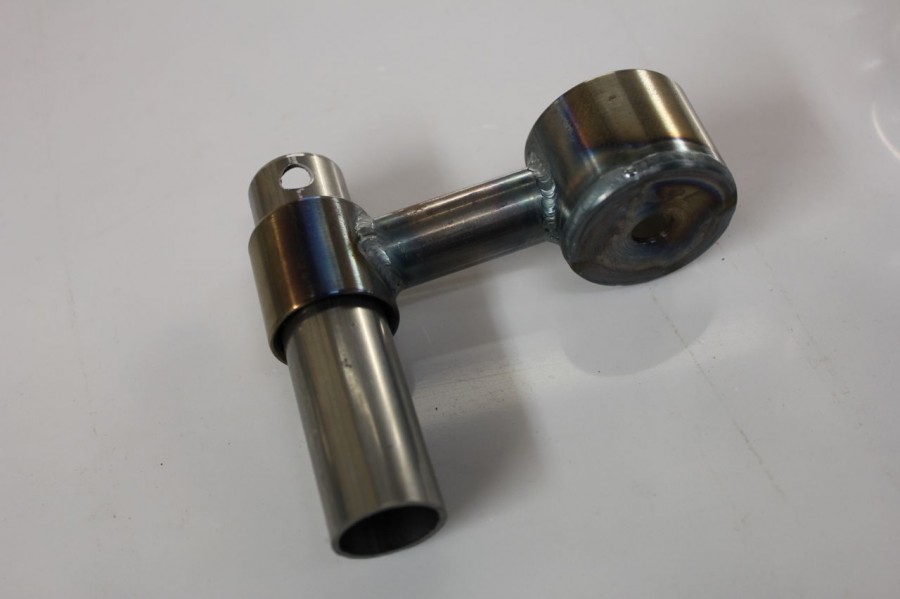
And this is what the front bar pin looks like slid inside it.
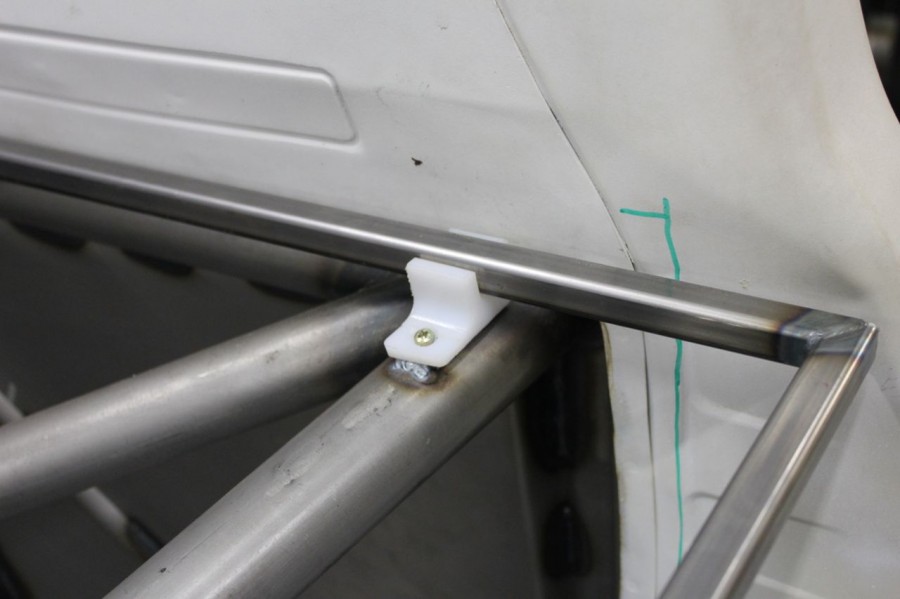
Out the back of the cab i made these Nylon locators for the rear panel subframe to locate onto, again i want to be able to remove the entire rear subframe which will house all three panels (fenders and tailgate)
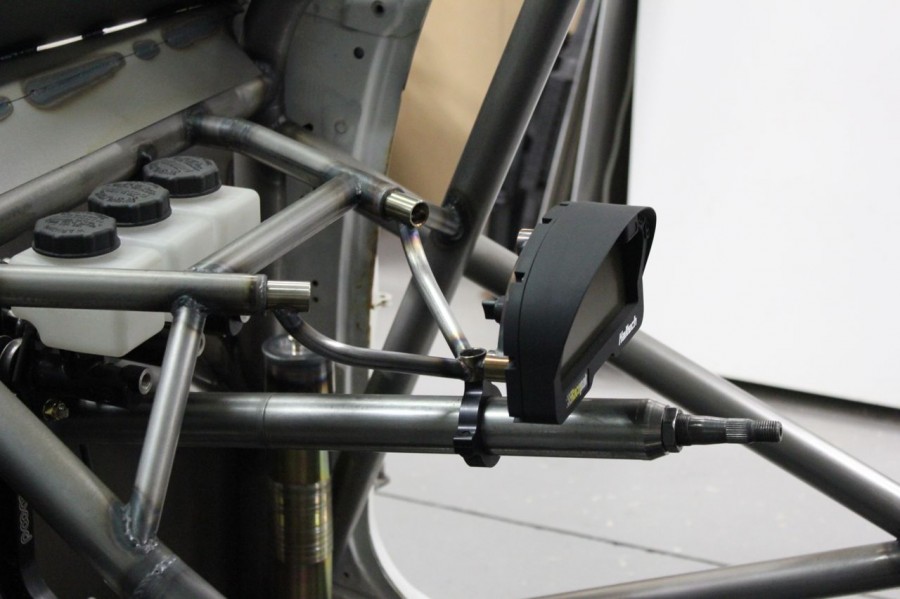
One item i wanted to “showcase” was the Racepak IQ3 dash, i made a neat tube mount for it that doubles as a steering column mount, this will be reinforced as soon as i know exactly where i need the column
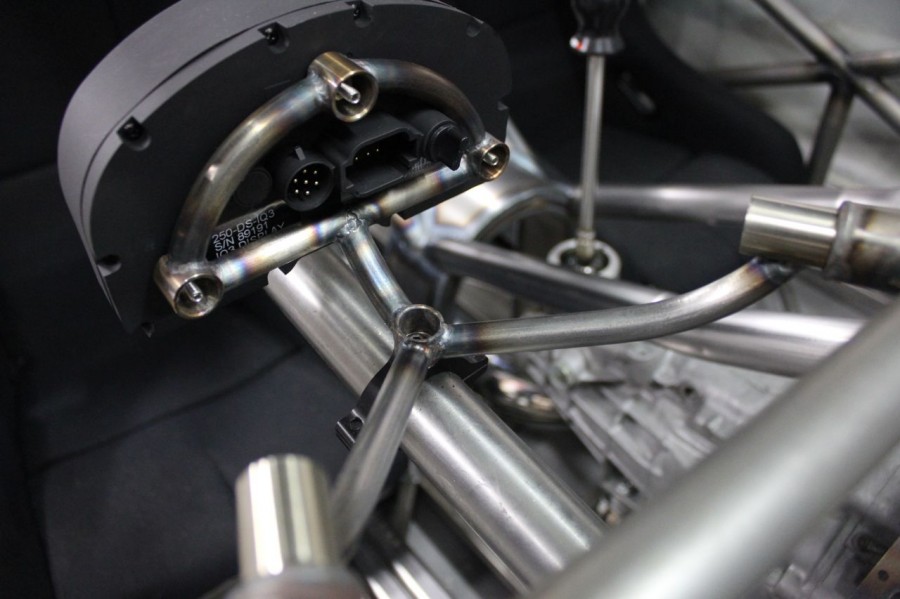
I borrowed this little hand bender off a plumber and it is so good to use on these smaller parts, you will see this tube used to hold most of the front panels.
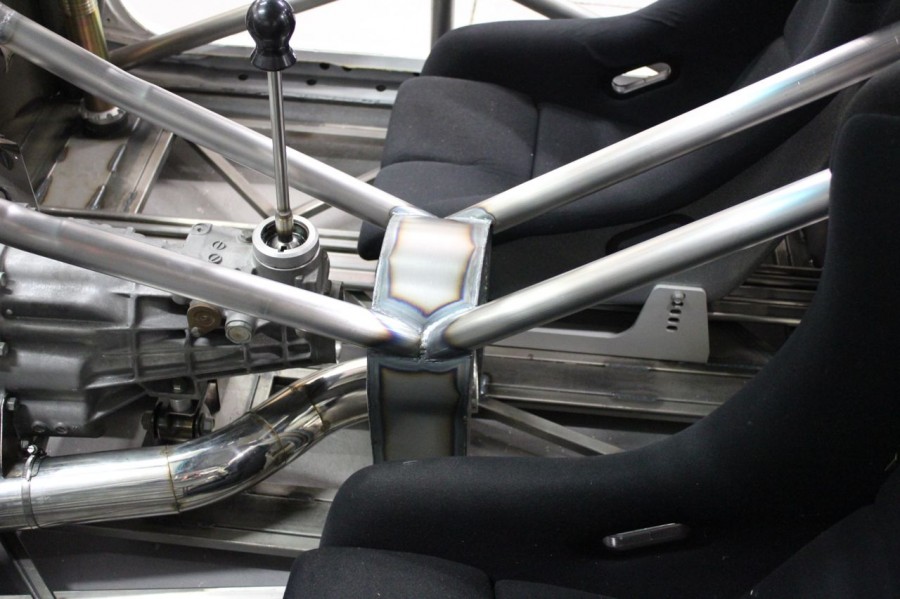
One thing i really worried about was the middle floor strength, the tunnel will all be sheeted in but i wanted to make sure i had no issues further down the track, i made up a sheet metal hoop to cover the tailshaft and then ran tube front front to back, its a little more weight but hey its going to be ultra strong, built to last a lifetime
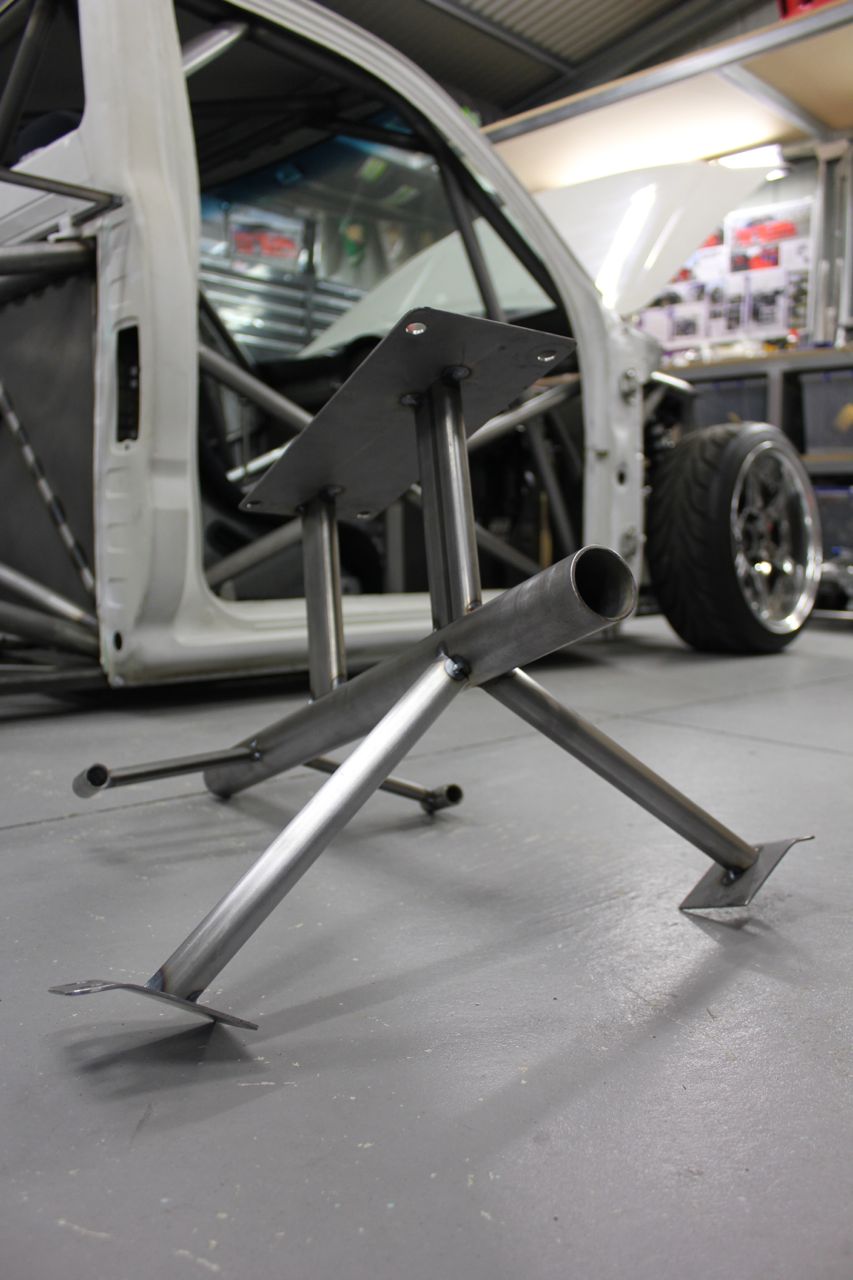
I also made this up, theres a free T shirt for the first person to work out what it is. Do you know?
We have a winner…. I will post pics of it in action tomorrow, it is fact a tube engine block dummy, the tube slides in the gearbox, the two rear arms bolt to the bell housing, the two front arms bolt to the engine mount position in the engine bay ant the flat plate bolts the head in position.


Mark
Hmmm, Camera mount?
Lance
I Would say its some sort of engine dummy so you can keep building without an engine in?
Nigel
Correct! Send me your details and size in an email and we will post one out.
Lance
Cheers mate email sent. Love ya work.
Liam
The project is coming along nicely now!
Iv been staring at the last pic for a good 10mins, and the only bit that I see fitting anywhere are the the front legs bolting into where your engine mounts bolt. I can’t see any point to it but I’m sure you will enlighten us soon!:p
William Black
Totaly had it first on facebook, thats ok tho I already have a Tee :). Looks great Nigel, keep up the amazing work!
Shaun
I may have missed it in ya earlier pics, but is that an air-jack system???
Dylan
ha im feeling like a pritty sad guy at the moment my life seems to be revolving around this build at the moment just about every time i come home from work my routine seems to be before all else sit down open computer check my face book check my car listing check speed hunters then check progress on ets lol starting to think i need a new hobbie i get sad when i look and u havnt updated anything even tho i no u really onli update at the end of the week usually cheers for making my boring life a little more interesting ha
mike
your not the only one like that 😛
Dave
Do you see yourself hitting your elbow when shifting due to the tube running from the hoop to the rear?
Been following the build for a while – great work btw 🙂
Kamikaze BottleRockets
Awesome idea with the engine dummy! If I was turbo that would help a lot.
Trev
Im assuming its some sort of wingless engineless water plane..? Its coming along so well, dont stop now