I am writing this on the last day of 2015, it’s been a wild end to a fairly uneventful year. When you pack everything into each day the weeks seem to slow down and life goes in slow motion, for the last three months of the year I have done three massive projects that really threw me into another dimension.
I pretty much blame most of my different lifestyle on my job, it’s probably different to 99% of the workforce today. I am a prototype machinist for the Ford Motor Company. Usually I chat to people and they ask when I am going to start this Engineered to Slide job full time? It always makes me question myself why I don’t, then I realize that I enjoy my day job, I enjoy working from home after hours, I enjoy the financial separation of the two roles.
Engineered to Slide is close to its maximum output, from the stuff I do in the garage, to the clothing side of things (which by the way I can’t thank everyone enough for the support this year, each week there are a solid amount of orders to fill and I love doing it) to writing this blog and all the events I travel to in between, it’s a labour of love and I want to do it even better in 2016!
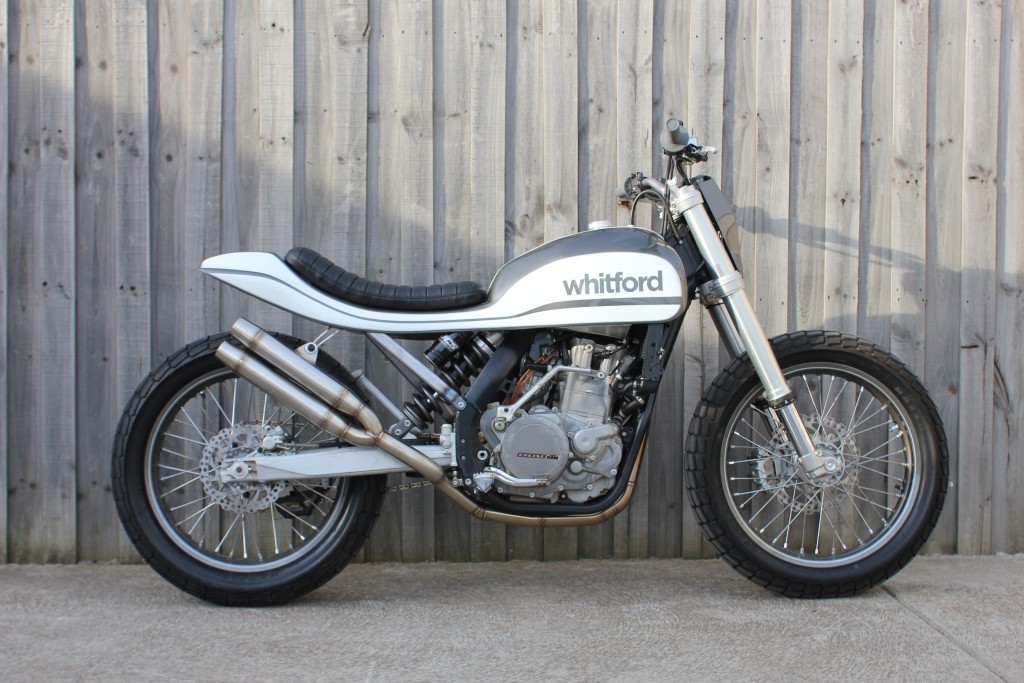
So at the end of 2015 worked myself into a haze on the last three projects, the Hill Climb bike, the Trike and last but not least this Whitford KTM Surf Tracker.
So how did this happen? Well it all started with a few emails, Dale runs a real estate firm and needs something to tie in with work, at the same time get away from work all before the summer heat hits the South West of Victoria.

The plan was pretty straight forward, he wanted the classic styling of a Flat Track bike, the reliability of a late model dirt bike with enough capacity to stretch its legs between coastal towns with a surf board strapped to the side when he spotted the perfect swell.
Basically, he wanted the same bike as what I did and I have had years of planning that I could put into action on this bike.
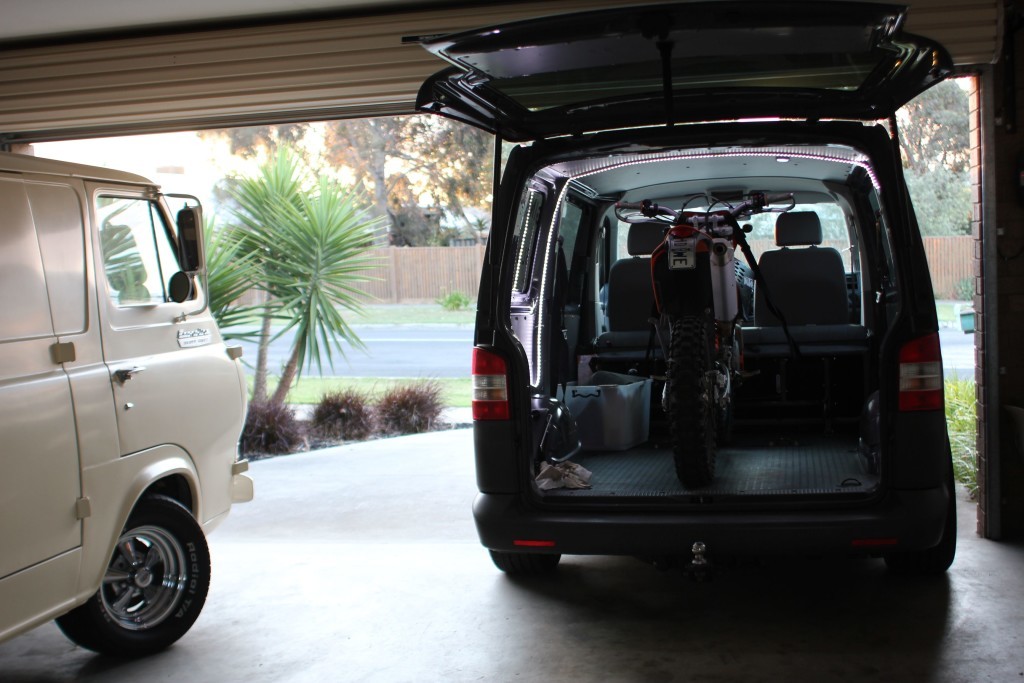
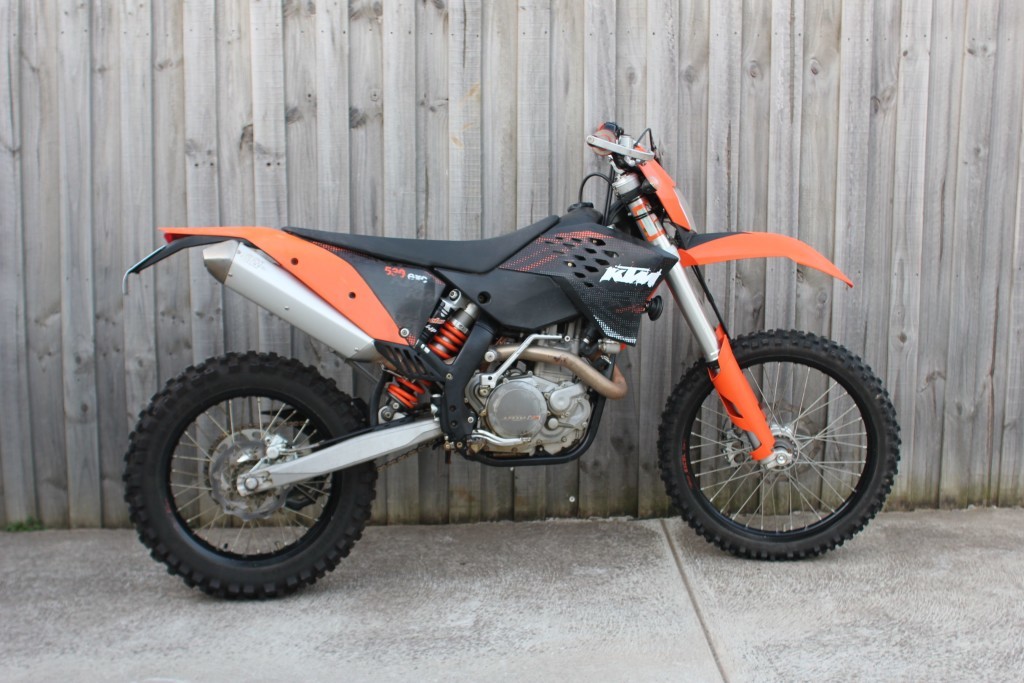
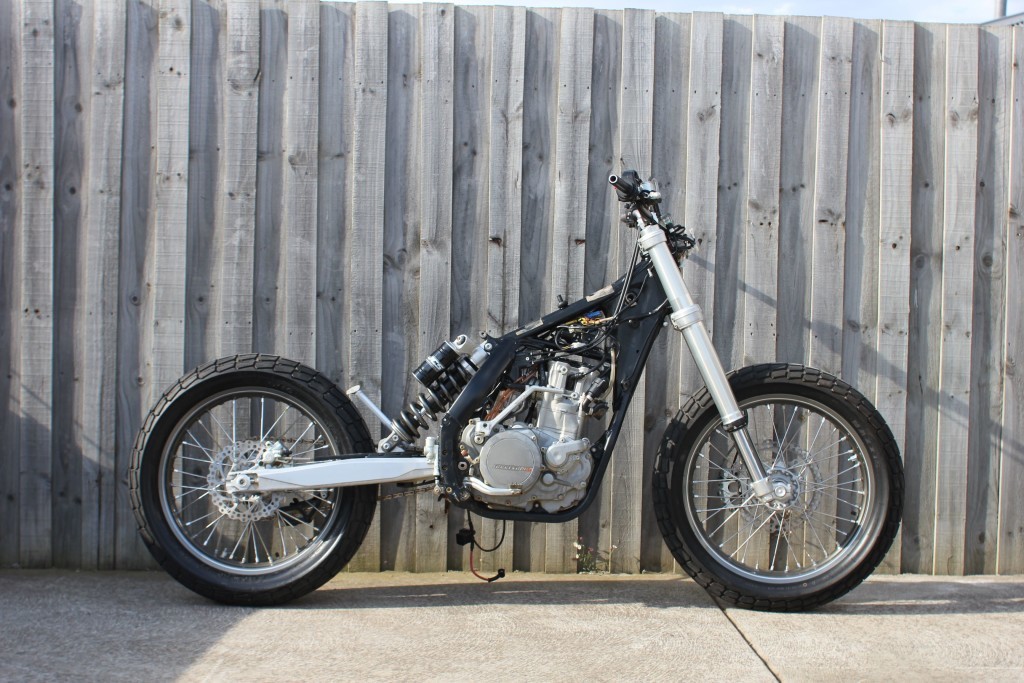
It was up to me to do this from the very beginning, I knew of a few bikes for sale that would be perfect, a KTM 530 from Ballarat was the bike of choice and for $5300 I had in the back of the van and on its way home, I replaced the fork seals, the wheel bearings, all the lights, fitted a horn and everything else needed. 2 days later I had the roadworthy done and it registered in the new owner’s name, now I can start the fun stuff.
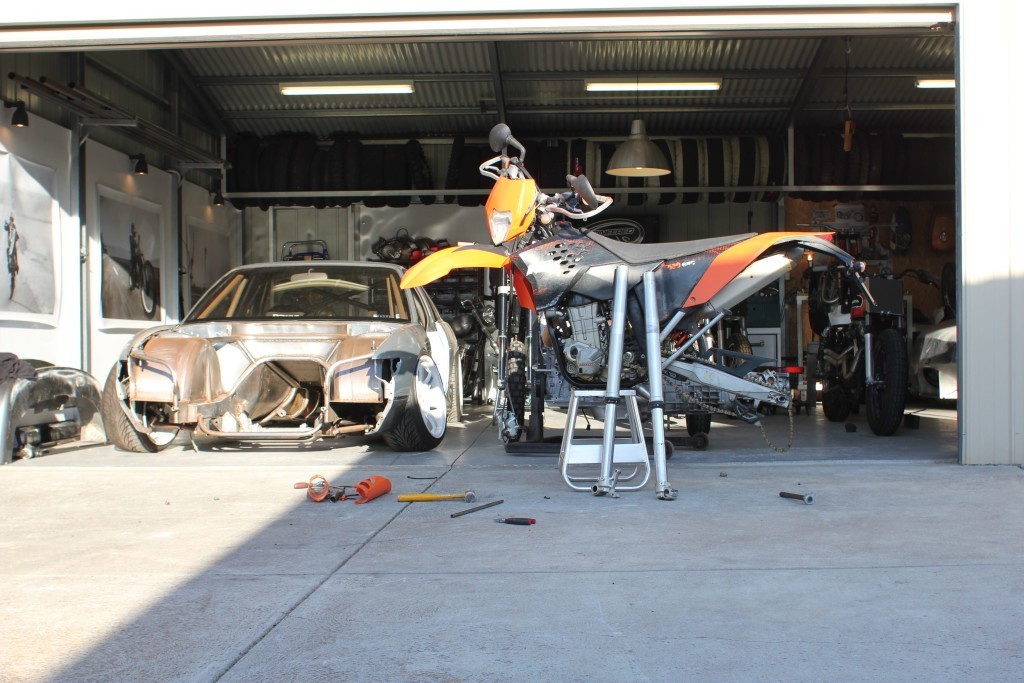
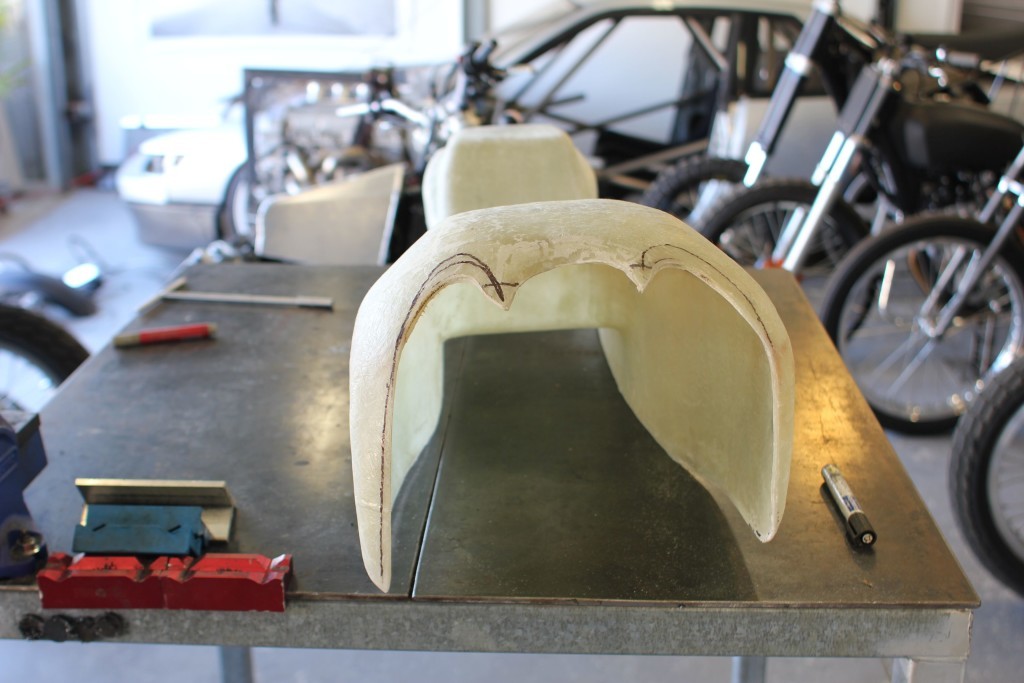
The wheelset needed to be 19″ diameter, this bike had 18″ rear and 21″ front, in great condition, so I removed those, sourced some new hubs, ordered a pair of rear 19″ x 2.15″ motorcross EXCEL rims, new bearings and new disks all to be laced up by a local lacer named Graham. While all of that was happening I got to work on a few key aspects of the bike. For years I have wanted to build a 1 piece tank and tail section that simply lifts off all the vital componentry beneath, I think the idea came from the Hilux, I always wanted to make the entire front end a 1 piece removable unit, somehow things are easier to do on motorcycles so I went at it.
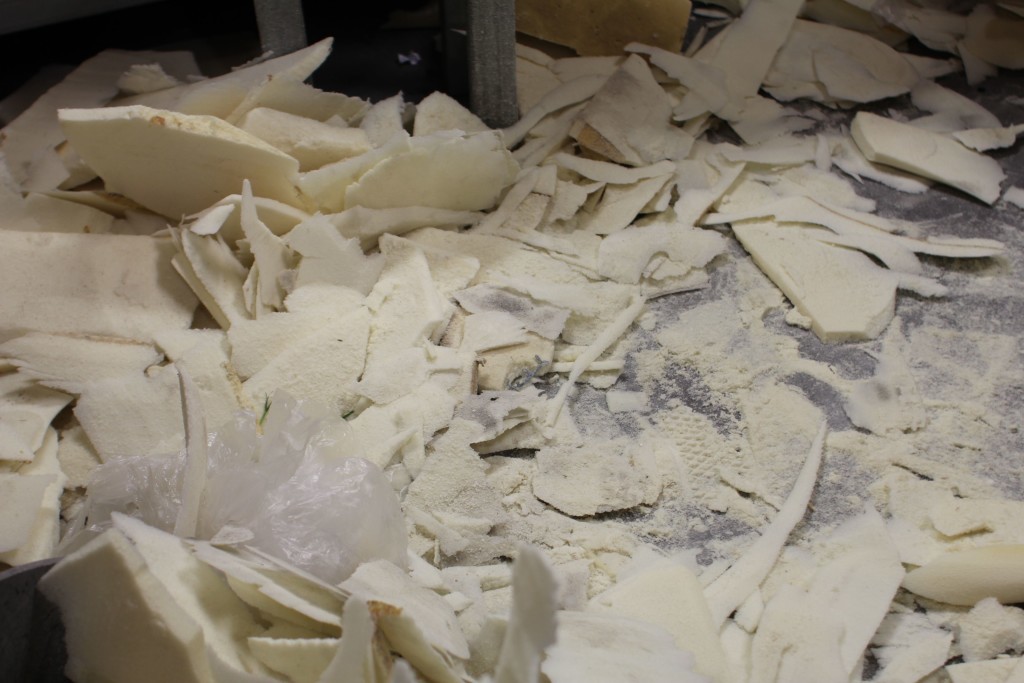
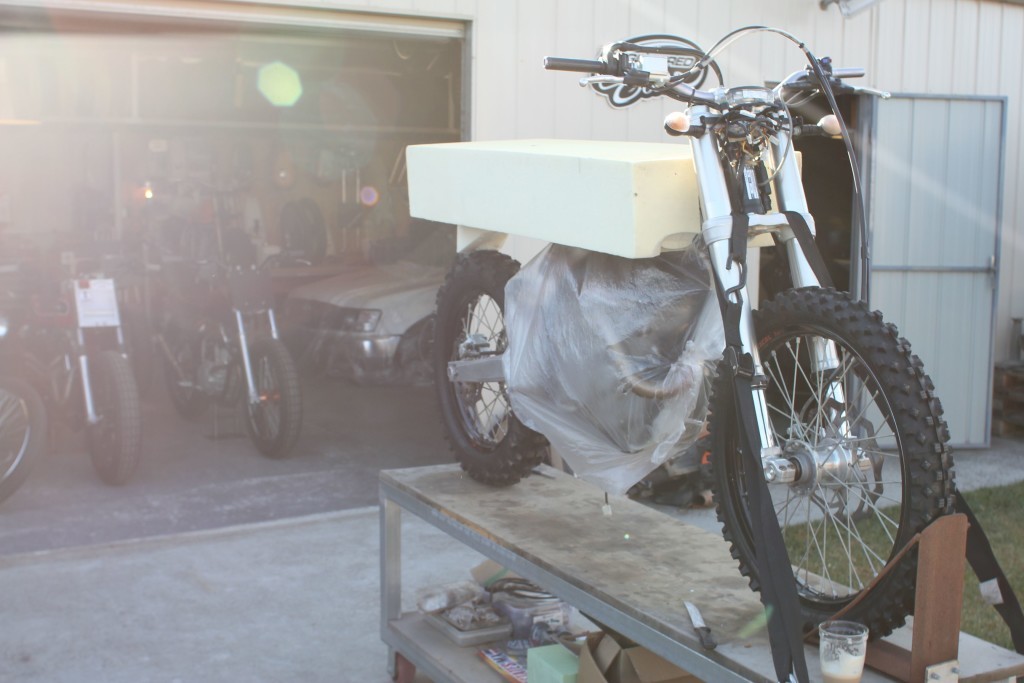
With one big block of patternmakers foam I got a carving knife from the kitchen and started shaping. 6 hours with a knife and sandpaper and one hell of a mess later I started to see what I had imagined.
It’s so easy to go too far with this stuff, I didn’t really have a solid plan it just had to suit the bike. I took a few hours off after getting the shape, then came back to the garage a few times over the next few hours to hit it with some paper and extract the lines I needed, It’s a pretty stressful job and takes a lot patience.
I spent two full days (my weekend) getting the shape right, once that was done I could start on the fun bits, the tank.
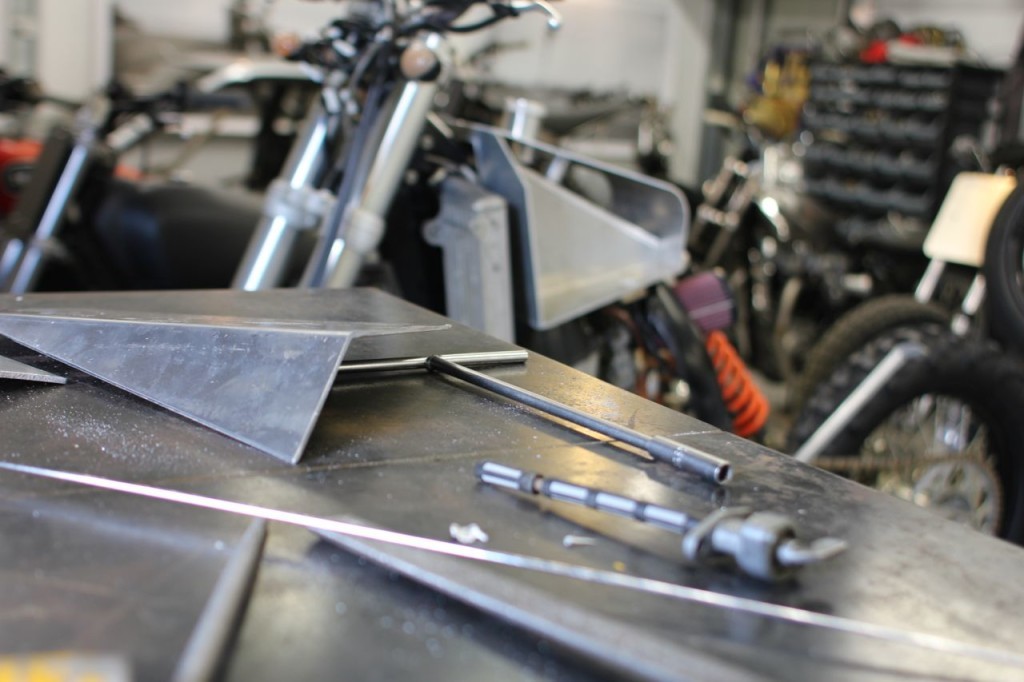
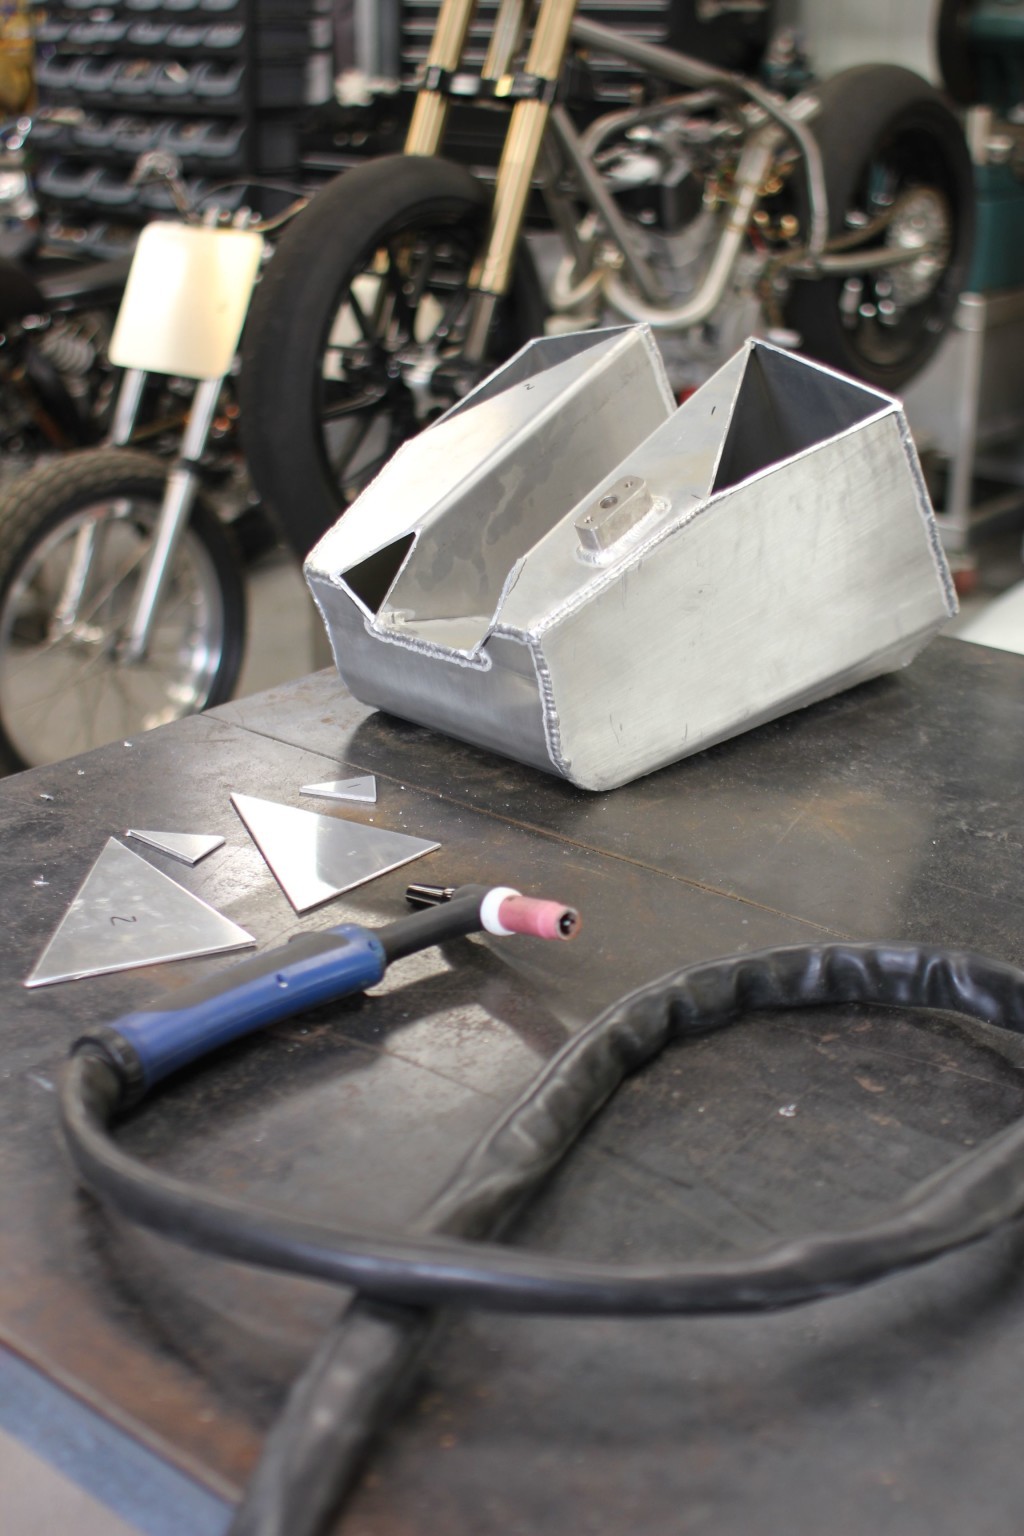
Over all the bikes I have done I have really started to work out the formula to a nice fuel tank, I dont have the tools to shape aluminium but the skills I learnt building the Salt Racer Tank gave me confidence to knock this one out of the park.
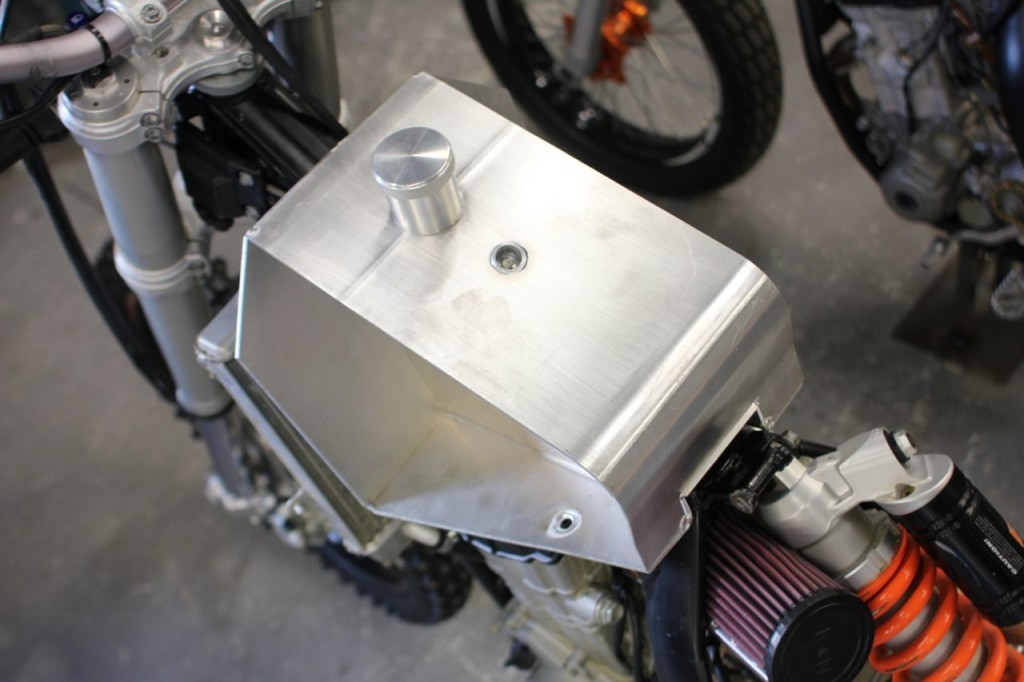
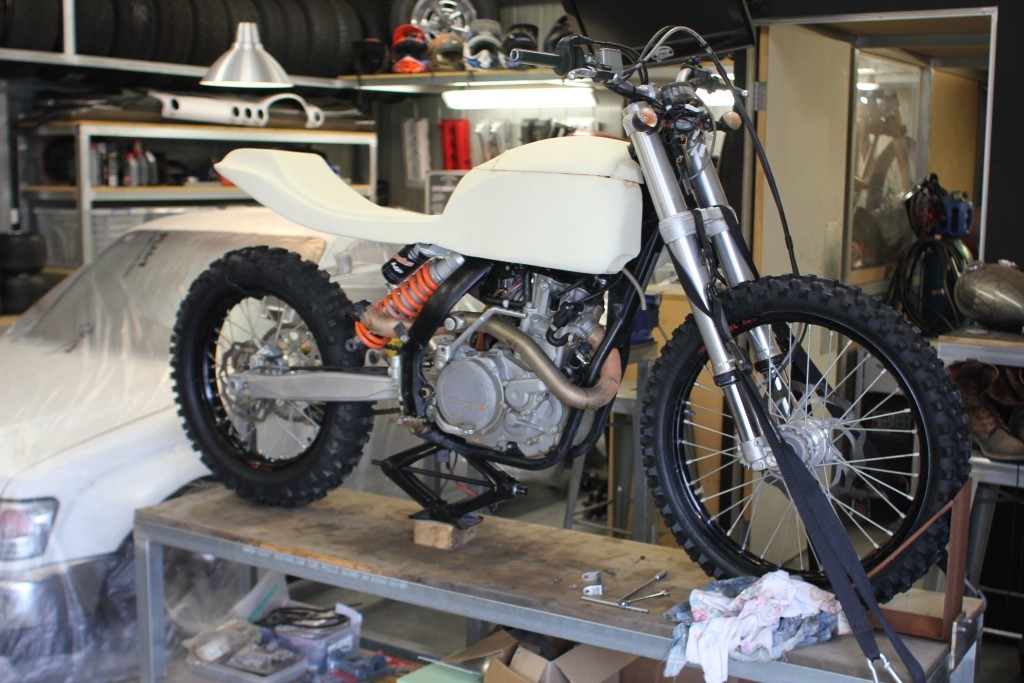
Following the stock chassis lines and factory mounting points I made a 3mm aluminium fuel tank with an original pet cock and filter in its original location.
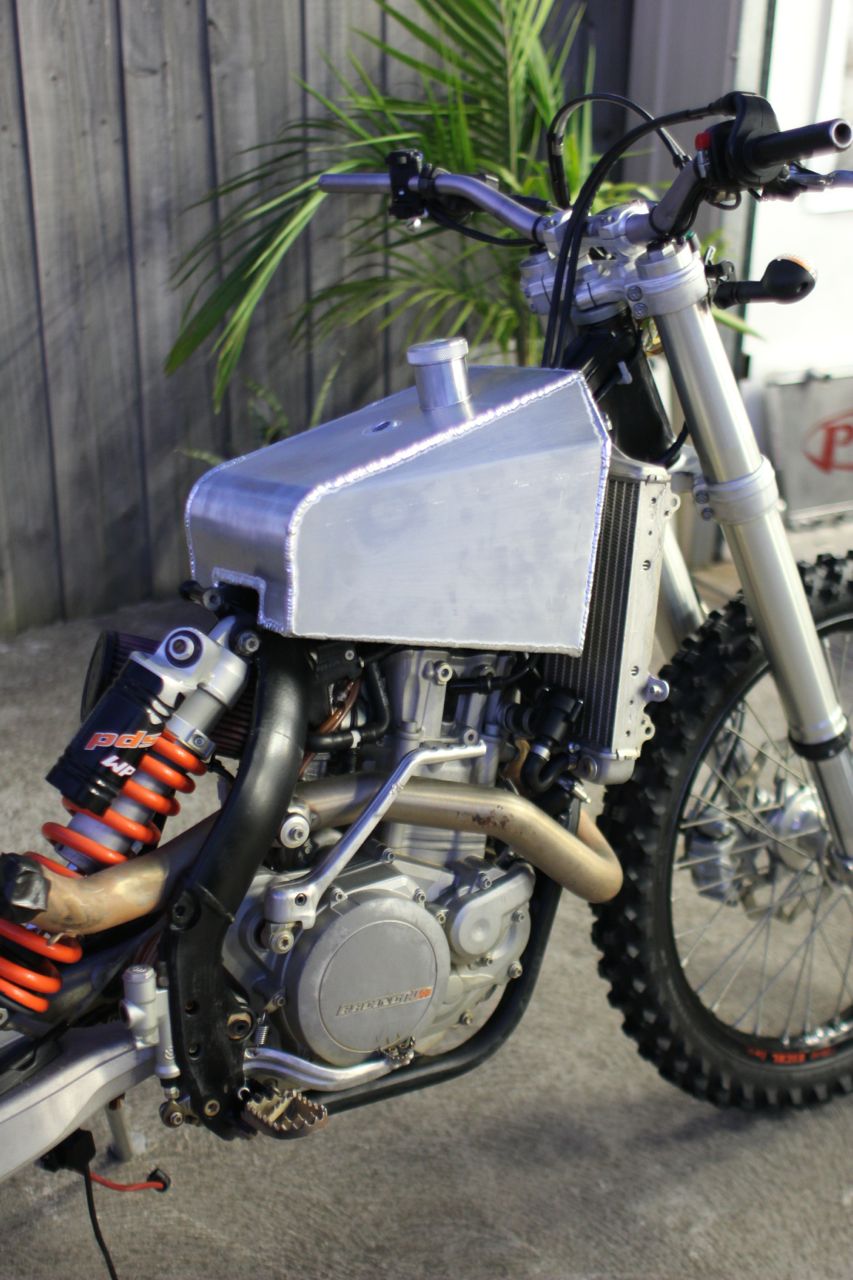
All in all the tank holds just over 11 litres of fuel and once the fibreglass cover is made I can finish off the vent and filler.
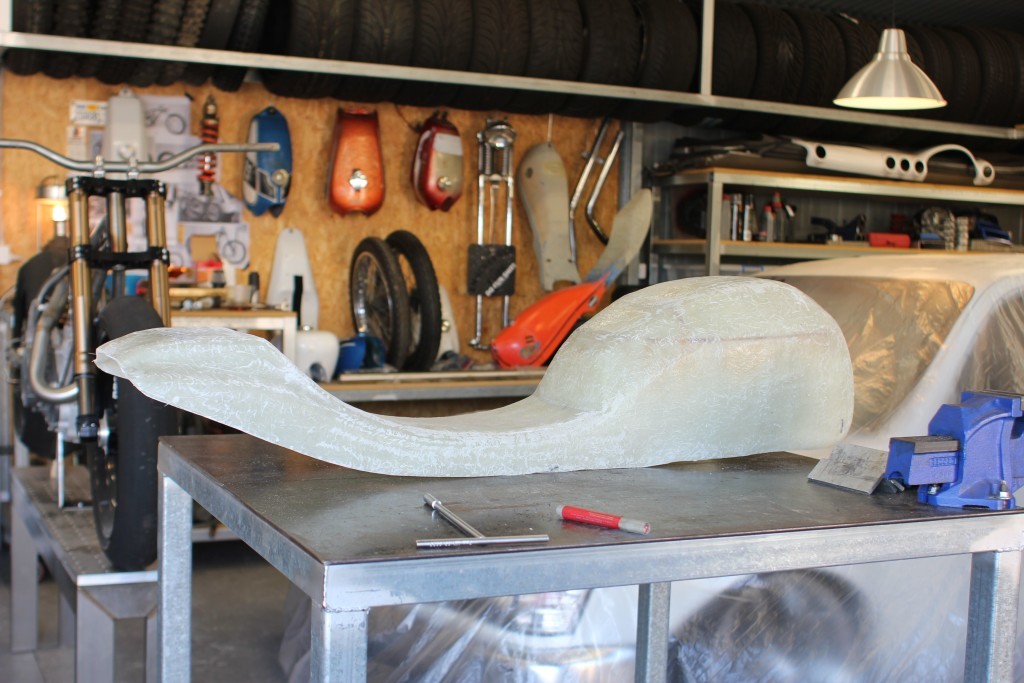
With the rims laced and some temporary tyres fitted (the wheels were powdercoated the wrong colour) I could start to finalise the tanks fibreglass, Bob from IPTA fibreglass spent a day really making the tank and seat section thick and strong after I took the shape off the foam. I managed to retain full lock on the bike which is important when you start riding it.
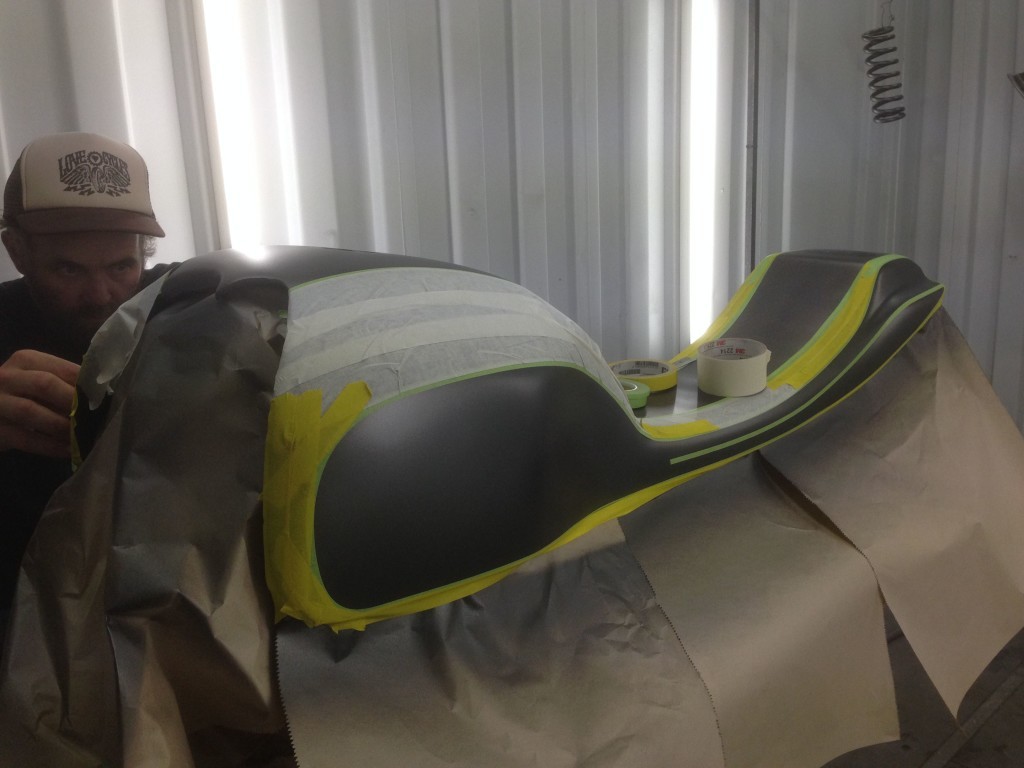
It was at this point that Karl from KDS Designs took a look and formulated a plan to tackle the paint, we decided on the shape and finish, he took fibreglass work with him and started the week long process of finishing it off.
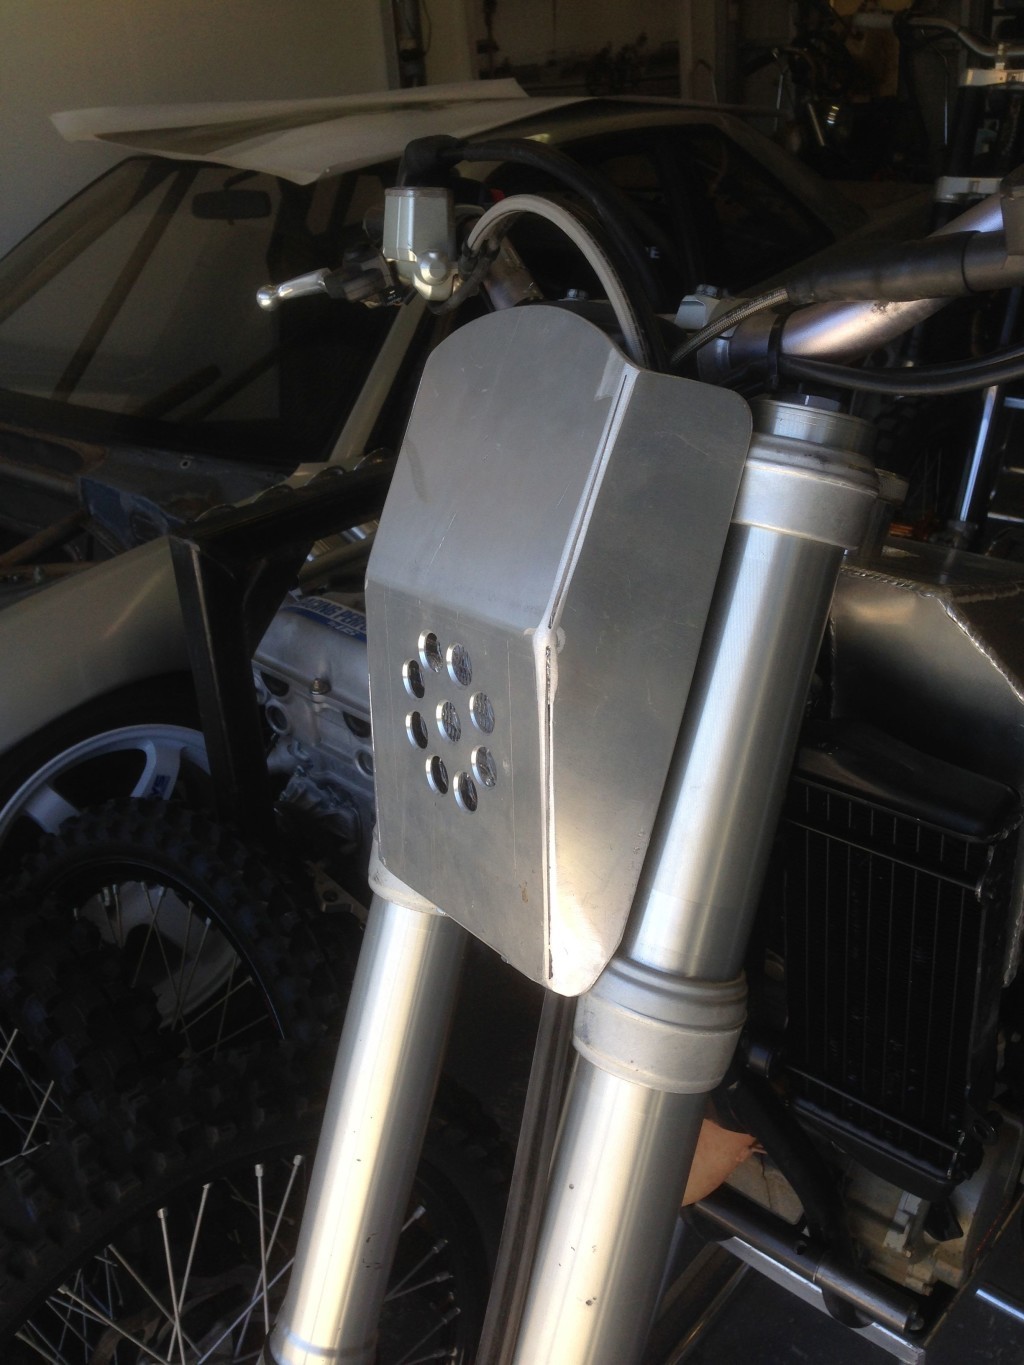
While Karl had the Fibreglass job in full swing I made up an LED headlight using a 4wd 12v spot light, using some leftover 3mm aluminium I made a facia for the front section of the bike to hide the loom and the speedo, I wanted to change as little of the factory bike as I could.
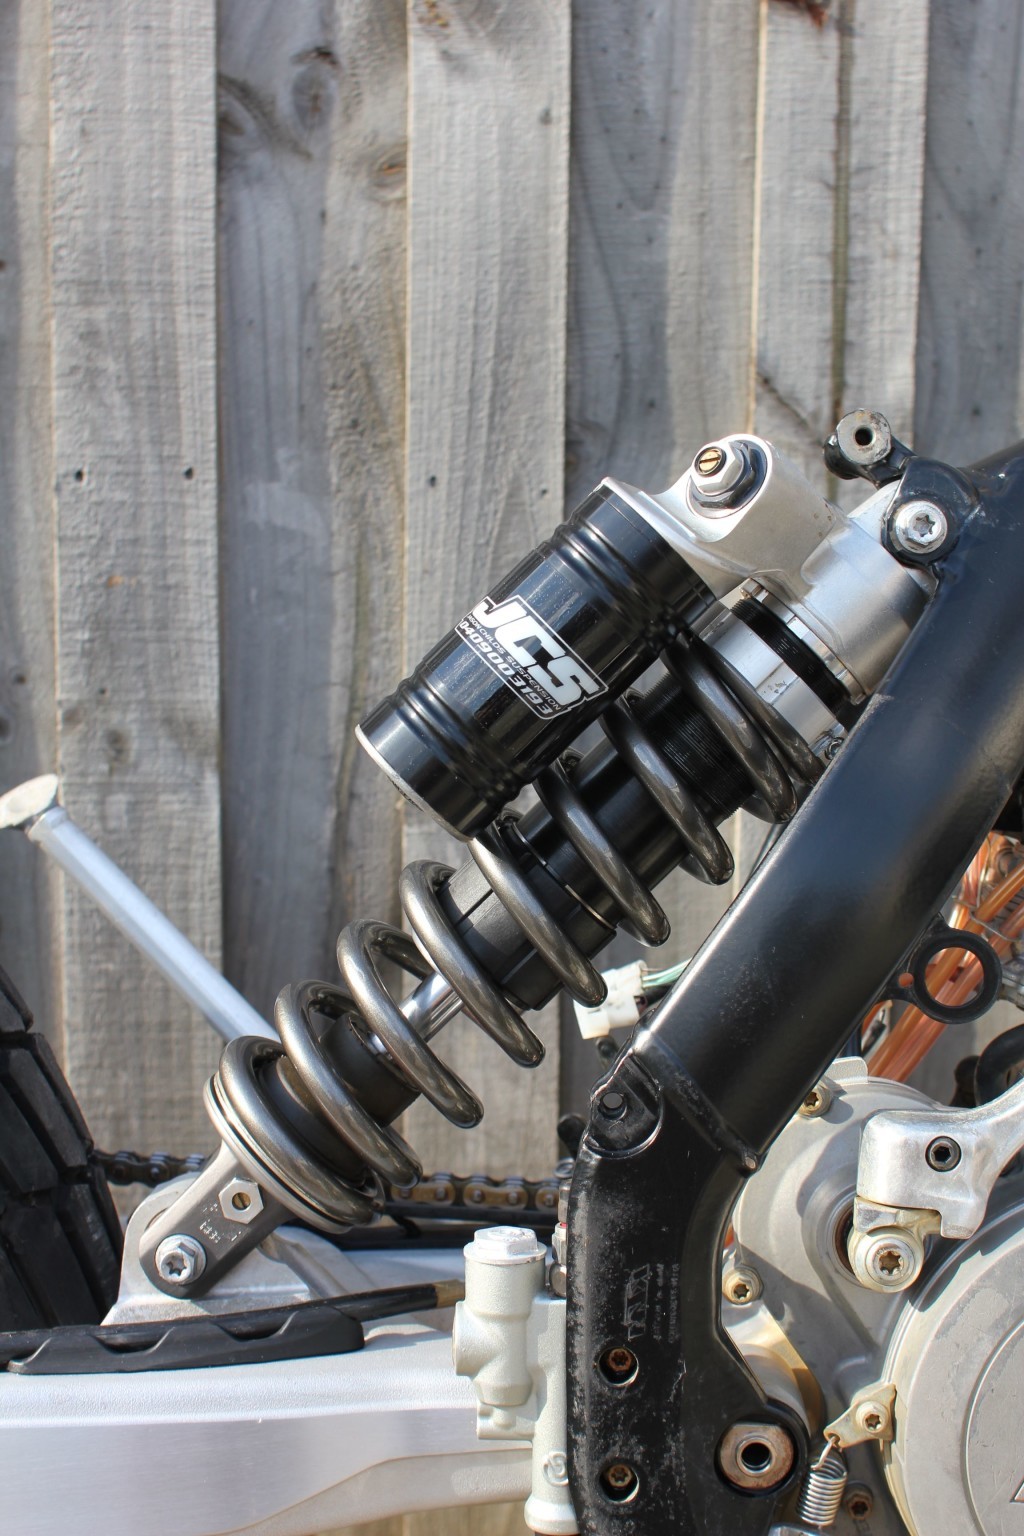
I started to focus on the suspension, the front end received a nylon spacer and some cut down springs to achieve the new hight, the rear shock I dropped in to Jason Childs Suspension, Jason ran me through his workshop and explained what he could do for me, I was blown away by not only Jasons welcoming attitude but his passion for the art of suspension, having been involved in the highest level of Motorcross and Supercross Jason could give me exactly what I needed. So the rear shock was lowered around 12mm with a nylon spacer which equated to a 30mm drop in the rear end. Jason revalved and regassed the shock and had it ready the following day, in the meantime I dropped the wheels, the headlight surround and the spring to Karl at KDS to add some matching paint.
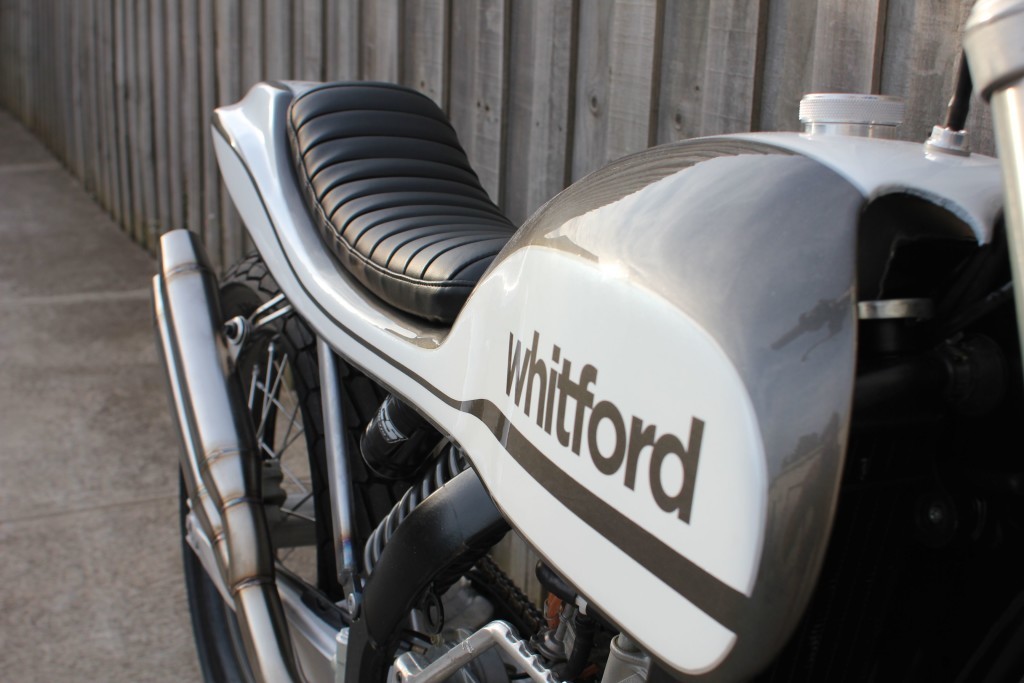
4 days before the handover Karl arrived back at my place with the finished tank and tail, spring, wheelset and headlight. It all looked amazing, with deep metalic and pearls finishing of the perfect lines and shapes that Karl used to give the one pice fibreglass some character. It was time to get to work.
I had 3 days now to make a subframe, mount the battery, hang the wiring, wire a tail light, mount the number plate, come up with a surf rack design thats easily detachable, make a seat, weld on the fuel filler, mount the tank and leak test/ road test the lot. So I spent two nights doing all of these jobs with very little sleep inbetween, my life revolved around this build.
Kris from KJF Custom trim finished the seat in just a few hours after dropping off the seatpan, I normally make pans out of alluminium but its time consuming for Kris to glue the cover on, this time he suggested some nylon, so I made the pan out of 6mm nylon that cost $10 and I screwed the mounting studs down to it via a nice square section of sheetmetal screwed to the underside, the cover was easily staple gunned on for a quick job. Kris always does a fine job at anything I give him, cheers mate.
With the bike still a bare frame and engine combo I spent a few hours washing the years of dirt stained alloy and steel down, it takes a lot of work to bring stained alloy back to life but its worth it. I use this alloy cleaner product thats pretty harsh, it’s really toxic and I brush it on with a tooth brush until I get the desired colour I want, then hose it off. Leave it too long and it will turn the alloy grey, too little and it wont work properly, you just have to find the balance.
I didnt like the Mitas tyres I recently had fitted to the wheelset so I pulled the XL1200 flat track bike down and stole the Maxxis race tyres off it, once fitted up with the spring in place I could slip the suspension and wheels back in.
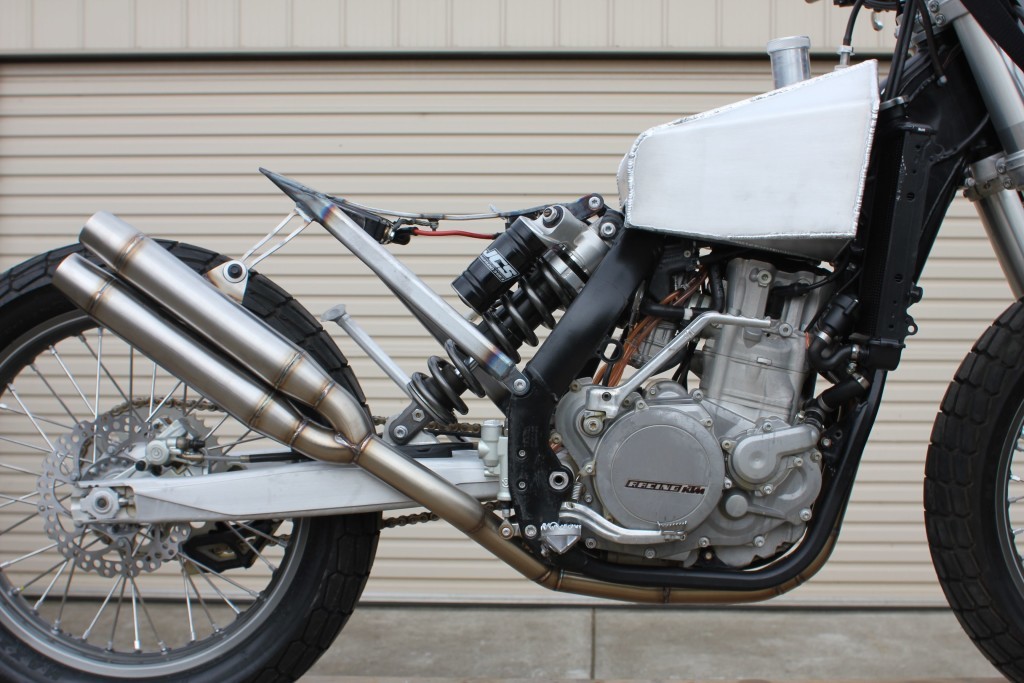
With the bike clean, the radiators now Satin black, the wheels and tyres on, the suspension dialed and in, the chain on and tight I could strap it down onto the table and work on all the bits I needed to finish.
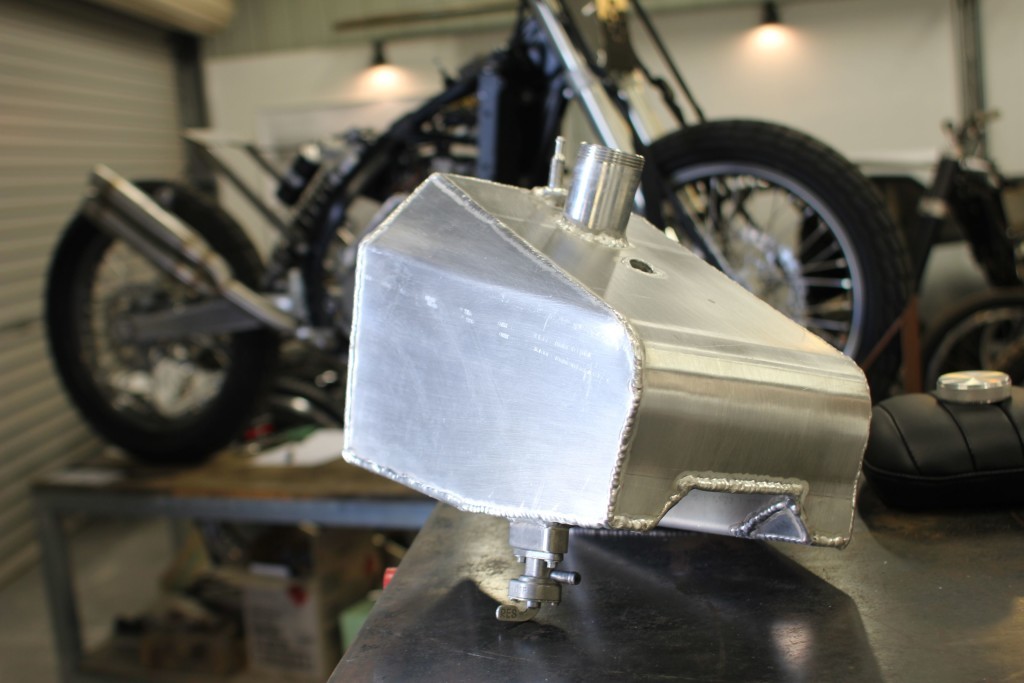
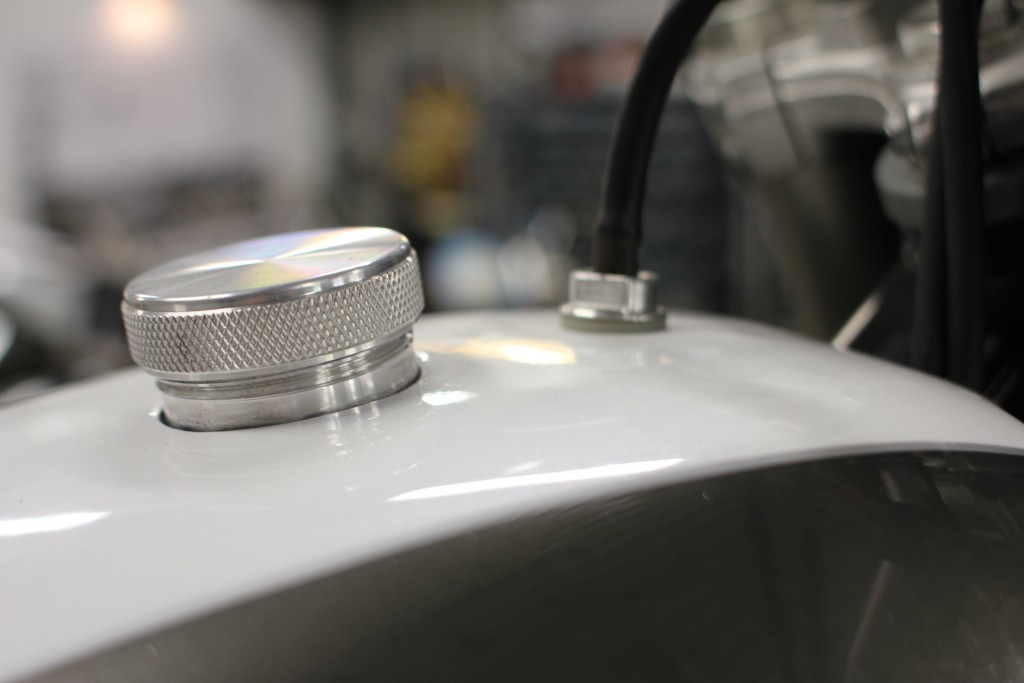
First I made tank and tail section fit the tank perfectly, the tank needed some small sectioning so that it wasn’t visible under the fibreglass, then the filler tube welded on and the vent tube also welded on, the vent also has a mounting nut that I turned up out of alloy.
With that done I could now mount the tank and tail fibreglass section onto the tank and work out the rest.
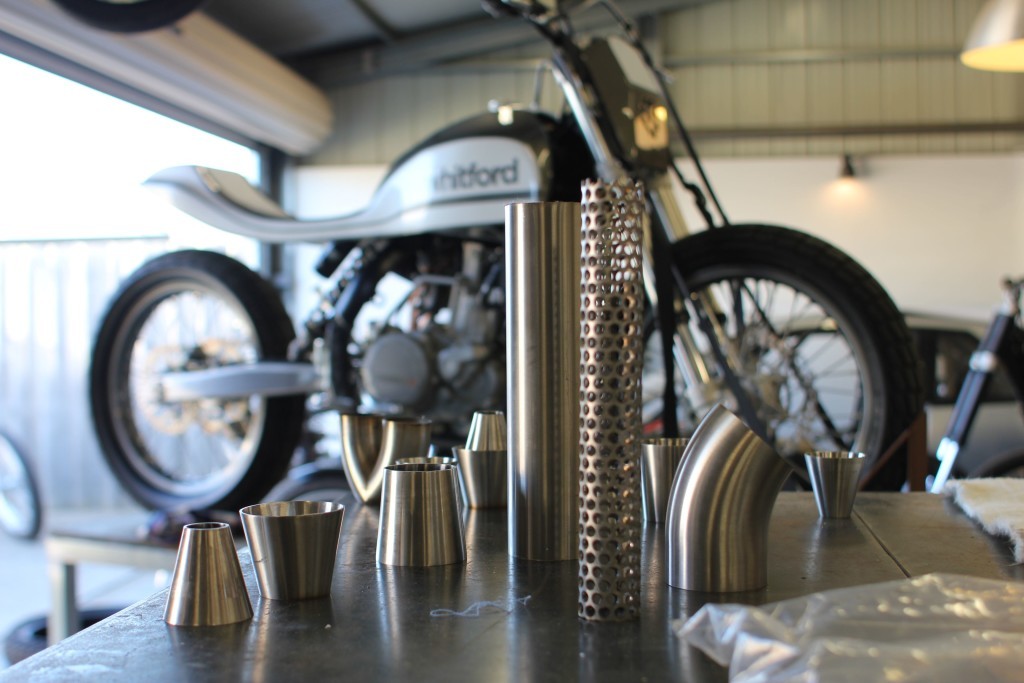
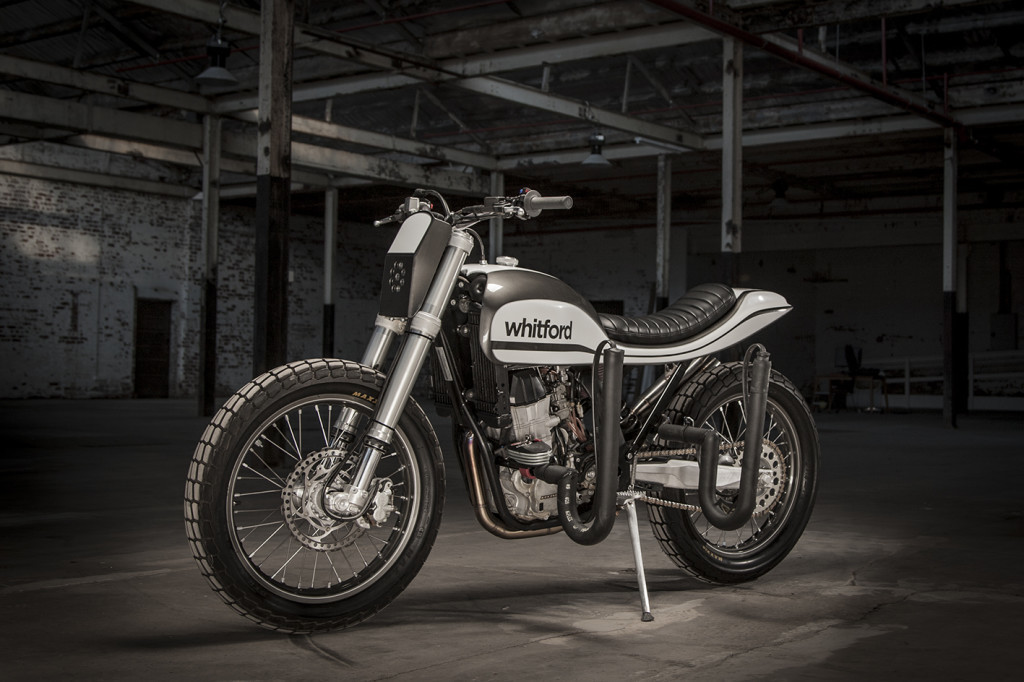
Now I needed to make the exhaust.
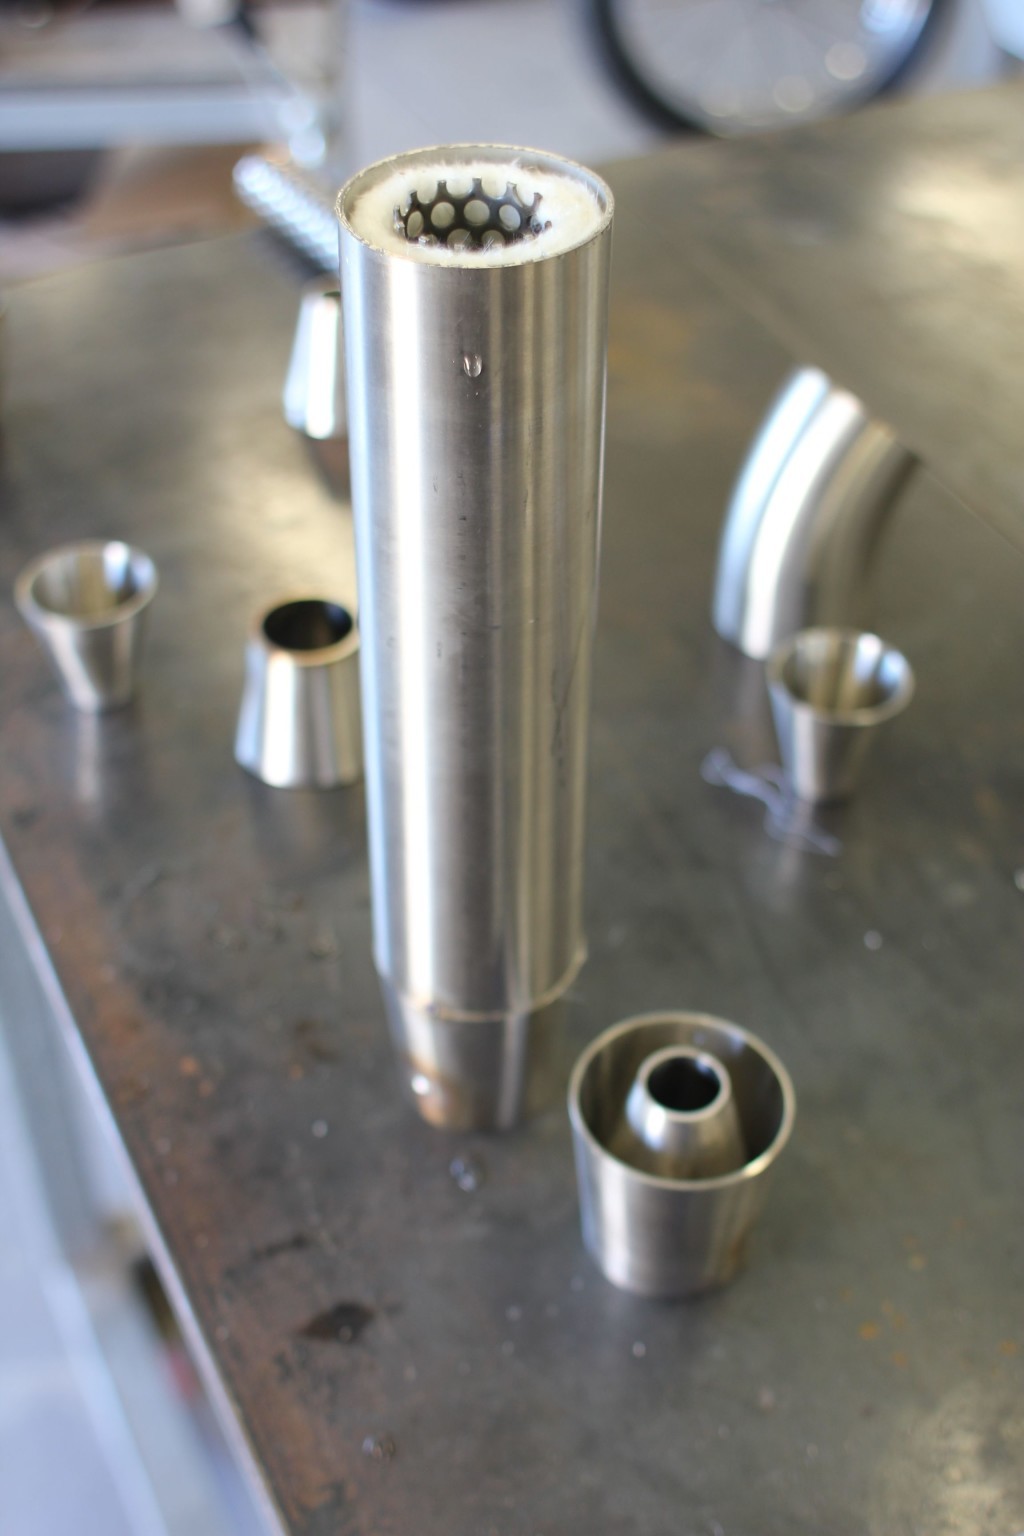
With stainless baffle tubes rolled out of perforated mesh, 8 reducers, some 2.5 tube and a few bends I made up the exhaust.
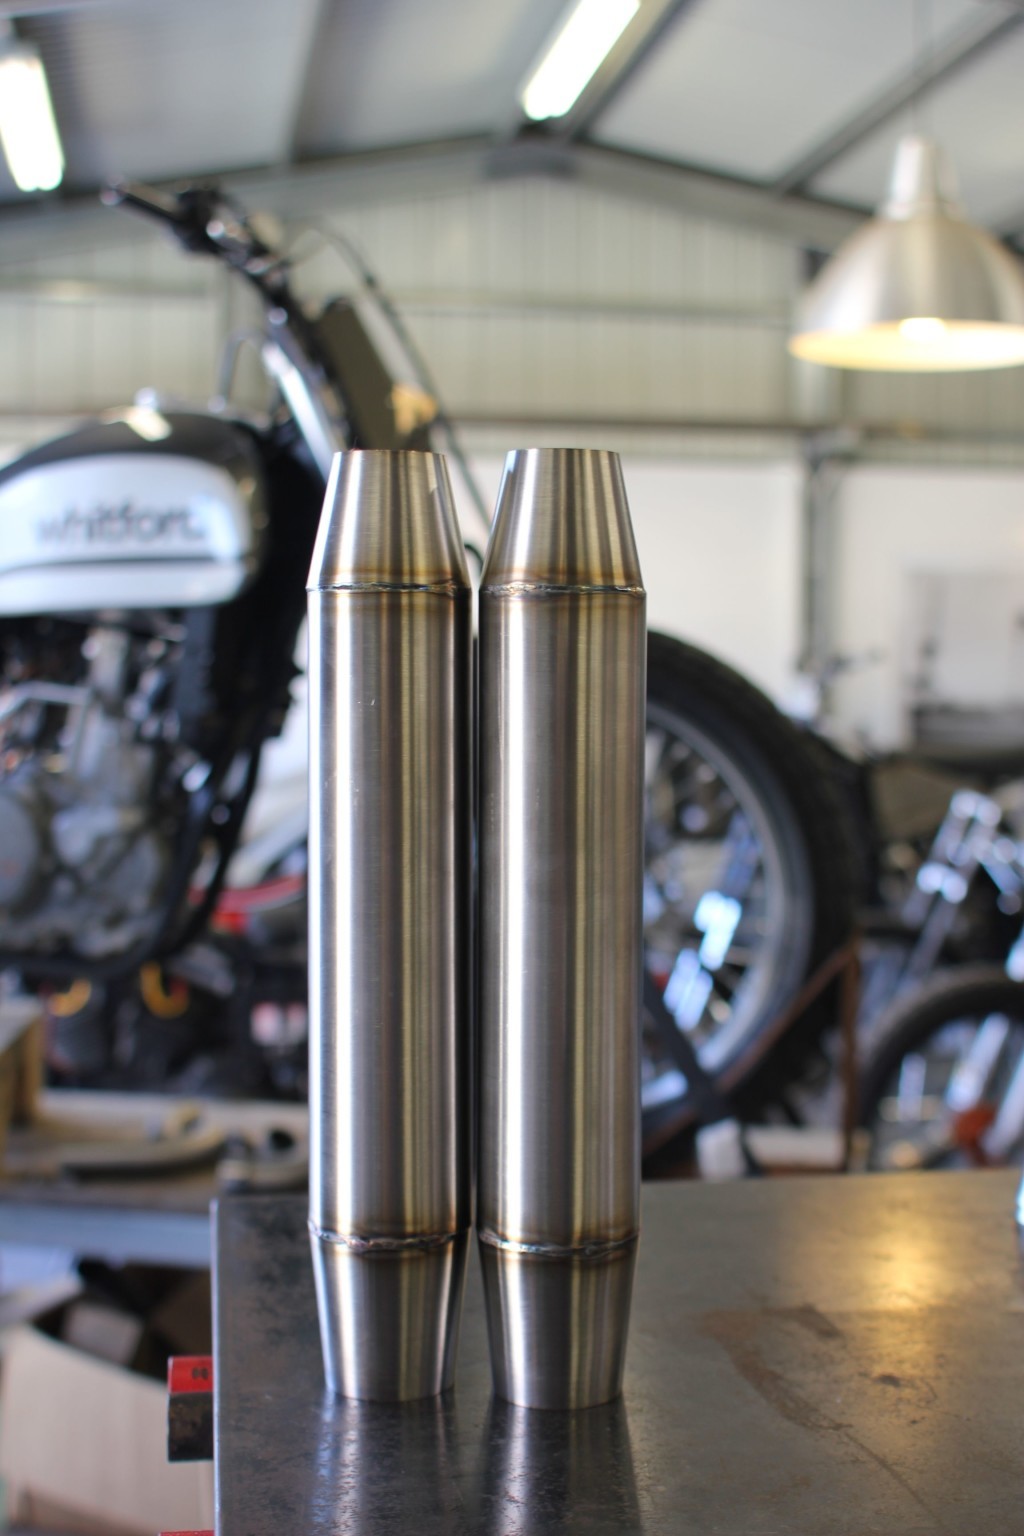
I have these pretty dialed now, in around 4 hours I was able to completely build two 2.5 inch mufflers, a 2 into 1 junction, the header pipe, the mounts and the spring hooks.

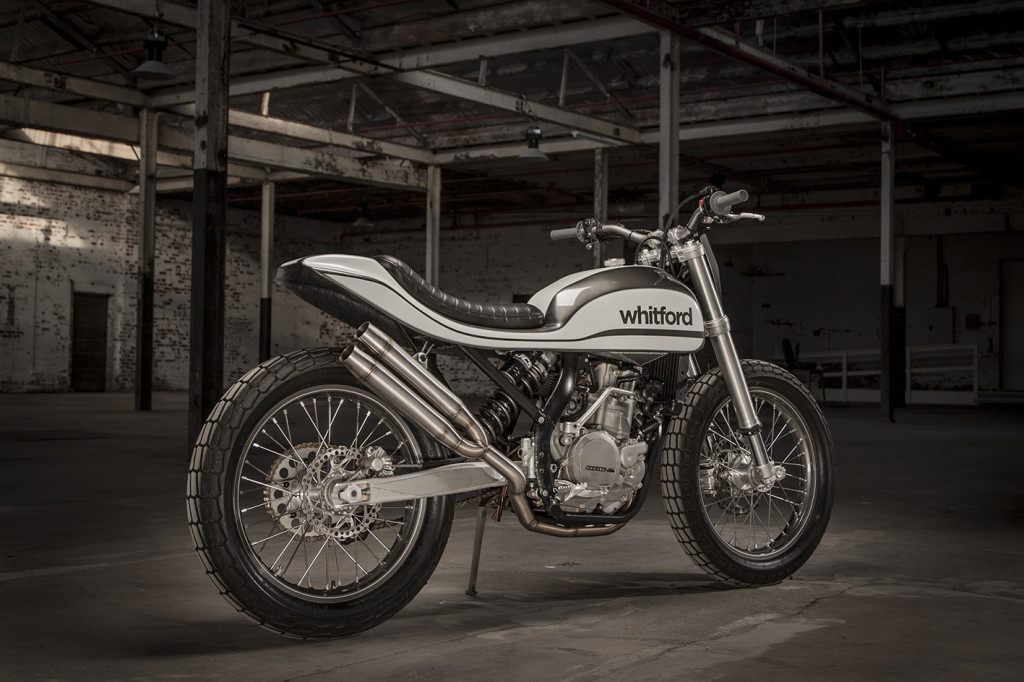
I’m really happy with the finished product.
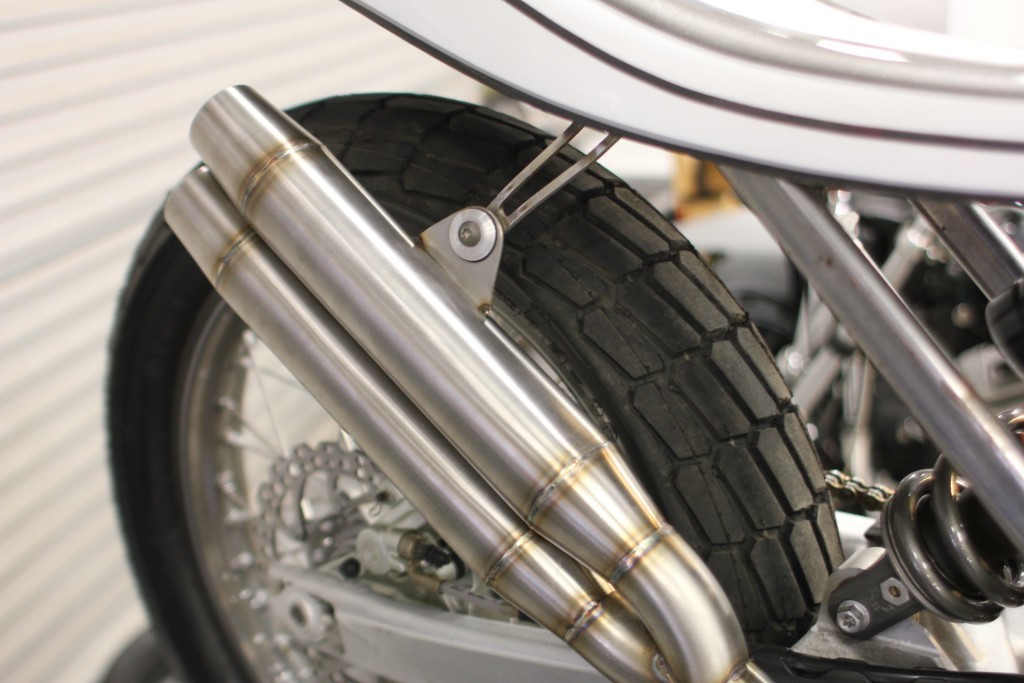
The mufflers turned out flawlessly.
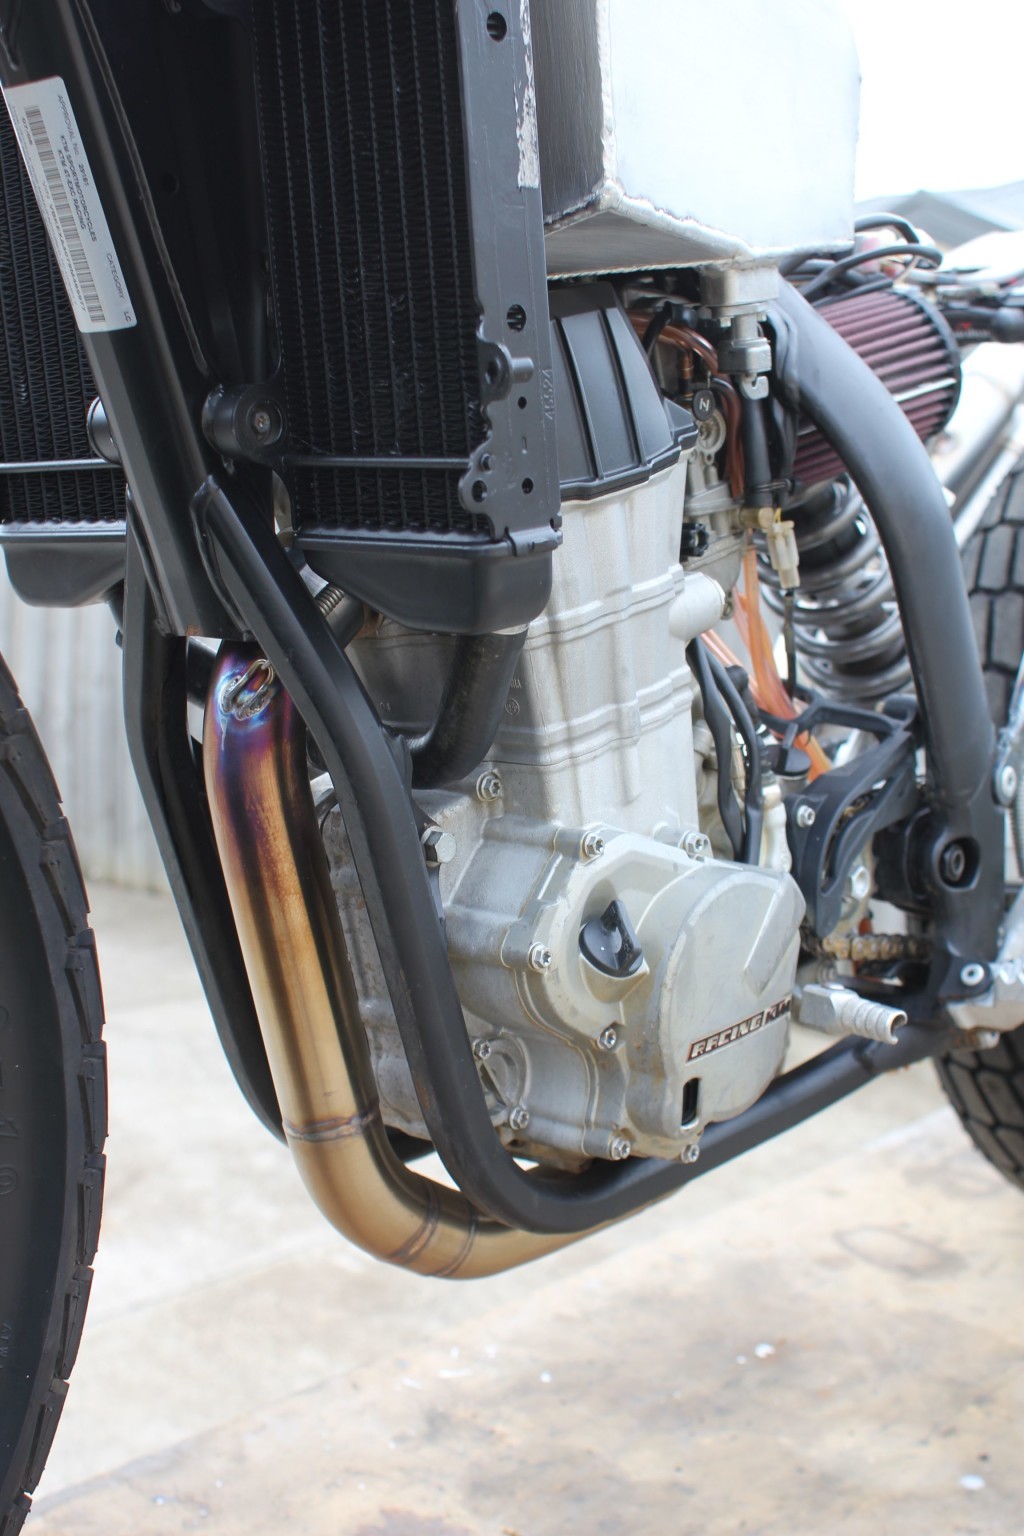
After a quick heat cycle I obtained the colour I wanted and then shut the bike down, since making the Hill Climb exhaust I found an art to the colouring procedure, the first heat cycle colouring seems to last a long time.
Now it was time for the subframe, all this needed to be was a battery holder and spot to sandwich the fibreglass between the seat and the subframe base. Really simple and another job ticked off the list.
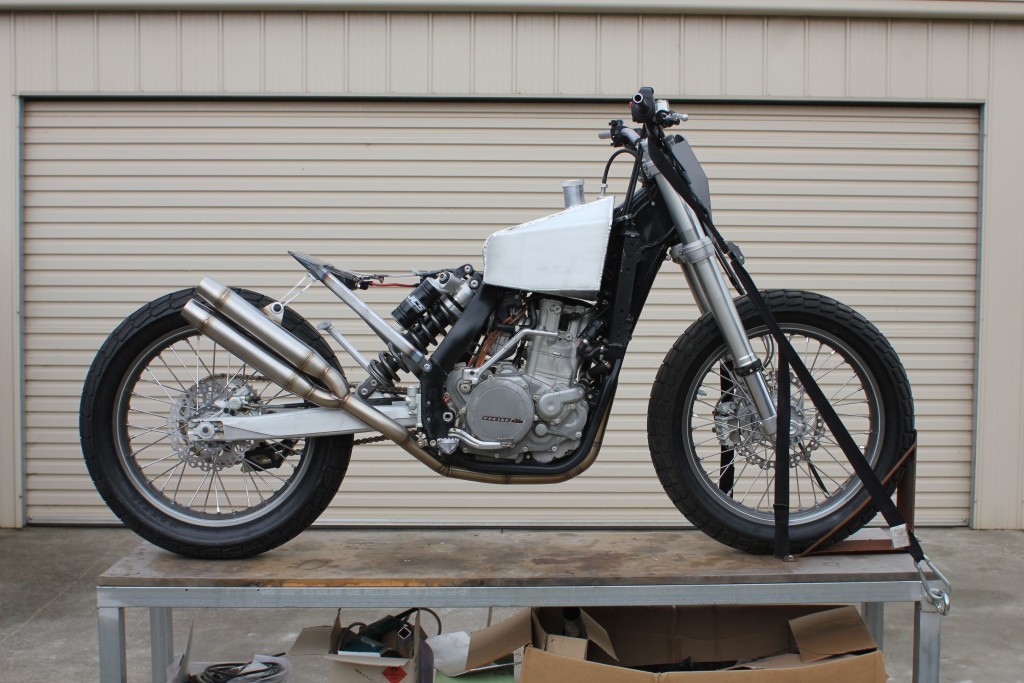
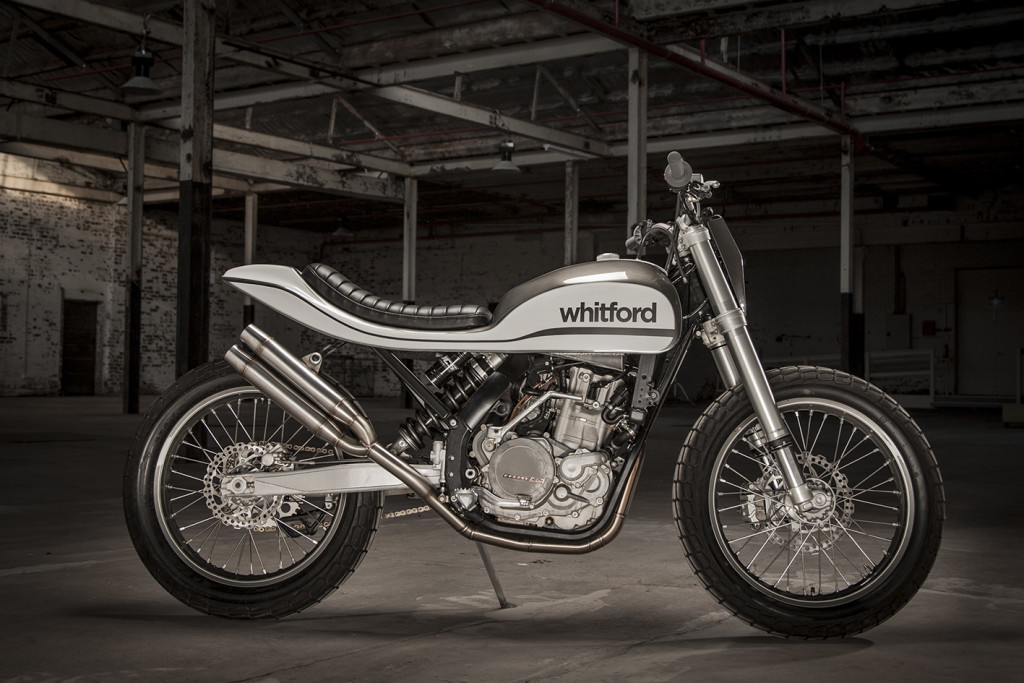
All together minus the body.
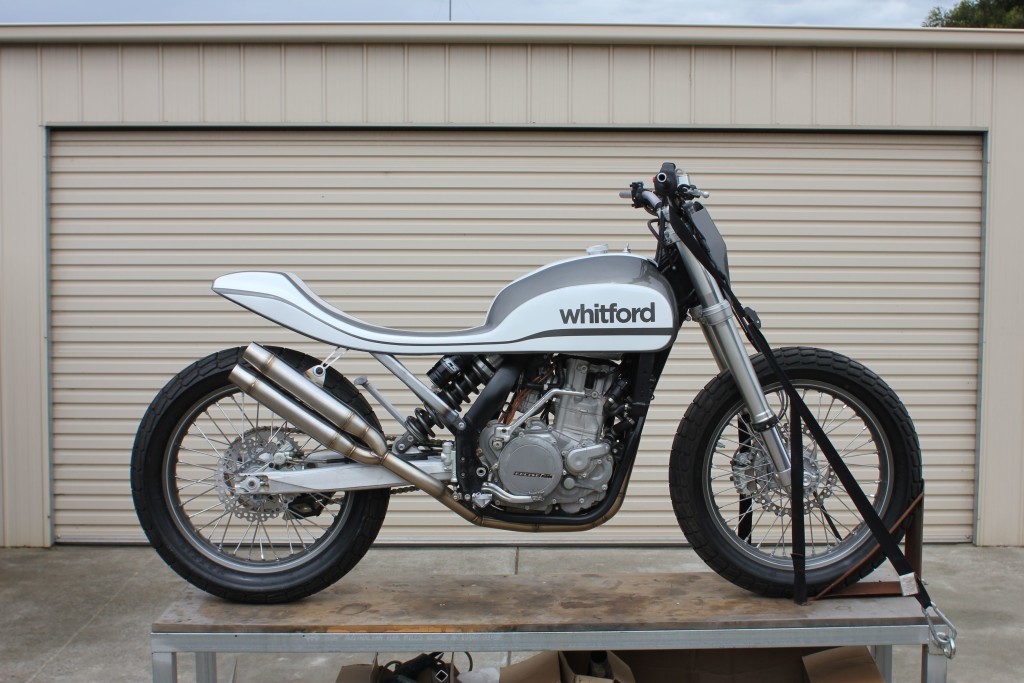
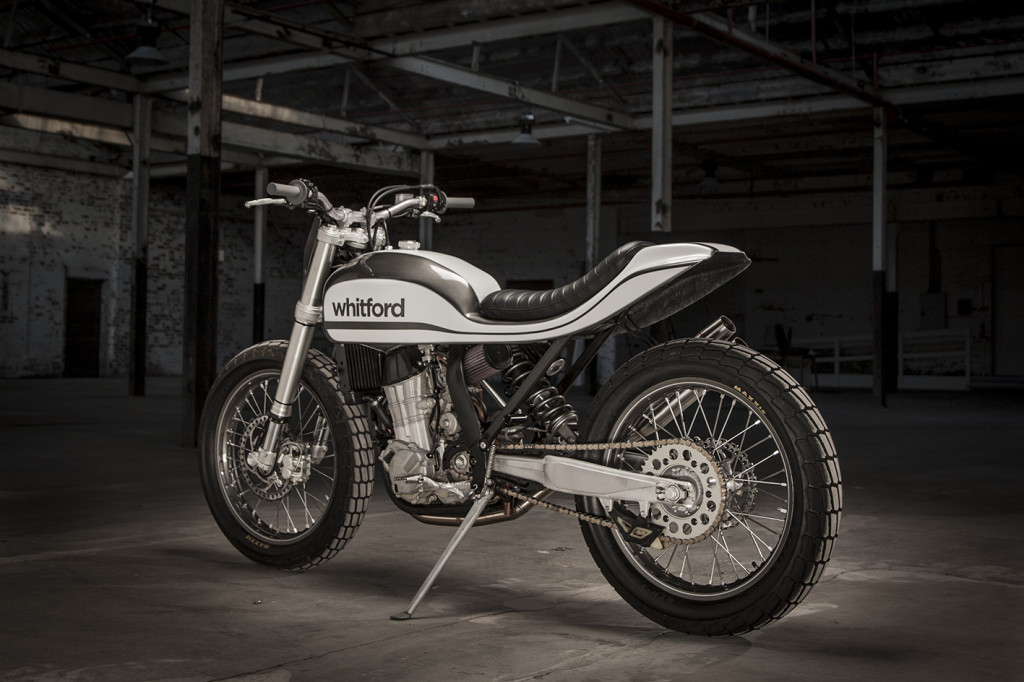
The body on.
From that point on it was all about the surf racks and the finishing off.

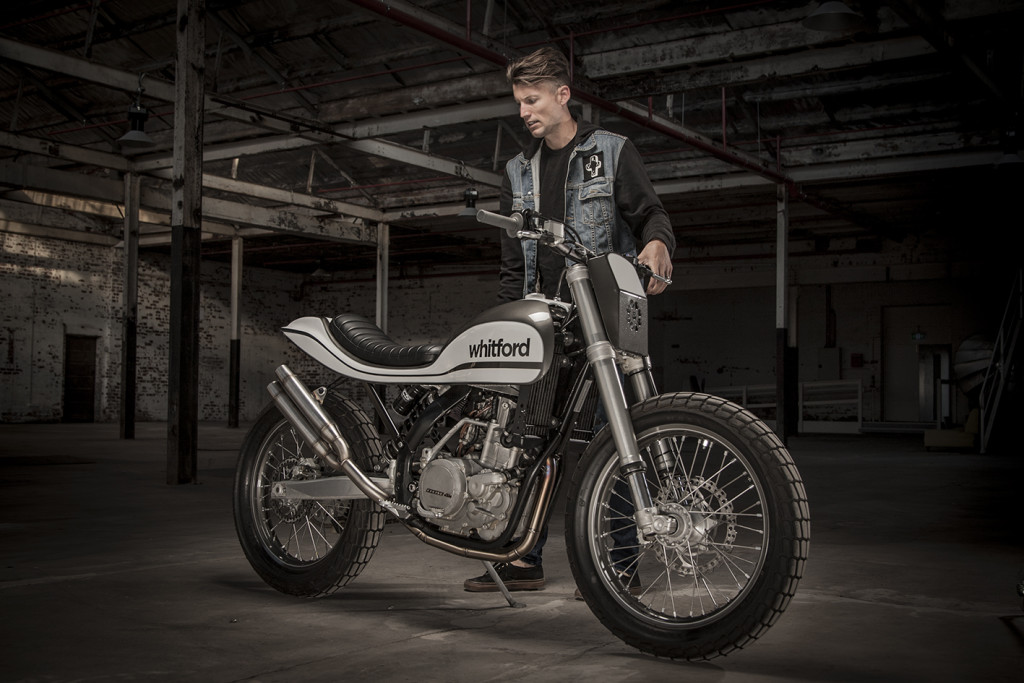
It all came together on the last day and Dean happily opened up the studio to shoot the finished bike.
The surf racks use quick release pins and remove off the bike in seconds, on the front rack is a cable thats alarmed and locks with a powered key, Dale can use this to lock his helmet, bike and bag to the bike while he’s in the surf.
Racks removed its time to hit the streets.
Dale took a look at it just as we finished the shoot, he was pleased with the bike but didnt get a chance to take in the detail as I was late for work.
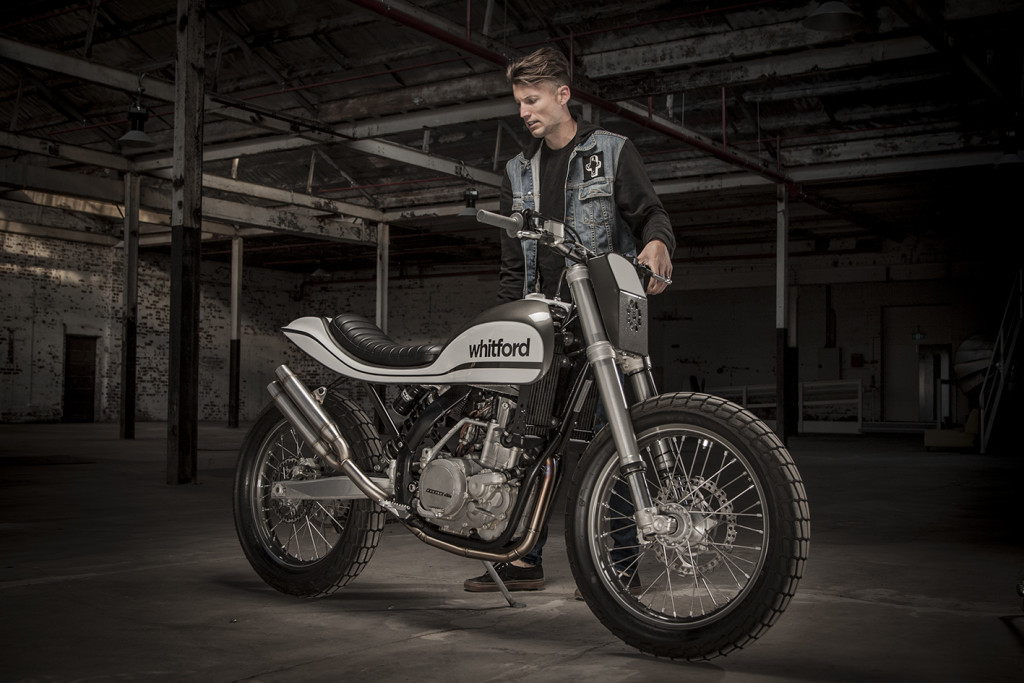
That night I handed the bike over and wished Dale all the best for his summer adventures ontop of it.
I know it’s my perfect bike and I was happy to be a part of the build. Safe travels Dale!