Being on a waiting list for surgery has its upsides, spending time in the garage is one thing that I just can’t get enough of.
Im racing the clock with the PS13, trying to get the majority of the fabrication work done so I can have a break when its time to get my finger fixed properly.
Over the last few days I have taken a break from the roll cage structure and focused on the front and rear of the car.
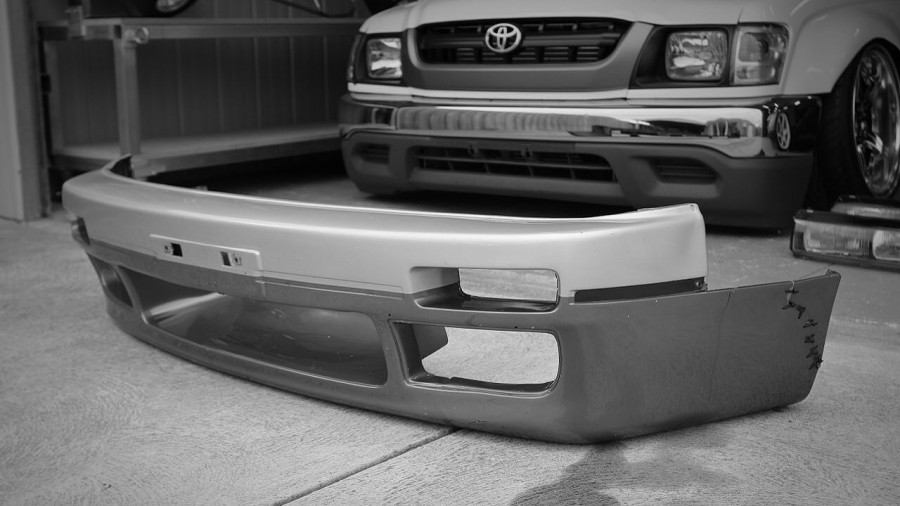
At the front the bumper needed mounting. I thought about this for a little bit, how can I do it the simplest and cleanest way possible?
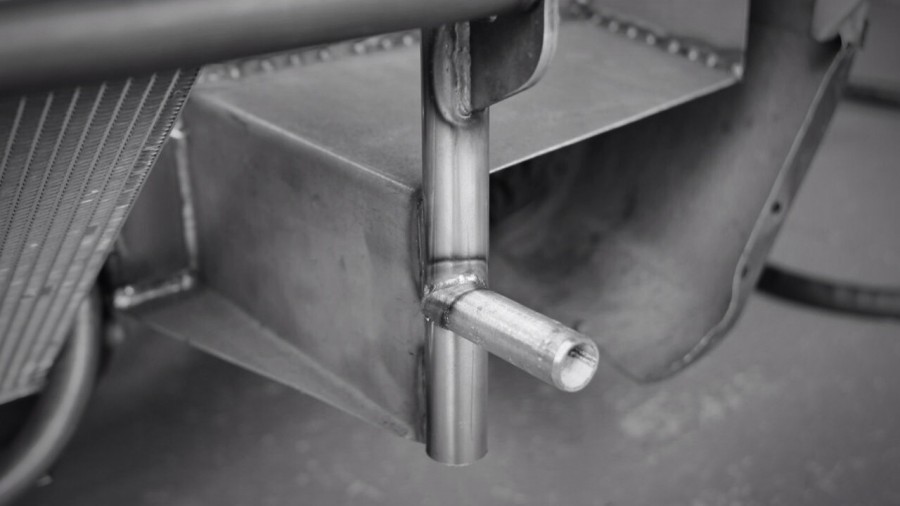
I figured some 1” female tube on the bumper support could slide over some male tube that is welded to the car would do the trick, turns out my bottle jacks handle was just the right diameter and it got shorter by 100mm very soon after.

I gave the bumper a wash and the support a clean up and paint after I cut off the majority or non functioning steel.
Its slips on easily and then two zip ties holds the wheel arch lip against the guard.
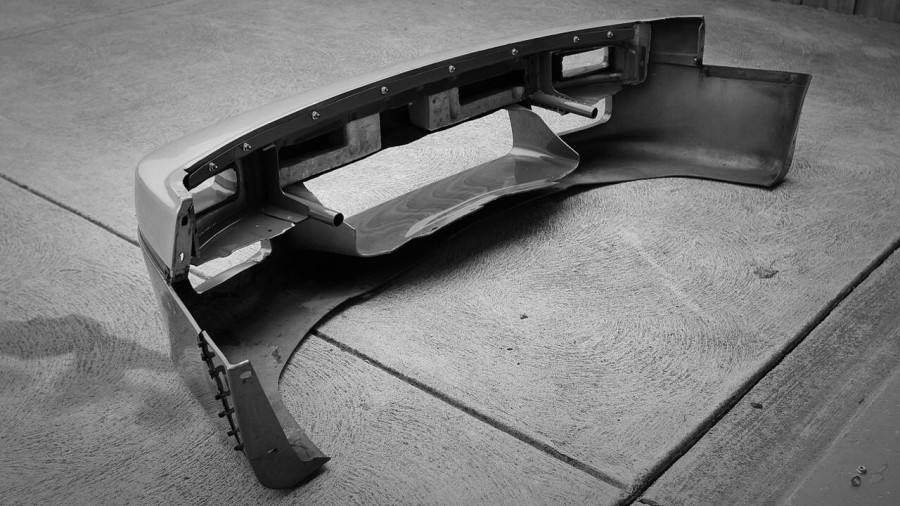
Its really sturdy and makes for easy removability.
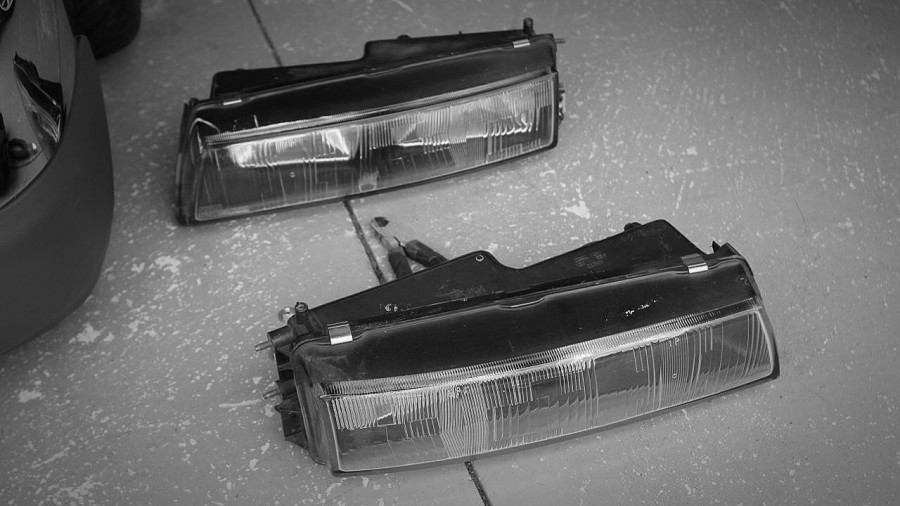
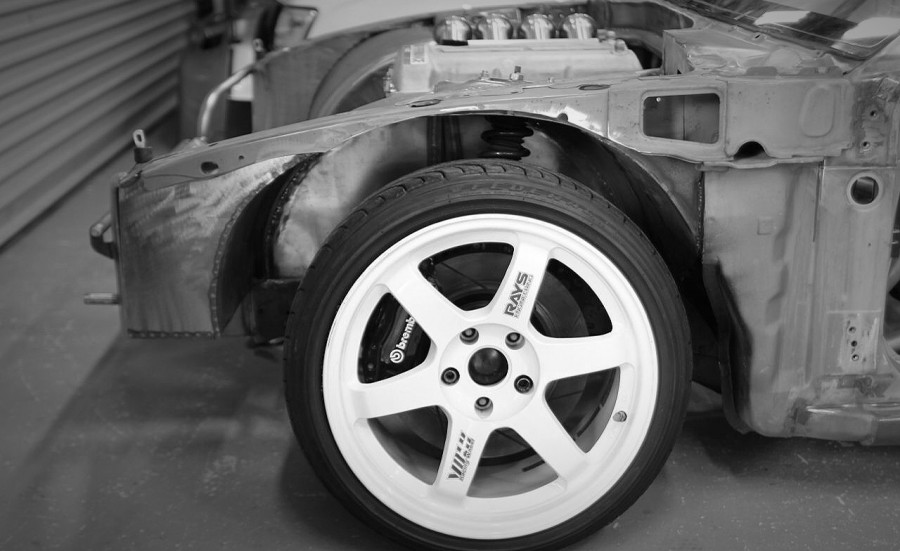
Next up was the headlights, I cut all the plastic that was unnecessary around the headlights, screwed them into the guards and mounted them up, theres two tabs that you can’t see that will eventually bolt to the rear of the existing vent holes in the headlights and are welded to the removable radiator support.
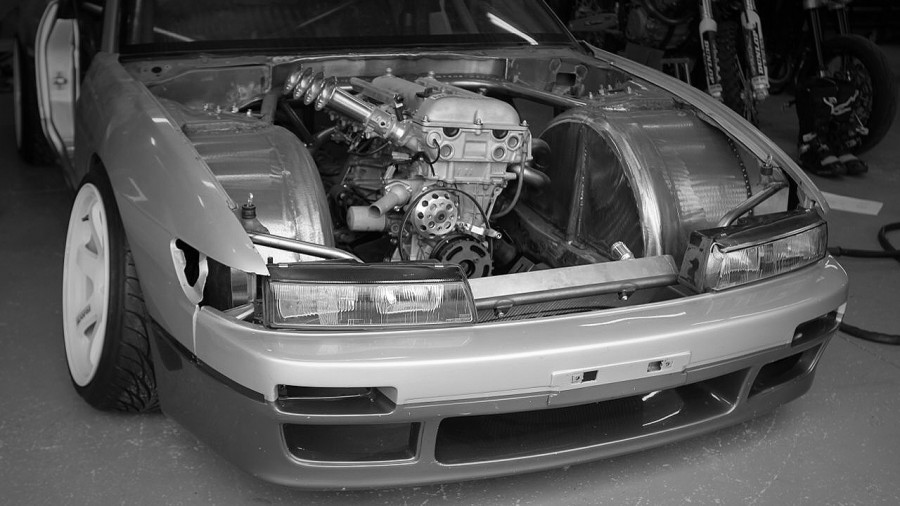
Between the headlights will be an aluminium panel that will guide air into the radiator. Thats a job for another day.
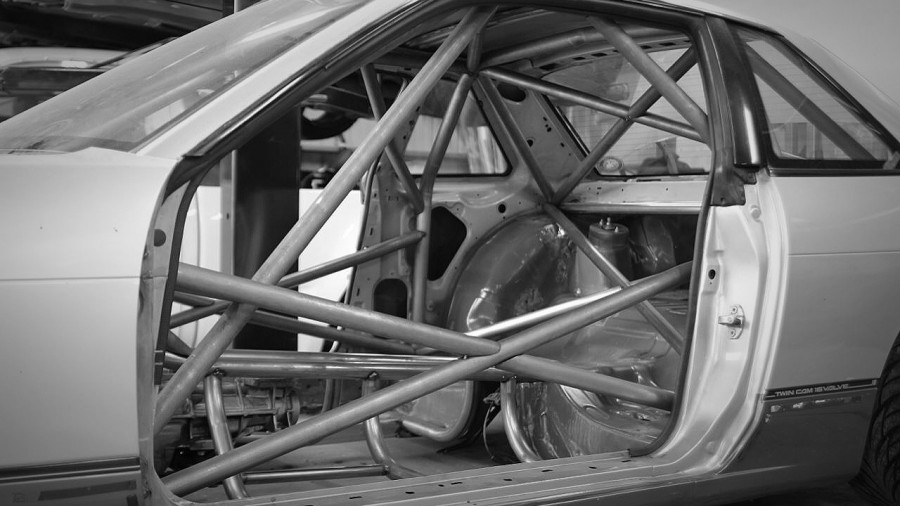
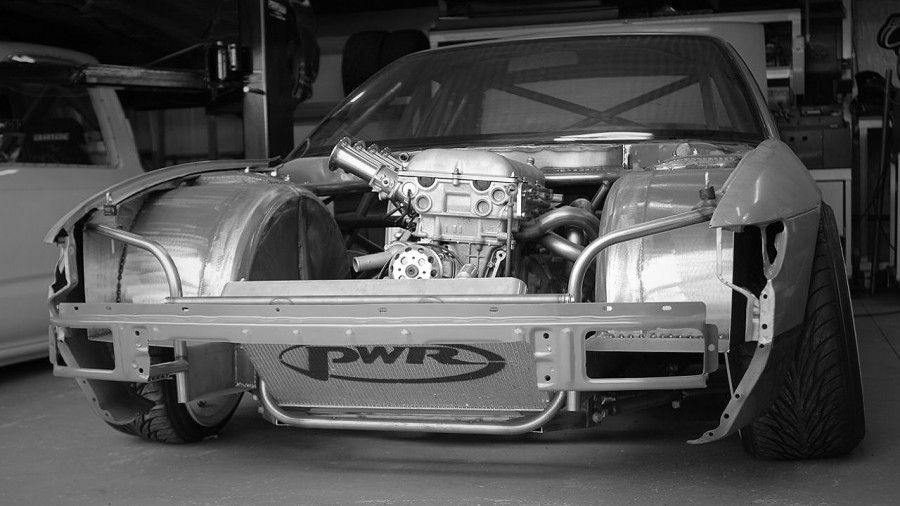
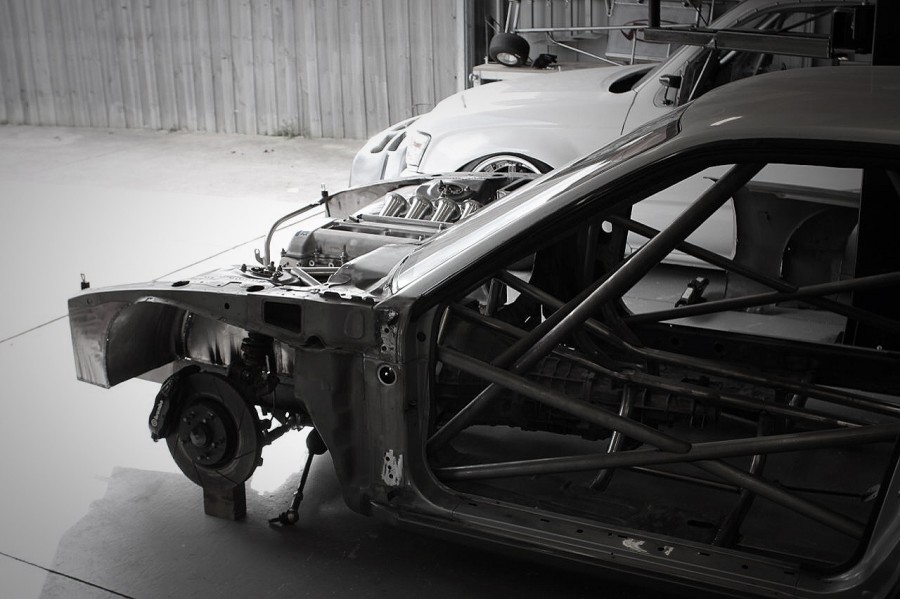
Its a good chance to take a look at how the cage is going, still only tacked together at this stage, its beginning to be pretty comprehensive.
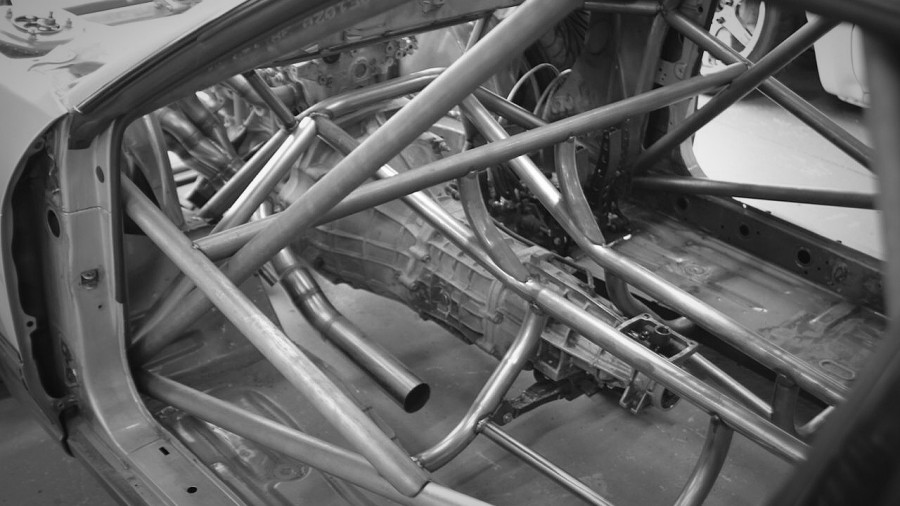
The front section is now getting pretty strong.
It extends out onto the strut top and connects with the tower bar, I have some additional plans for this area a bit later on.
It all looks a bit crazy right now but I am making every effort to integrate everything in with the factory chassis, I could have cut a whole lot more away than I did but I would loose the sole of the car in the process, its all about going to extremes but keeping the car subtle and understandable.
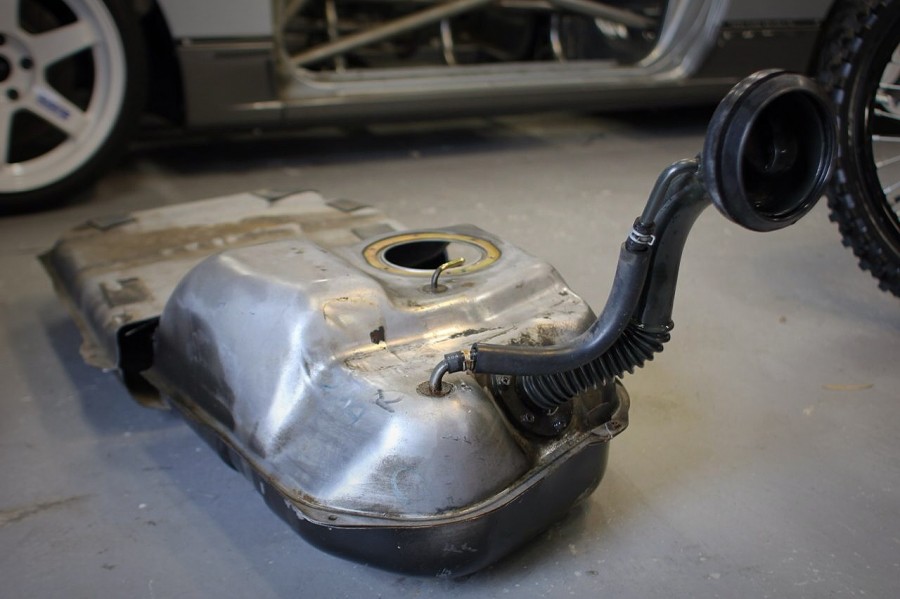
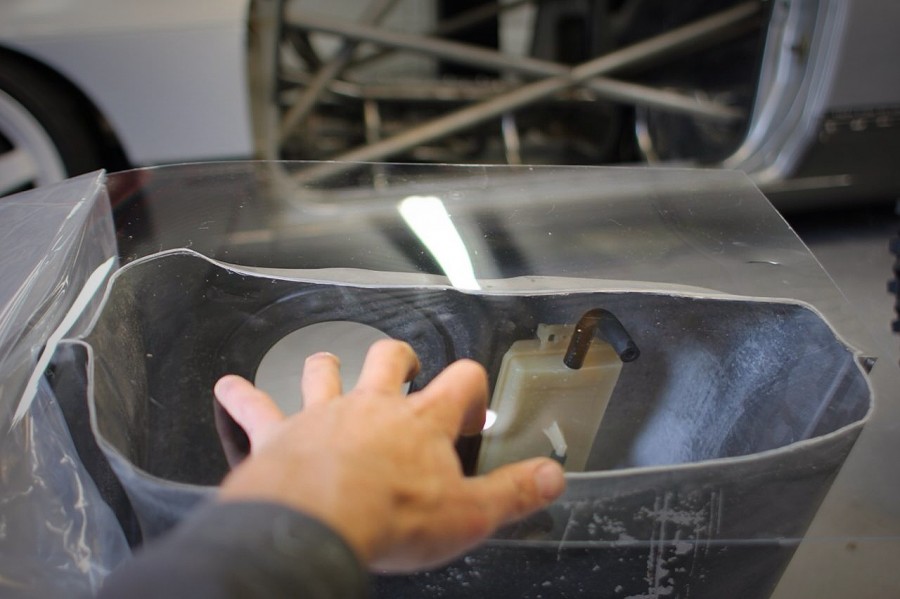
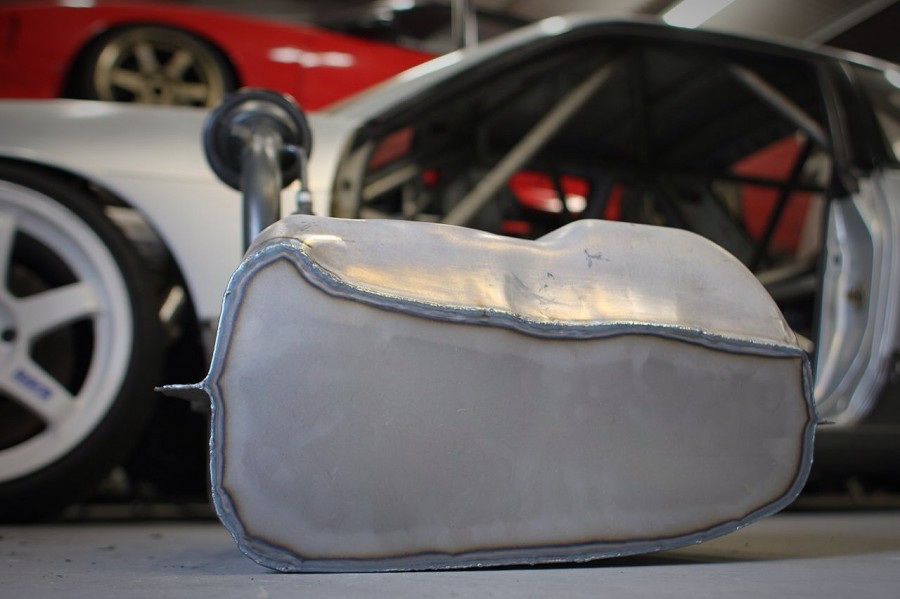
Now to inject some colour into this post (I’m hiding the rust) I have been looking all around the internet lately for a fuel cell that suits what I want, it dosnt have to be anything amazing, it just has to be neat and functional, I started thinking that theres nothing more neat and functional than the factory tank.
But I didn’t like the size of it, and I wanted to be able to slide the jack under the diff, time to get busy with the angle grinder again.
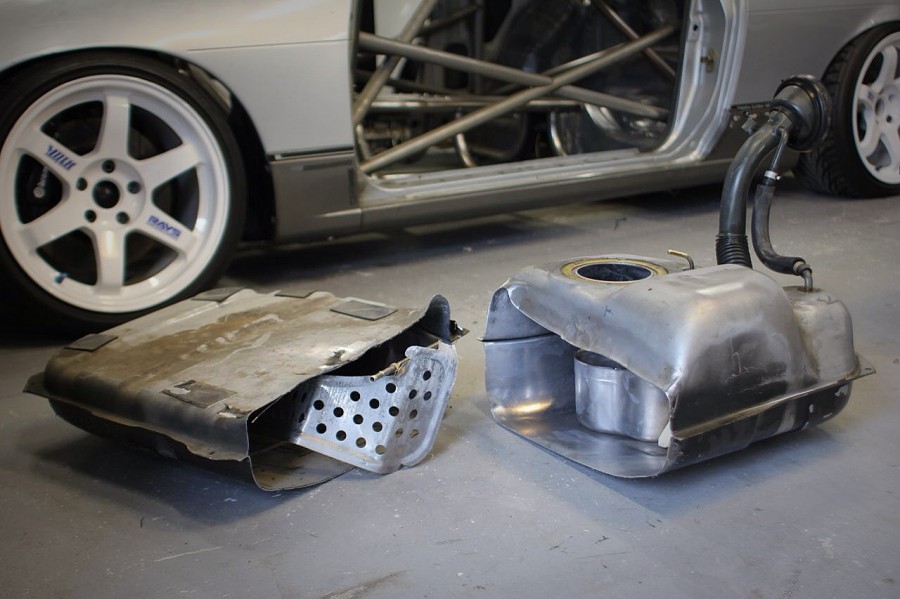
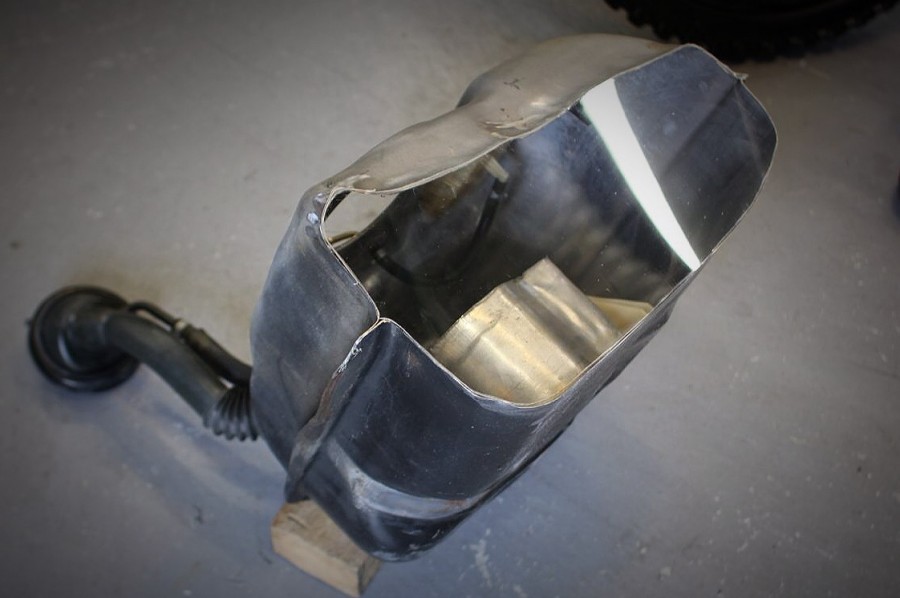
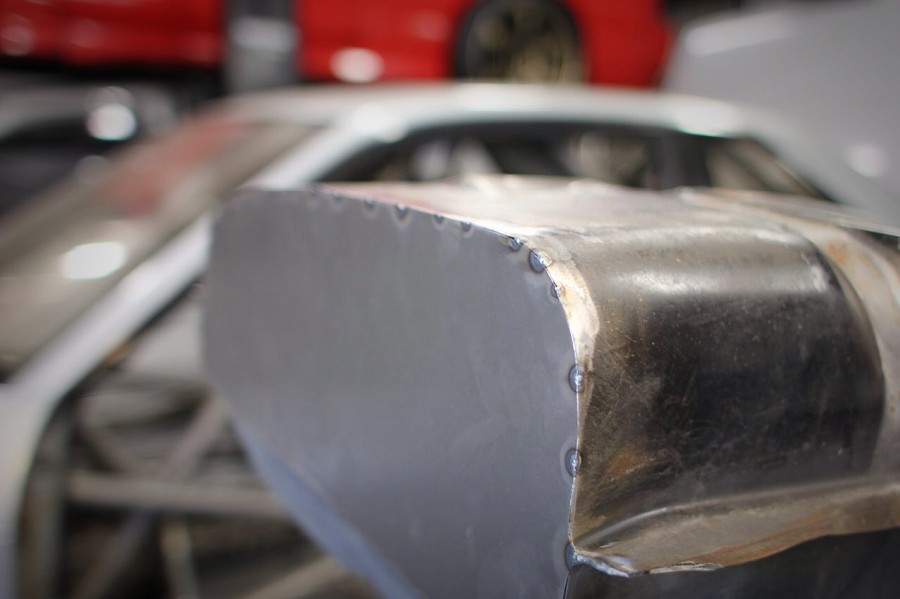
I hosed out the tank and left it to vent over night, I lit up a bit of paper and threw it in it to make sure it wouldn’t explode as I was cutting, it didn’t and now I have half a tank, you can see how well made these are, not many big $$ fuel cells even offer this kind of baffling.
To fill the hole I created first I needed a template, this 1mm perspex is perfect for the job, just trace.
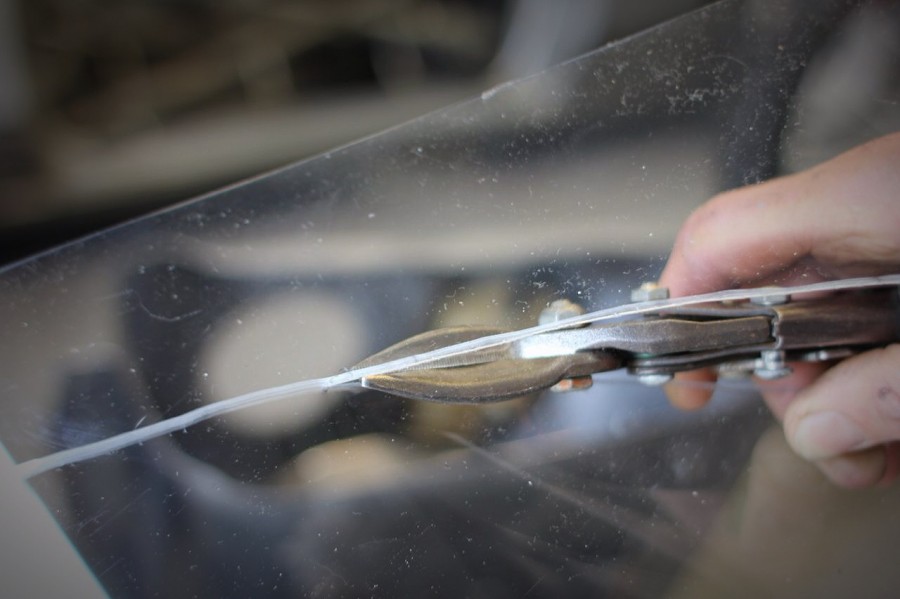
Cut it out, remember the more precise it is the less work you have to do later with the welder.
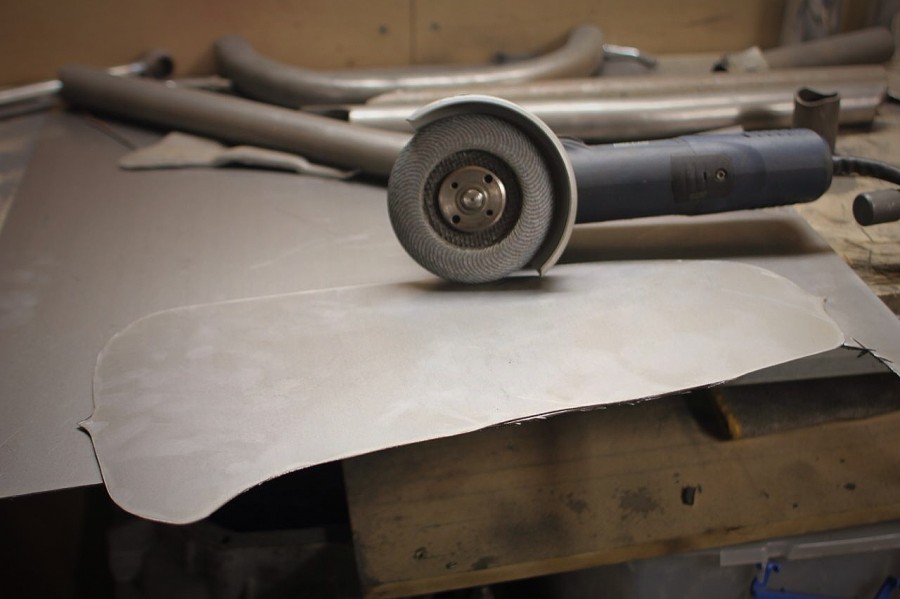
Once its a perfect fit its time to make it out of steel.
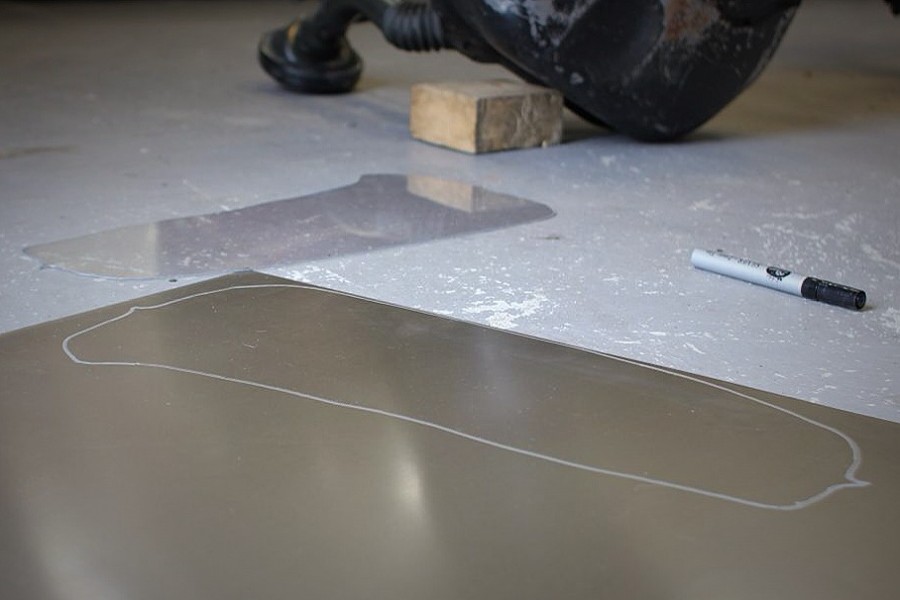
Im using 0.8mm panel steel, its surprisingly light and nice to weld, it was on sale at Metaland too so thats a bonus.
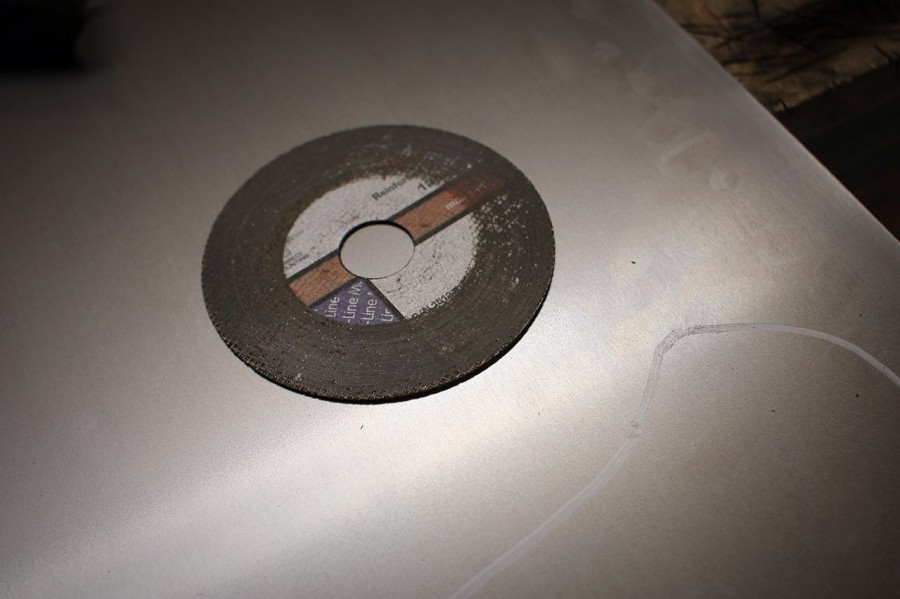
I keep my worn down 1mm angle grinder blades for these jobs, you can make smaller cuts and get a better feel for direction.
Its crude but its all I have.
Now that its cut out I can buff back to the pen line.
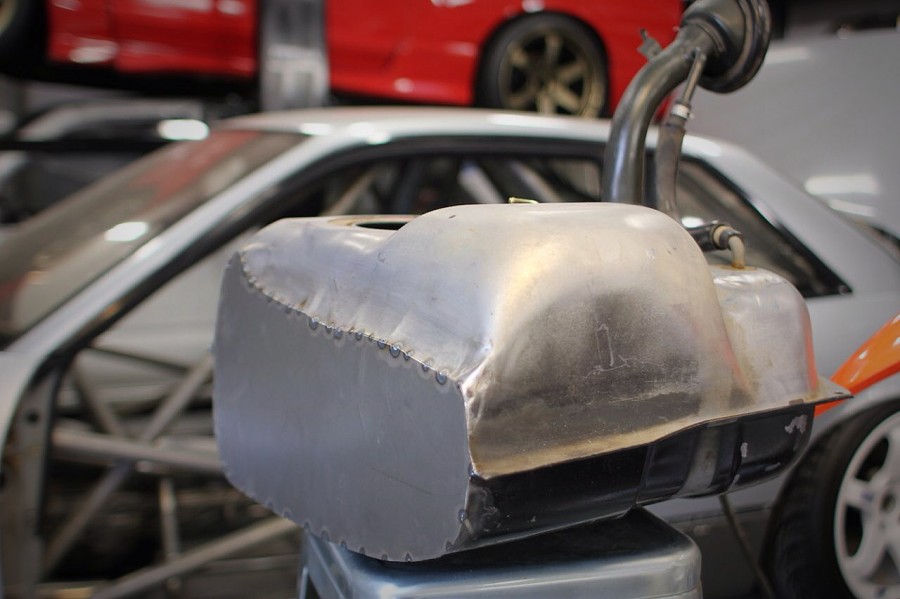
A quick fit up on the tank and things are spot on.
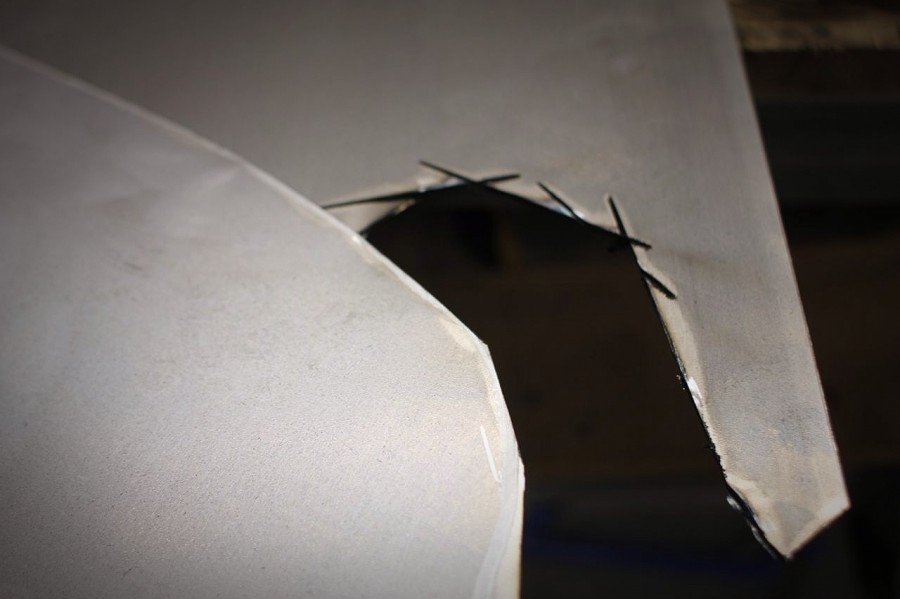
I go ahead and tack the panel on, with 35amps I spot the panel in as many places as possible, I leave any small gaps for last and manipulate the sheet metal with a hammer to make sure theres minimal gaps everywhere, the less gaps the easier it is to final weld.
Once its all tacked I can get comfortable and let the argon flow.
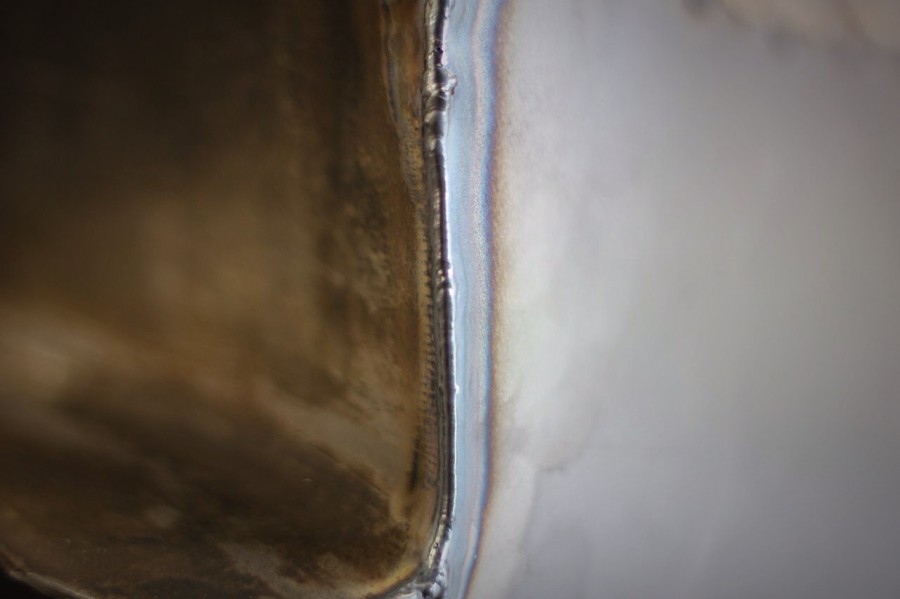
I only had 1.6mm filler rod but I probably could have done it neater with some MIG wire off the spool.
Half way there.
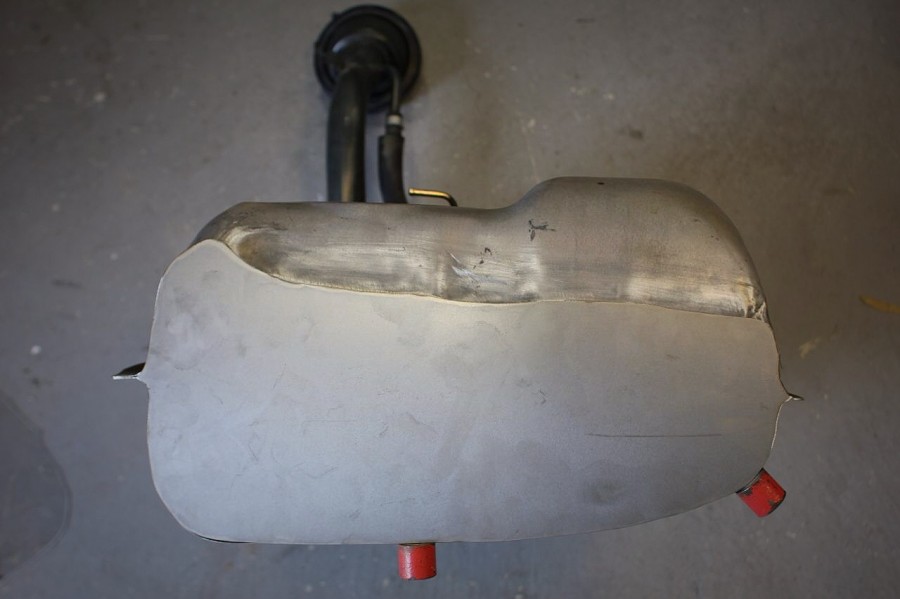
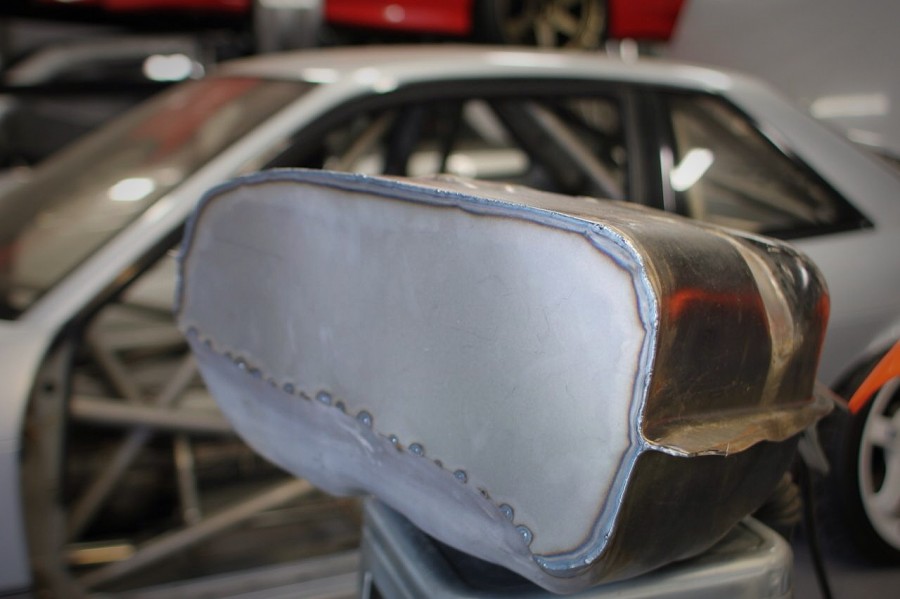
Its all done, I go over it all with a close eye and fill any small holes there may be, the leak test will tell me if theres any holes but its much easier to get it right the first time.
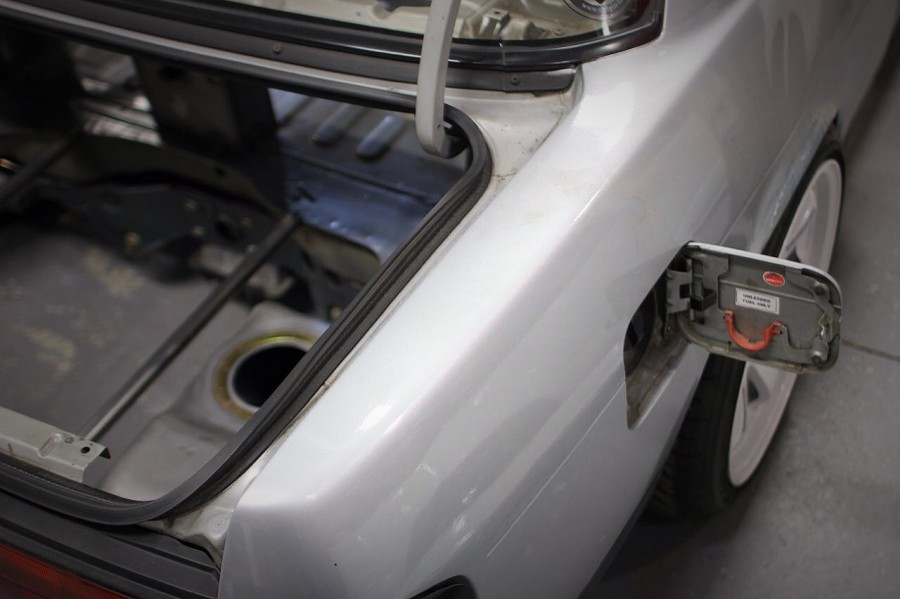
With the tank back in the car I can make the frame for the new boot floor.

Its pretty straight forward, I cut the whole rear section out and raised it up just incase I ever want to fit a big diffuser in there.
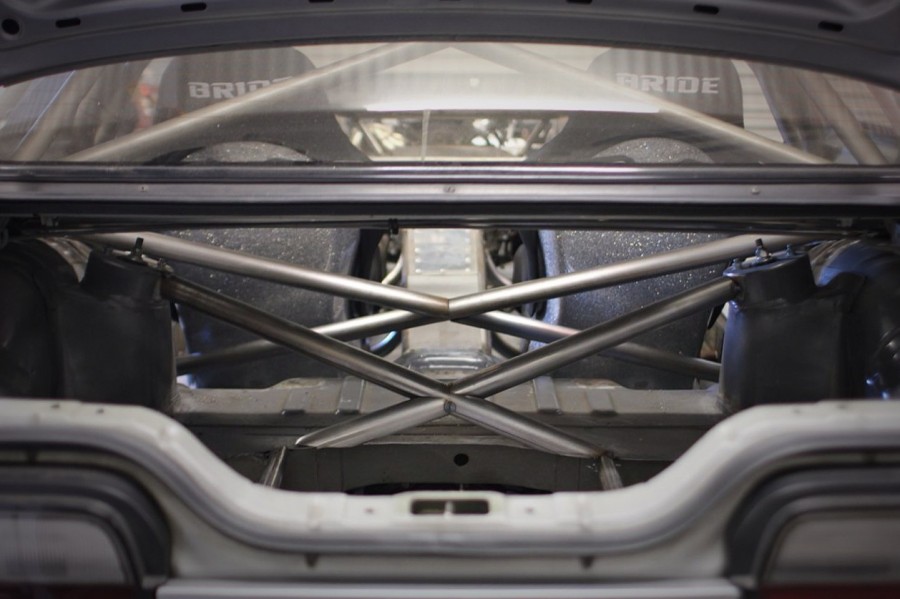
I went ahead and added some more rear tower bracing, essentially this does stuff all but will eventually tie into the rear legs of the roll cage. I love big wide open X braces in race cars.
I really can’t wait to final weld, sheet and paint this chassis, its going to be a work of art.
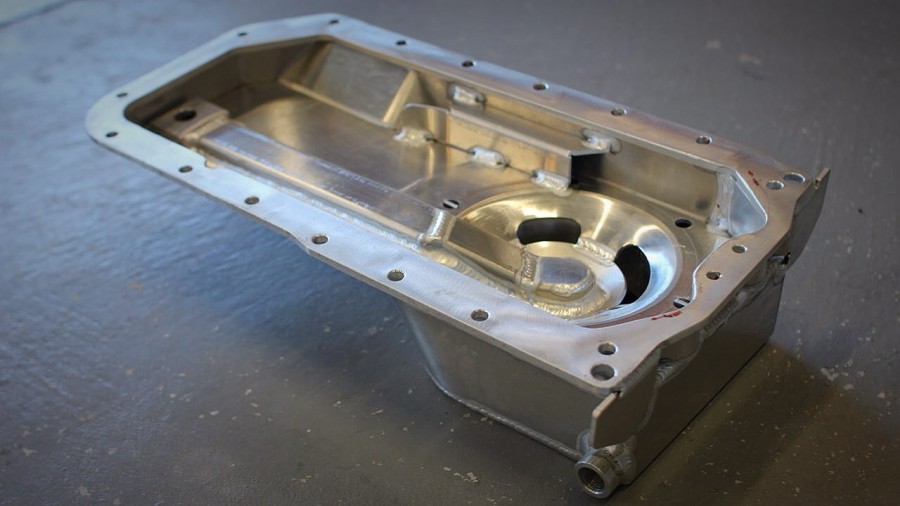
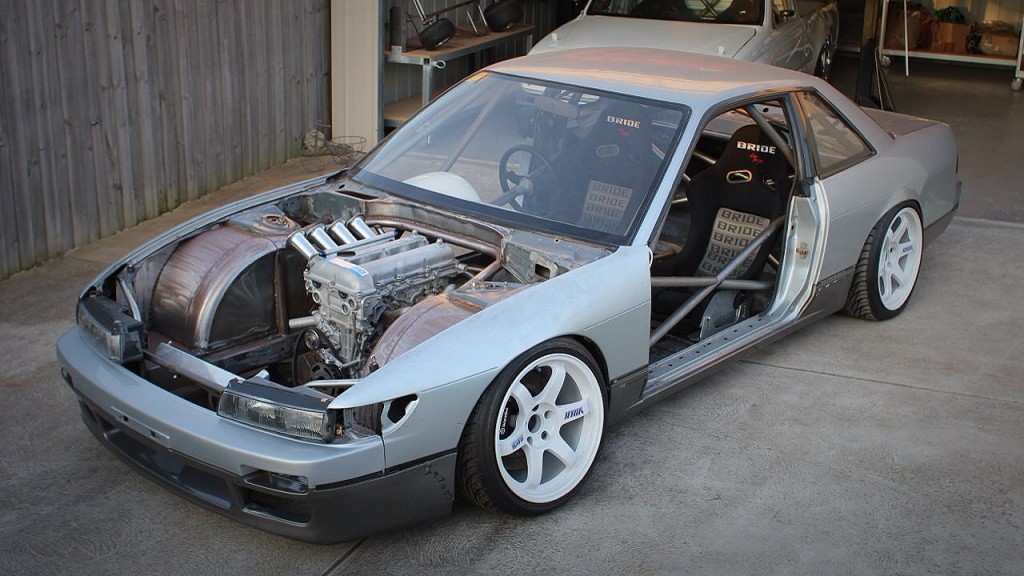
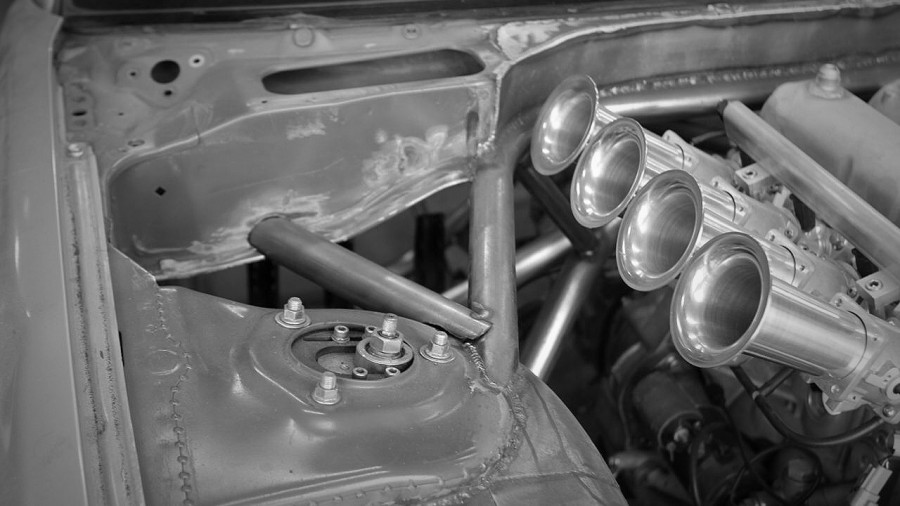
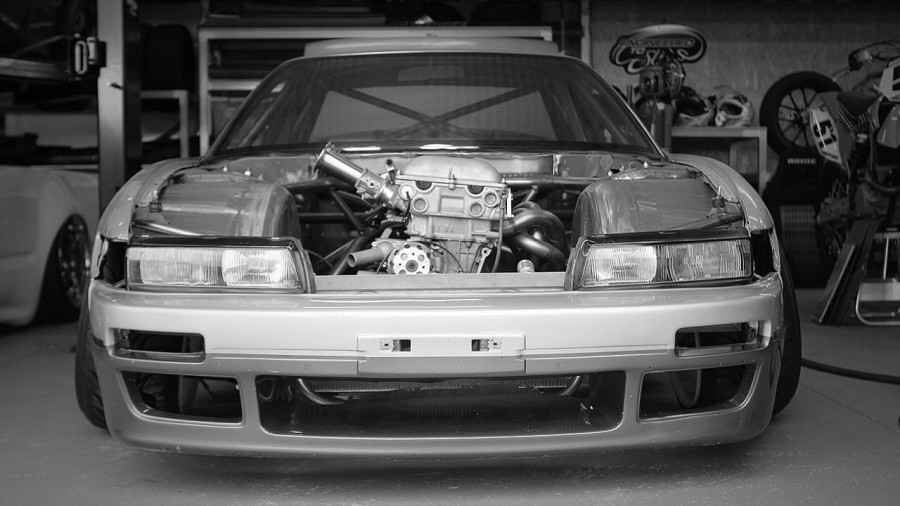
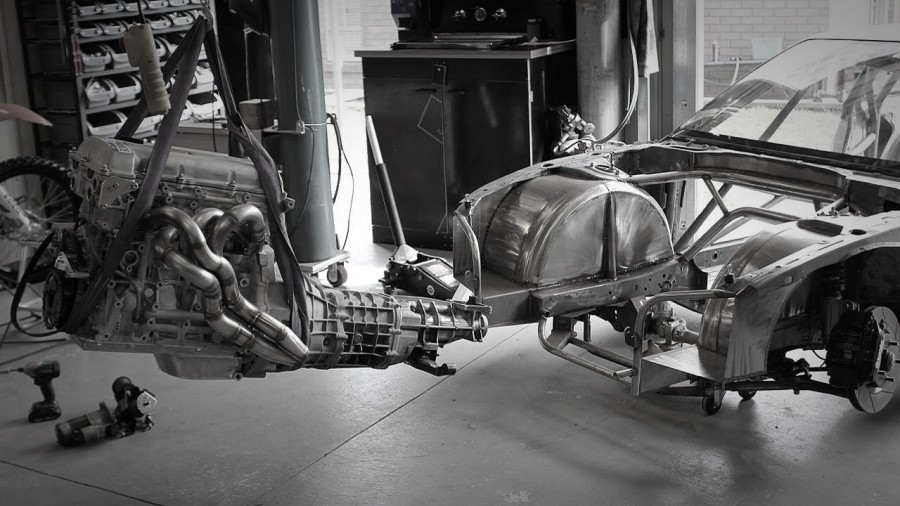
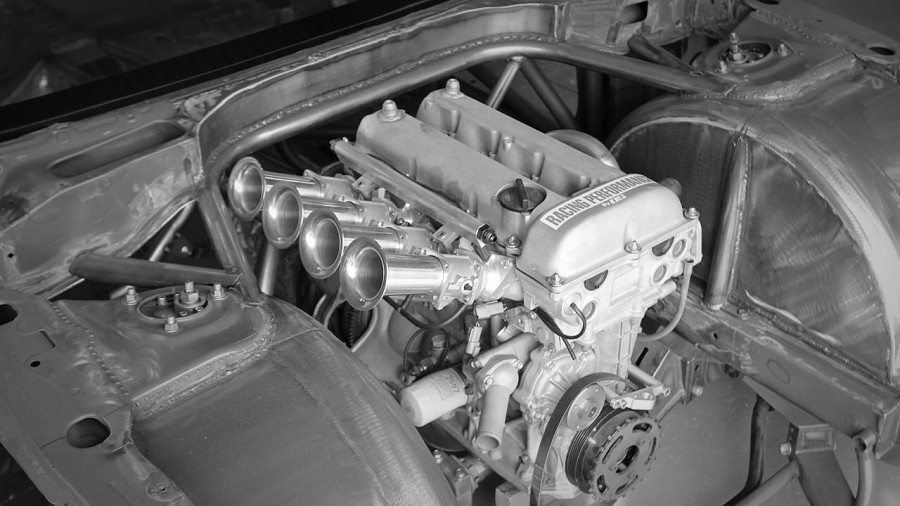
Oh and one last thing, you may have noticed the engines sitting super high at the moment, thats because I was holding off cutting my crossmember (as it took so long to build) for the sump to clear, instead I found a sump that suits, its an MX5 SR20 conversion sump that has the oil pan at the rear, its also way more compact than the original so I can get the motor really low and the steering rack really high. It was Australian made, second hand and cheap too so im happy I found it. the sump arrived and I got to work straight away on the car.
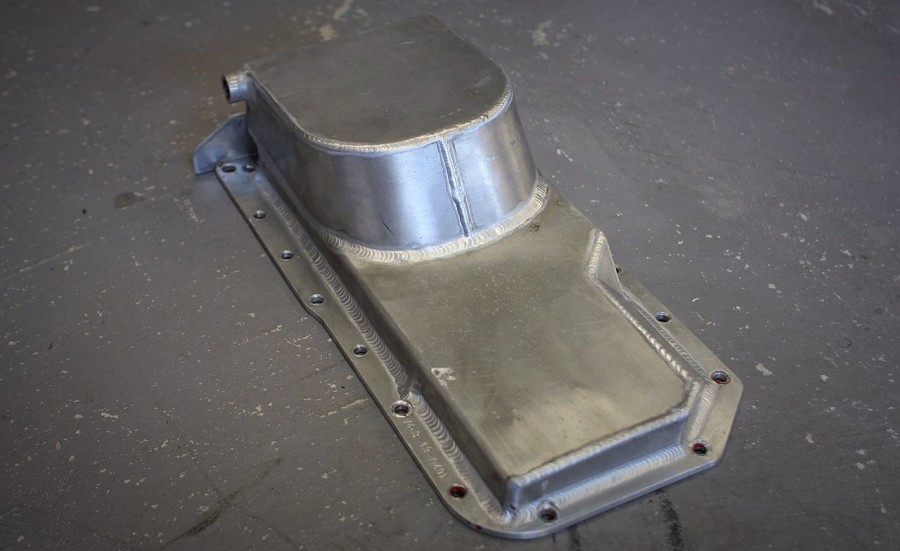
Its a really neat sump, after a few measuremenets I was excited at the prospect of how well it was going to fit.
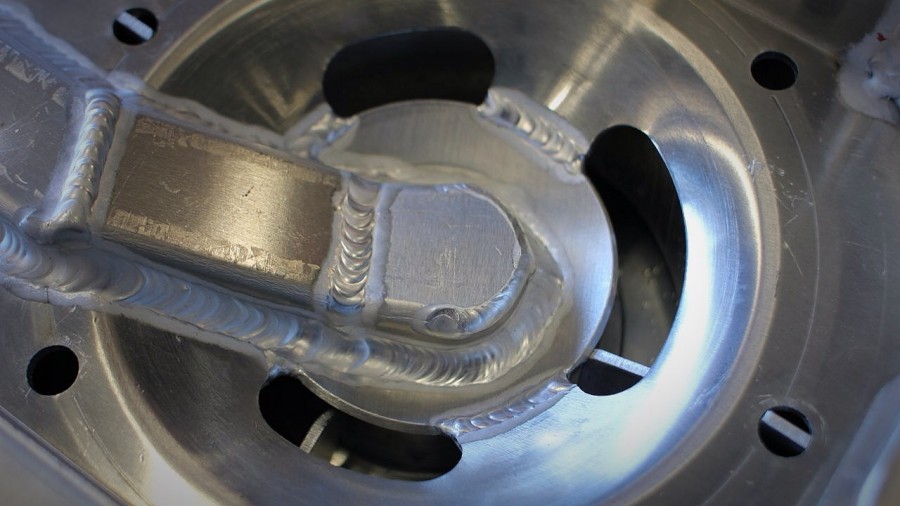
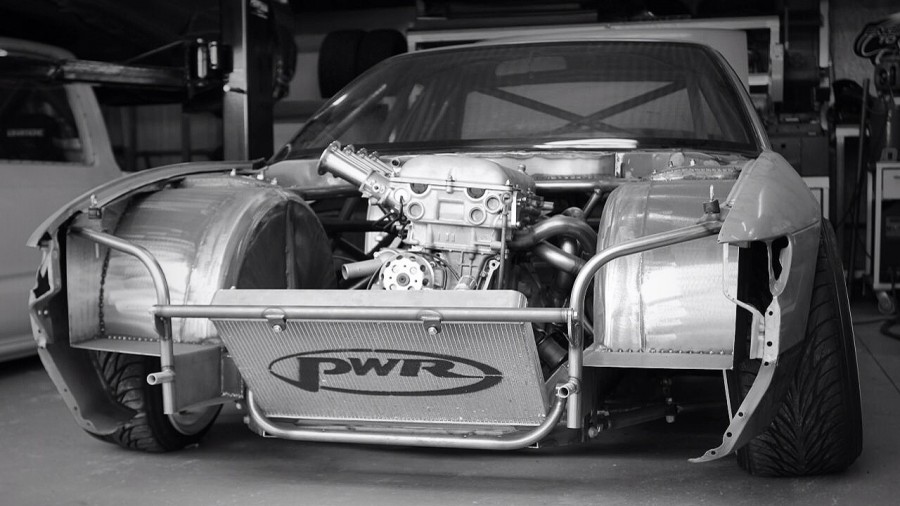
Its a crazy design, infact its the most extravagant SR20 wet sump I have ever seen.

So it was time to pull the motor out and see how well it actually fitted.
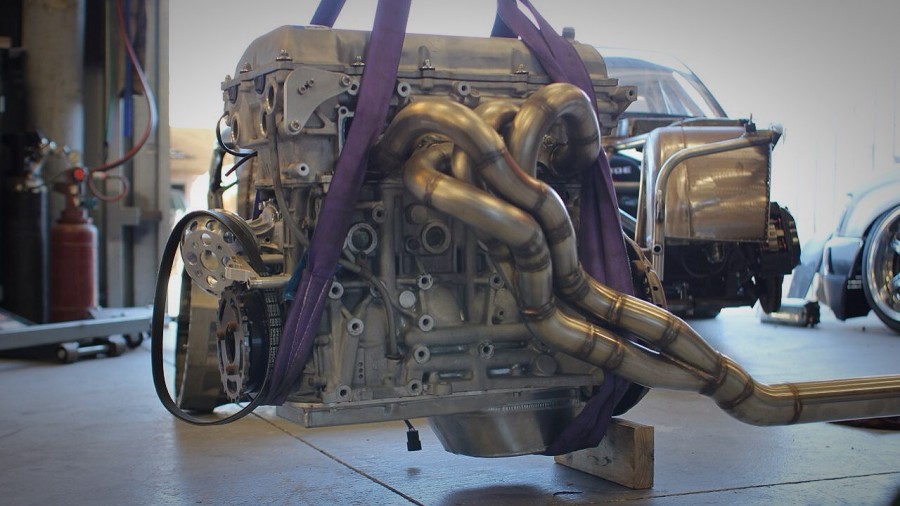
Perfection, It makes the SR20 a tiny little motor, its front profile now matches a dry sumped equivalent engine.
While the motor was out I took advantage of a sunny saturday morning and attacked all the seams with a wire brush on the angle grinder.
I should have removed all the windows, driveline, and acid dipped the body when I started this tear down, although Im doing major work to the chassis it dosnt really feel like it because its actually only some tin and a few welds away from going again.
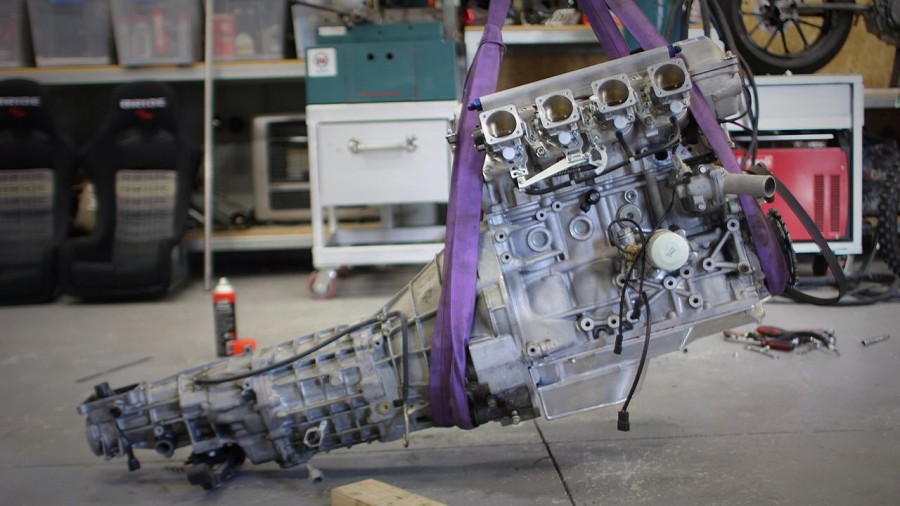
I attached the 6 speed transmission again and got the motor slung up ready to slide back in the chassis. One of the best things I ever did was put a little electronic whinch in my roof, the garage isnt designed for it and does droop a bit with a motor and gearbox attached but an SR20 dosnt stress it out too much (I wouldn’t lift anything heavier)
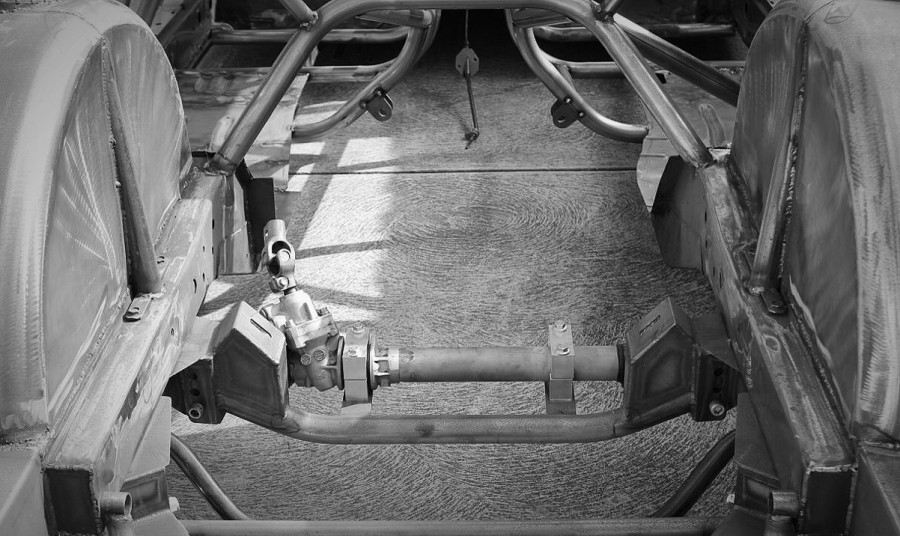
I pulled the chassis into the garage and refitted the steering rack, the crossmember I made a while ago should now work with the shifted rearward engine now I have the new sump.
The moment of truth
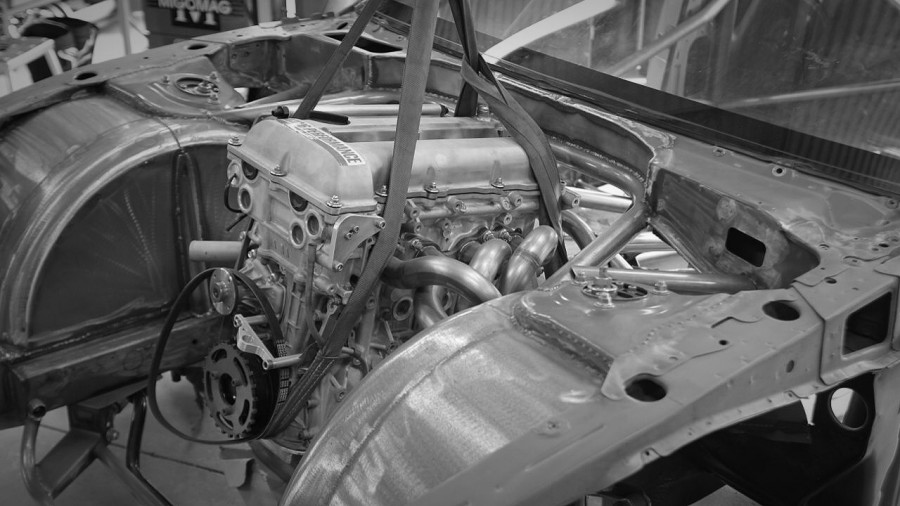
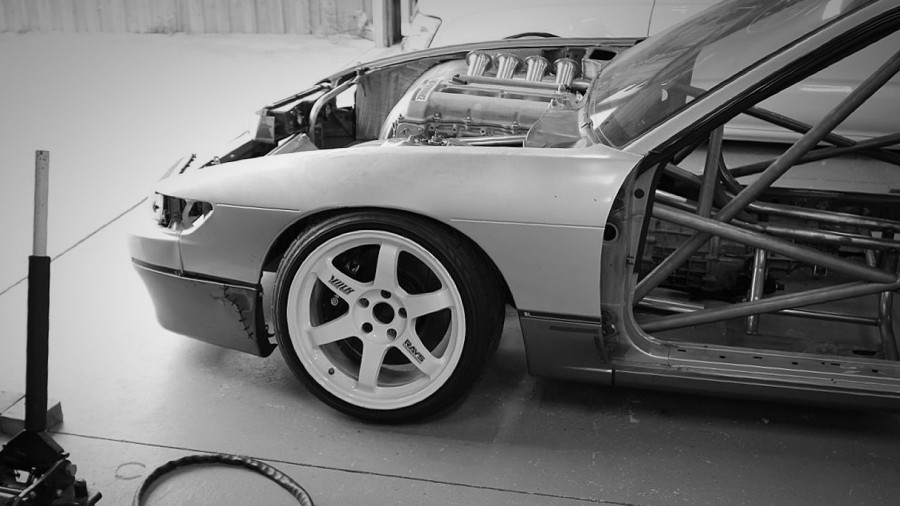
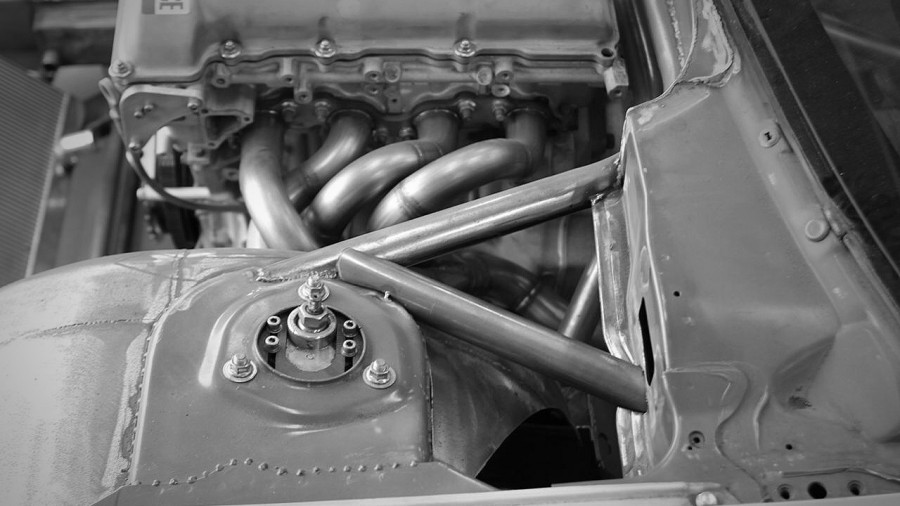
Back in and at an all time low.
Its a perfect fit, the sump clears everything and the motor sits flat and low.
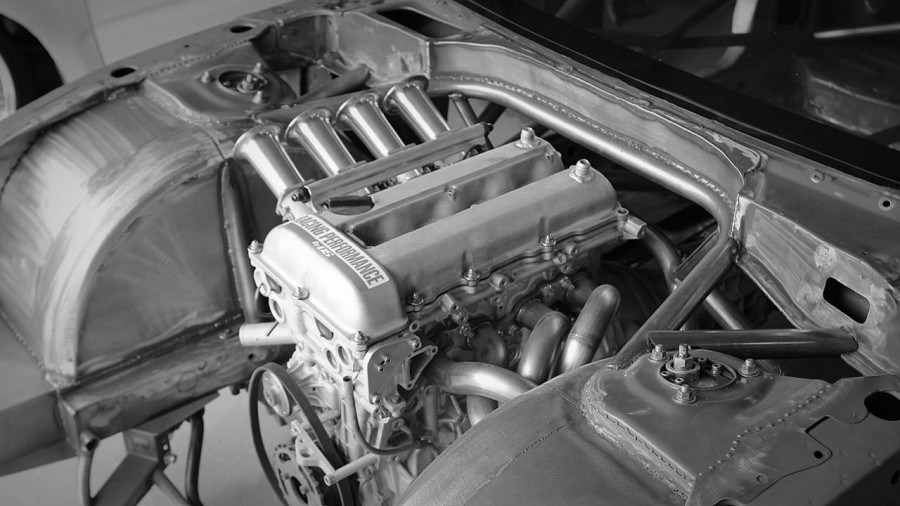
Ill be building a new header setup that matches the hight of the trumpets for that high tuned NA look.
Now I can get to work finishing all the tin work on the firewall.

Till next time.
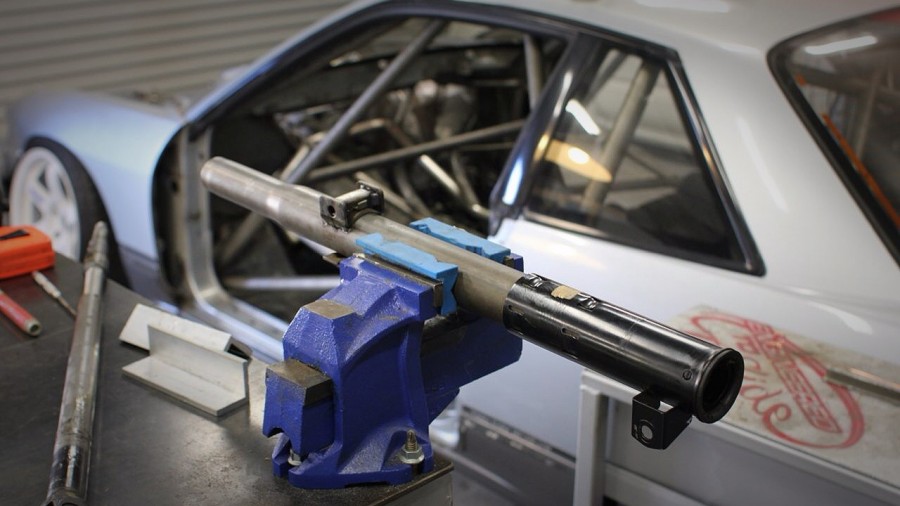
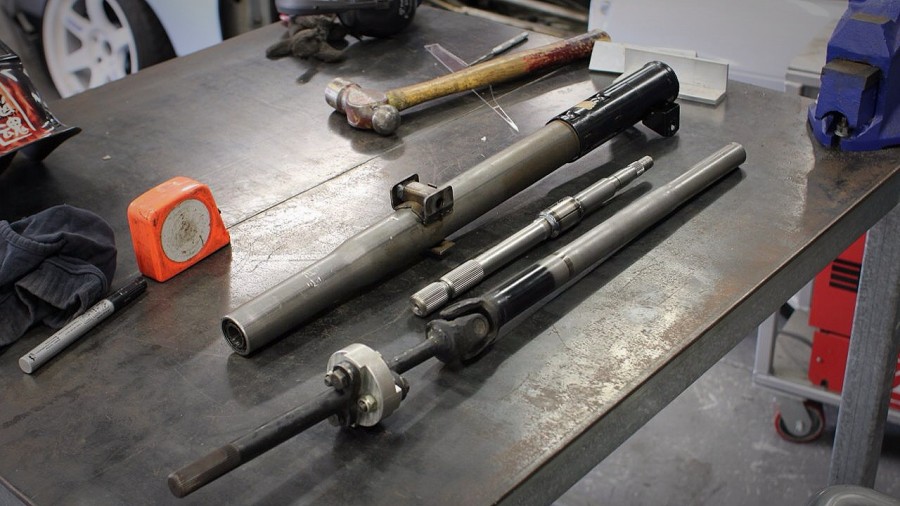
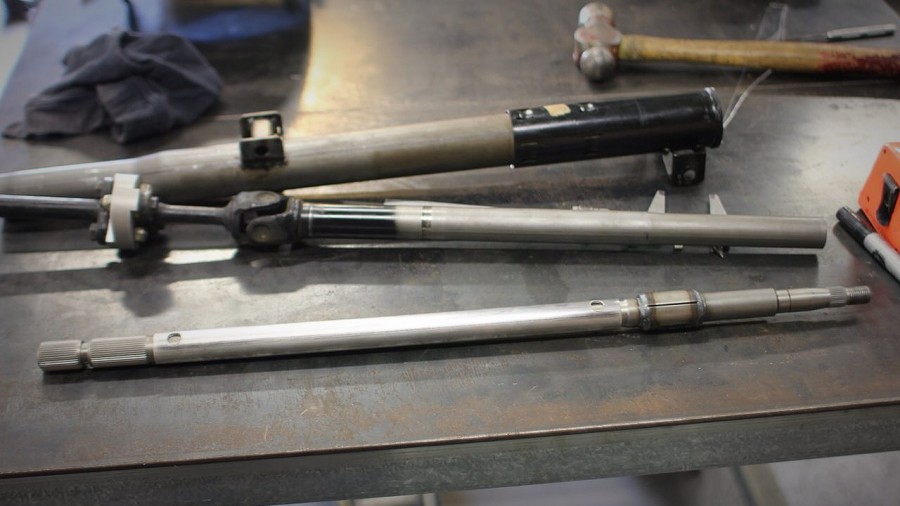
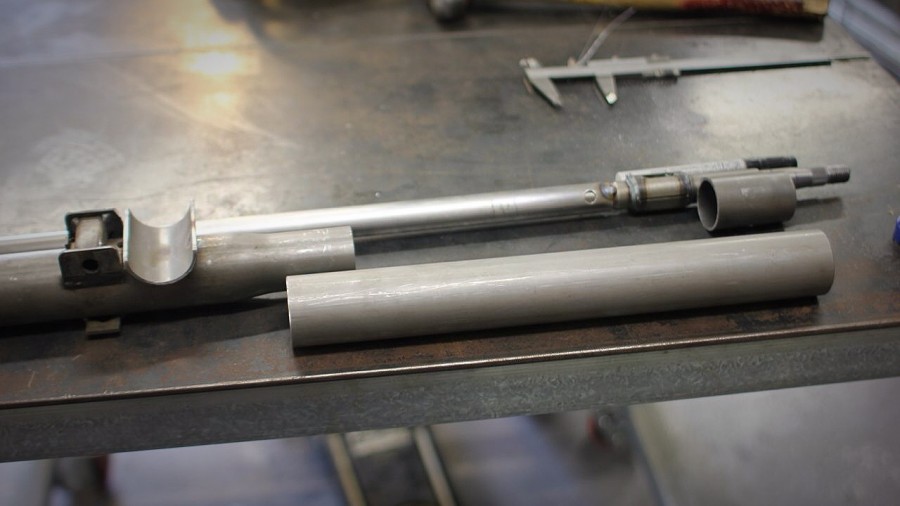
So I started to shift onto other areas of the car, I had the old steering column out of the car and it wasnt going to work by leaving it stock.
I removed the 3 bolt flange that secures the column to the firewall by grinding off the heads of the rivets, these can be replaced with 8mm bolts if I ever decide to bolt it to a stock firewall again.
By removing the circlip on the column the entire internal shaft drops out.
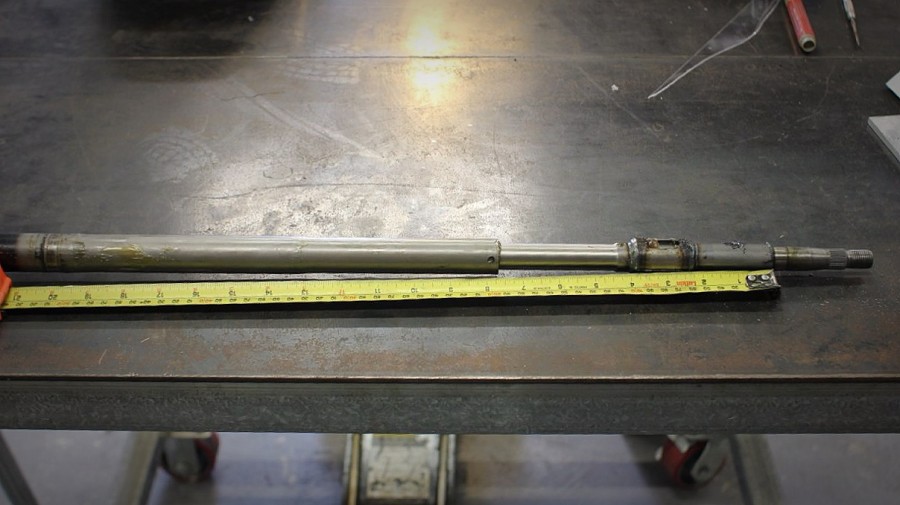
Because its colopsable you need to measure the length to ensure the internal ends up the same as the external.
I have measured and I think I need another 250mm in length for the final seating position.

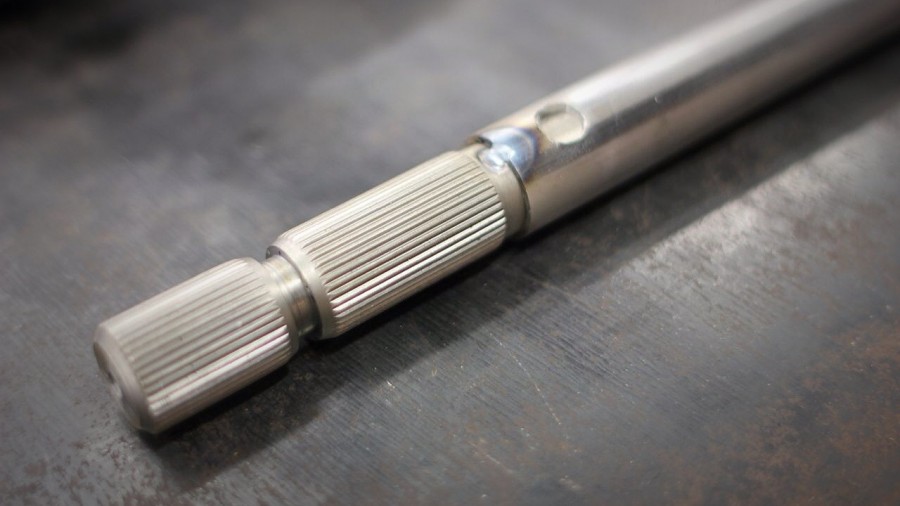
So I decide to add it to the small pre-spline area as its OD is the same as some tube I have.
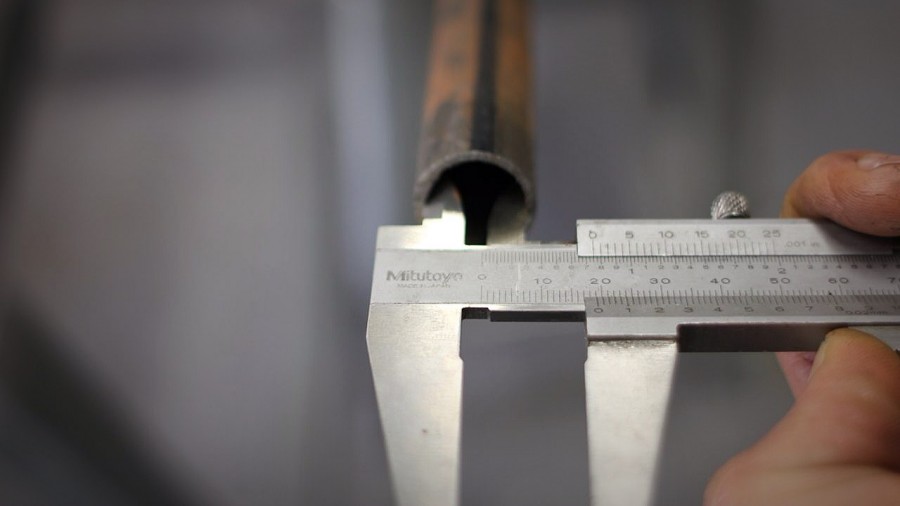
This will just interference fit over the shaft making everything straight.
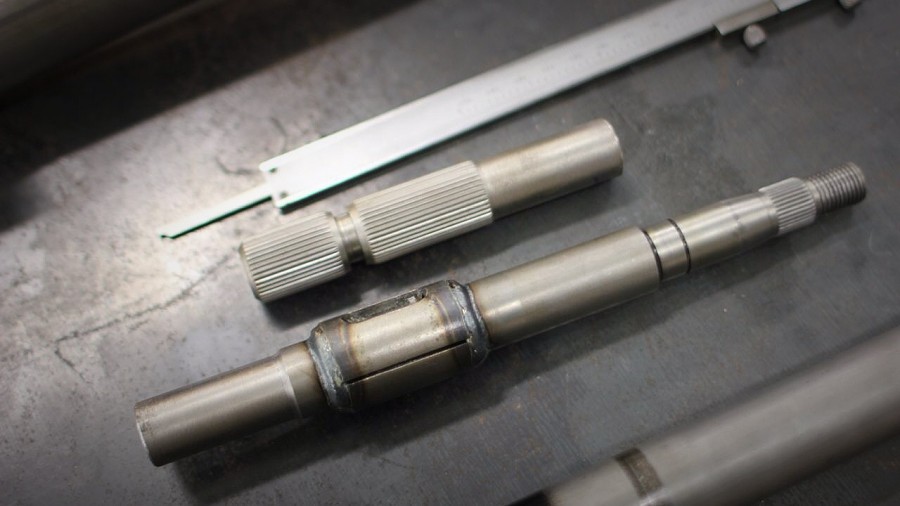
So I split the shaft ready for lengthening.
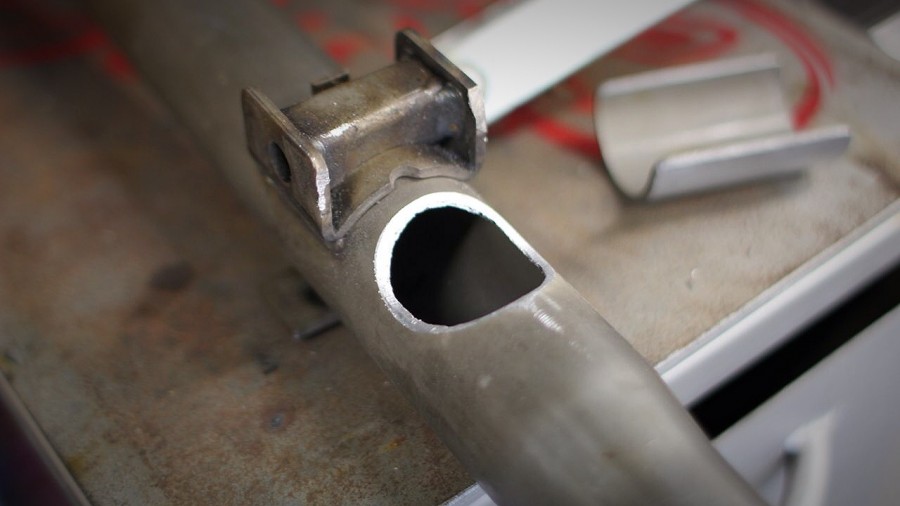
With the tube cut and drilled for puddle welding its good to go.
Im only tacking it together so that I can confirm that I need it this long.
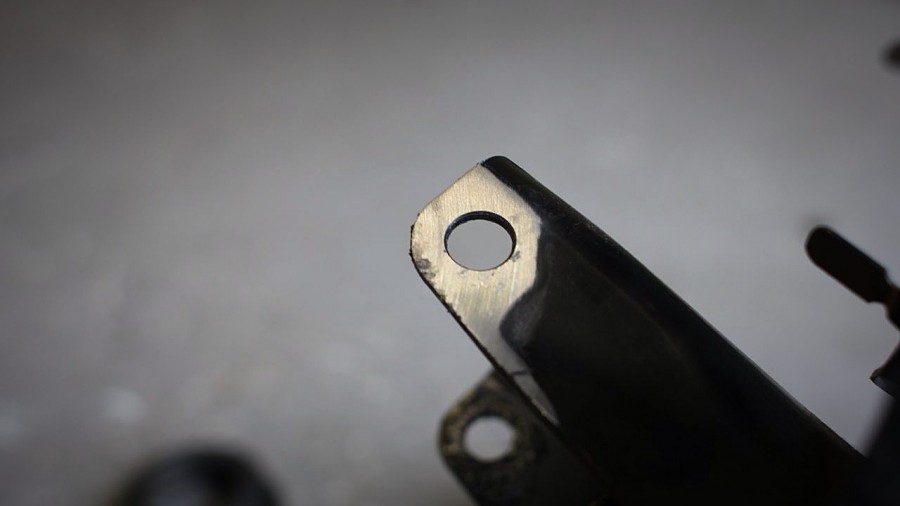
On the outer I made a little mount so I can play around with hights.
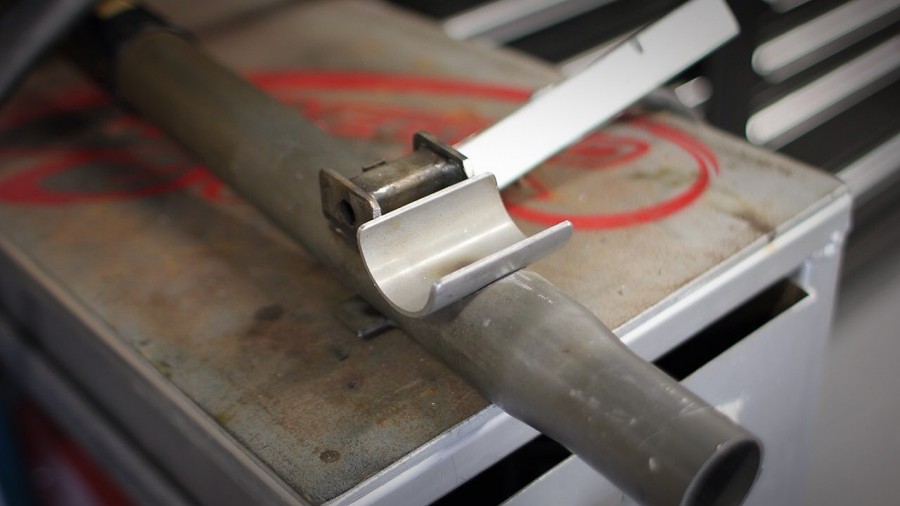
This suits my dash bar.
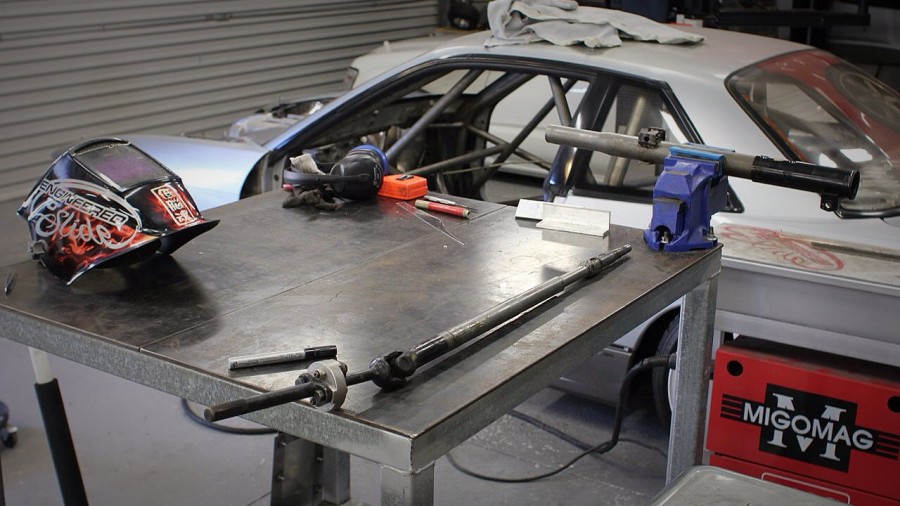
Going by my first measurements I lengthen the outer the same as the inner, again I found some tube with the excact ID to the OD of the column tube.
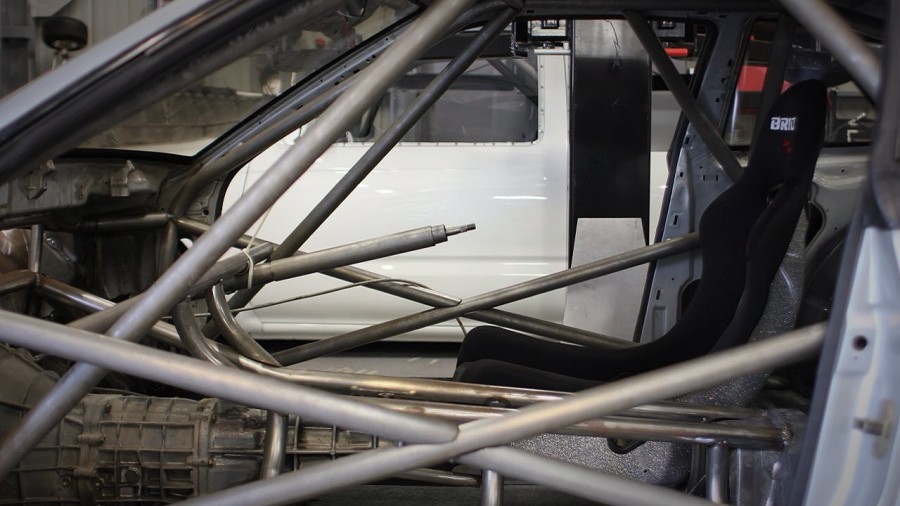
After a few tacks I can sit the column back in the car.
Looks about right. May have to make it a little shorter once the seats where I need it.
After that was finished I made some more clearance for the front, and then filled in the firewall, more updates to come.

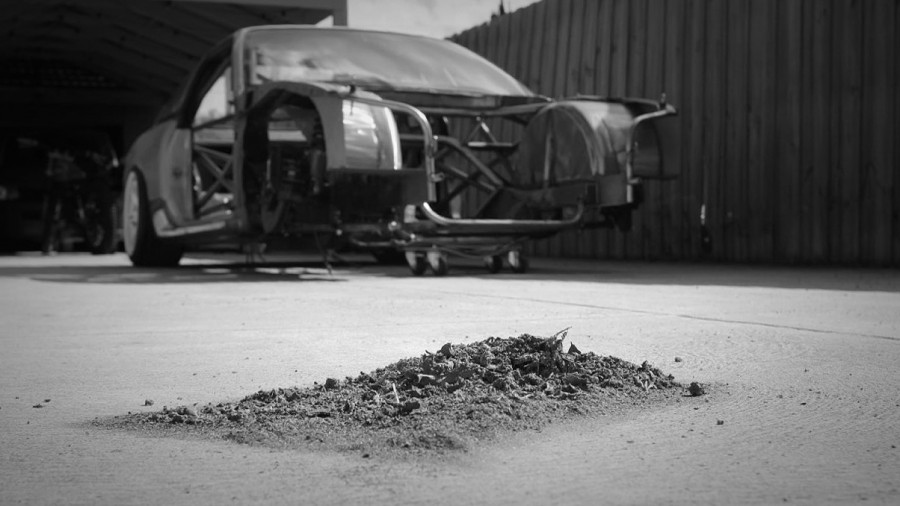
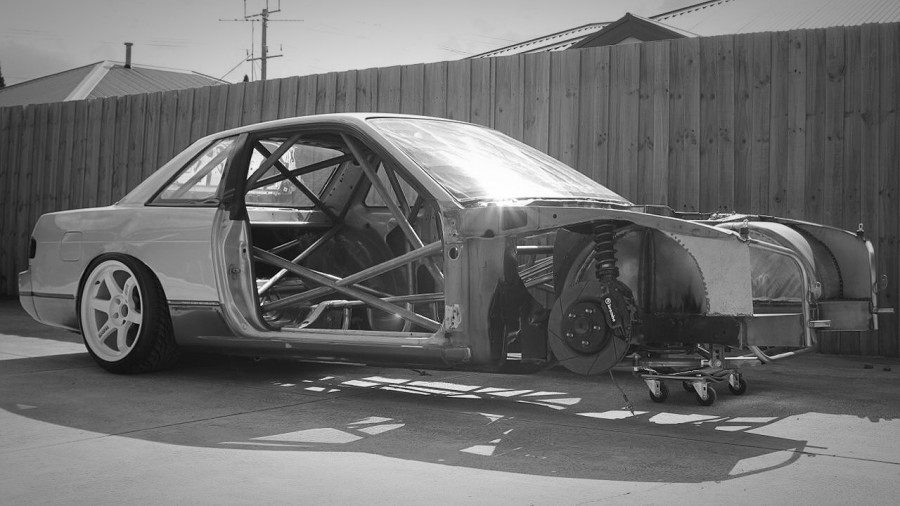
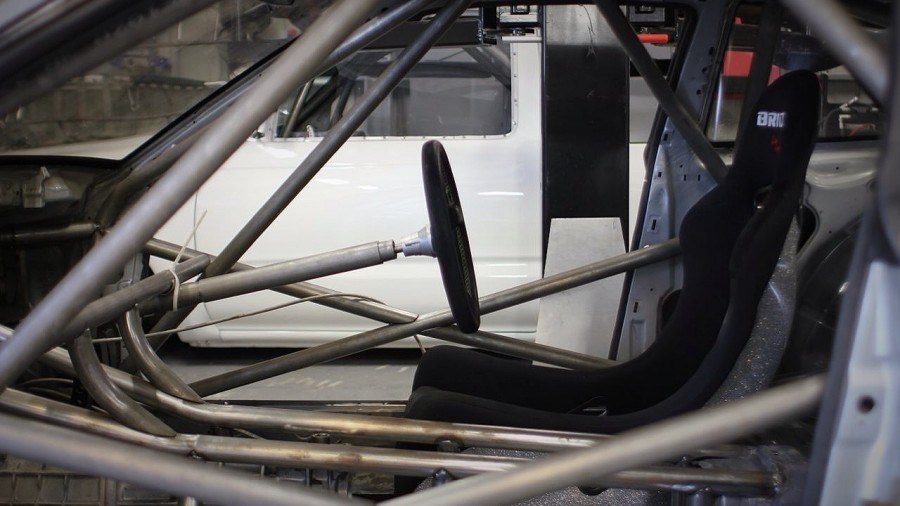
The day before I went in for surgery I raced through a heap of small jobs, the main on was the seat mounts. I didnt have time to photograph them I worked that hard but I did take some snaps after pushing the car out of the shed to sweep the floor.

The dash showed up from Japan and Im pretty happy with it, it needs some mounts made obviously but it sits in perfectly.

The seats are in their final position, nice and low and back far enough for my long legs, I love the look of seats encased in roll bars.
So now I am forced to take a little break on it, dont worry Ill be back in action as soon as I am fit enough.
Pingback: Dėmesio vertas PS13 build’as! | jdm.lt