In my last post I wrote about getting the engine, gearbox and ancillaries all assembled and ready to go, it was a long night and subsequently the next day at work was long and tiring. All I wanted to do was get home and fire it up.
5pm arrived and I raced home, filled the radiator with water, checked fluid levels and quick check over to see if I had missed anything the night before. I hit the ignition switch, the fuel pump primed, then the starter and it fired up. The sound of the gearbox was music to my ears. I shut it down and decided to bleed the clutch.
This is where things went very badly. I bled the clutch up and couldn’t seem to get pressure into it, then I noticed one drip from between the bellhousing and the engine block. This meant there was a leak, I immediately knew what it was and I immediately knew I had to pull everything out again.
I had forgotten to fit the final Oring inside the clutch, so I’m drained and tired and now I have more work ahead of me than last night.
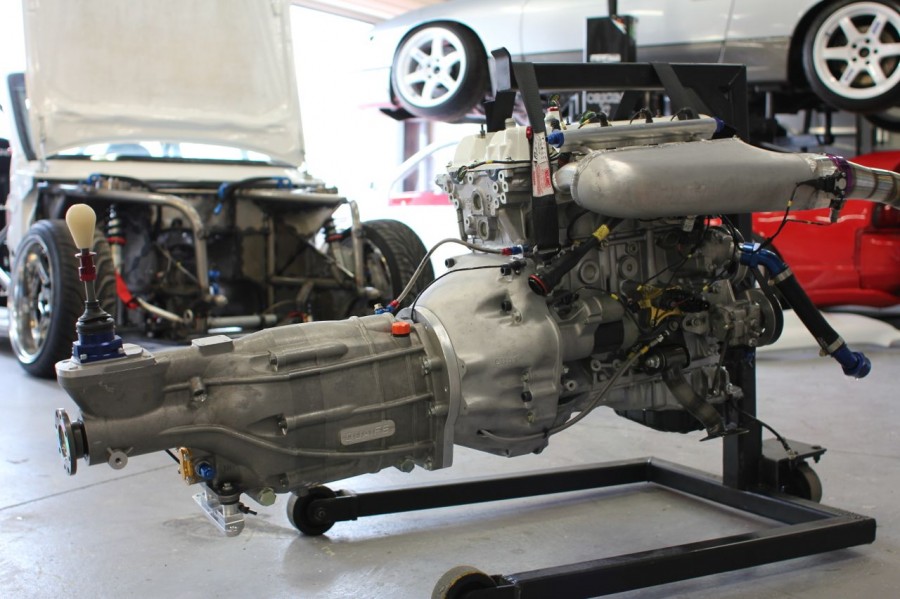
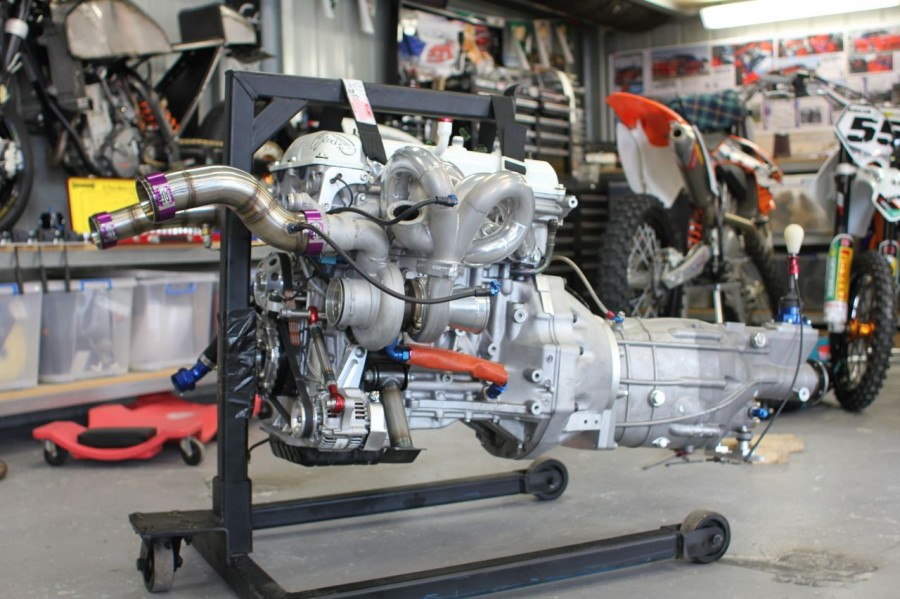
Having the right tools make life easy though, this engine trolley is the best thing I have ever made.
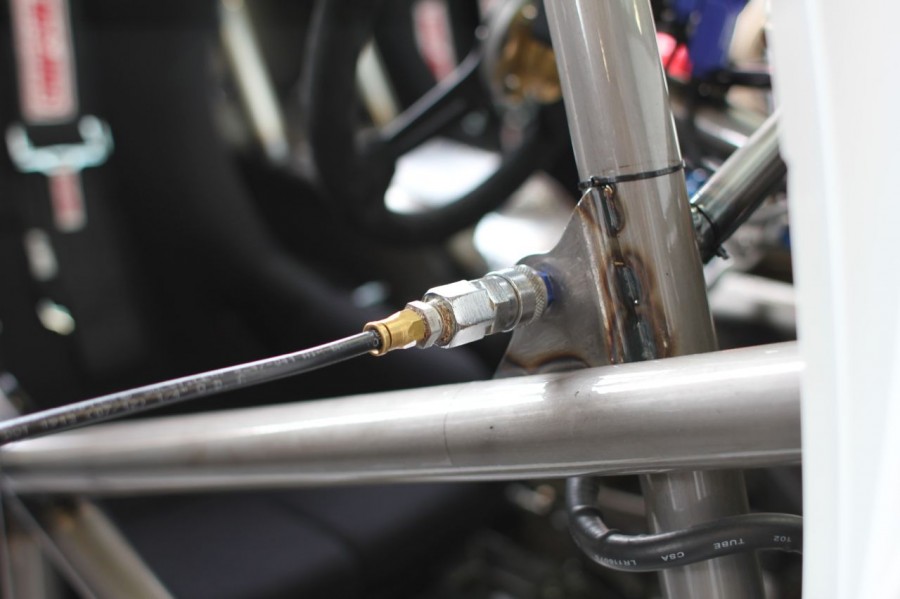
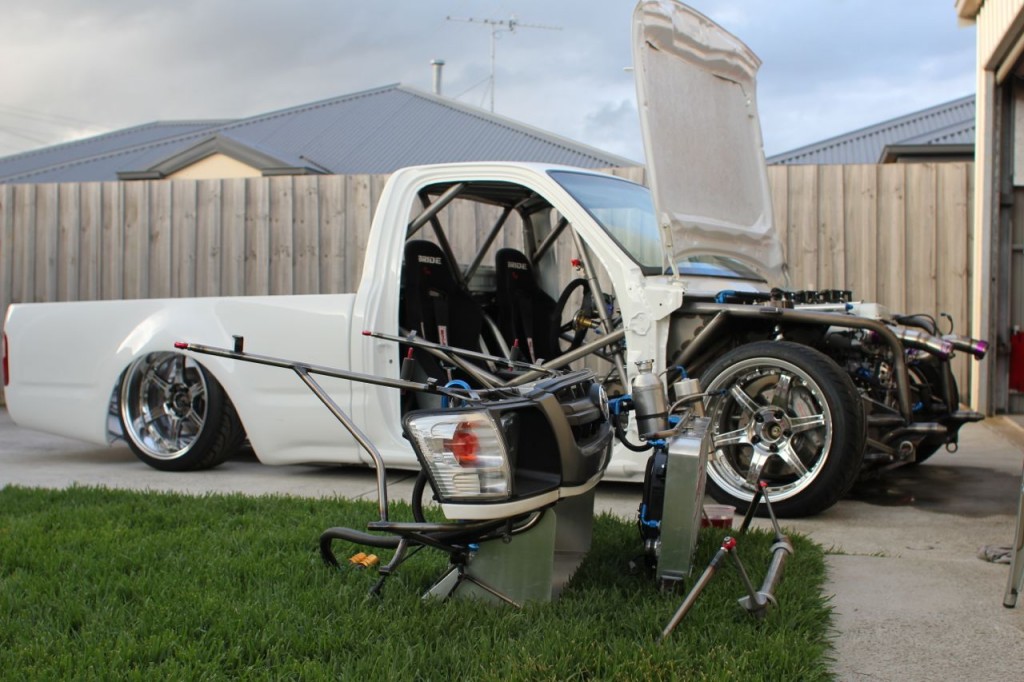
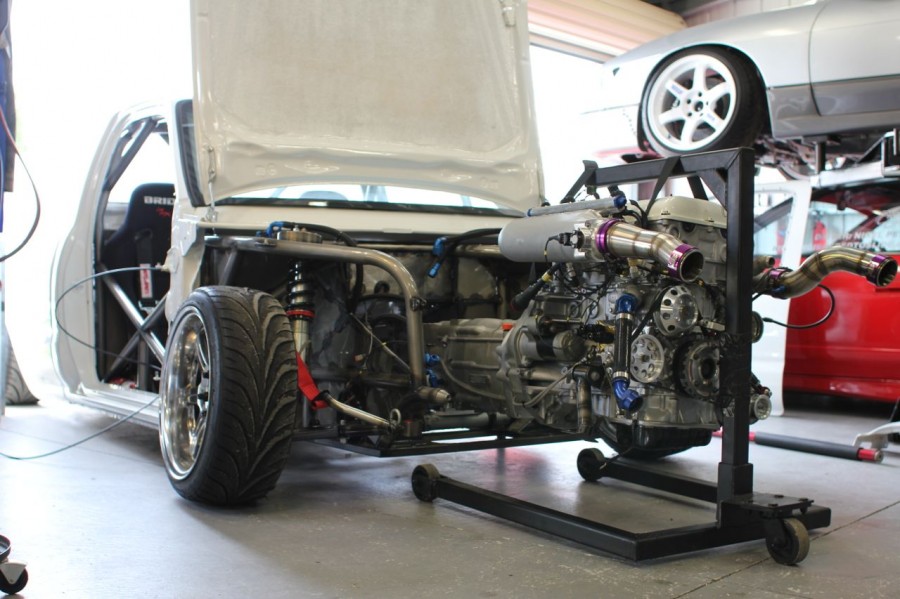
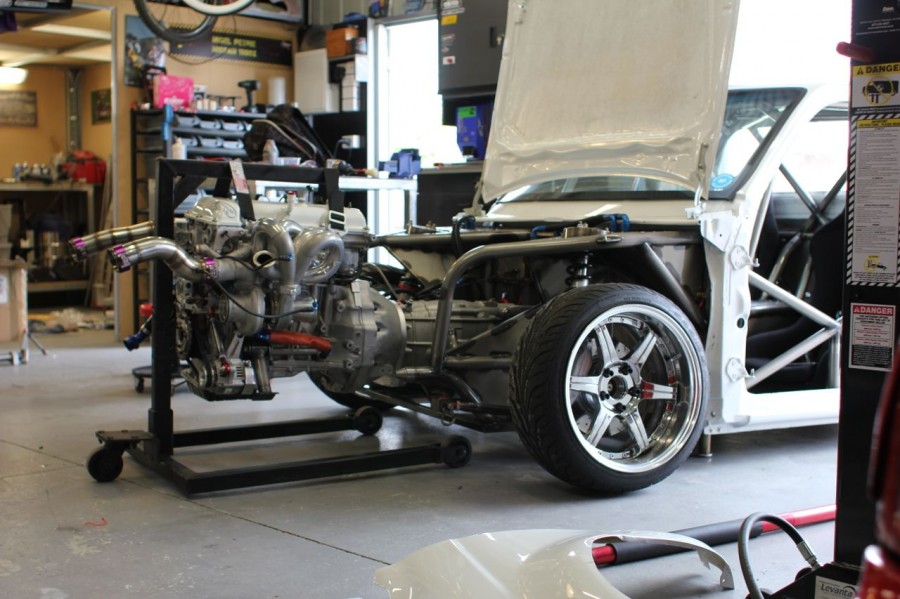
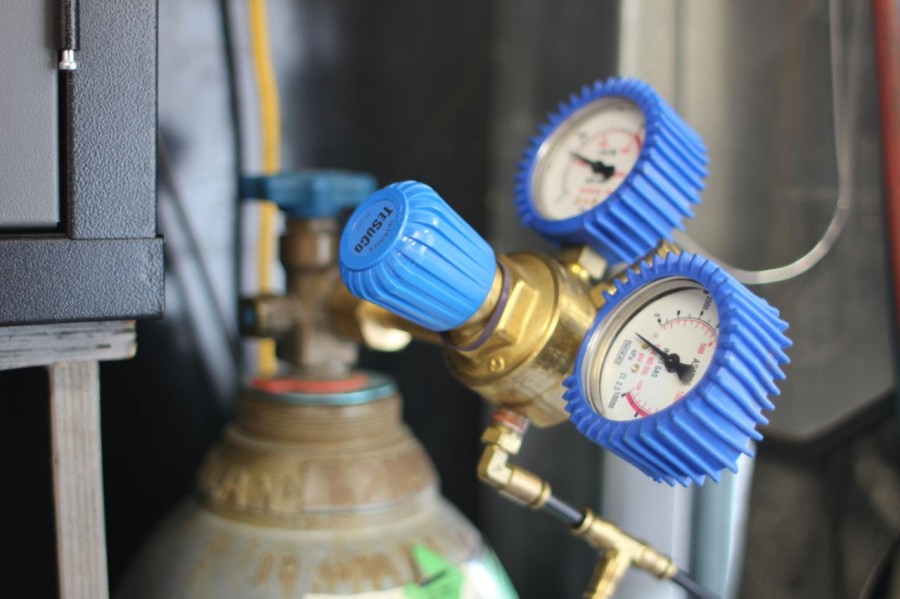
To remove the engine I connect up the nitrogen bottle to the air jacks.
Use the pressure regulator to raise the car so the rocker cover just sits beneath the engine stands top bar, connect the straps onto the head and block, then lower the car via relieving pressure from the air jacks, the motor is now lifted off the chassis and I can simply slide the whole lot out.
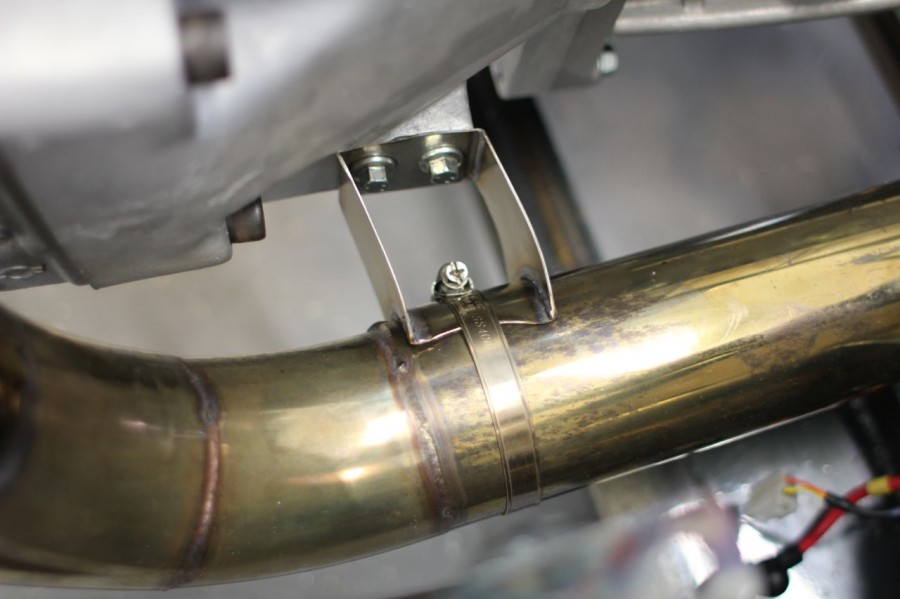
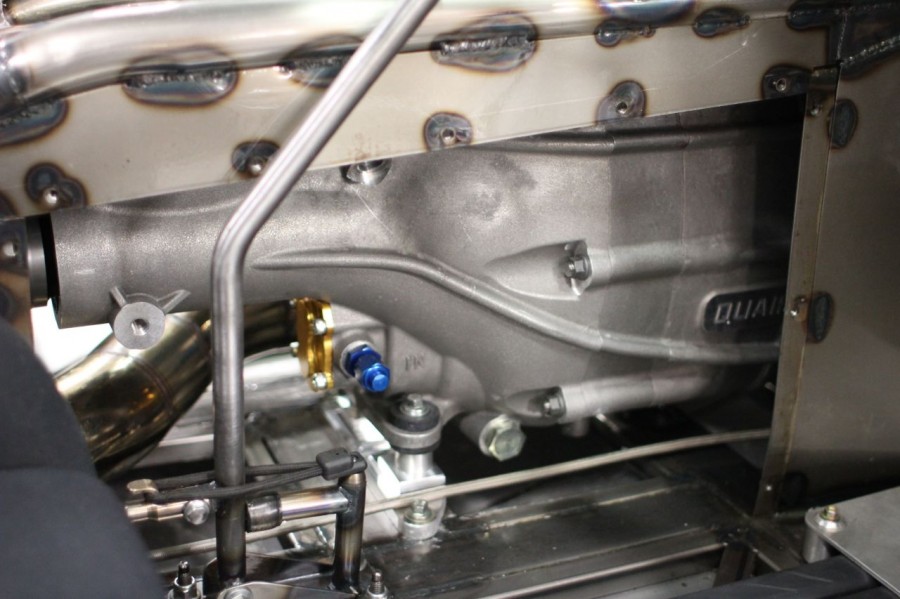
Before it goes back in heres a stainless exhaust support for the dump pipe I made up. I like to have the exhaust held tightly as flexing stainless means cracking will inevitably happen in the long term.
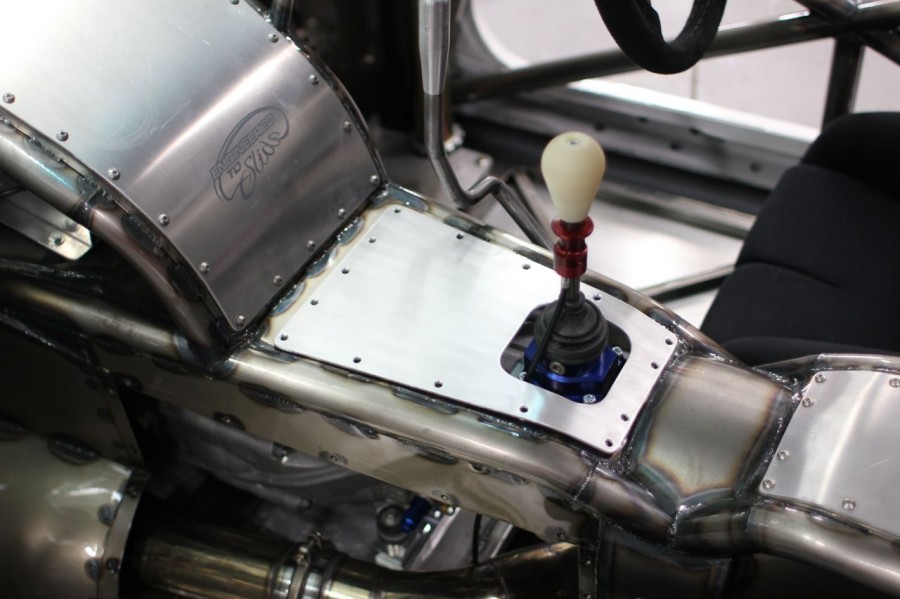
Oh and I remade the shifter cover to suit the new shifter. I have kept everything that was associated with the RB25 gearbox so if I ever use the Quaife gearbox in another car (which I intend too – PS13 NA 4.9 diff and 6 speed sequential yes please) I can use this still.
Its all back in now anyway but its a Friday night that I could have done with some sleep.
Its funny how just a few days before WTAC people were asking me what I will do now that the utes finished, I can tell you now this months been busier than a lot of the months in the early stages of the build, I intend to keep working just as hard as I have until this is reliable and easy to drive car that can be taken out on track whenever and wherever. It will happen and when it does ill be a happy man!
Clinton @ e21build.com
Great stuff, your photos just keep getting better and better too – fantastic
Lewis Cunningham ENGLAND
Have you thought about setting up flat shifting? pretty straight forward you should be able to do it yourself.
Lewis Cunningham ENGLAND
Also on our race Caterhams we line our exhaust tunnels with with this stuff, even being open topped the heat soak is intense
http://www.designengineering.com/category/catalog/design-engineering-inc/heat-sound-barrier/reflect-gold
I would have thought the gearbox and exhaust will transfer a lot of heat through your single skin tunnel. I would also look into getting the middle section of the exhaust ceramic coated to keeps high temps down.
This is a UK company but shows you what can be done, http://www.zircotec.com/