The last KTM build took a whole 3 weeks, it was basically a pretty simple make over, this time I am starting from scratch and have had plenty of ideas on how I want to do it this time.
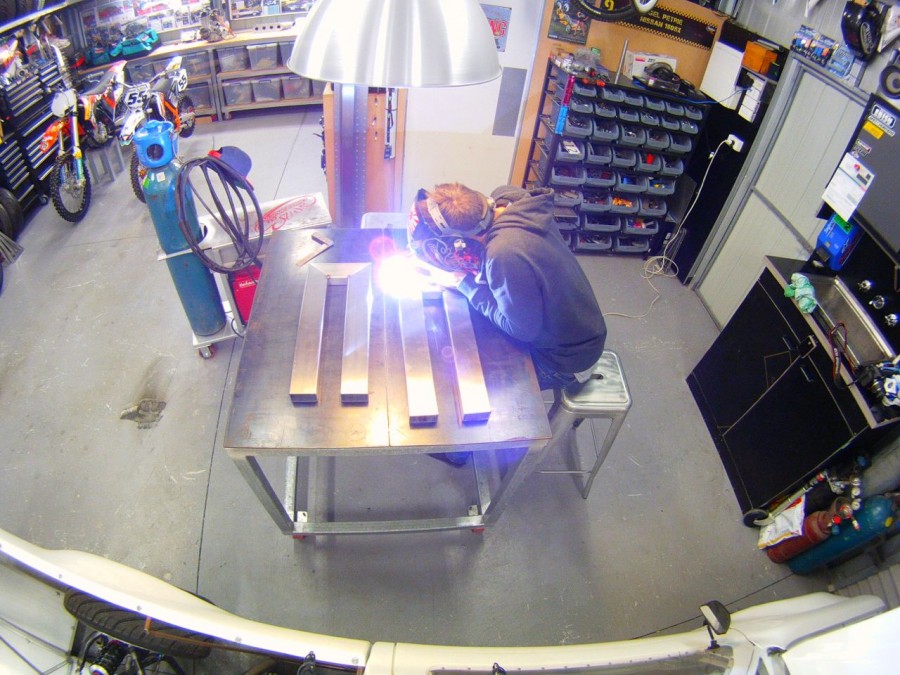
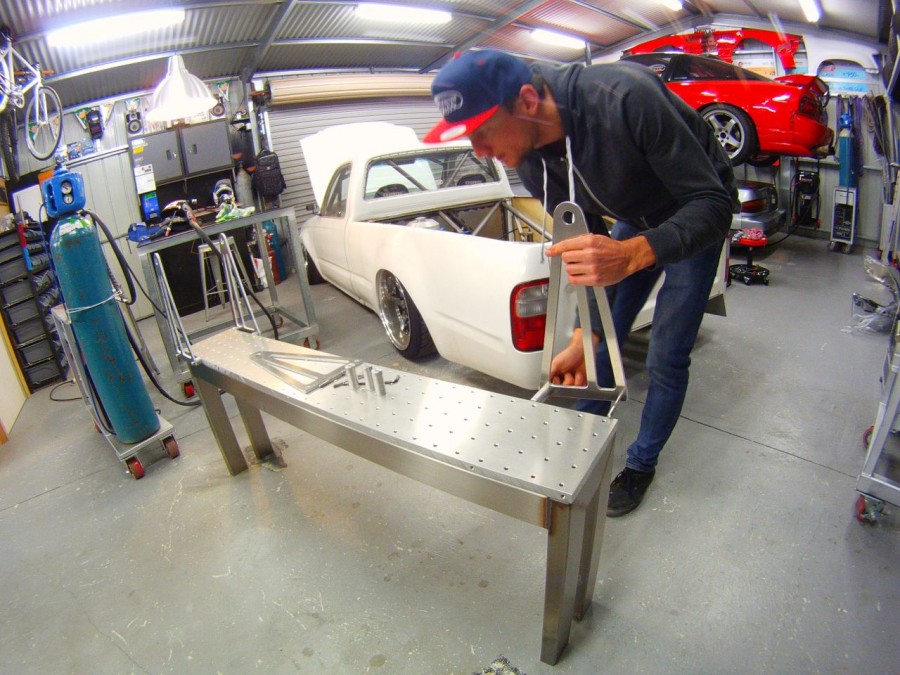
My good friend gave me the stainless offcuts from the handrail im building for his new house, it was just enough to build the base for the JIG
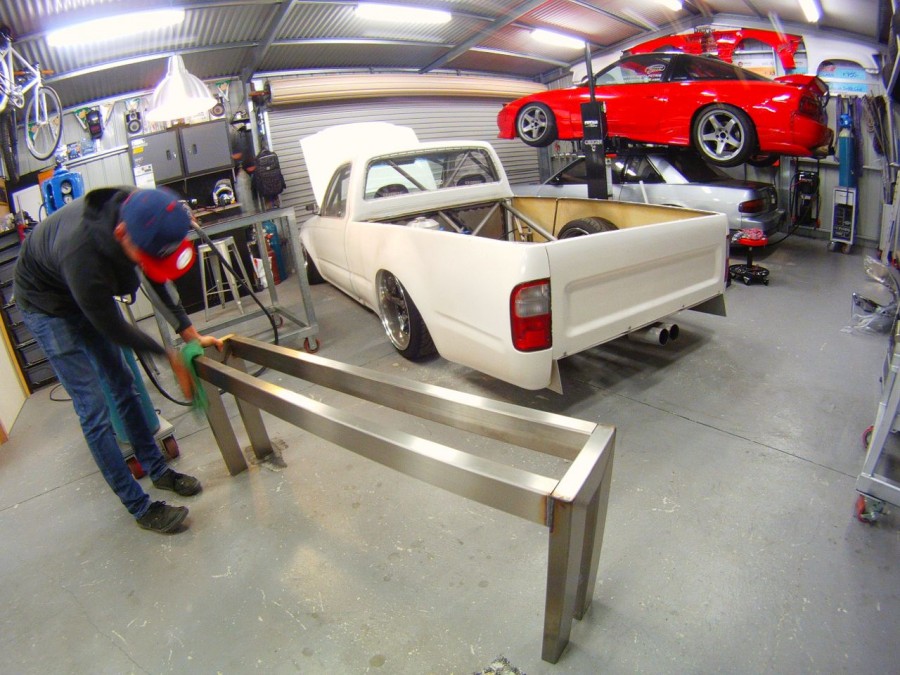
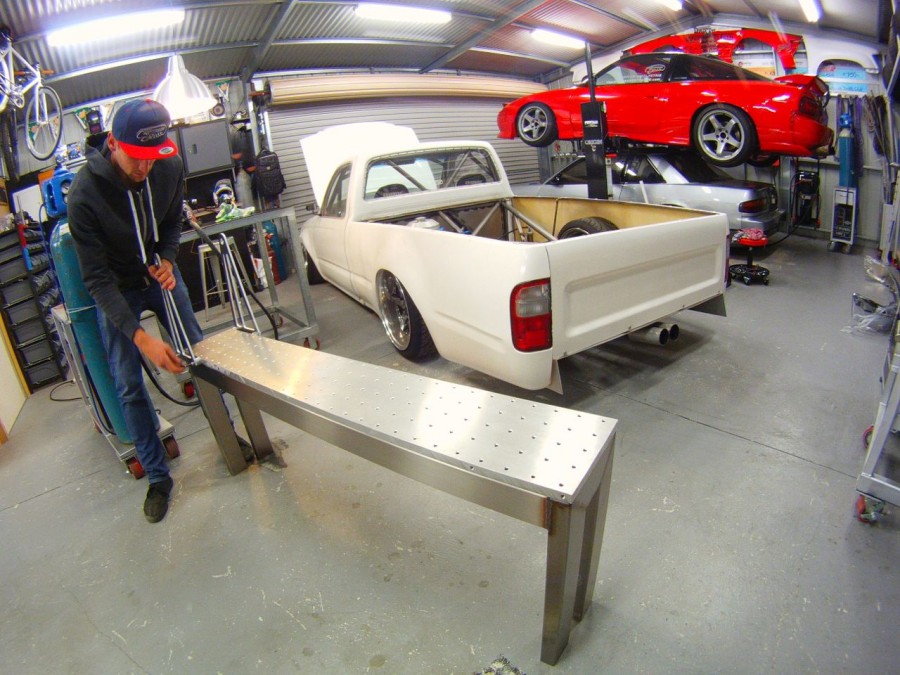
I will eventually put some wheels on it so I can move it around the garage.

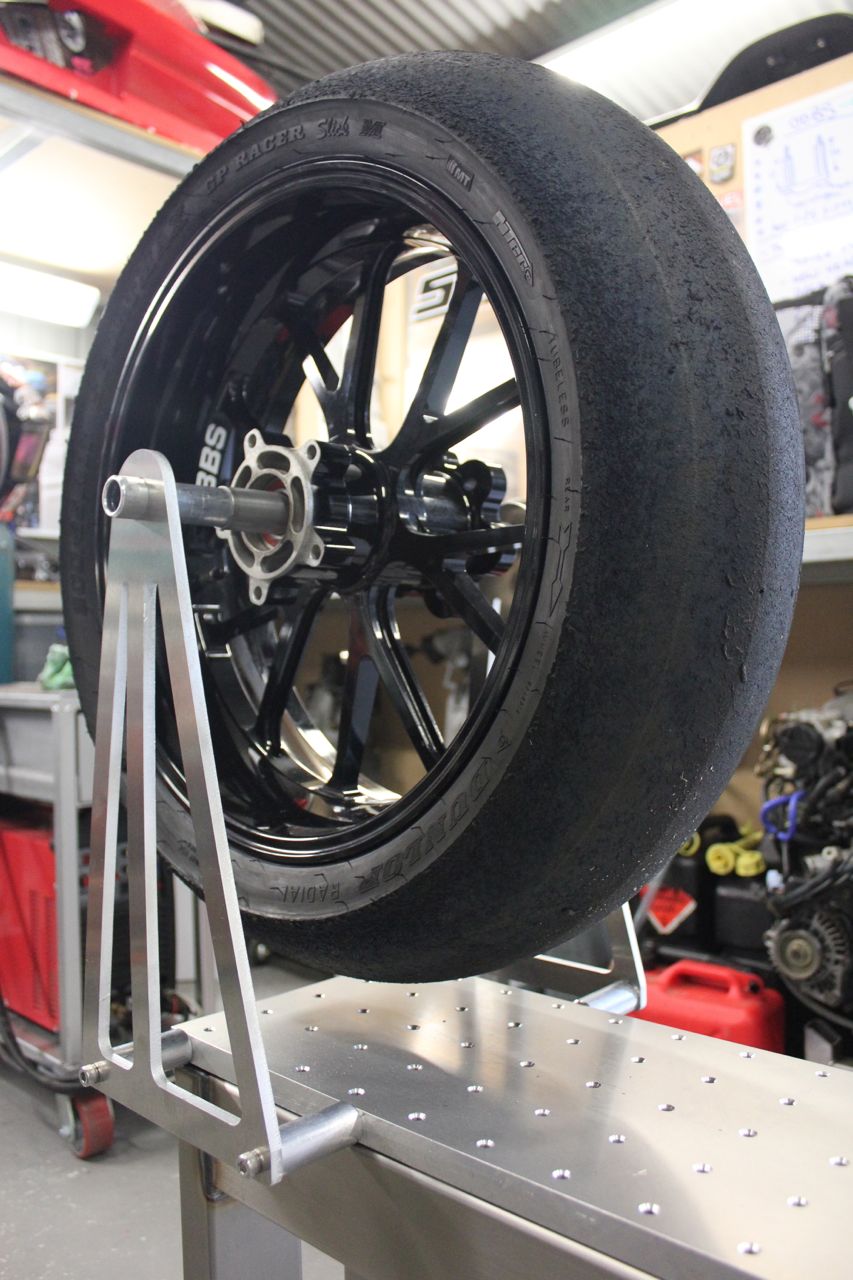
The top is a 1500x230x20mm alloy plate with M8 (yet to be tapped) holes every 50mm, this again was an off-cut from a local workshop and CNC drilled for me. Its the perfect base to make sure everything is central and aligned.
The 8mm alloy plate Laser cut uprights that hold the wheelbase were done by my good friend Ryan, these screw into the side of the plate and give me my exact wheelbase while also looking amazing!
They are spaced off the plate by alloy spacers for the future swing-arm and forks to be either side of the wheel. This way the complete bike can be 100% built on the jig.
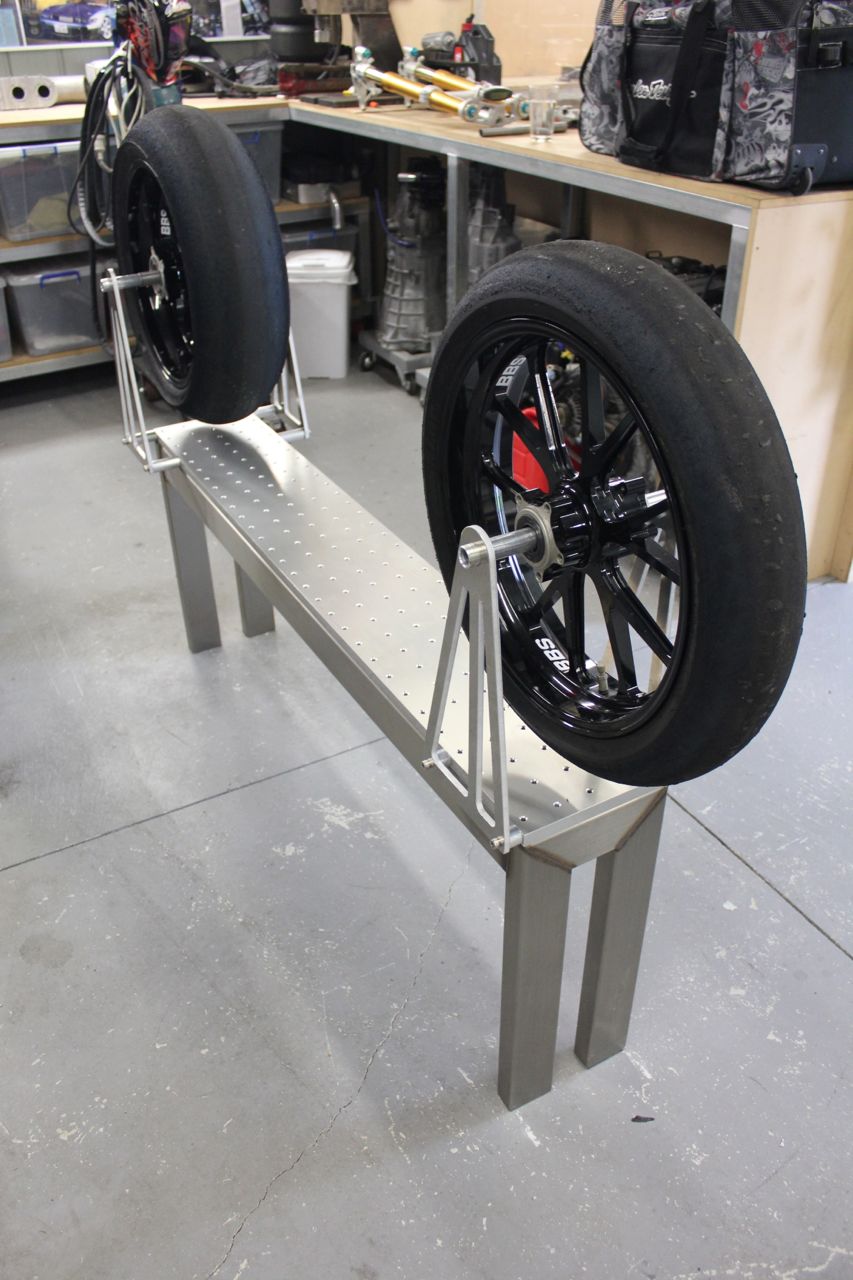
Peter down at Road and River Motorcycles fitted up a pair of old race slicks, why? Because the plan is to take the bike to the track eventually and have some fun on it.
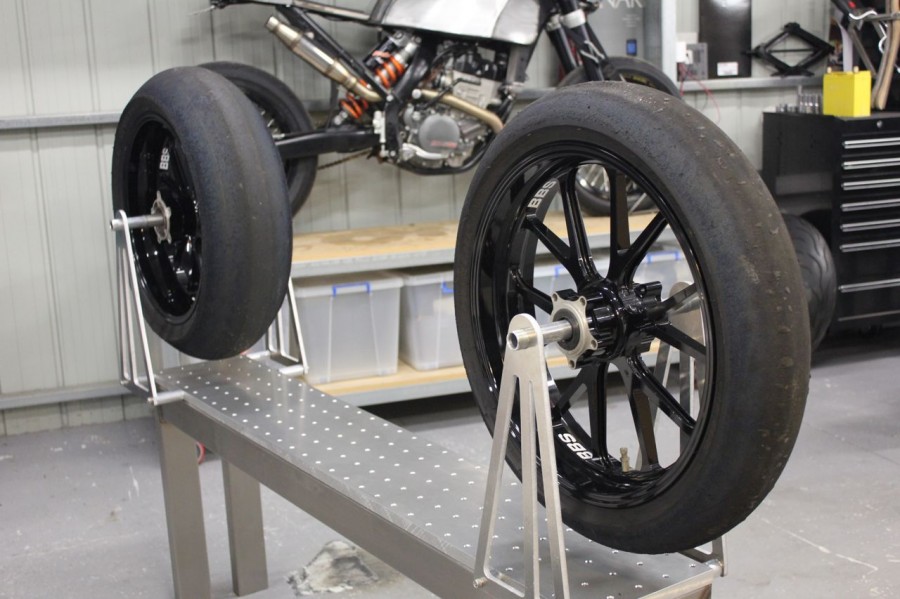
Not to mention the slicks look so good on the Forged Monoblock Magnesium BBS rims.
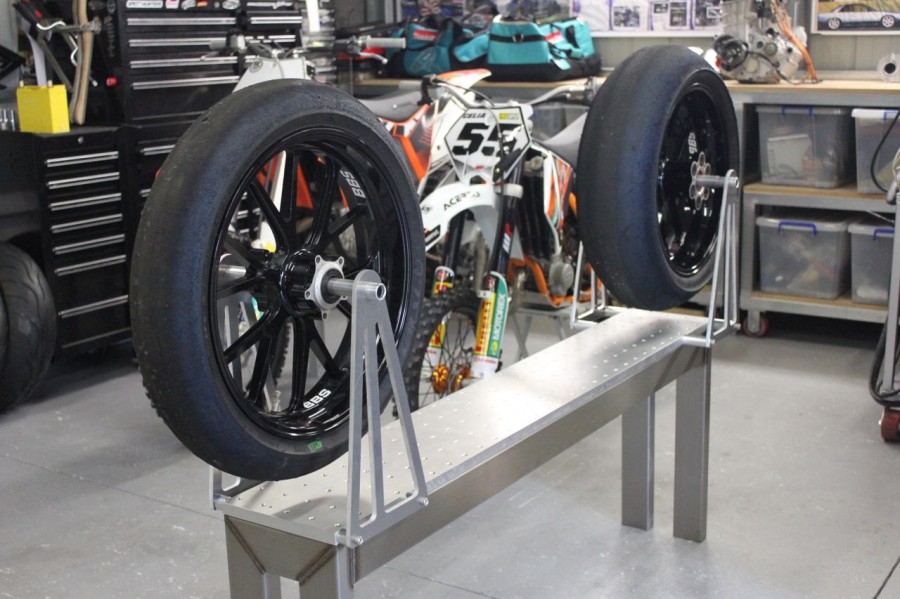
Now I can fit the forks, make a mount off the jig to get my correct head angle, make a motor mount so it can sit in the jig and then its time to start joining the dots, its possibly more work to build a JIG like this than you actually need but it gives me a lot more inspiration to take the build to the next level.
Now im just imagining a car jig like this, hrmmm!